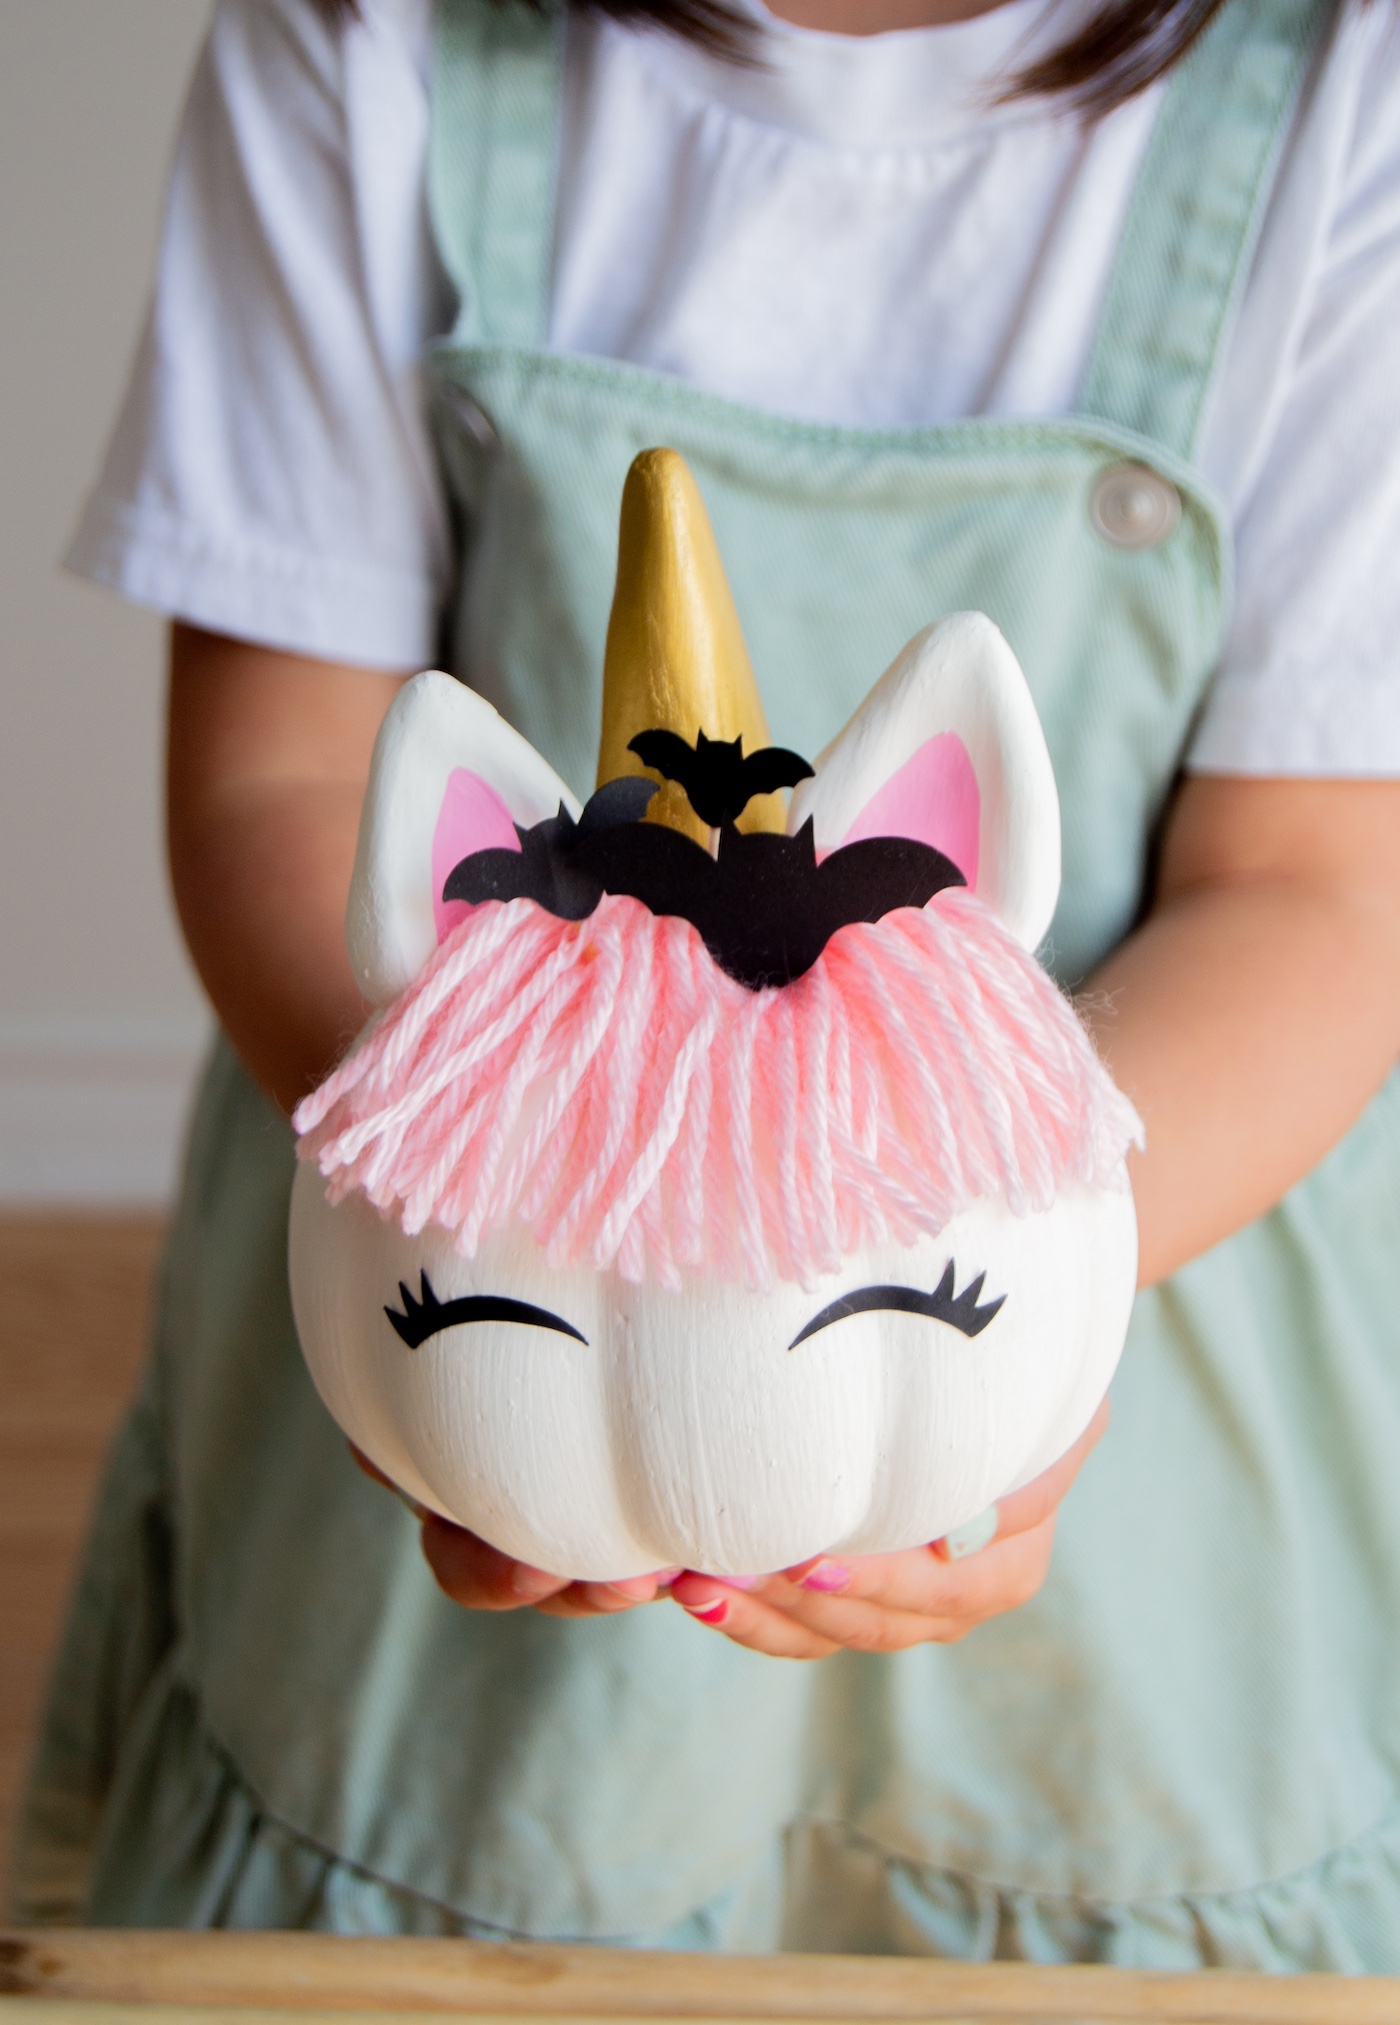
Cute Unicorn Pumpkins with Batty Embellishments
Discover the magic of crafting your own DIY unicorn pumpkins! This tutorial turns a simple pumpkin into a fairytale masterpiece.
Skills Required: Beginner. You’ll be painting, forming ears and a horn from air dry clay, cutting paper, and making a mane with yarn. You also need to know how to use a hot glue gun.

Whoever said unicorns don’t exist clearly never ventured into the magical realm of crafts, where dollar store supplies can spark a transformation worthy of a fairy tale. Today, we’re taking a foray into this whimsical world with a project that’s as enchanting as it is affordable: unicorn pumpkins!
If you think Halloween doesn’t have a cute side, this is proof that even the spookiest of holidays can be sweet. But “cute” doesn’t mean we leave traditional symbols like bats behind.
Not at all. In fact, we incorporate them proudly and boldly in the front of their colorful little yarn manes!
Our mission today? Teach you how conjure a cute little unicorn out of a faux pumpkin, air dry clay, and a few other bits and bobs that can be found in a well-stocked dollar store.
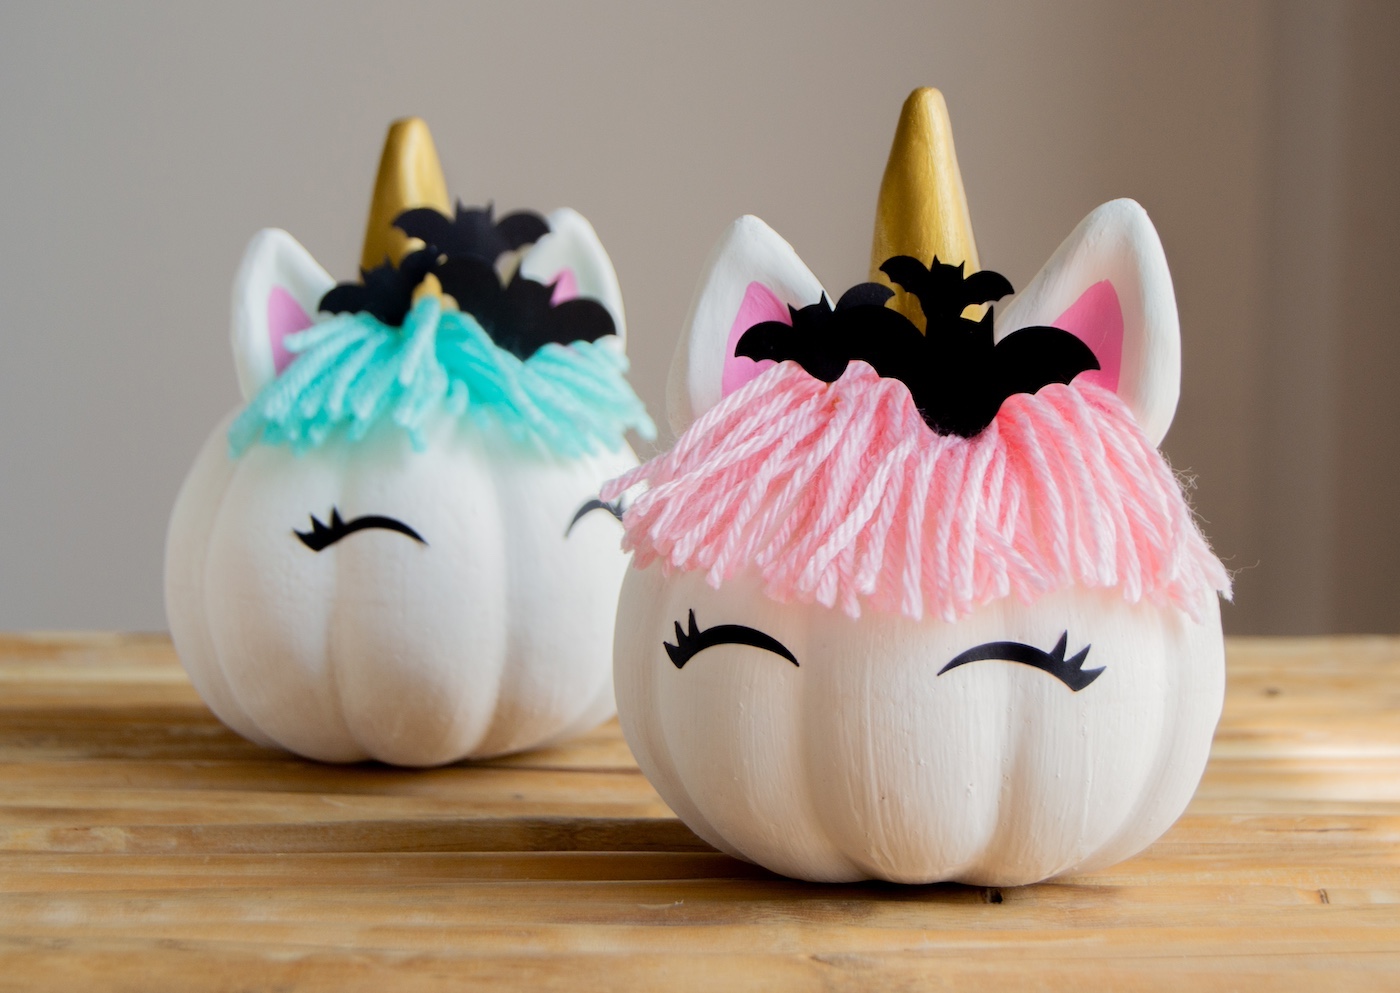
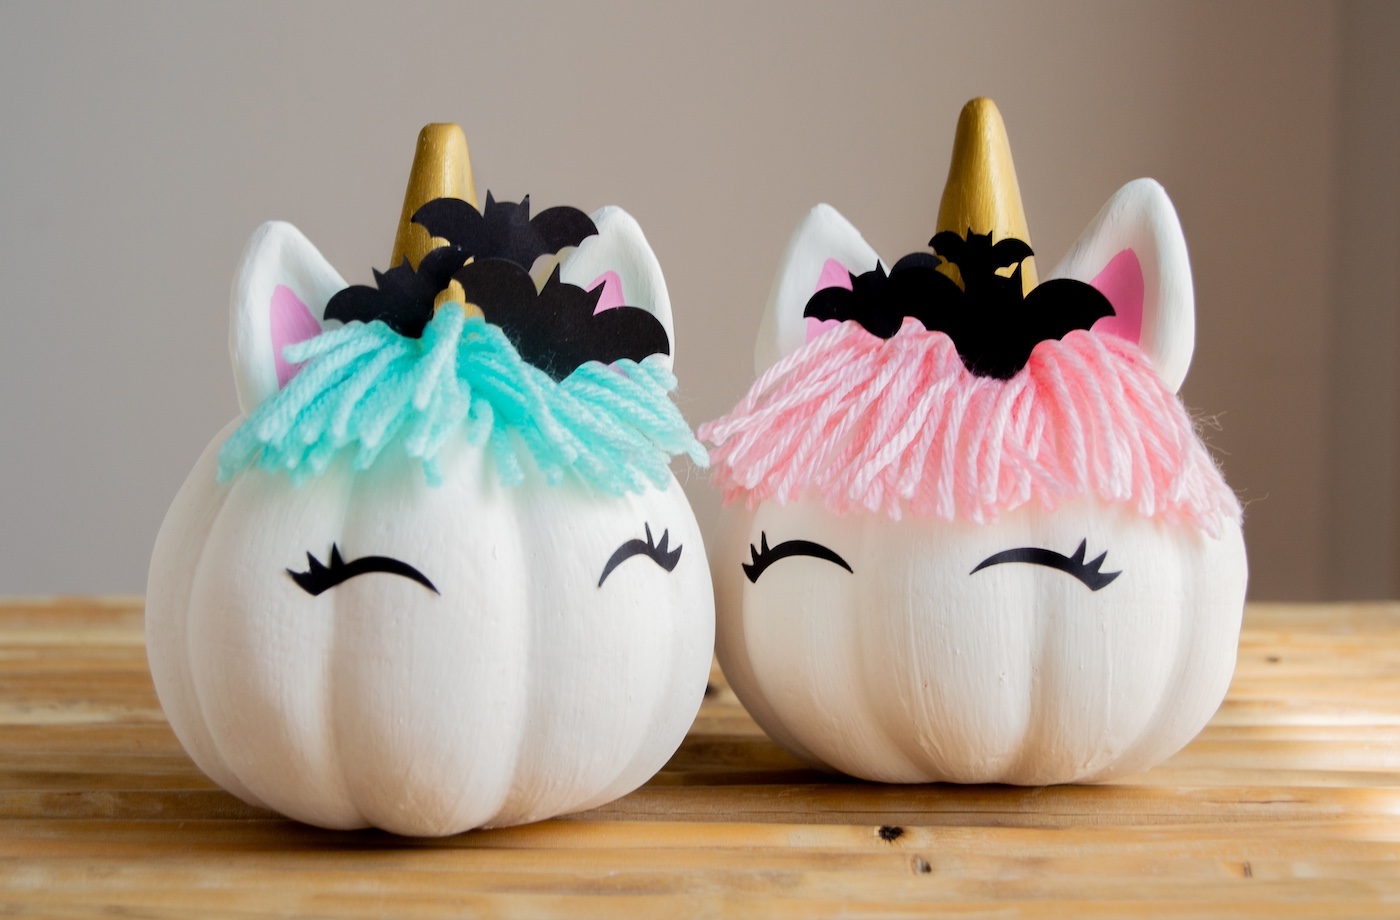
What results from your crafty venture will be the cutest lil’ unicorns you’ve ever seen. And they’re not at all scary; in fact they are incredibly sweet! Making this a great craft for kids or adults who like to explore the happier side of the holiday.
There are a few steps, but none of them are difficult. The part that you might find the most tricky is shaping the air dry clay into ears and a horn. The good news is that this type of clay is very forgiving, and if you have to start over, you can.
And as far as the bats and the eyelashes, you don’t have to design those yourself! We’ve got free files for those that you can print and use as templates to make cutting a breeze.
I can’t promise much but what I can promise is that 1) these unicorn pumpkins are easier than you think and 2) you’re going to get squeals and comments from anyone who sees them.
Now that I have you convinced, I hope you give these Halloween ‘corns a try. Here’s what you’re going to need to make these easy unicorn pumpkins.
Gather These Supplies
- Mini faux pumpkins
- Craft paint – white, metallic gold, and pink
- Yarn for the manes
- Air dry clay
- Black cardstock
- Toothpicks
- Paintbrushes
- Hot glue gun and glue sticks
- Scissors
- Craft glue
- Templates for bats and eyelashes
Tips and Thoughts for This Project
You can get a lot of these supplies at the dollar store, so check them out before you try anywhere else.
If you aren’t happy with the shape of your ears or horns after you make them, just warm the clay up in your hands by rolling it and start over.
Use Sparkle Mod Podge or glitter paint to add a little sparkle to the horn or other elements of the pumpkins.
It might be fun to use rainbow yarn to make the mane. You could also go completely in the opposite direction and use Halloween colors like black and orange!
Get the printable how to card for the project below:
Unicorn Pumpkins
Materials
- Mini faux pumpkins
- Acrylic paint white, metallic gold, and pink
- Yarn for the manes
- Air dry clay
- Cardstock black
- Toothpick(s)
- Craft glue
- Templates for bats and eyelashes
Instructions
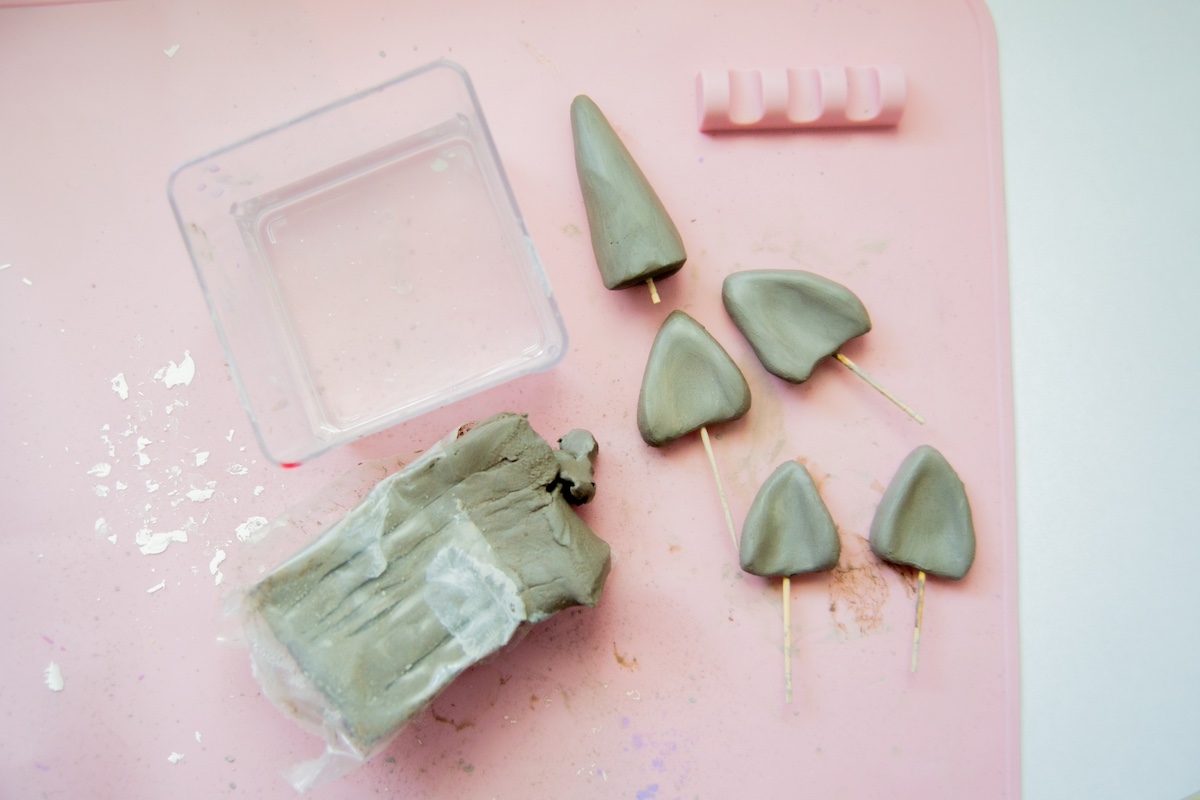
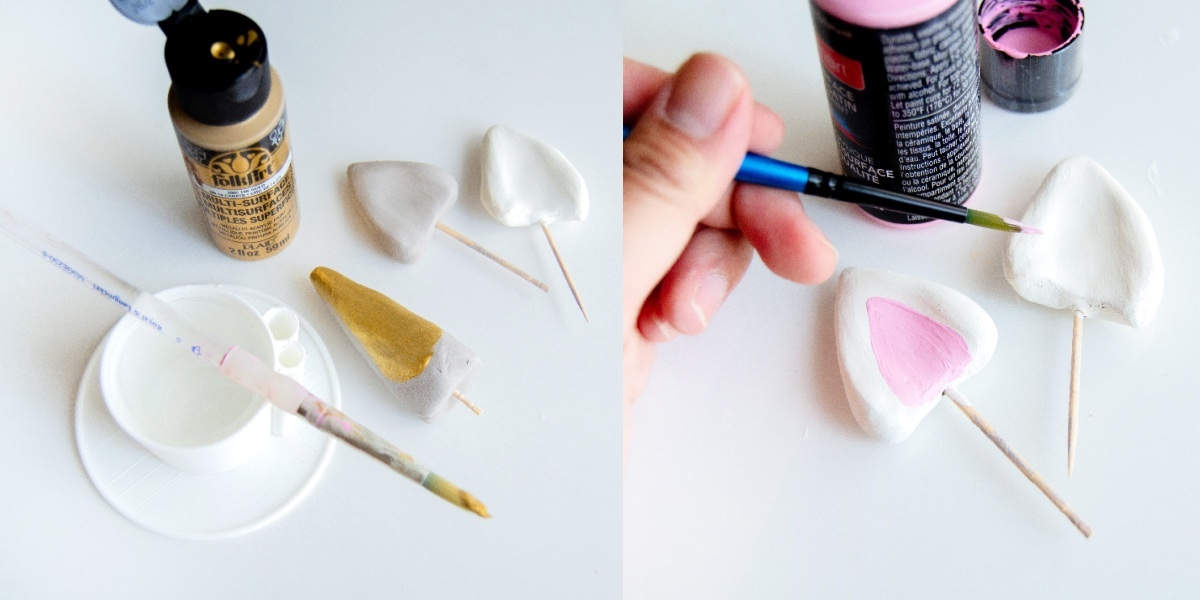
- Pull off two small pieces of air dry clay to make the ears. Warm the clay in your hands, then mold each piece into an ear shape. Stick a toothpick into the bottom of each ear and let dry. Do the same to make the horn. Stick a toothpick in the bottom of the horn and let the clay dry for 24 hours.
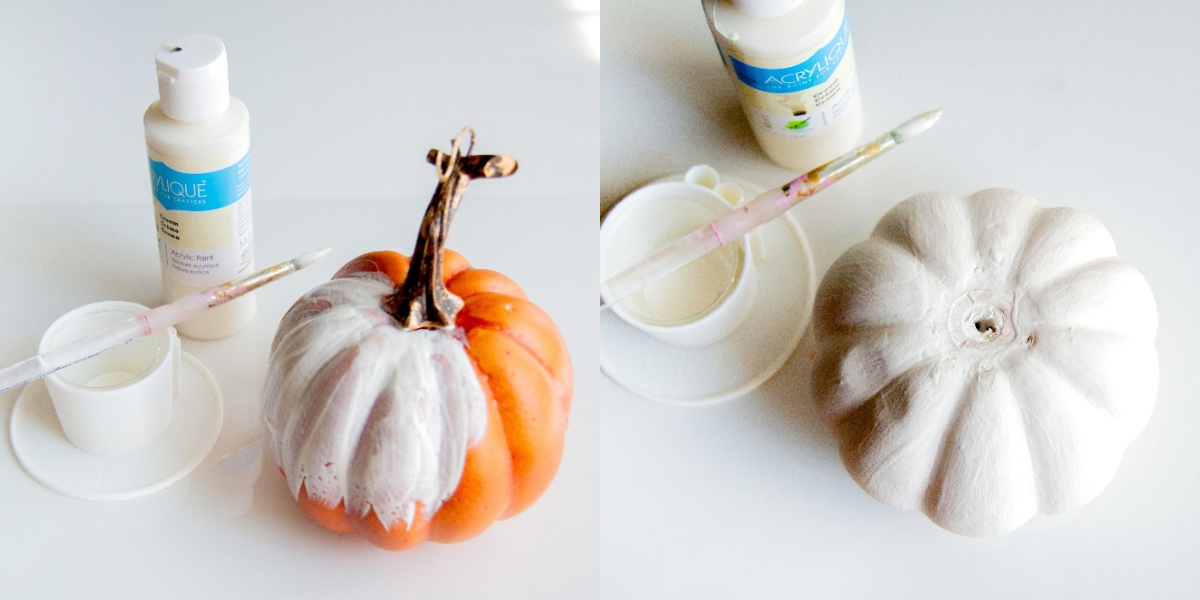
- Paint the pumpkins using white craft paint – give several coats and let dry. Use the stem to hold while painting, then remove and let the base dry.
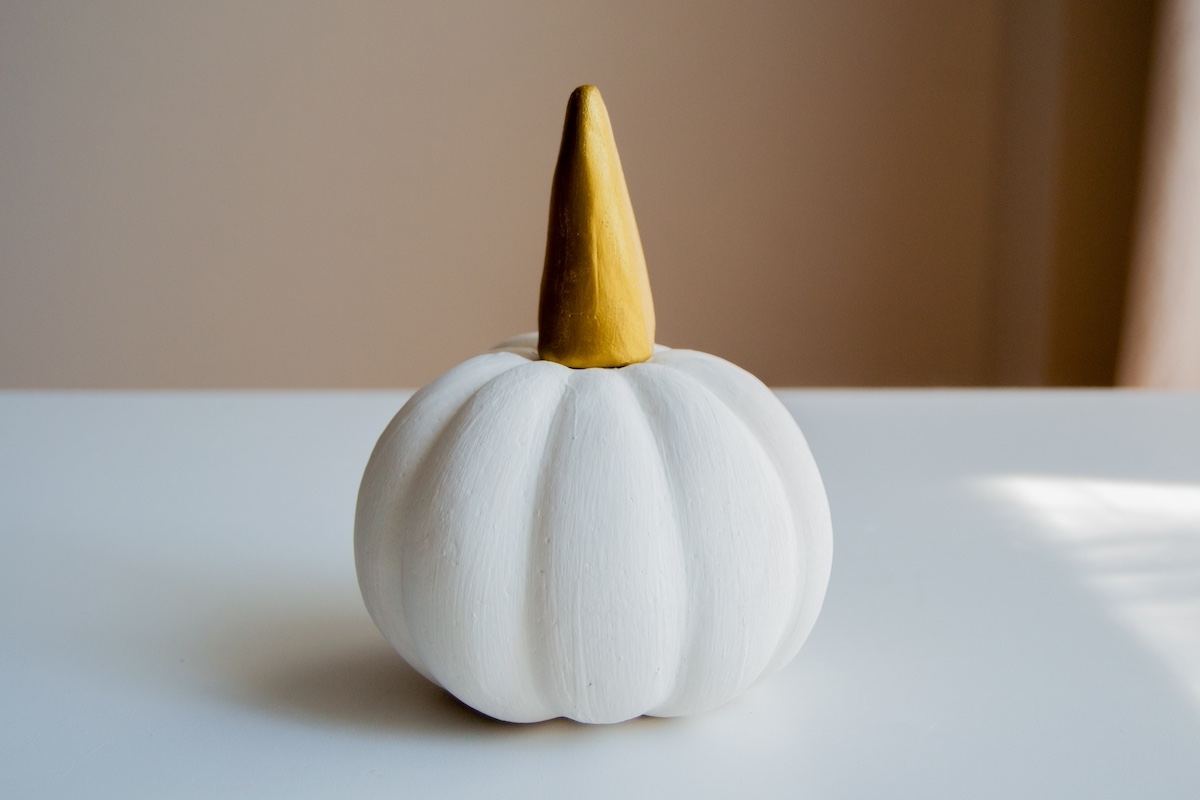
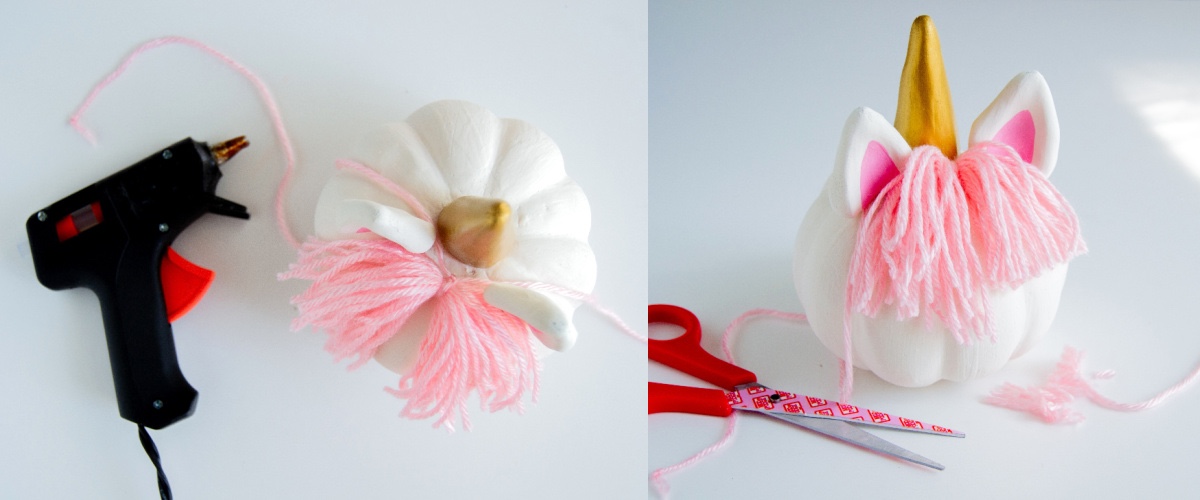
- Paint all the air dry clay parts using white craft paint. Over the top of the horn you'll paint metallic gold (several coats), and on the interior of the ears you'll paint pink accents. Let everything dry.
- Attach the horn to the top of the pumpkin by pressing into the hole where the stem was. You can use hot glue to secure it.
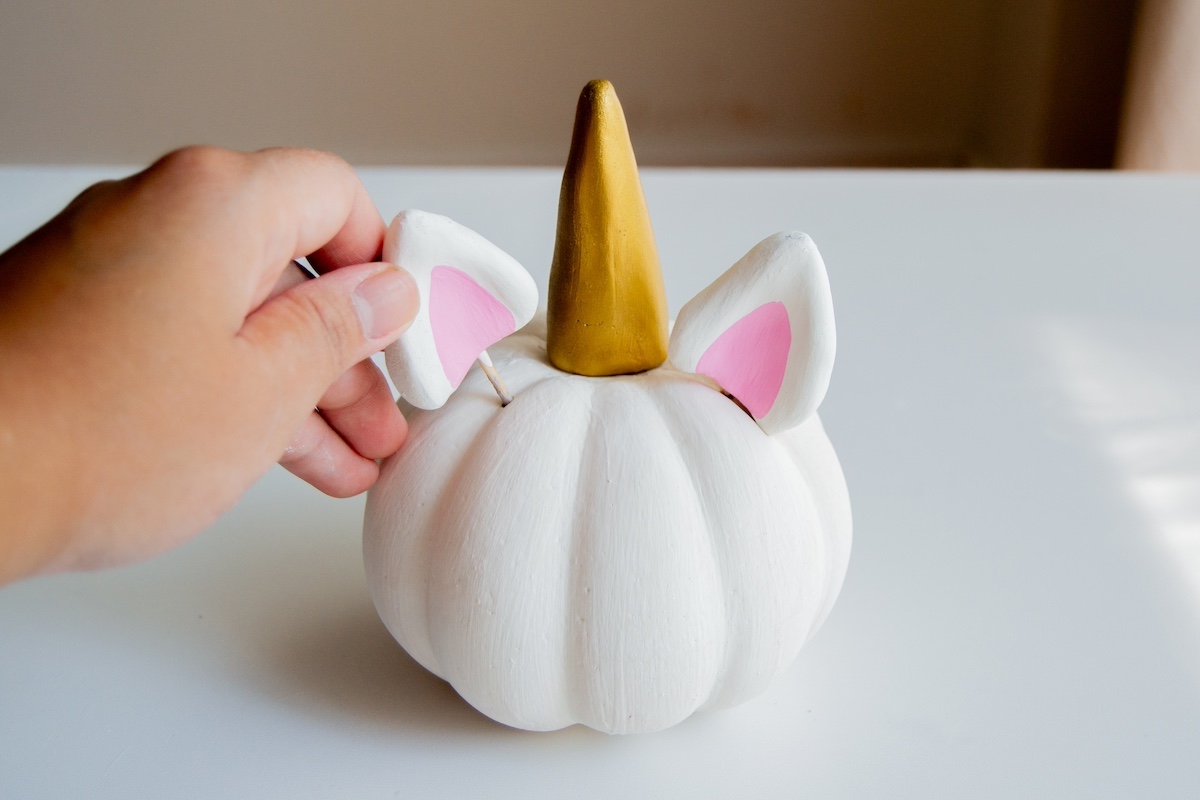
- Poke the ears into the sides of the pumpkin either side of the horn as shown. You can use a tool to poke through and help you get started if necessary.
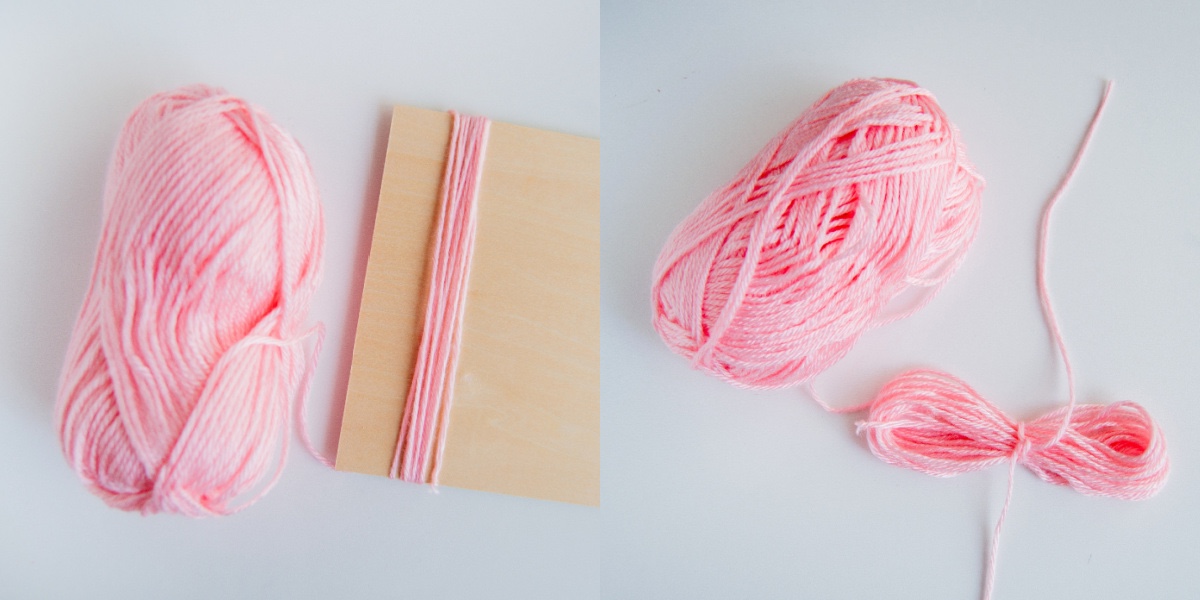
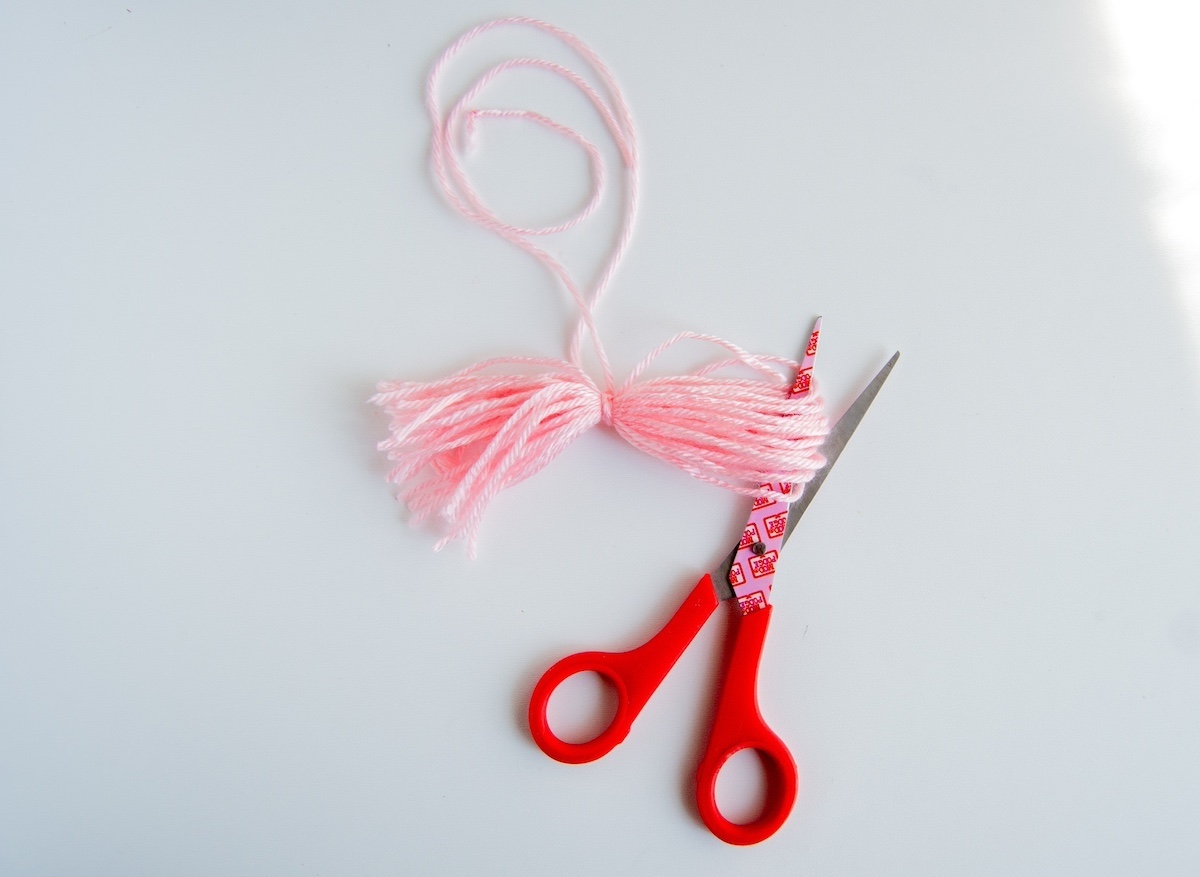
- Create a tassel to make the unicorn mane. Wrap yarn around the long side of a 5 – 6" card 20-25 times (or more if you would like a thicker mane). Pull off the card, then tie around the middle with a length of yarn to secure (knot).
- Use the scissors to cut the loops at each end. This becomes your mane.
- Hot glue the mane to the top front of your pumpkin, right below the horn. Then trim the ends with scissors.
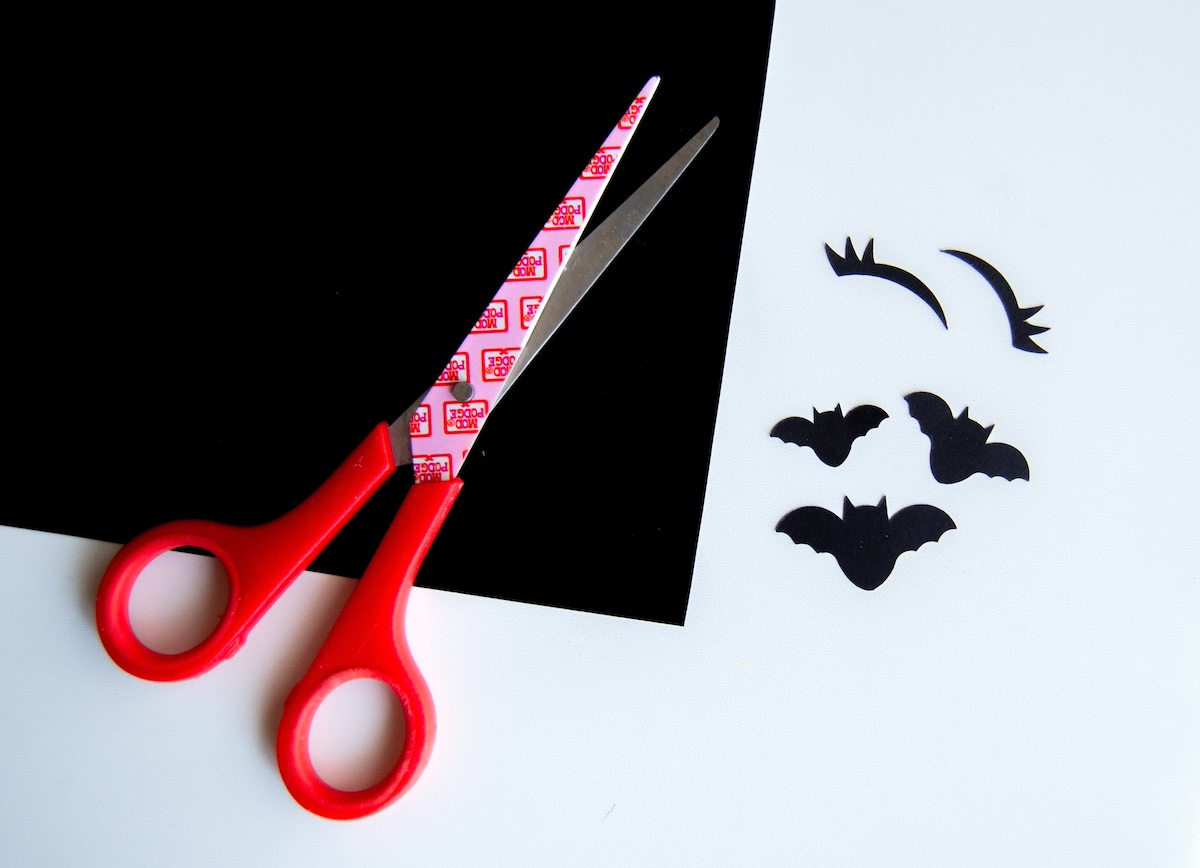
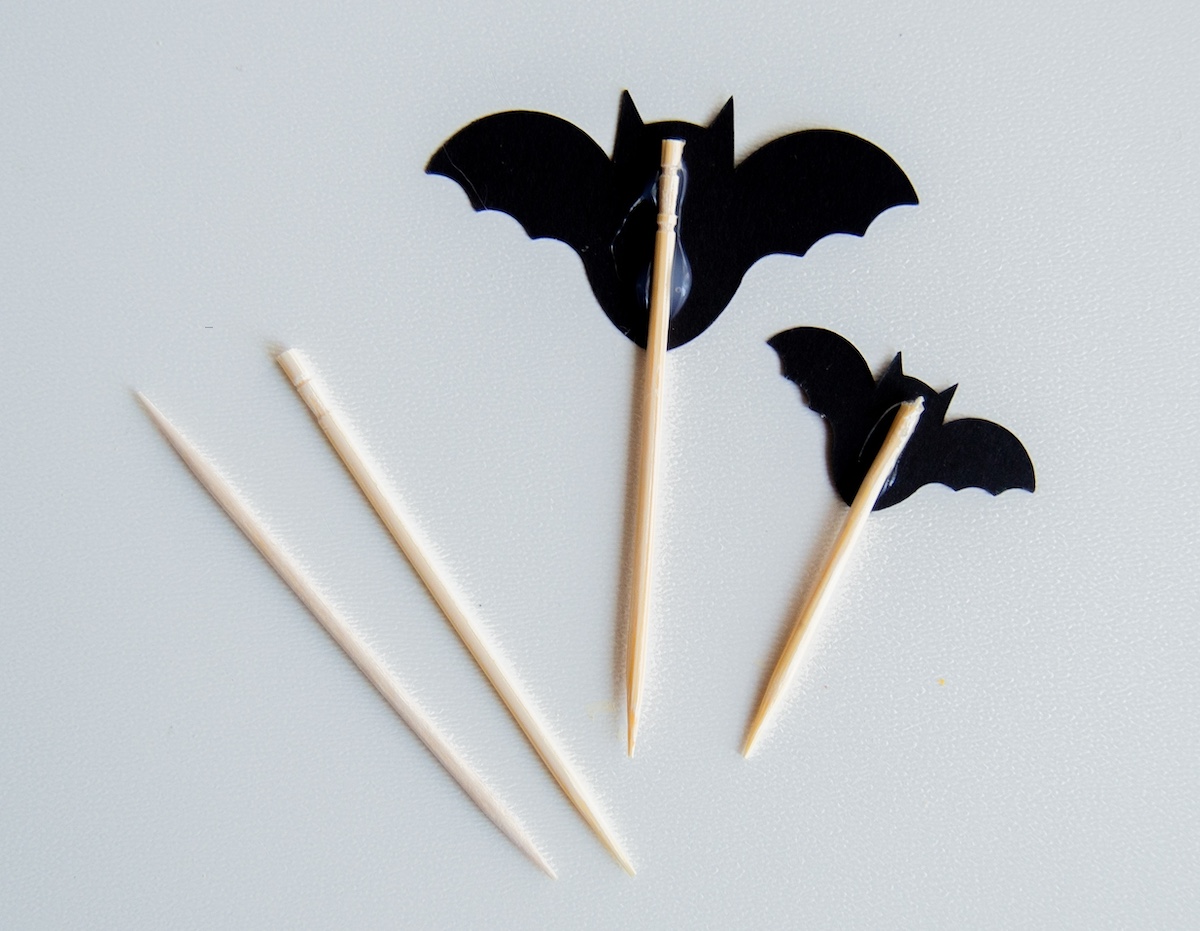
- Cut the eyelashes and the bats out of the black cardstock using scissors. The templates are provided and you can cut a few bats out in various sizes.
- Glue the bats to toothpicks using the hot glue gun.
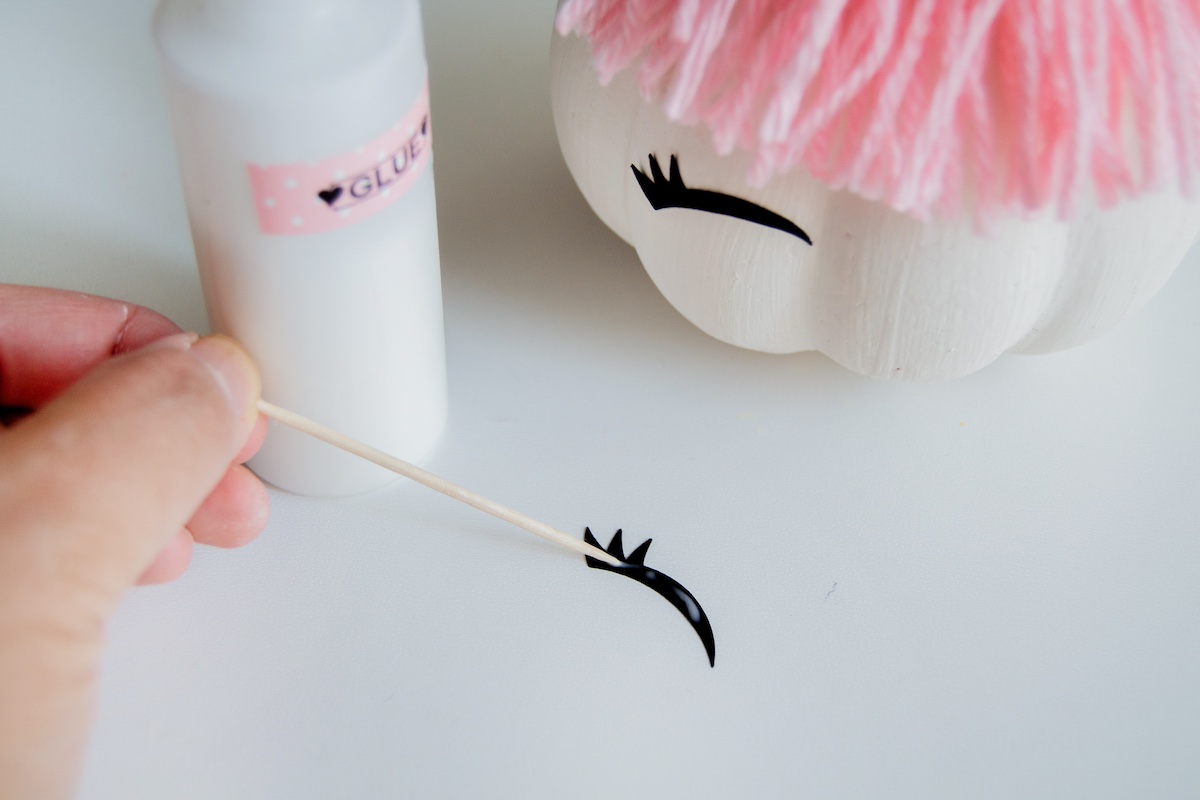
- Attach the eyelashes to the front of the pumpkin with glue. Let dry.
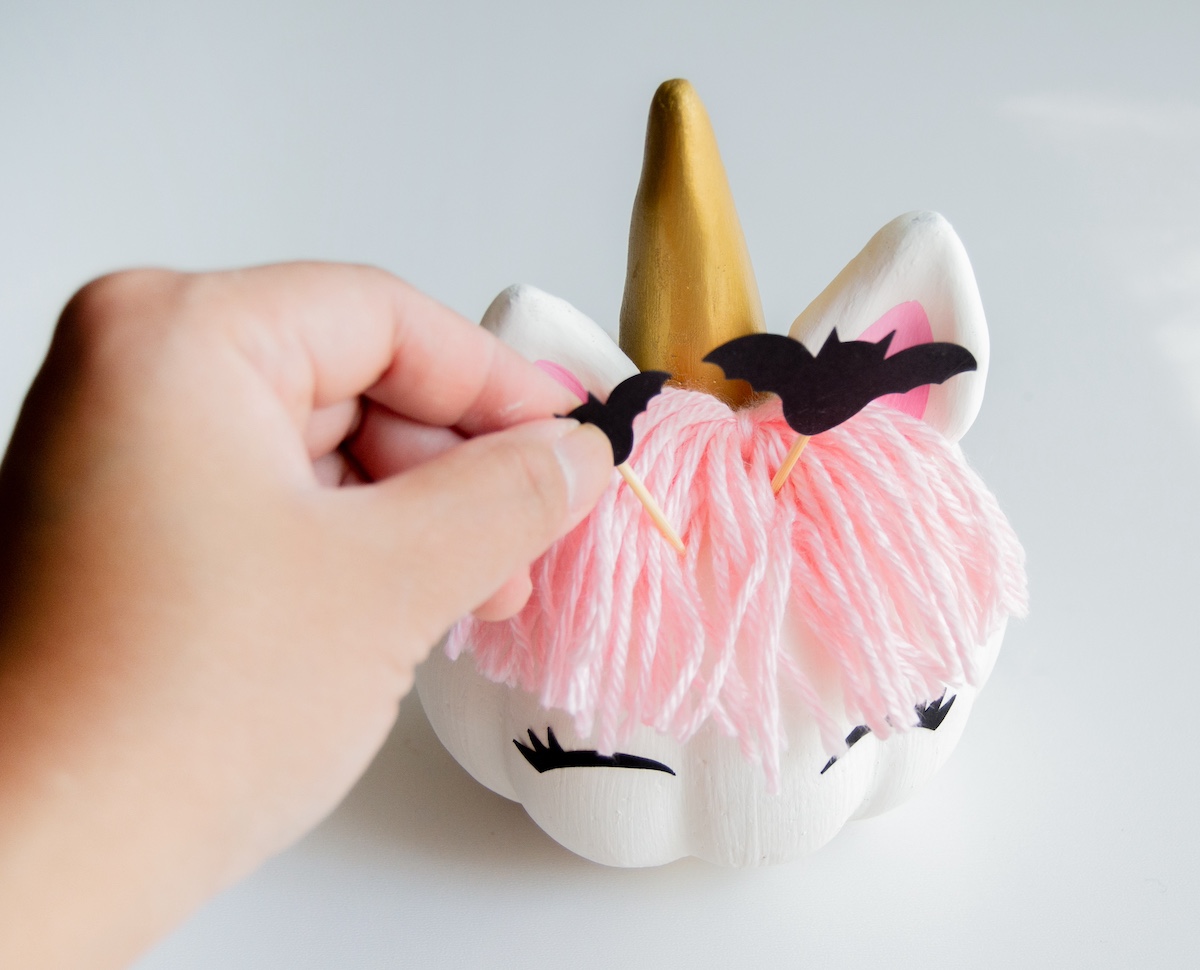
- Poke the bat embellishments into the pumpkin near the top through the mane to finish.
Did you enjoy making these cute little pumpkins? Let me know in the comments! I’d also love for you to check out these other ideas:
Coffee Filter Bats • Milk Jug Skeleton • Paper Lanterns • Paper Plate Owl • Paper Pumpkins • Perler Beads • Pom Pom Ghosts • Skull Bean Art • Tic Tac Toe • Zombie Slime