Unicorn Pumpkins
Create enchantment with a DIY unicorn pumpkin! Step-by-step to transform a pumpkin into magical, whimsical Halloween decor.
Servings 2 pumpkins
Cost $10
Ingredients
- Mini faux pumpkins
- Acrylic paint white, metallic gold, and pink
- Yarn for the manes
- Air dry clay
- Cardstock black
- Toothpick(s)
- Craft glue
- Templates for bats and eyelashes
Instructions
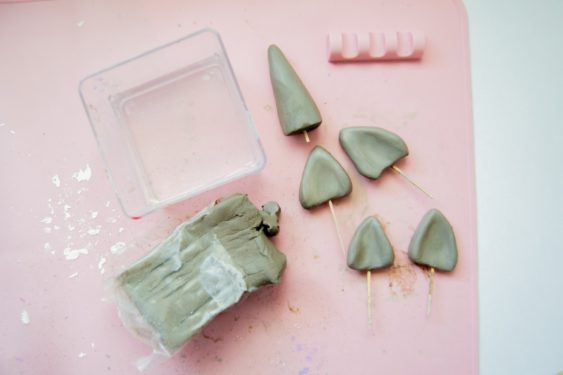
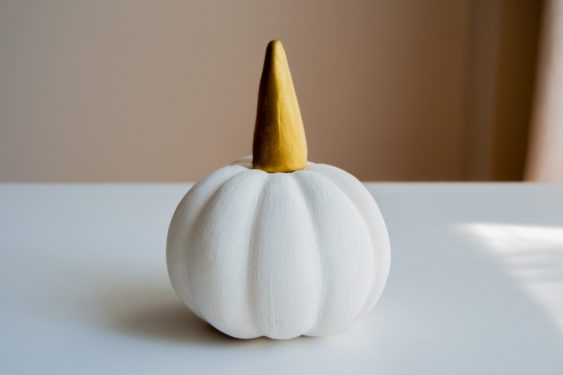
- Pull off two small pieces of air dry clay to make the ears. Warm the clay in your hands, then mold each piece into an ear shape. Stick a toothpick into the bottom of each ear and let dry. Do the same to make the horn. Stick a toothpick in the bottom of the horn and let the clay dry for 24 hours.
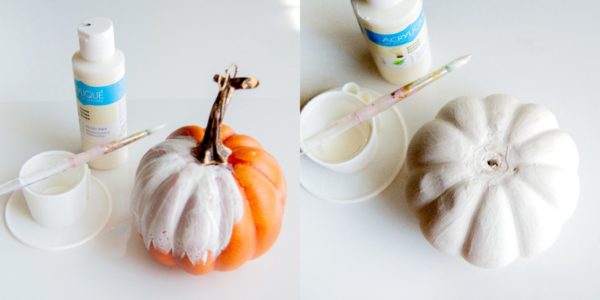
- Paint the pumpkins using white craft paint - give several coats and let dry. Use the stem to hold while painting, then remove and let the base dry.
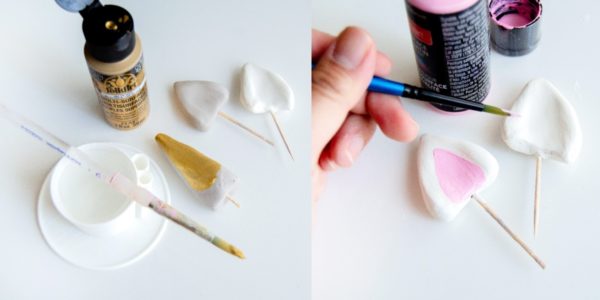
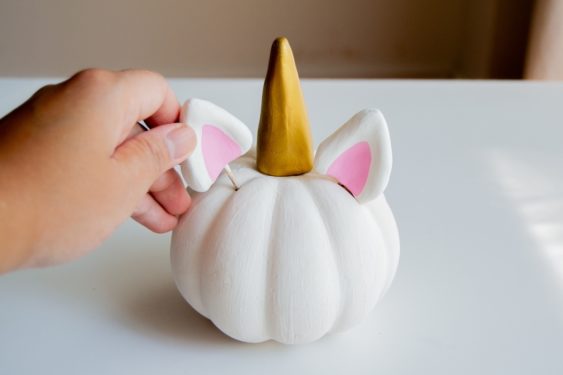
- Paint all the air dry clay parts using white craft paint. Over the top of the horn you'll paint metallic gold (several coats), and on the interior of the ears you'll paint pink accents. Let everything dry.
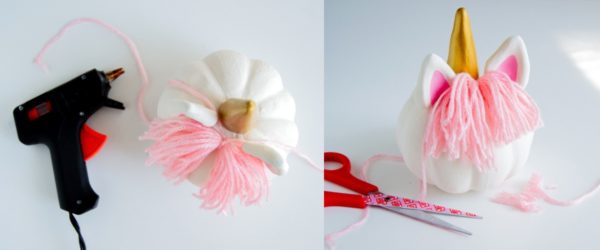
- Attach the horn to the top of the pumpkin by pressing into the hole where the stem was. You can use hot glue to secure it.
- Poke the ears into the sides of the pumpkin either side of the horn as shown. You can use a tool to poke through and help you get started if necessary.
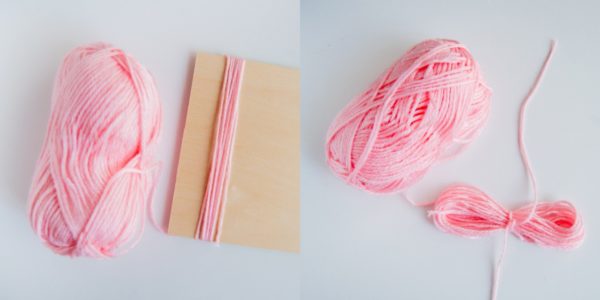
- Create a tassel to make the unicorn mane. Wrap yarn around the long side of a 5 - 6" card 20-25 times (or more if you would like a thicker mane). Pull off the card, then tie around the middle with a length of yarn to secure (knot).
- Use the scissors to cut the loops at each end. This becomes your mane.
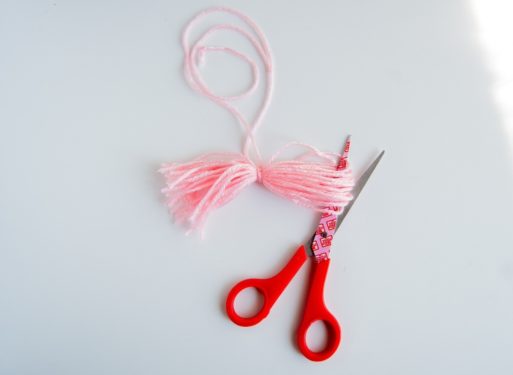
- Hot glue the mane to the top front of your pumpkin, right below the horn. Then trim the ends with scissors.
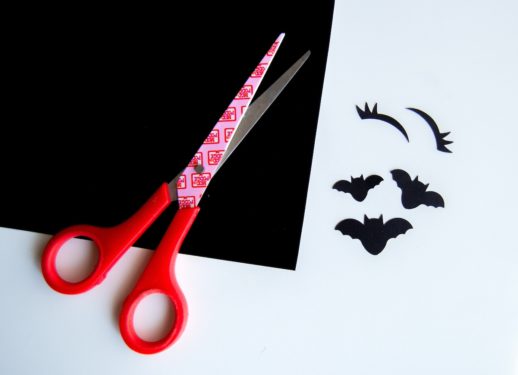
- Cut the eyelashes and the bats out of the black cardstock using scissors. The templates are provided and you can cut a few bats out in various sizes.
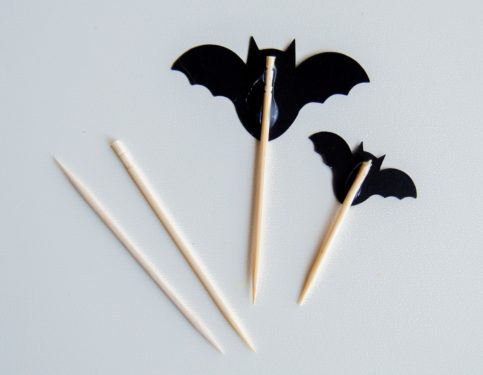
- Glue the bats to toothpicks using the hot glue gun.
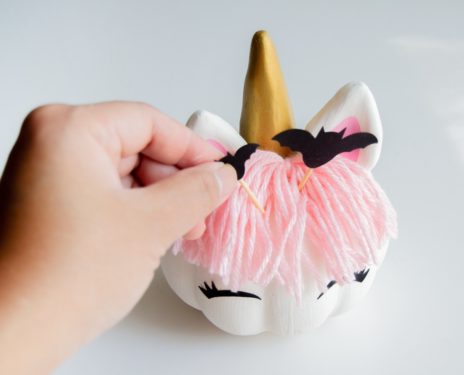
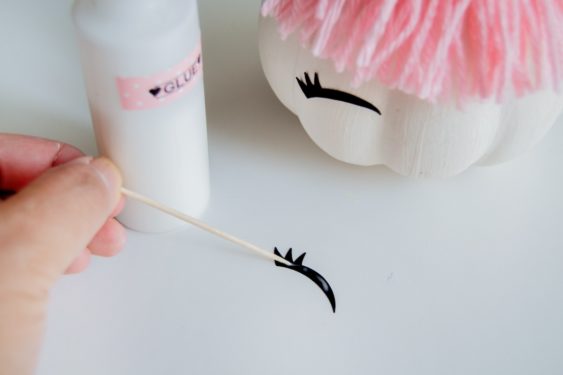
- Attach the eyelashes to the front of the pumpkin with glue. Let dry.
- Poke the bat embellishments into the pumpkin near the top through the mane to finish.