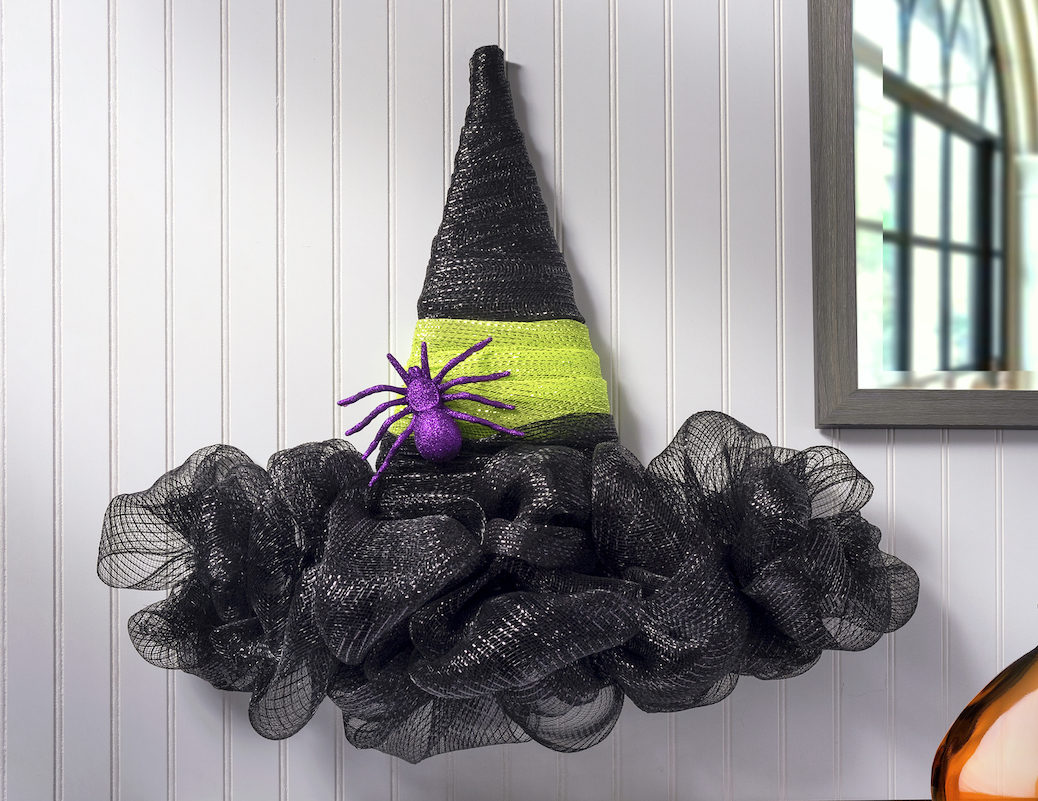
Witch Hat Wreath with Dollar Tree Supplies
Learn how to make a witch hat wreath using Dollar Tree supplies like a wire wreath form, deco mesh, and glitter spiders. This is an easy Halloween craft that is great for beginning crafters.
Skills Required: None. Even if you’ve never crafted before, you should be able to make this wreath. You’ll be wrapping pipe cleaners and deco mesh around a wire wreath form shaped like a witch’s hat. Anyone can do it . . plus it’s inexpensive!

There is one thing I definitely get excited about each year when it comes to holiday shopping, and that is hitting up the Dollar Tree for Halloween decor supplies.
I love to shop the craft stores too, but Dollar Tree just happens to have some different stuff. And of course, that stuff is at really inexpensive prices.
It just so happens that while browsing the dollar store this year, I noticed they had a witch hat wreath form. I’ve made Halloween deco mesh wreaths before, but never in the shape of a witch’s hat!
I knew that this year I was going to make a Halloween wreath. Which was exciting, because it’s been awhile since I’ve made one!
Here’s the great part about this project – it can be completed and up on your door in an afternoon. You’re going to complete this witches hat wreath in four easy steps:
- Wrap the Hat Top – you’ll use deco mesh in black to wrap the top of the wreath form
- Make the Band – add a mesh band in the color of your choice (I used lime green)
- Create the Wreath Brim – deco mesh and pipe cleaners are added to make a fluffy wreath brim
- Add the Spider – place an embellishment on the wreath near the brim
It’s simple, it’s inexpensive, and you’ll have it done it a few hours. Also don’t forget to check out the video in this post.
Gather These Supplies
- Witch hat wreath frame
- Deco mesh – 3 rolls of black and one roll of green
- Pipe cleaners – 1 package
- Glitter spiders
- Wire cutters – or something to snip the pipe cleaners
- Scissors
- Hot glue gun
- Command strip
The wreath form is measured 22.5″ height x 21″ width for your reference. If you can’t find it at the dollar store, Amazon also has them here.
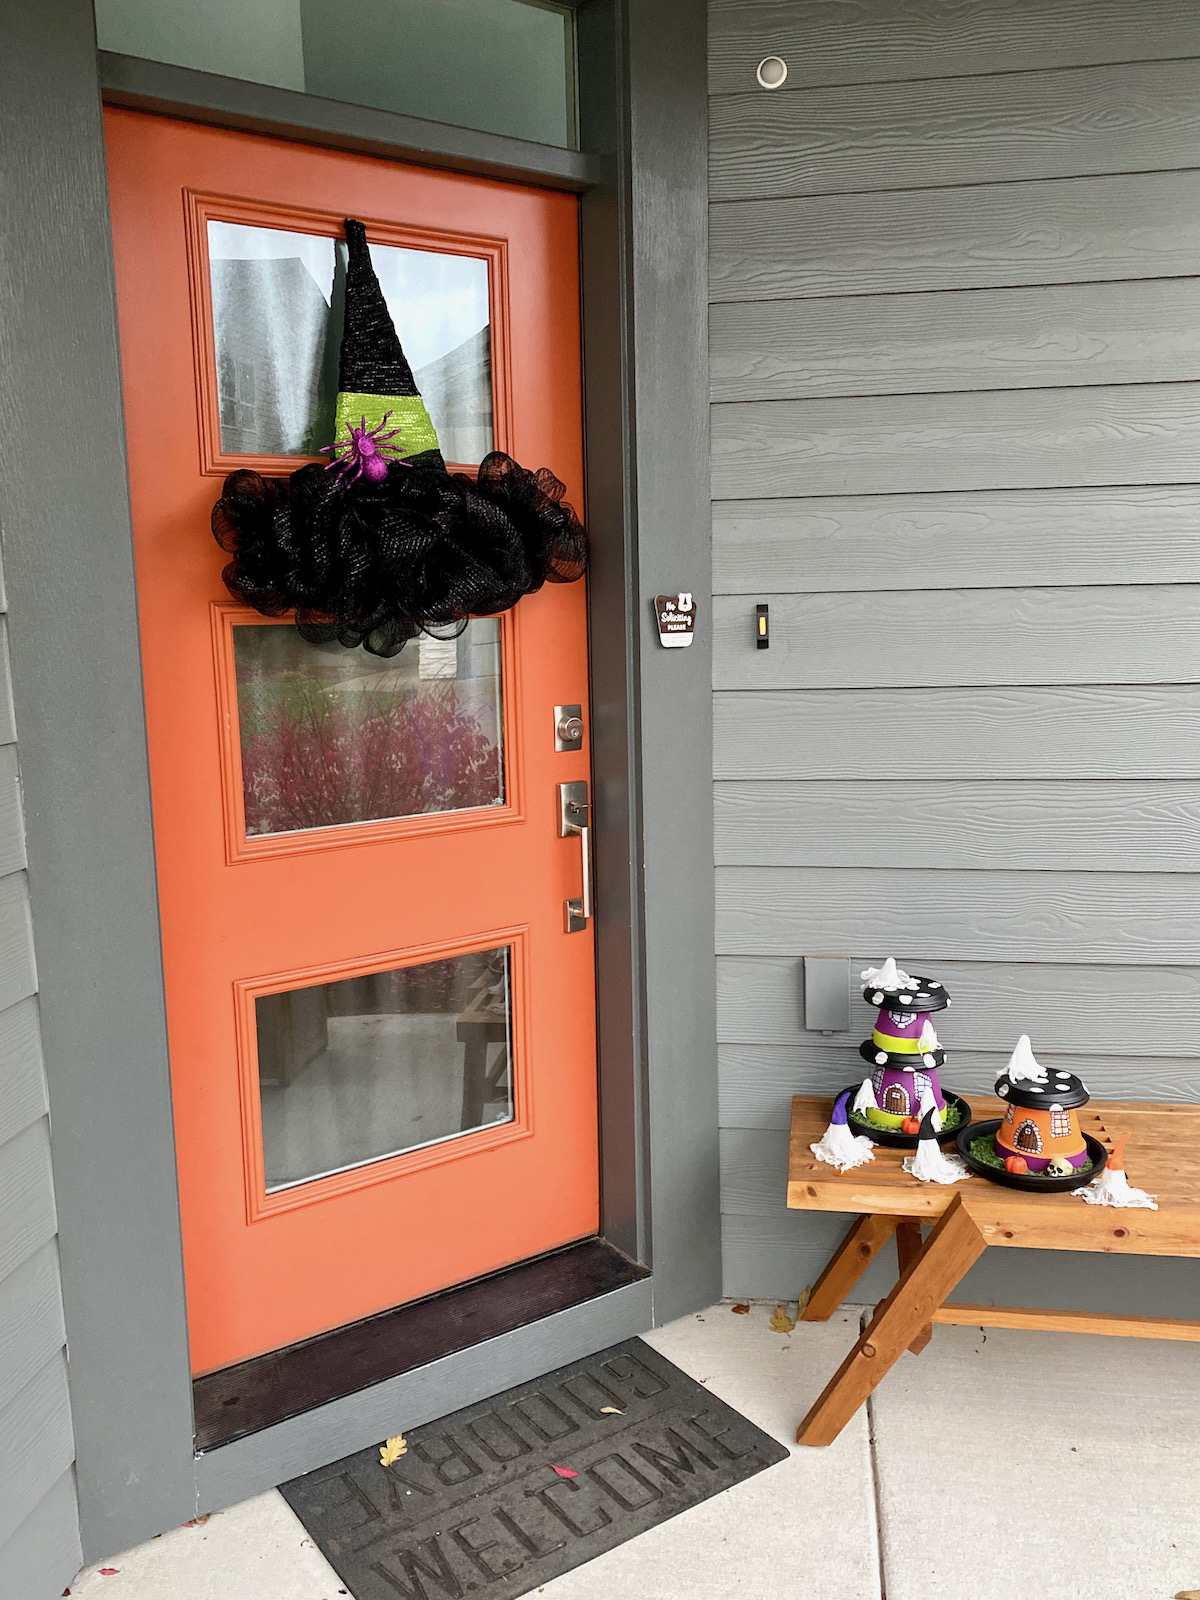
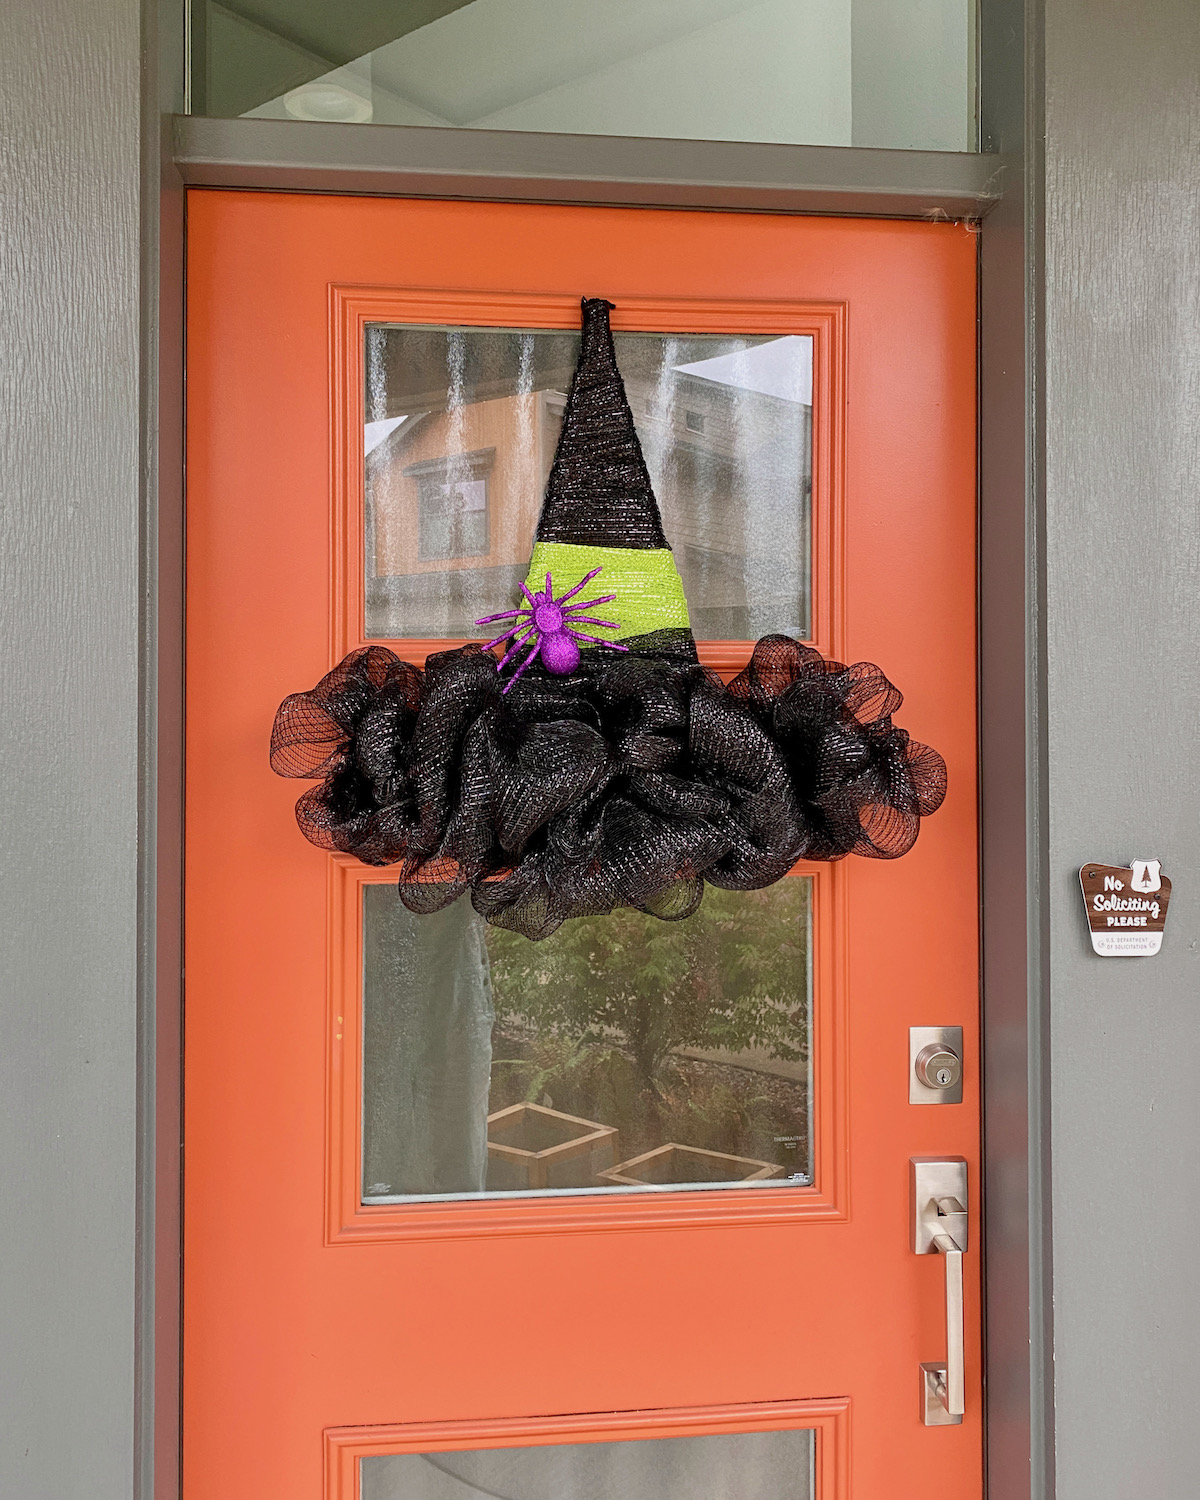
It’s out front with my Halloween fairy garden. It was quite simple and only took me a few hours! What do you think? I’d love to know in the comments (plus get the printable tutorial below).
Witch Hat Wreath
Equipment
- Wire cutters
Materials
- 1 Witch hat wreath frame
- 4 rolls Deco mesh 3 rolls of black and 1 roll of lime green
- 1 package Pipe cleaners
- 1 Glitter spider
- Command strip
Video
Instructions
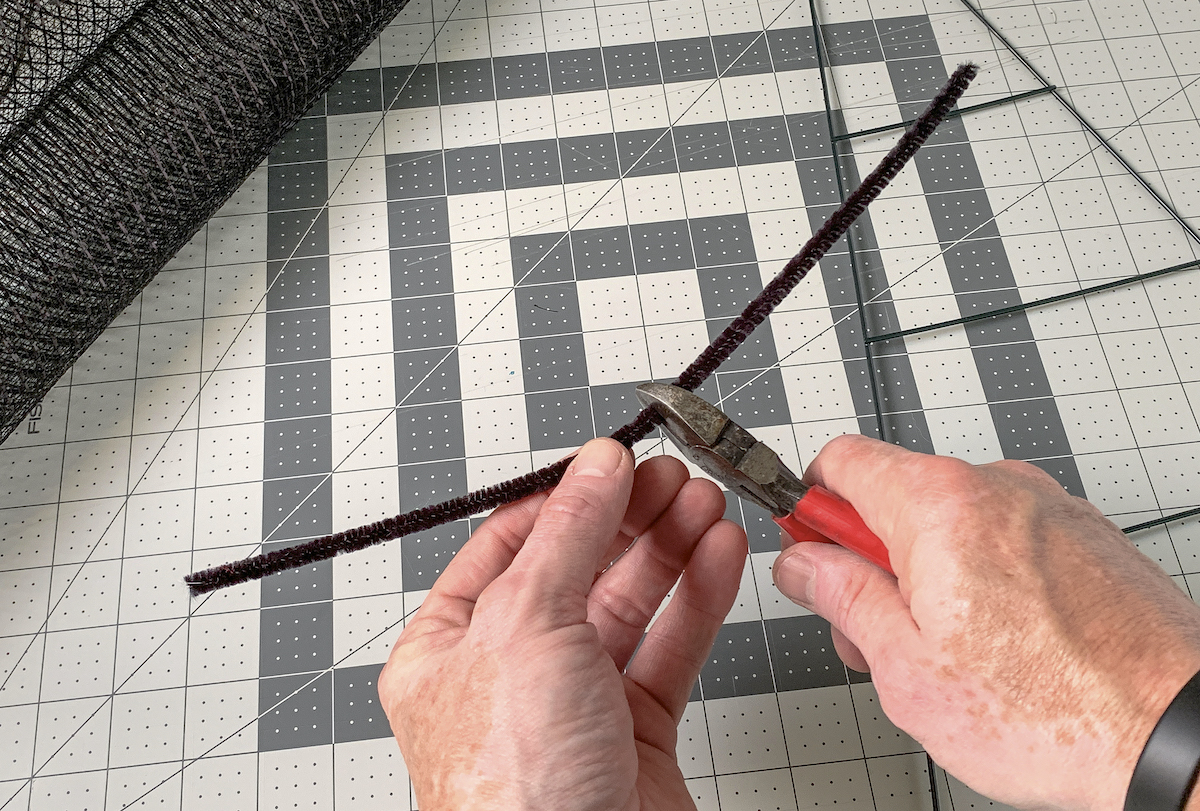
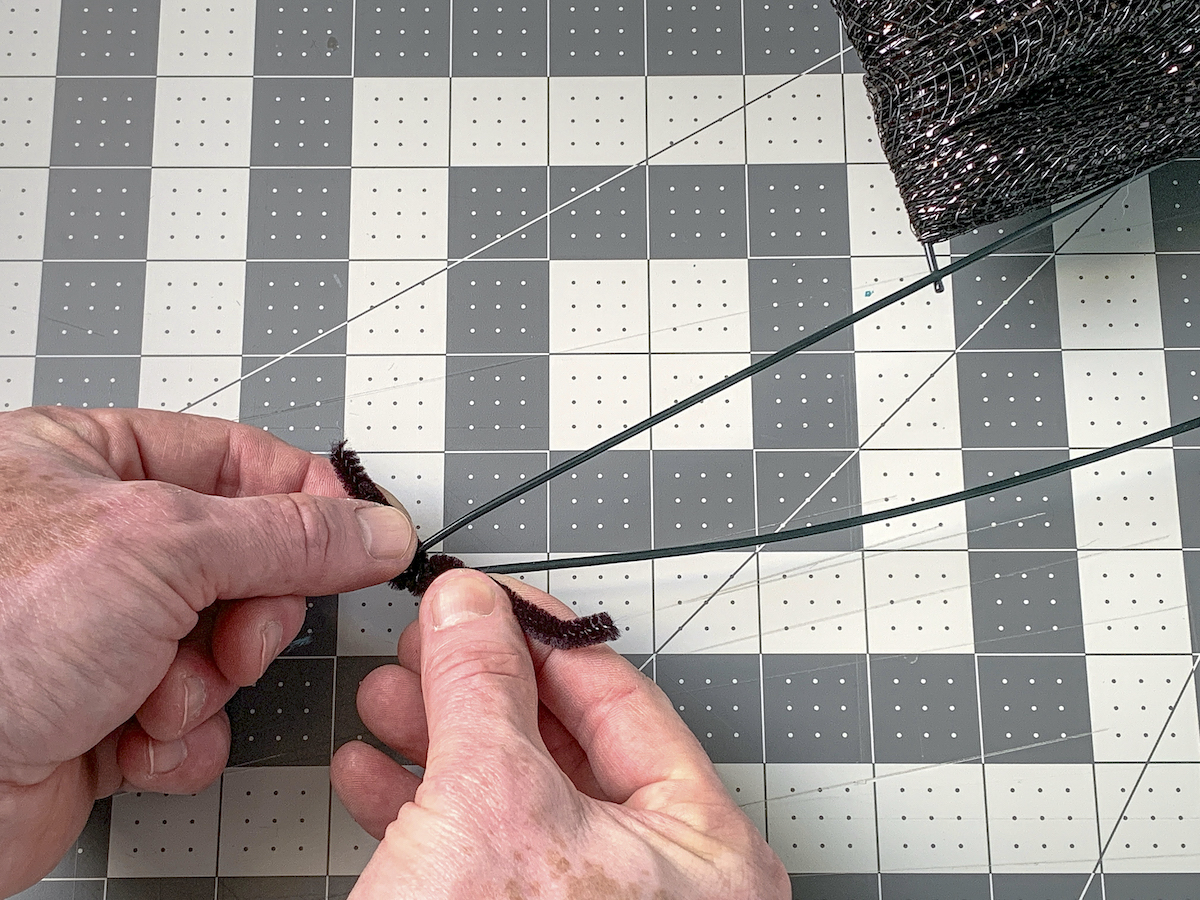
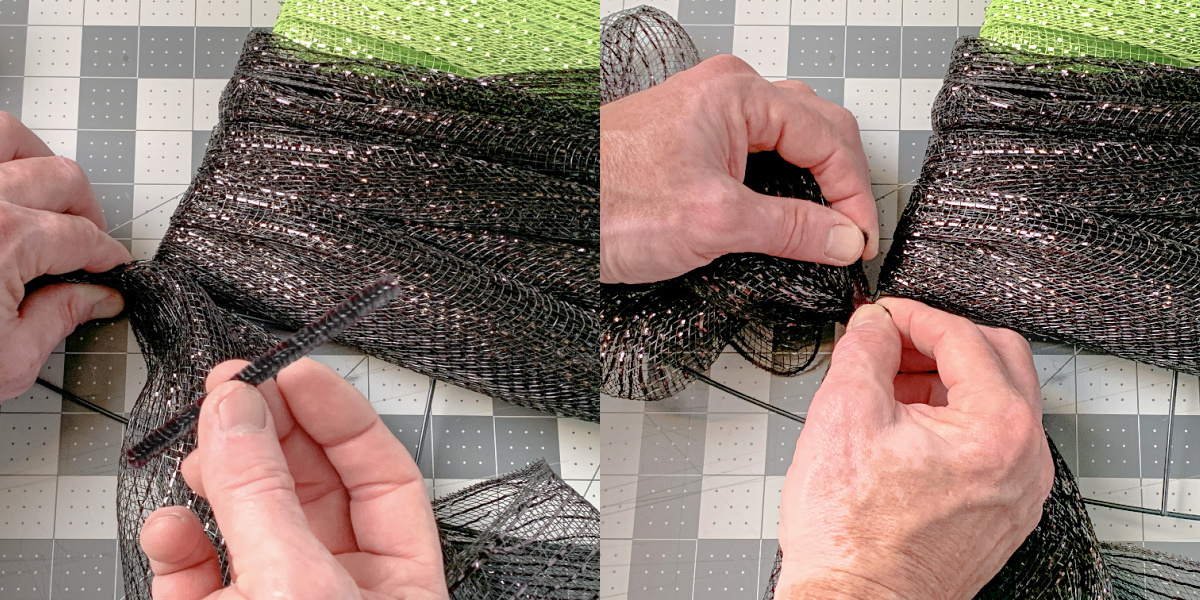
- Cut several pipe cleaners in half using wire cutters.
- Beginning at the top of the wreath form, add a 1/2 pipe cleaner at the top and twist to tighten.
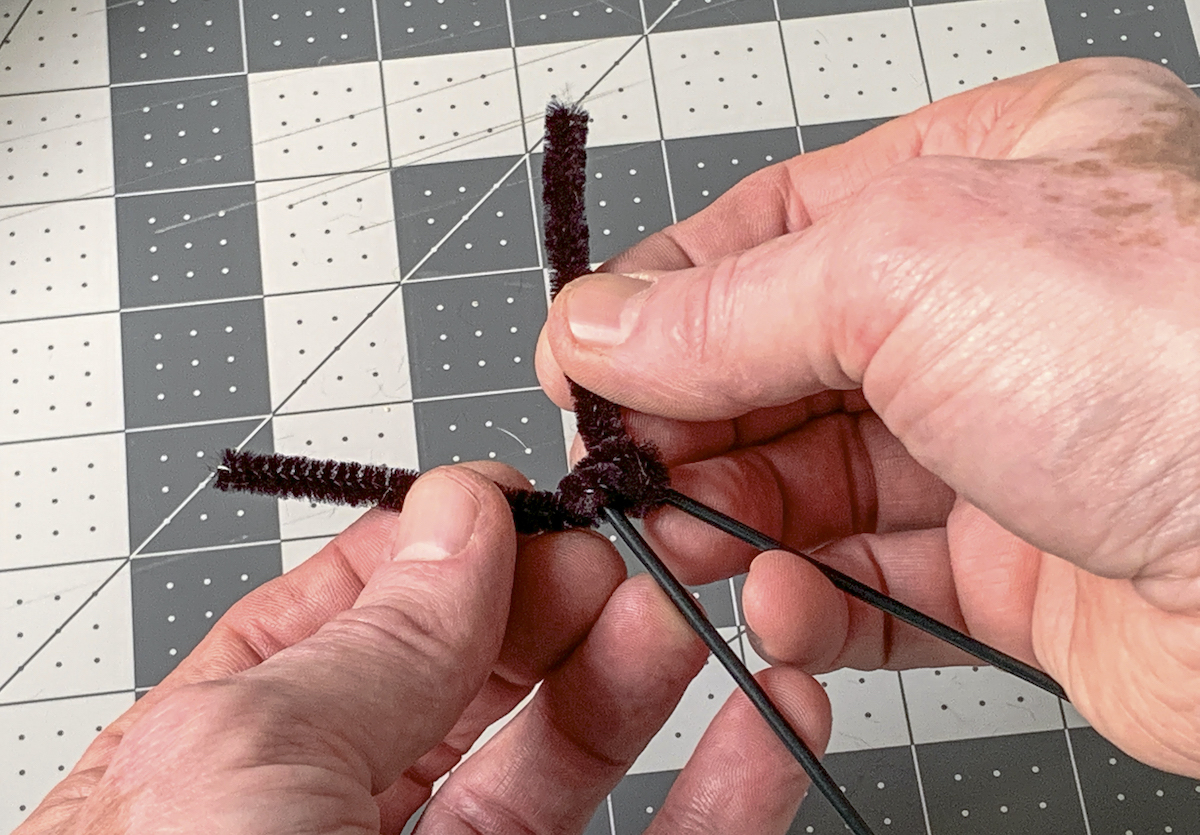
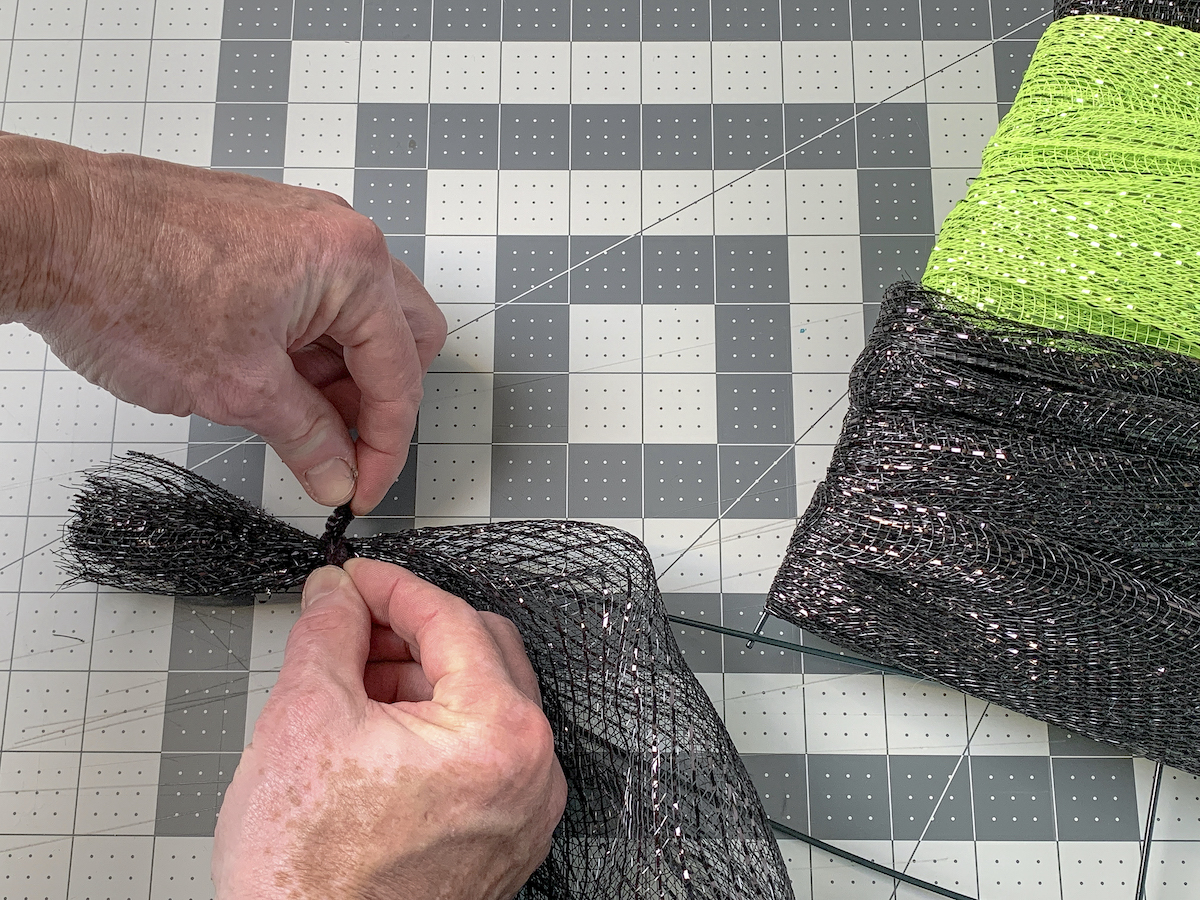
- Grab the black deco mesh, bunch up, and tighten the pipe cleaner around the bunch and twist.
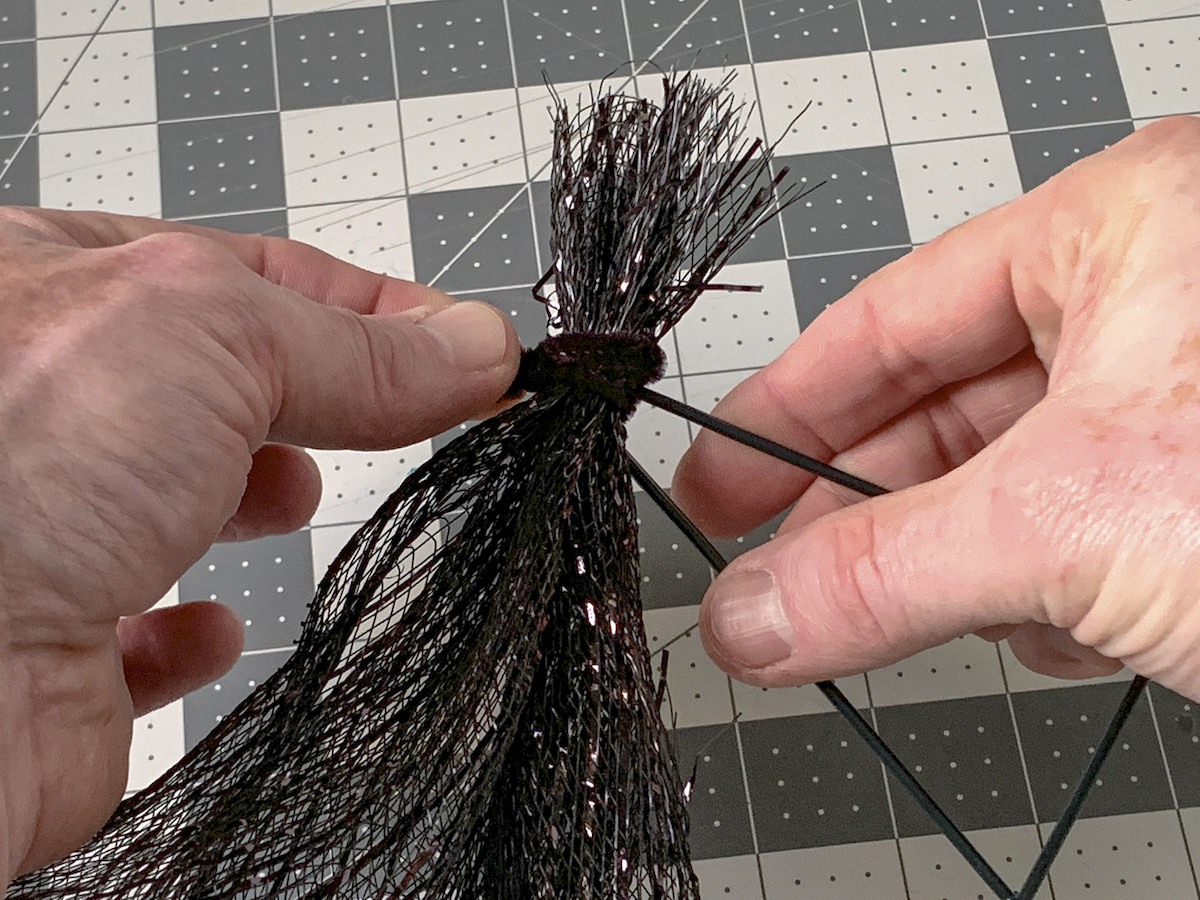
- Keeping the deco mesh somewhat bunched up in your hand, wrap around the wreath form. You want to overlap the row on top when you wrap.
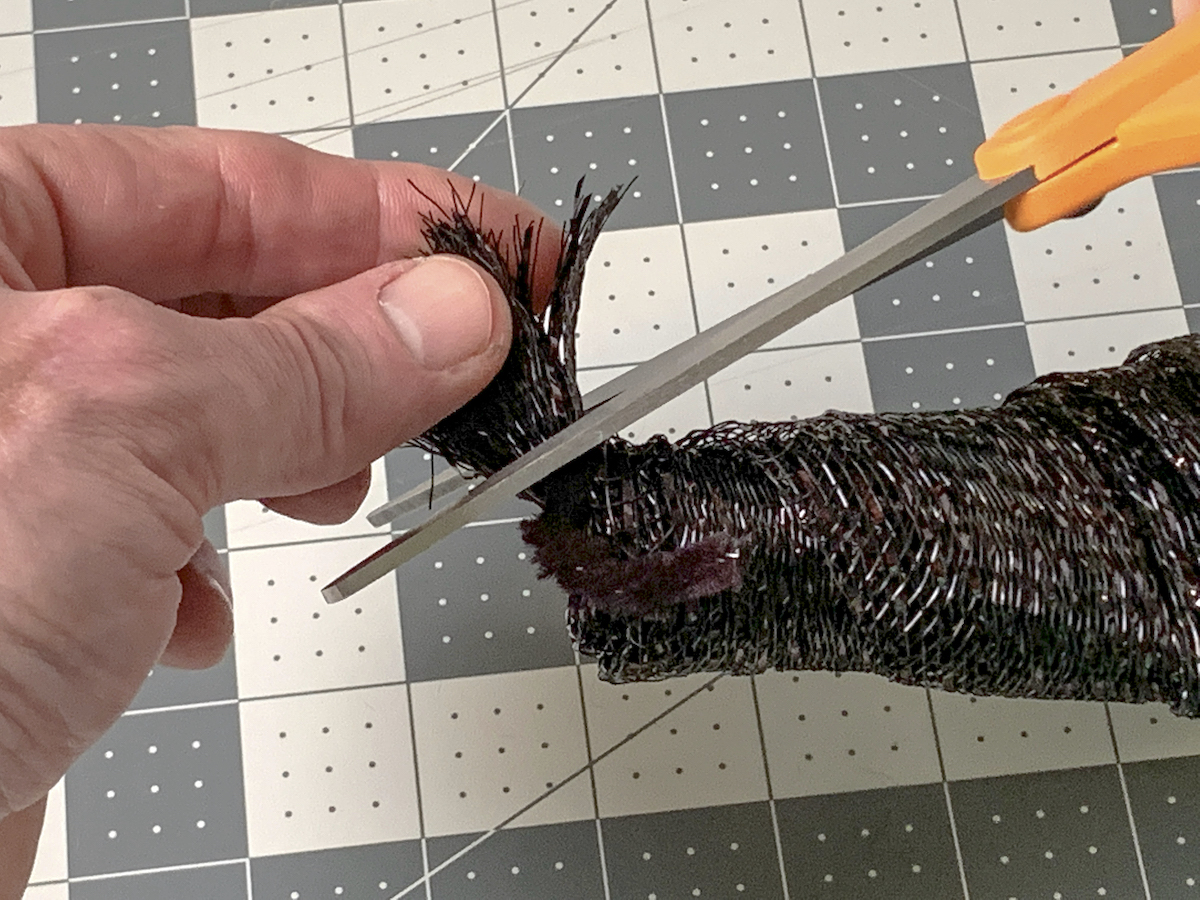
- Continue until you've reached the third horizontal wire bar on the wreath form, or wherever you'd like to begin the band with the green mesh. Add a pipe cleaner and tie down the mesh the same way you did at the top. Trim the excess black mesh off the top and bottom with the scissors.
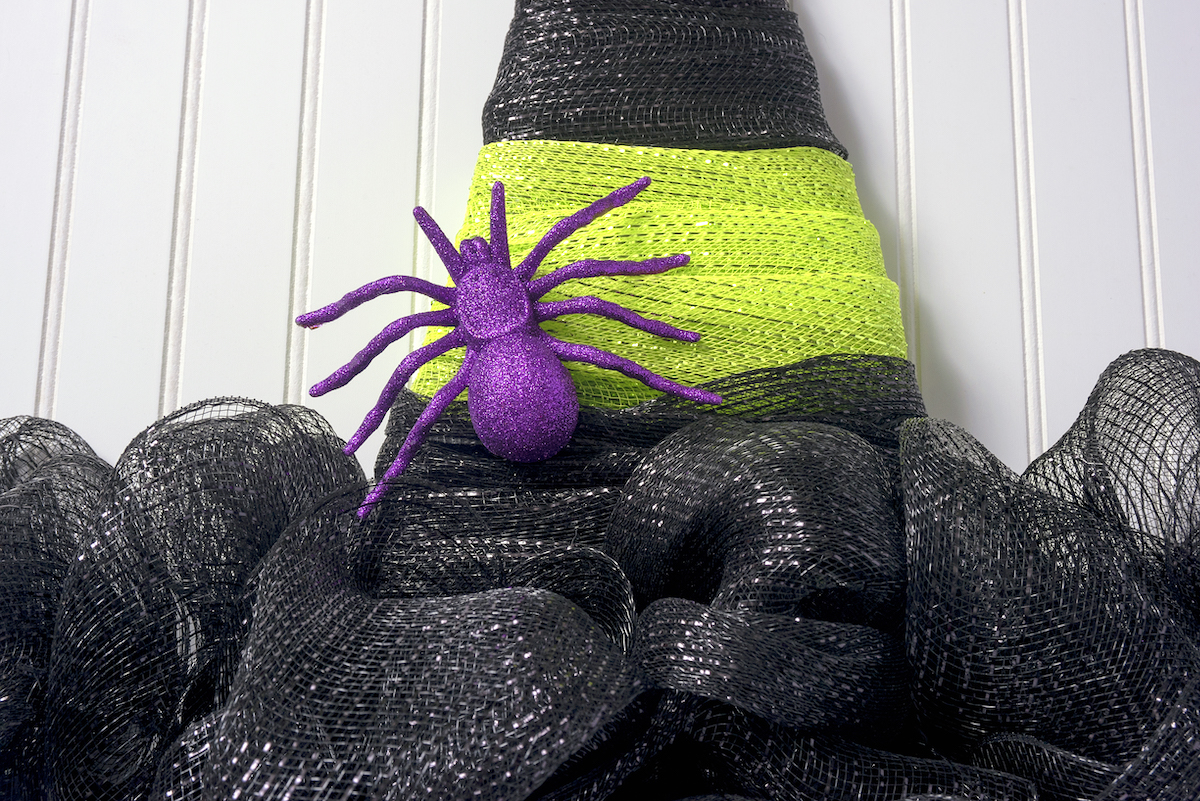
- Add the green mesh with a pipe cleaner and wrap 5 – 6 times to create a band. Secure the end with a pipe cleaner and trim both ends of the mesh with scissors.
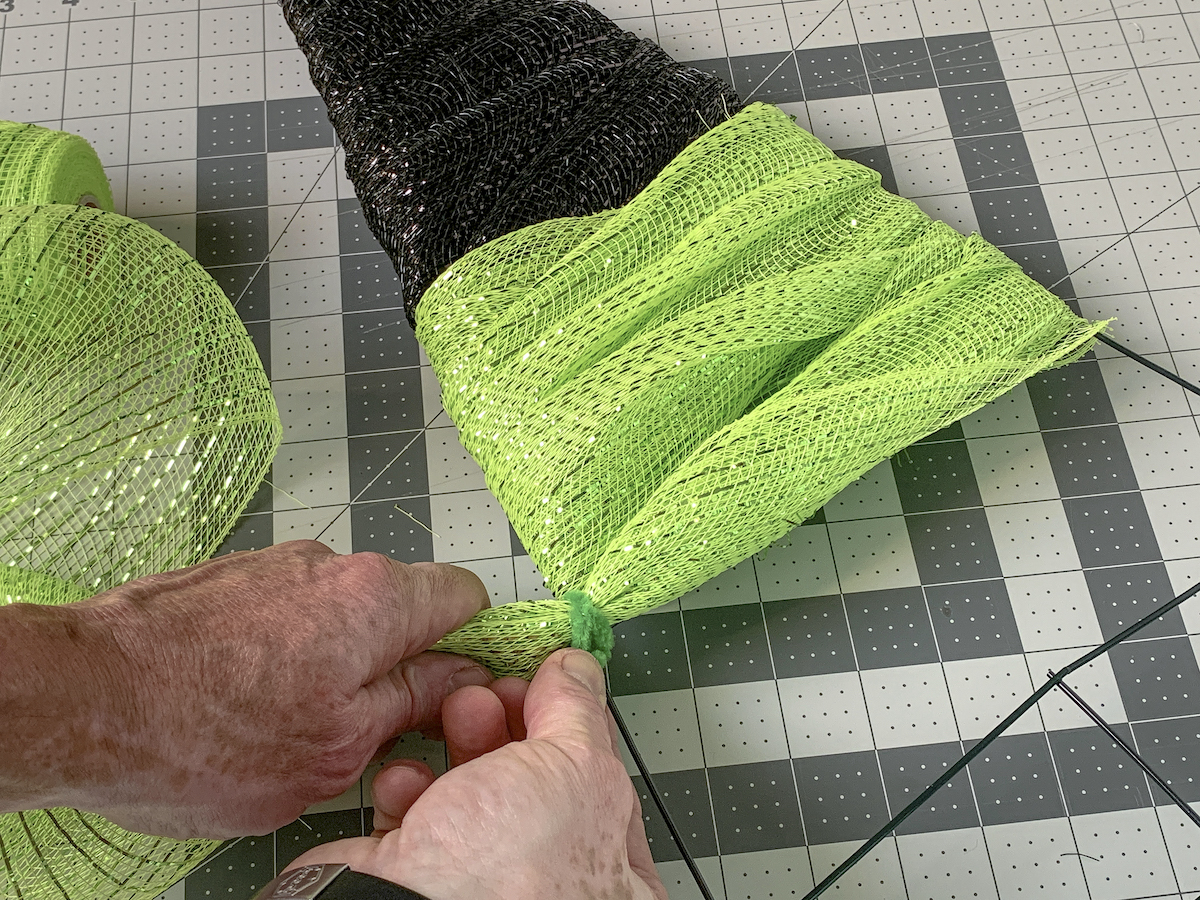
- Continue the black the way that you did in steps 3 – 4 until you get to the brim.

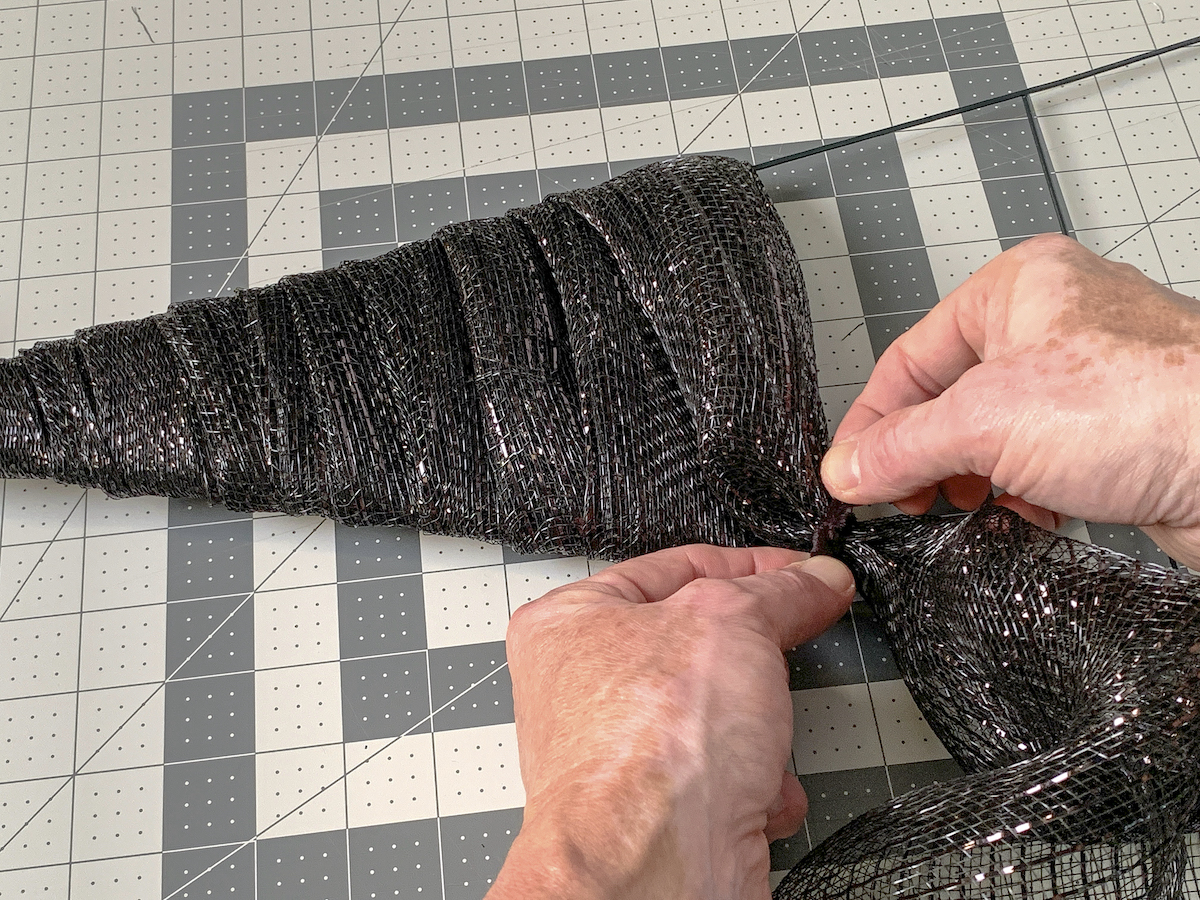
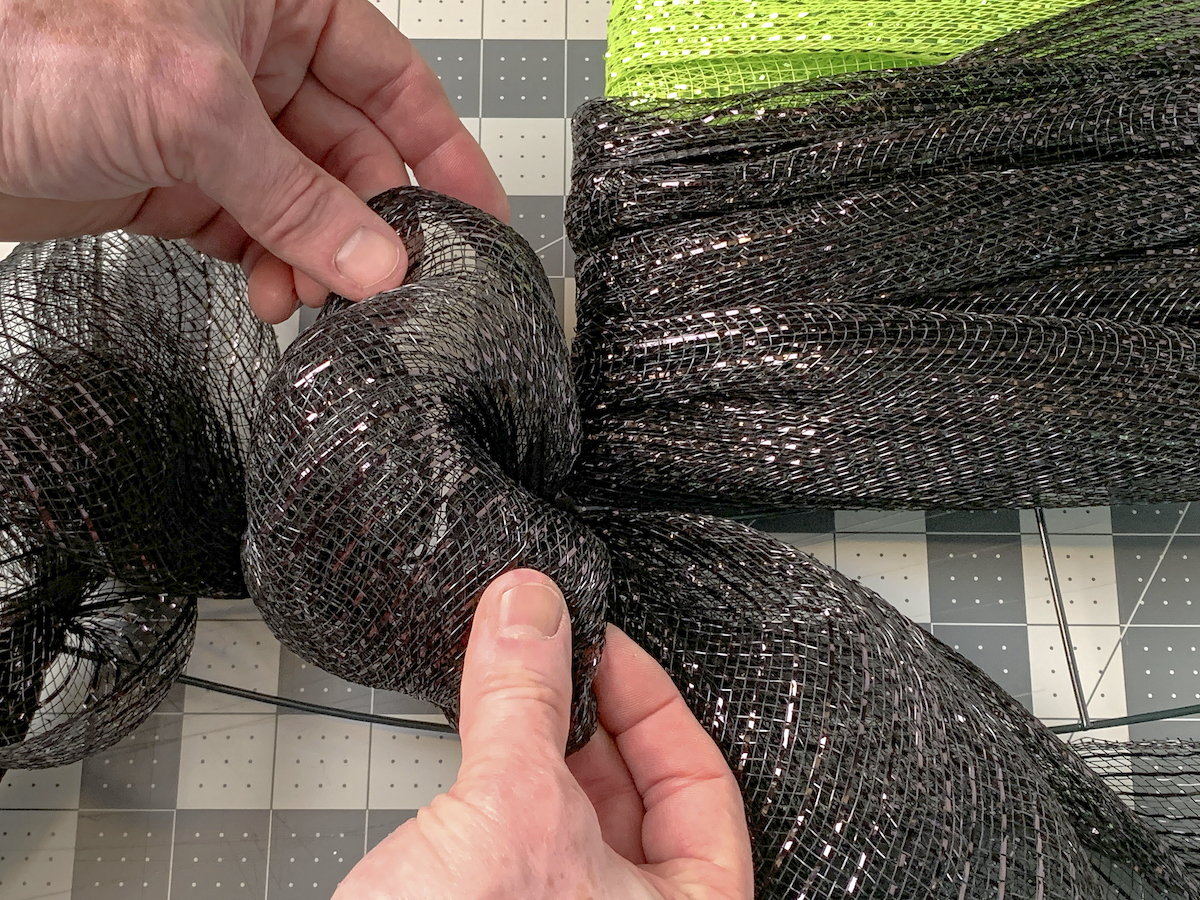
- At one end of the brim, add a pipe cleaner and twist around to secure.
- Bunch up the deco mesh and secure to the pipe cleaner. Twist.
- Move your hand down about 12" on the deco mesh and bunch up. Secure close to the first pipe cleaner with another pipe cleaner.
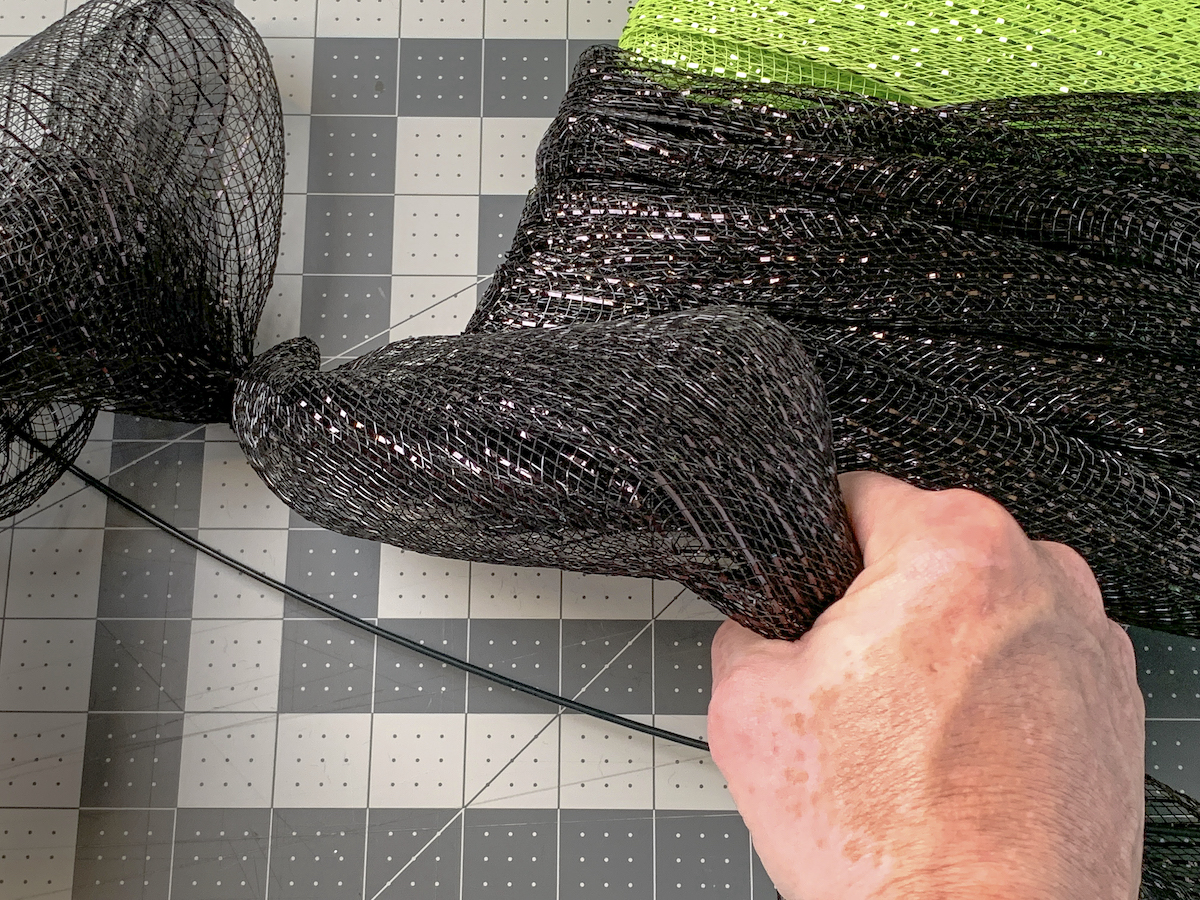
- Continue bunching up lengths of deco mesh and attach to the wreath frame with pipe cleaners. Work your way across the top of the brim and then the bottom.
- Use your hands to fluff in between the pipe cleaners and spread the mesh out. Add any additional mesh as needed to fill in areas.
- Trim all loose ends with scissors. Add a spider or other embellishment using a hot glue gun.
- Hang with a Command strip making sure to hang on one of the hooks versus the mesh.
Now that you’ve made a Halloween wreath, here are some other projects you should try:
Borax Crystal Skull • Cross Stitch Canvases • DIY Halloween Doormat • Felt Ball Garland • Home Sweet Haunted Home • Lighted Pumpkin Topiary • Mesh Halloween Wreath • Pumpkin Terrarium • Shrunken Apple Heads • Skull Bean Art • Skulls Makeover • Spooky Apothecary Jars • Spooky Skull Display • Wine Cork Skeleton • Witch Mask


Love this! Wonder if you could make a Santa hat with red and white?
That would be fun!