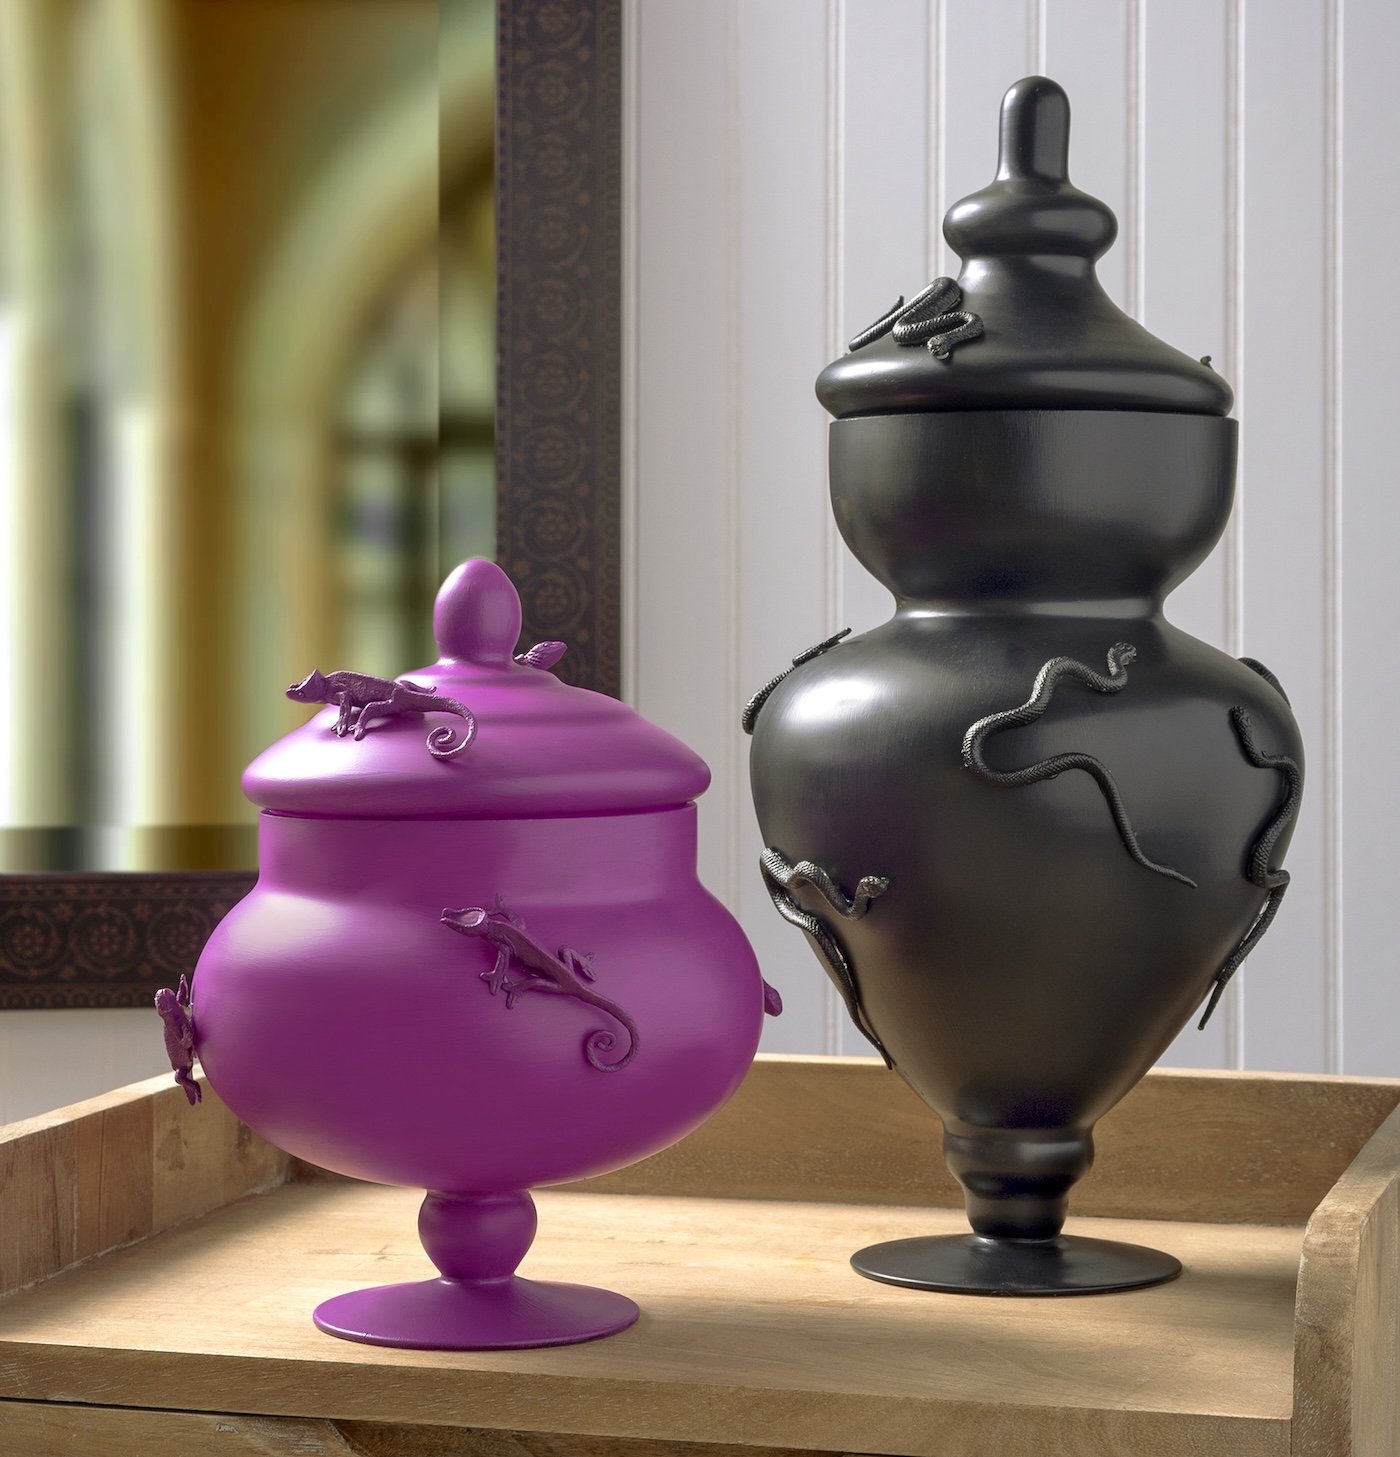
DIY Creepy Apothecary Jars for Halloween in No Time
Discover how to create one-of-a-kind Halloween apothecary jars in just three easy steps! Featuring plastic animals and a touch of paint, this fun craft is effortless and perfect for creepy holiday decor.
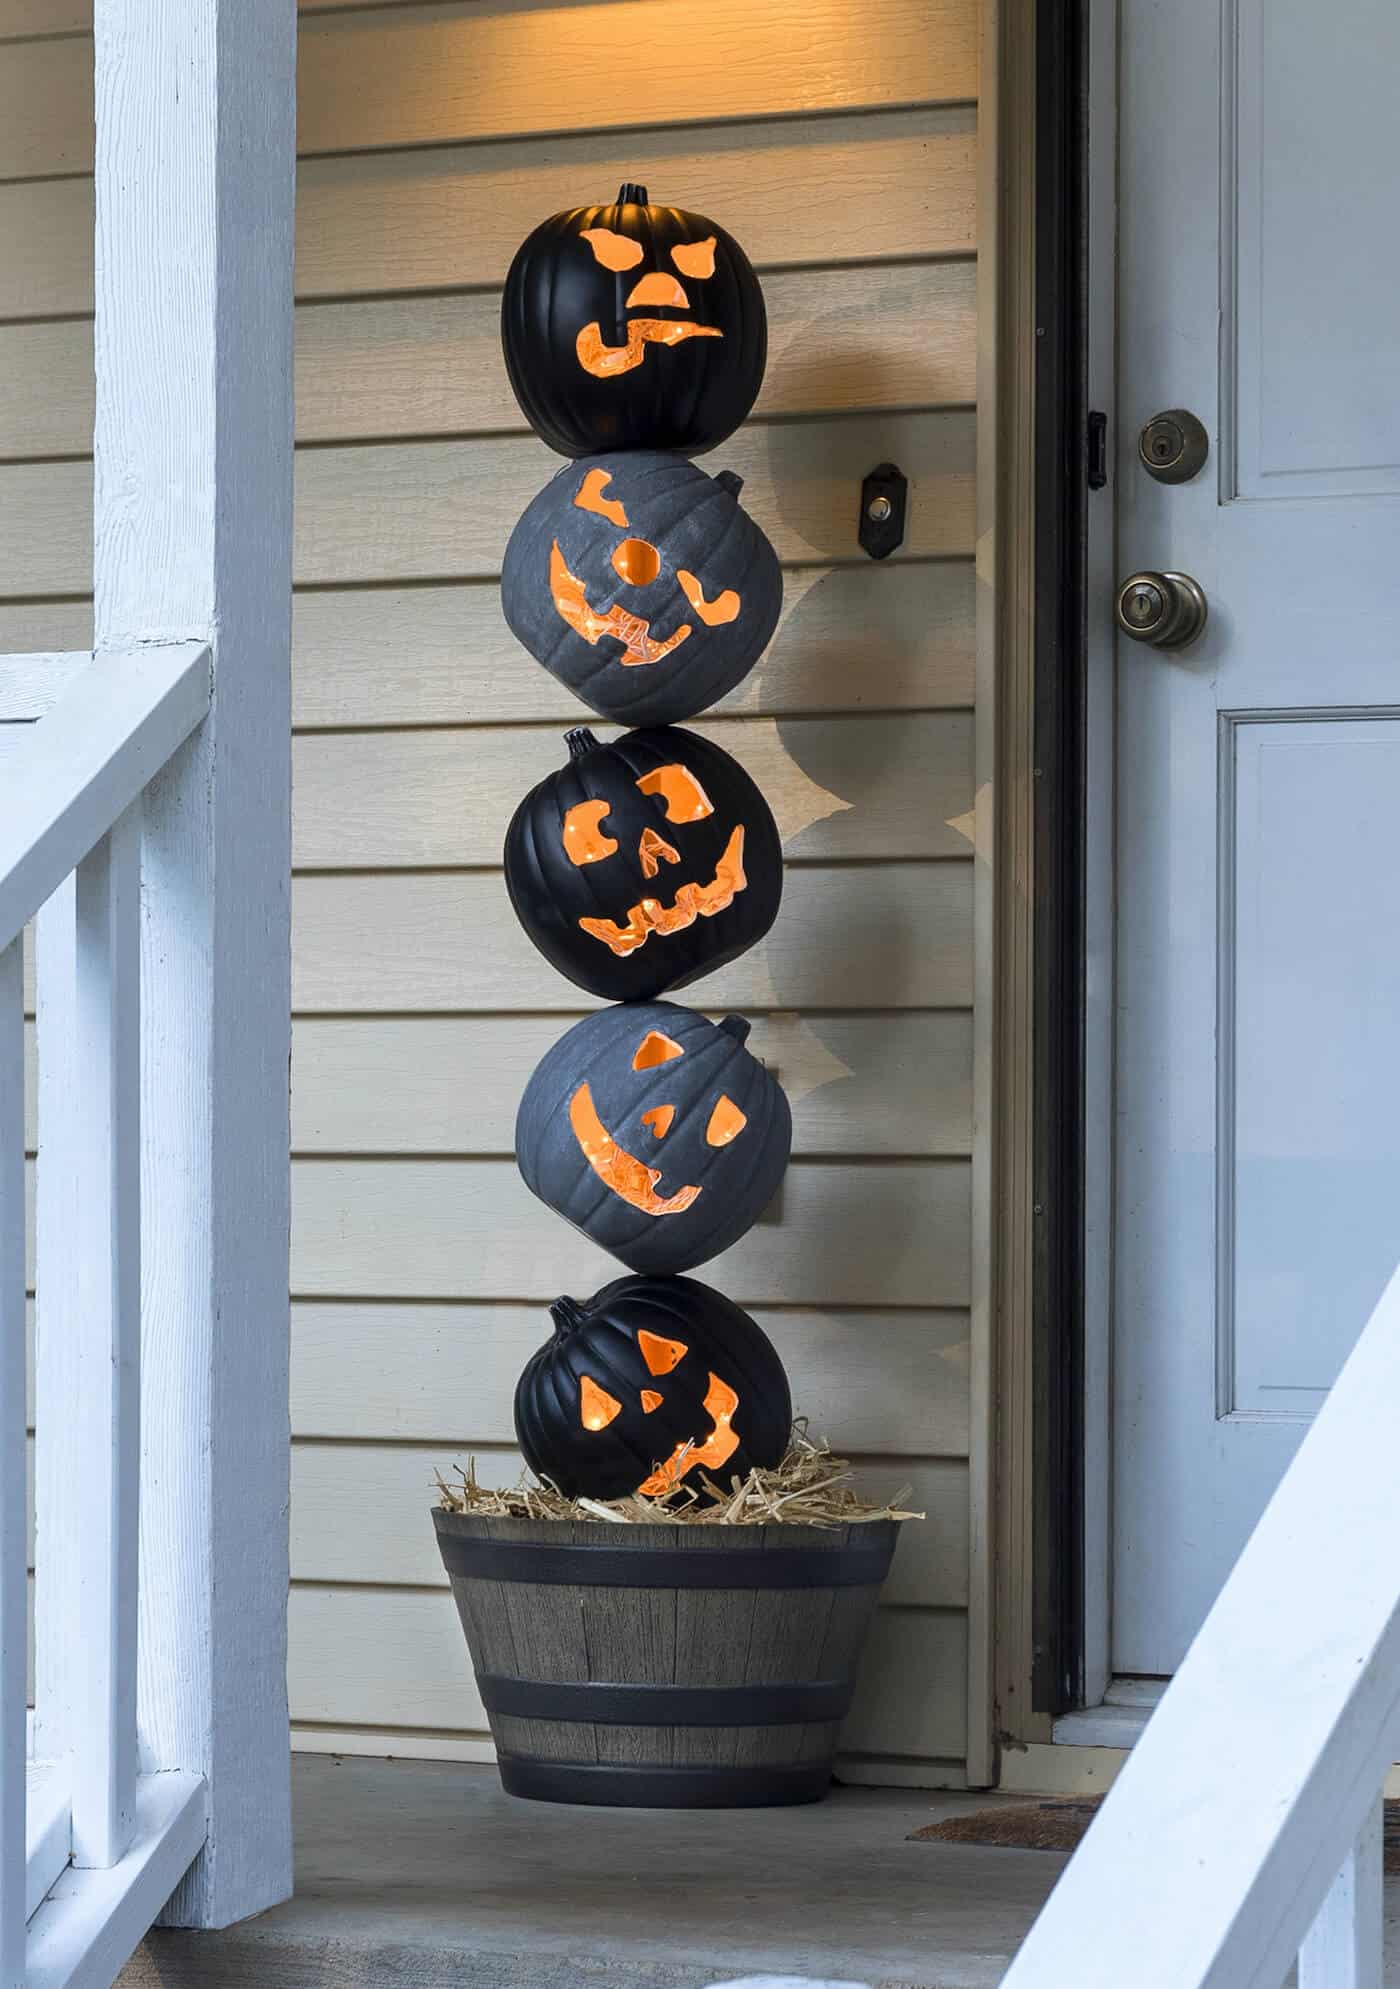
I’m a huge fan of monochromatic decor for the holidays. You can see that in my spooky skull display, Dollar Tree skulls, and simple Halloween doormat.
Sure, I’ve been known to get wild with my DIY Halloween decor. I love glitter and bright colors when the time is right. I guess it depends on the year?
Some years I’m more glitzy than others, but this is solid color year for me. And with that thought, I made these Halloween apothecary jars.
The best part of these Halloween jars is that they can be made in three simple steps:
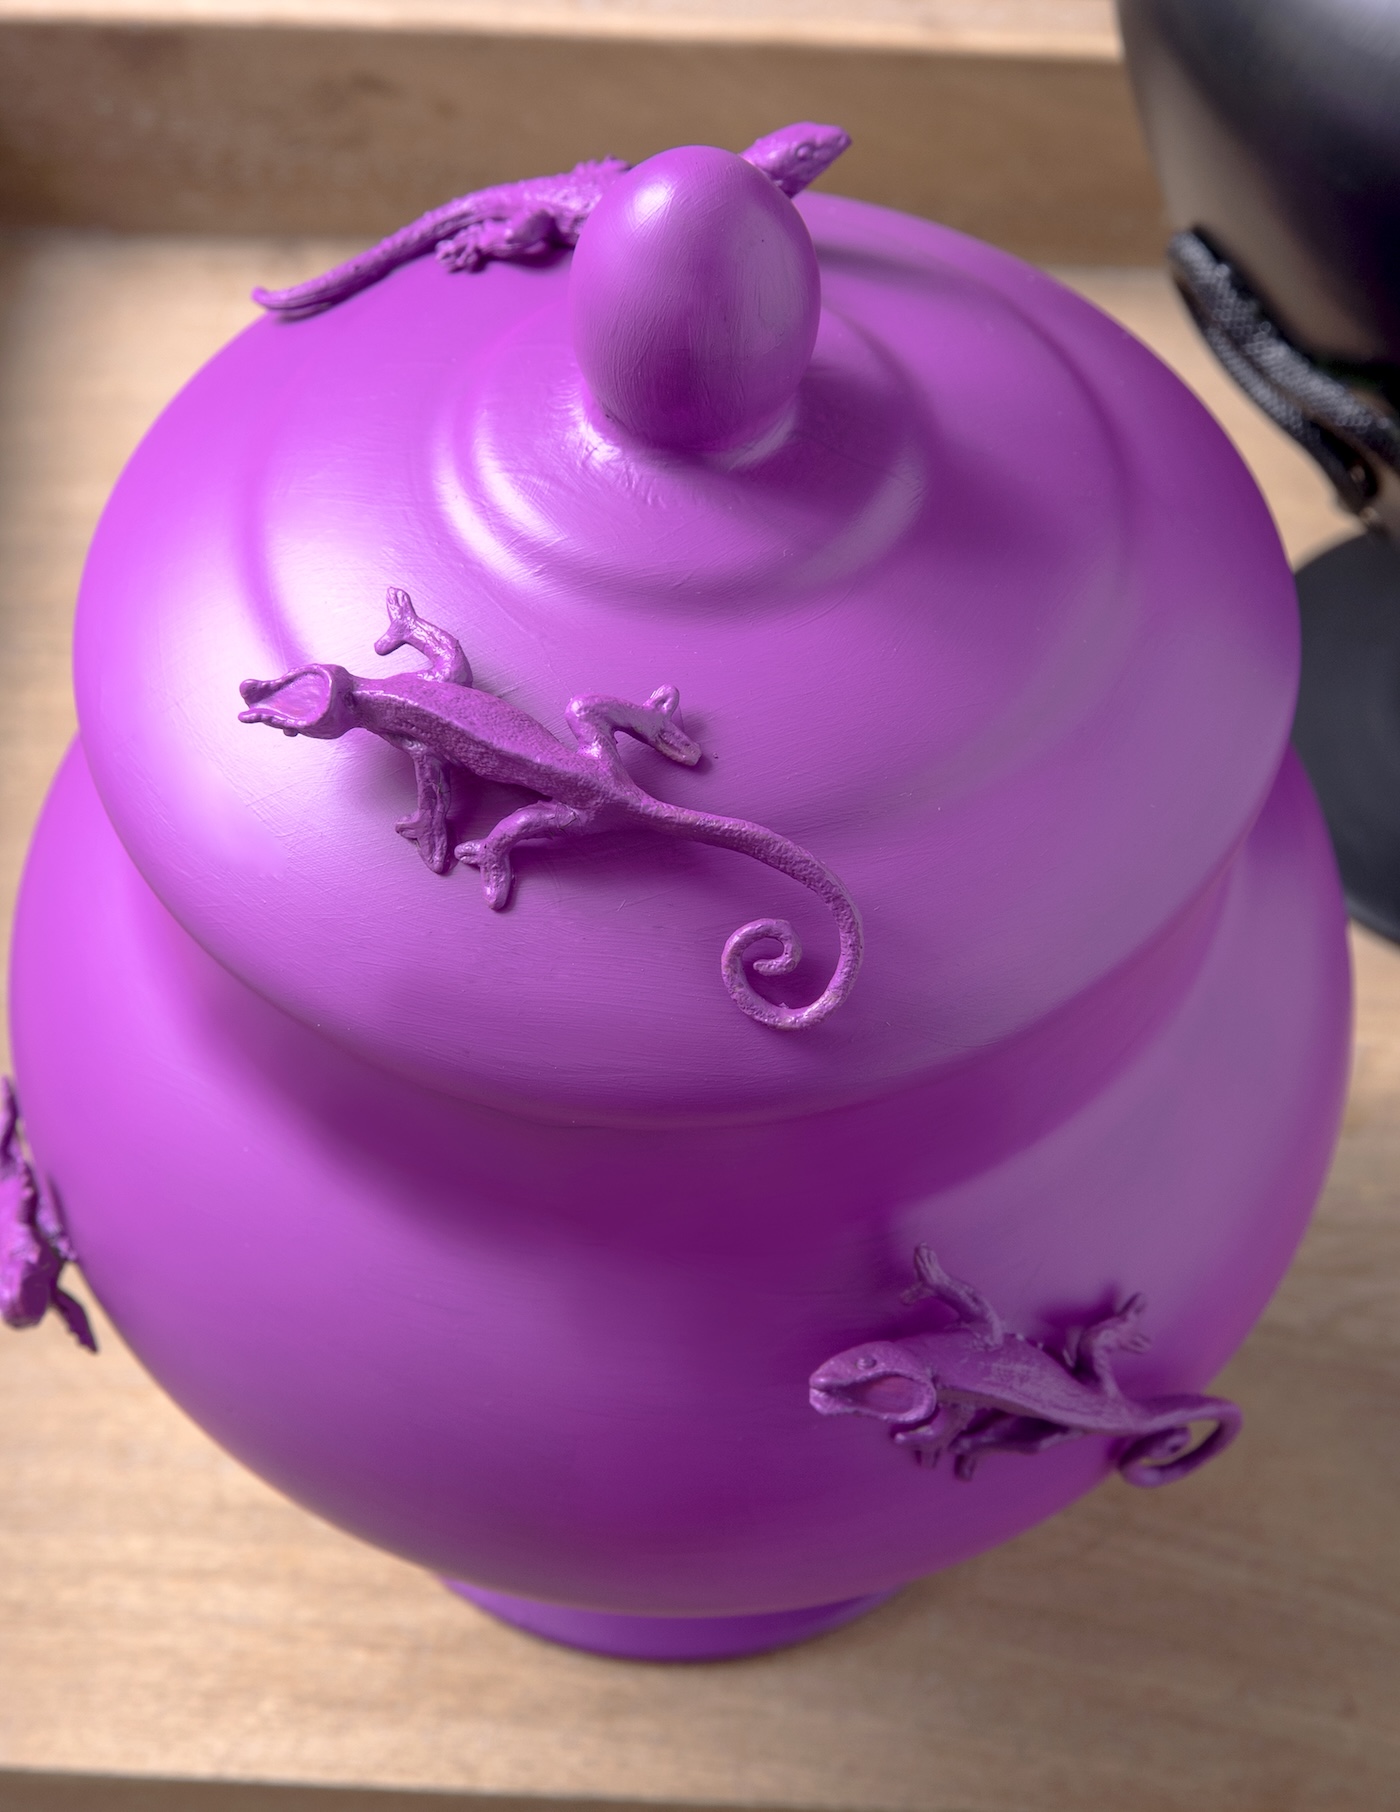
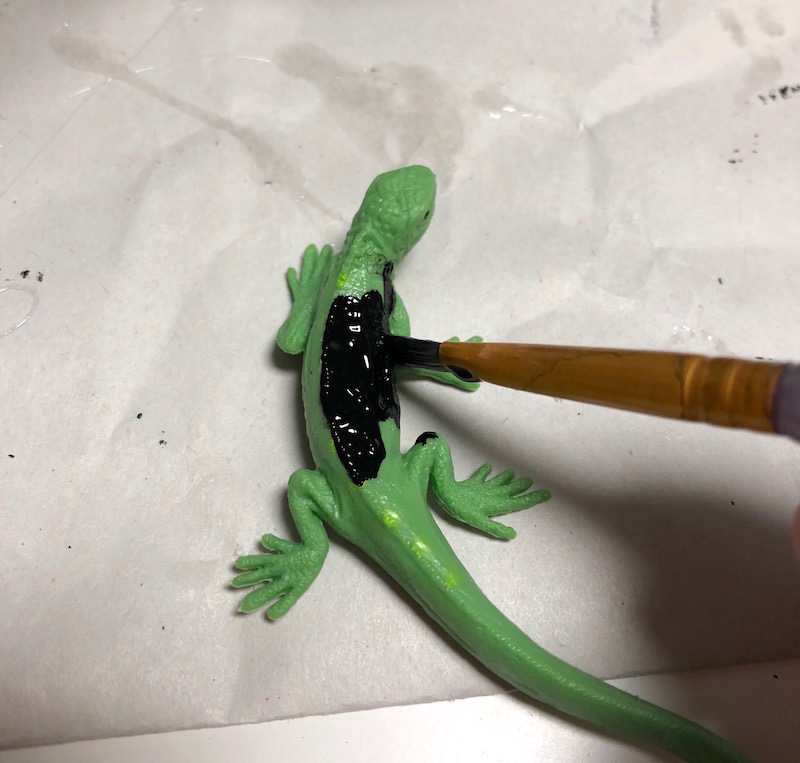
- Paint the plastic animals
- Paint the glass jars
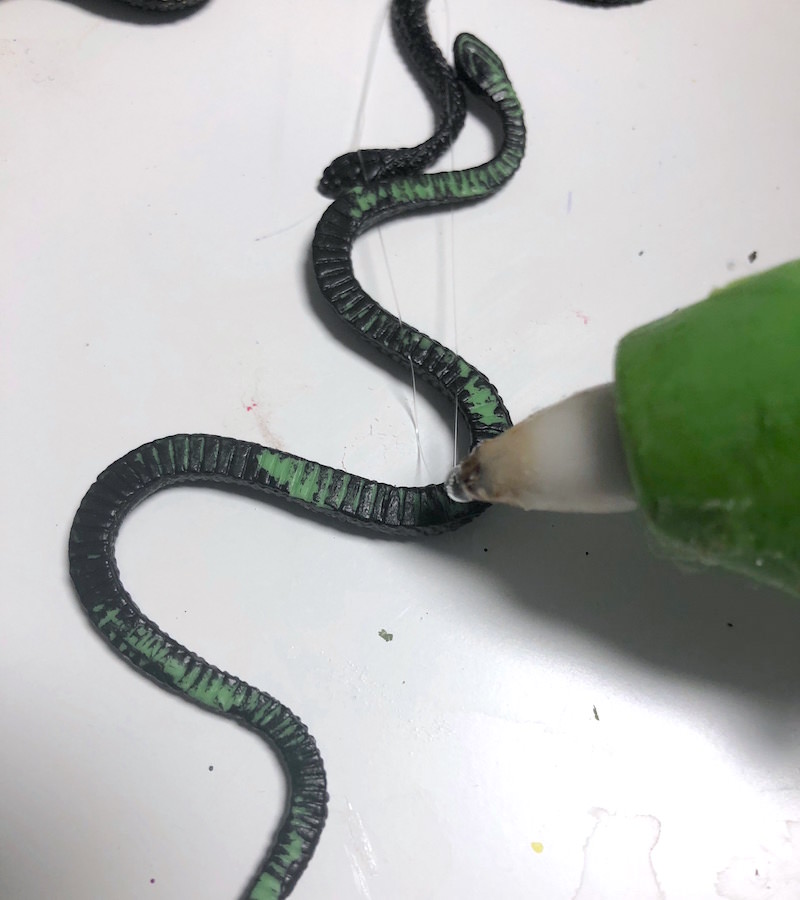
- Glue the animals to the jar
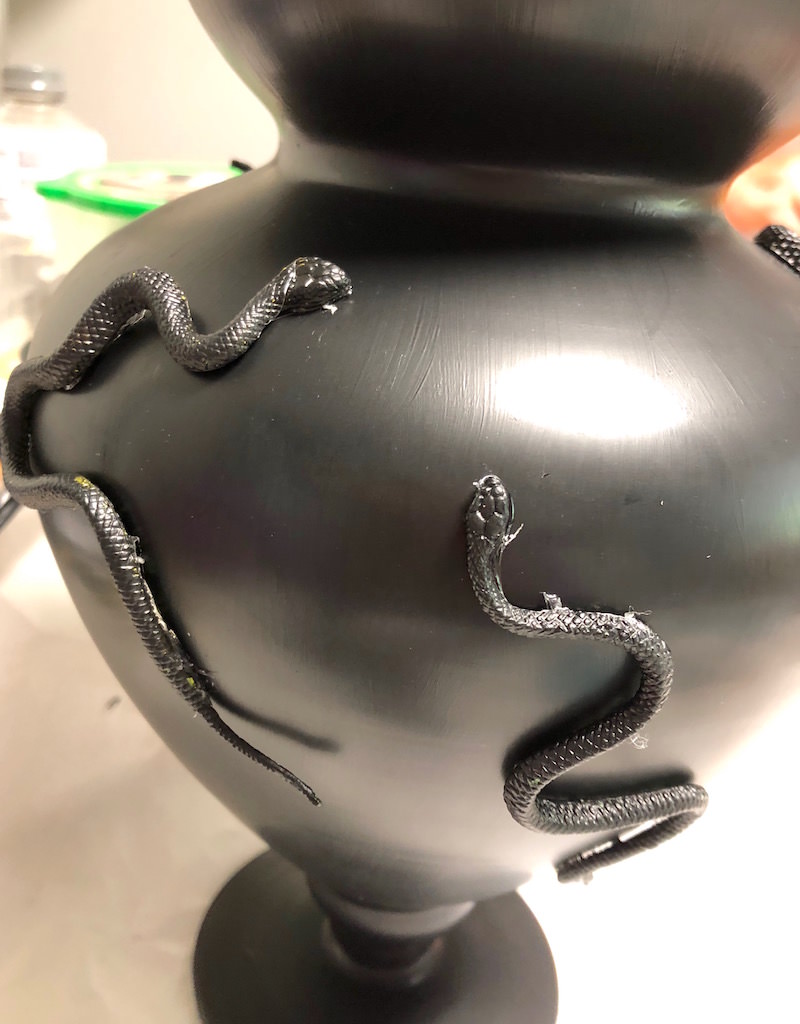
It’s easiest to paint the animal in four parts – back top, back bottom, front top, front bottom. I found that when I didn’t let the paint on the animals dry properly, it stuck to my fingers and came right off. When I painted them in four parts and let them dry, I experienced success.
Are you ready to jump into the project instructions so that you can have amazingly simple Halloween decor like mine? Let’s roll!
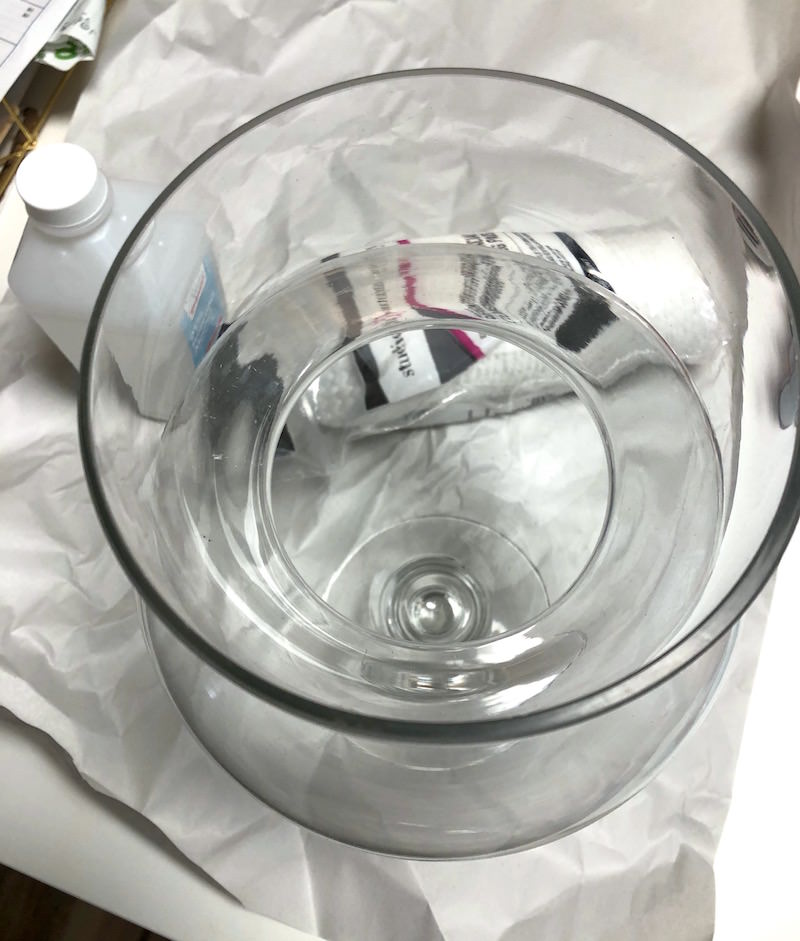
Gather These Supplies
- Glass apothecary jars in various sizes – mine are from Michaels
- Glass paint or multisurface paint – I used Martha Stewart Satin in Plum and Beetle Black
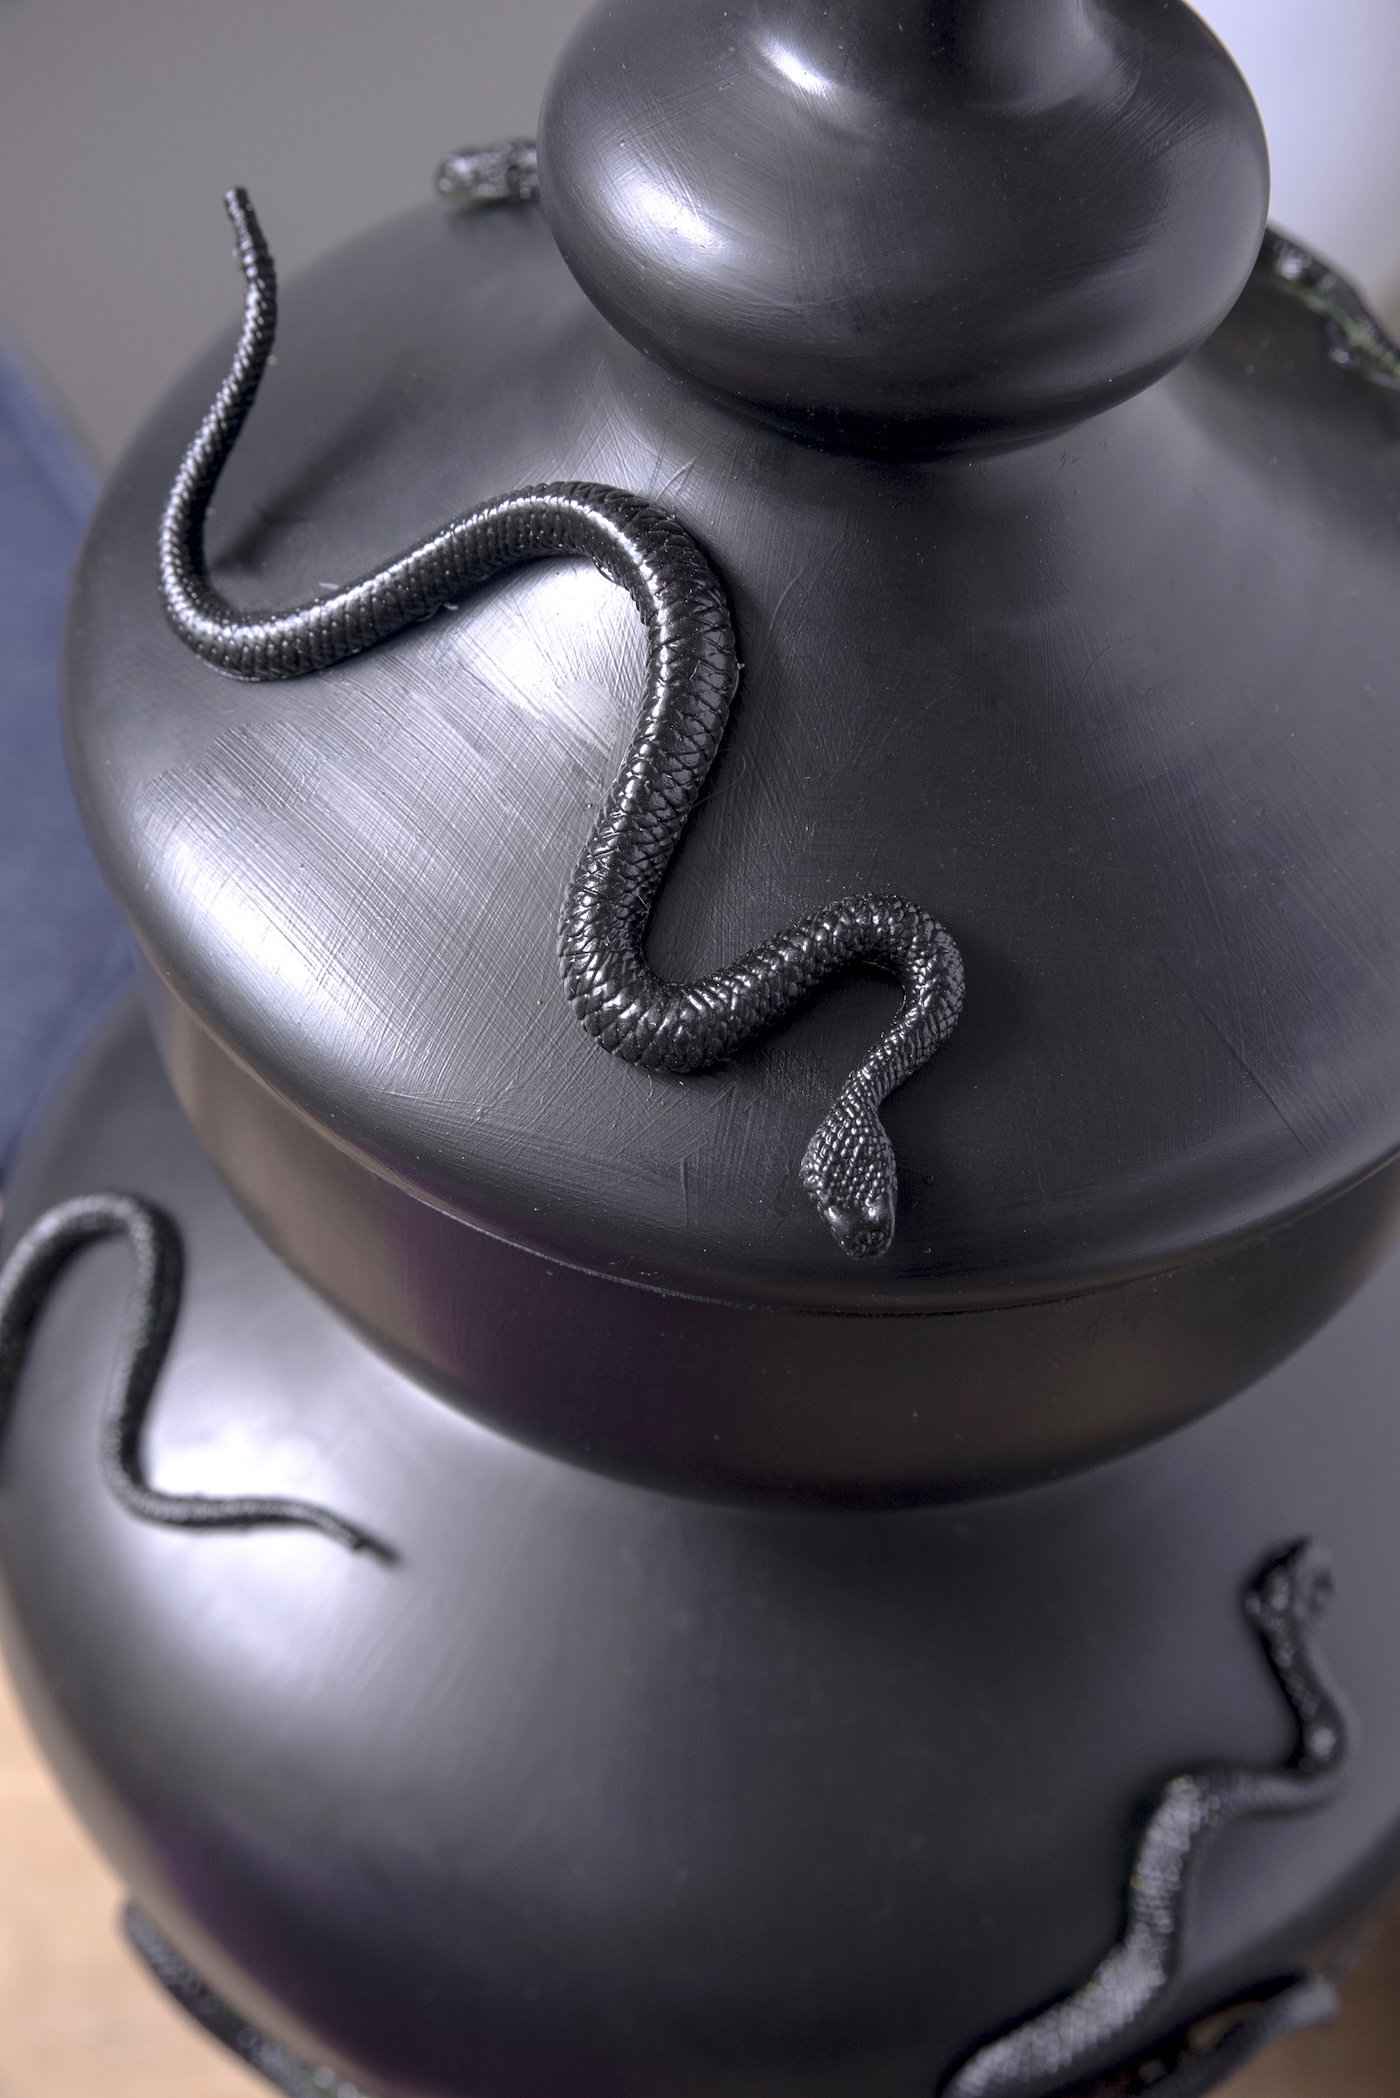
- Plastic animals – lizards, bugs, or snakes – in the kids’ crafting section at Michaels
- Paintbrushes
- Hot glue gun with glue sticks
- E-6000 (optional)
I finished up my Halloween apothecary jars by making sure that I touched up the paint on the plastic animals (anything I missed!) including covering up any hot glue that may have eked out the sides. Painting it to match the jars will make it unnoticeable.
You only have one more mission once the paint is dry – fill these suckers with candy! Candy eyeballs or gummy worms are perfect for these spooky jars.
They add such a perfect touch to my Halloween decor. I kind of love them. Let me know what you think in the comments!
DIY Creepy Halloween Jars
Materials
- 2 Glass apothecary jars in various sizes
- Multisurface craft paint or glass paint
- 6 Plastic animals lizards, bugs, or snakes
- E-6000 optional
Instructions
- Before getting started, clean the glass with rubbing alcohol or mild soap and water to remove oils and fingerprints.
- Give the glass one single basecoat of paint and let dry. Paint one layer on the bases and lids and let dry.
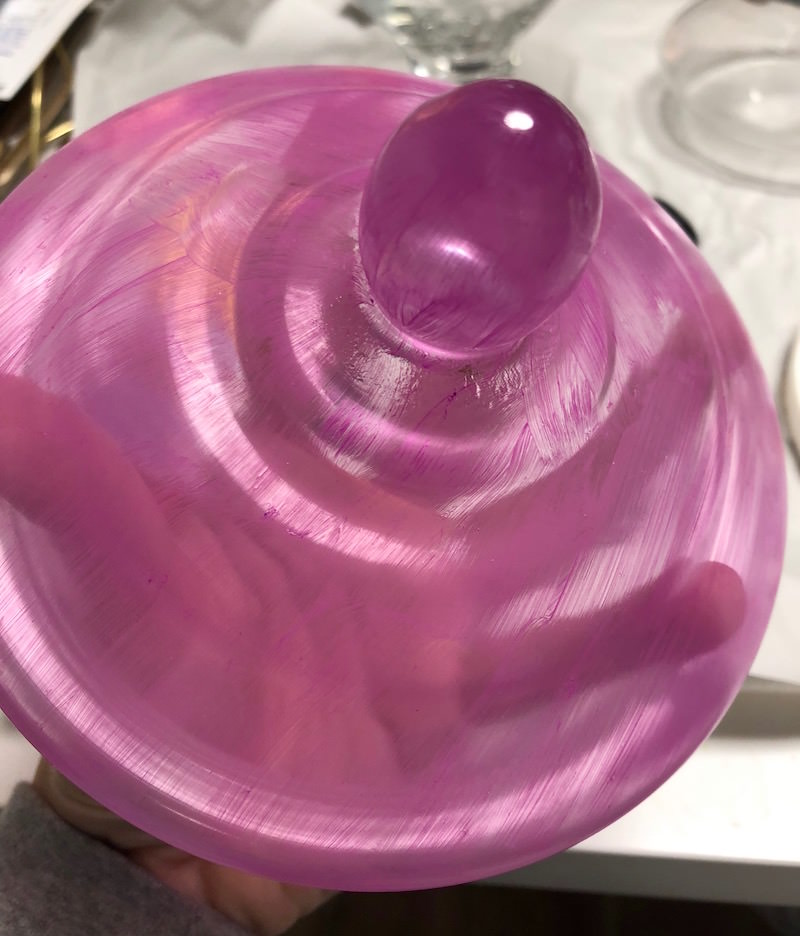
- After that layer has dried, repeat the painting until you feel the jar is covered. Make sure to let the layers fully dry between painting.

- Paint the plastic animals with coordinating colors and let dry.
- Once everything is dry, use hot glue to attach the animals in various points on the jar. You can also use E-6000 if you find the animals aren’t sticking.
- Let everything dry before filling with Halloween treats.
Notes
If you’re into Halloween decorating projects like these jars, I think you’re going to like these other projects:
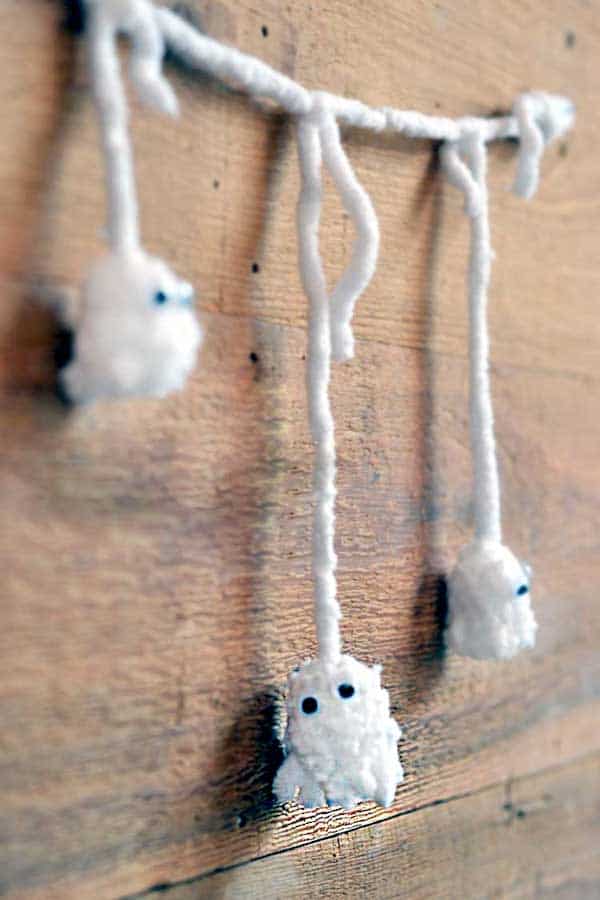
Borax Crystal Skull • Cross Stitch Canvases • Felt Ball Garland • Home Sweet Haunted Home • Pumpkin Terrarium • Shrunken Apple Heads • Skull Bean Art • Vintage Halloween Decor • Wine Cork Skeleton • Witch Hat Wreath • Witch Mask

This is a martha stewart craft.
That’s great to hear! I haven’t seen her version, but sometimes crafty minds think alike. I’ve done several crafts with plastic animals and I love using them for Halloween and beyond.