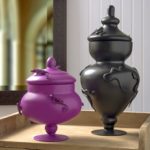
DIY Creepy Halloween Jars
Learn how to make creepy critter apothecary jars for Halloween! Easy enough for even a beginning crafter.
Servings 2 jars
Cost $20
Ingredients
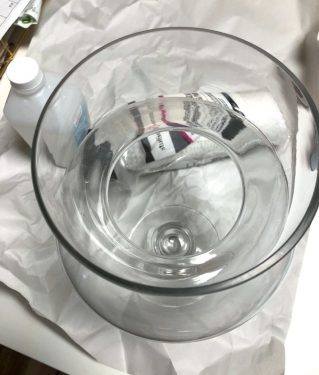
- 2 Glass apothecary jars in various sizes
- Multisurface craft paint or glass paint
- 6 Plastic animals lizards, bugs, or snakes
- E-6000 optional
Instructions
- Before getting started, clean the glass with rubbing alcohol or mild soap and water to remove oils and fingerprints.
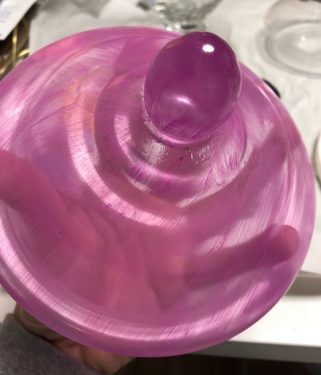
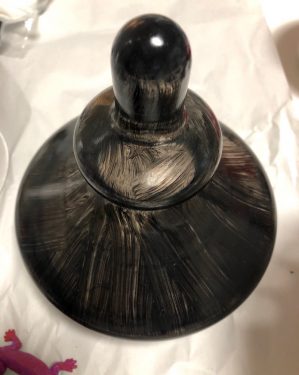
- Give the glass one single basecoat of paint and let dry. Paint one layer on the bases and lids and let dry.
- After that layer has dried, repeat the painting until you feel the jar is covered. Make sure to let the layers fully dry between painting.
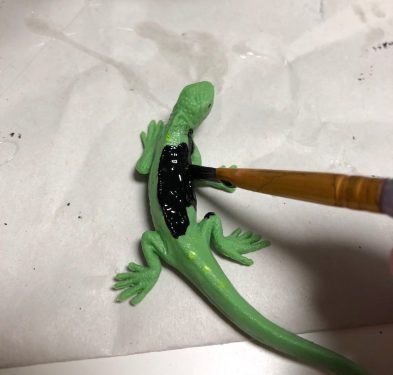
- Paint the plastic animals with coordinating colors and let dry.
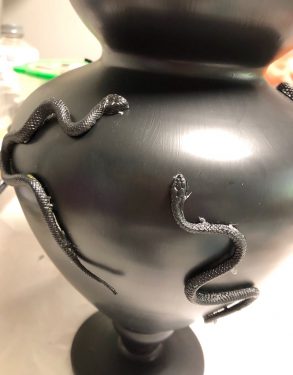
- Once everything is dry, use hot glue to attach the animals in various points on the jar. You can also use E-6000 if you find the animals aren't sticking.

- Let everything dry before filling with Halloween treats.
Notes
The brush strokes of the paint are going to look kinda bad at first, but don't worry - the first layer is not indicative of how your finished jar is going to look. Just make sure you don't have any globs and keep going!
Make sure not to get impatient and to let the jars FULLY dry before painting or you'll take off what you painted.
The black took about three coats and the plum took about five coats.