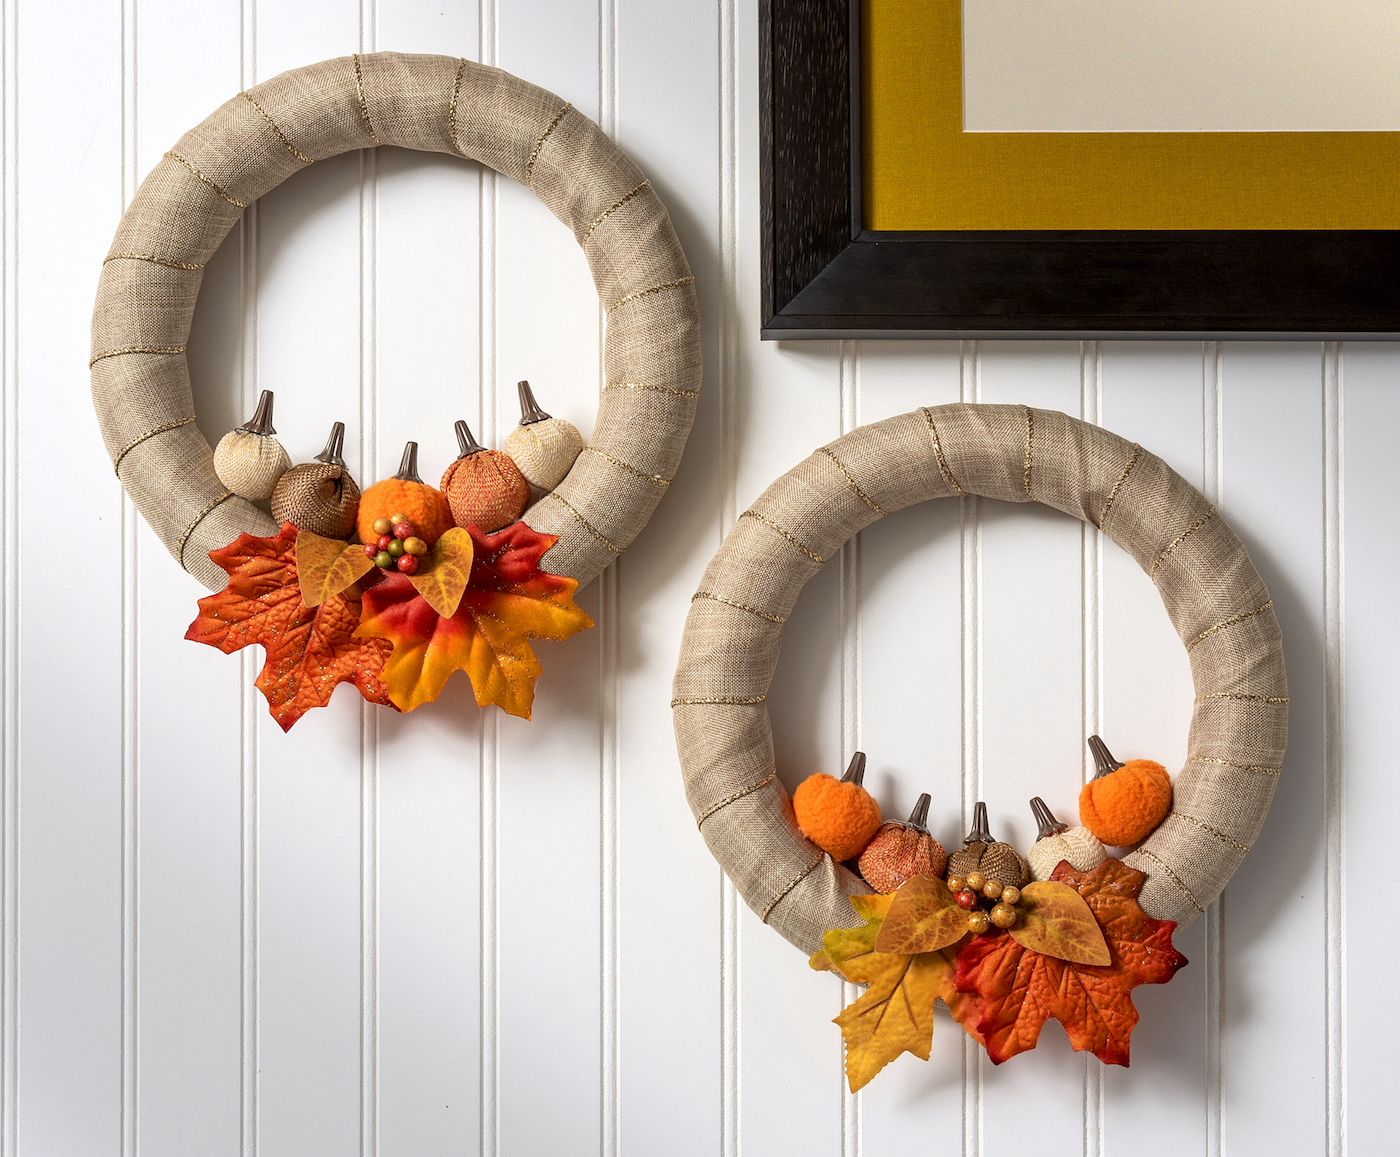
Mini Pumpkin Wreath with Dollar Tree Supplies
Learn how to make a mini pumpkin wreath using supplies from Dollar Tree! You’ll love this very easy fall decor craft on a budget.
Skills Required: None. Even if you’ve never crafted before, you can make this project. You will be cutting and hot gluing. I think you’ll be pleased with how simple this is!
This year I was on the ball, unlike previous years. What do I mean by that? It means that I got into Dollar Tree before they sold out of all their fall crafting materials!!
Last year I swaggered in the doors well into October, expecting to find loaded shelves and my pick of the goodies. Nope. The shelves were pretty much barren.
I learned my lesson so well, that this year I went early and planned quite a few projects. And one craft I try each year is a fall wreath. I never get tired of trying a new autumn style I haven’t tried before!
And this year it was all about dollar store supplies.
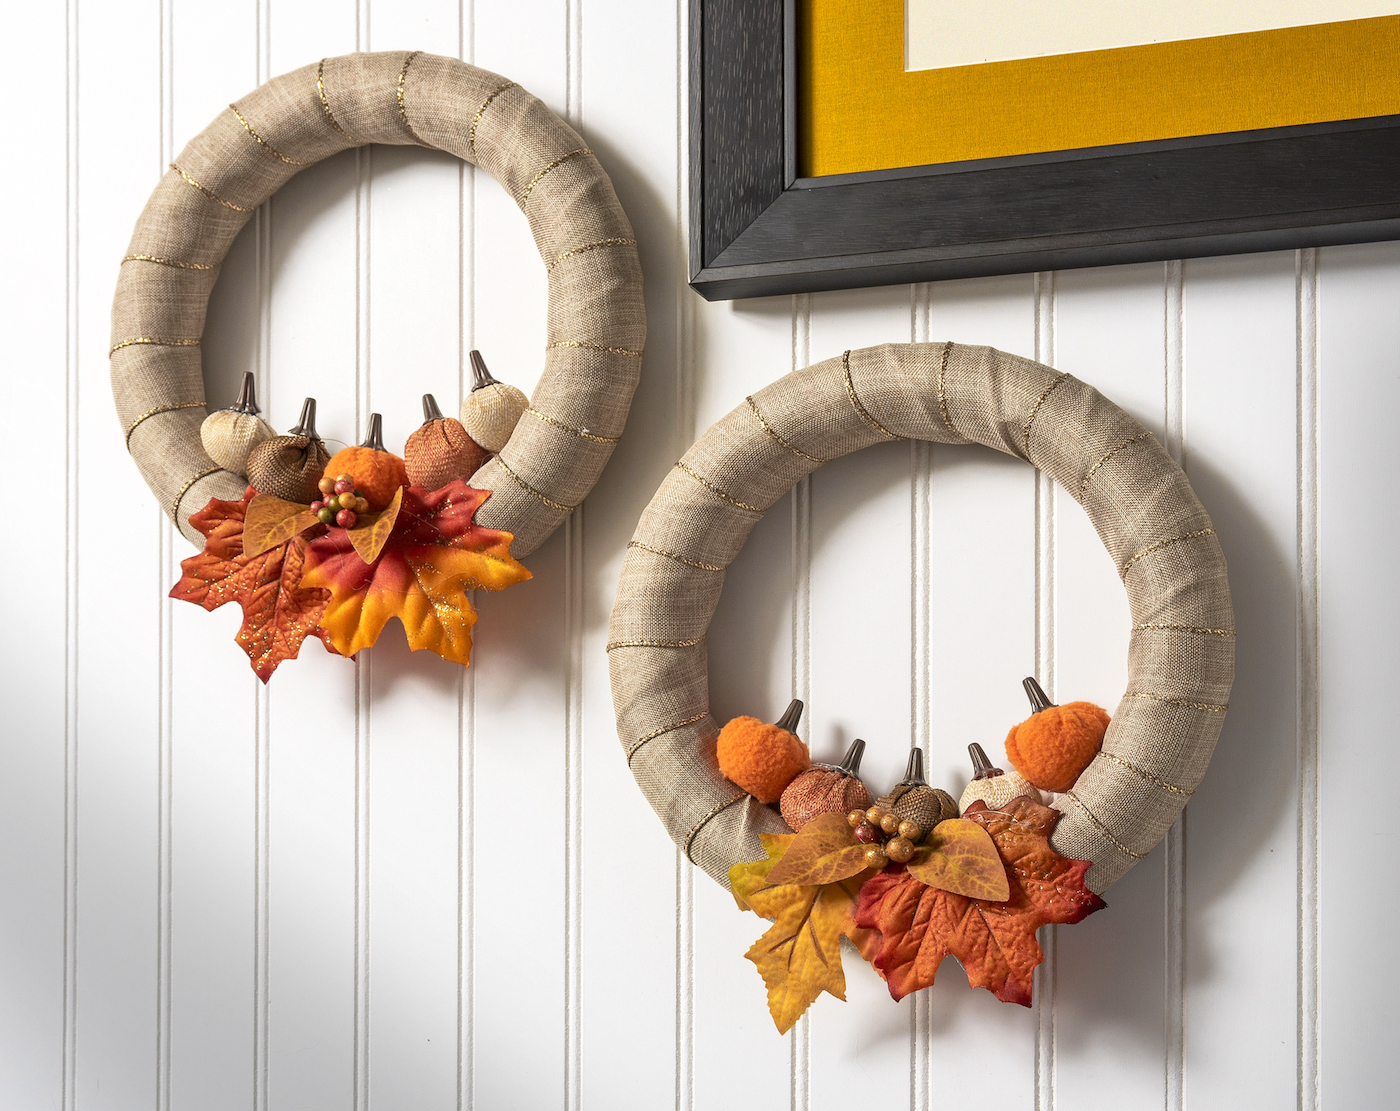
I decided to make a mini pumpkin wreath with things I had purchased this year and from years past at Dollar Tree – stuff they still have. I’m really happy with how one turned out. So happy in fact, that I made two!
To be honest, the whole thing started with a squeal. They had the cutest packs of mini pumpkins this year, and I knew I wanted to do something with them.
Anyone that knows me knows I go wild for miniature versions of things.
The DIY wreaths I put together were so stinkin’ simple that I decided I had to share! You can learn how to make a mini pumpkin wreath below.
Mini Pumpkin Wreaths
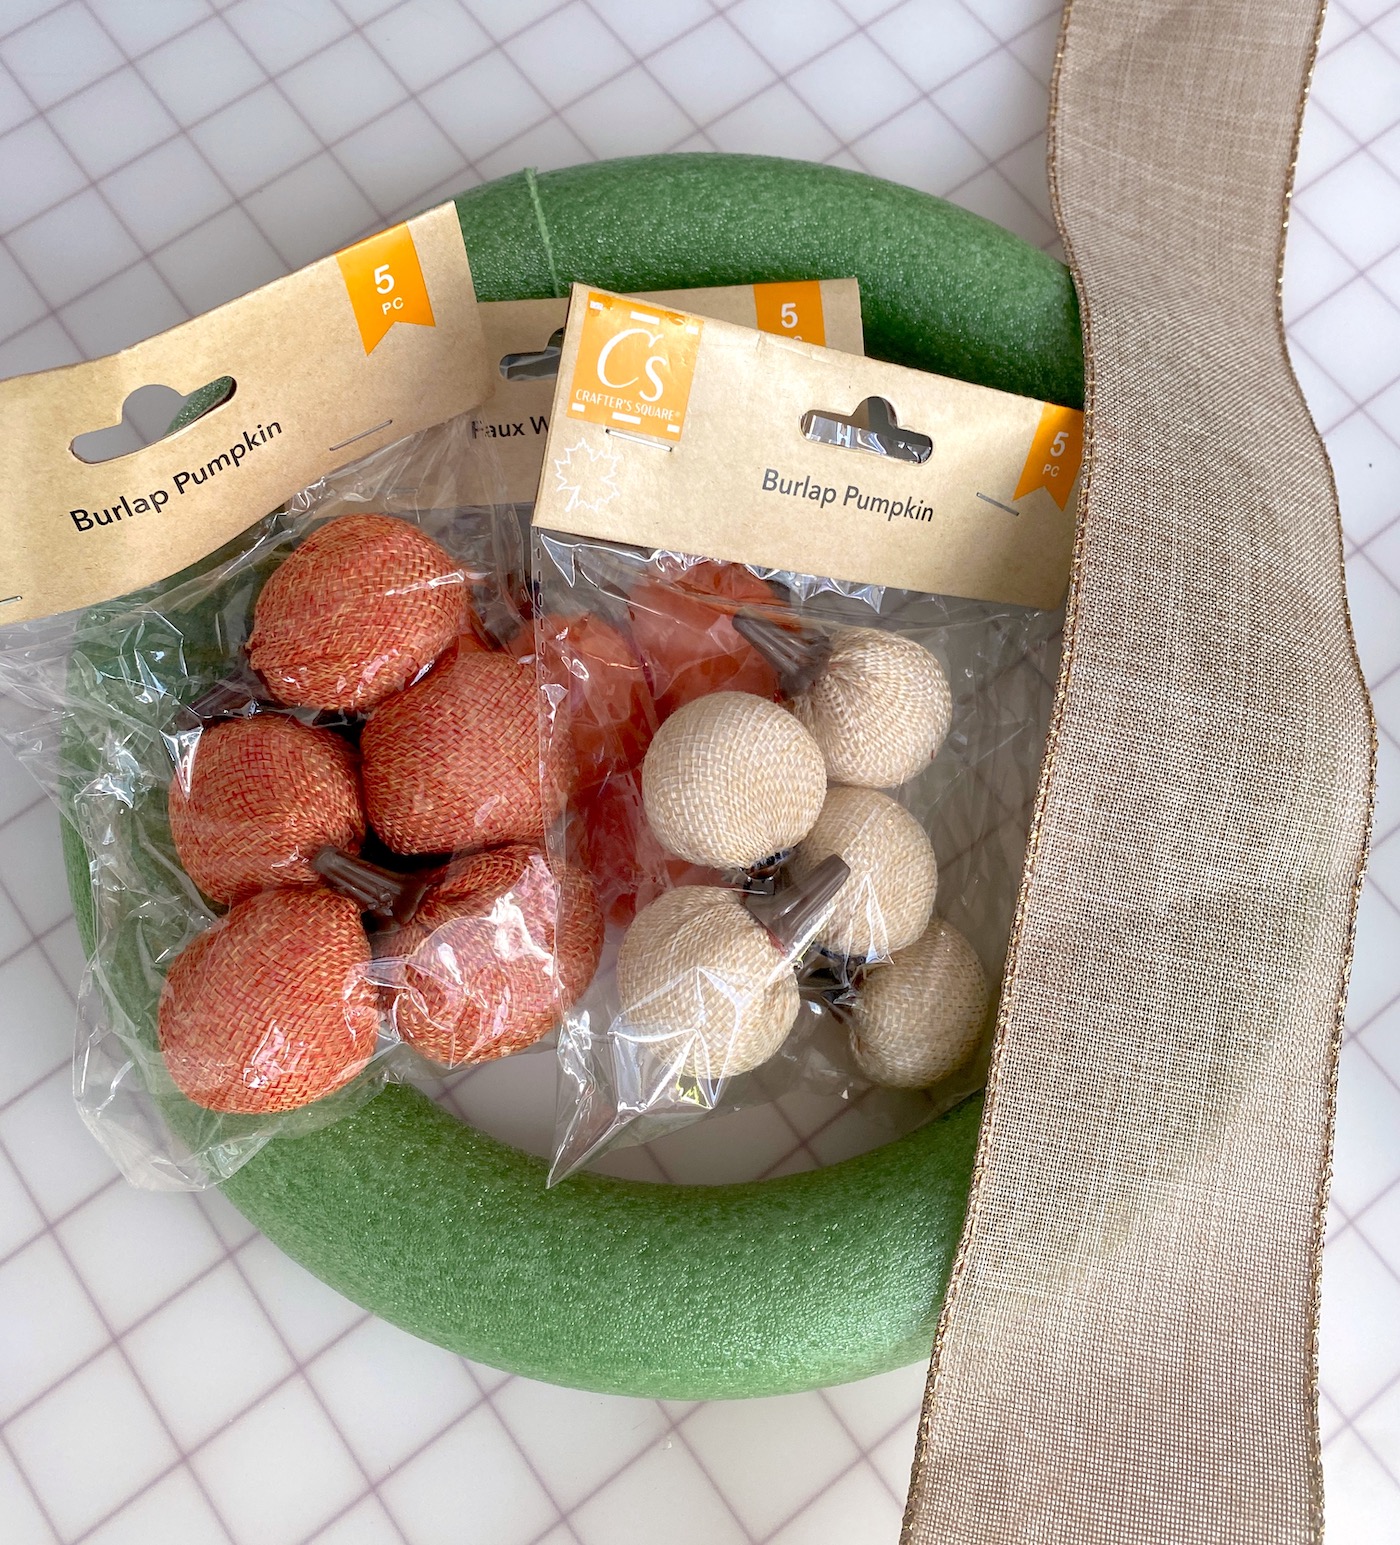
Gather These Supplies
- 9 – 12″ foam wreath form
- White spray paint or craft paint (optional)
- Faux linen ribbon (mine had a little gold on each edge)
- Mini pumpkins
- Faux leaves and autumn flourishes
- Hot glue gun and glue sticks
- Scissors
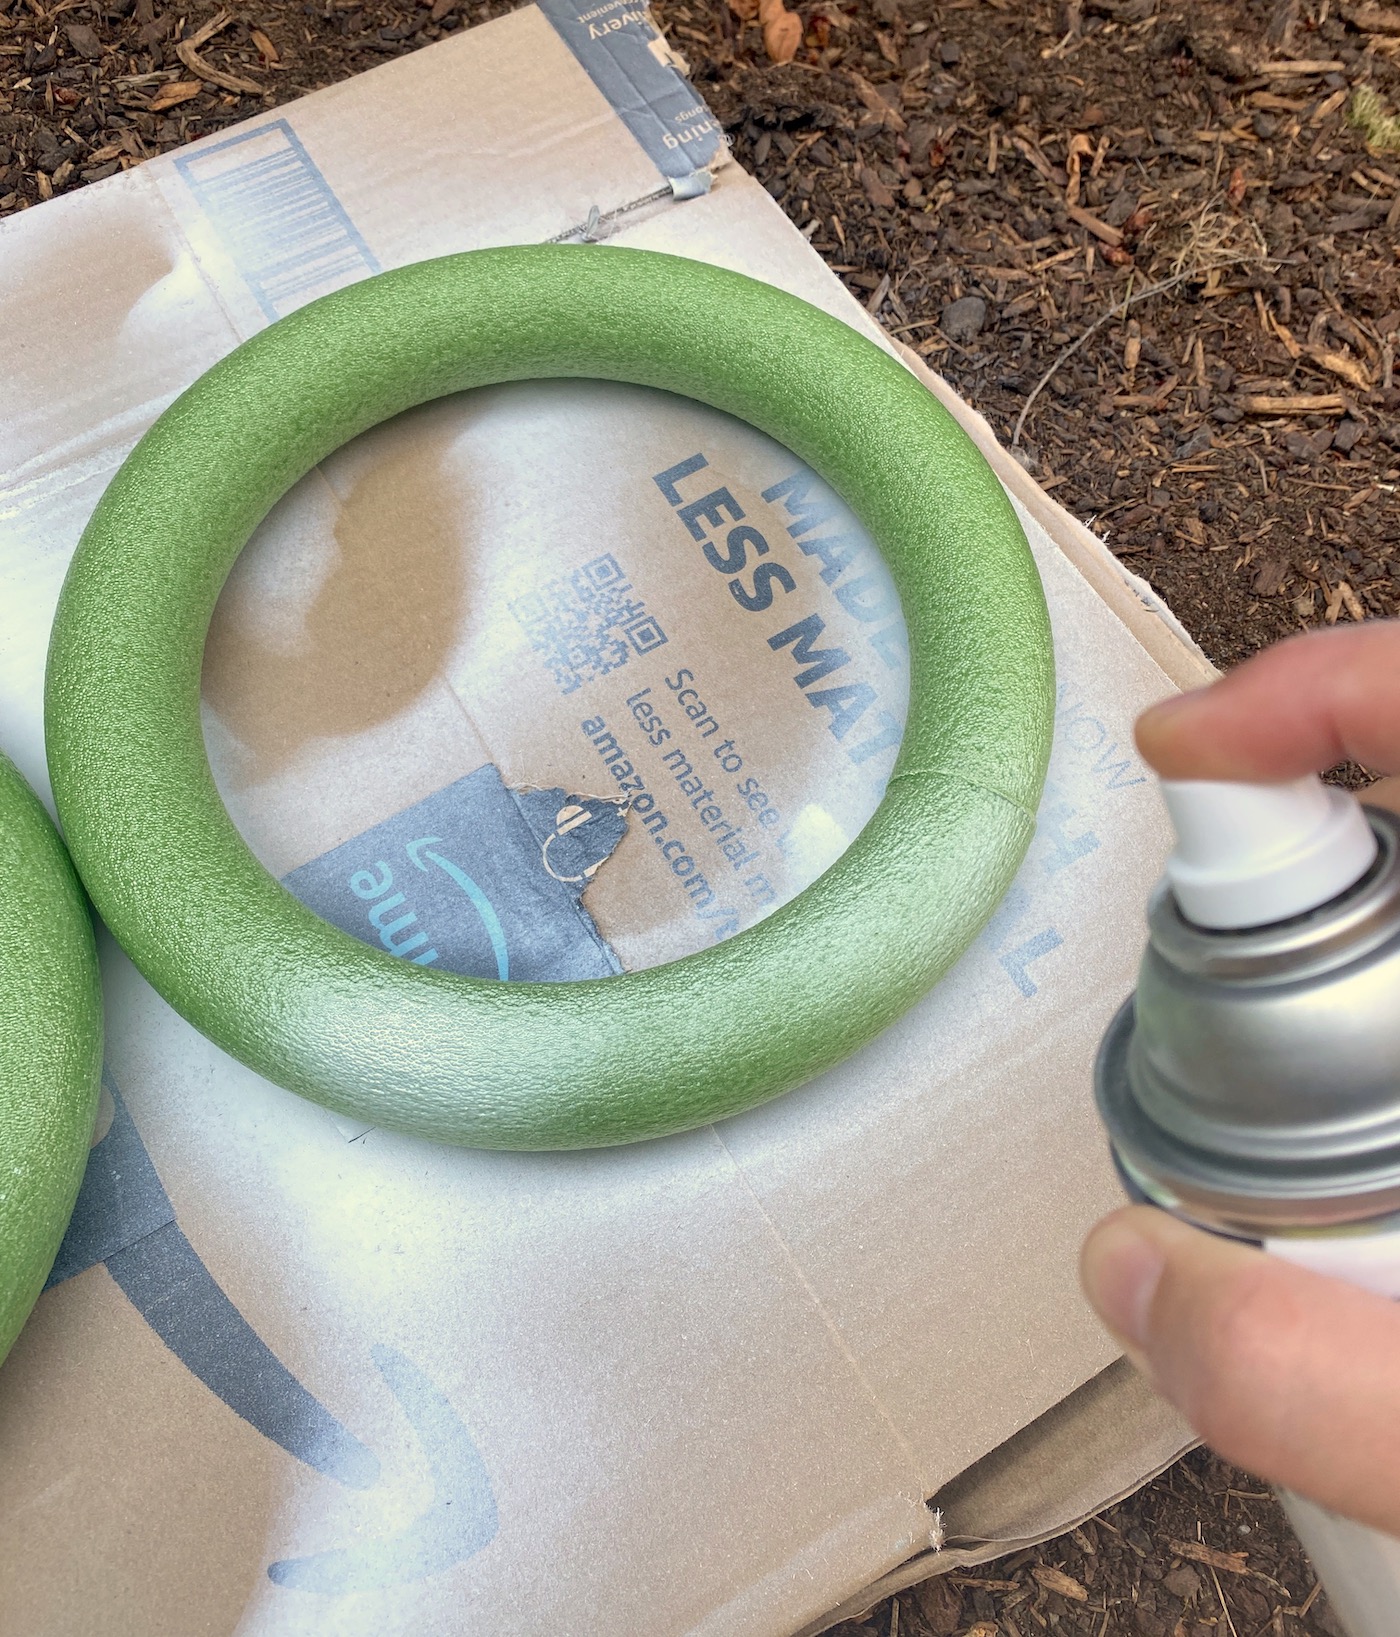
Spray Paint the Wreath Form
My Dollar Tree sells small green foam wreath forms, and I noticed that my ribbon showed some of the green through when I first wrapped it.
So I decided to spray paint it, which only took a few minutes. If you have a green wreath form you will want to make it white if your ribbon needs to pop. So either spray paint it (several light coats, both sides) or brush with craft paint and let dry.
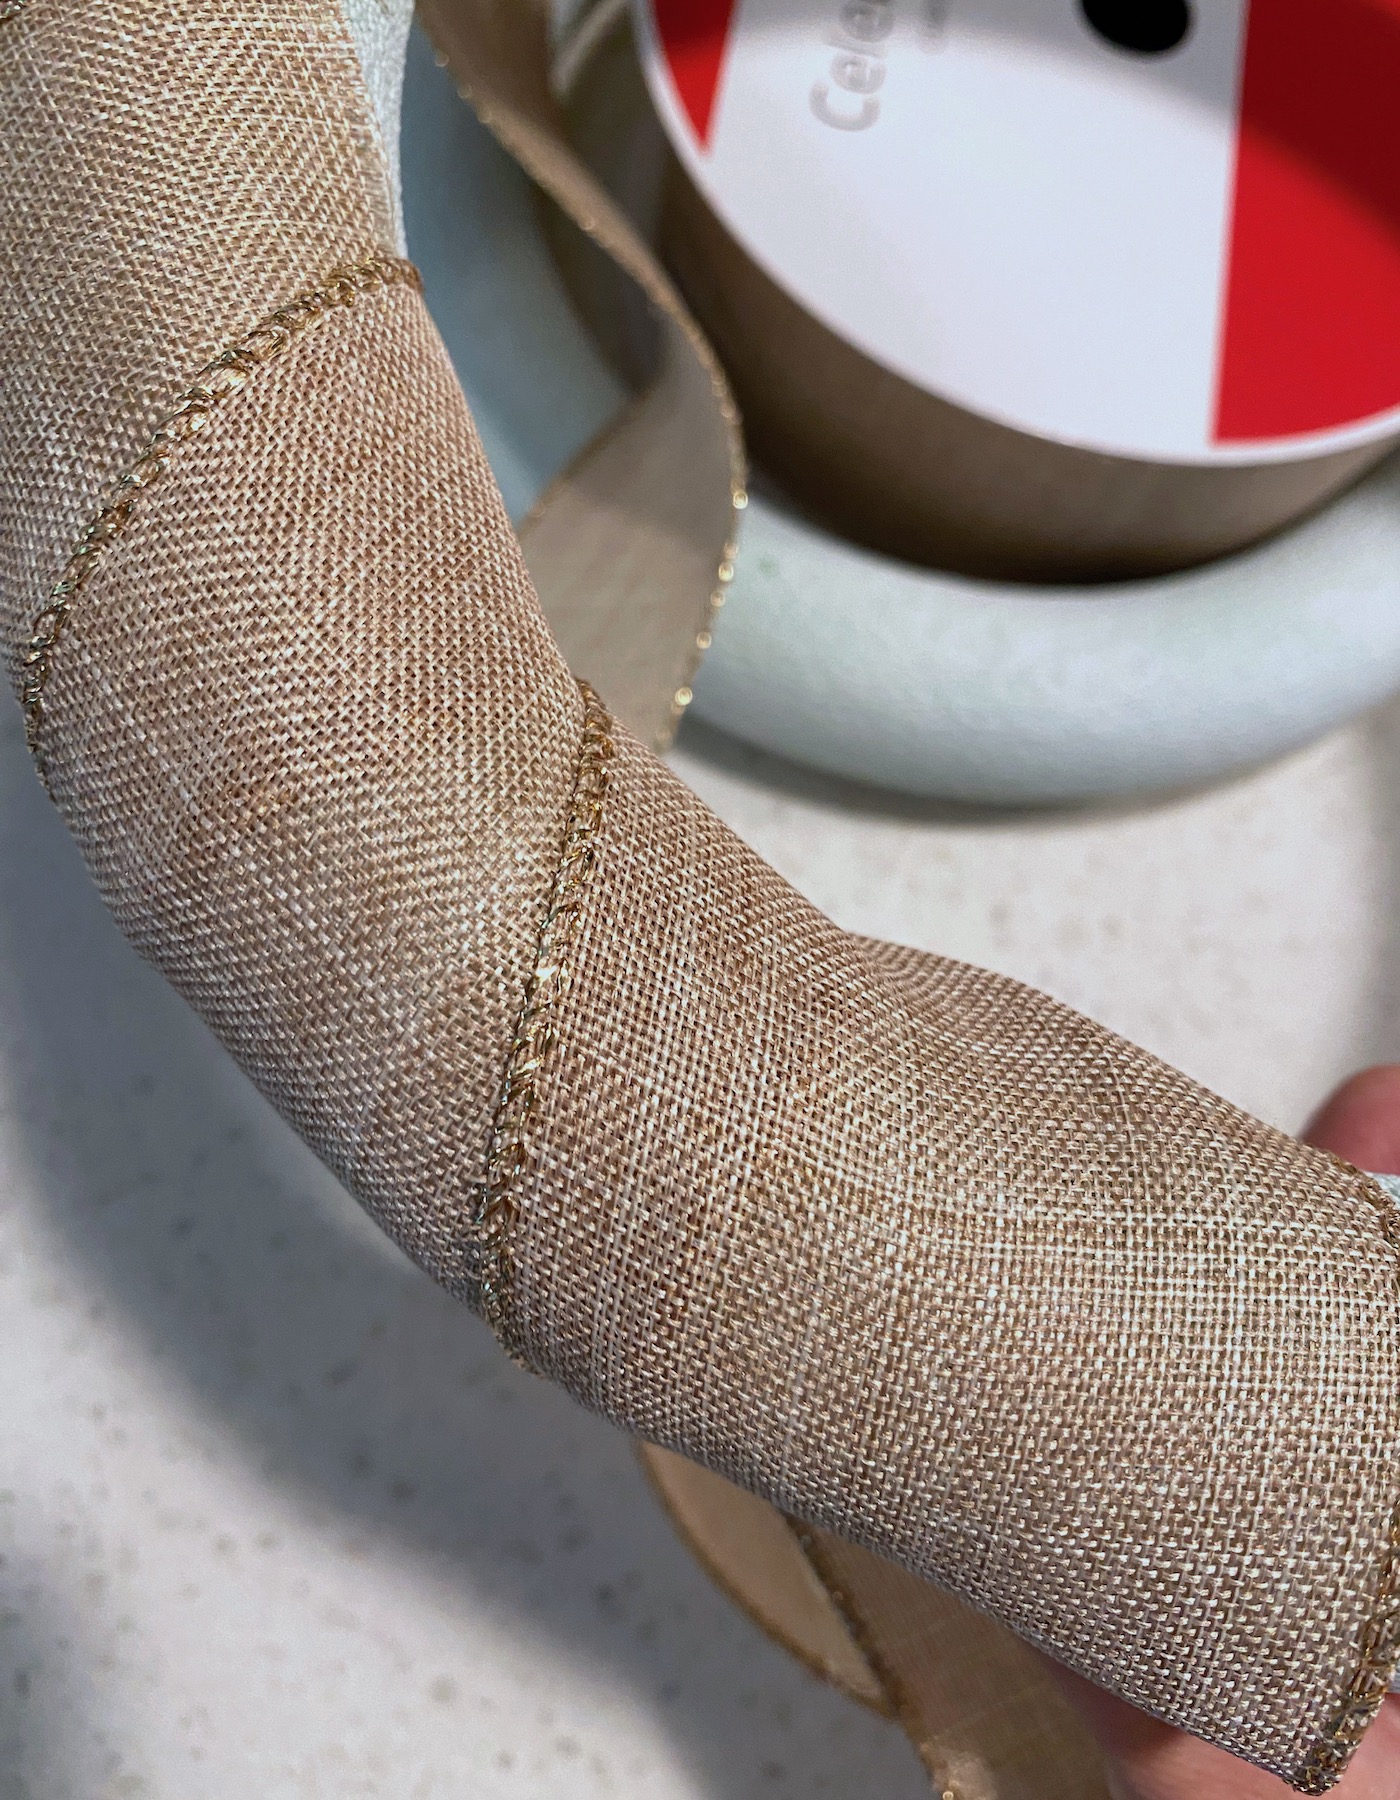
Glue Down Ribbon and Wrap
Plug in your hot glue gun and get it warmed up. Choose a starting point on the wreath (I chose the seam). Place a dab of hot glue down and then place the ribbon down into the glue at an angle.
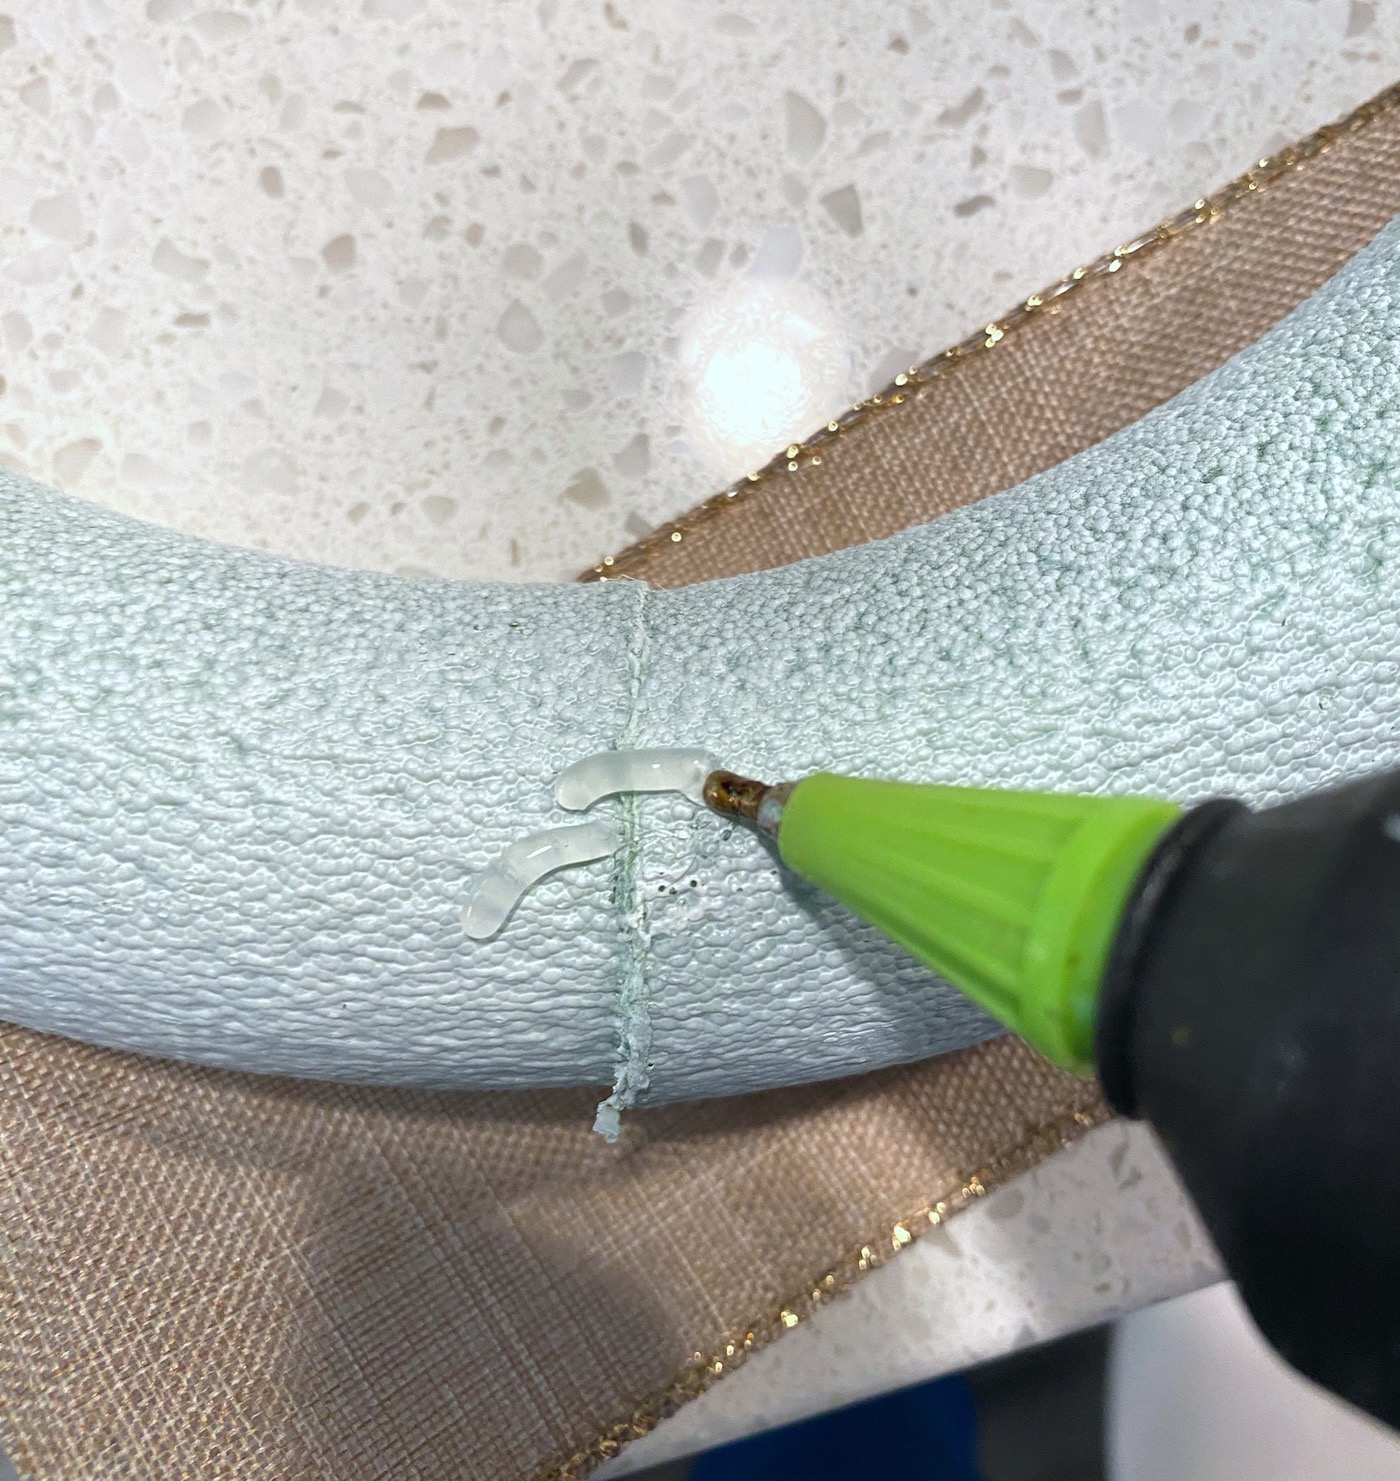
The reason for placing the ribbon at an angle is so that you can wrap the ribbon at an angle – which helps you go around the curvature of the wreath.
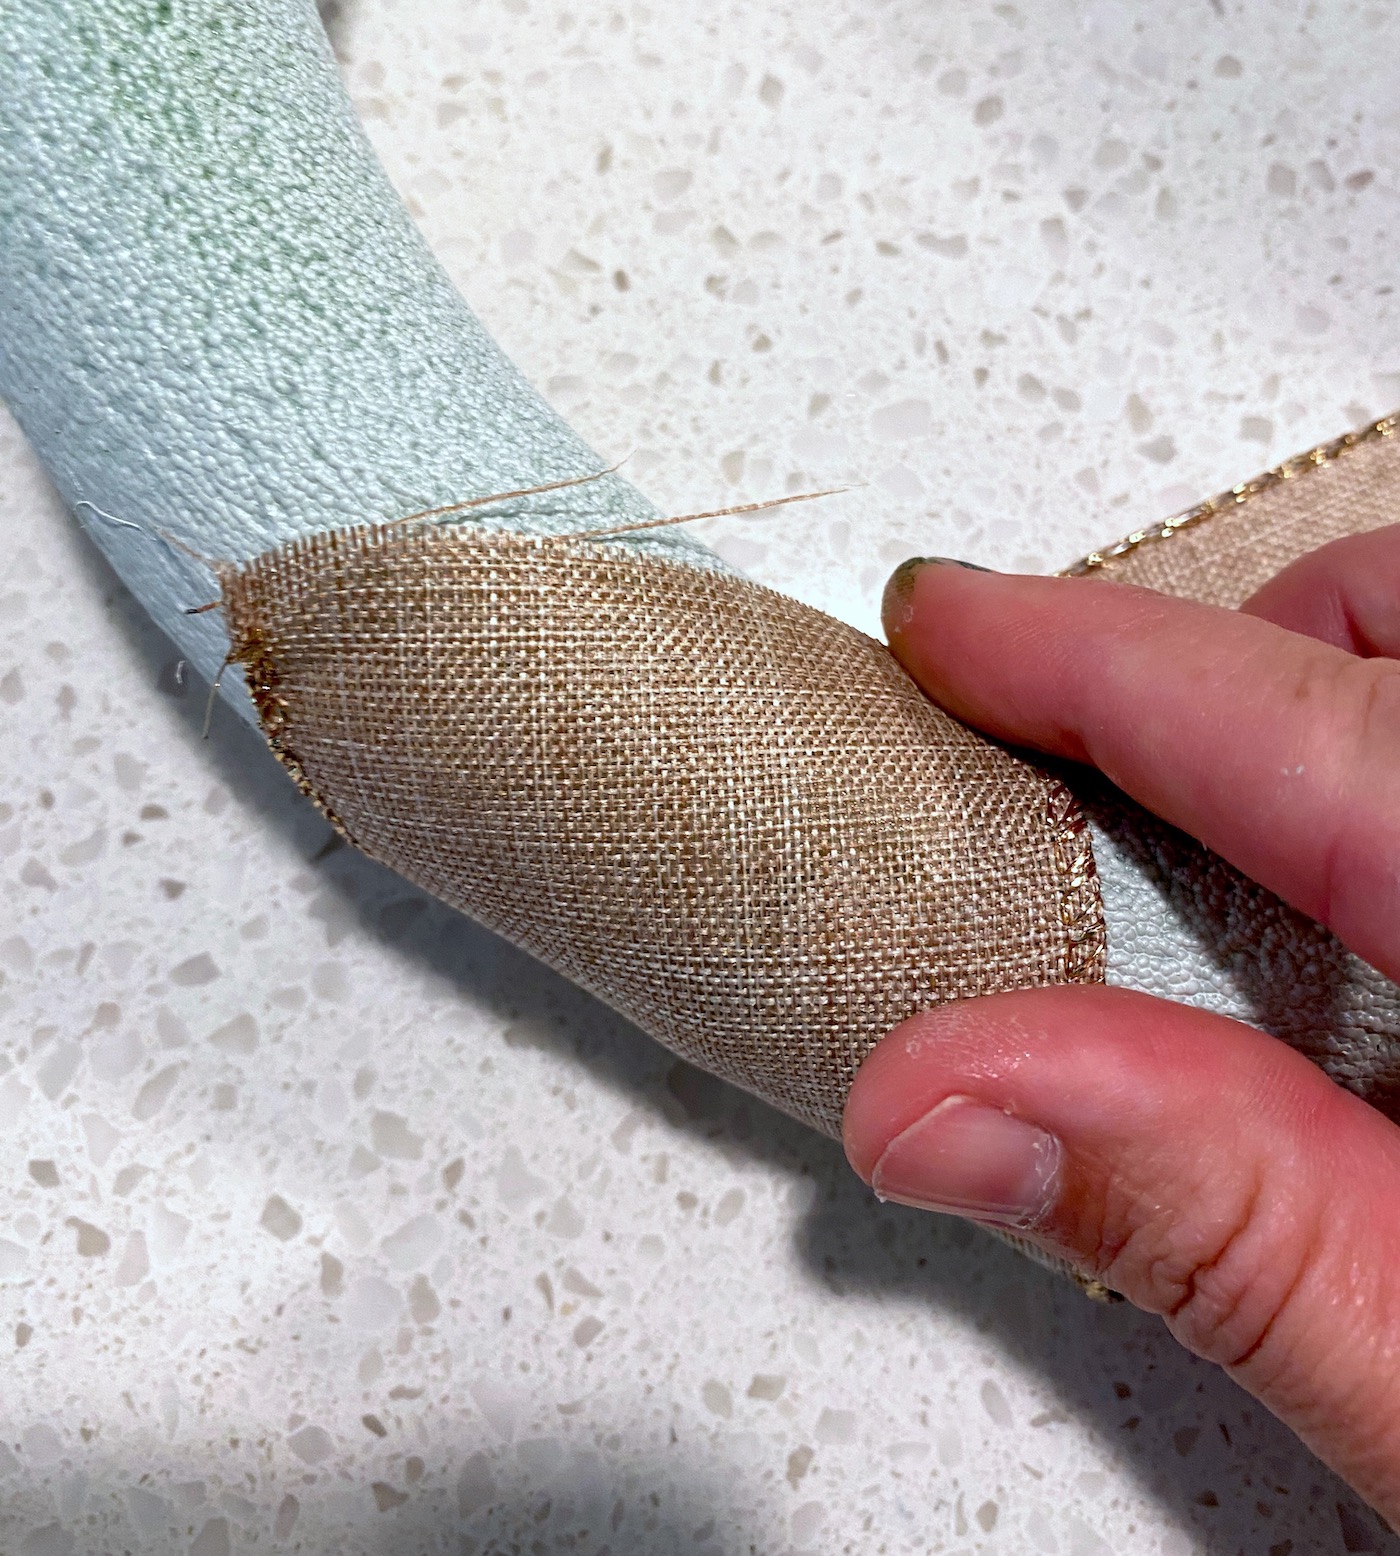
Begin wrapping the ribbon, placing hot glue in random spots as you wrap to secure. Wrap all the way around the wreath form.
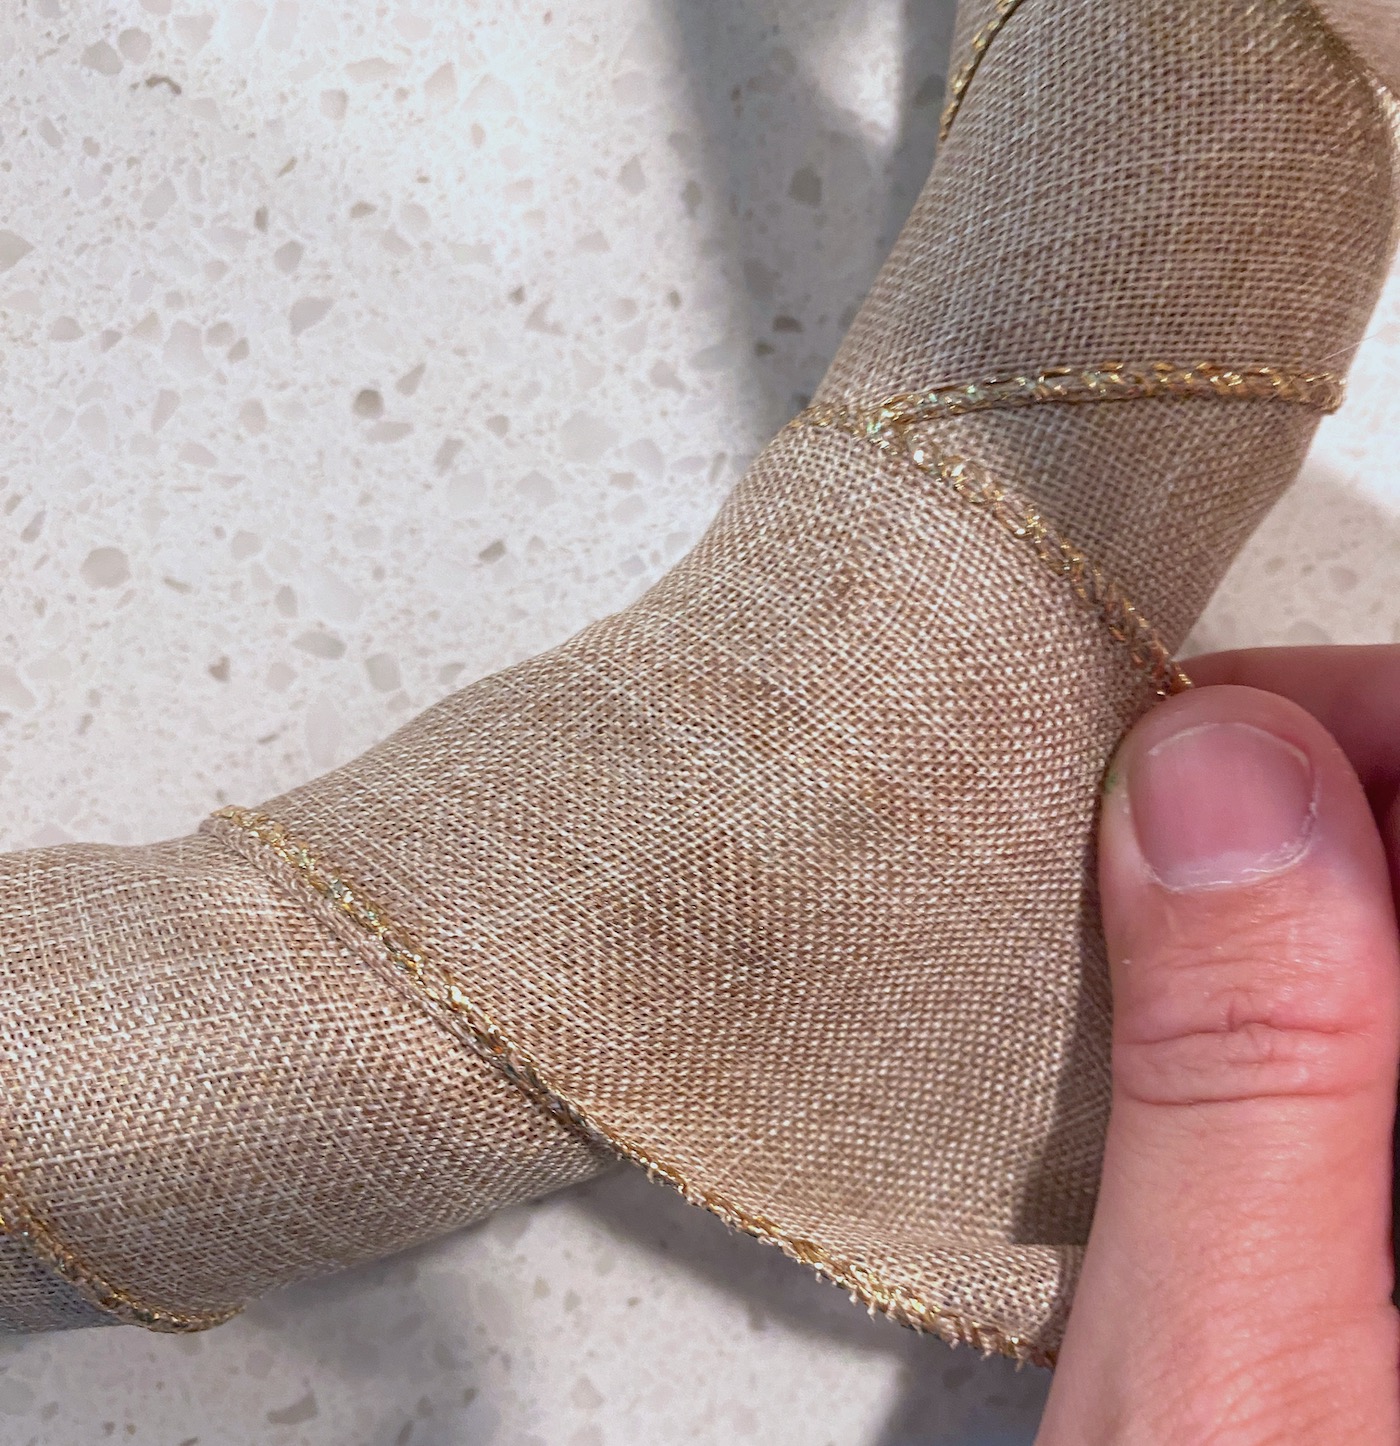
Secure and Trim
Once you reach the end, you’re going to wrap the ribbon around a final time and trim it. Then glue it down to secure to the back (make sure it looks neat on the front).
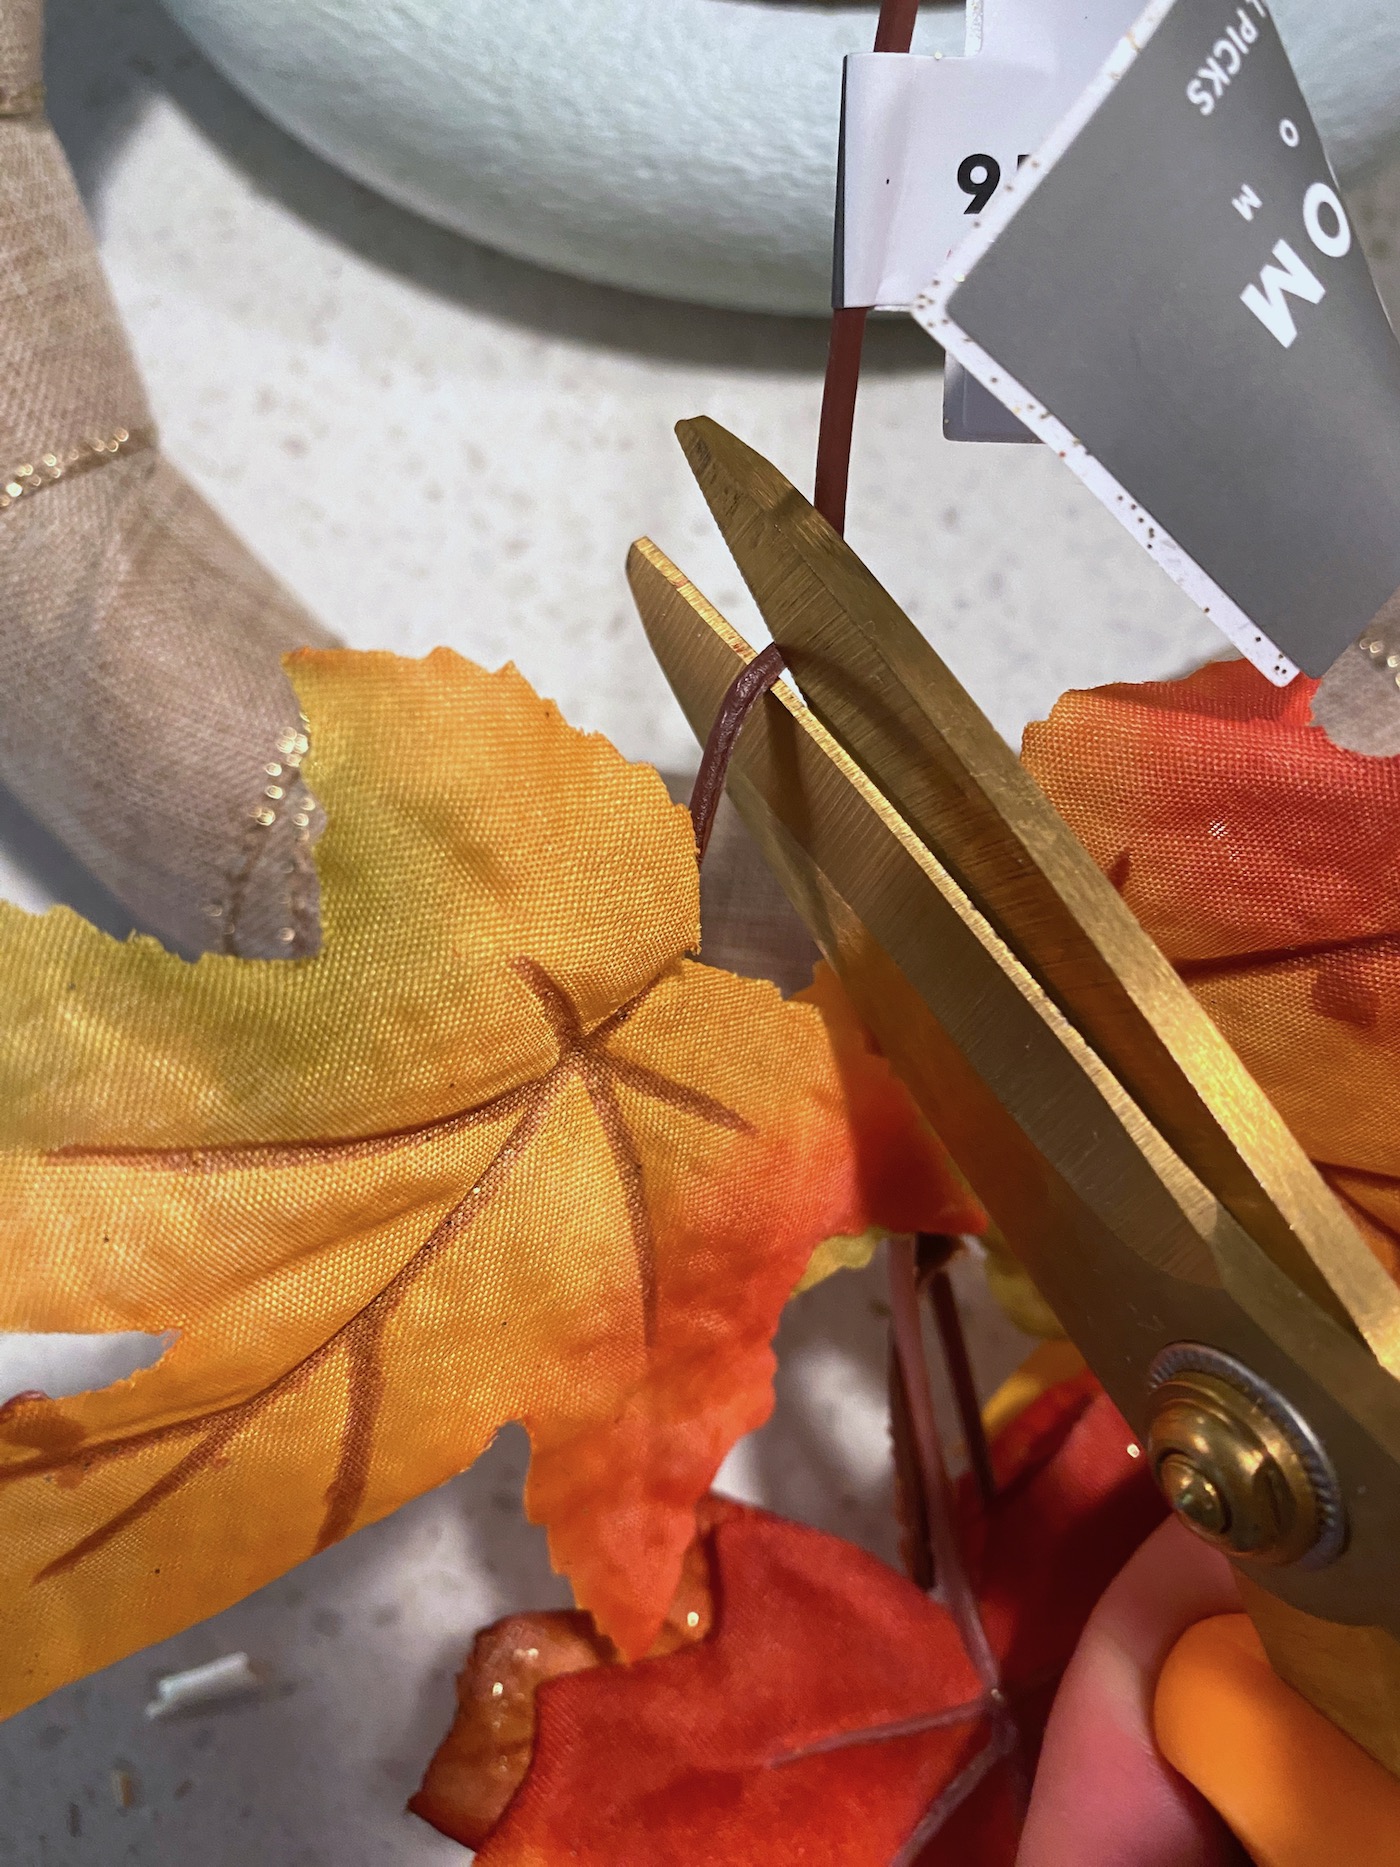
Add Faux Leaves and Pumpkins
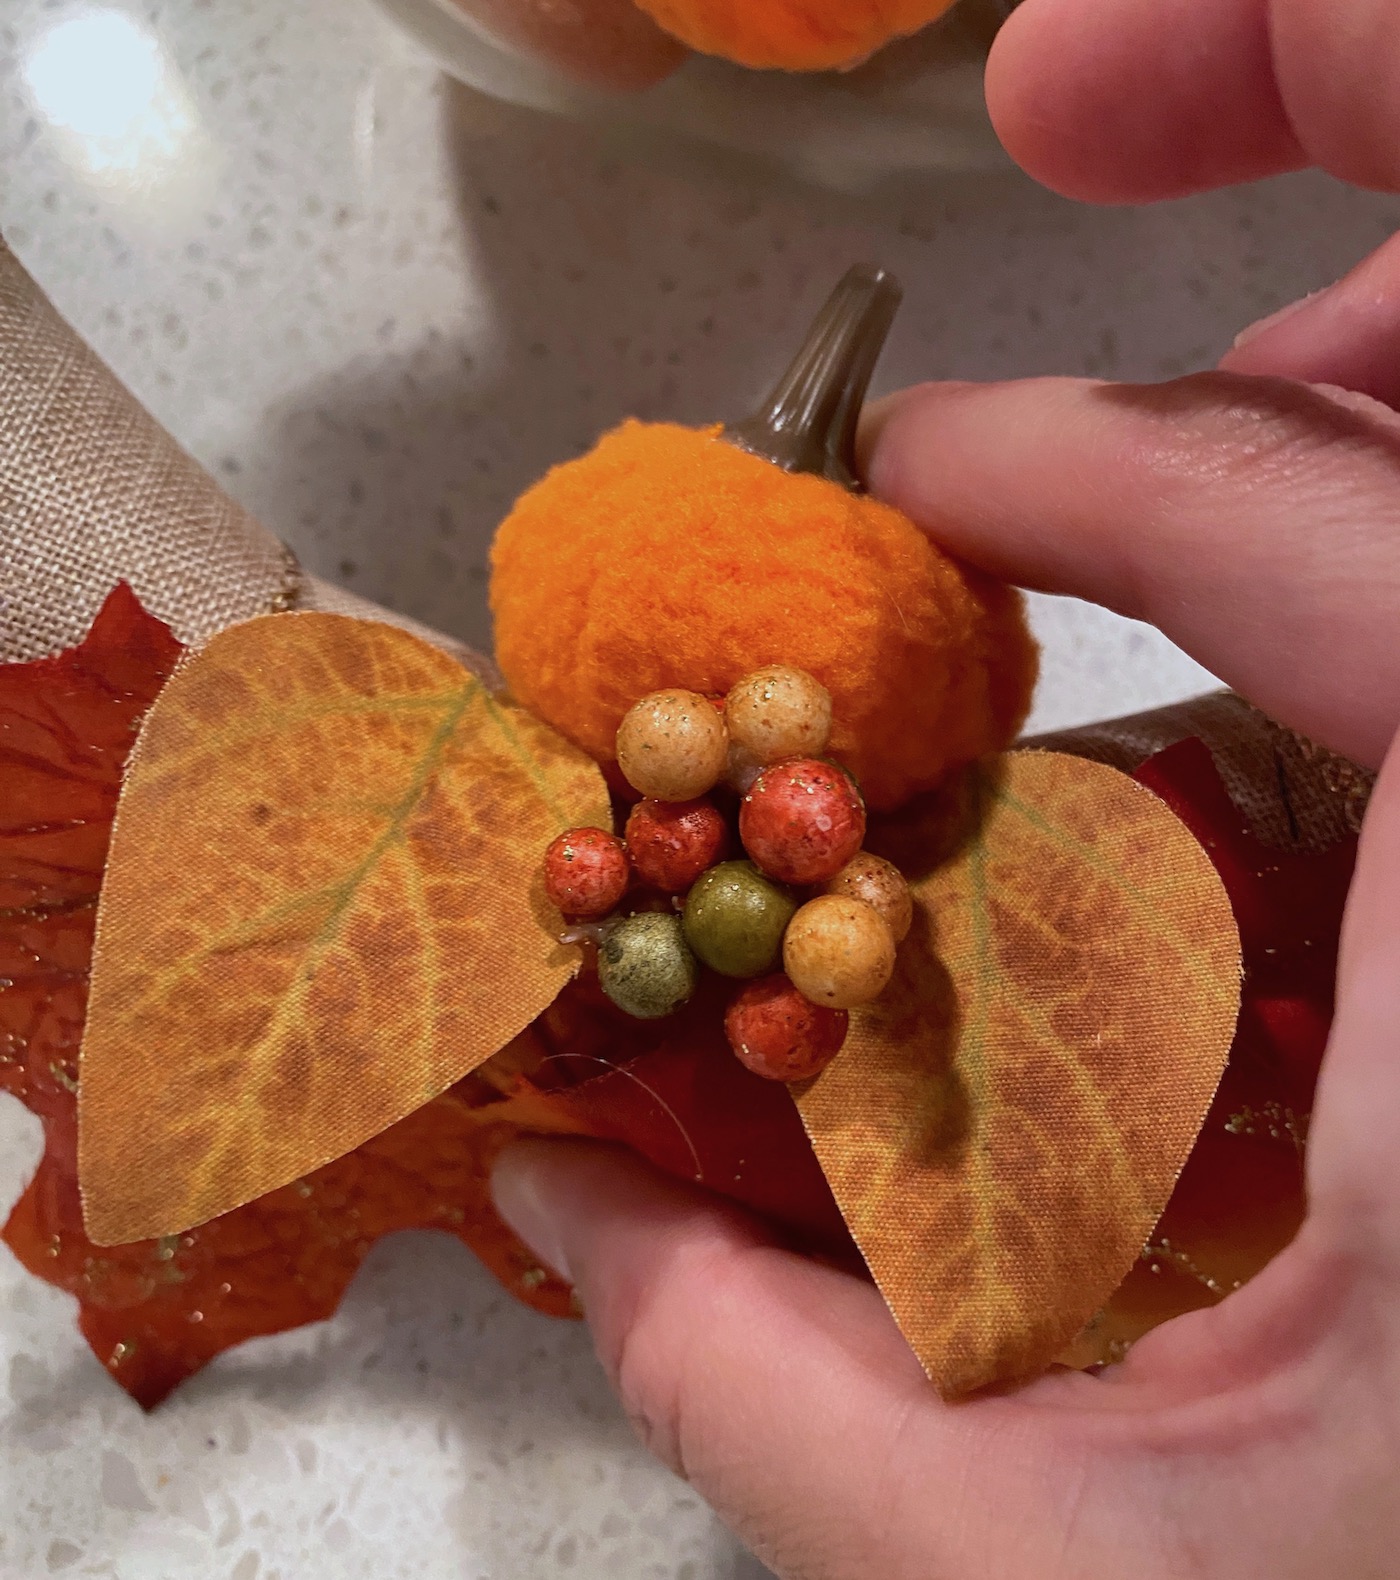
Your mini pumpkin wreath needs some accoutrements! The dollar store always has faux leaves. You’ll want a few sprigs of the fake leaves and maybe some flourishes. Trim them off of the stems with the scissors.
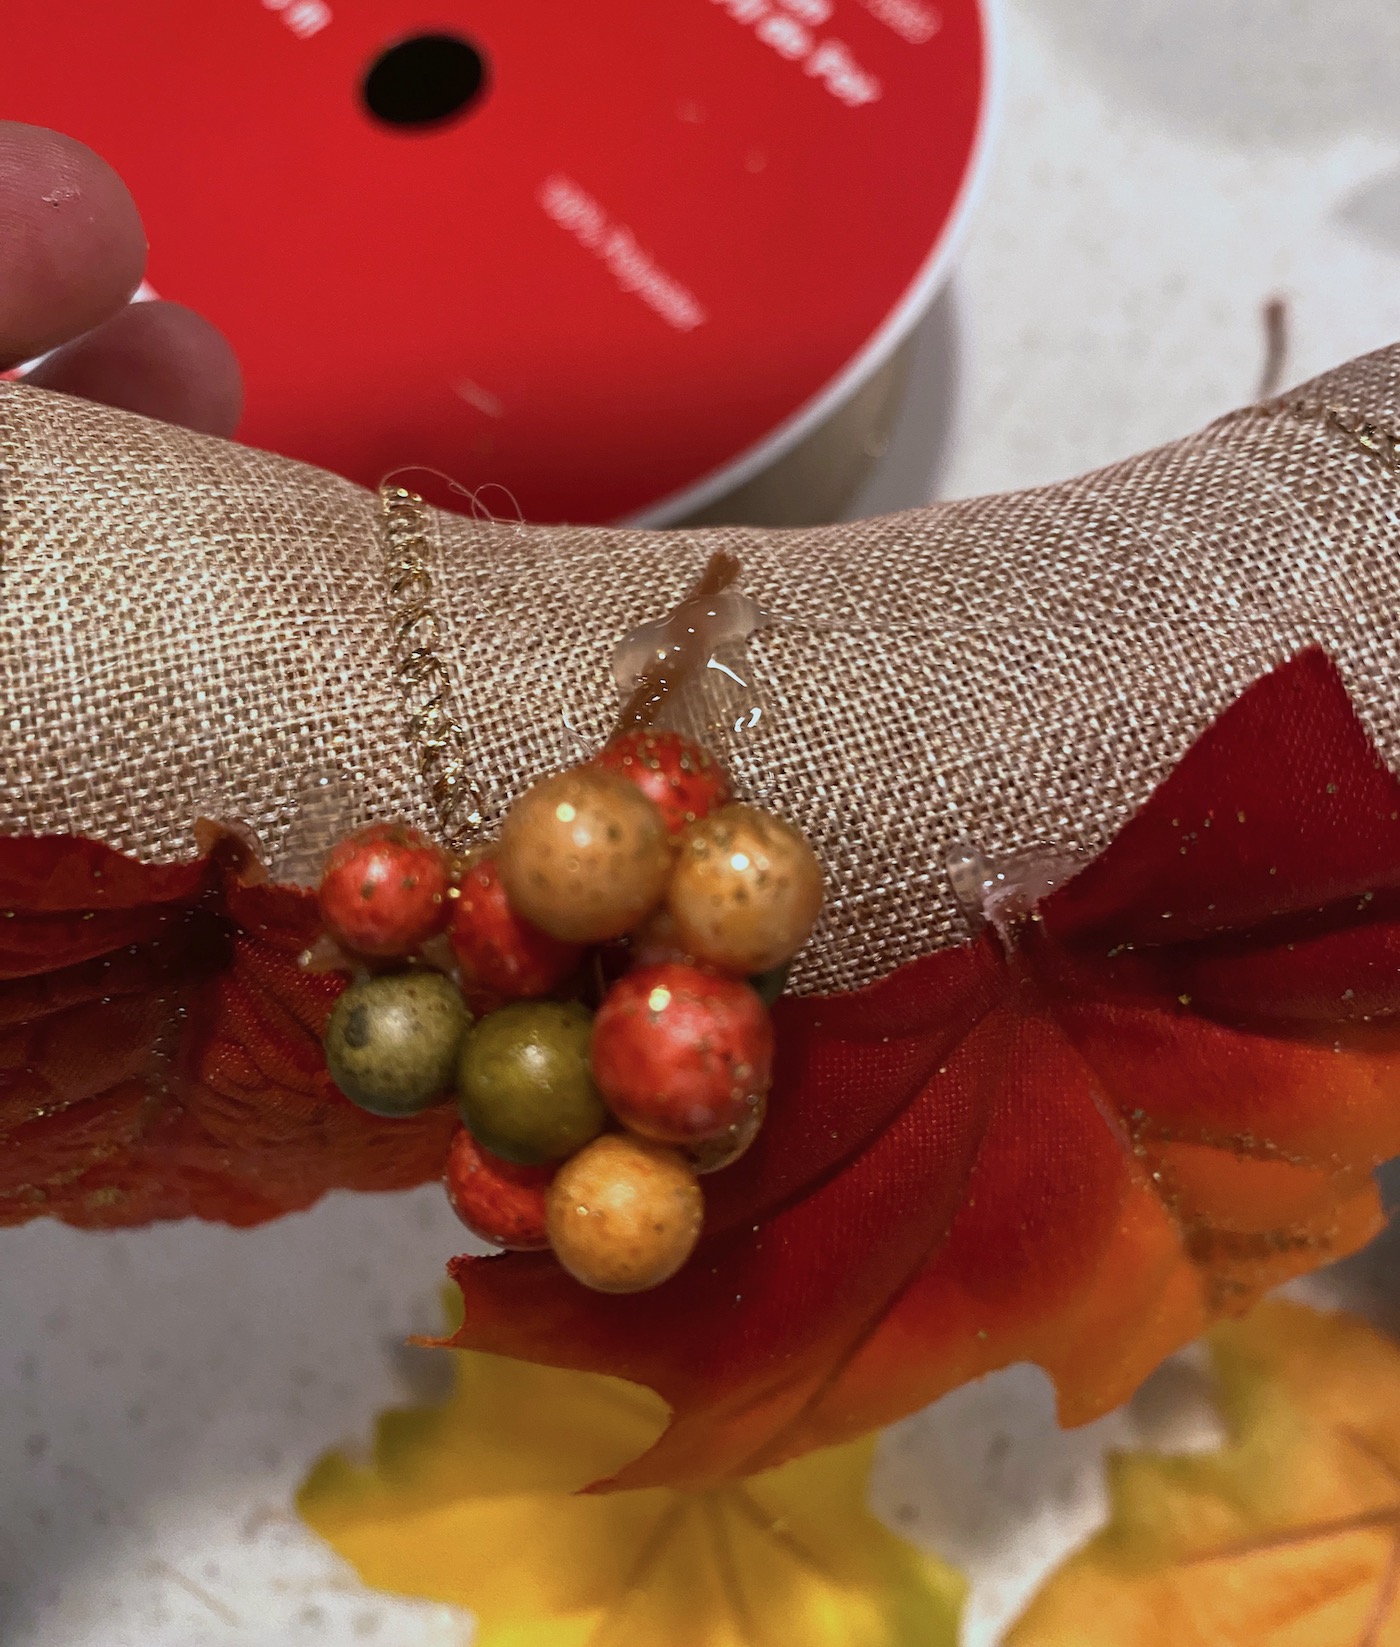
Use the hot glue to apply the leaves and flourishes to the wreath form. Make sure when you secure these items that you put them right underneath where the pumpkins will go, or in some way overlapping so that the stems can’t be seen.
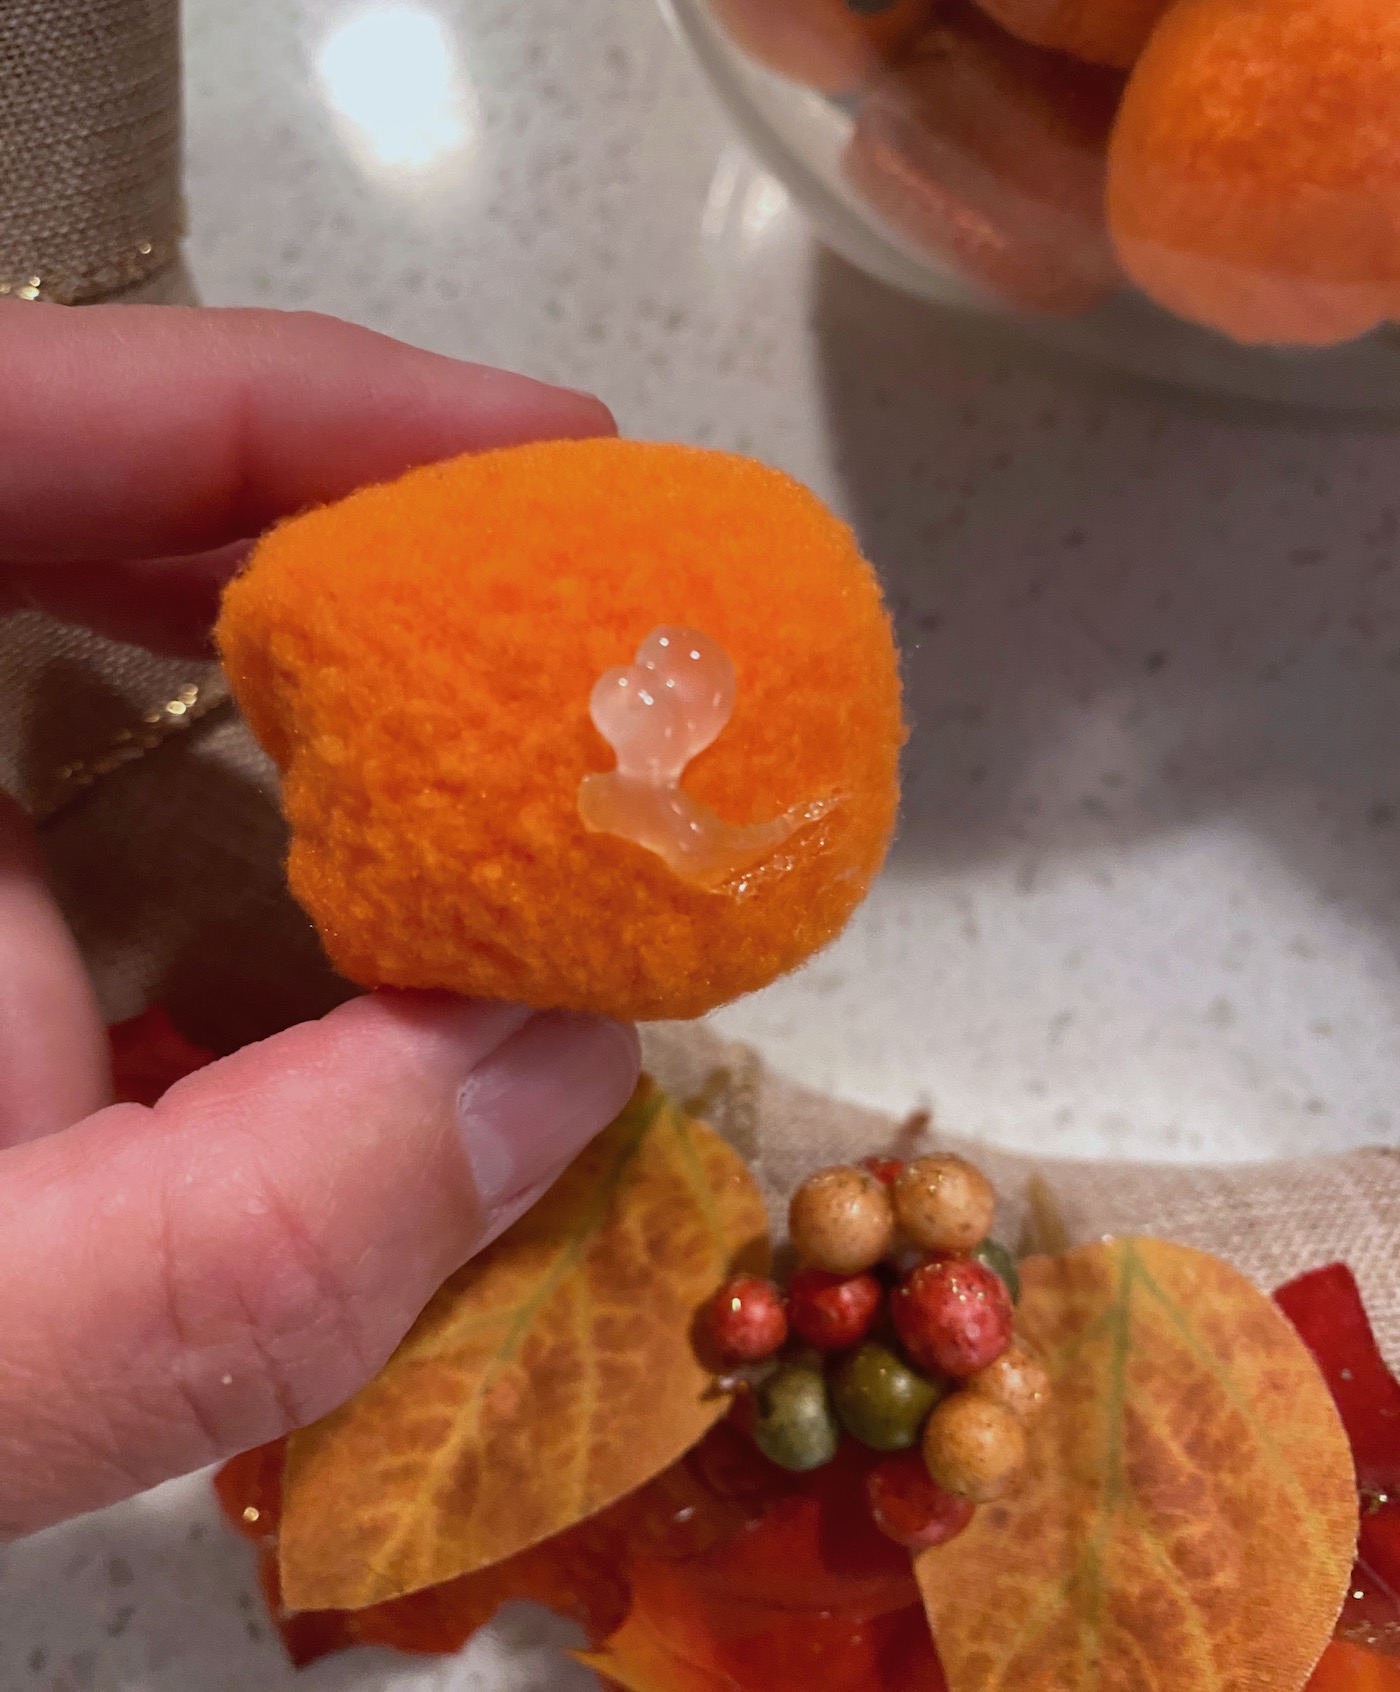
To finish this glorious autumn decor craft, you’ll add your darling pumpkins. Place hot glue on the bottom of a pumpkin and add it to the center inside of the wreath form.
Continue adding pumpkins until you have a little patch “growing” on your wreath. I used different kinds of pumpkins that I found at my Dollar Tree.
To finish, you can glue a small loop of just about anything on the back (yarn, ribbon) to use as a hanger. These wreaths are very lightweight!
These took less than an hour to make. What do you think? Let me know in the comments!
If you enjoyed this fall craft, I’d love for you to check out these other unique ideas:
Book Page Pumpkin • DIY Fall Wreath • DIY Pumpkin Garland • Fall Gnomes • Leaf Cork Trivets • Mini Fall Banners • Mini Pumpkin Vases • Scrapbook Paper Leaf Decor • Toilet Paper Pumpkins • Twig Votives • Wine Cork Pumpkins