Easy DIY Pumpkin Garland on a Dime
Learn how to make a DIY pumpkin garland using supplies from the dollar store! This easy autumn decoration looks great on a mantel or in a doorway. Perfect for fall celebrations.
Skills Required: None. Even if you’ve never crafted before, you can make this fall decor. This post gives you tips and how to do it very easily.
Hello! Welcome to the world of homemade fall decorations, where we tackle projects that transform your home into a seasonal wonderland without breaking the bank.
It’s that magical time of year when the leaves turn into a riot of colors, the air gets a crisp edge, and everything, and I mean everything, gets the pumpkin treatment.
Yes, we’re talking pumpkin spice lattes, pumpkin pies, and now, thanks to your undying creativity, pumpkin garlands.
Before you roll your eyes and say, “Not another pumpkin thing!”, let me assure you, this DIY pumpkin garland project is something you’ll want to ‘fall’ in love with.
And the best part? It’s as budget-friendly as it is charming, courtesy of our good friend, Dollar Tree.
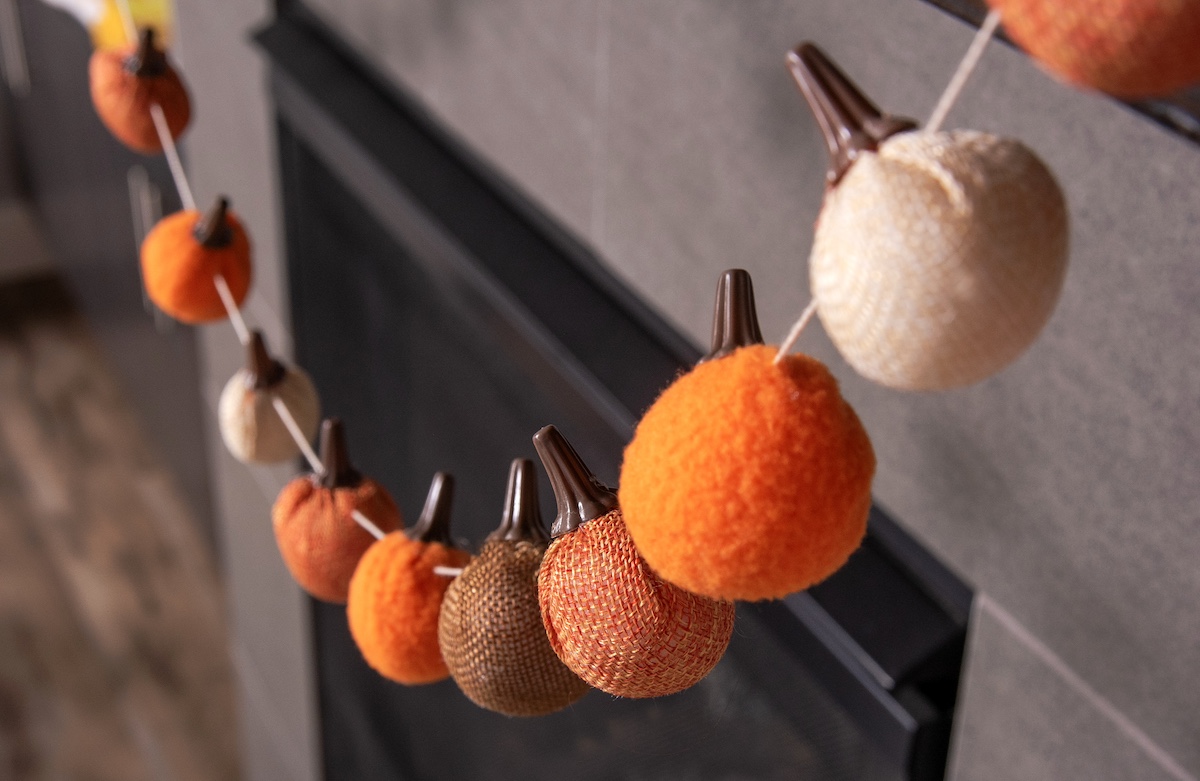
It all started when I bought several packages of these tiny fabric, felt, and burlap pumpkins and made the mini pumpkin wreaths.
I always knew that I wanted to do more than one fall craft with the teeny weenie gourds . . . and I had so many left over.
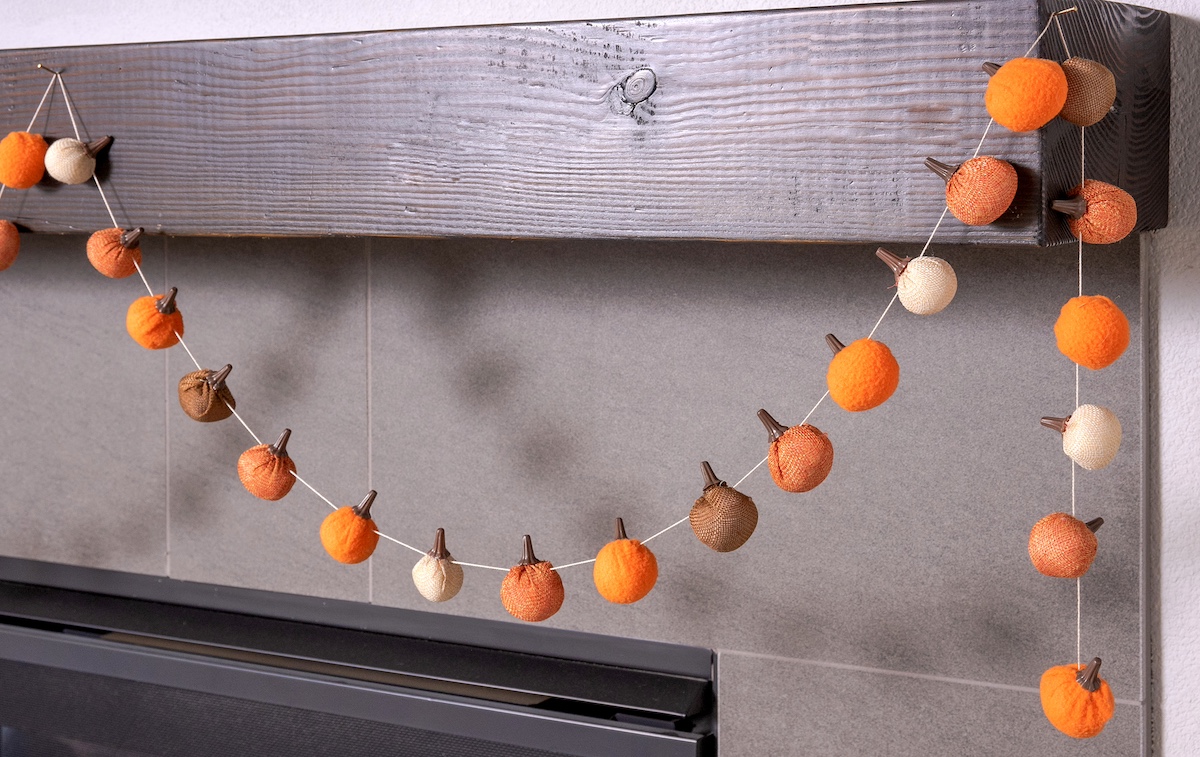
I looked at my fireplace which has a large wood mantel and thought “these need to hang right there.” So that’s how this easy DIY garland was born.
And honestly, it’s so simple you’ll be able to do it with your eyes closed (or at least mostly closed). It’s super cute, and super cheap, but it looks really good to me. I am keeping it up all through autumn and then Thanksgiving!
Learn how to make this simple garland – but first, here’s what you’re going to need:
Gather These Supplies
- Dollar Tree fabric pumpkin shapes – 7 to 8 packages (or other mini pumpkins)
- Baker’s twine, thread or piece of yarn, at least 8′ – 10′
- Embroidery needle
- Scissors
Get the printable how to card for this craft below:

DIY Pumpkin Garland
Materials
- 8 packages Small fabric and burlap pumpkins
- Baker's twine or jute, thread, or yarn
Instructions
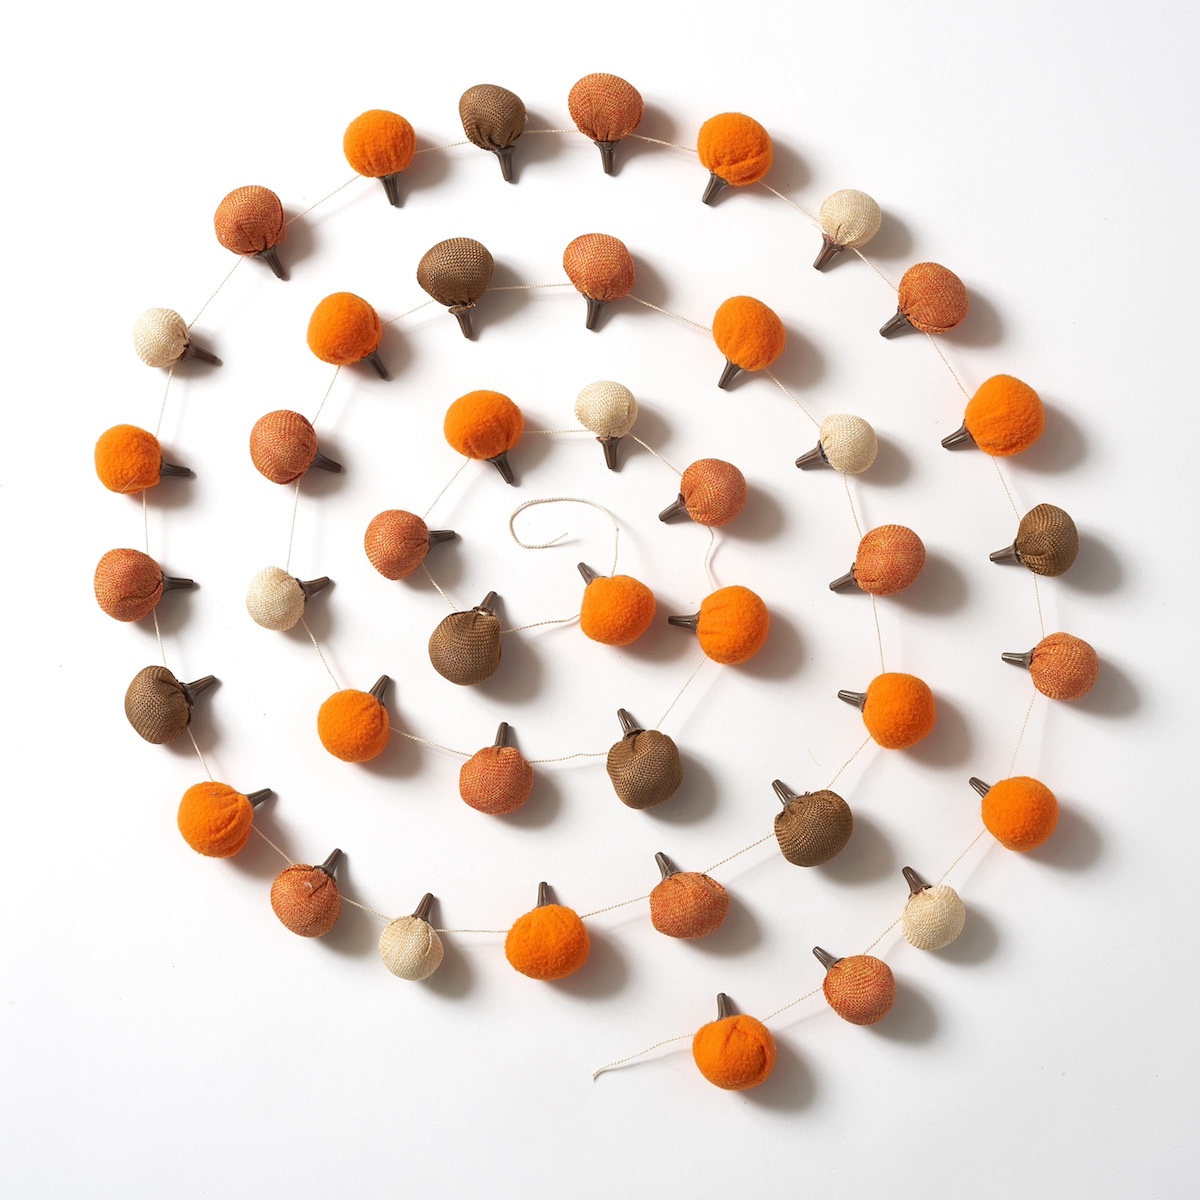
- Measure a piece of twine that you would like to use for your garland. Add a few extra feet for each end and cut with scissors.
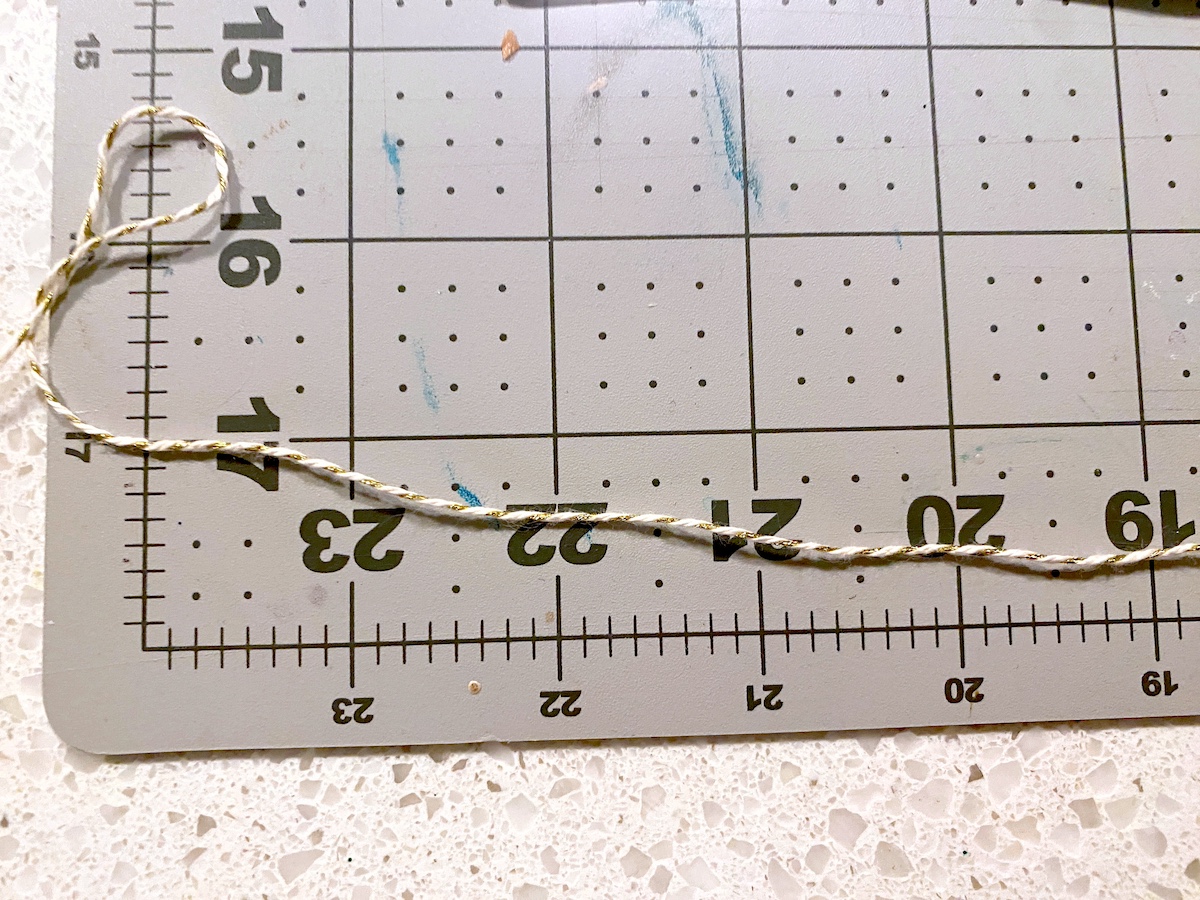
- Tie a knot at one end of the twine, leaving excess for hanging.
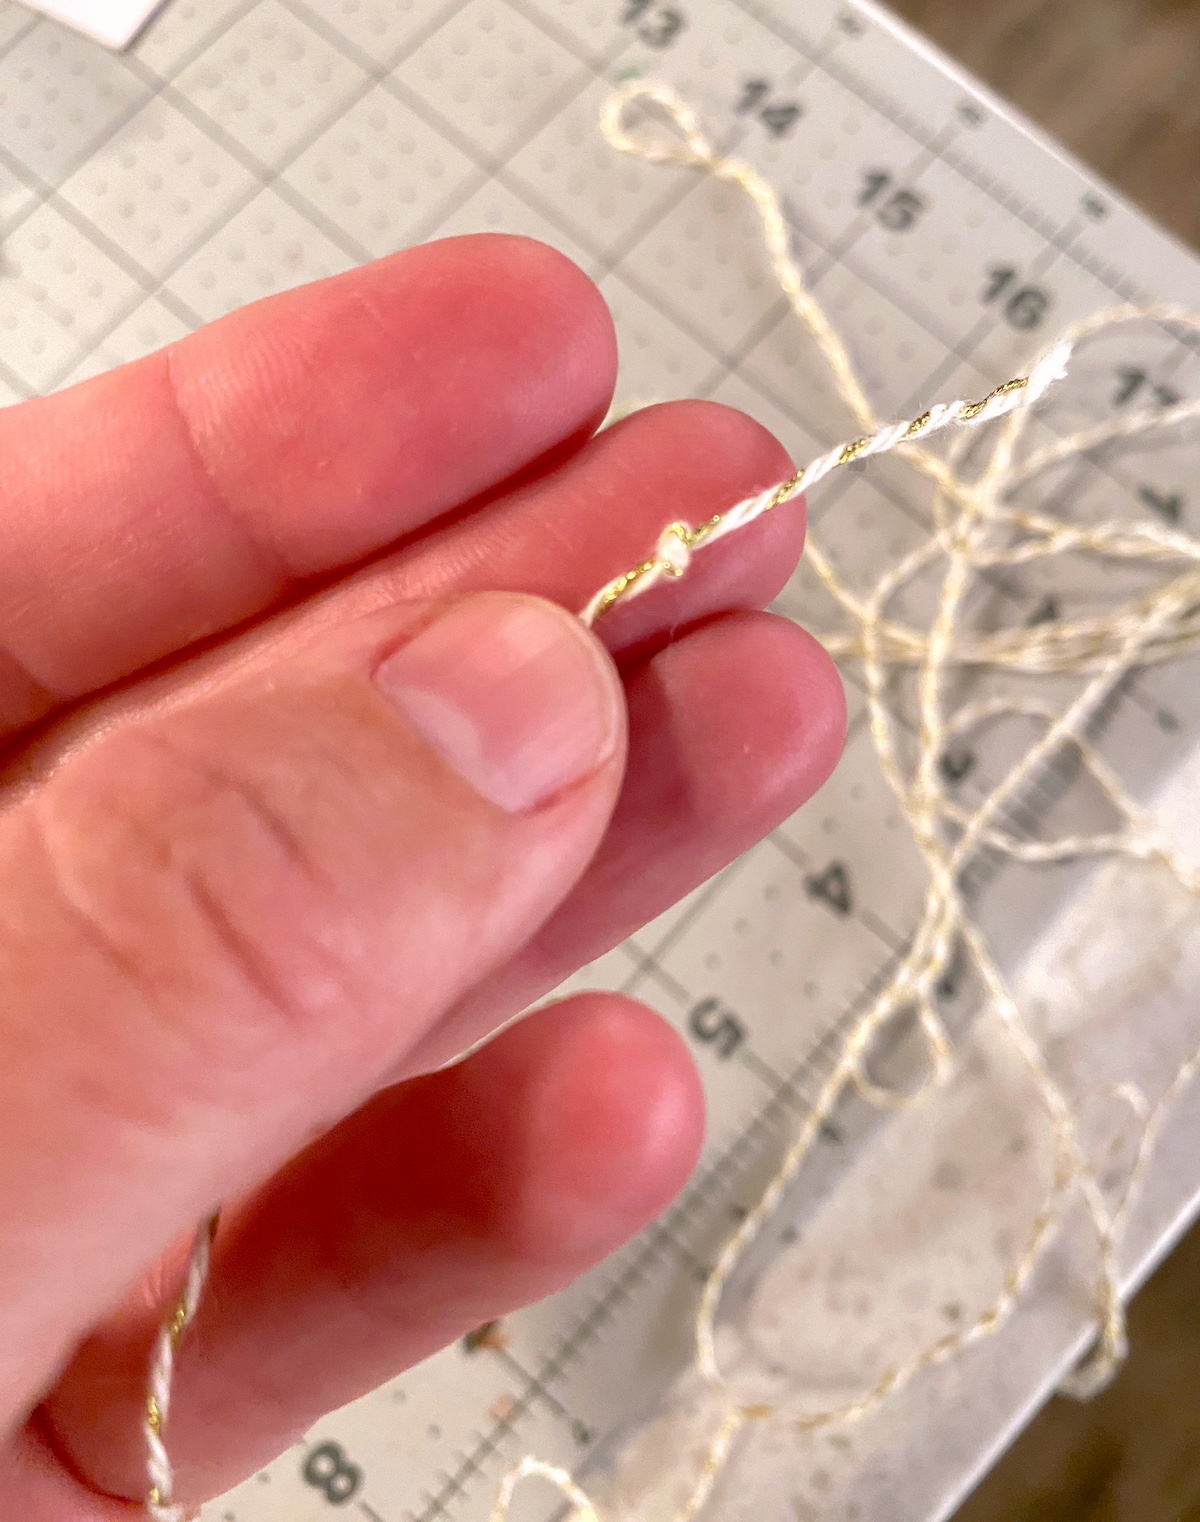
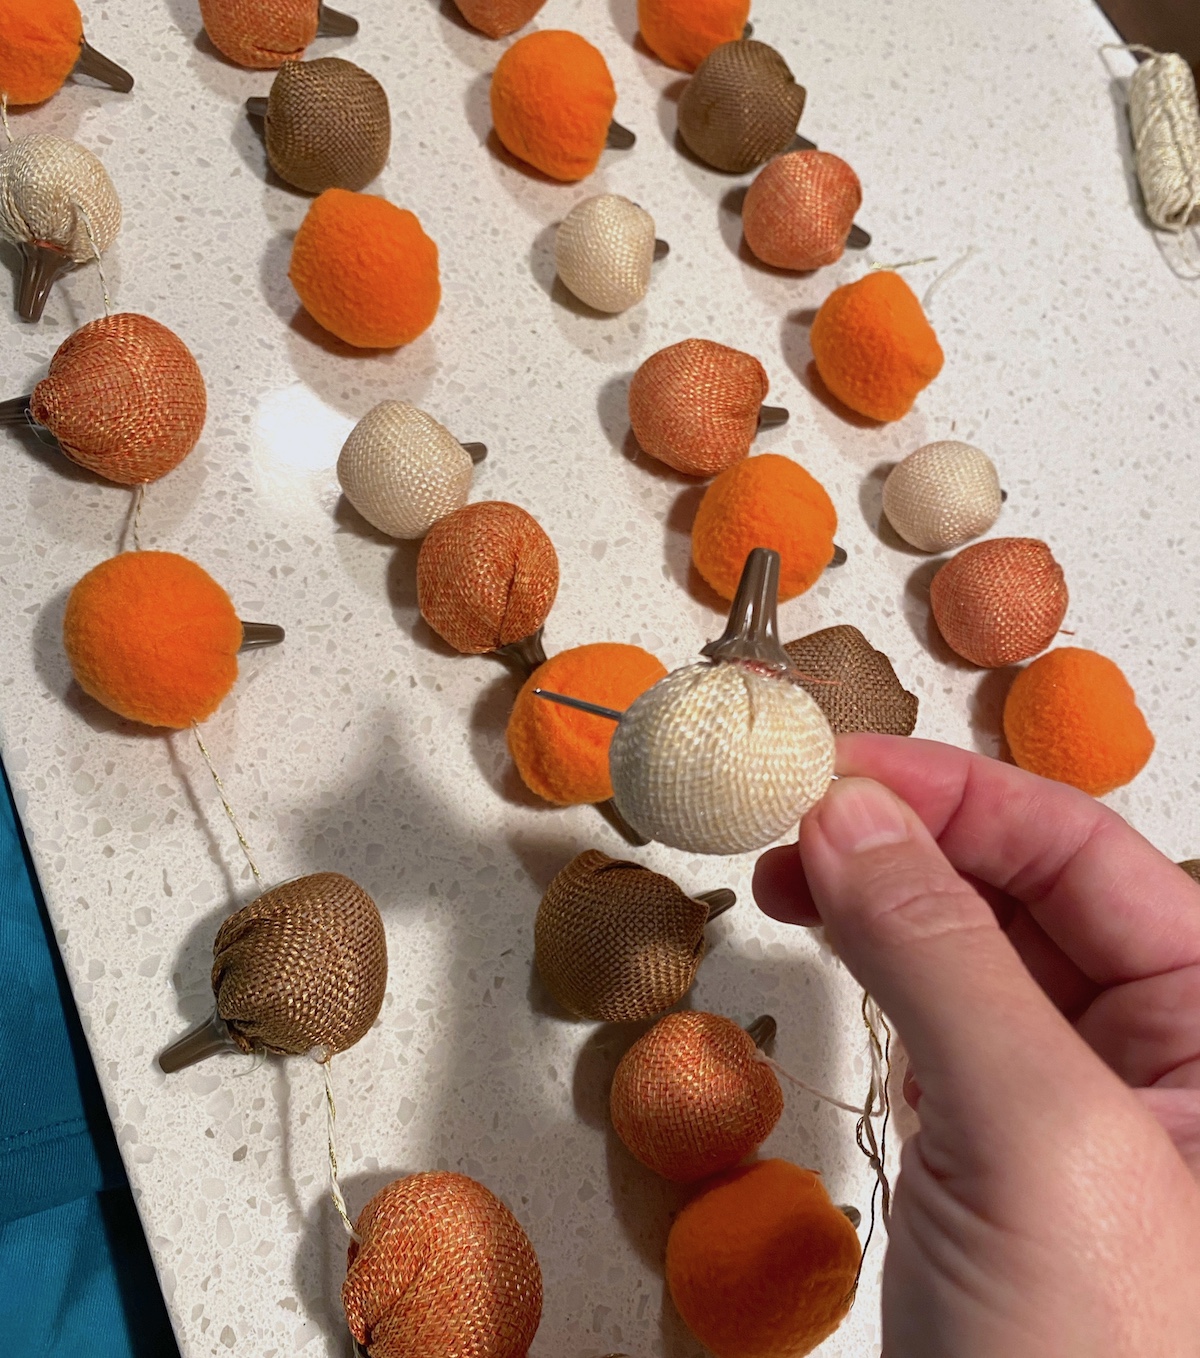
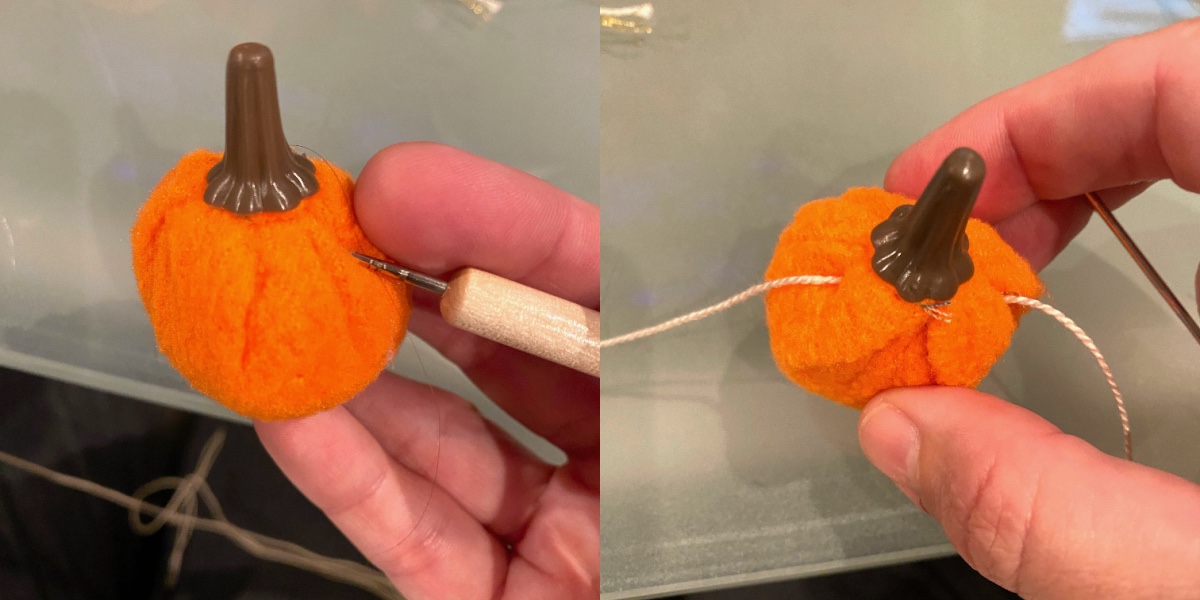
- Thread the twine through the needle. Use the needle to punch through the pumpkins and thread them onto the twine. You'll want to keep the thread at the top of the pumpkin so the weight keeps the stem up.
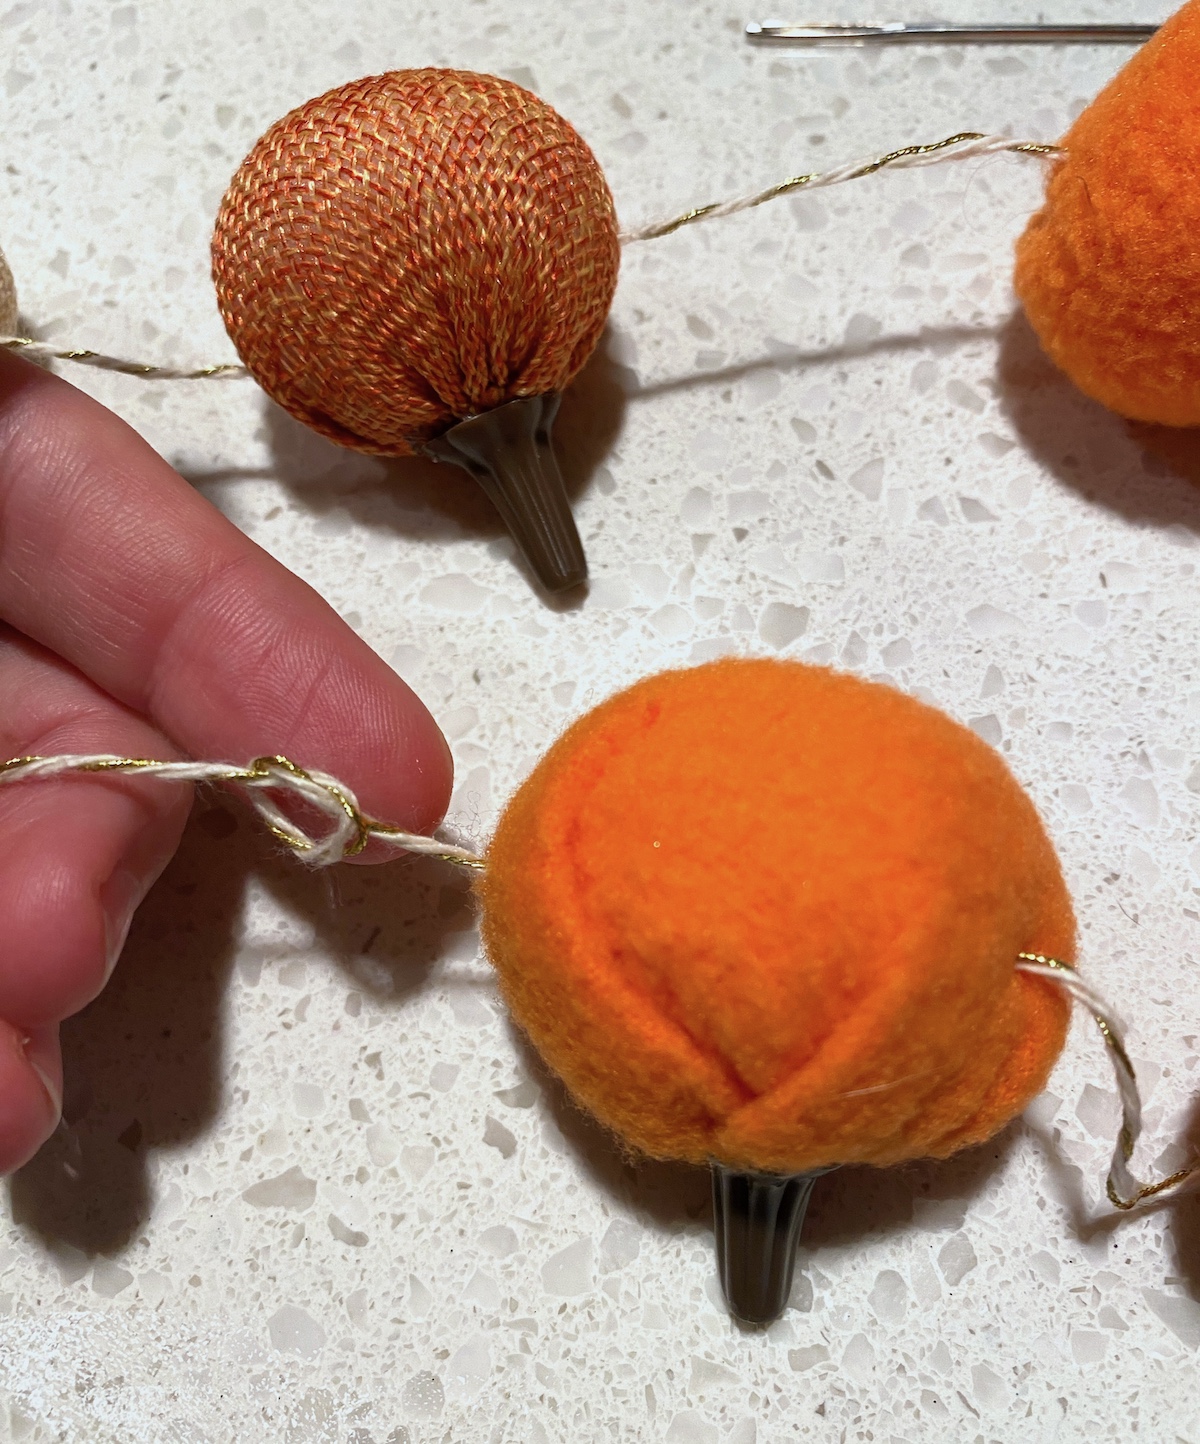
- Knot before and after each pumpkin if you find they are sliding easily on the thread. You can also add a dab of hot glue.
- If you find any issues pushing the needle through the pumpkins, use a sharp item like an awl to create a hole. Then thread.
- String all pumpkins until you've reached the desired length. Tie a final knot and hang.
If you enjoyed making this autumn decor, let me know in the comments! I’d also love for you to check out these other posts:
Book Page Pumpkin • Easy Fall Wreath • Fall Gnomes • Halloween Felt Ball Garland • Leaf Cork Trivets • Mini Fall Banners • Mini Pumpkin Vases • Pumpkin Jars • Scrapbook Paper Leaf Decor • Toilet Paper Pumpkins • Twig Votives • Wine Cork Pumpkins