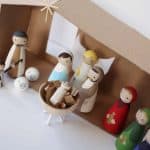
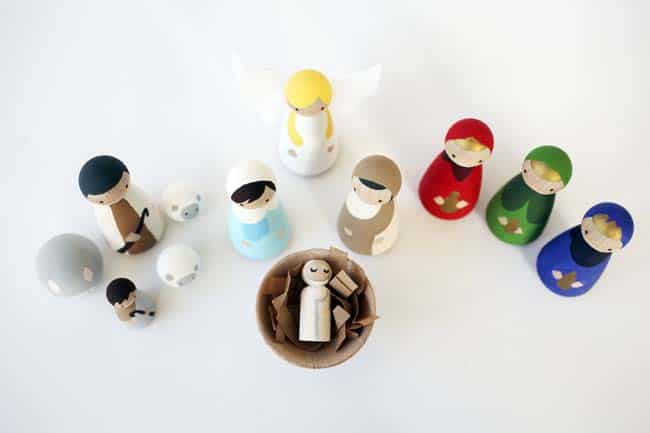
Wooden DIY Nativity Set for a Modern Holiday
This DIY wooden nativity set with wood peg dolls is budget friendly and not too kitschy. If you love modern, this set is for you!
Skills Required: Beginner. To make this DIY nativity, you’ll need basic painting skills and to be able to construct simple things out of cardboard.

Hi there! Jennifer from Brave New Home here to share what will likely be my last holiday project of the season – a modern DIY nativity scene.
I’ve been wanting a nativity set for years but they’re pricey and I was having trouble finding one that wasn’t too kitschy. What better reason to DIY than saving money and nailing your own style?
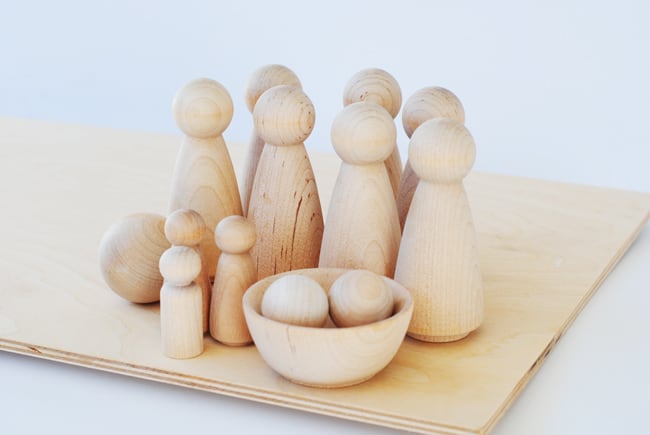
For this modern DIY nativity, you will need:
- 3″ wooden dolls – 7
- 2″ wooden doll – 1
- 1 1/8″ wooden doll – 1
- 1 1/2″ wooden ball – 1
- 1″ balls – 2
- Small wooden bowl
- Cardboard
- Chopsticks
- Toothpicks
- Acrylic paint
- Felt
- Brown paper bag
- Hot glue gun
- Paintbrushes (including detail brushes)
- Scissors
- Pencil
- Sandpaper or sanding block
- Craft knife
This is a great craft to do with older kids.

Or it can be given as a gift since the pieces are pretty kid-friendly.
These wooden doll pieces will be easy to store, and I won’t have to worry about them breaking like many other holiday decorations.
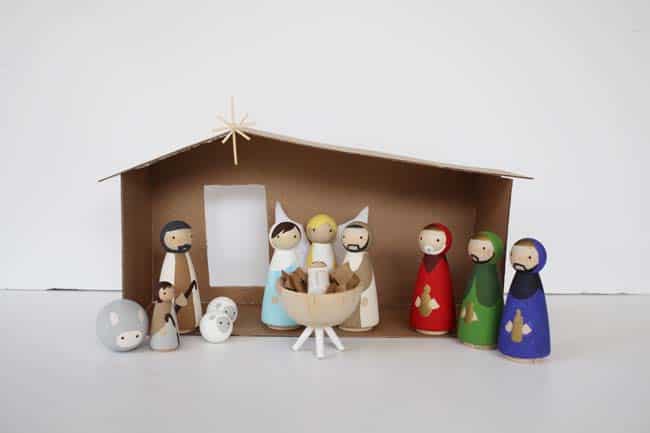
If you wanted to make a more elaborate scene, you could embellish the barn by adding a roof, and decorating the inside with a theme. Or you could add more animals. It’s really up to you!
DIY Nativity Scene
Equipment
- Pencil(s)
- Sanding block or sandpaper
- Paintbrush(es) (including detail brushes)
Materials
- 7 3" wooden dolls
- 1 2" wooden doll
- 1 1 1/8" wooden doll
- 1 1 1/2" wooden ball
- 2 1" balls
- Small wooden bowl
- Cardboard
- Chopsticks
- Toothpick(s)
- Acrylic paint
- Felt sheet(s) white
- Brown paper bag
Video
Instructions
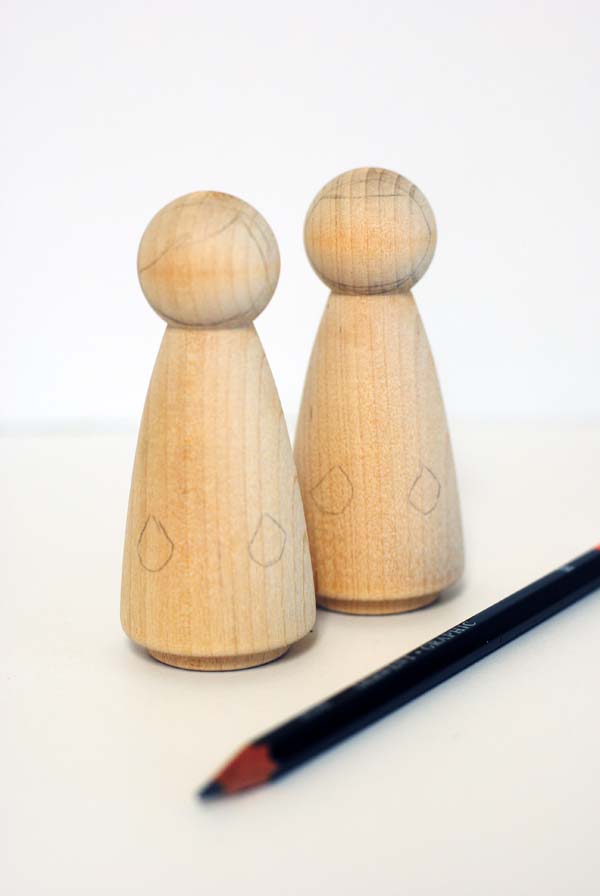
- Using the pencil, sketch out your designs on the peg dolls. You can add the shape of the hands, clothing, hair, and more (you’re going to paint over these lines).
- Sand the wood balls so that they sit flat, since they are going to be individual animals.

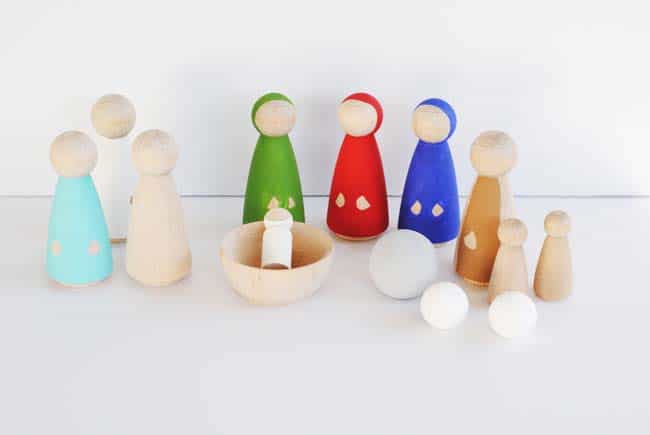
- Begin painting. The key is to paint individual layers. Paint one layer, let dry, and then come back and paint another layer. When it comes to doing the hands, hair, and faces, use detail brushes to paint.
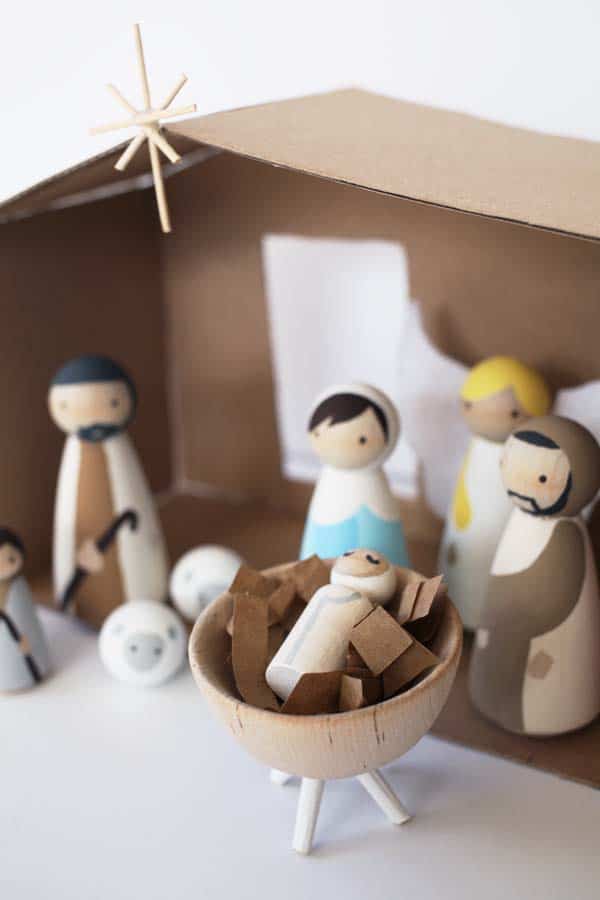
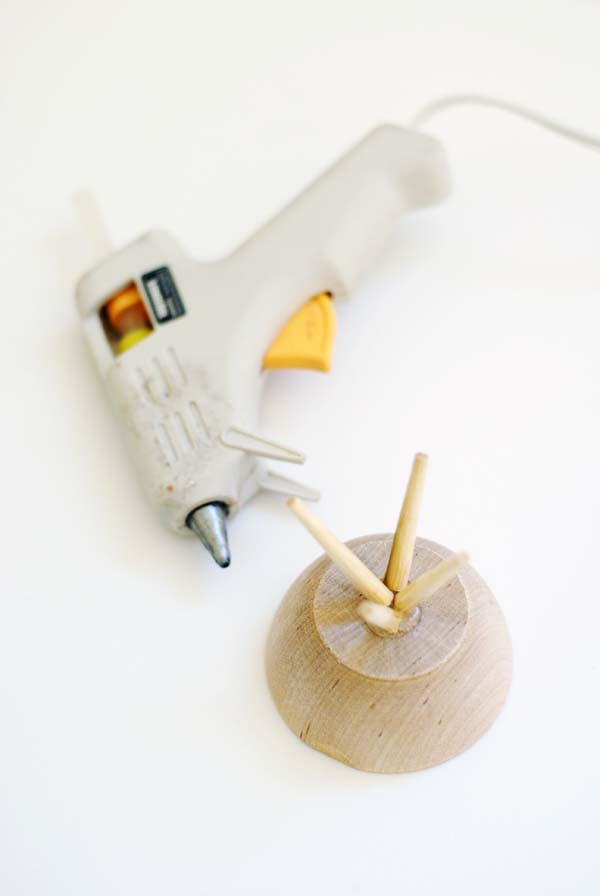
- To make the manger, cut the tips off of two pairs of chopsticks. Hot glue these pieces to the bottom part of the bowl. Paint with white acrylic paint and let dry.
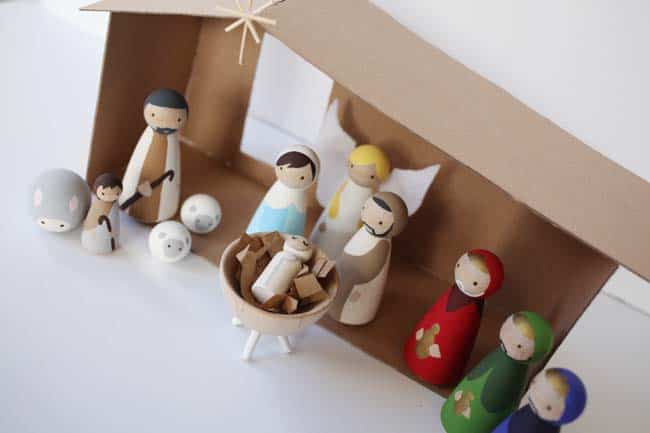
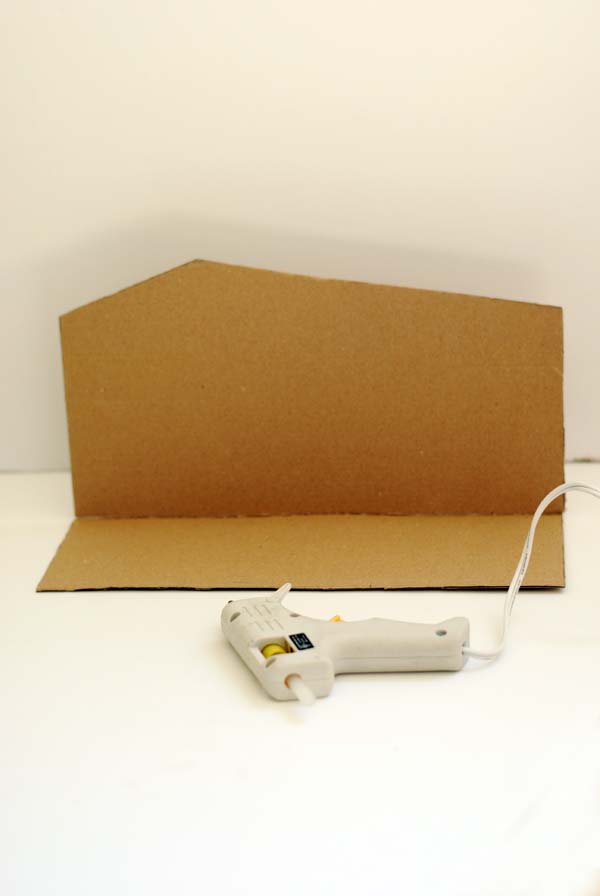
- Construct a barn from cardboard, using the scissors and a hot glue gun.
- After hot gluing the barn together, use a craft knife to cut out a window.
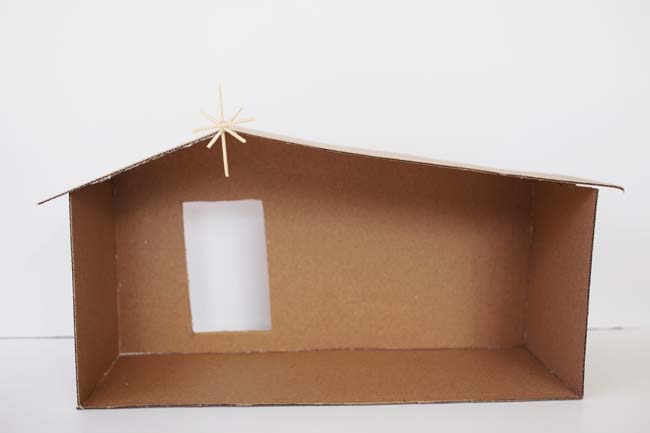
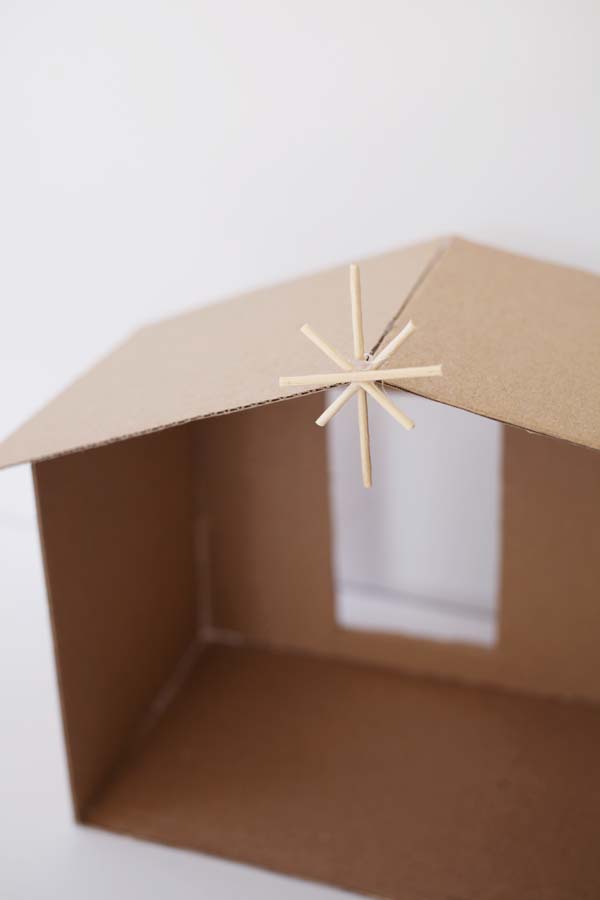
- Cut a few toothpicks down to size with scissors. Hot glue them together to form a star pattern. Then hot glue the star to the top of the barn, on the cardboard.
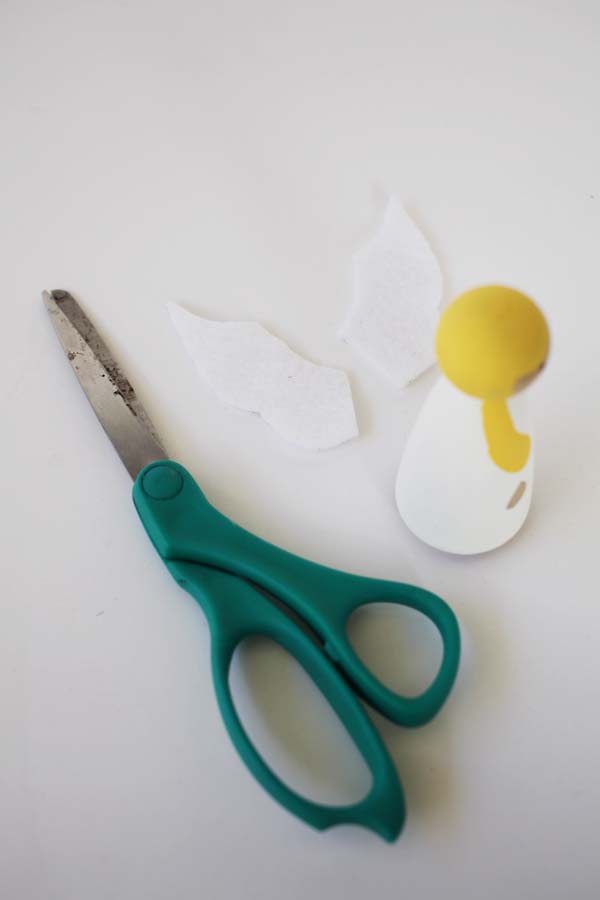
- For the angel wings, cut a pair loosely out of white felt. Hot glue them to the back of the angel peg doll.
- Cut pieces of brown paper bag to create the "hay" in the manger. Style the wooden dolls with the cardboard barn.
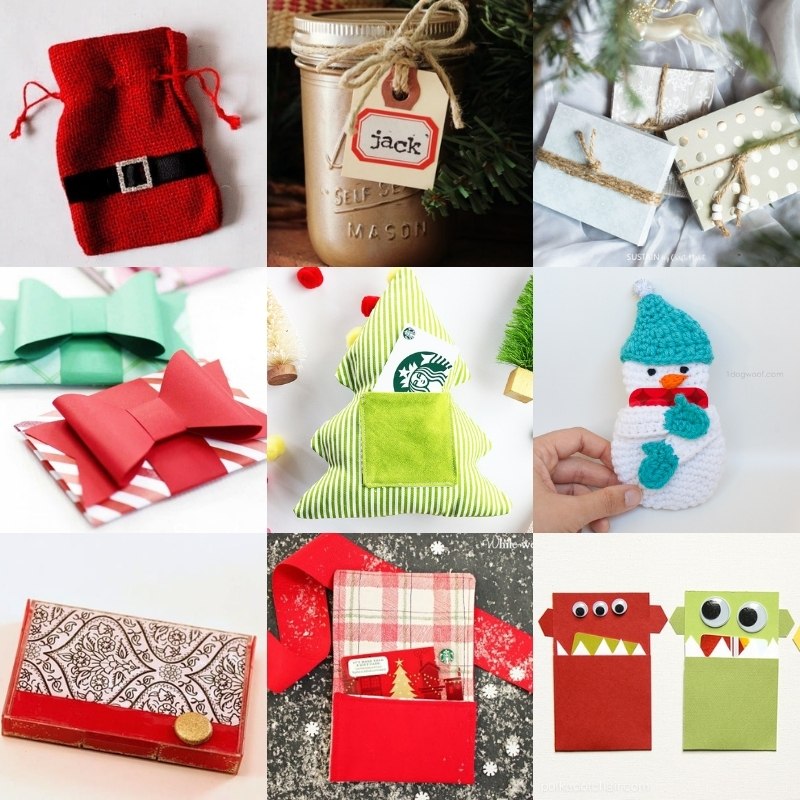
Would you like to see some of my favorite Christmas projects? Click on any of the following holiday decor posts:
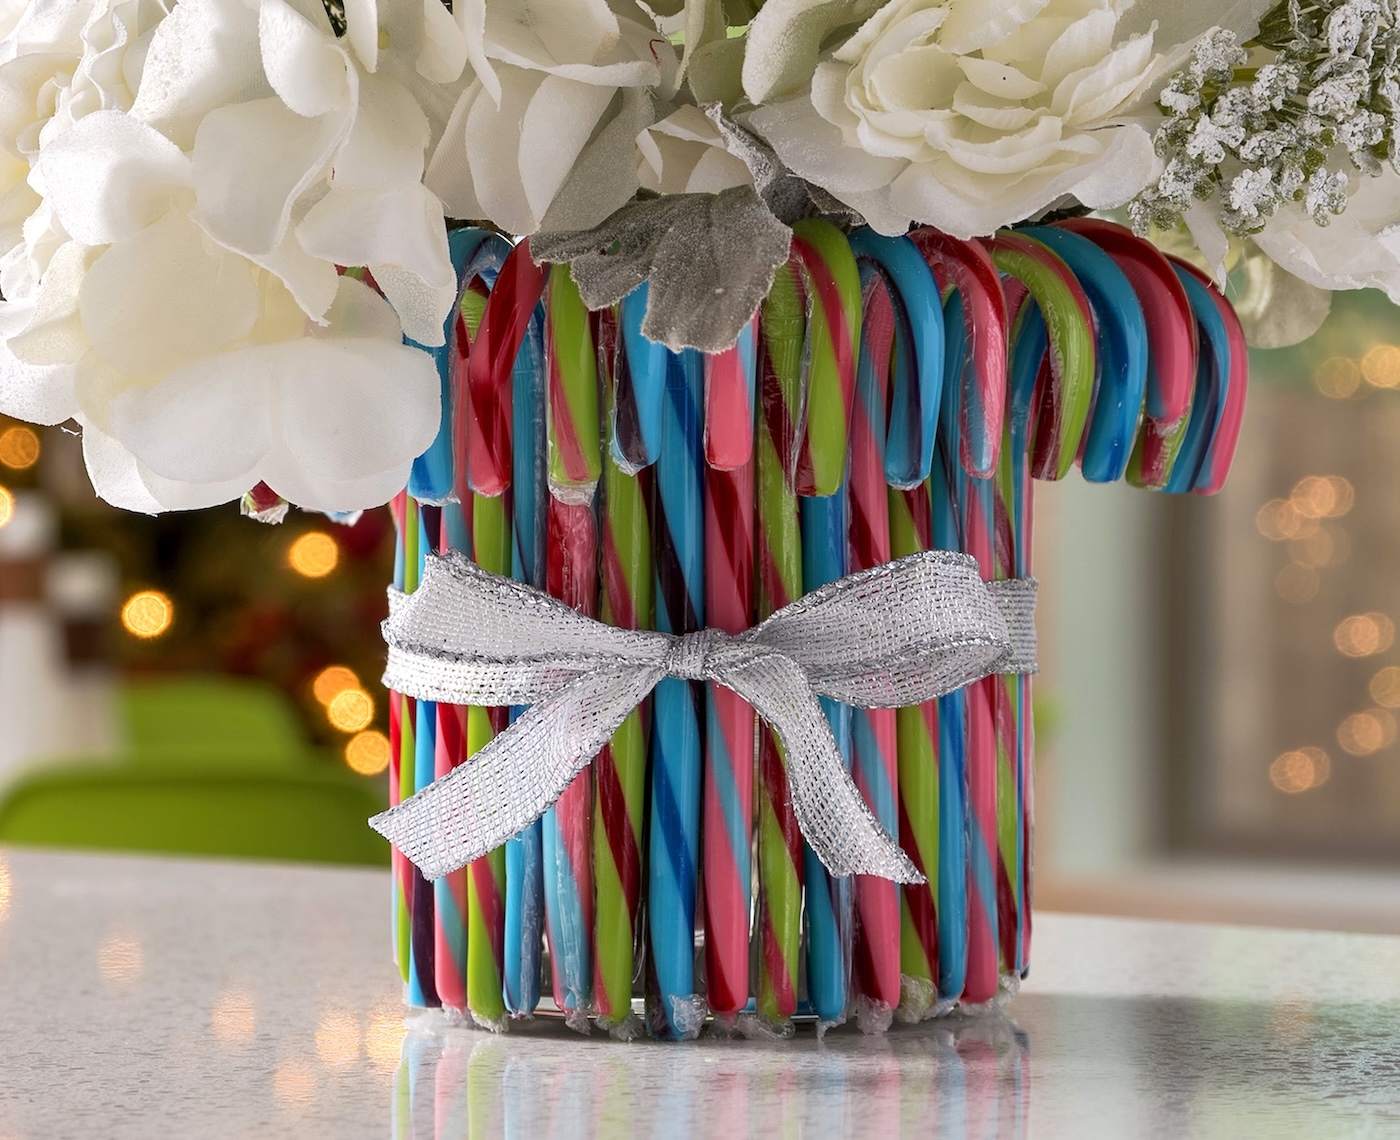
Apothecary Jars • Candy Cane Centerpiece • Christmas Table Decorations • Christmas Shadow Box • Decorative Candles • Felt Mistletoe • Gnome Decor • Magazine Christmas Tree • Pom Pom Garland • Recycled Christmas Decorations • Santa Hat Topiary • Santa Napkin Rings

This project is perfect for kids to play with. Instructions are easy to follow. Thanks!
Do you know how much it cost to make this nativity set? I would love to do it but am not sure it’s feasible for making for several families as gifts.
would love to know where you found these items to paint. my daughter would absolutely love to try to make these.
Hi April! I’d go with Amazon (https://amzn.to/2D5Biu4) or Consumer Crafts (https://fave.co/2OU1Ogw). I believe JoAnns and Michaels might have them, but I’m not sure. I bet Hobby Lobby would as they sell dollhouses.