Create a DIY Wine Cork Wreath for Effortless Holiday Style
Learn how to make a wine cork wreath the easy way! You can have a pretty piece of decor in minutes; this is perfect for beginners.
Skills Required: None. Even if you’ve never crafted before, you can make this wreath. You’ll be gluing corks to a wreath form and I’m going to show you exactly how it’s done.

There are some materials you just can’t let go into the recycle bin if you’re a crafter. Remember the quote from Elle Woods in Legally Blonde? “The rules of hair care are simple and finite. Any Cosmo girl would have known.” This is after she wins the big case in the movie.
Well my friends, the rules of crafting are also simple and finite. You don’t chuck perfectly good surfaces out with the recycling.
You save glass jars, lids, egg cartons, toilet paper rolls, wine corks, sturdy cardboard boxes . . . the list goes on and on. You never know when you might need them.
And NO, you don’t necessarily know what you’re going to do with them when you save them, but that doesn’t matter. You’ll use them. Right?
That’s why I’m happy to share this wine cork wreath with you.

Because today, you’re actually going to USE those items you’ve been stashing away just for such a moment: wine corks. If you’ve never worked with them in crafts before, it’s VERY easy.
You’ll be able to make this wreath regardless of your crafting expertise, so no worries. I’m going to show you the easiest way possible to make this project!
What type of wreath form can I use?
There are wire wreath forms, extruded (rounded) wreath forms, and flat wreath forms. Wire is the most difficult to use, though you can wrap it with ribbon first.
You will see some people use rounded wreath bases for this project, but you’ll have to use a lot more corks to get the coverage as you work the corks around the ring. You’ll see when you start gluing.
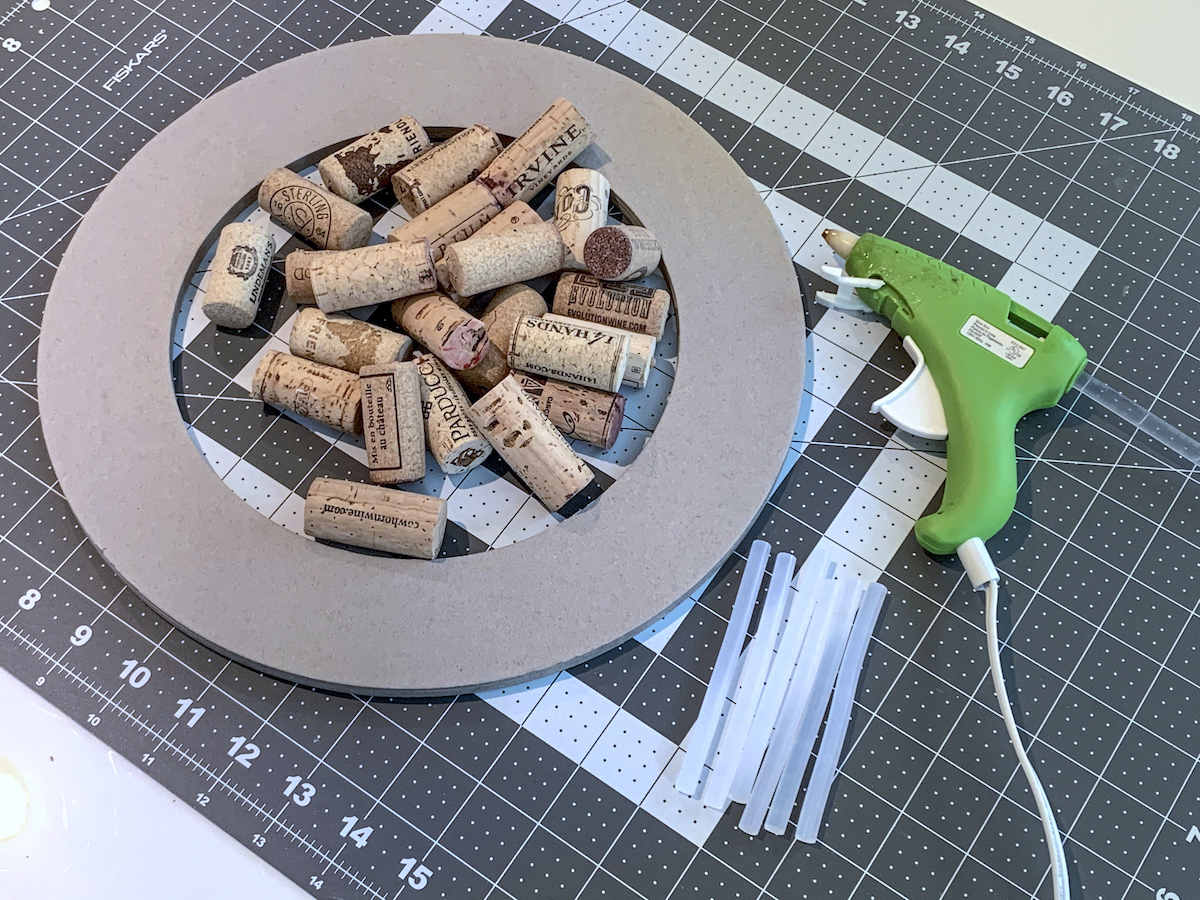
My personal preference is the flat wreath form. I have one made out of chipboard. They also sell similar flat wreath rings made out of wood called “floral rings.” They are typically found in the floral section of the craft store, so be sure to check there.
Note: if you find cardboard that is thick enough, you can cut your own wreath form. You could even cut multiple cardboard rings of the same size and glue them together. I already had this one or that’s what I would’ve done.
Are you ready to jump into the tutorial? Get it below!
Gather These Supplies
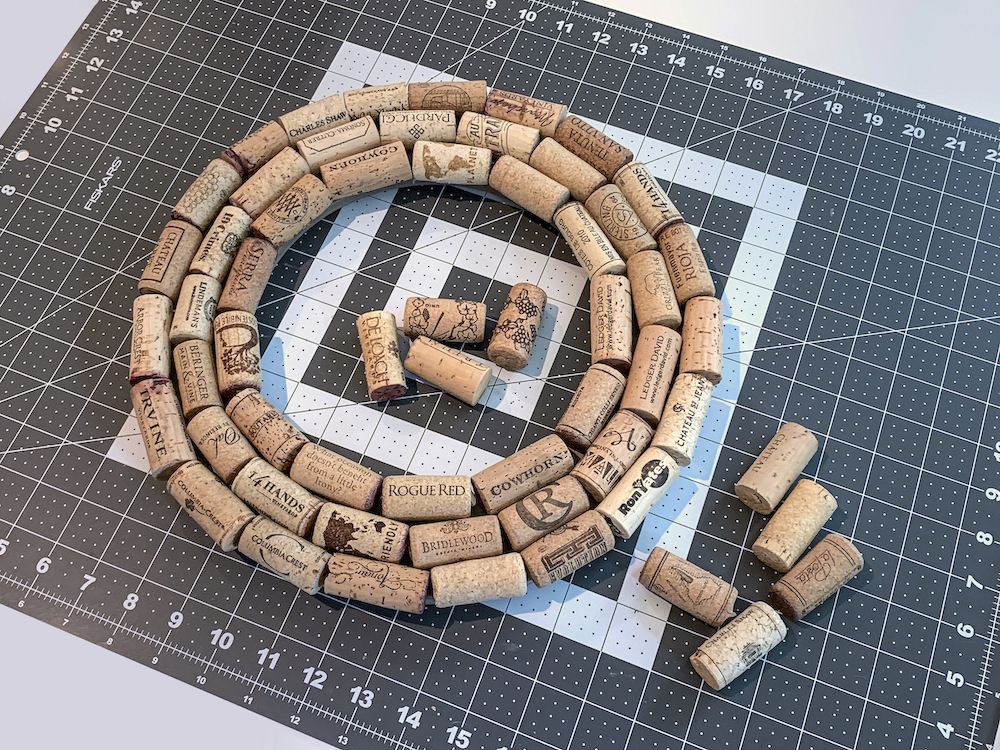
- Wine corks – I used 101
- Flat wreath form – 12″
- Hot glue gun and plenty of glue sticks
- Sandpaper
- Ribbon
- Scissors
- Bow maker or this tutorial
- Knife (optional)
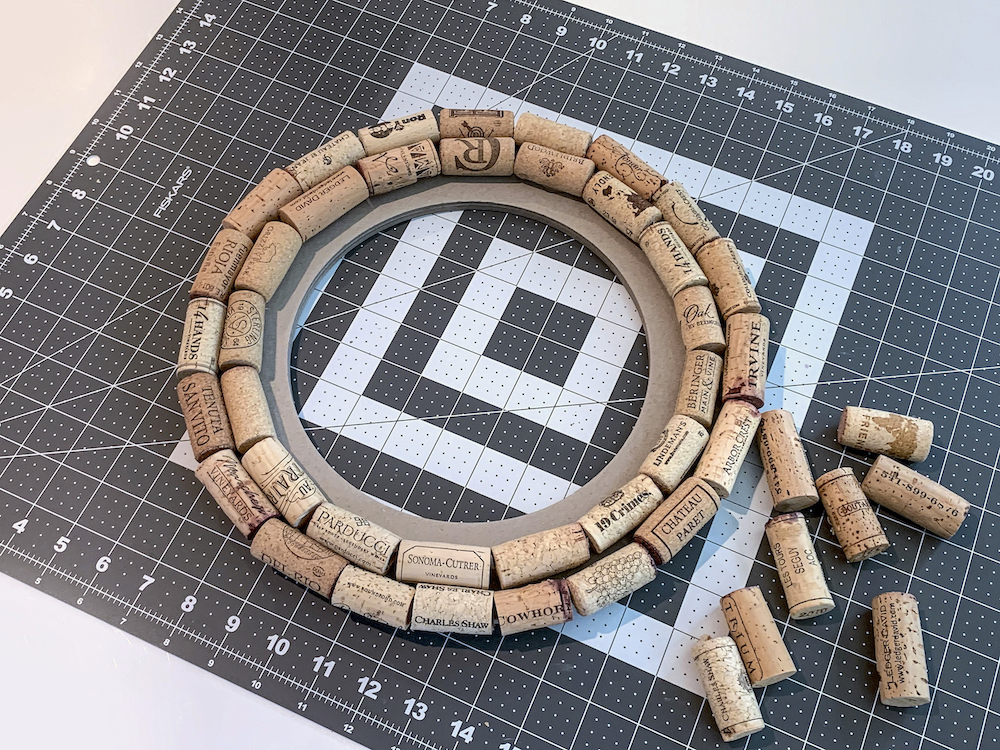
NOTE: I used 50 wine corks for the first layer, 34 for the second, and 17 for the third = 101 wine corks. depending on the size of wreath form you have and the size of the wine corks, you may end up using a few more or a few less.
Boiling corks makes them very easy to cut. I discovered this at (almost) the end of the project. The sandpaper also comes in handy if you need to remove just a *little bit* of material to make the cork fit.
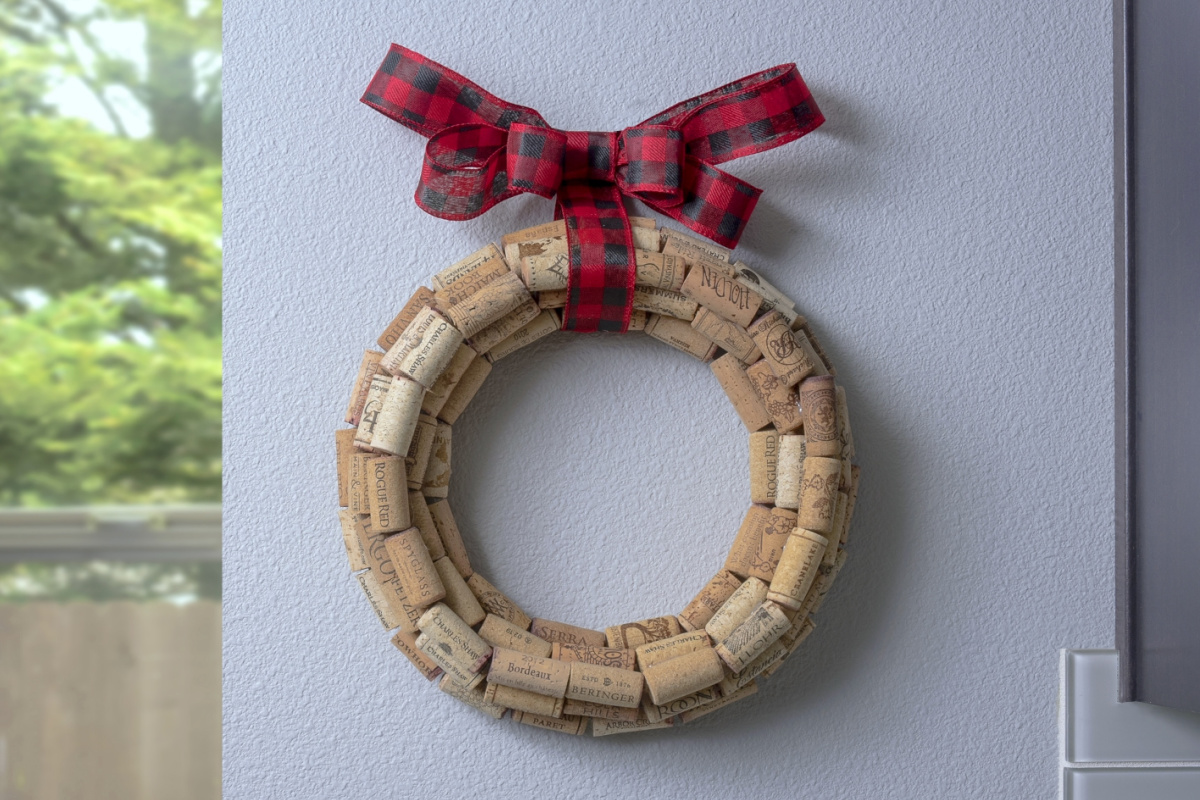
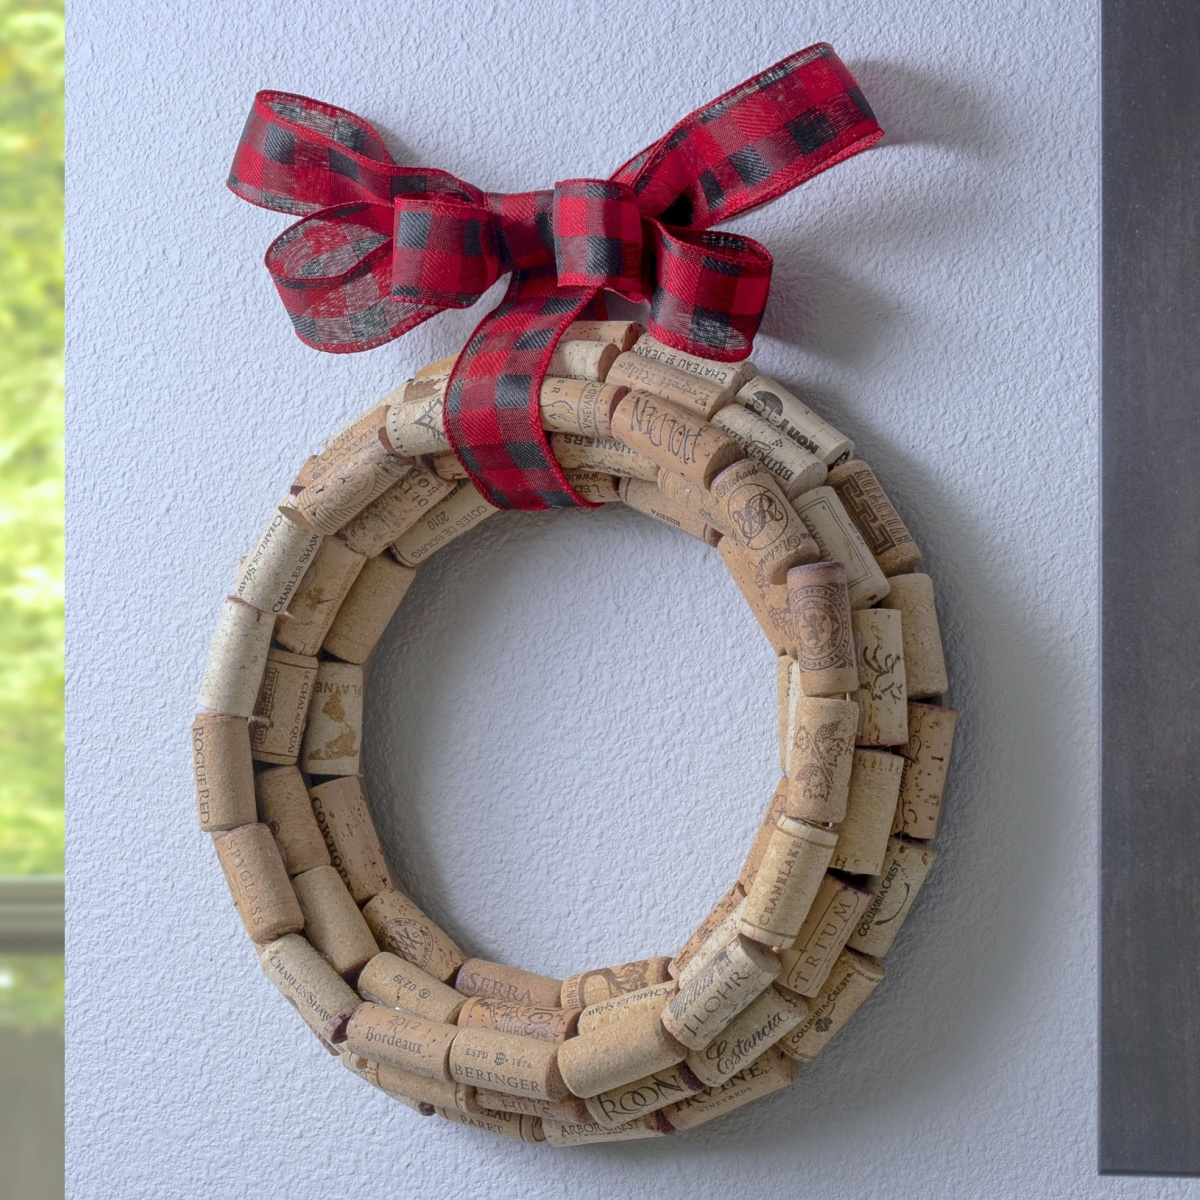
I think my red buffalo plaid bow makes this project perfect for Christmas, don’t you? It’s a great recycled Christmas idea after all the drinking 😮
I think it would look lovely in the kitchen too. Or wherever you keep the wine!
Wine Cork Wreath
Equipment
- Hot glue gun and glue sticks have several glue sticks on hand
- Knife (optional)
Materials
- Wine corks
- 1 Flat wreath form 12"
- Sandpaper
- Ribbon(s)
Video
Instructions
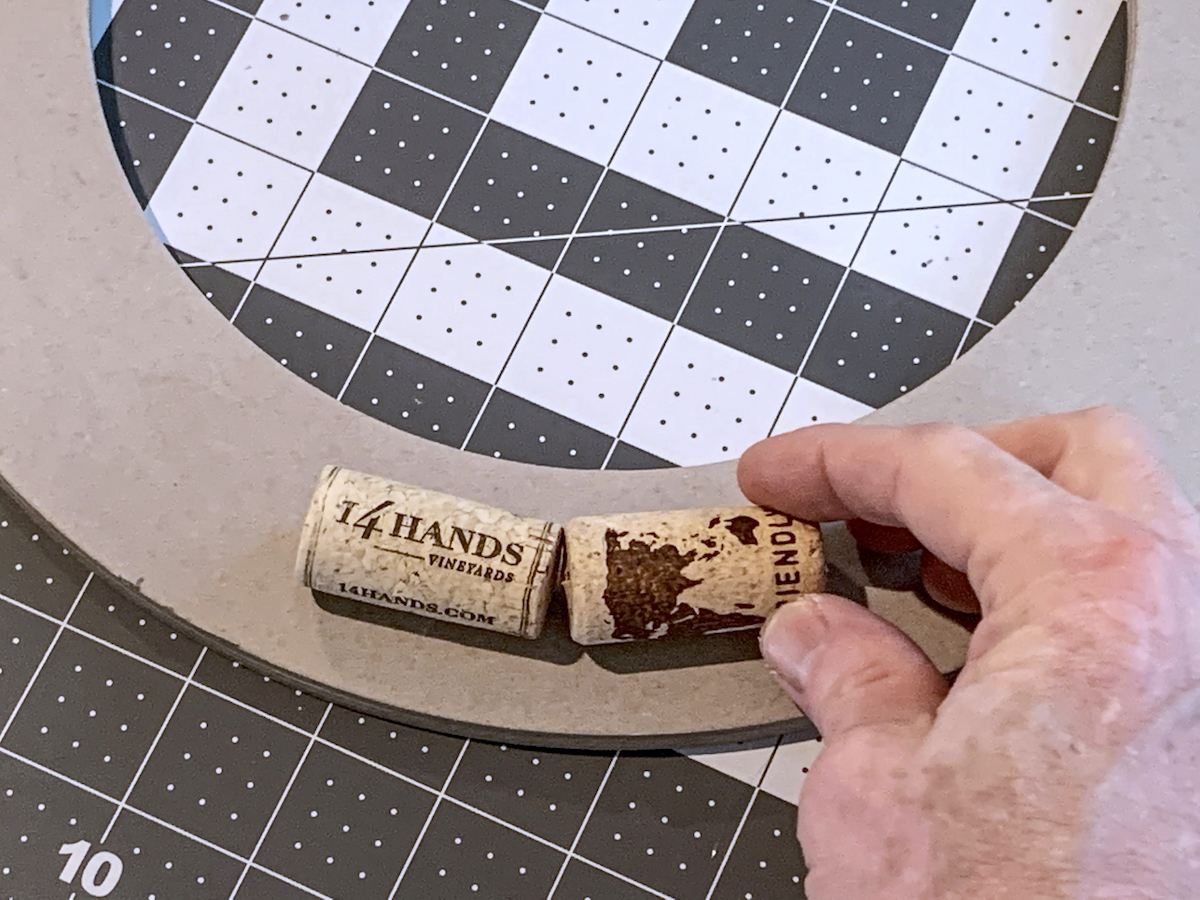
- If your wreath form has a top (mine has a hanger), orient it toward the top of the work surface. At the very bottom center of the wreath form, hot glue a cork to the center. Right in the center of the curve.
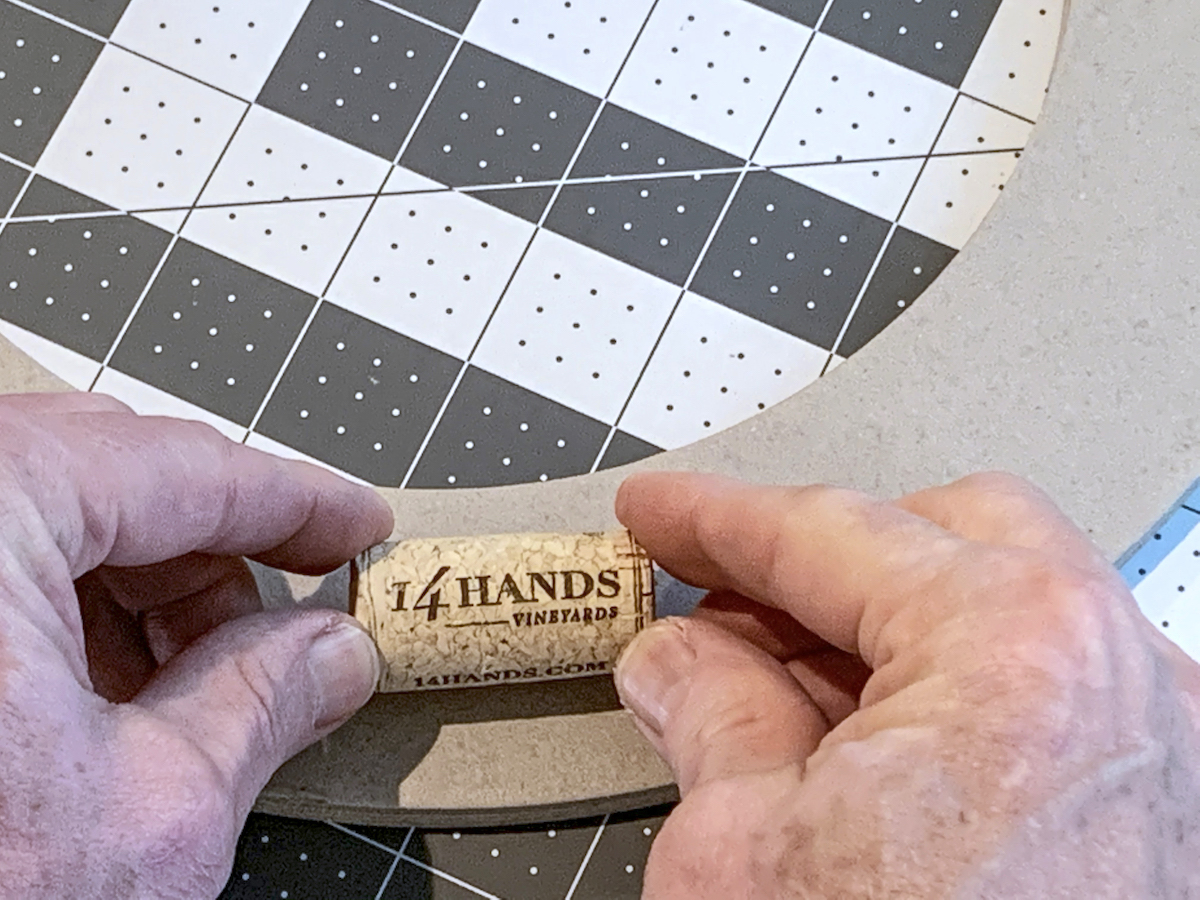
- To the right of the first cork, hot glue down a second cork. Make sure that you are following the curve of the ring.
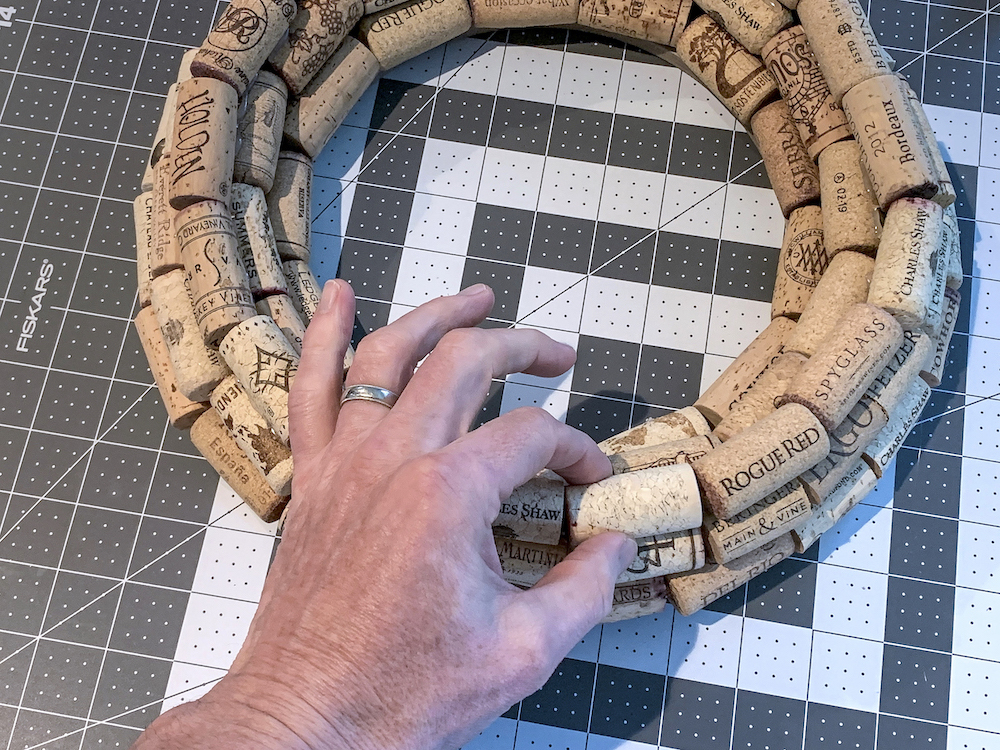
- Continue hot gluing corks around the center of the ring until you have completed the circle. If you notice that the final cork isn't going to fit, use a knife to trim and use the sandpaper to smooth.
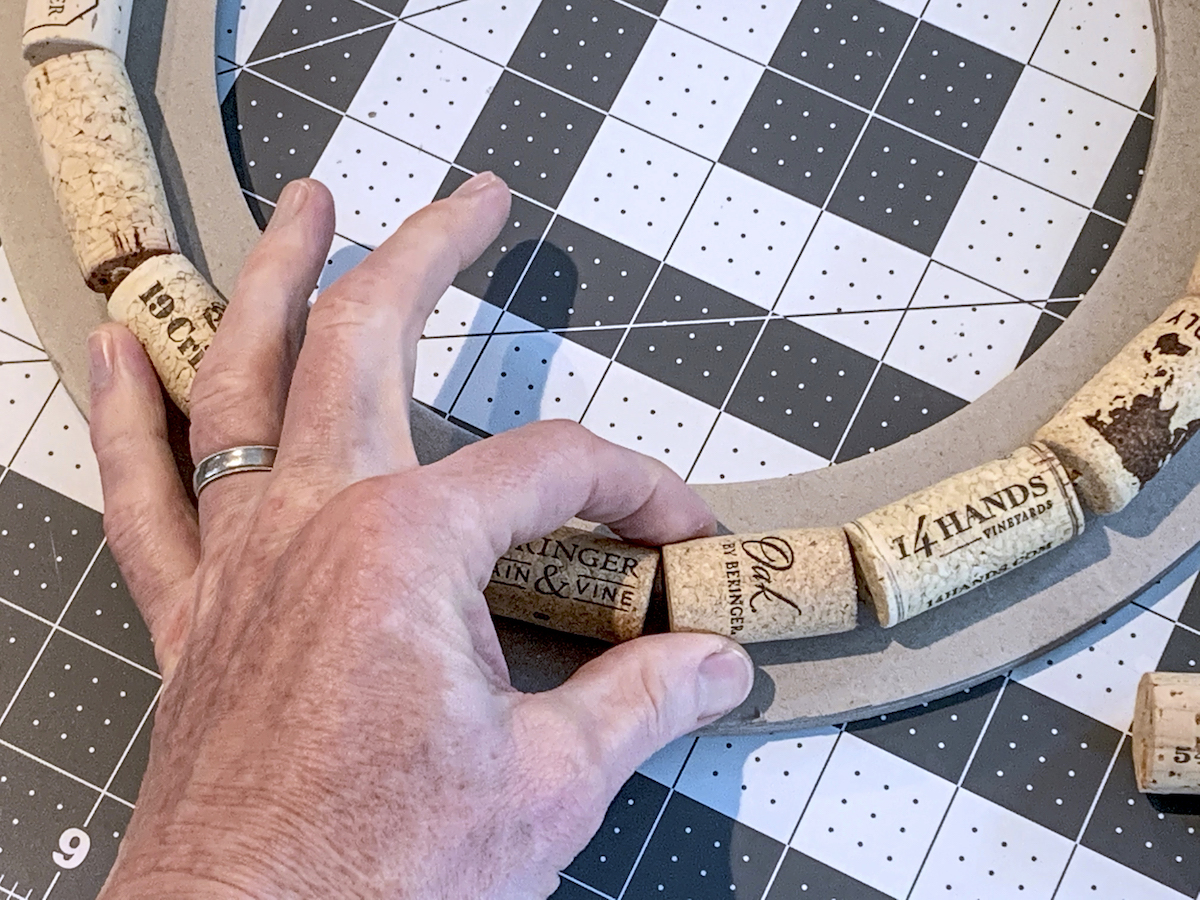
- Glue down second ring of wine corks around the outside of the row you just did. Place one cork at a time.
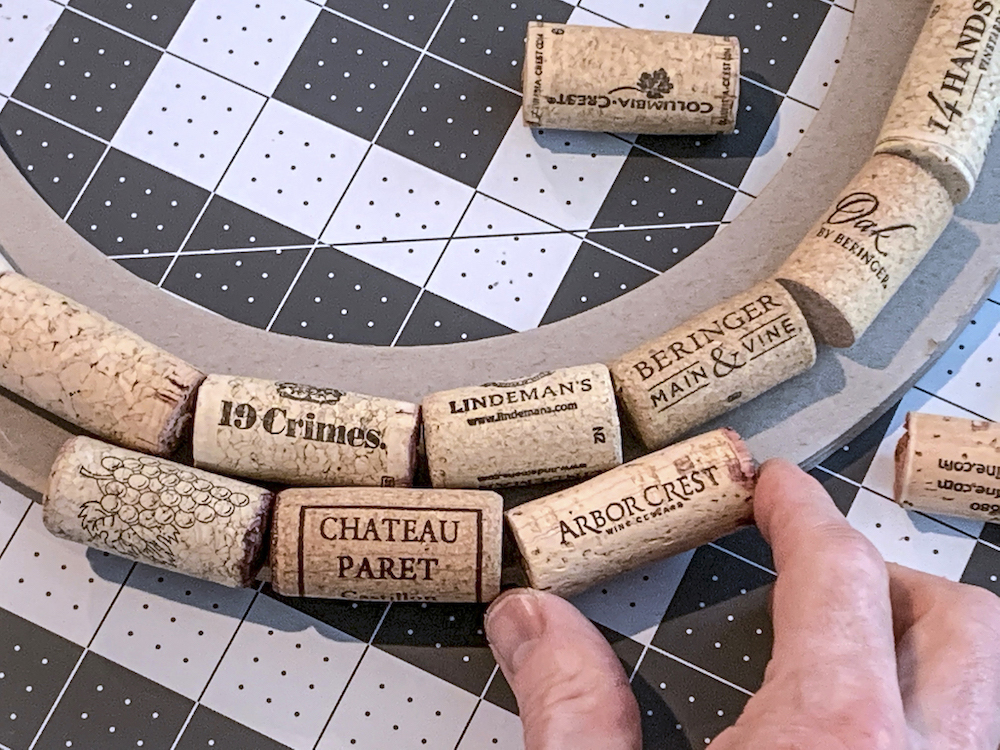
- Complete the ring of corks, trimming and sanding if necessary.
- Now that you've got the hang of it, complete a third row of wine corks.
- Add a second layer to your wine cork wreath. Hot glue the corks down in between the other rings of corks, forming two rings. Work your way around. You can spread these two rows out a little bit further as necessary to make the corks fit, since you have a row below already.
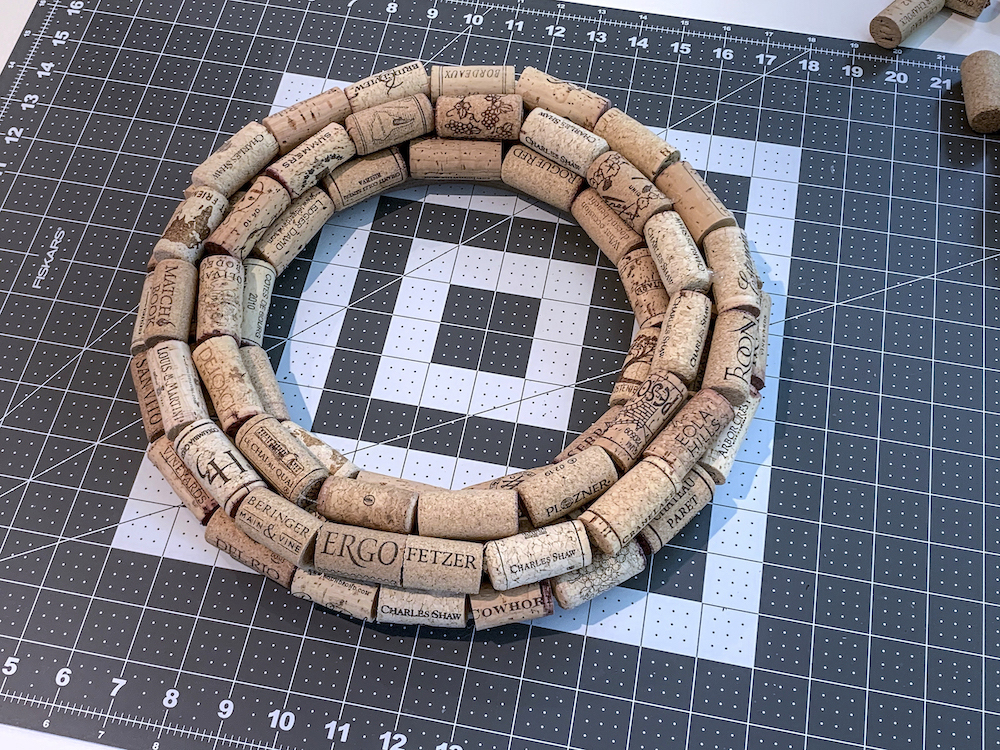
- Finish the main portion of the wreath by adding a third row of corks.
- Add a bow using a bow maker and hang.
Notes
Let me know what you think about my wreath in the comments. I’d also love it if you’d visit these other ideas!
Coffee Filter Wreath • DIY Ribbon Wreath • Pom Pom Wreath • Wine Cork Coasters • Wine Cork Pumpkins • Wine Cork Skeleton • Wine Cork Stamps


How did you hang this wreath without a wreath holder?
So this wreath is hanging from the bow on a picture holder! But also the wreath frame I glued the corks to has a hole on the back if I wanted to hang it there.