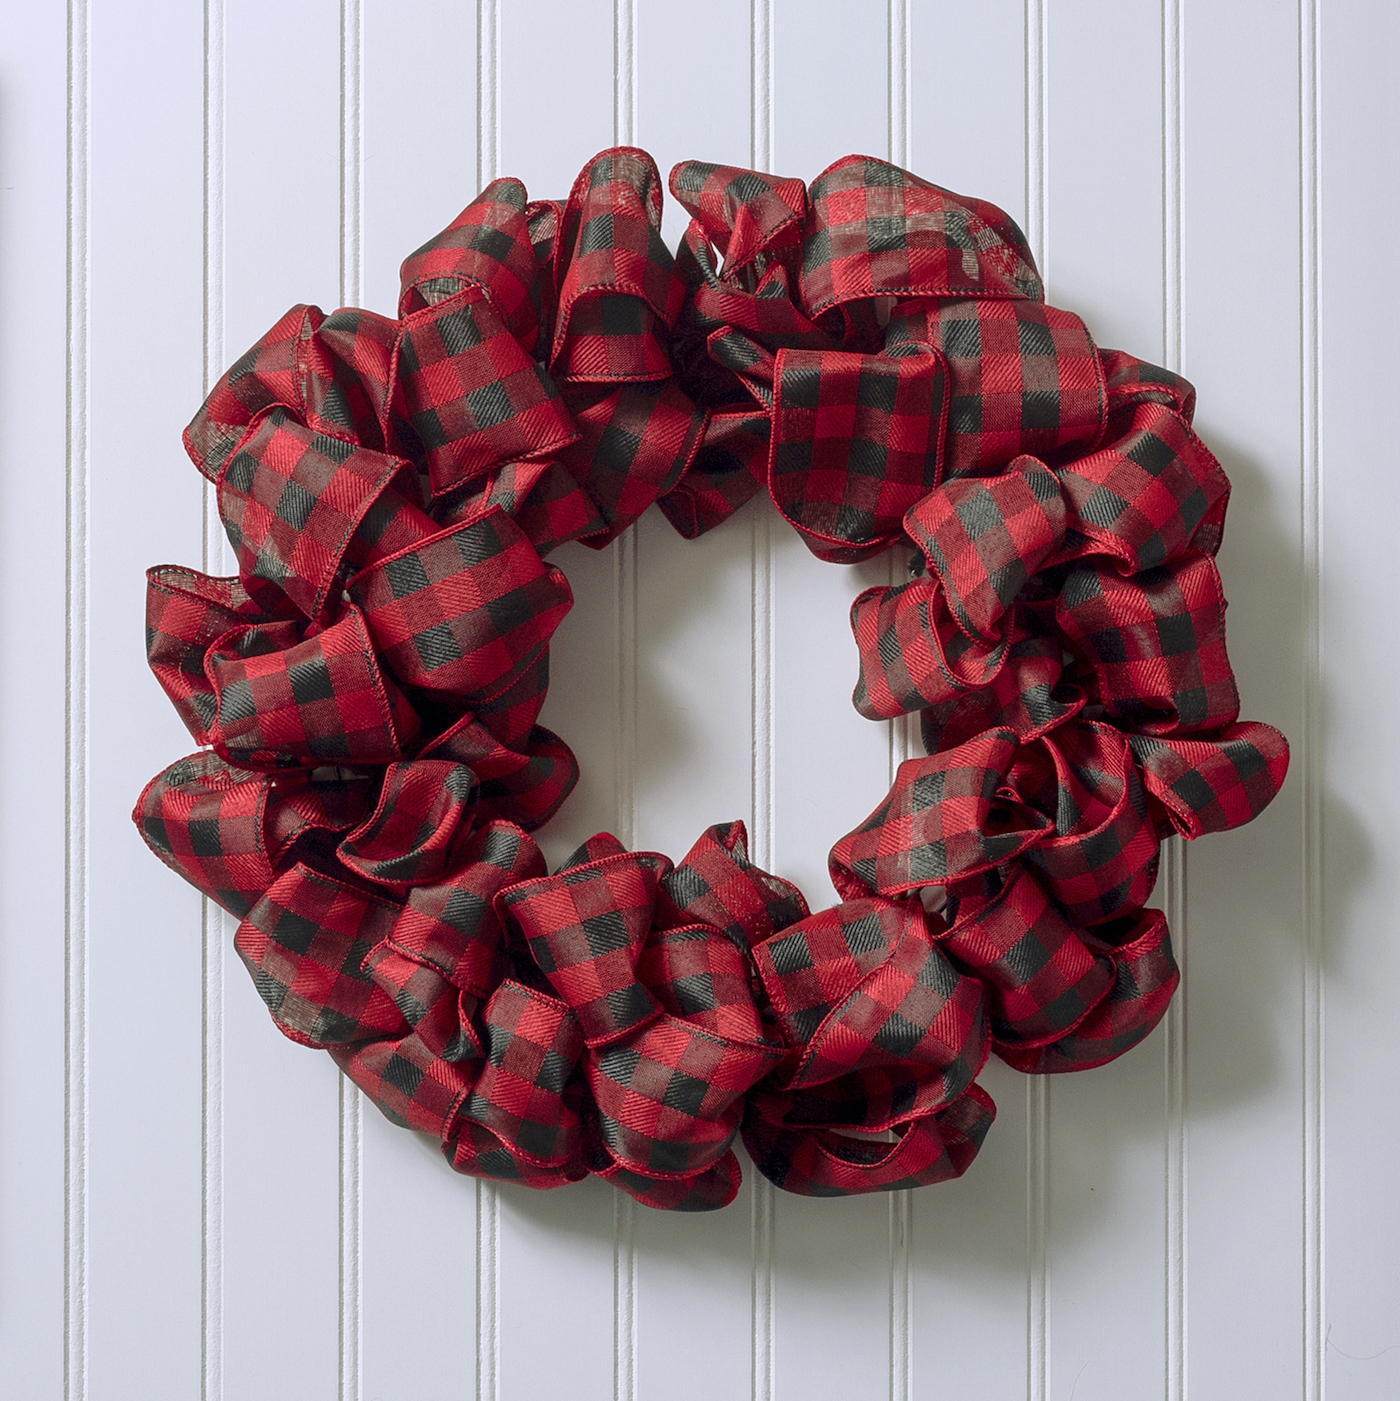
Easy DIY Ribbon Wreath That’s Perfect for Any Door or Occasion
Learn how to make a DIY ribbon wreath in three simple steps! This is a very easy craft for Christmas decorating or any time of year.
Skills Required: None. Even if you’ve never crafted before, you can make a wreath with ribbon. You’ll be cutting pipe cleaners and attaching ribbon with them. I’m going to walk you through the steps, plus there’s a video tutorial.
If you’ve never had the joy of making a wreath before, this is going to be your favorite home decor project of all time. When you’re young, you look at a craft like this and wonder if you’re ever going to be able to make something so cool. At least I did.
I had no idea that when I would get older, a DIY ribbon wreath would be completely attainable. That all I needed was the money to buy the supplies, and I’d be on my way. Because the truth is, making a wreath like this is just about as easy as it gets!
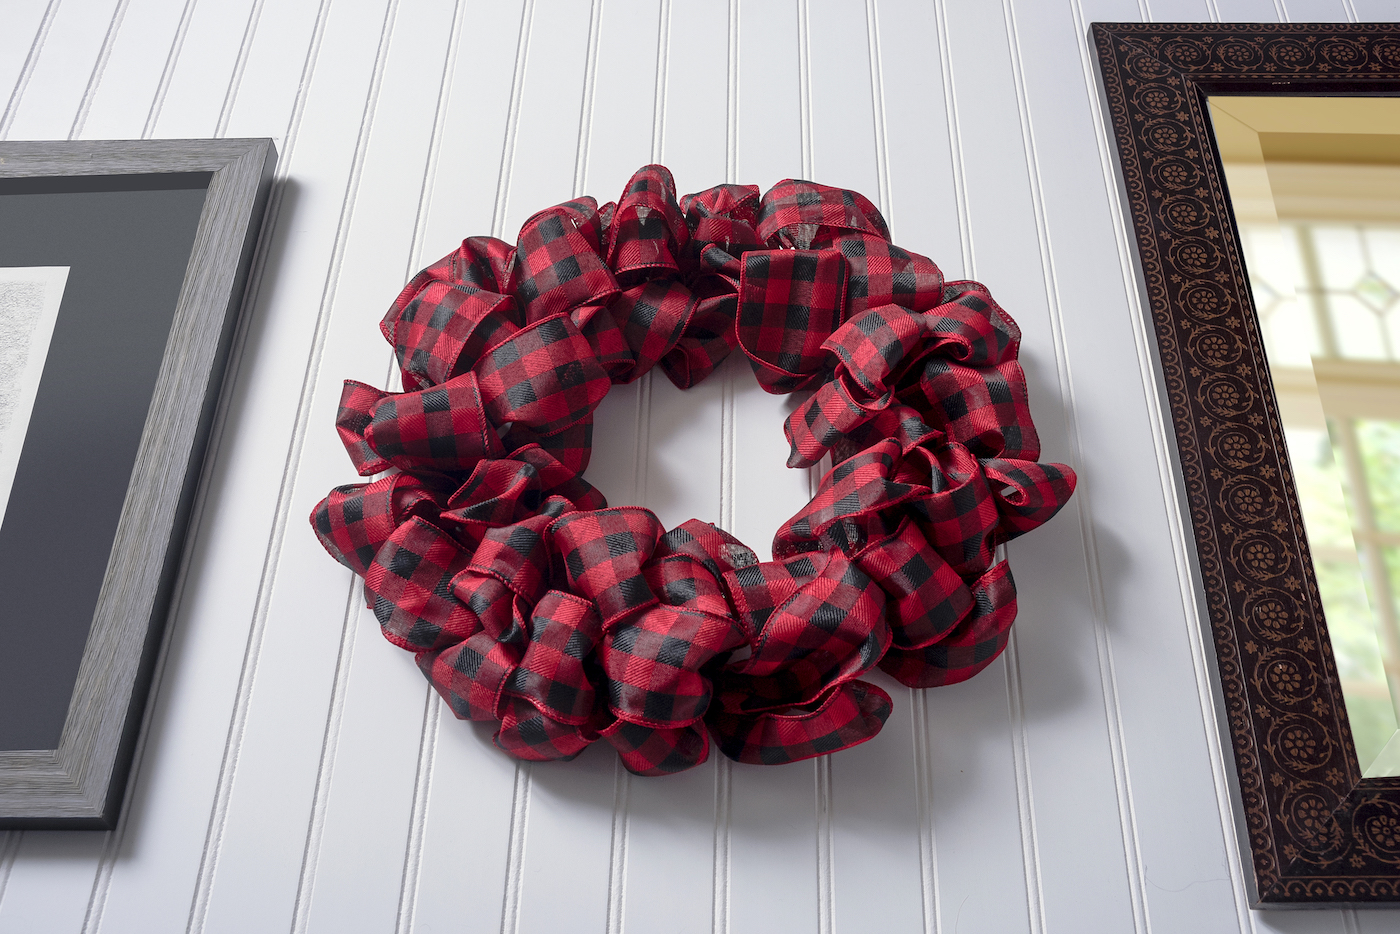
If you’re someone that likes to decorate with a wreath all the time, this is perfect. It’s budget friendly and you can make a new one for every season. And you don’t have to leave it as-is (thought it’s cute). You can also add embellishments any which way you like!
Tips for Making a Ribbon Wreath
This wreath is completed in three easy steps. You’re going to cut the pipe cleaners, then you’ll start the steps of attaching ribbon. You’ll do three rows – one, two, and three. It’s that simple!
What wreath form should I use?
You’ll want to use a wire wreath form for this project. You need something that has attachment points, allowing you to twist pipe cleaners onto the frame.
For this project, I used a 12″ wire wreath form, but there are several sizes out there. My Dollar Tree has a bunch of 9″ ones that would make a smaller wreath, but you can get them larger as well.
What type of ribbon can I use?
The first time I tried this project I bought ribbon that was wide and long enough – but it didn’t have any wire in it. And it wasn’t as stiff as mesh. So, it all flopped over.
You want to get ribbon that has wire in it so that it stays “loopy.” You can also use mesh ribbon! It should be 2.5″ or wider. Mesh that is 6″+ works fine as well.
How much ribbon do I need?
I used 2.5 rolls of ribbon for this wreath. They are 30 foot rolls, which makes it about 75 feet for a 12″ wreath form. This can vary greatly depending on your loop size and wreath form size.
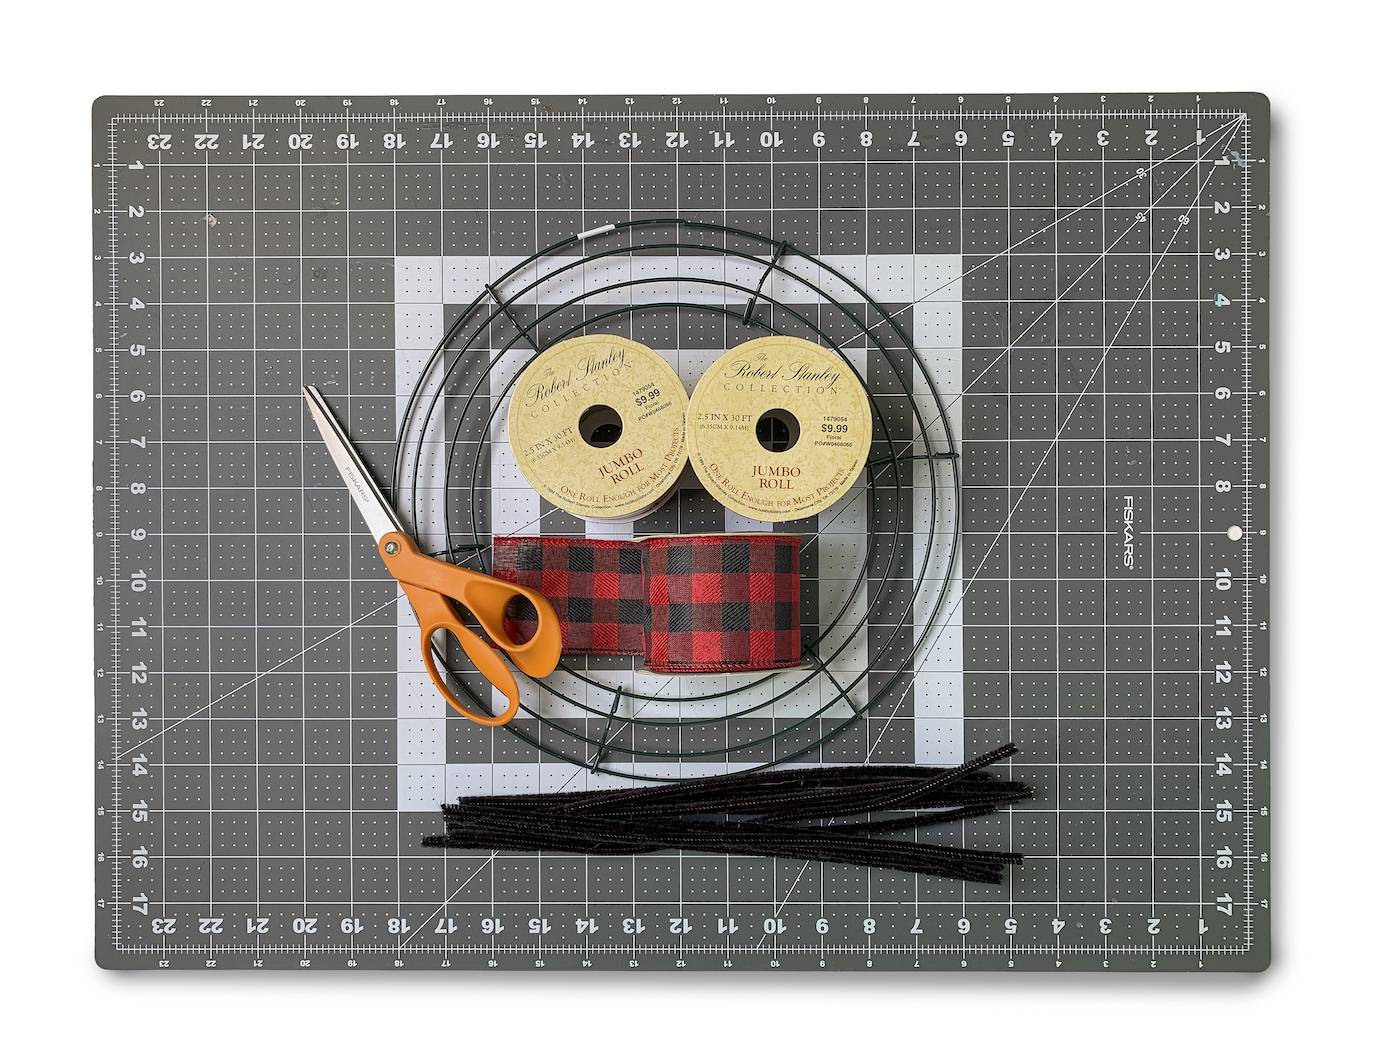
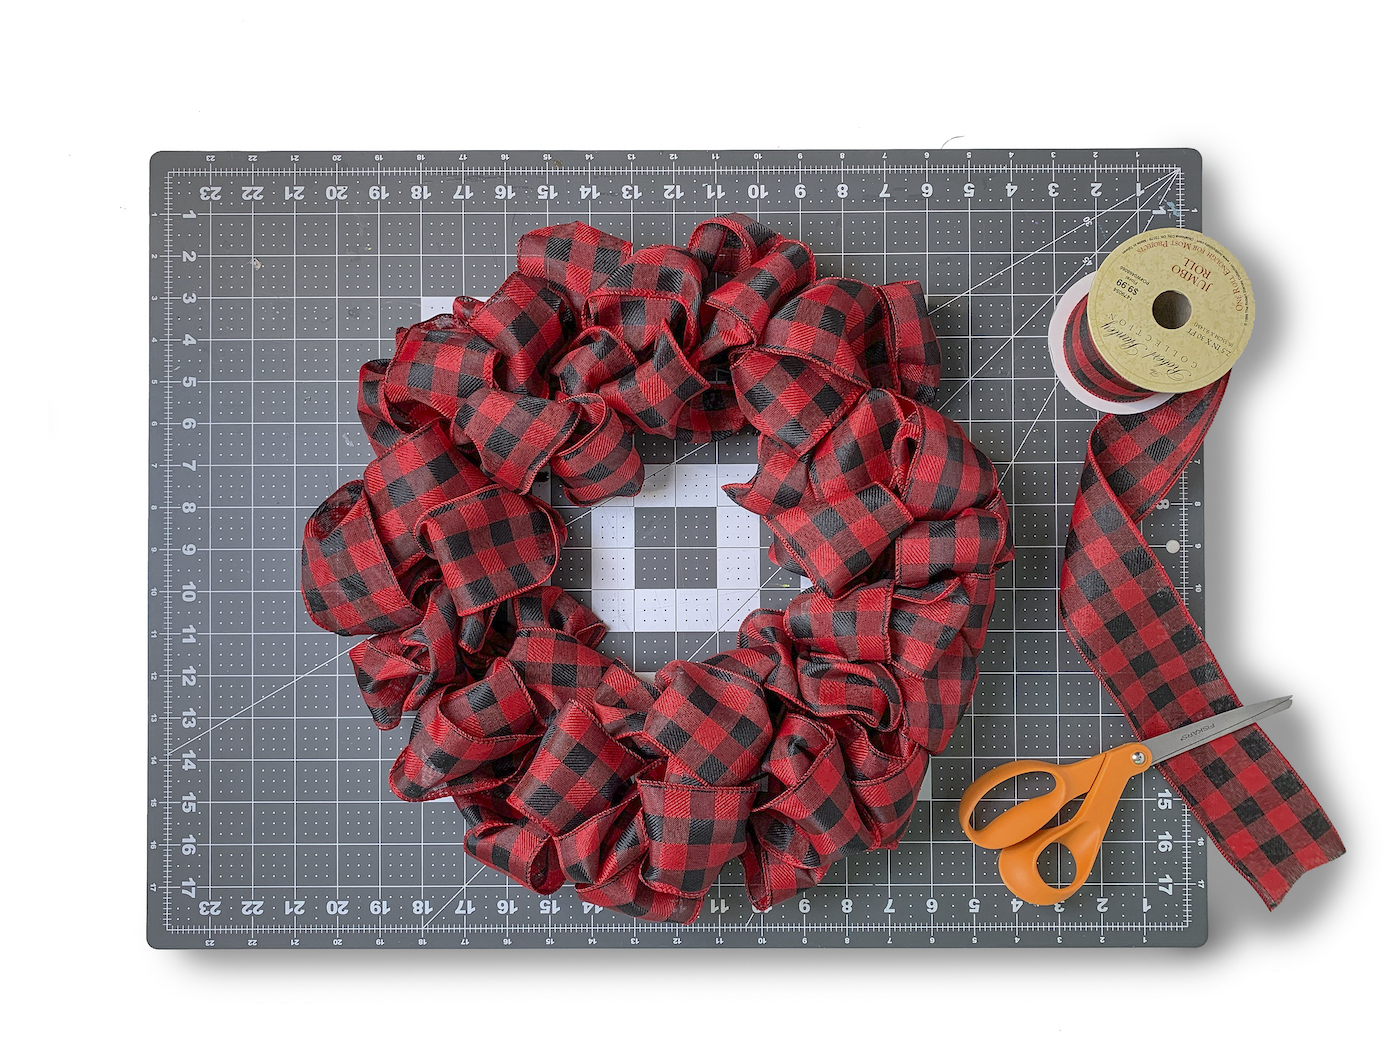
Are you ready to get started? Here’s what you’re going to need!
- 12″ wire wreath form
- Wire ribbon – I used 75 feet
- Pipe cleaners – color to coordinate with ribbon, 30 minimum
- Scissors
Get the printable how to card below:

Wreath with Ribbon
Equipment
Materials
- 1 wire wreath form 12"
- 75 feet Wire ribbon
- Pipe cleaner(s)
Video
Instructions
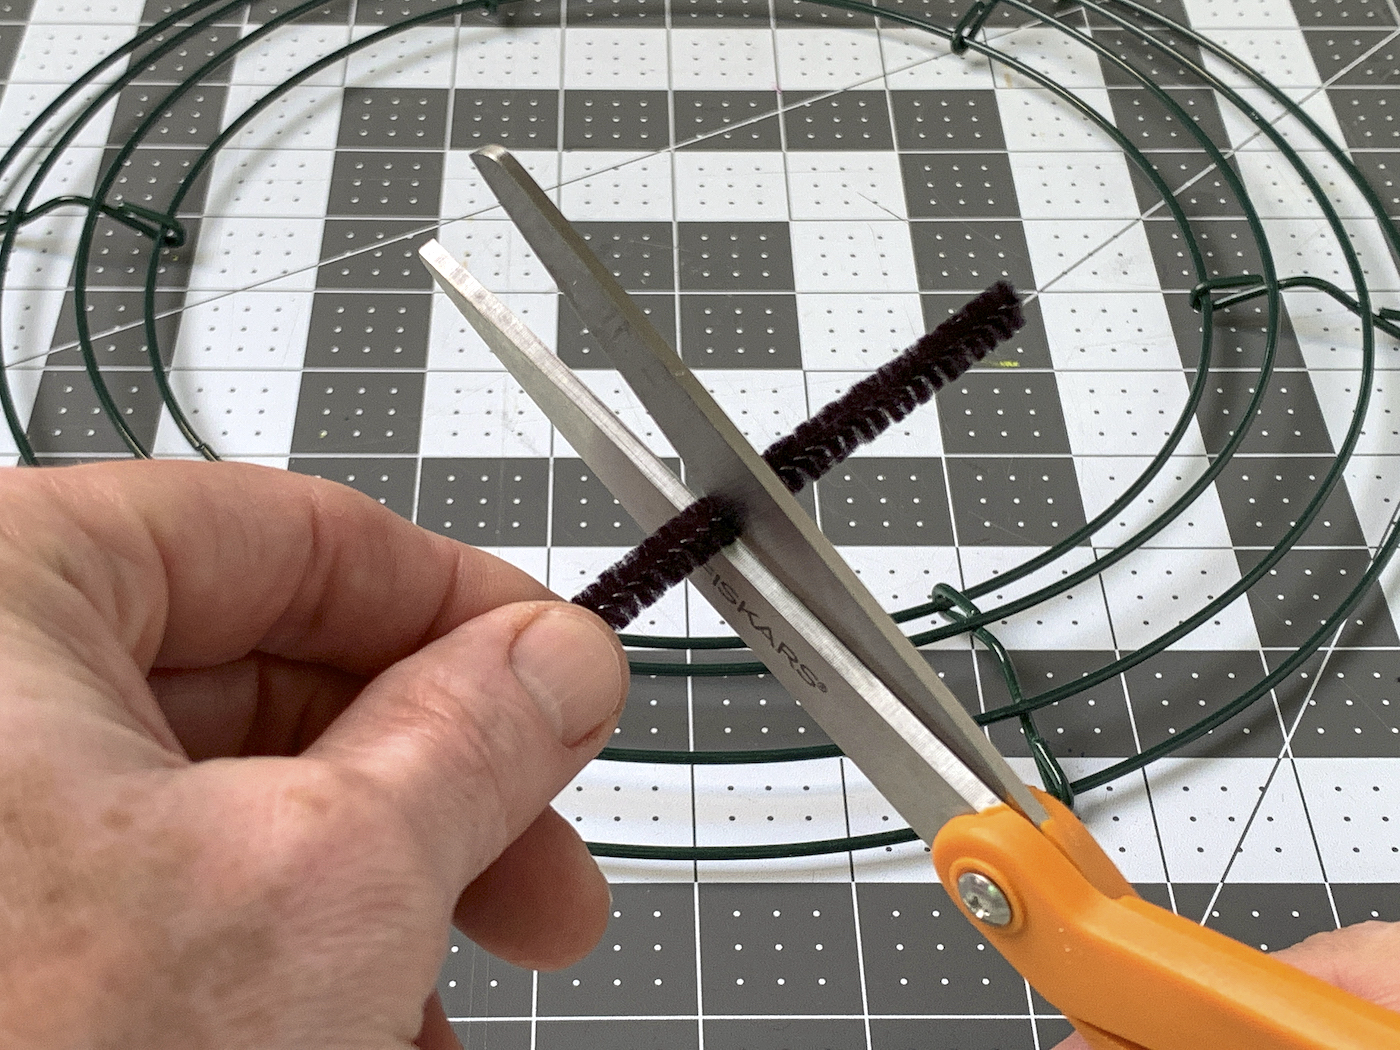
- For my ribbon width, which was 2.5" inches, I cut the pipe cleaners into thirds. If your ribbon is wider, you might need to cut them into halves. Start with several and set aside into a pile.
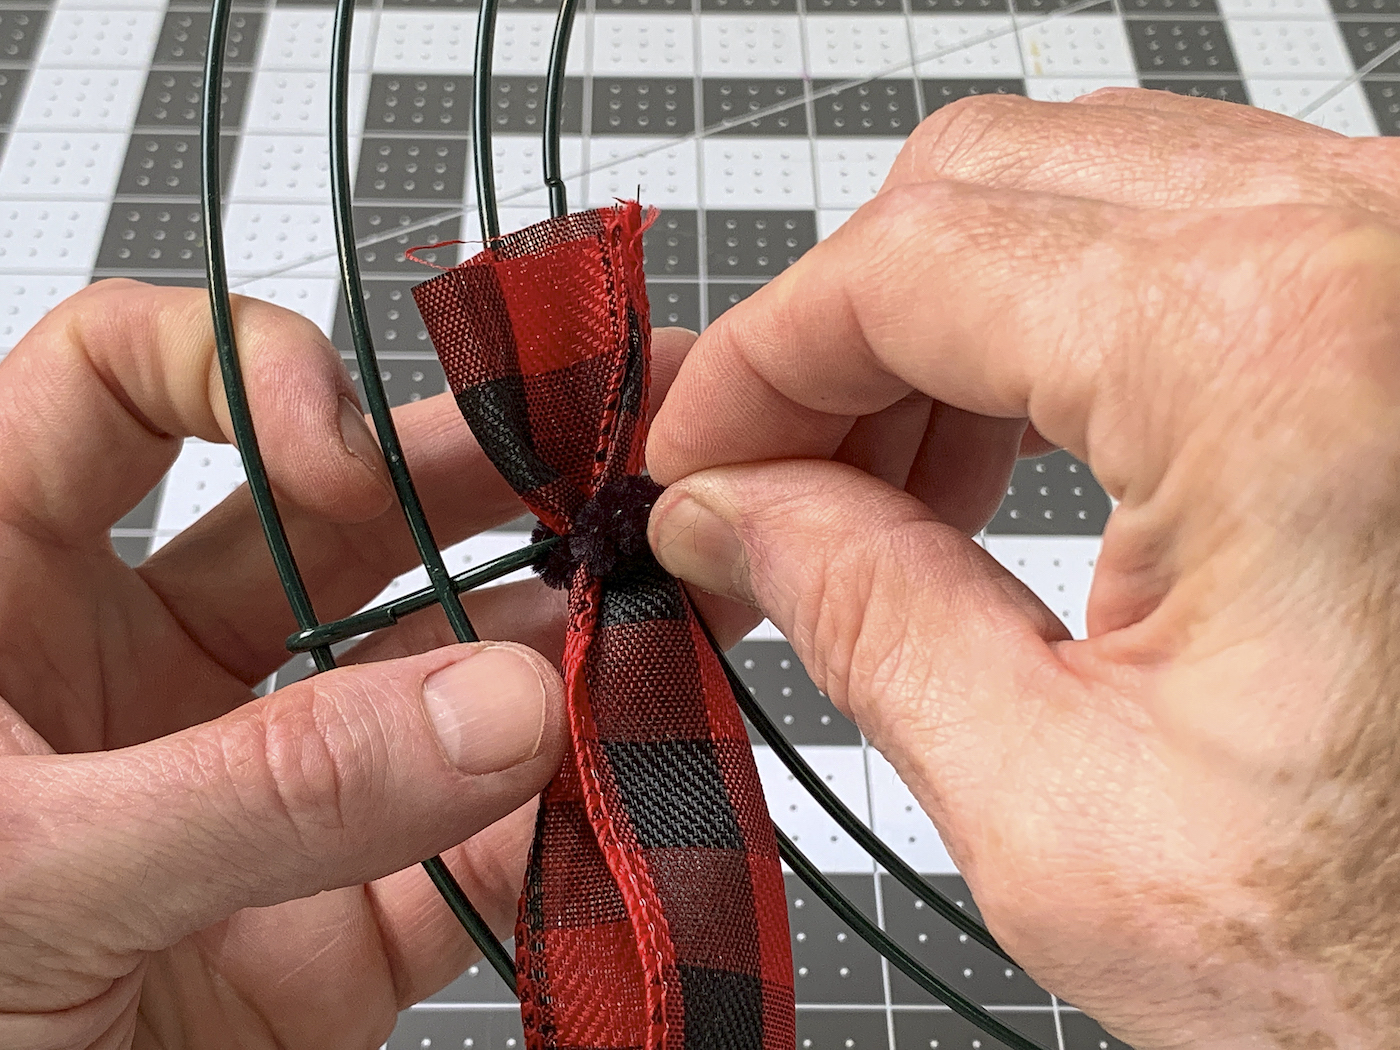
- Grab one of your ribbon spools and unfurl a length of ribbon. Bunch the end of the ribbon together. Tie it down onto the wreath form, going from front to back, with a pipe cleaner piece. You'll twist together in the back.
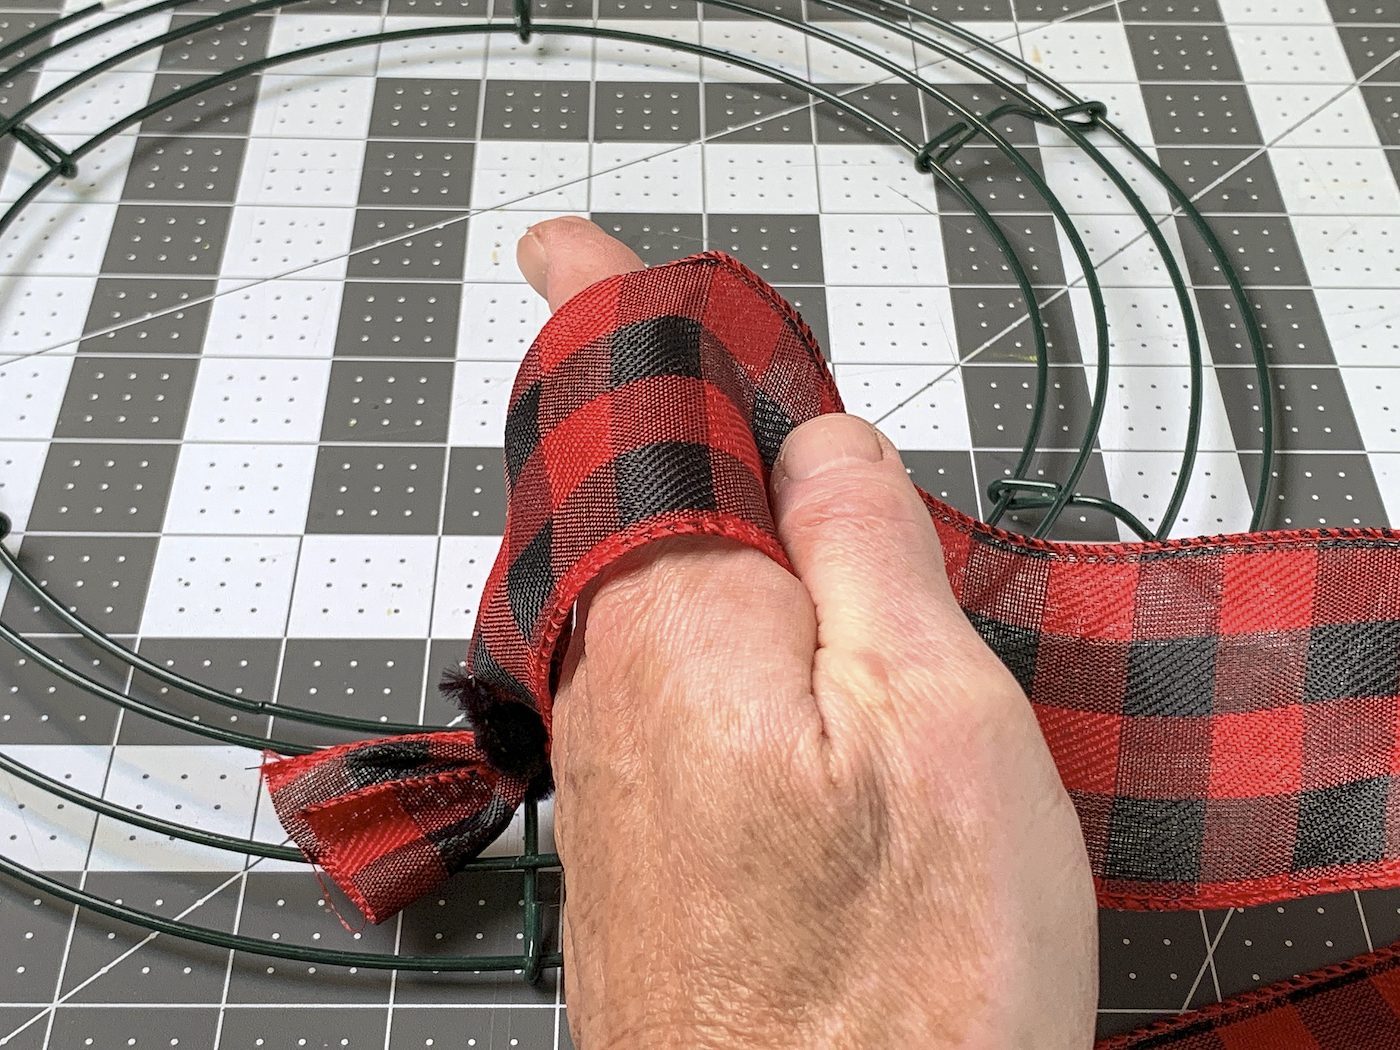
- You want to have the gap between each pipe cleaner attachment point measure about the size of your hand. So take your hand and wrap the ribbon around it.
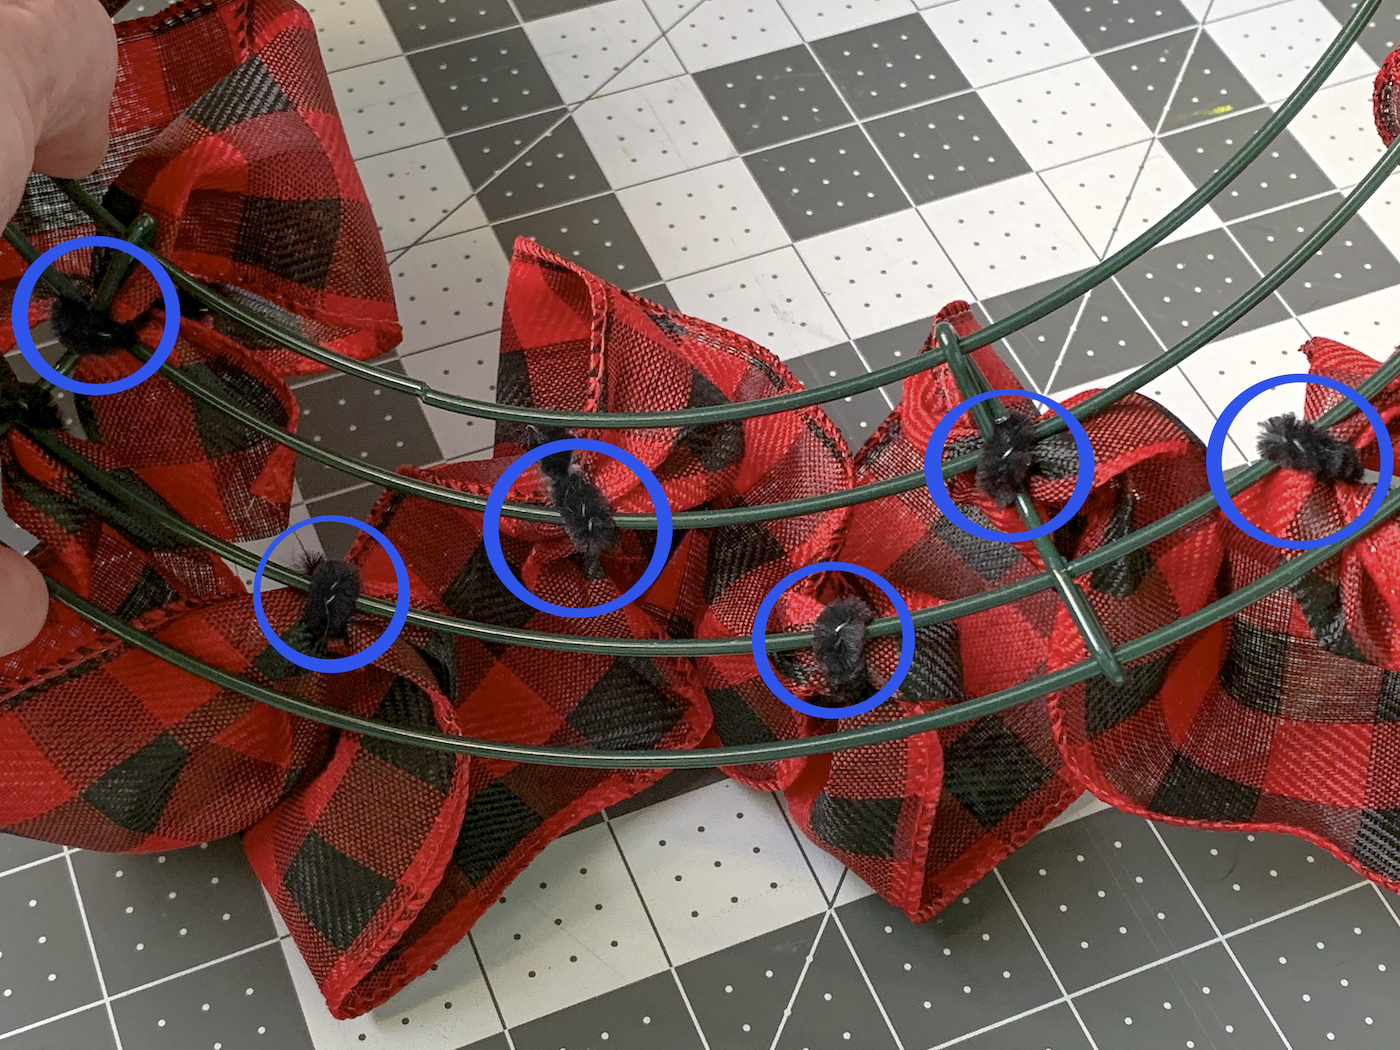
- Secure down the ribbon with another pipe cleaner, making a loop as shown. You'll want to twist your pipe cleaners on alternating wires.

- Repeat the process of making ribbon loops and tying them down with pipe cleaners around the entire wreath form. As you can see, you are alternating between securing to the second and third wires of the form.
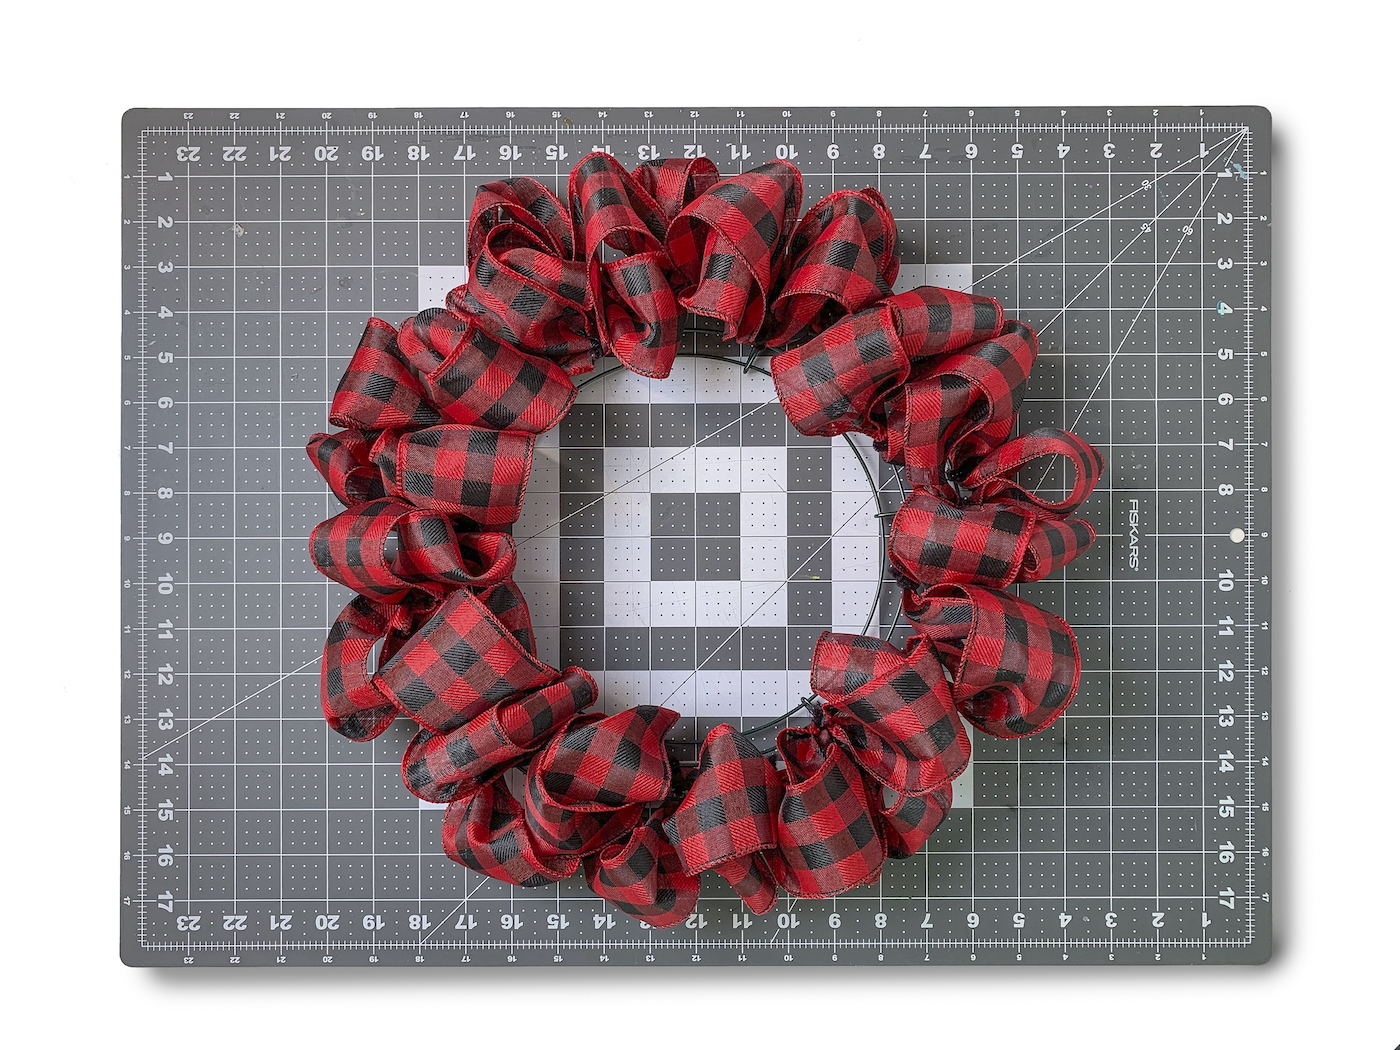
- Work your way around the form until you've gotten one rotation complete. For this first foundation row, I used up one entire spool.
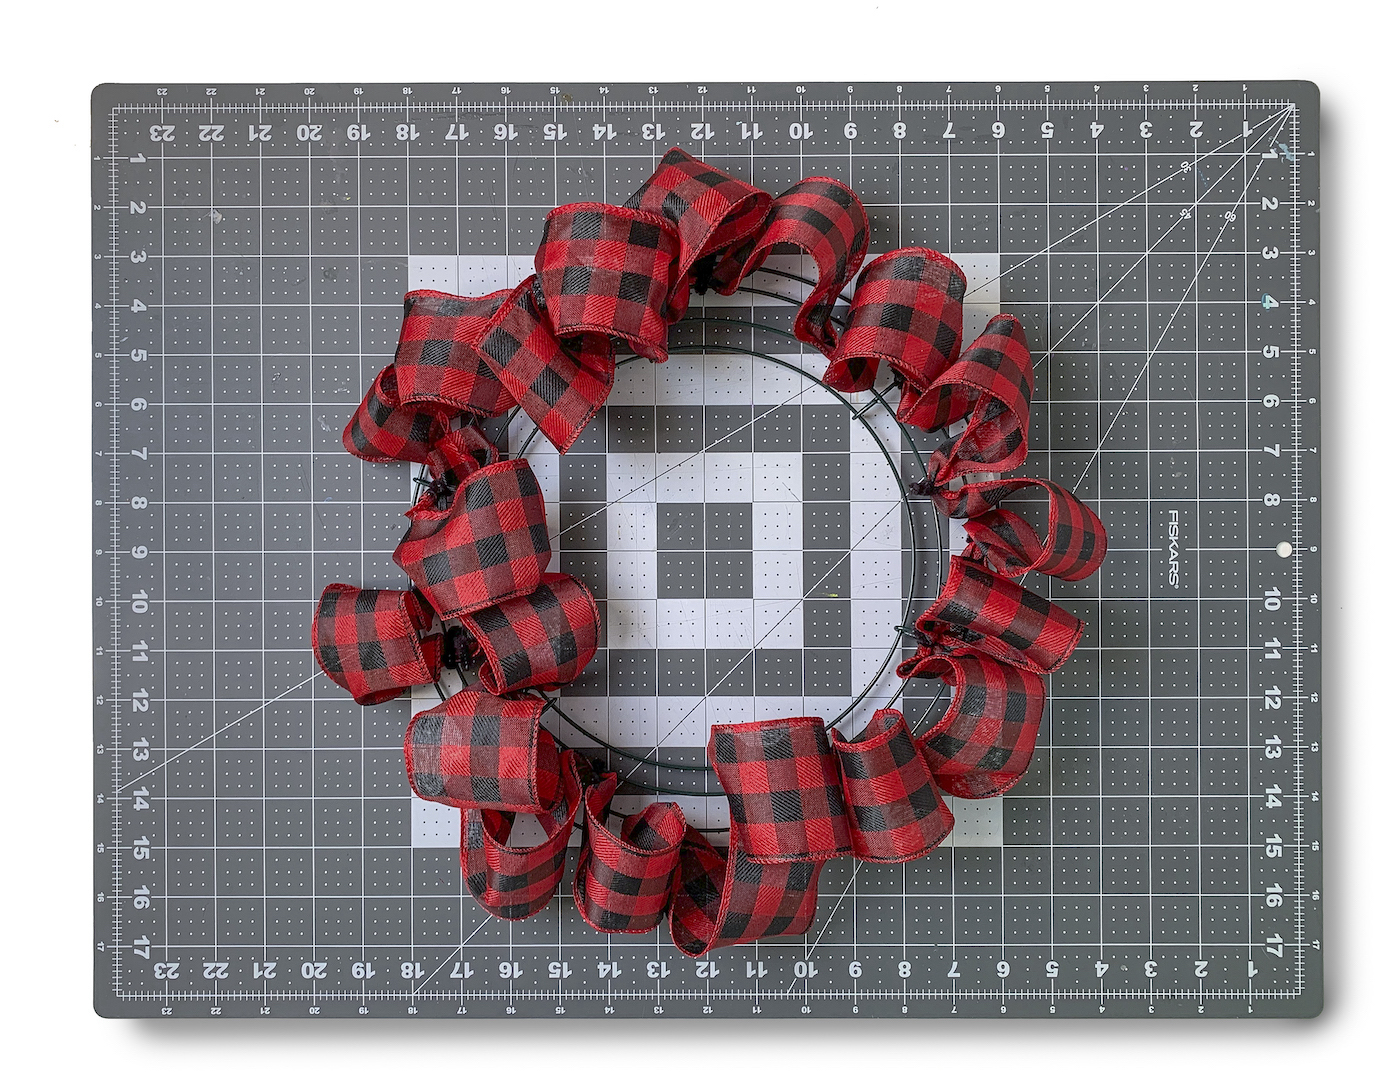
- Either trim the ribbon or start a new spool. Twist the end down as you did in the first step, then work your way around the inside of the wreath form one more time. You're going to be using the second and third wires again. This row really adds a fullness to the wreath, and pushes that first row out a little bit.
- Start the third row of your ribbon wreath on the very inside, alternating attaching the ribbon between the first and second wires of the form. When you are finished, trim the ribbon with your scissors. Fluff for fullness before hanging.
Notes
Now that you know how to make a ribbon wreath, let me know in the comments! Plus check out these other cute and easy wreath projects for a variety of holidays and themes:
Candy Cane Mesh • Christmas • Christmas Mesh • Christmas Pom Pom • Coffee Filter • Felt • Pinecone • Pool Noodle • Pool Noodle Floral • Pom Pom • Wine Cork


the picture of the back is so helpful! would you include a picture of the back for the second row? Just need a visual for how to do the 2nd and 3rd row.
I made it on a 12” wire wreath form and just added one more row on the 1st and 2nd wires on top of what you described. It turned out beautiful! Thank you for the detailed instructions 🙂
Happy Holidays
@Noelle, yay! I’m glad it worked out.
Could this be made with 2 different ribbons? The first and third being
the same and second one being the coordinating one?
Absolutely! I think that would be great.
In your detailed explanation, you say you’re trying down onto the second and third wire (and that’s what the photo shows). But in the “recipe” it says tie down to third and fourth wire. Just looking for clarification. Thanks.
Second and third wire yes, thank you! I changed it!
Hi there,
So bottom line 4 wires labeled 1 – 4 starting from the inside, the first ribbon is on wires # 2 and #3 the second ribbon is on the same wires but fills the gap of wires #2 and #3. The third ribbon is on wire #1 (inside wire) The fourth outside wire has nothing on it.
I love this cannot wait to make it just wanted to confirm the steps. Thank you
Yes! On mine, the fourth wire has nothing on it!
Have you ever done crinkle ribbon 2.5 inches before
I have not but I see no reason why you couldn’t!
Can you use zip ties on the ribbon wreath?
Yes you can! Those work as well!
You show the directions using the 2nd and 3rd wires for the first ribbon and the same for the second ribbon. Do they cross over one another? Is there no ribbon attached to the outer wire? Also, does the 3rd ribbon only get fastened to the inside wire? Thank you. Looking forward to making this.
Hi Dina! Great questions! 1) no they don’t cross over each other. They are just next to each other. When you do it, you will see what I mean. There is no ribbon attached to the outer wire. I found that when I did this it got too full for my liking and where it was going. The third ribbon goes with the first and second wire to fill in the inside.
Having said all that, your questions bring up good points – you can adjust this if you like. If you want more fullness to the wreath, I’d experiment with adding another length of ribbon around the outside. If you don’t like the look, you can easily remove it by removing the pipe cleaners and starting over with that row. SO a mistake isn’t that big of a mistake luckily! It’s easily fixed until you get the wreath you like.