Crochet Bell Ornament (Free Christmas Pattern)
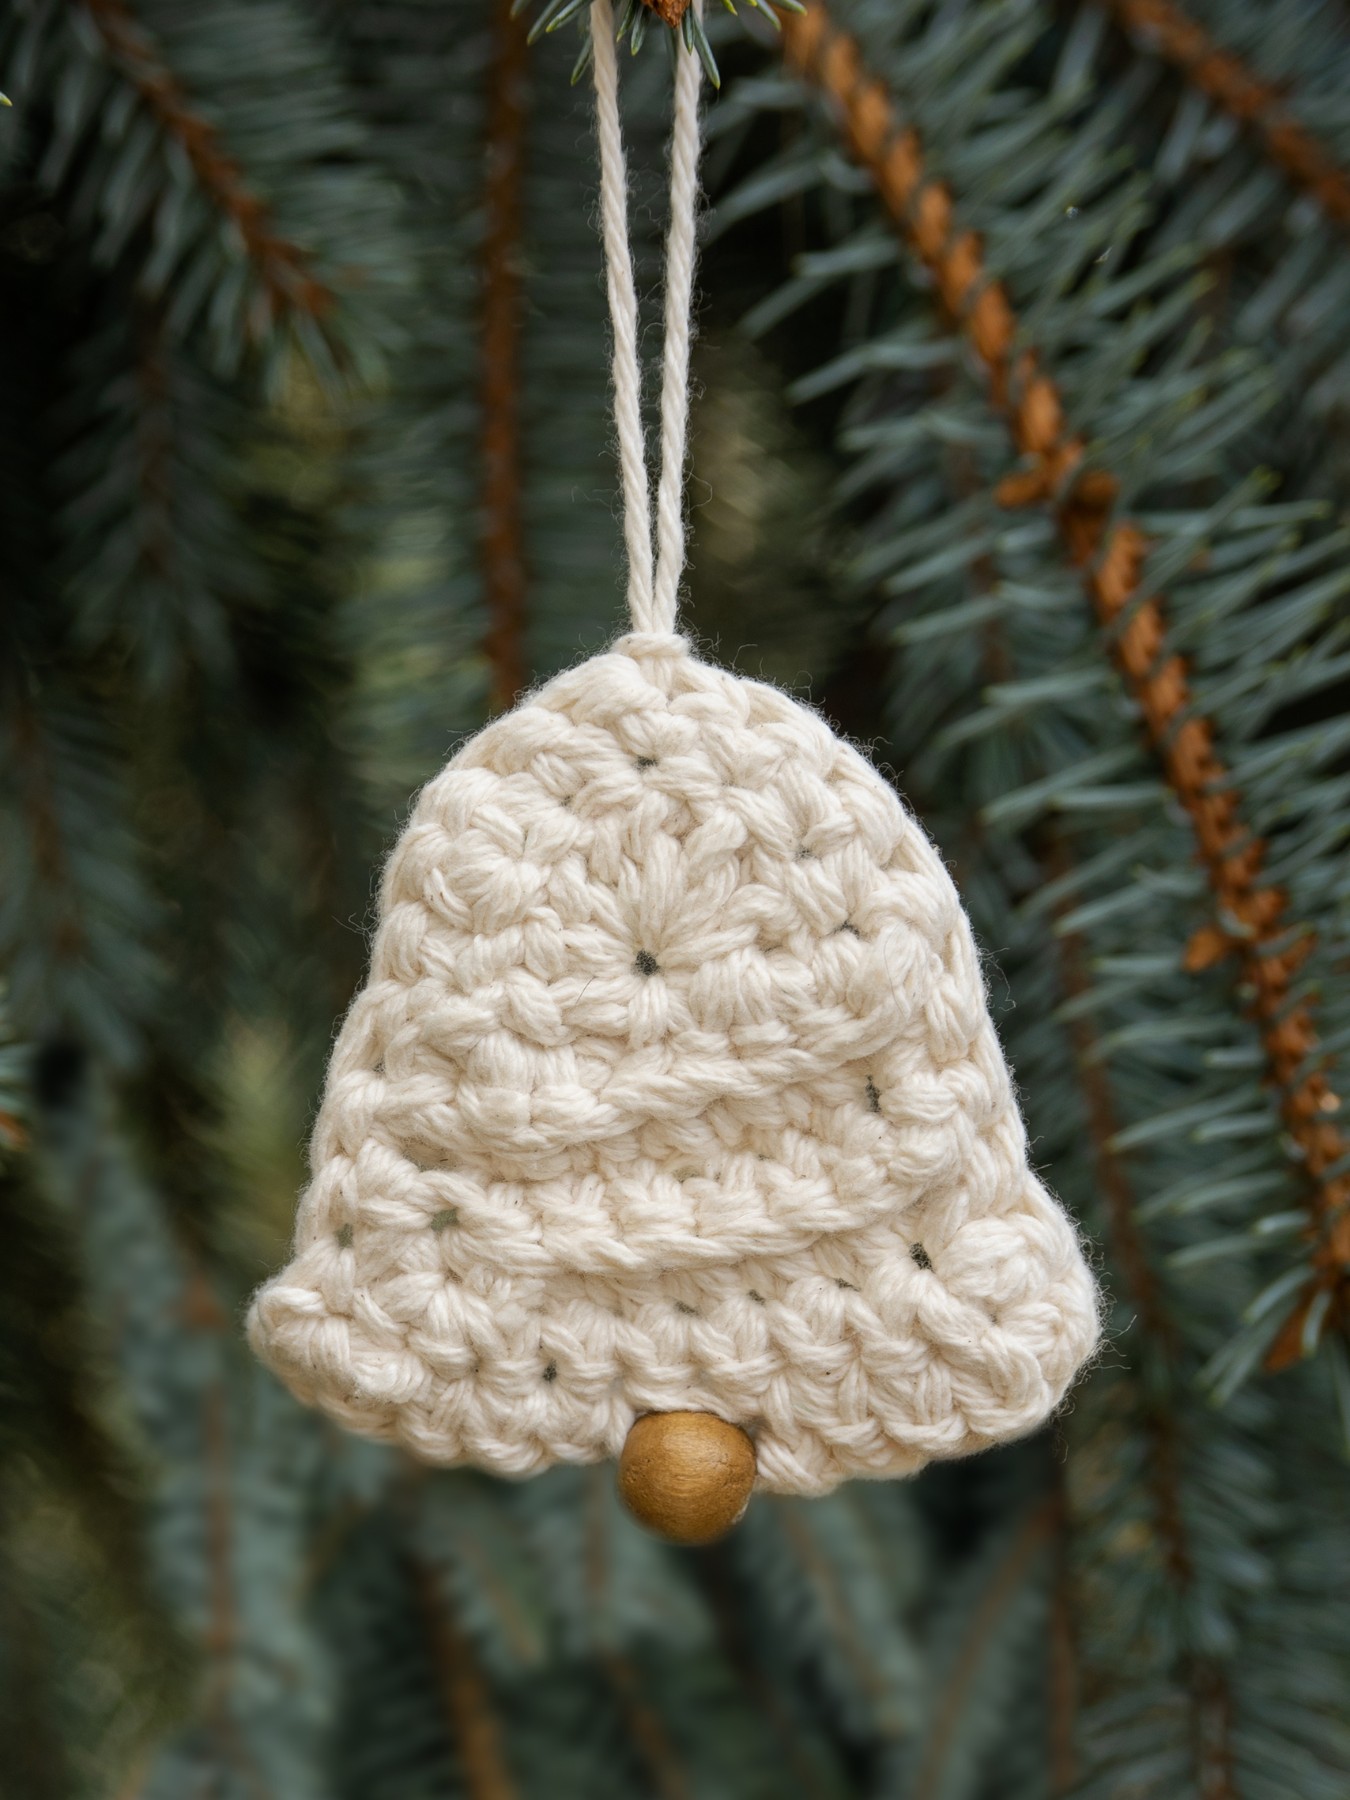
Ring in the holiday season with a DIY Christmas ornament free pattern! You’ll learn how to crochet a bell ornament perfect for hanging on your tree or topping off a gift with a handmade touch.
Skills Required: Advanced Beginner. You will use the basic single and double crochet stitches for this project. However, you will need to know how to create a magic ring (or magic circle) to start the ornament.
I try to add a couple new ornaments to my Christmas tree every year, and love making DIY ornaments! They help me to reminisce about past years as I decorate the tree.
I have some ornaments I made as a child—you know the ones—the clothespin reindeer, the angel with my face and name on it, and even a Snoopy ornament made using those white creamer cups from restaurants!
DIY Christmas ornaments make a tree unique to each family. This year I decided to crochet a couple of ornaments and today I’m sharing my crochet bell ornament with you. I hope you like it!
Note: At the bottom of this post, you’ll find a printable version of this free crochet pattern. However, you may want to read through this post first so you get some important tips and photos.
Crochet bell ornament supplies
Are you ready? Let’s gather our supplies!
Materials:
- Wood Bead – 14 mm
- 13 grams (~ 8 yards) #6 Super Bulky Yarn
In step by step photos below, I used Lion Brand Wool Ease Thick & Quick in Fisherman- OR – 10 grams (~ 17 yards) 100% Cotton Worsted Weight Yarn
In photo above, I used 2 strands of Lily Sugar ‘n Cream in Ecru
- OR – 10 grams (~ 17 yards) 100% Cotton Worsted Weight Yarn
*Note: using cotton yarn is best if you want to stiffen the bell or block it to keep it from curling up.
Tools:
- Crochet Hook – H/8 (5 mm)
- Scissors
- Tapestry Needle
- Blocking foam or towel (optional)
- Rust-resistant T-pins (optional)
Abbreviations Used: (US notation)
- ch – chain
- sl st – slip stitch
- sc – single crochet
- dc – double crochet
- MR – magic ring/circle
- st – stitch (es)
How to crochet a bell ornament
Notes:
- Gauge is NOT important for this project. Just make sure to be consistent with your stitches throughout the pattern.
- If you choose to use the cotton yarn, you need to complete this pattern using 2 strands of yarn throughout so it is more bulky.
Okay, let’s get started!
Free crochet pattern:
Begin by creating a magic ring. If you are unsure how to do this, here is a good magic ring video (you will stop at time 1:25).
Top part of bell: ch 2, 7 dc in MR, ch 1, pull on yarn tail to close the ring. Your work should look like a half circle as shown in the photo below. (click on photo to enlarge)
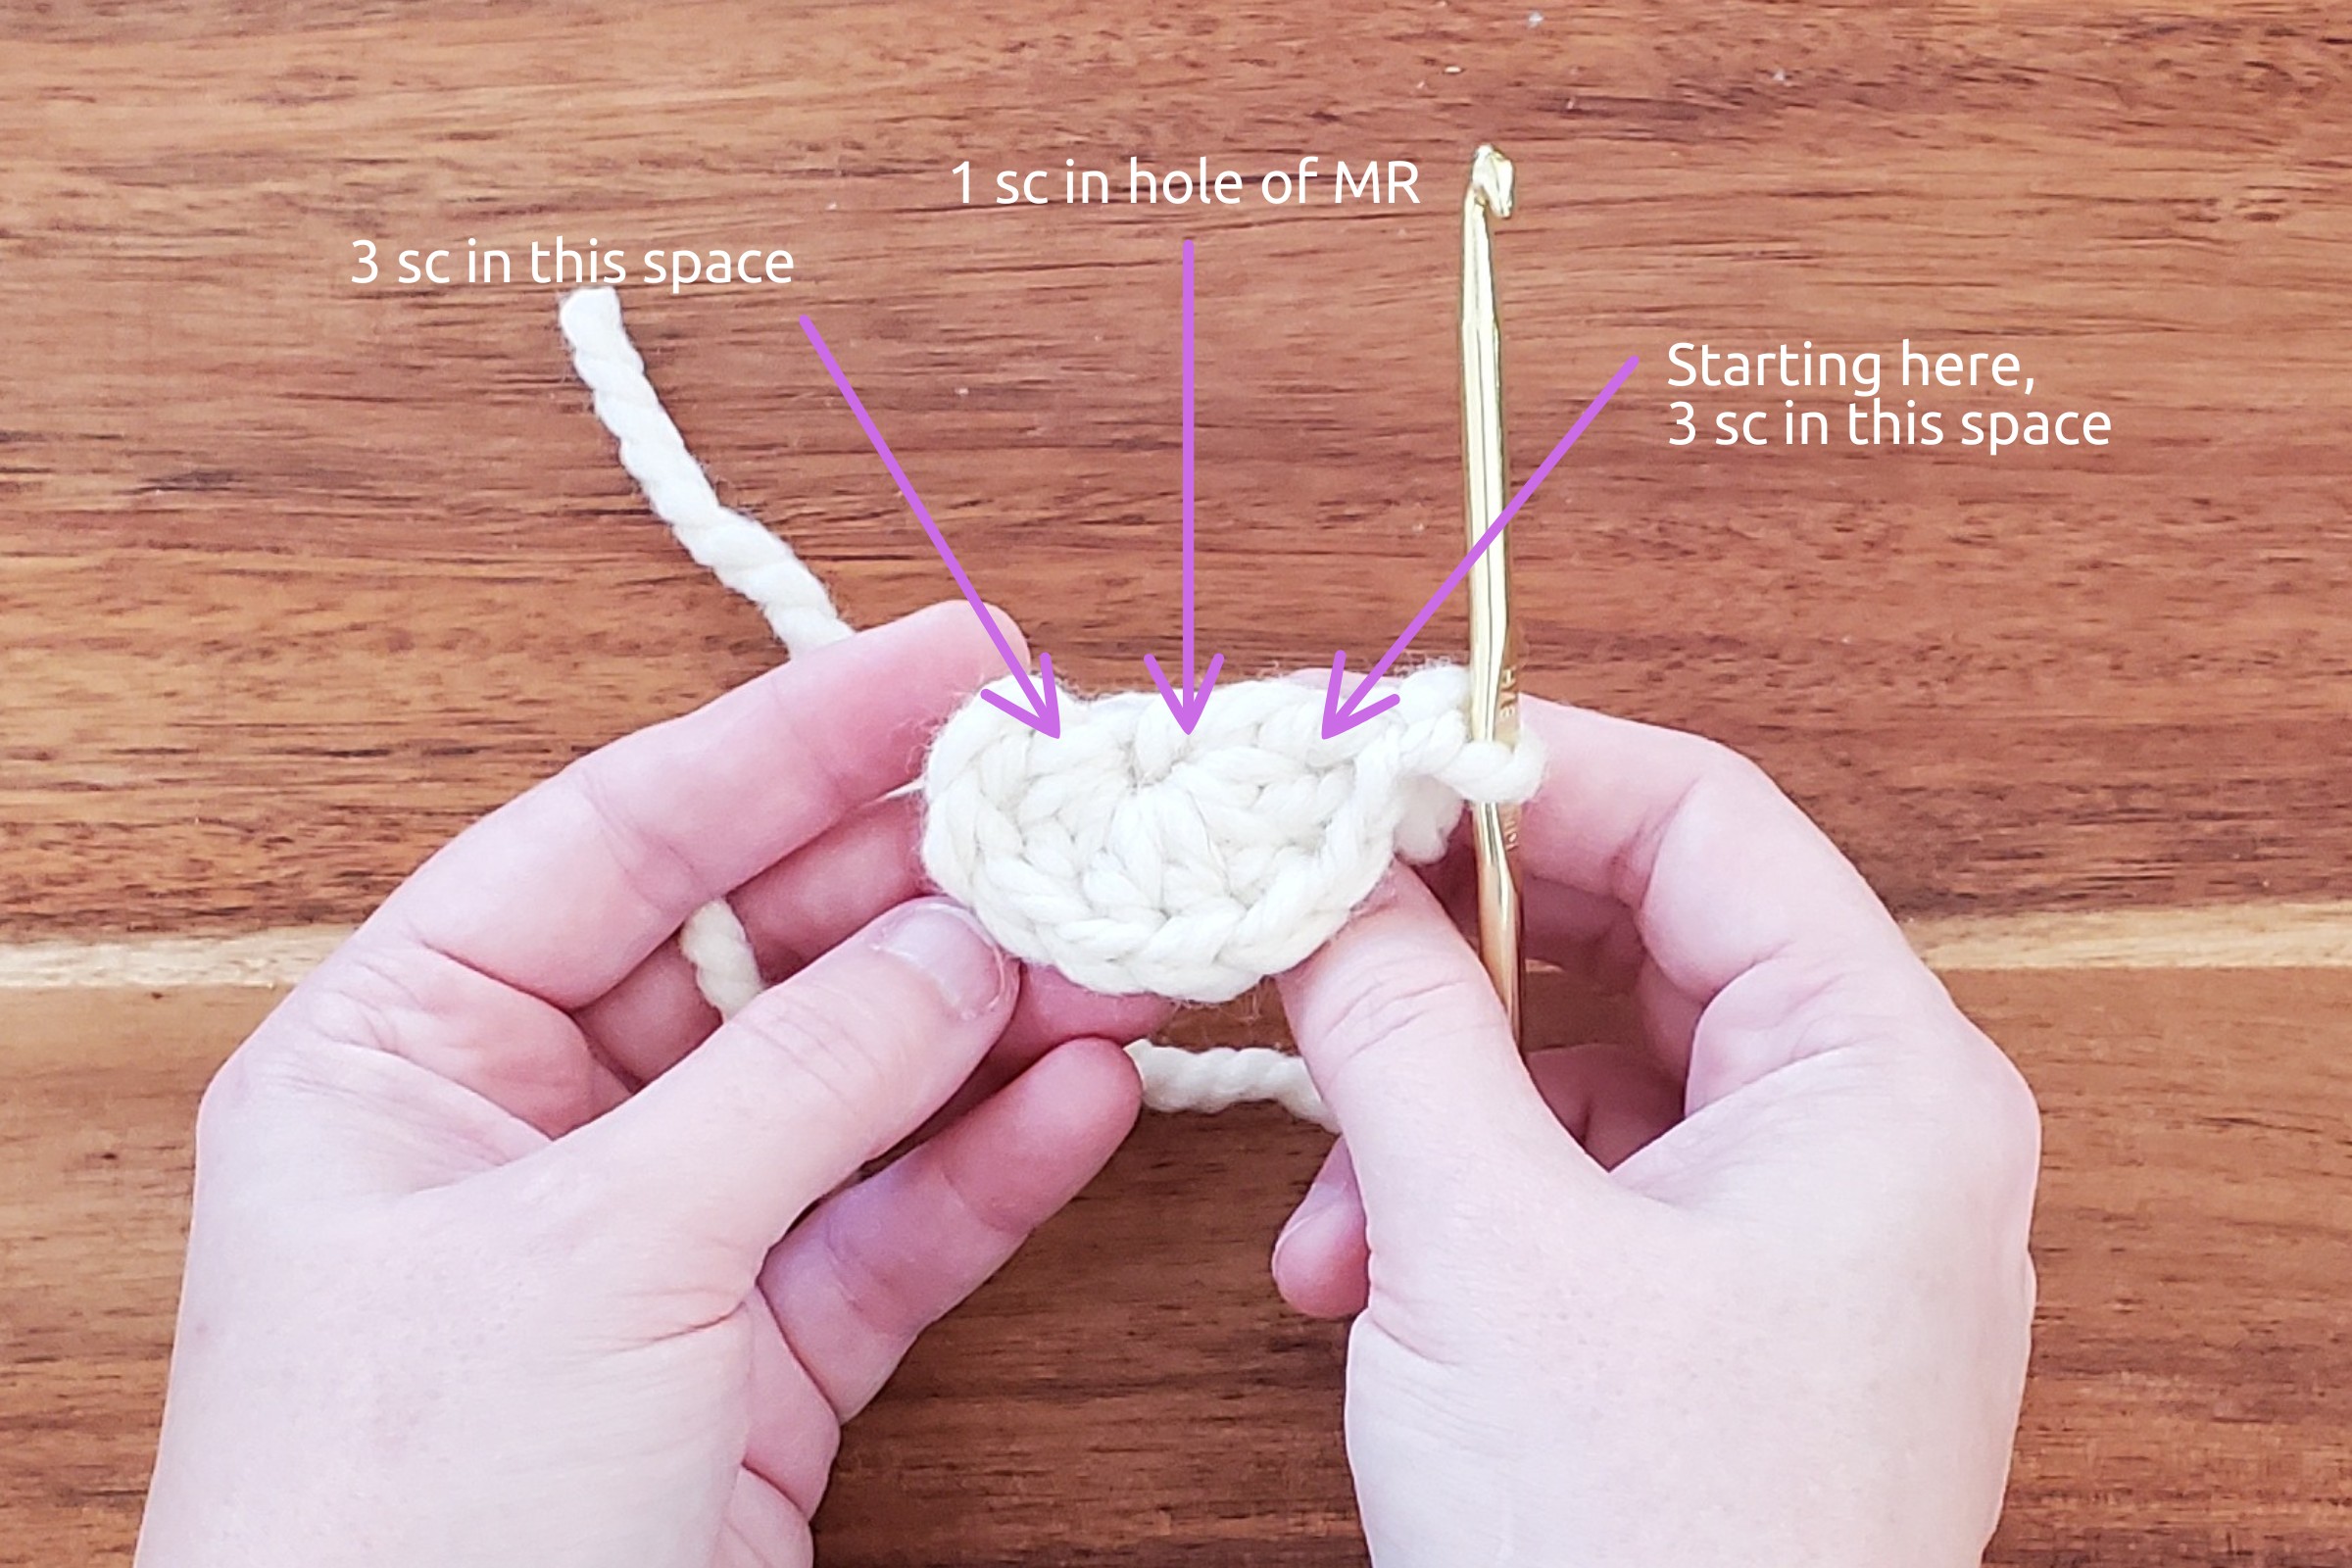
Row 1: (bottom part of bell) Using photo above as reference, 3 sc in space between last two dc, 1 sc in hole of MR, 3sc in space between first ch2 and first dc, ch 1, turn
Rows 2-6: (working in back loops only) 7 sc, ch 1, turn
Row 7: (working through both loops for remainder of pattern) sc in same st, 2 sc in next sc, sc in next 4 sc, 2 sc in next sc, 2 sc in last sc, ch1, turn
Photo below shows what your work should look like at this point. Don’t worry if your bell shape looks a bit rough (indented rows, etc.) once you complete the edging it should look much better.
Edge: Continue around the bell as follows: 10 sc evenly in ends of rows until you reach the top of the bell, 2 sc in next st, 10 sc evenly until you reach bottom of bell, sc in same st, sc in next 3 sc, sl st in next 3 sc, sc in next 3 sc, 2 sc in last sc.
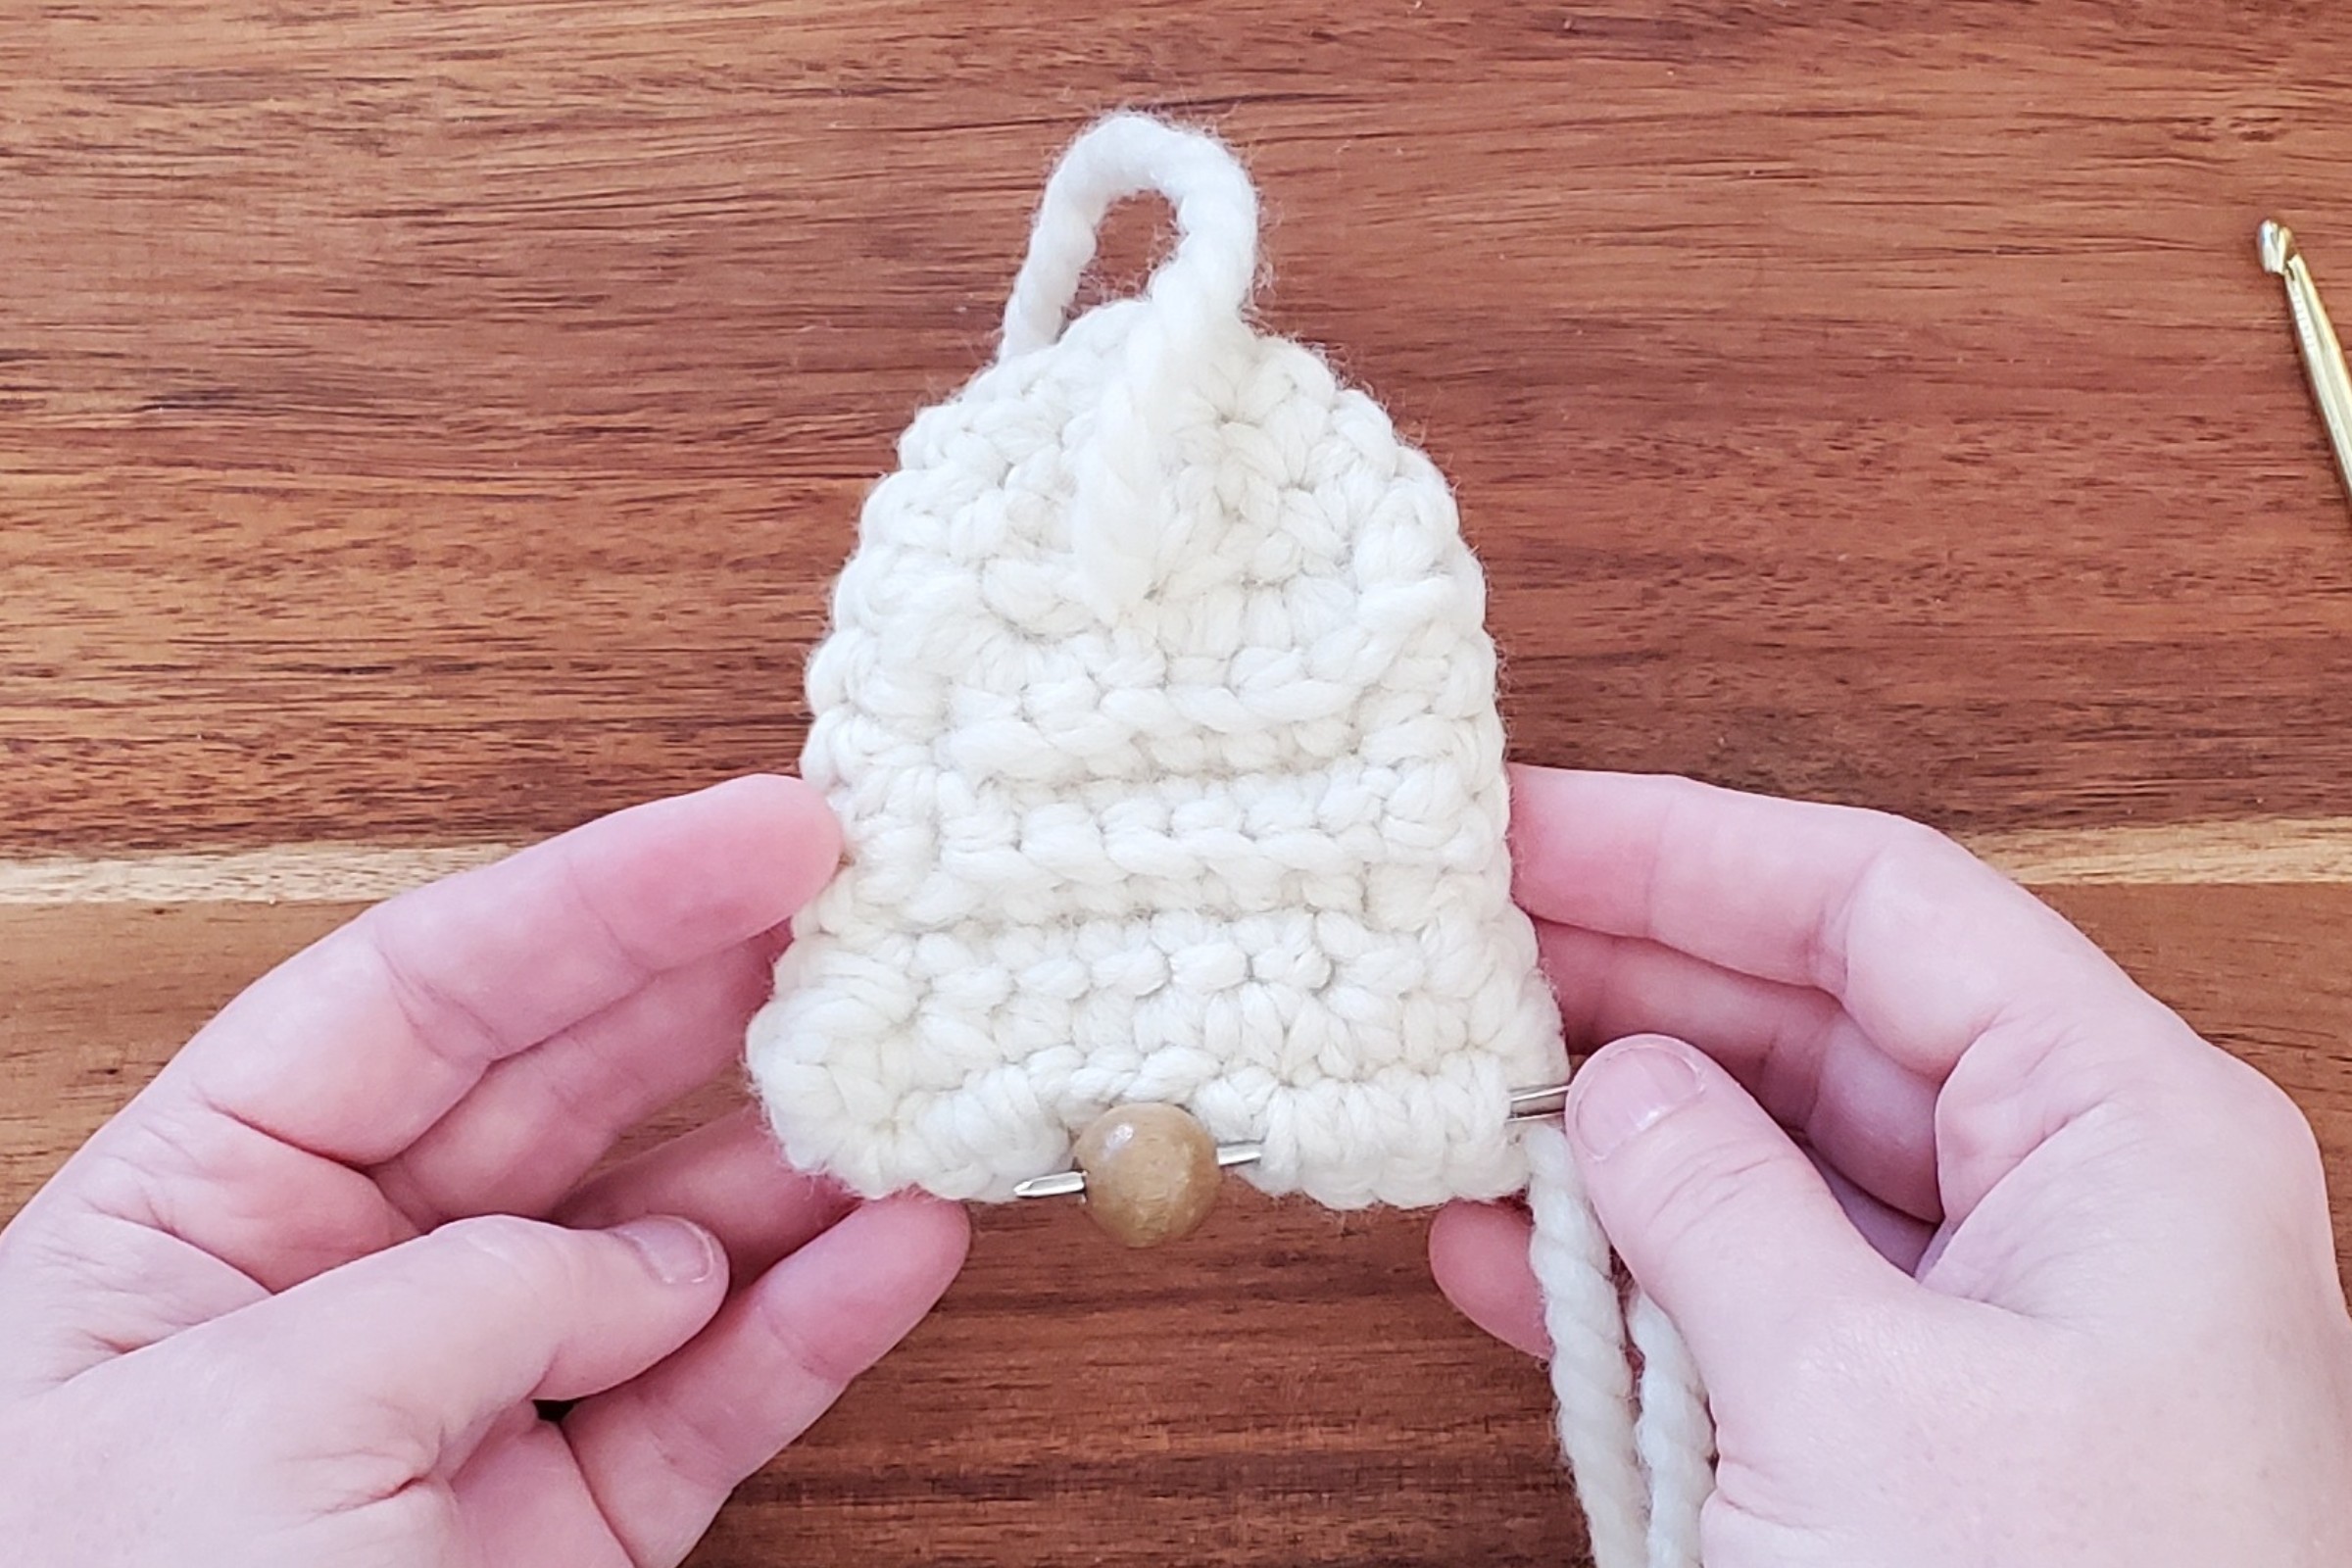
Adding bead: Cut about 10″ of extra yarn and pull through last stitch. Thread tapestry needle with this yarn and insert through back of first few stitches in last row, put bead on needle (see photo below). Continue putting needle through rest of stitches and pull yarn through tightly.
Finish off making sure to pull MR yarn tight first.
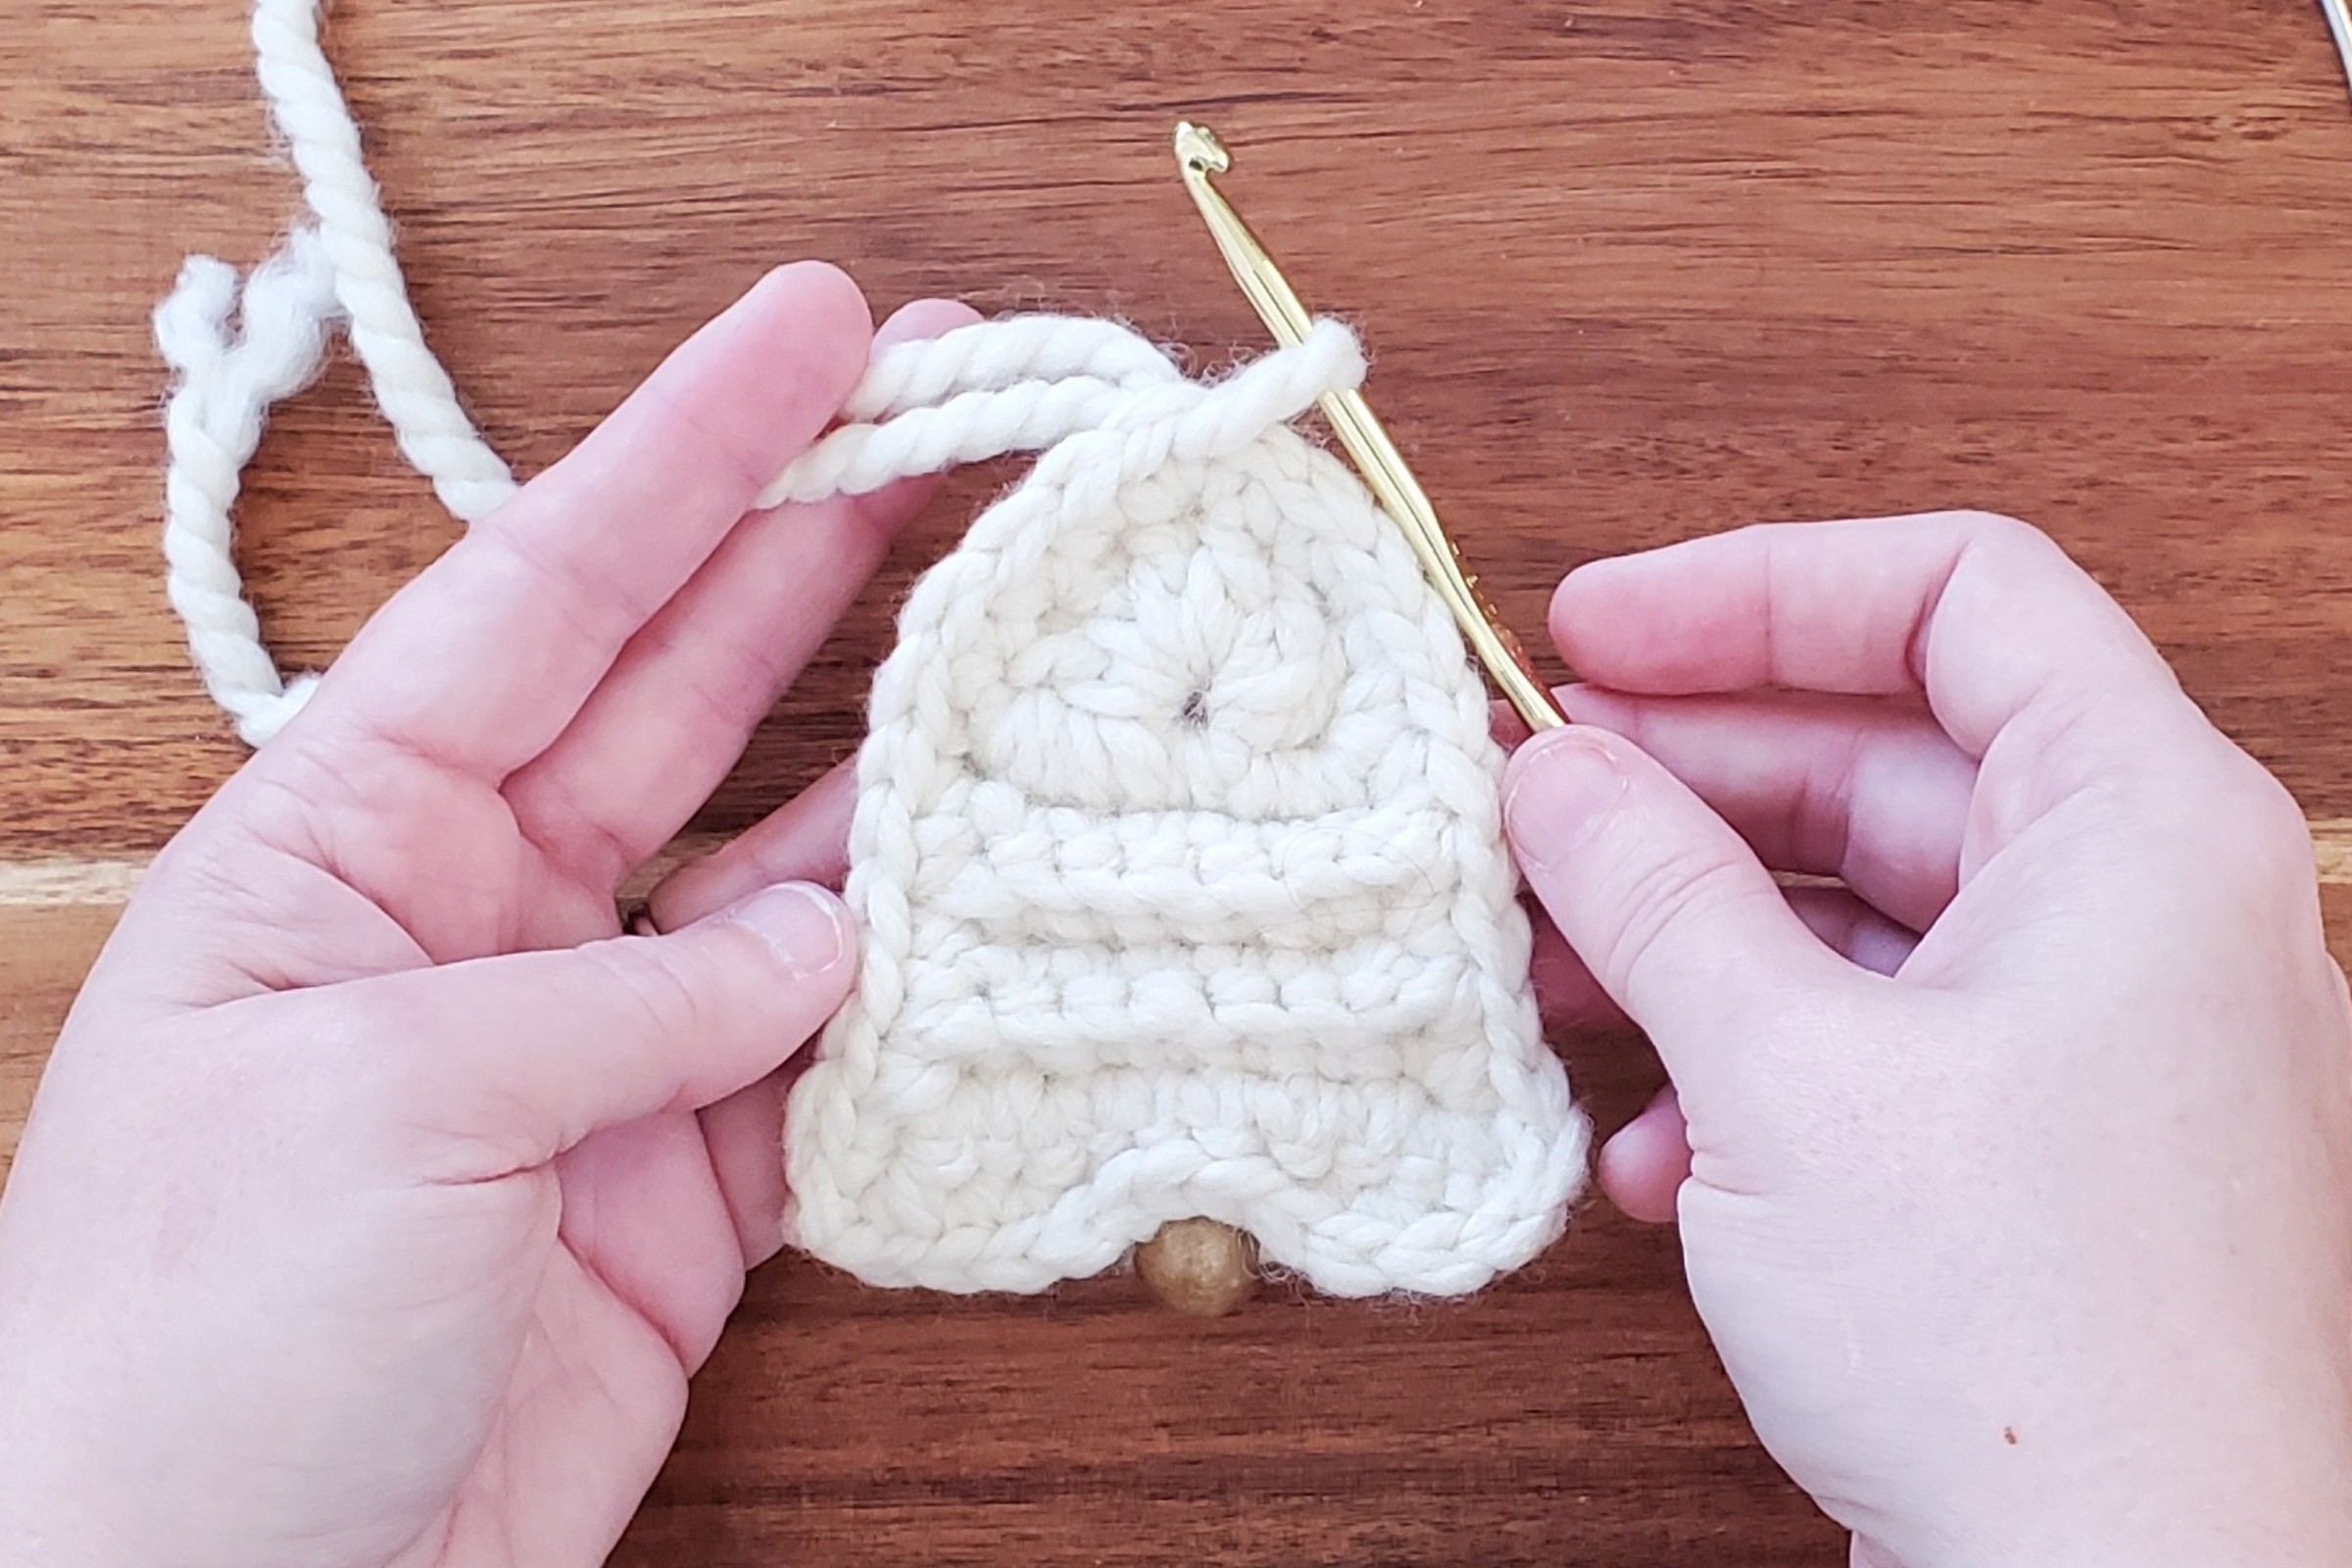
Cut another 10″ piece of yarn and attach to top of bell using a lark’s head knot. Photo below shows that the knot will be completed once two ends in left hand are pulled through the loop on the hook. Tie two ends together to form loop for hanging the ornament.
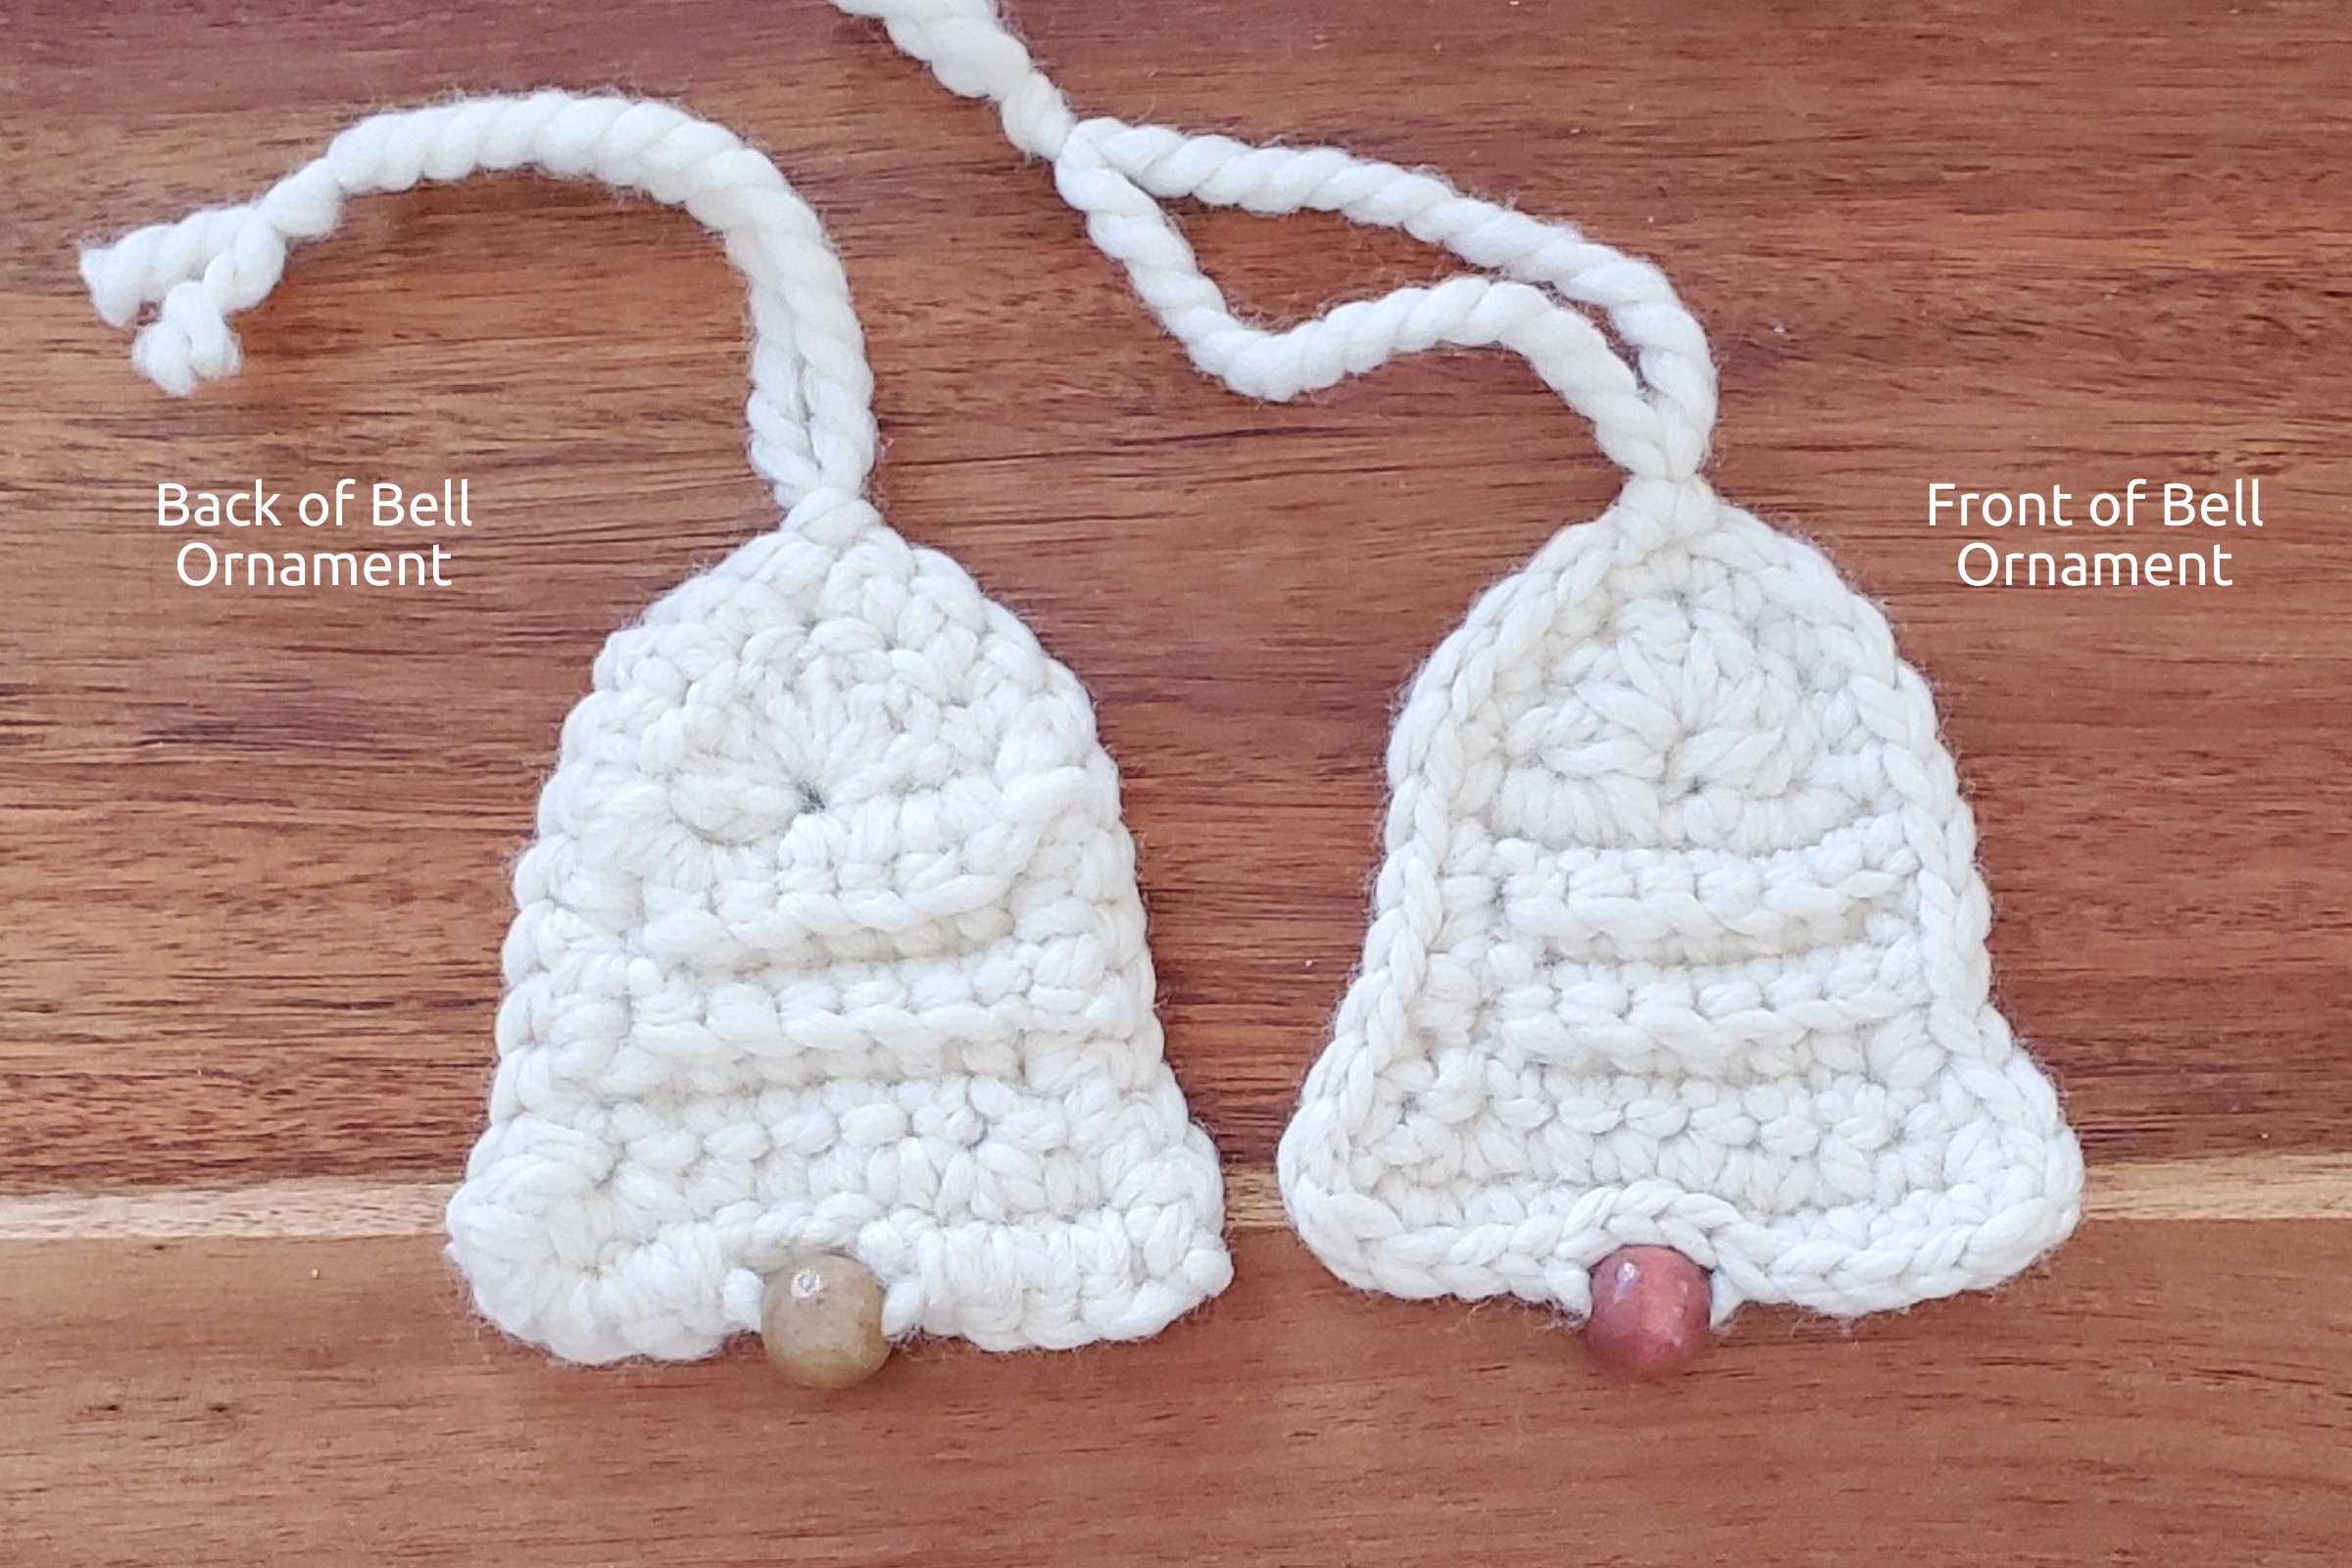
The photo below shows what the front and back of your ornament will look like:
(Optional): if your ornament is not laying flat, you can block it using blocking foam (or towel) and rust-resistant T-pins.
Enjoy your new handmade crochet bell ornament. Here are some ways to use it:
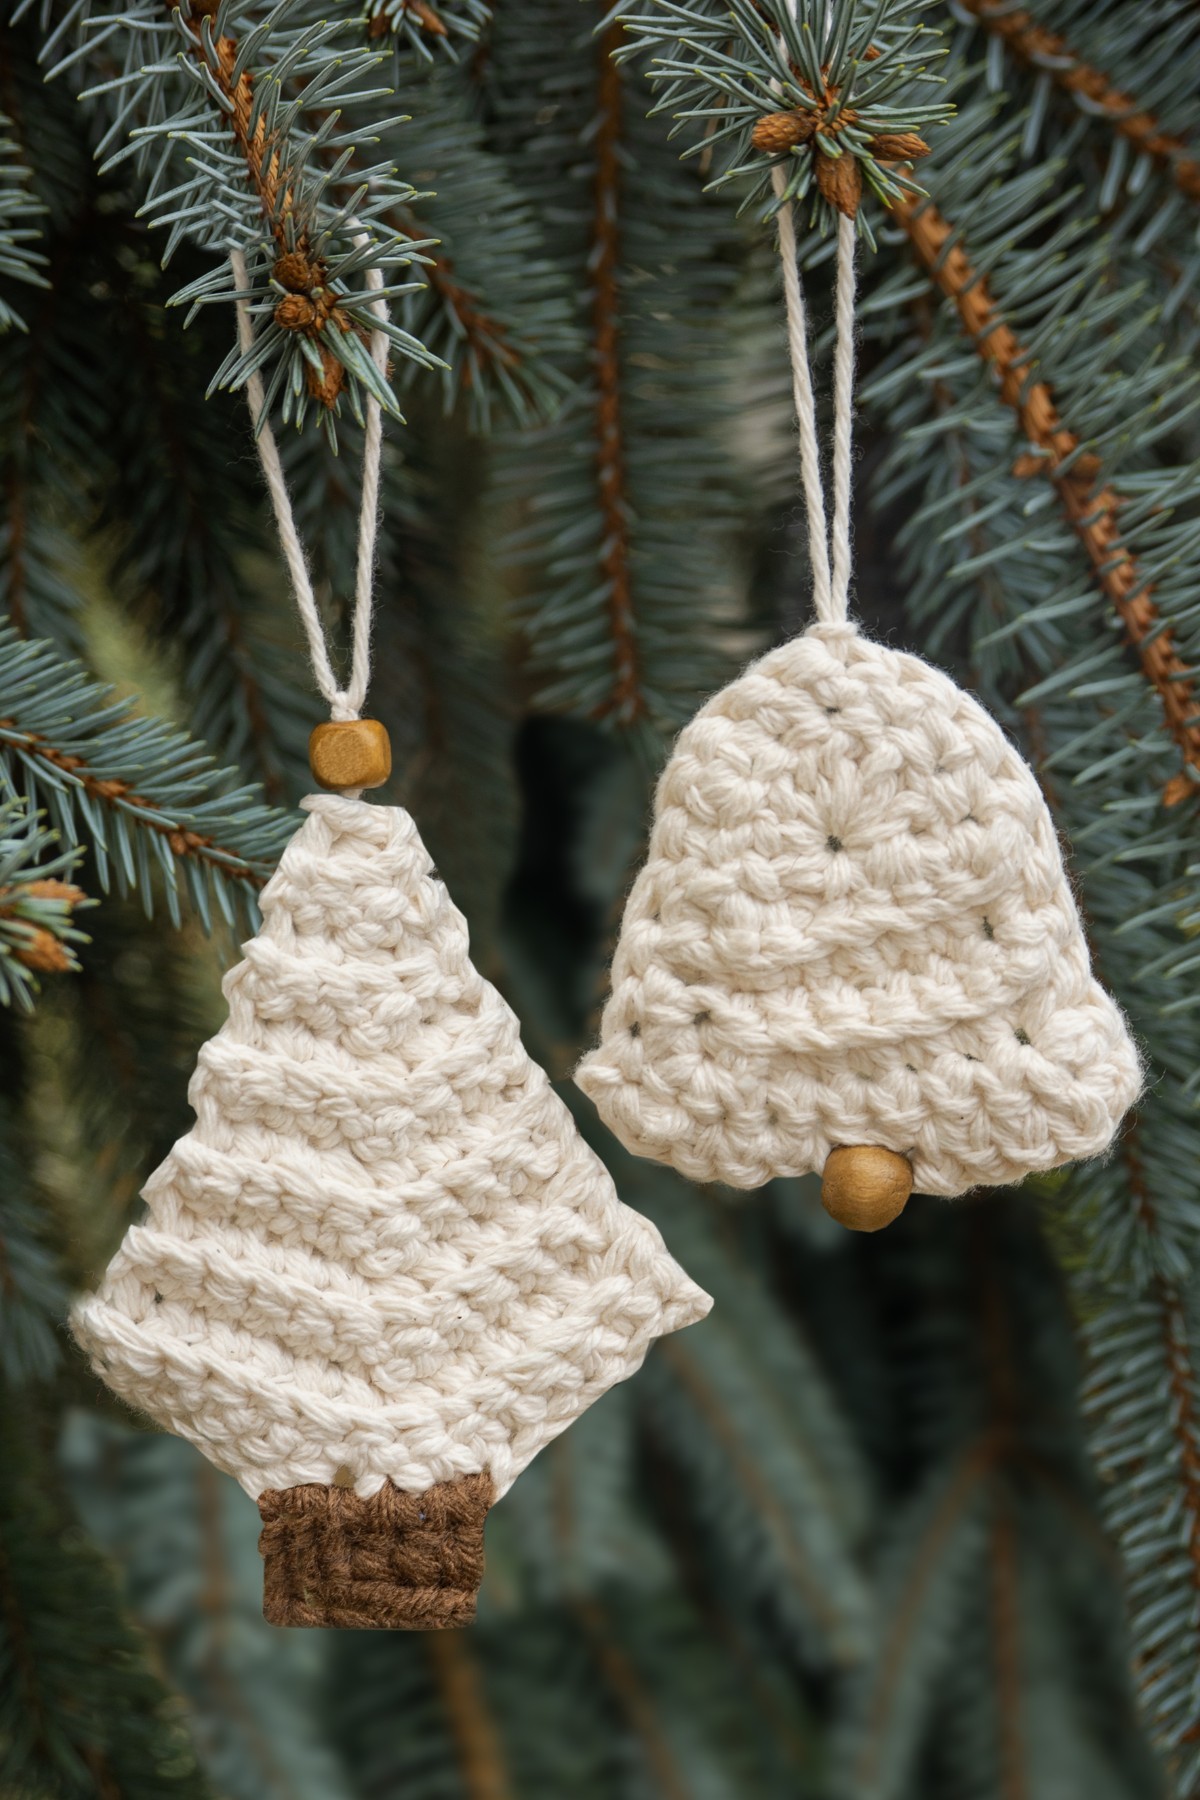
- On your Christmas tree
- As a gift topper with a gift tag
- As part of a gift for anyone on your list
Or, you can make a bunch of them and connect them together for a festive handmade garland!
Crochet Bell Ornament
Equipment
- Crochet hook H/8 (5 mm)
- Blocking foam or towel optional
- Rust-resistant T-pins optional
Materials
- 12 grams ~ 20 yards 100% Cotton Worsted Weight Yarn – I used Lily Sugar ‘n Cream in Ecru
- 1 Wood bead 14 mm
Instructions
- Begin by creating a magic ring.
- Row 1: (bottom part of bell) 3 sc in space created by last two dc, 1 sc in hole of MR, 3sc in space between first ch2 and first dc, ch 1, turn
- Rows 2-6: (working in back loops only) 7 sc, ch 1, turn
- Row 7: (working through both loops for remainder of pattern) sc in same st, 2 sc in next sc, sc in next 4 sc, 2 sc in next sc, 2 sc in last sc, ch1, turn
- Edge: Continue around the bell as follows: 10 sc evenly in ends of rows until you reach the top of the bell, 2 sc in next st, 10 sc evenly until you reach bottom of bell, sc in same st, sc in next 3 sc, sl st in next 3 sc, sc in next 3 sc, 2 sc in last sc.
- Finish off making sure to pull MR yarn tight first.
- (Optional): if your ornament is not laying flat, you can block it using blocking foam (or towel) and rust-resistant T-pins.
Notes
Abbreviations Used:
- ch – chain
- sl st – slip stitch
- sc – single crochet
- dc – double crochet
- MR – magic ring/circle
- st – stitch (es)
Did you enjoy making this crochet bell ornament? Then you should check out these other fun yarn projects:


