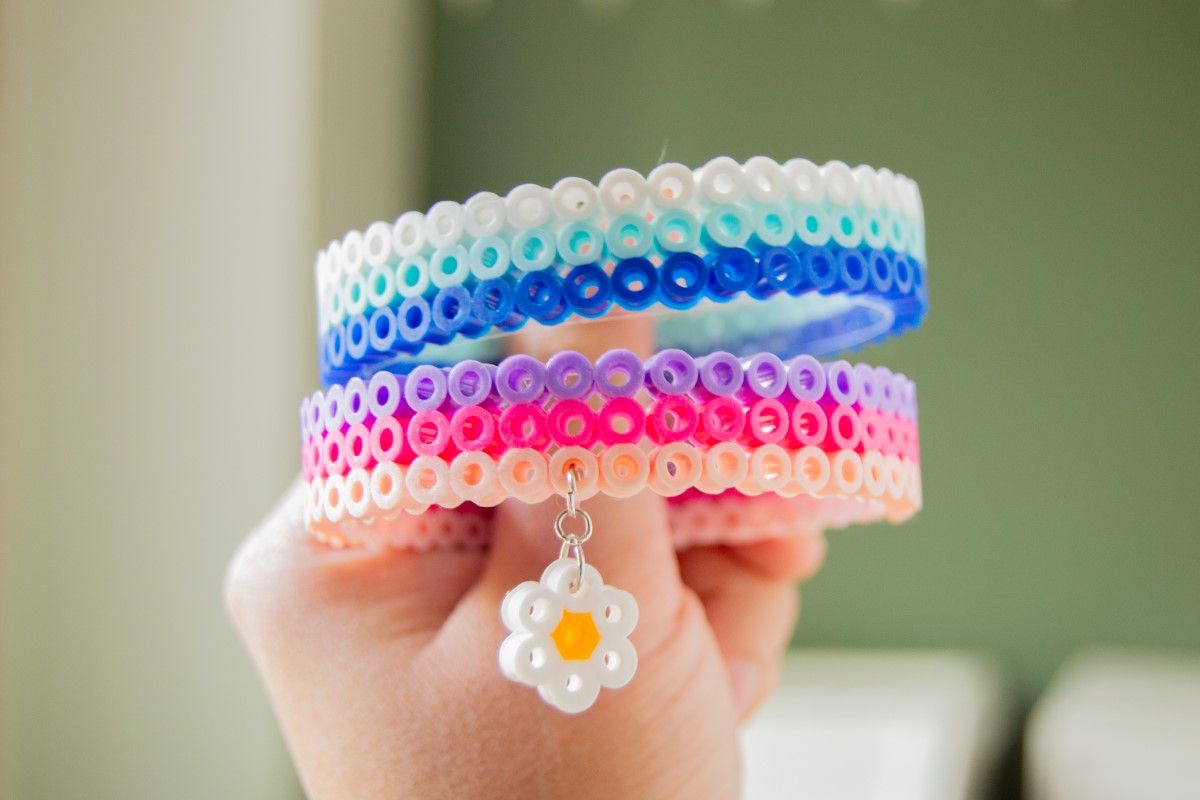
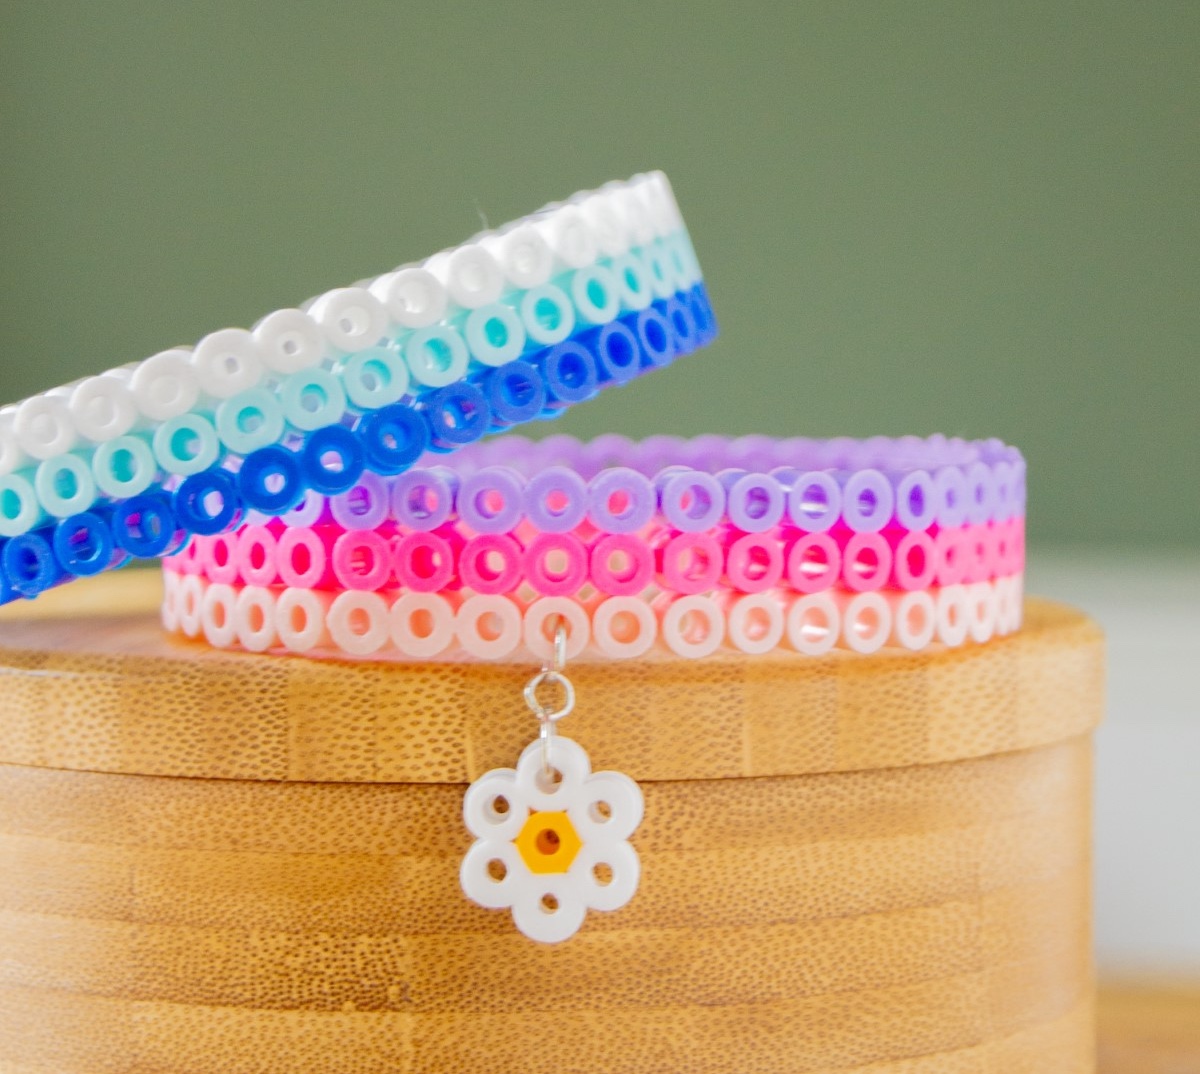
How to Make Bracelets with Perler Beads
Have you ever tried hama beads, aka perler beads? Learn how to make a perler bead bracelet in this tutorial. Easy and fun for adults or kids.
Skills Required: None. Even if you’ve never crafted before, you should be able to accomplish this project easily. You’ll be placing beads on pegboards and then ironing.
Creating something beautiful and unique from the simplest of materials is a form of magic that we all possess. Today, I want to bring that magic into the spotlight with a craft that’s as colorful and vibrant as your imagination allows – perler bead bracelets.
Yes, those tiny plastic beads that we’ve all admired in craft stores, reminiscing about childhood afternoons spent creating pixelated masterpieces, are about to get a stylish upgrade.
These bracelets are about to become your next creative obsession. Why? Because perler beads offer an endless spectrum of colors and the flexibility to pattern them in any way your heart desires.
Whether you’re aiming for a geometric dazzle, a whimsical splash of colors, or even a personalized name or message bracelet, these tiny beads are your canvas.
Whether you’re looking to craft a thoughtful gift, add a handmade touch to your accessory collection, or simply enjoy a creative escape, this tutorial is for you.
So, let’s set aside the notion that perler beads are just for kids or that bracelets are mere accessories. Together, we’ll explore how these small beads can be transformed into expressions of personality and style.
Ready your creative spirit, and let’s embark on a journey of color, creativity, and connection through the charming world of perler bead bracelets Here’s what you’re going to need:
Gather These Supplies
- Perler bead pegboards
- Hama beads in your favorite colors
- Parchment paper
- Painter’s tape
- Jump ring
- Acetate (optional)
- Mini iron
- Glass the size of the bracelet you want
- Measuring tape or ruler
- Jewelry pliers
Tips and Thoughts for This Project
Making the ends of the bracelet meet can be a bit tricky, but with some finagling, you can fuse the beads together while holding it in place.
I found it easier to wrap around with the already fused side touching the glass. Once you’ve fused the two ends together, work your way around the rest of the bracelet to give it extra hold.
Now go to town and make some more! I find this to be an awesome summer craft when kids get bored and I need to burn a few hours.
And don’t forget to show them off. Get the how to below:

Perler Bead Bracelets
Equipment
- Mini iron
- Glass
- Jewelry pliers
- Hot glue gun and glue sticks optional
Materials
- Pegboards
- Perler beads in your favorite colors
- Parchment paper
- Painter’s tape
- Jump rings
- Acetate optional
Video
Instructions
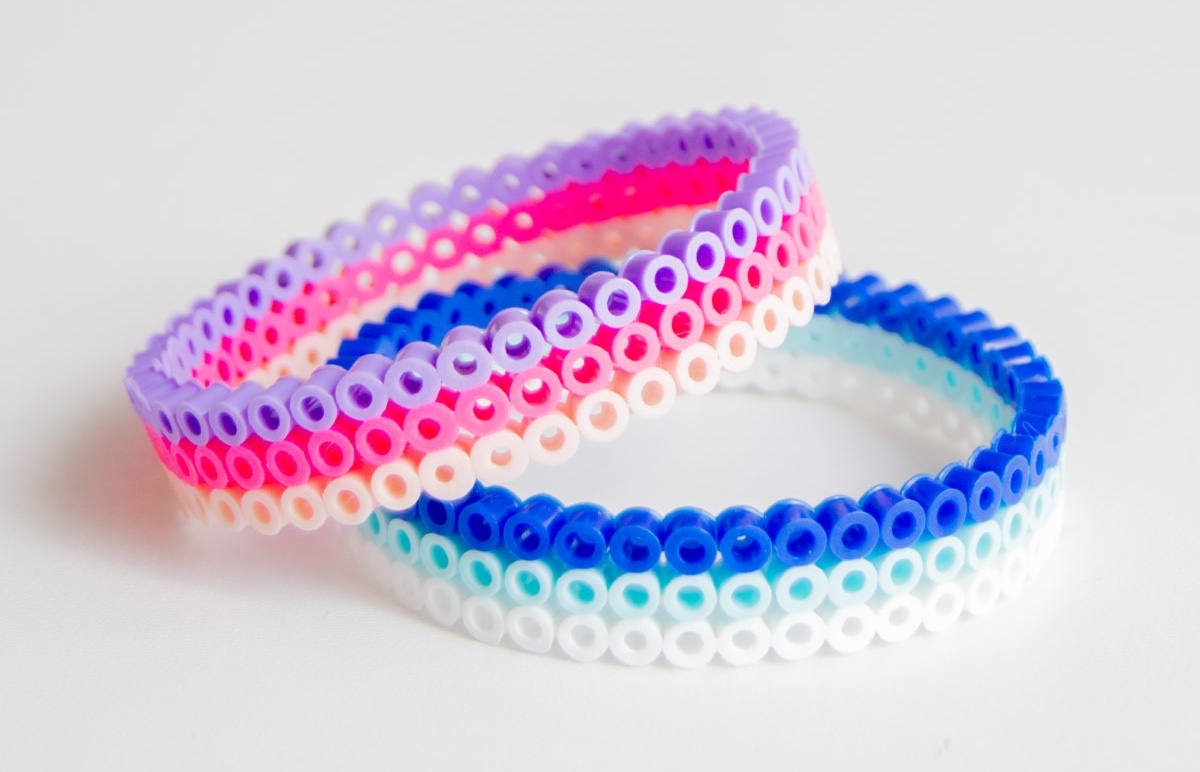
- Choose a design – I chose a diamond design that was three beads wide and about 8.5" long. Measure your wrist if necessary.
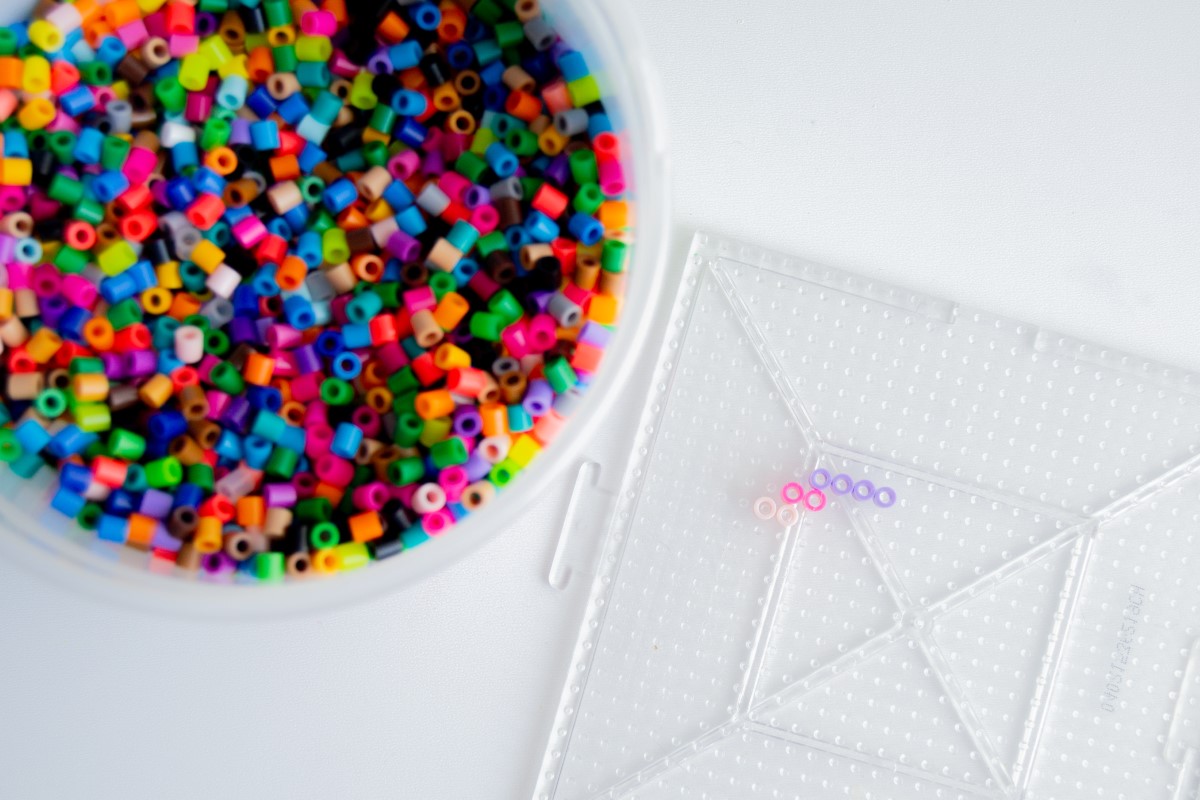
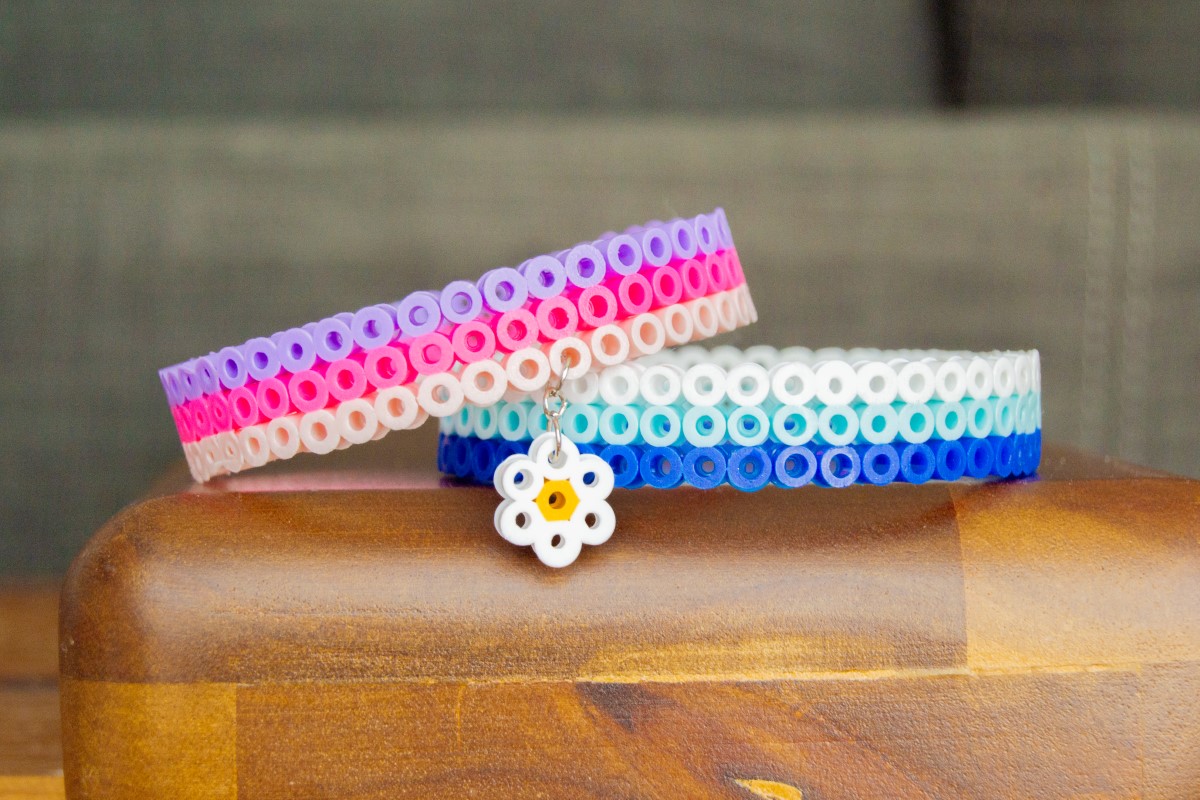
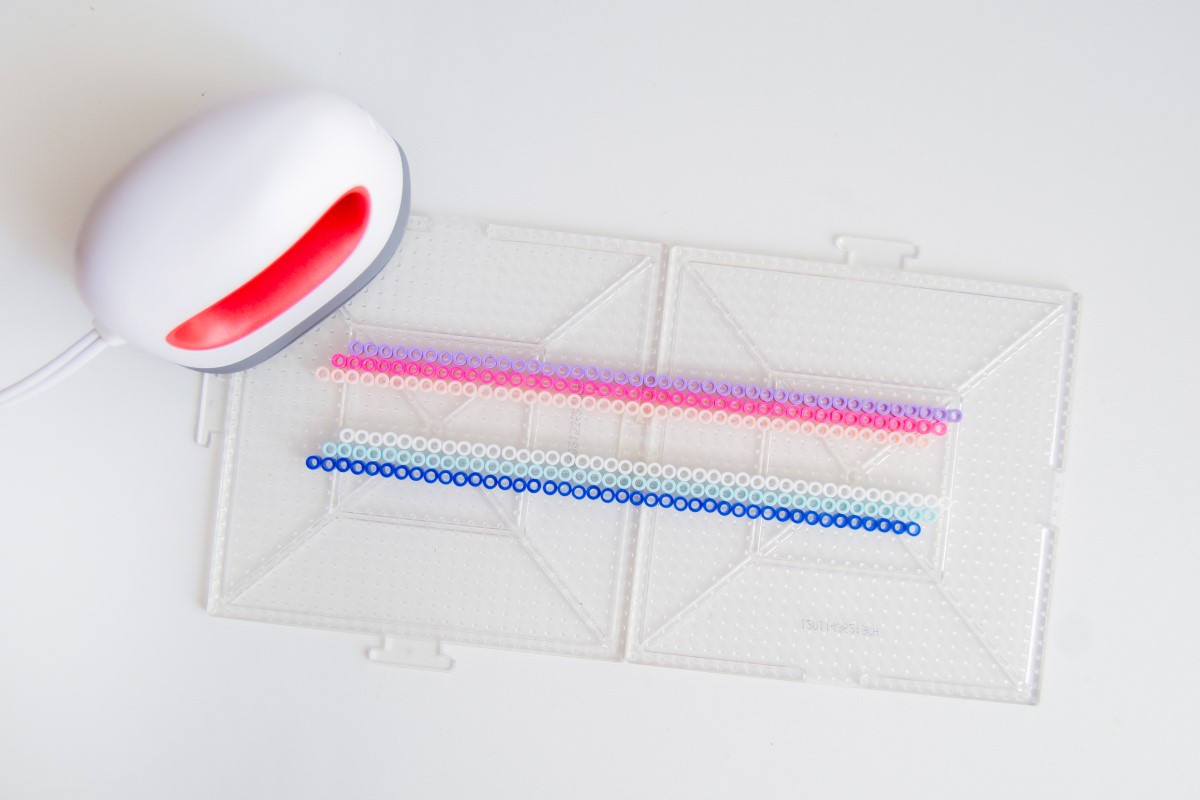
- Place the perler beads on the pegboards to create the bracelet. Make sure the start and finish of your bracelet end at different angles so they'll match up when you form the loop.
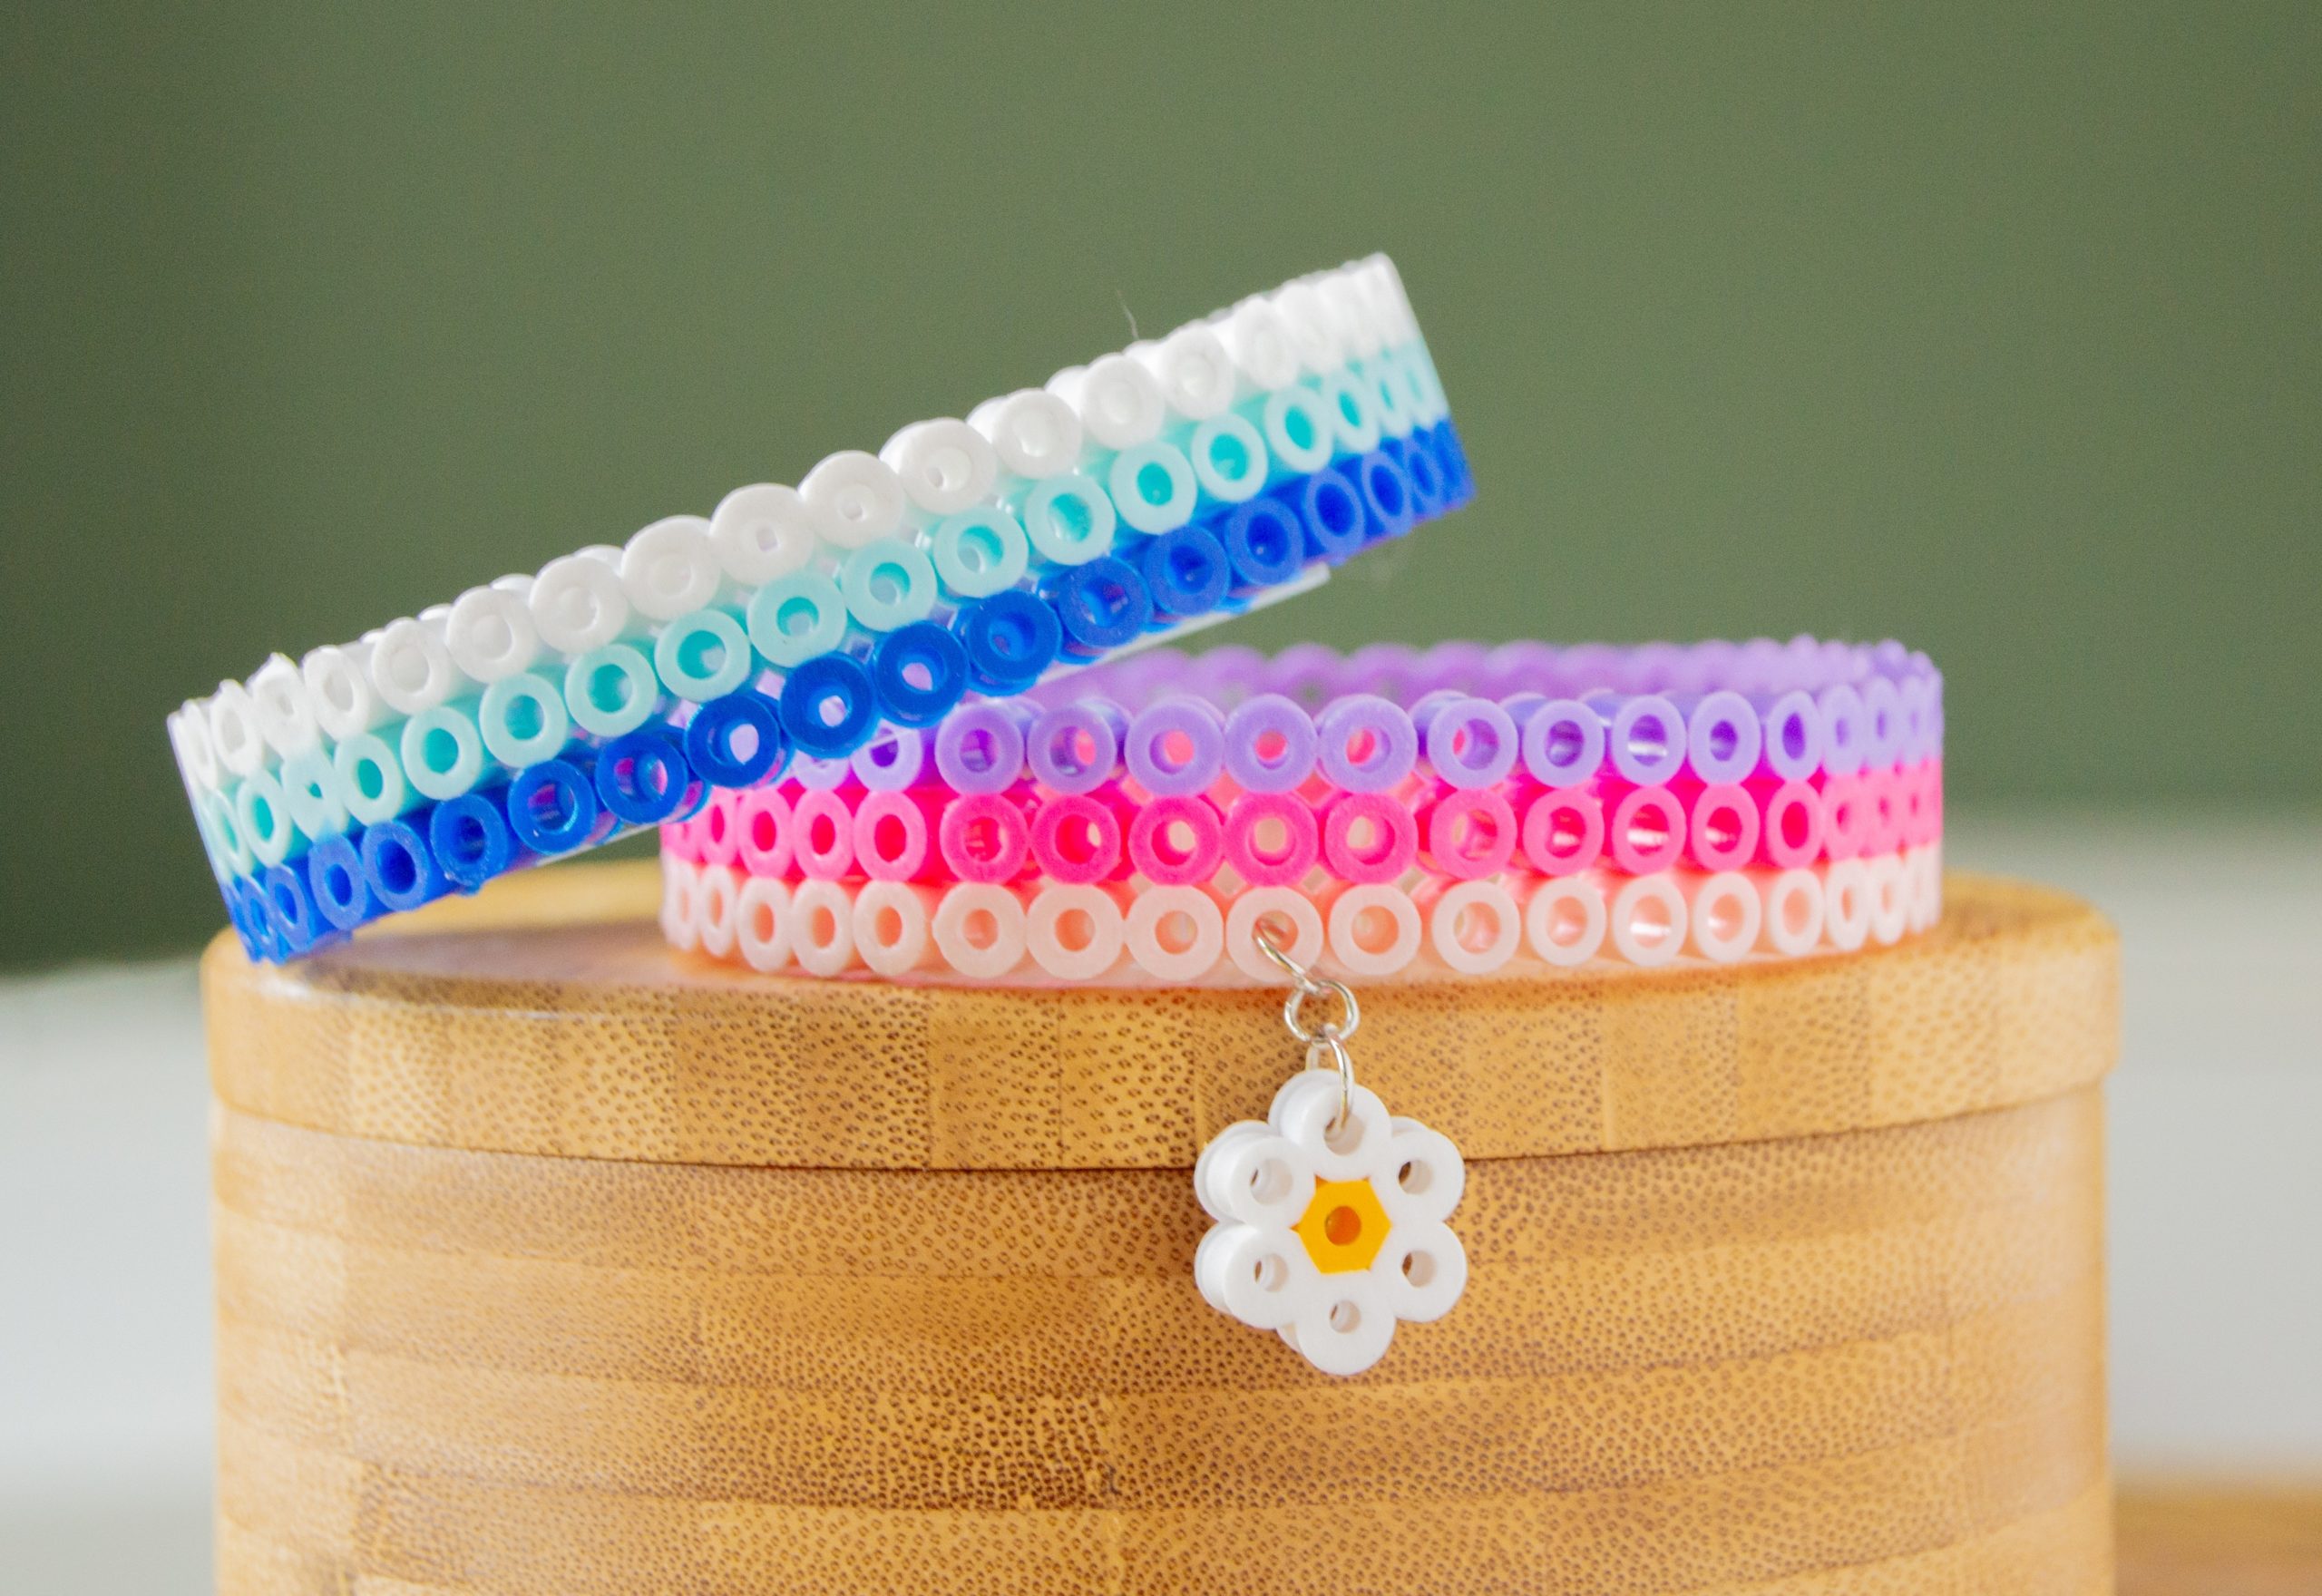
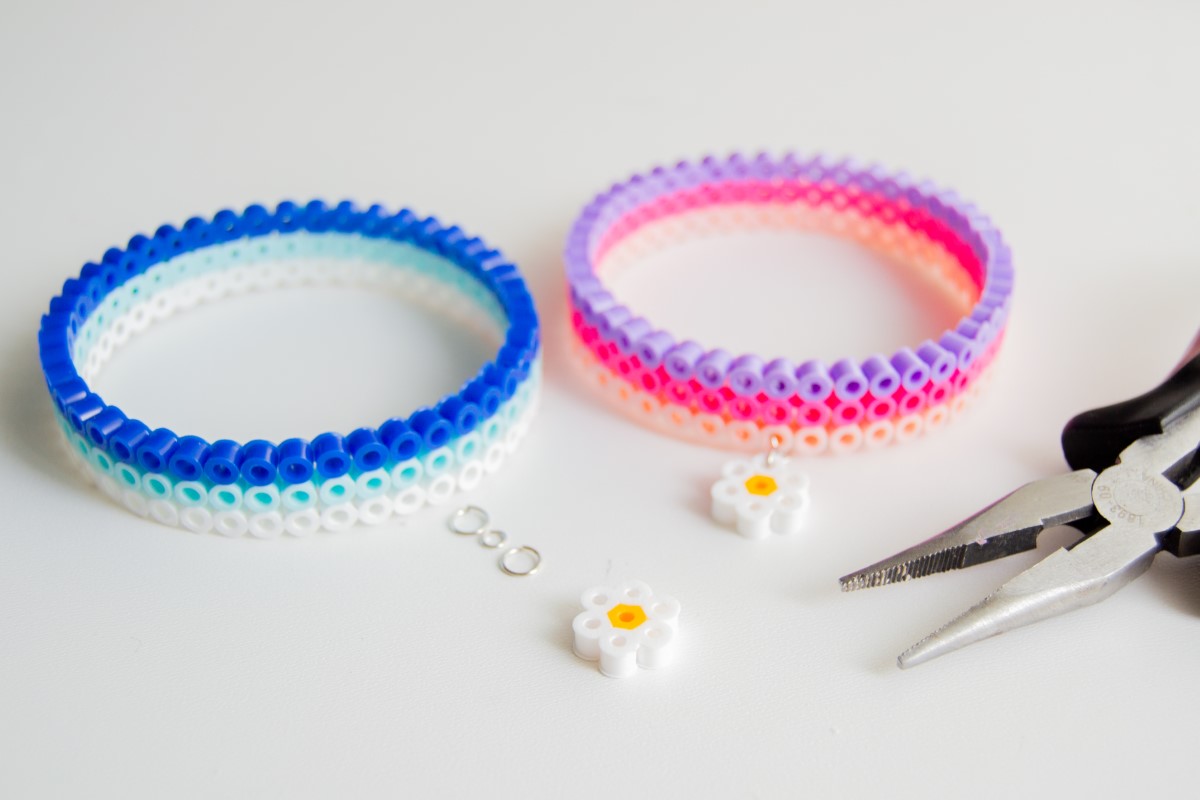
- Using the hexagon board, add beads to the pegboard to create charms.
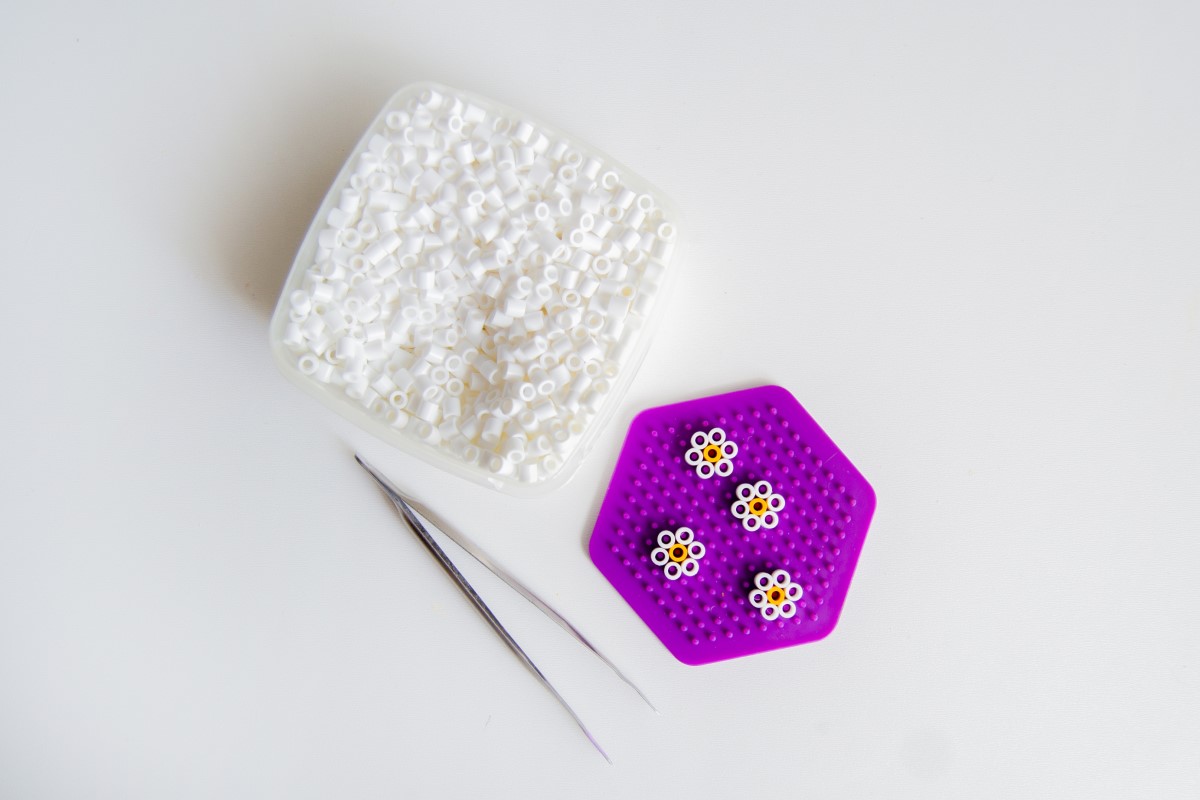
- Place the parchment paper on top of the daisies and iron. Place painter's tape on top of the length of perler beads for the bracelet, then parchment paper, then iron.
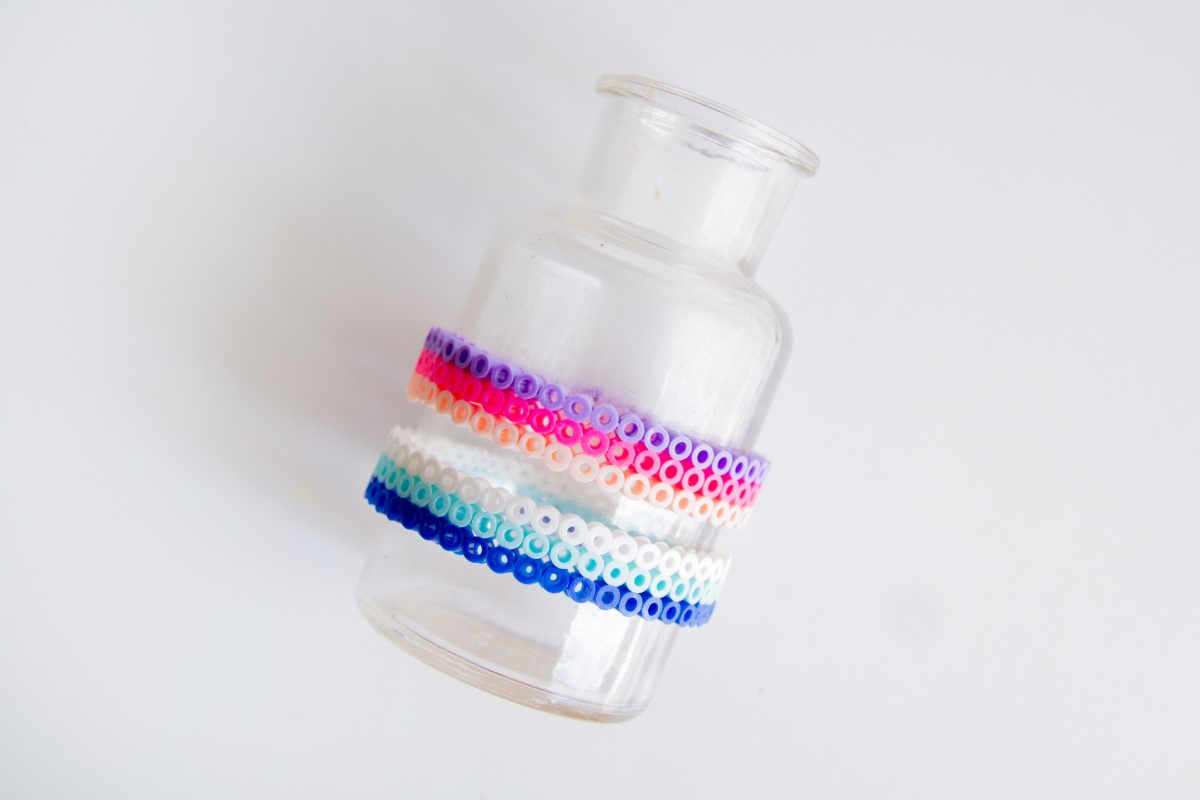
- Take the strip while it's still warm and wrap it around your glass, making sure to join the ends together. Once you've fused the two ends together, iron your way around the rest of the bracelet to give it extra hold.
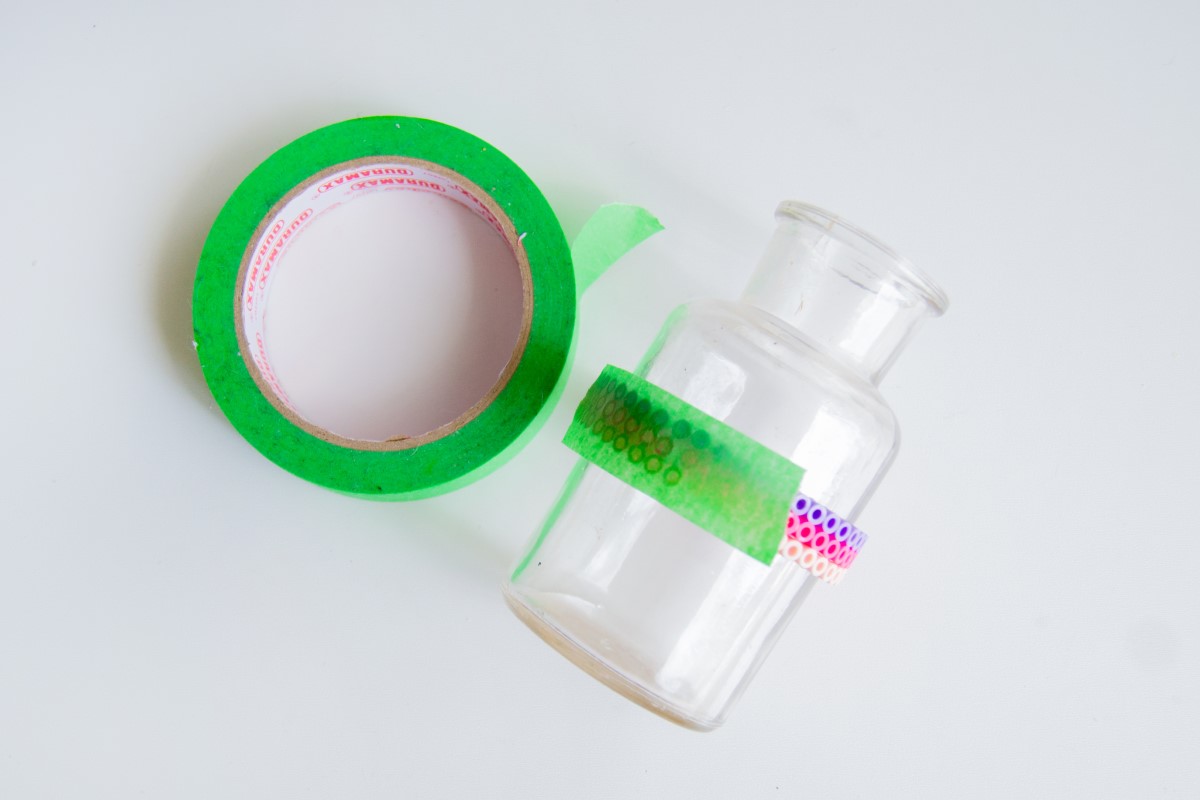
- Leave the bracelet to cool on the glass. This will help it keep its shape.
- If desired to reinforce the bracelet, cut a piece of clear acetate to fit the inside.
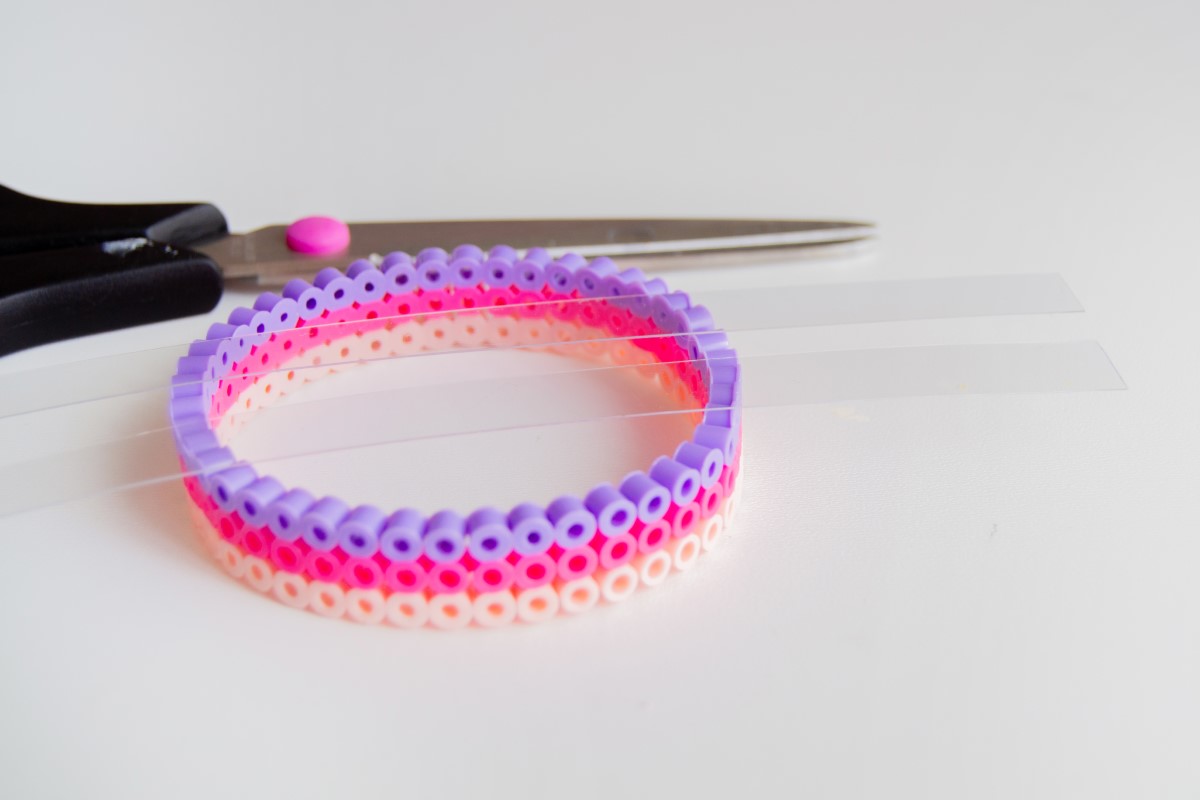
- Attach the clear acetate using a hot glue gun and glue sticks – you can also use E-6000. Let dry.

- Attach the charm to the bracelet using a jump ring and the jewelry pliers.
Notes
Now that you know how to make these bracelets, here are some other perler projects you need to check out:
Box • Bookmarks • Crown • Door Hanger • Drink Covers • Key Tray • Organizer • Tic Tac Toe Game


i like it
What a great tutorial! I didn’t know they made peg boards that big!!