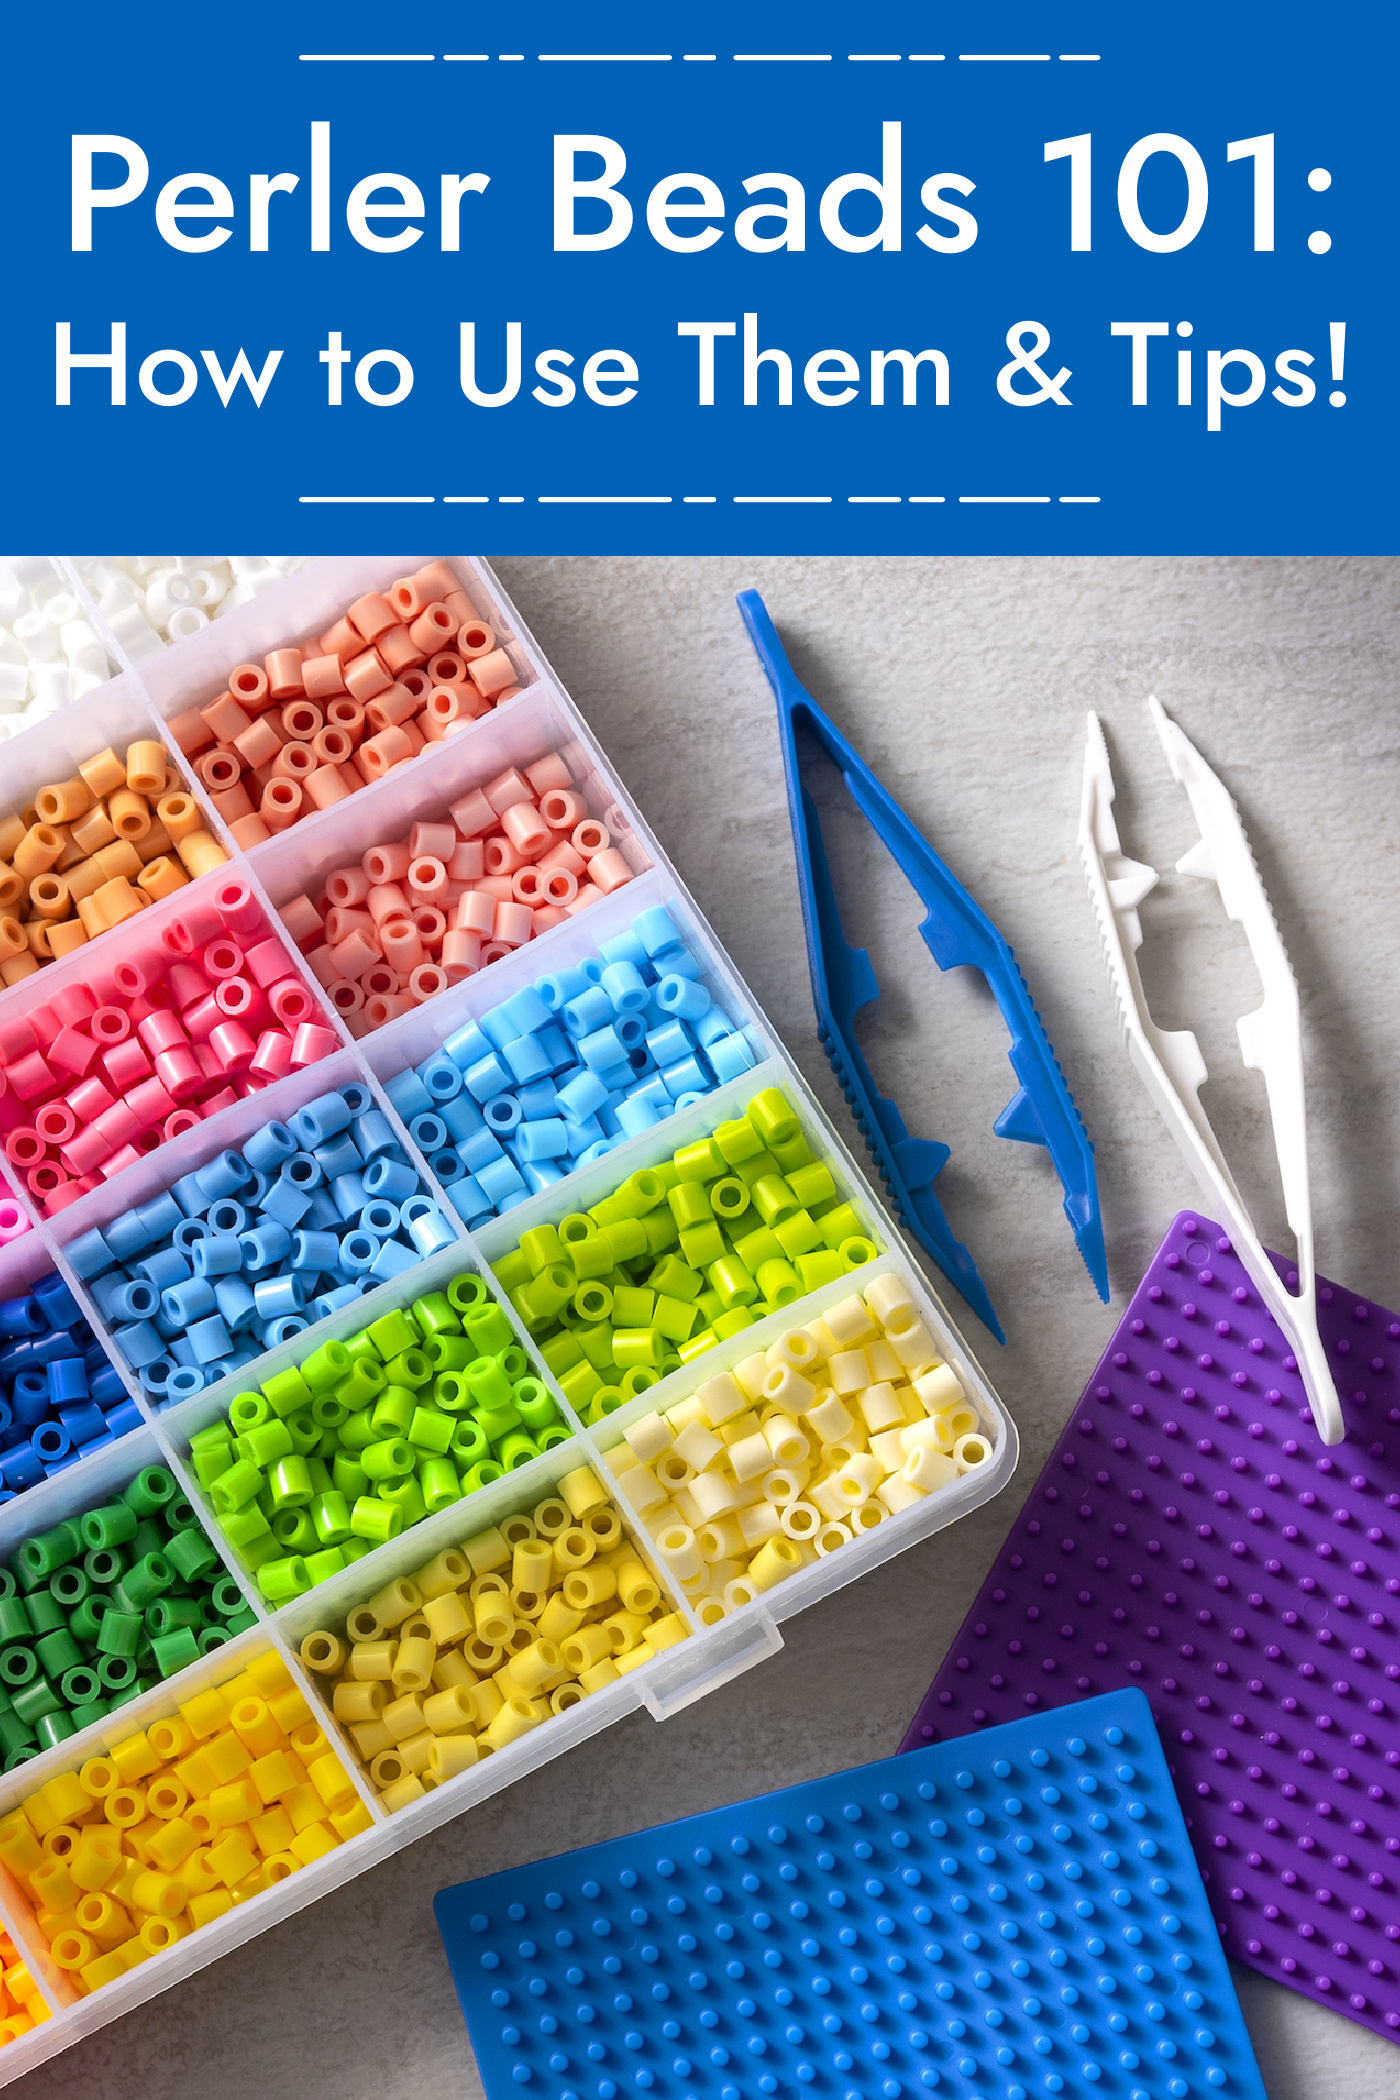
Perler Beads How To: Ultimate Guide for Beginners!
If you’ve never used perler beads before (also called hama beads), this is your ultimate guide! Learn how to use them, plus tips and tricks. This is a craft that is fun for both kids AND adults!
If you’ve never worked with perler beads, I’m so excited you’re here! Many of you might be like me, and have tried them when you were a child – so now you want to try them with your children.
You’ve made the right choice. They are an amazing kids’ craft.
BUT they are also a fun craft for adults. Not all perler bead patterns are for the littlest littles! There are plenty for teens, and even old folks such as myself. Luckily when it comes to crafting – age is really just a number!
This guide is going to introduce you to perler beads, also known as hama beads, melty beads, fuse beads, and nabbi beads. (they are all the same thing). I’ll also go over the basic process and then some FAQs about them.
Once you’re done learning, you can get a ton of patternsat the end of this post. Then your journey can really begin!
And in terms of beginnings, I think the best place to start with this post is by explaining the material you’re going to be working with. Then we’ll get into the simple FIVE step process, and then I’ll answer some Frequently Asked Questions!
And if you have a question? Leave it as a comment on this post. I’d love to answer it! Let’s dive in.
What are perler beads?
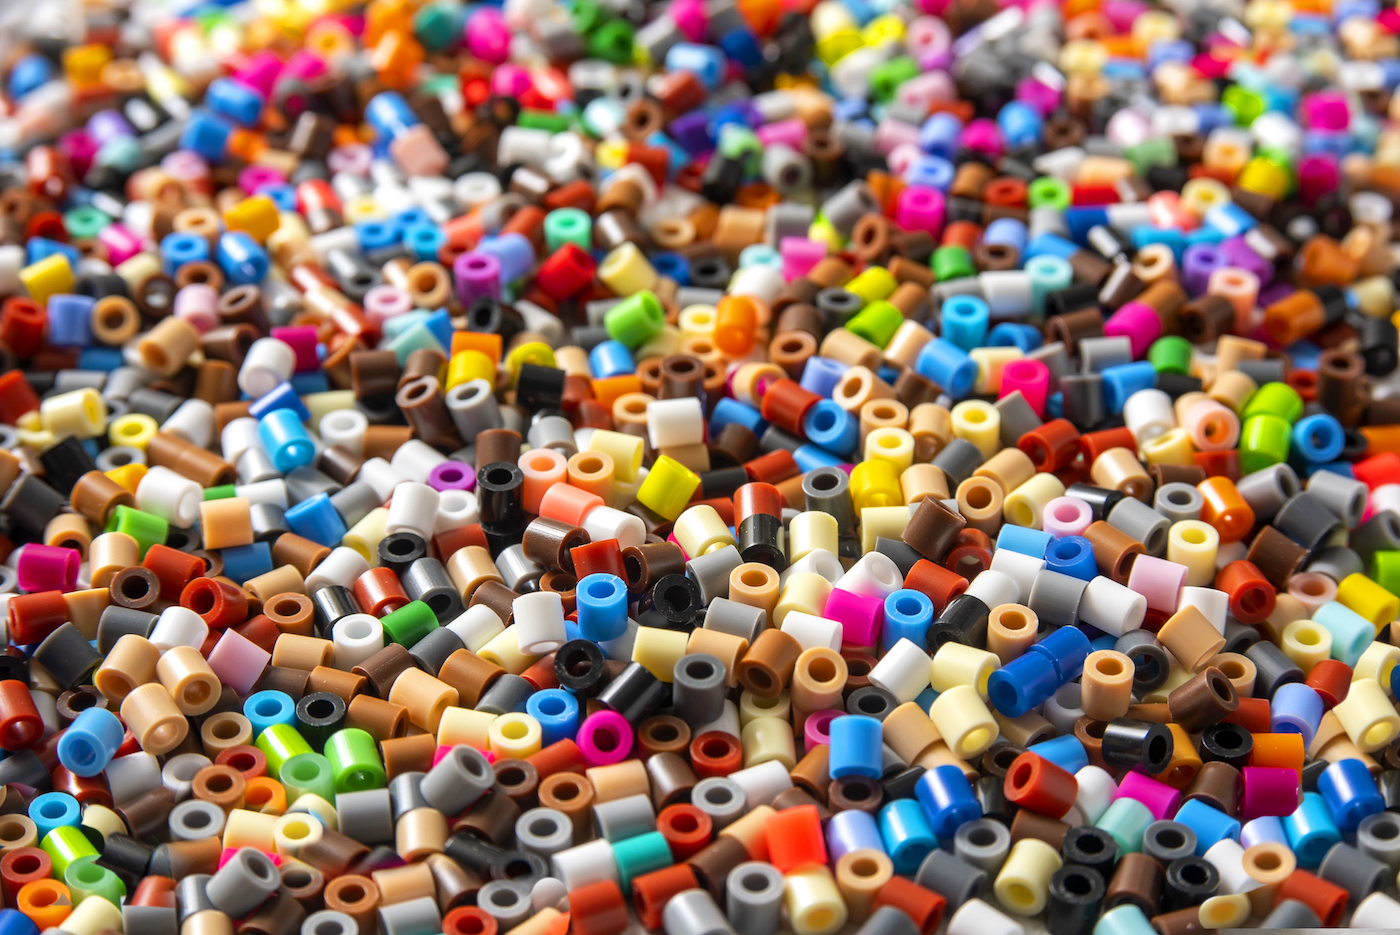
A perler bead is a small, round plastic bead with a hole in the center. They’re made from a food-grade plastic called low-density polyethylene, and are heat activated.
The beads are placed together on individual plastic pegboards in a pattern and/or shape, and then melted together with the heat from an iron. What can you make with them? Just about everything!
A single perler bead measures 5.07mm high x 4.77mm wide. This can vary depending on the brand.
And just a little trivia: the perler story was started in Cloverdale, CA in 1981 by Peter and Dee Dee Schneck. National Perler Day began in 2019 and is now on August 8th of every year.
Why are they fun?
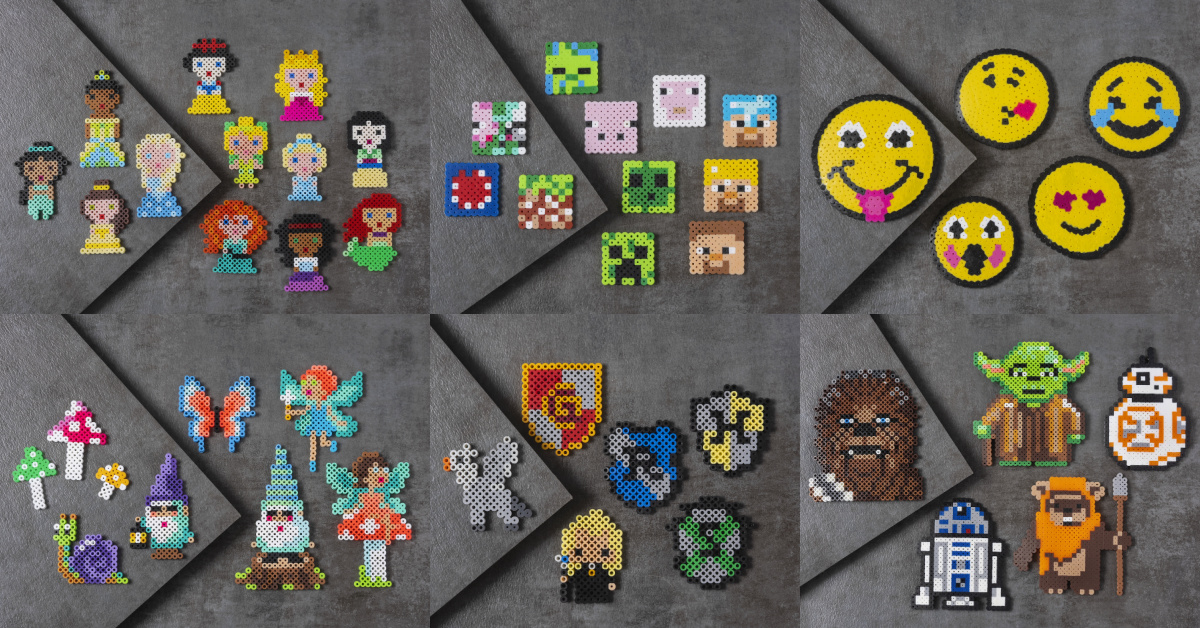
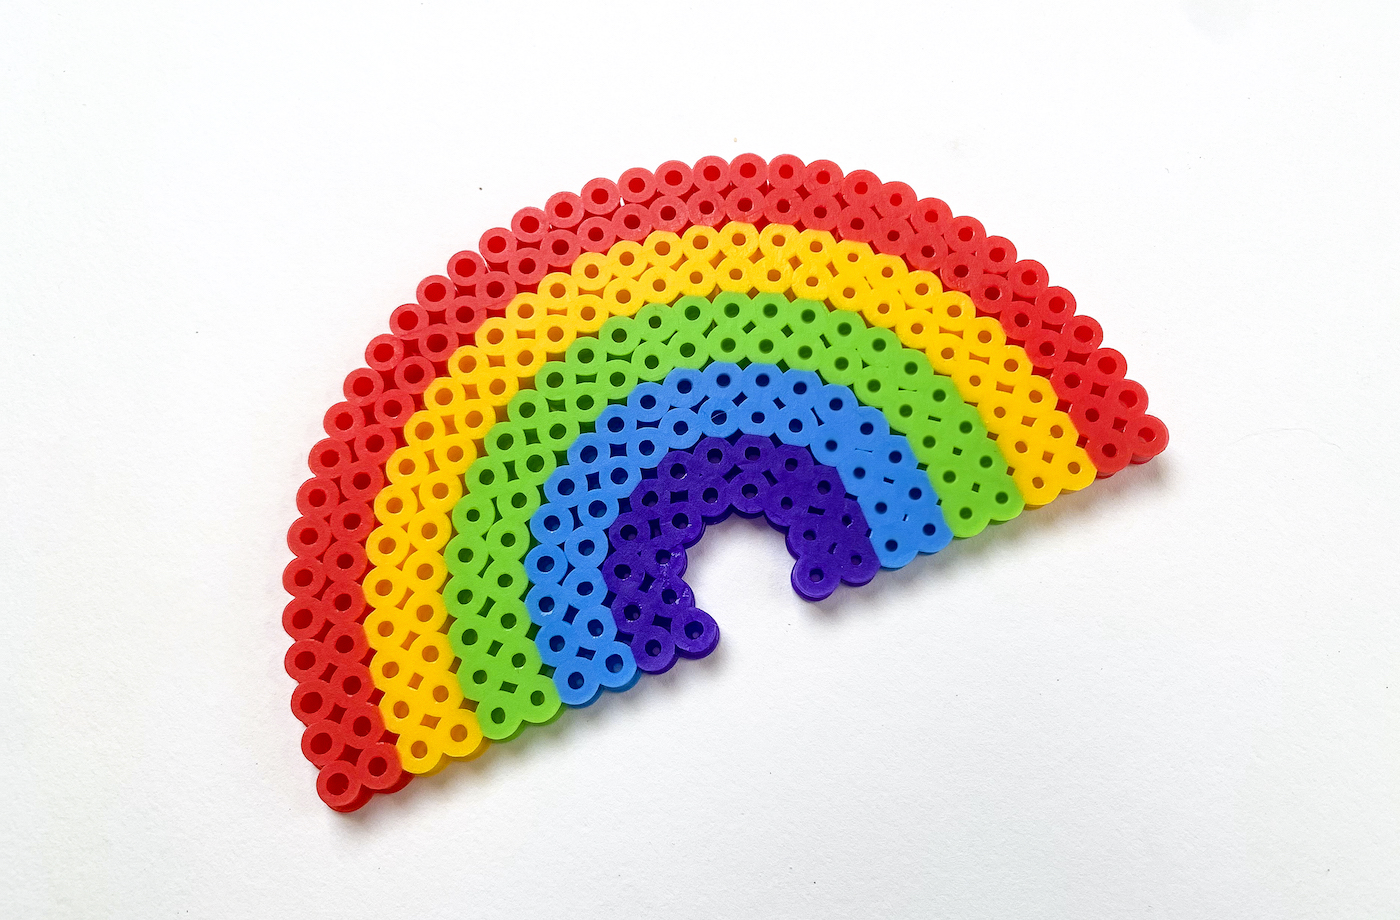
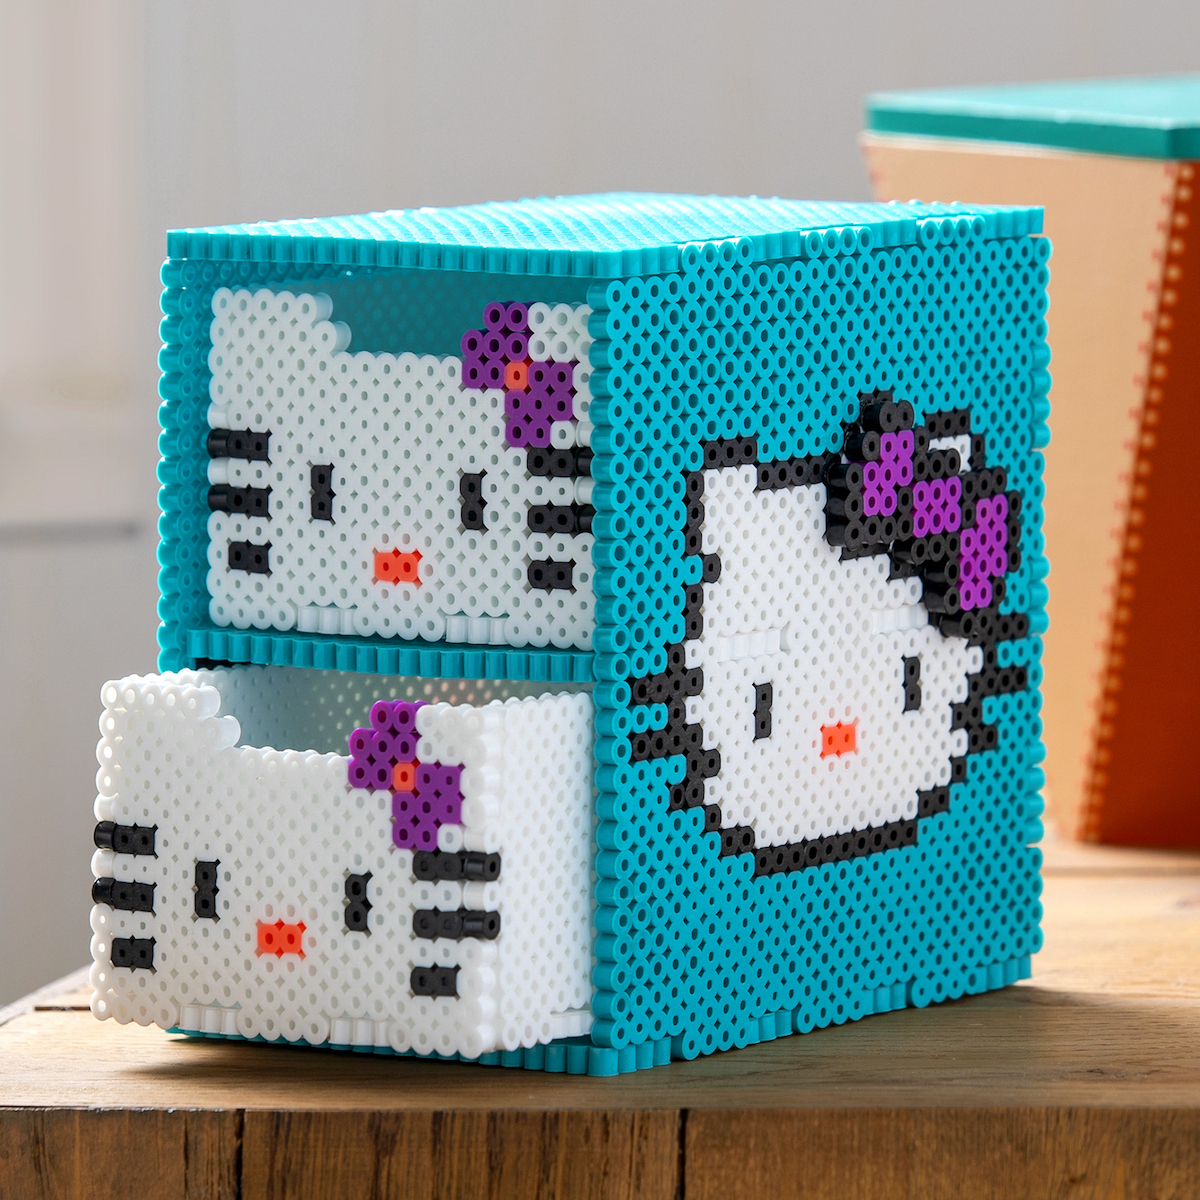
There are limitless designs you can make with melty beads! You can make basic items like ornaments and coasters (because they are plastic, they repel water!). You can glue them together. You can make 3D items. And there’s no mess.
For kids, they’re great for exploring creativity. But children will also develop hand-eye coordination and fine motor skills. You can also use them for color recognition and basic counting. They are recommended by occupational therapists for working on grasp and strengthening fingers.
For adults, it’s all about relaxing. They remind me of adult coloring, except with beads instead of pencils. I find that you have to be very mindful when you use hama beads. I love them!
The Perler Bead Process
There are five basic steps to using fuse beads. I’ll go through them in more detail below.
- Pick a Pattern
- Choose a Board and Beads
- Place the Beads on the Pegboard
- Melt them Together on the Pegboard
- Remove and Iron the Other Side
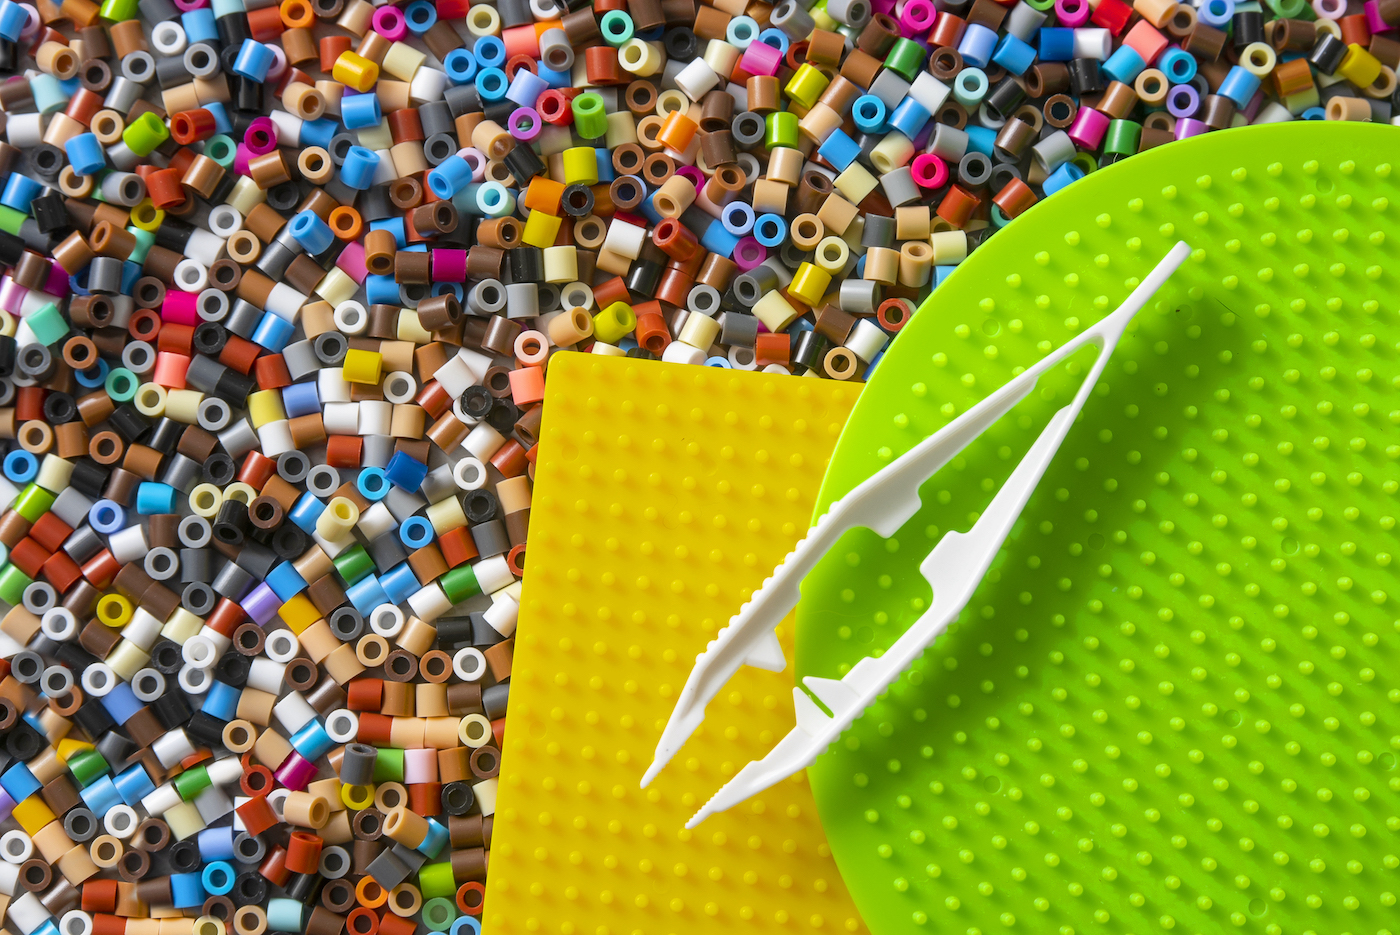
To accomplish these steps, you’re going to need a pattern, beads, plastic pegboard(s), parchment paper, and an iron. I also like to use plastic tweezers, but those are optional. You will want to work on a heat safe surface.

Pick a Pattern
The first step is to pick a pattern that you would like to use with your melty beads. We have a Pinterest board of patterns here. You can also get a ton from the perler website.
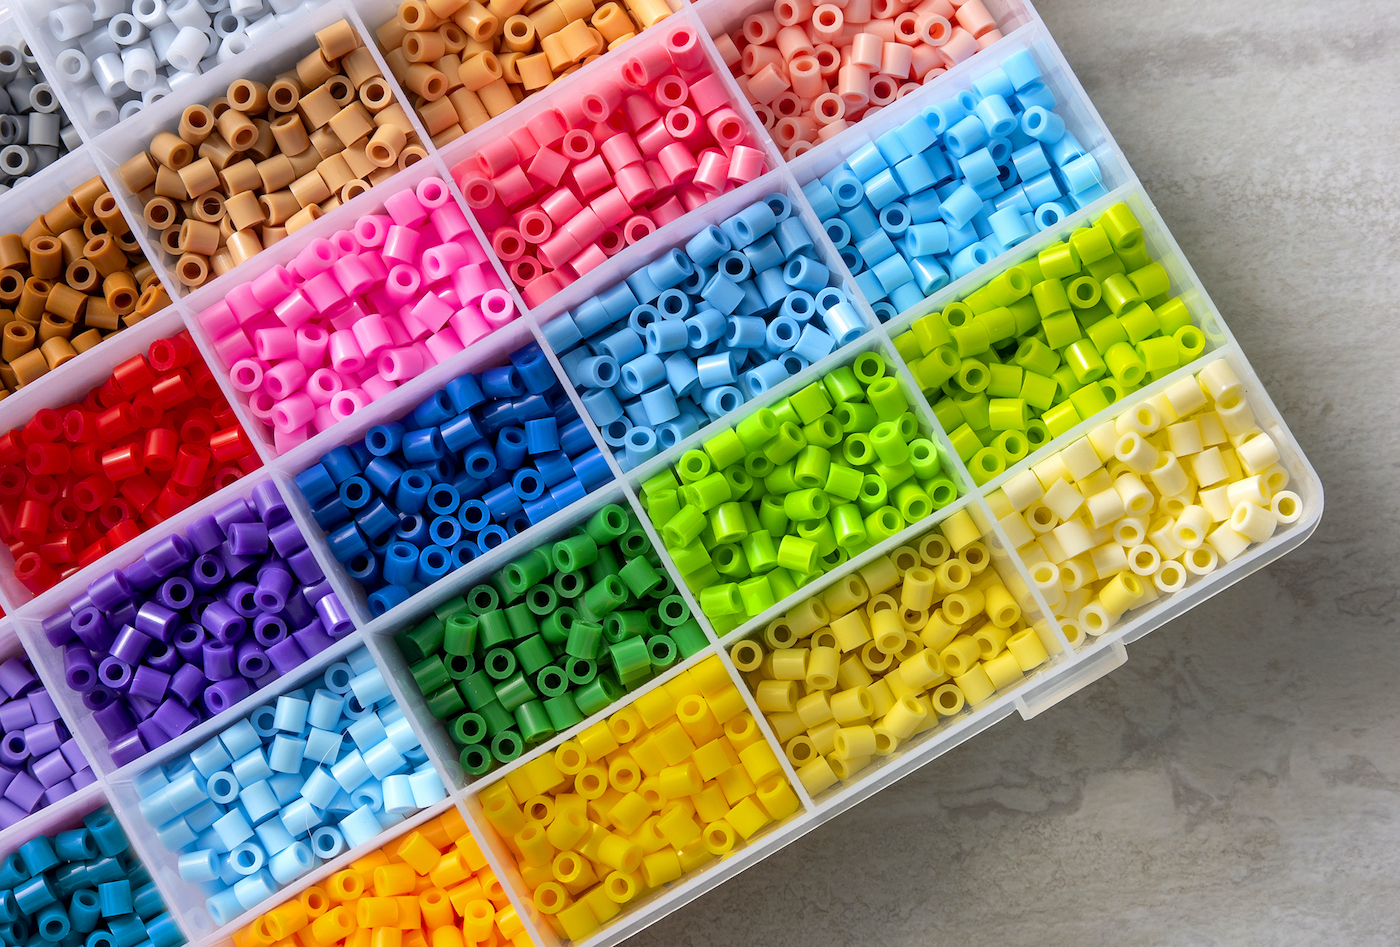
Choose a Board and Beads
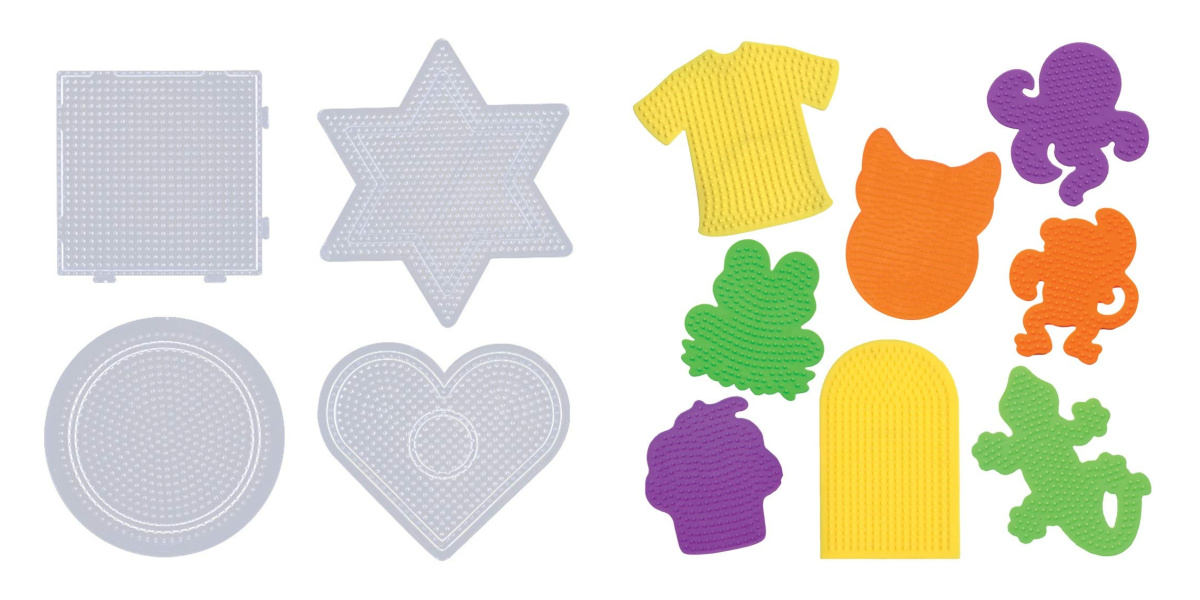
Choose the pegboard that fits your pattern. There are many shapes of boards, and some can be linked together if they have plastic tabs on the ends.
You can see examples below. The ones I use the most are the circle, square, and heart (which does more than just hearts). But there are a ton of specialized shapes too! And as you can see, the boards come in different colors.
There’s no difference between clear and the colors, but you can place a pattern below the clear and see it.
After you pick your board, grab the beads you’ll need based on the pattern you chose.
Note: count the pattern rows and columns to make sure that you have a large enough board!
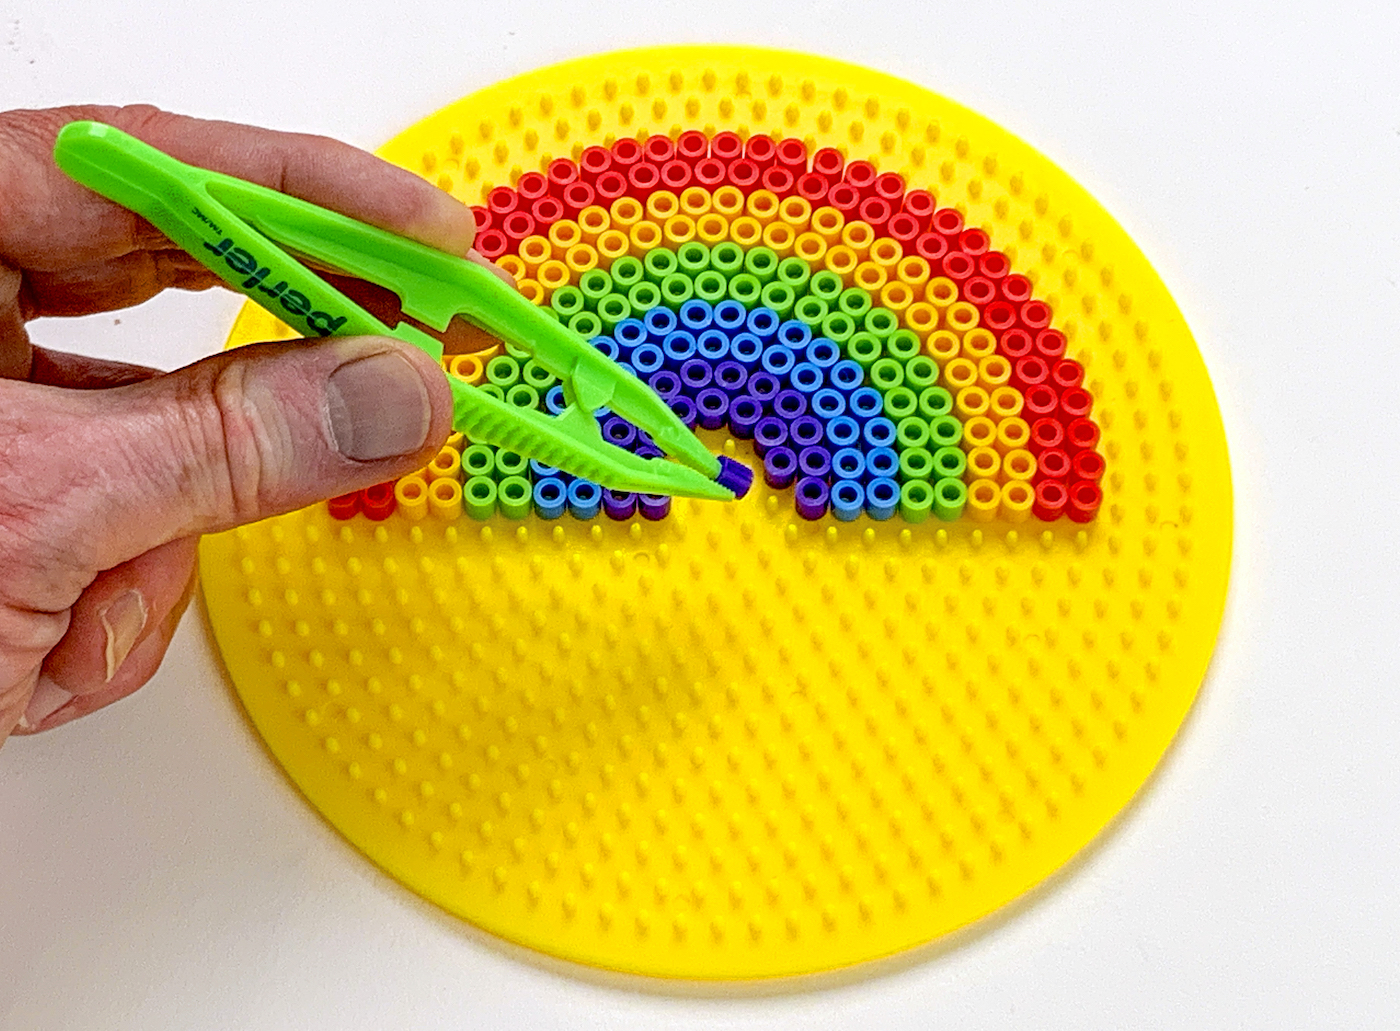
Place the Beads on the Pegboard
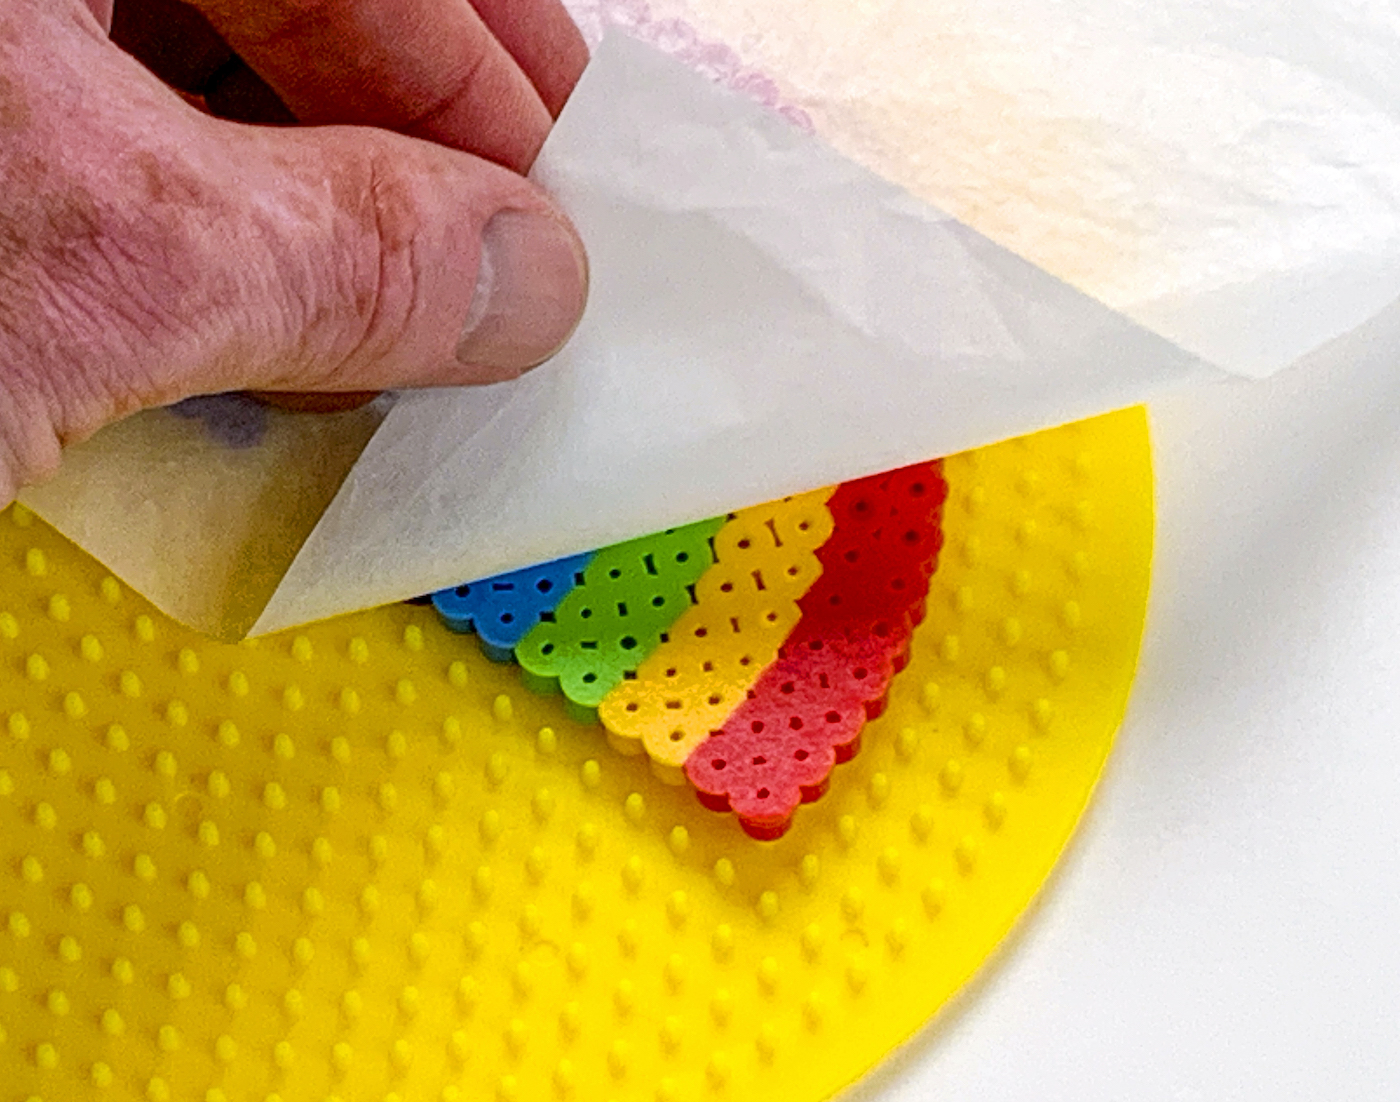
Now you’re ready to get rolling! Place the pattern under the pegboard if it’s clear, and start placing the beads. I find that starting in the center of the pattern is usually easiest for me, so I can start in the center of the board.
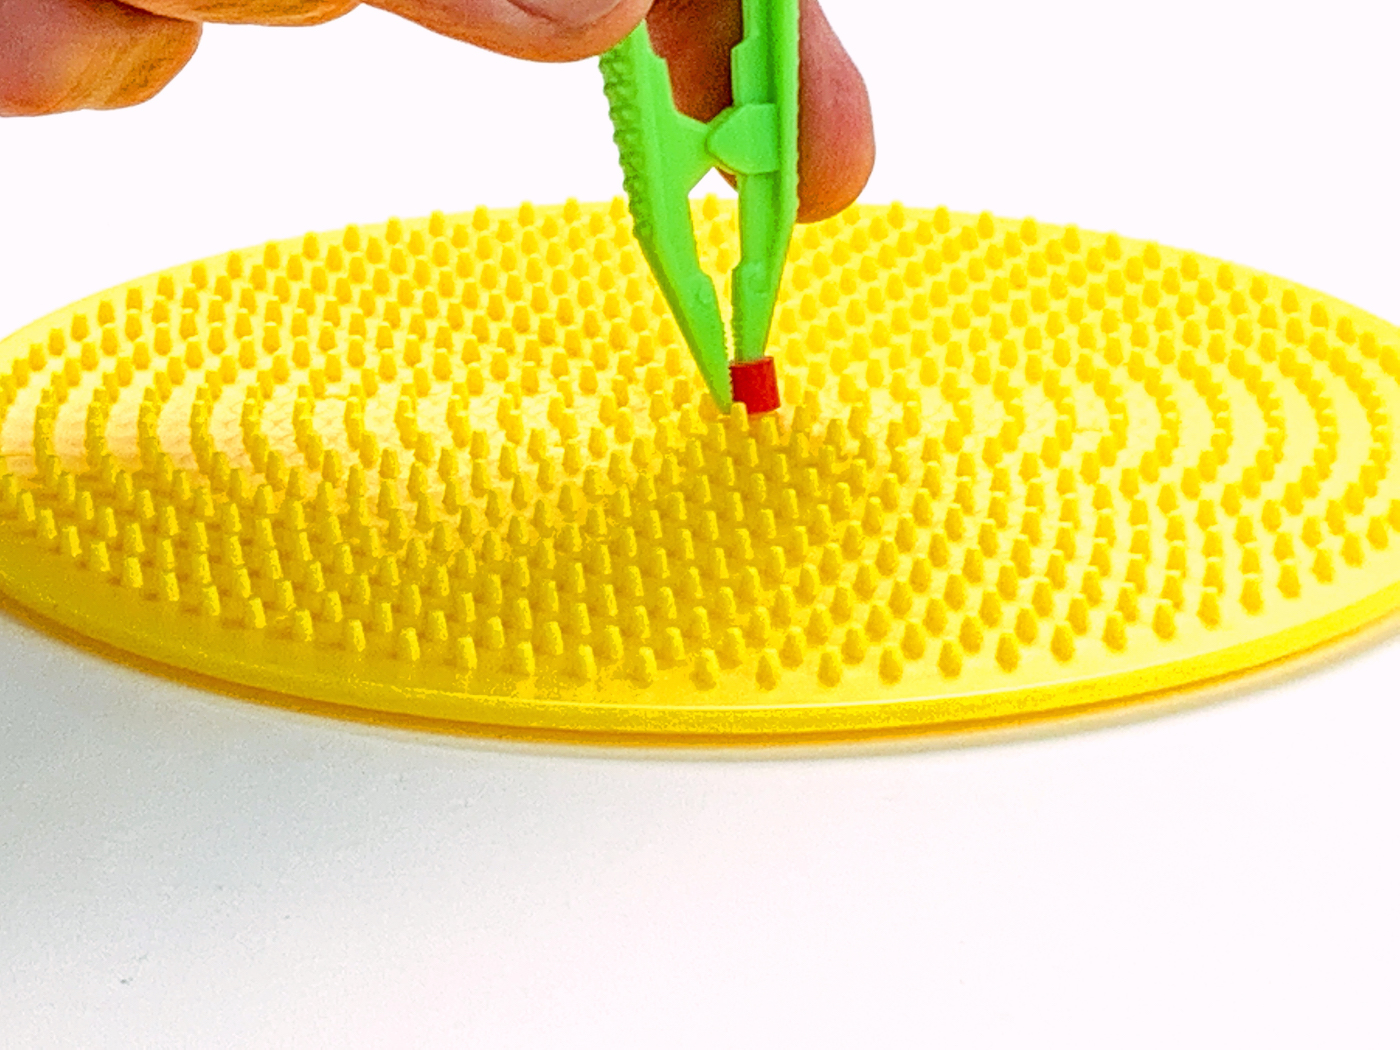
You’ll place a bead directly onto each peg on the board required to make the pattern. Keep going until all the beads needed are placed.
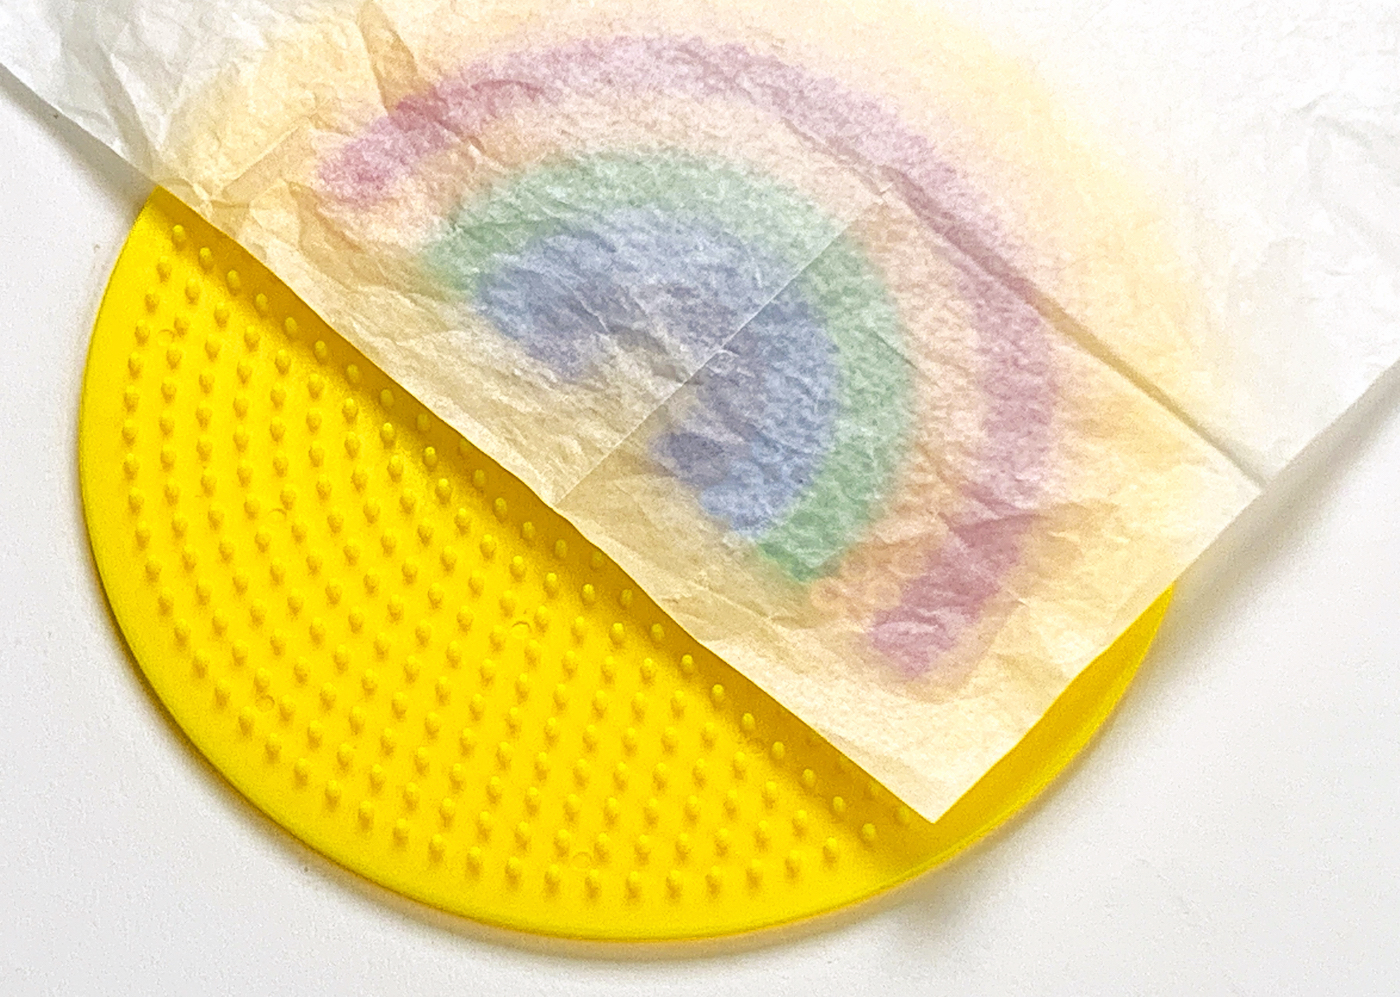
Melt Them Together on the Pegboard
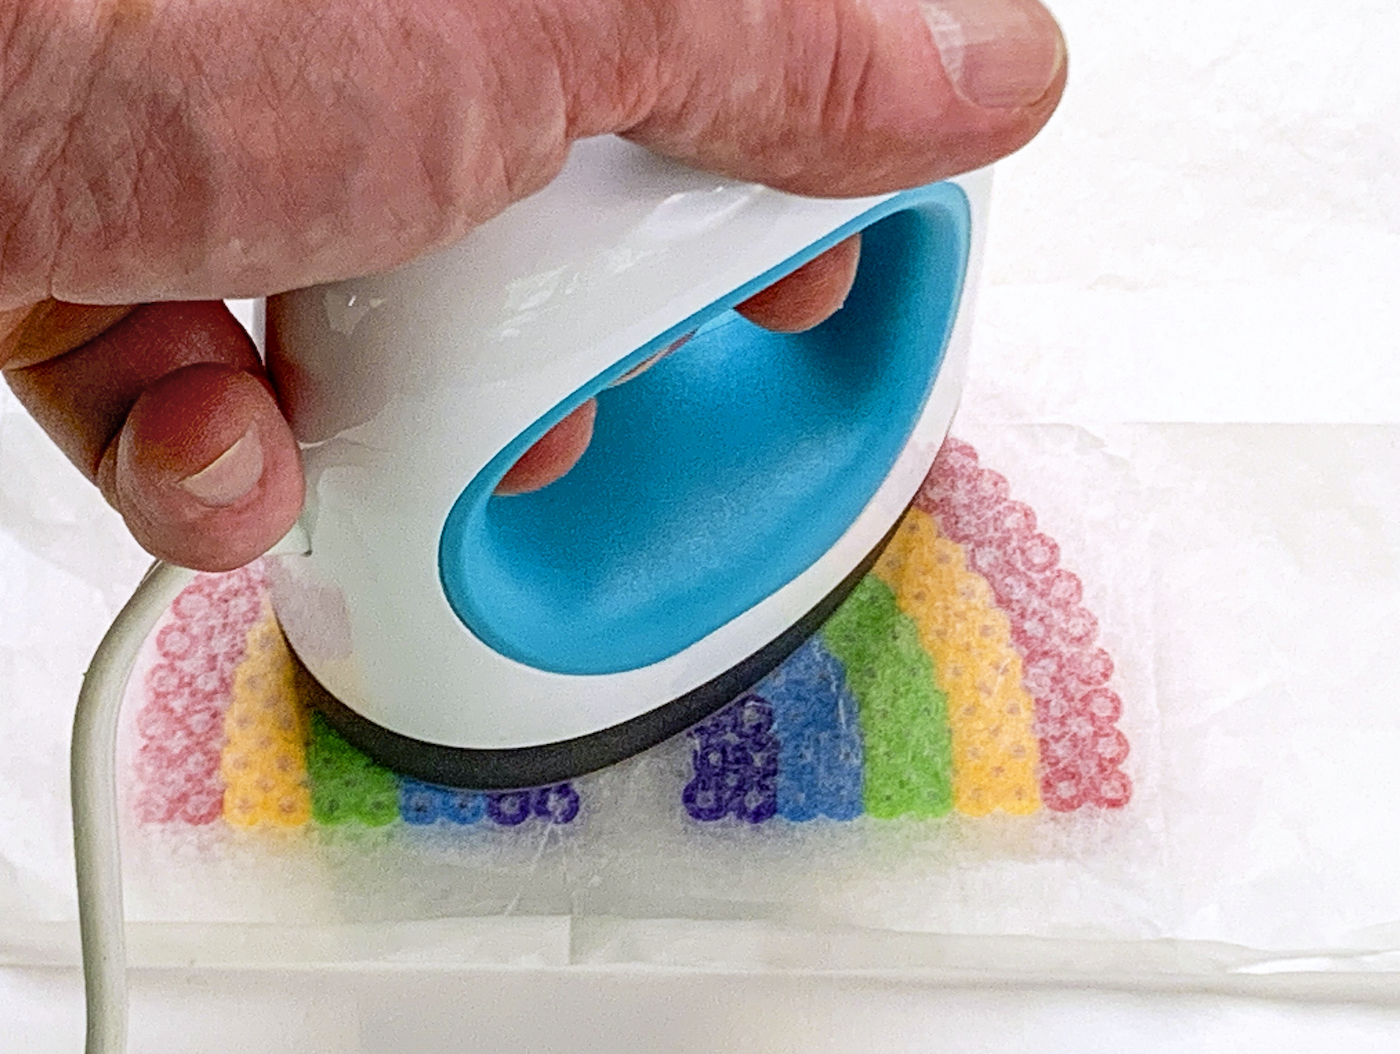
Heat your iron to the medium setting (no steam). Place ironing paper or parchment paper over the beads on the pegboard. Be gentle so you don’t disturb the beads underneath.
In a circular motion, begin to iron the project. Don’t press down too hard with the iron. When ironed properly, the beads will still have an open center. Check and make sure your edges are melted. Let the design cool on the pegboard.
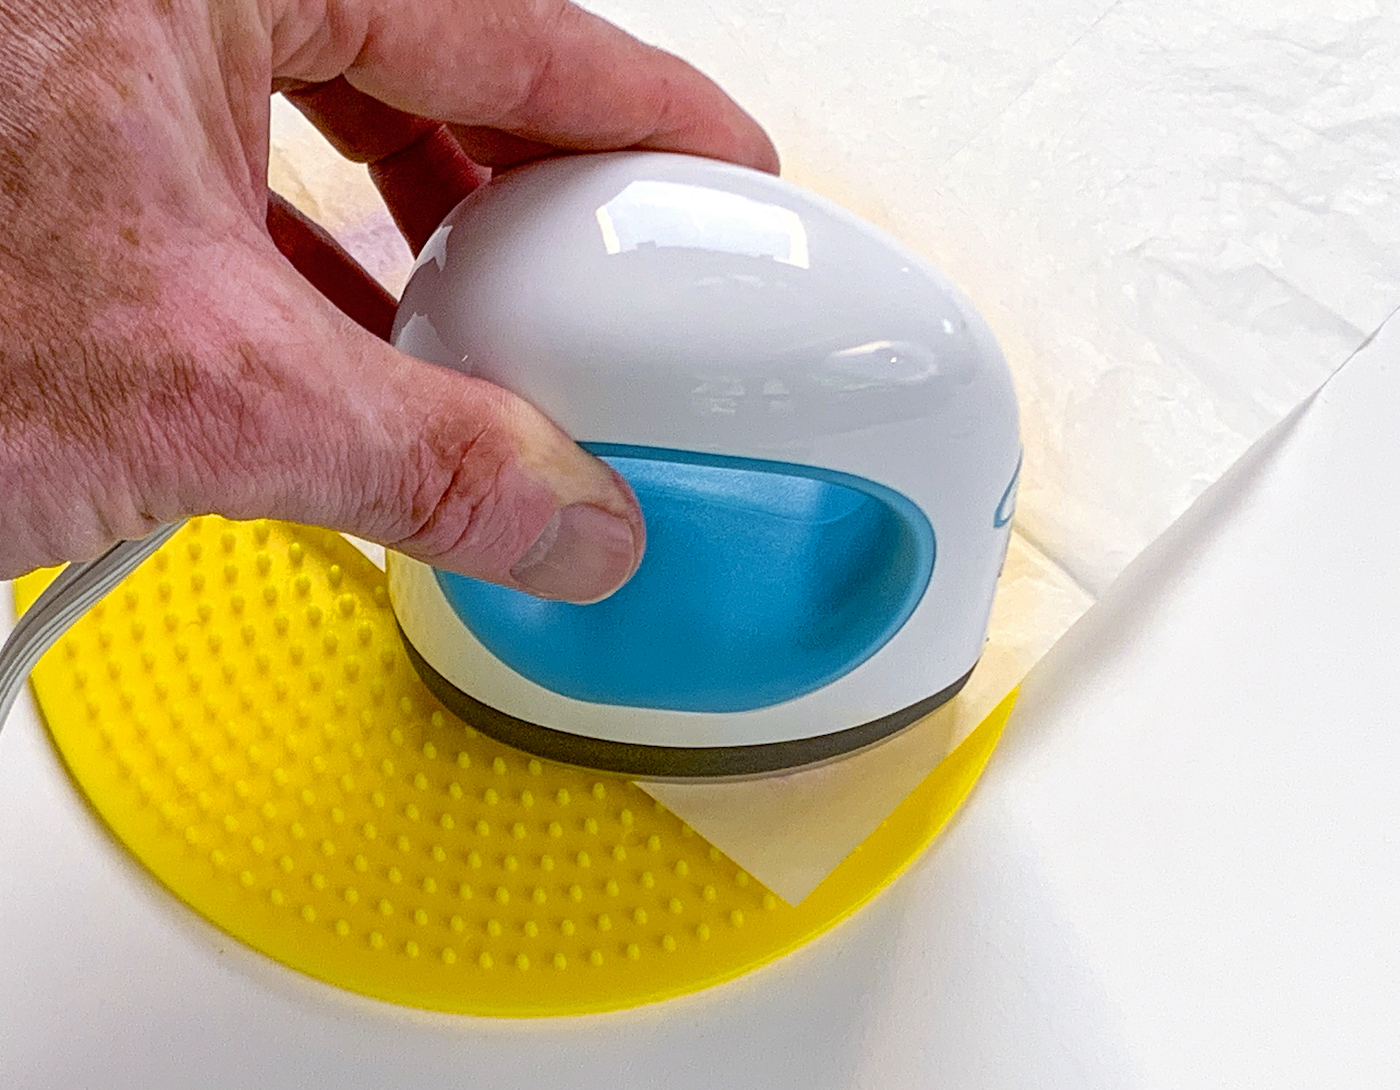
Note: BE CAREFUL about lifting up the paper while you’re ironing! If you want to check, carefully peel back paper around the edge of your design and see if all the beads are melted.
If you lift the paper up quickly and there are a lot of unmelted beads, they will easily fall off or go flying and you may be forced to start over. Sometimes the edges need more time so when you check, just check the edges and peel paper back slowly.
Another Note: some beads melt faster than others (clear melts faster than white, for example). So some holes might be larger than others. It’s okay! That’s part of the look of the project.
Remove and Iron the Other Side
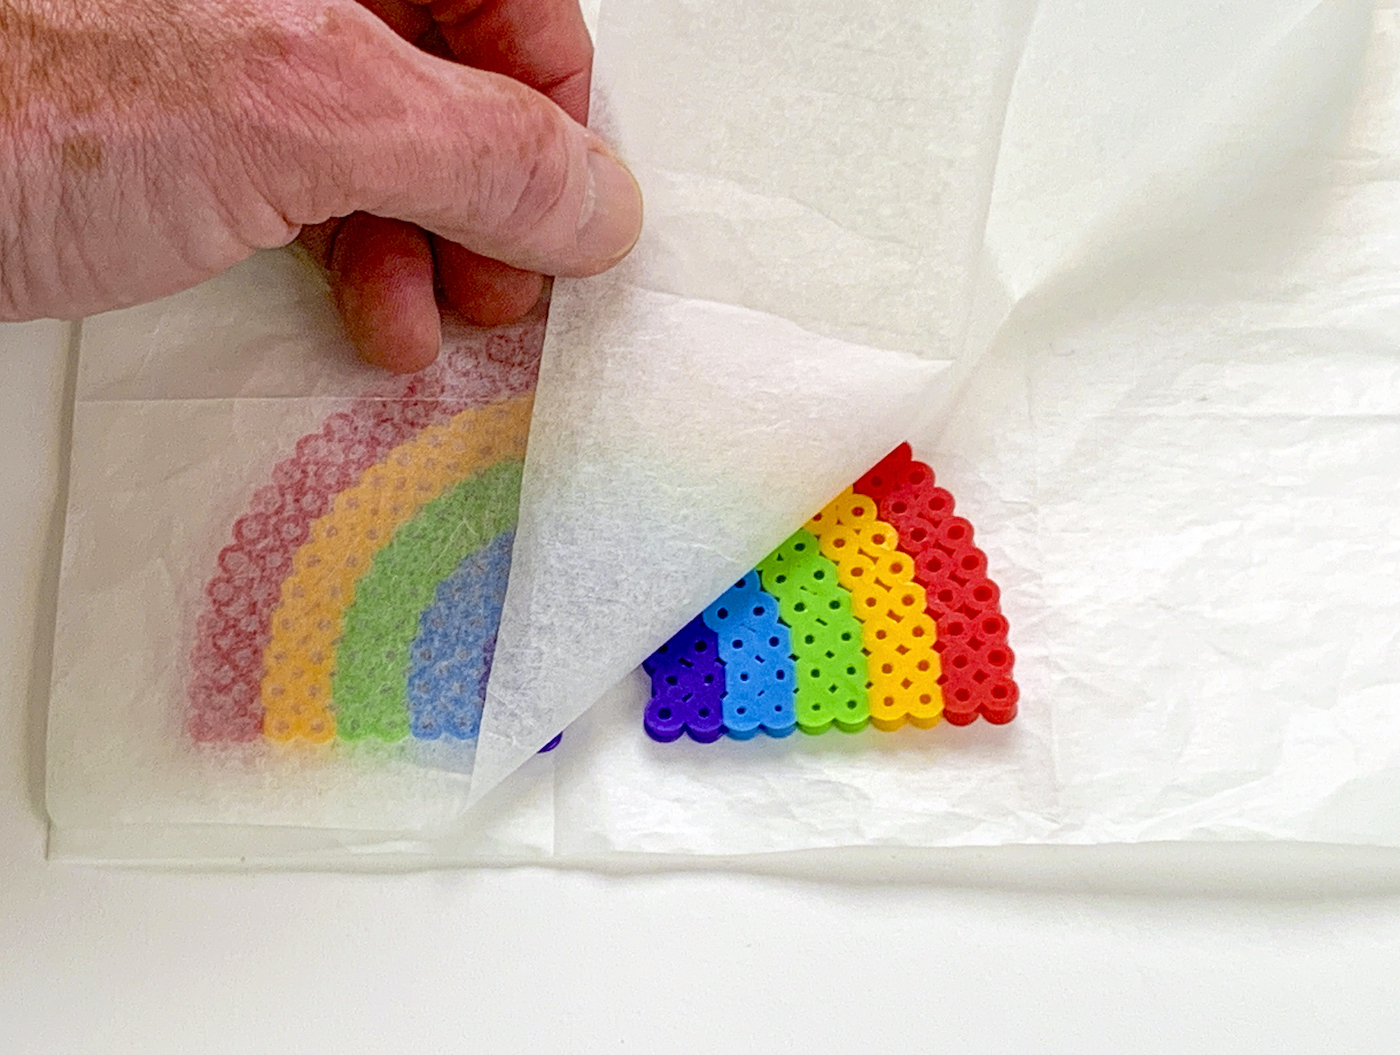
Remove the bead design from the pegboard. Flip it over to the non-melted side and repeat the fusing process.
Let cool completely and remove the paper again (which is reusable). Some people pull the paper off after they iron the first side, but I just wait until the end and peel off both pieces. It’s up to you!
After you remove the paper, you’re free to create any crafts you like! Make a keychain, glue it to a magnet, hang from a string a create a mobile . . . there are a lot of options.
Now that you know the basic process, I’m going to answer some frequently asked questions. If you have any additional questions after you read these, let me know in the comments!
How long do you iron a Perler bead?
Beads need heat for about 10-20 seconds per side to fuse evenly, and some colors may fuse more quickly than others.
How do you melt Perler beads perfectly?
Keep the iron moving slowly, and don’t push down too much. The key is not to close the holes all the way. Check every so often to make sure you’ve melted all the beads.
Do Perler beads need an iron?
Yes. You will not be able to melt the fuse beads without an iron. You can use a household iron on medium heat with no steam. I have a mini craft iron just for beads.
What are Perler beads made of?
They’re made from a food-grade plastic called low-density polyethylene. It is a heat-activated thermoplastic.
What is the best glue to use for perler beads?
I us Aleene’s craft glue with my hama beads and it works great. If you have any difficulty, E-6000 also works well.
What kind of paper do you use for hama beads?
Parchment paper. This type of paper is a food-safe coated paper used in baking and cooking. It is heat-resistant and non-stick, so it allows the heat to transfer right to the beads without the paper sticking.
Most bead kits come with the ironing paper, but if they don’t, you can get parchment at the grocery store near the wax paper or in the baking aisle.
Now that you know everything there is to know about hama beads, I’d love to know what questions you have. Or what tips I’m missing! Otherwise, happy crafting. You’re going to love perler-ing!!
Are you ready to check out the patterns? We have a ton! Visit them all here.

Are the iron fuse beads the same as the water fuse beads!!!!! I was just wondering , they look the same so i just wanted to know!!!
They are not the same – the perlers use the iron and the water fuse you would spray water!
Hi there! Where do you buy your beads from?
Hello! I bought them from Joanns – directly from perler – and then from https://toptierbeads.com/
I just discovered perler beads and they look like so much fun! I want to make some for keychains to leave out for random acts of kindness. Do you have a mini iron you recommend? And where did you get the pliers? Thank you!
A mini heat press like this is my favorite!
https://www.amazon.com/QuuCLY-Portable-T-Shirts-Projects-Transfer/dp/B09MLNW244/
And I got my jewelry tool kit at Michaels 🙂
When starting to apply the iron to the project, does it matter where to start ironing, ie, top to bottom, bottom to top, or side to side?
Hi Christine! No, it doesn’t really matter, though I usually start in the middle and work out so I don’t disturb the edge beads right away. Then I work the iron in circles.
Why is glue needed? Do you have to put the melted beads back on the pegs to melt theb other side?
You don’t *need* glue! But you can glue perler beads to things. Like in this project: https://diycandy.com/perler-bead-bookmarks/
Or to each other. I am working on a lot of posts that incorporate gluing beads to themselves to create other projects. But generally speaking, you don’t need glue 🙂