Glow in the Dark Slime That Actually Glows Brightly
Learn how to make your own glow-in-the-dark slime with our easy, fun recipe. Perfect for night-time play and sensory exploration!
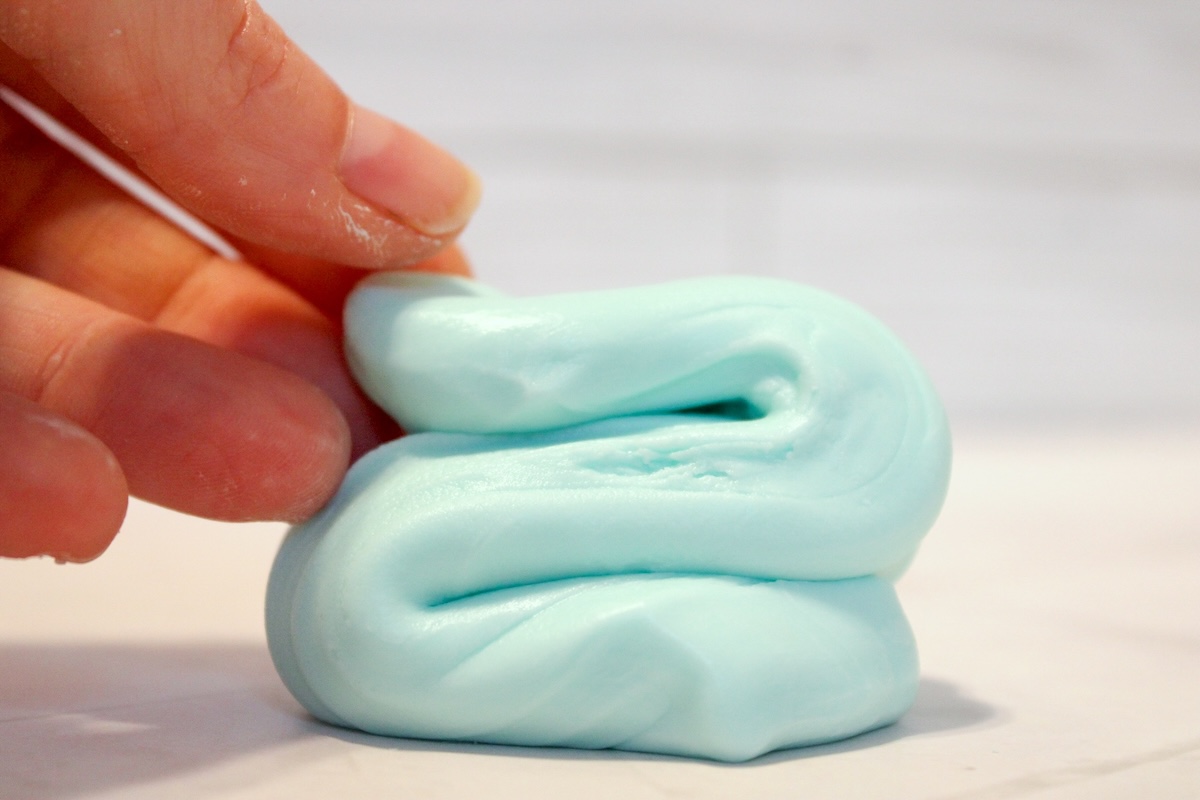
There are regular slime recipes . . . and then there’s glowing slime.
You know — the kind you stretch dramatically in a dark room while pretending you’ve discovered radioactive alien goo in your kitchen.
That kind.
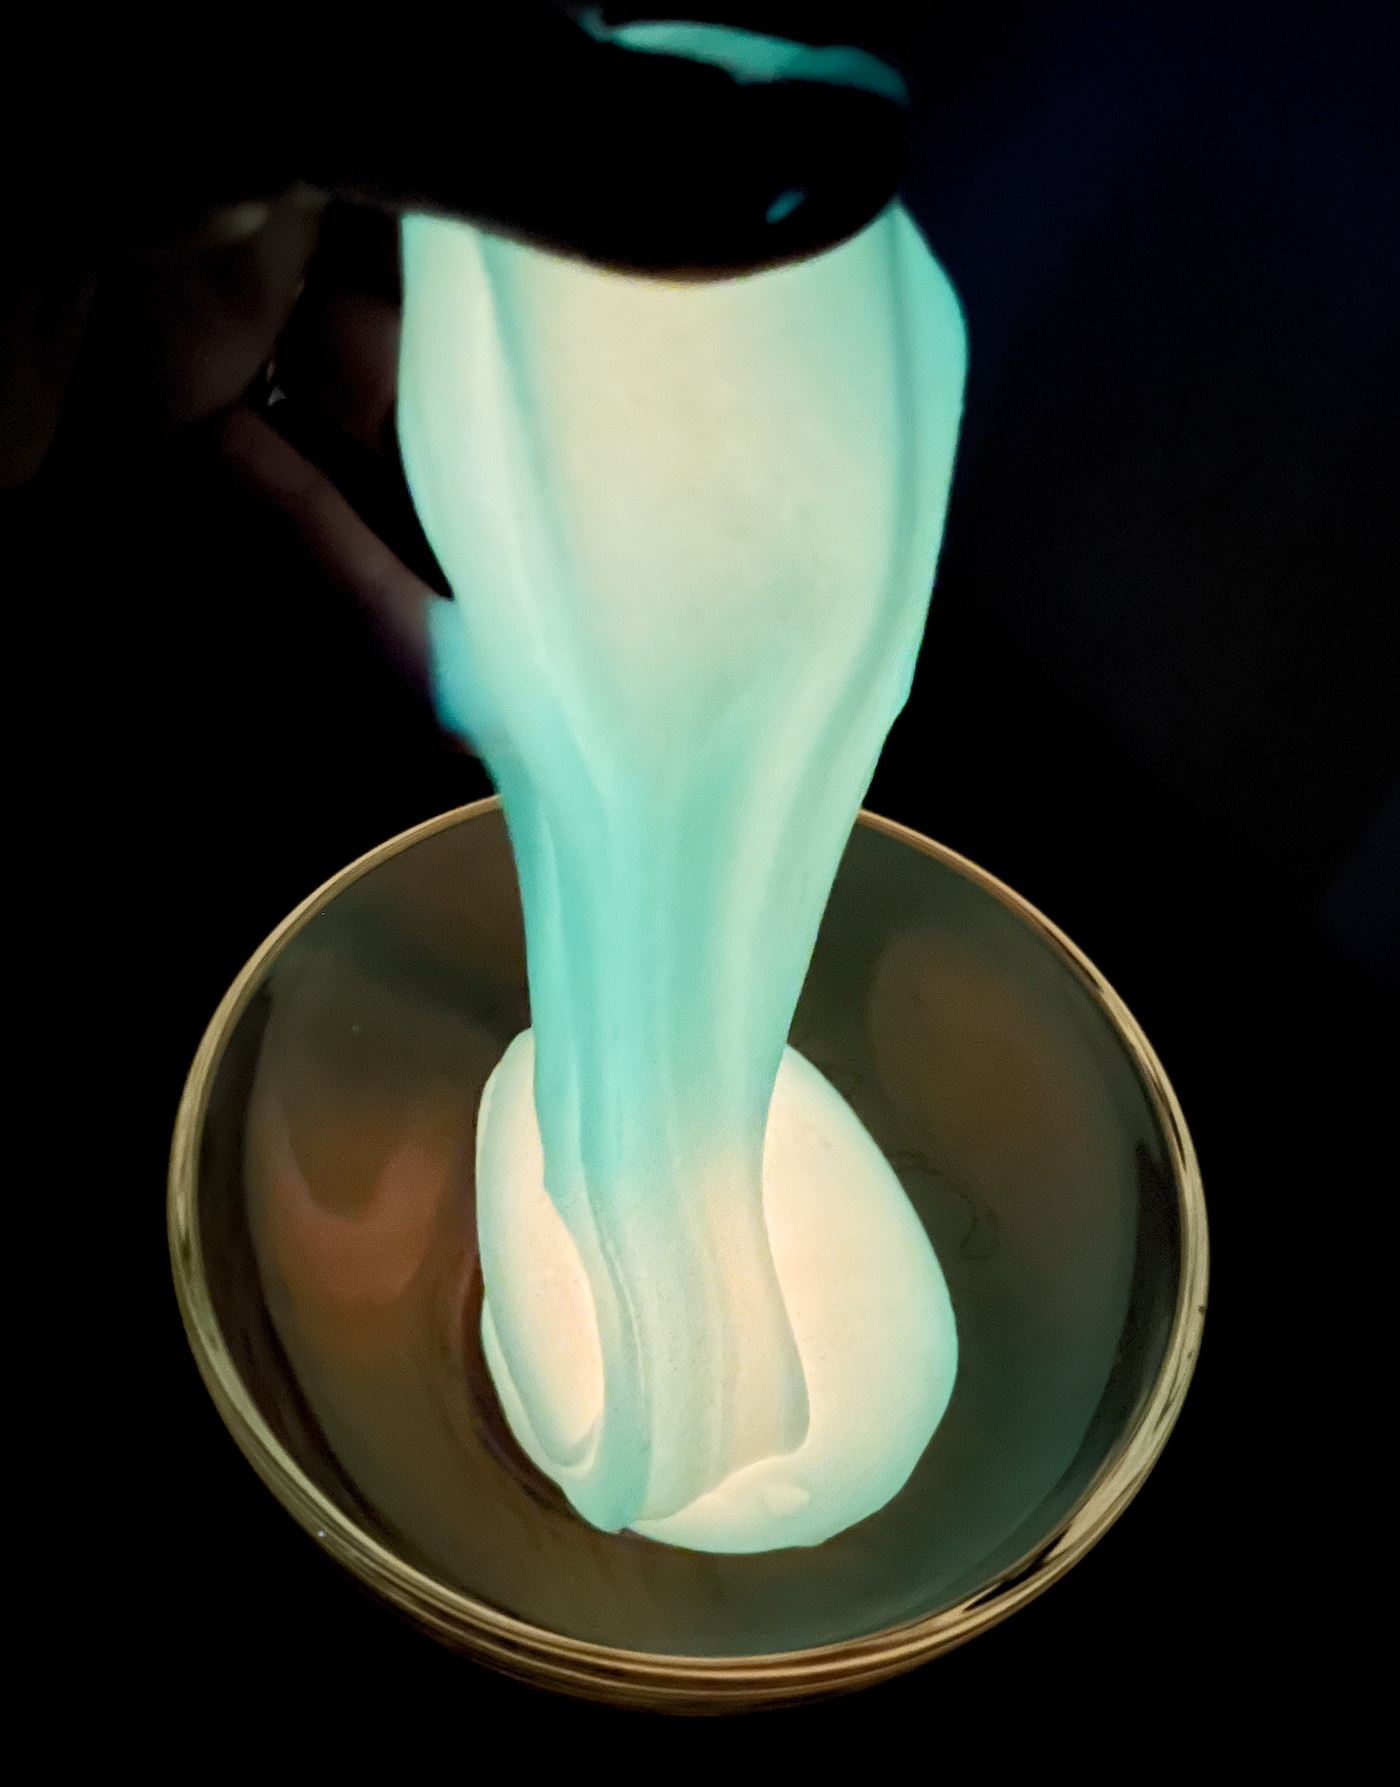
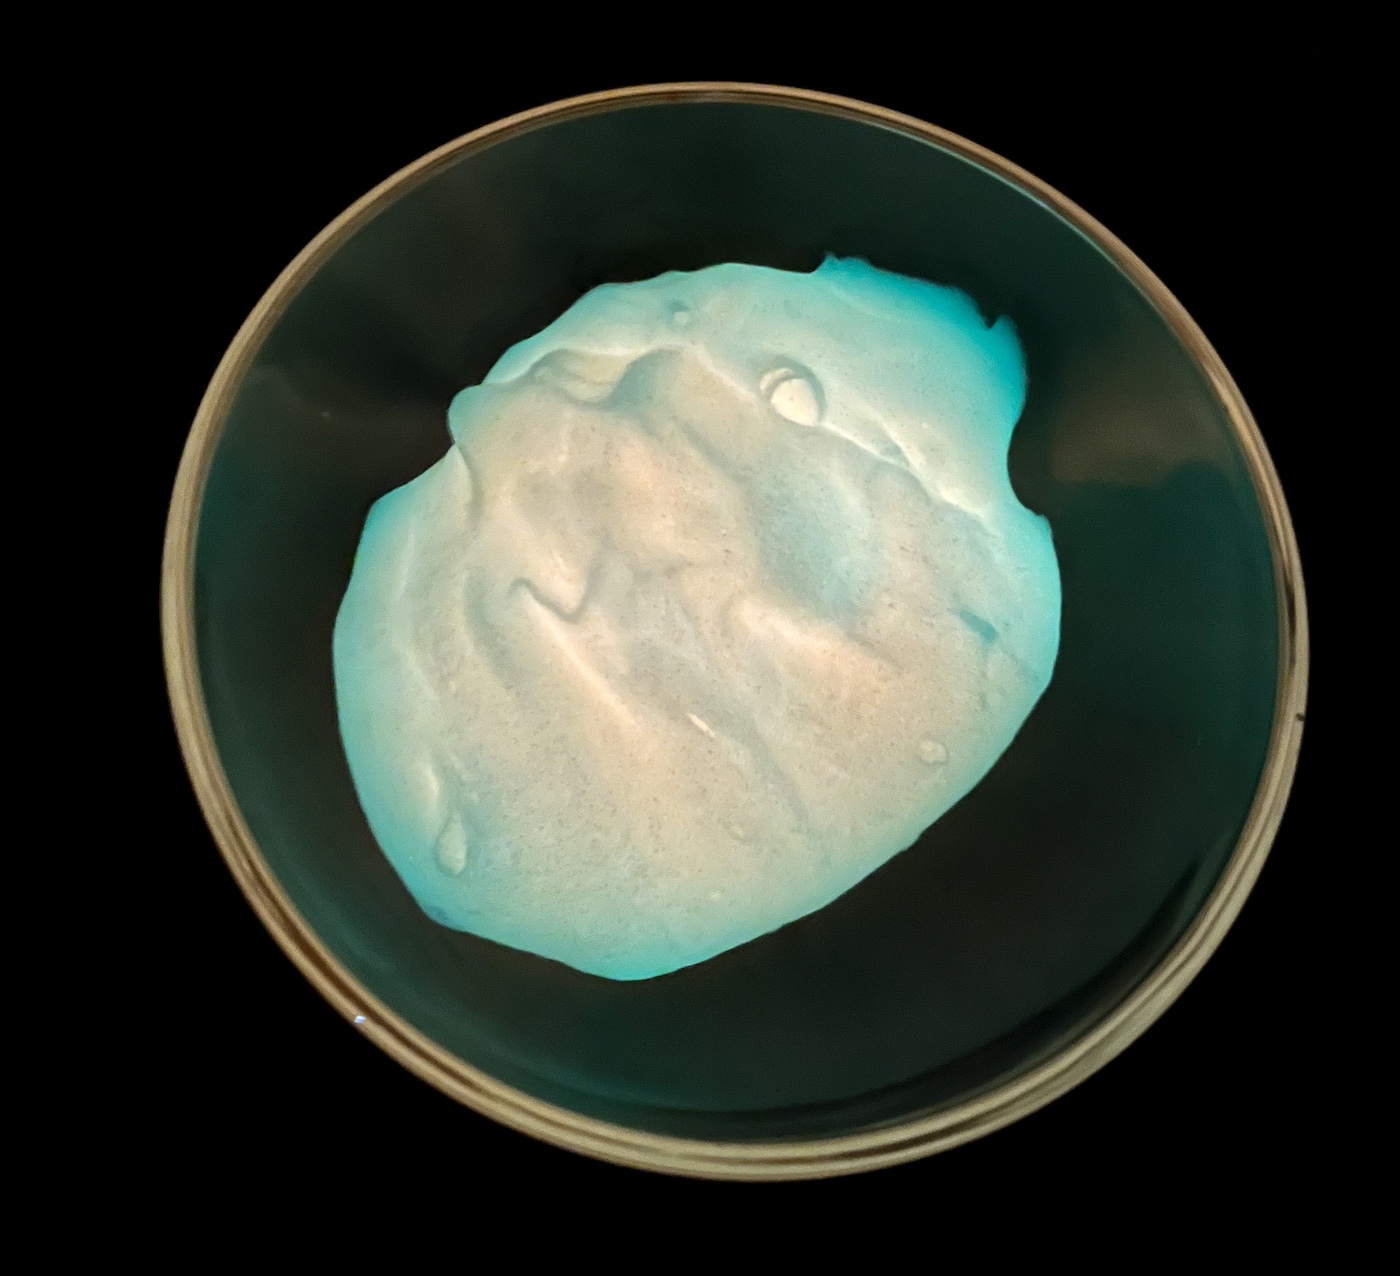
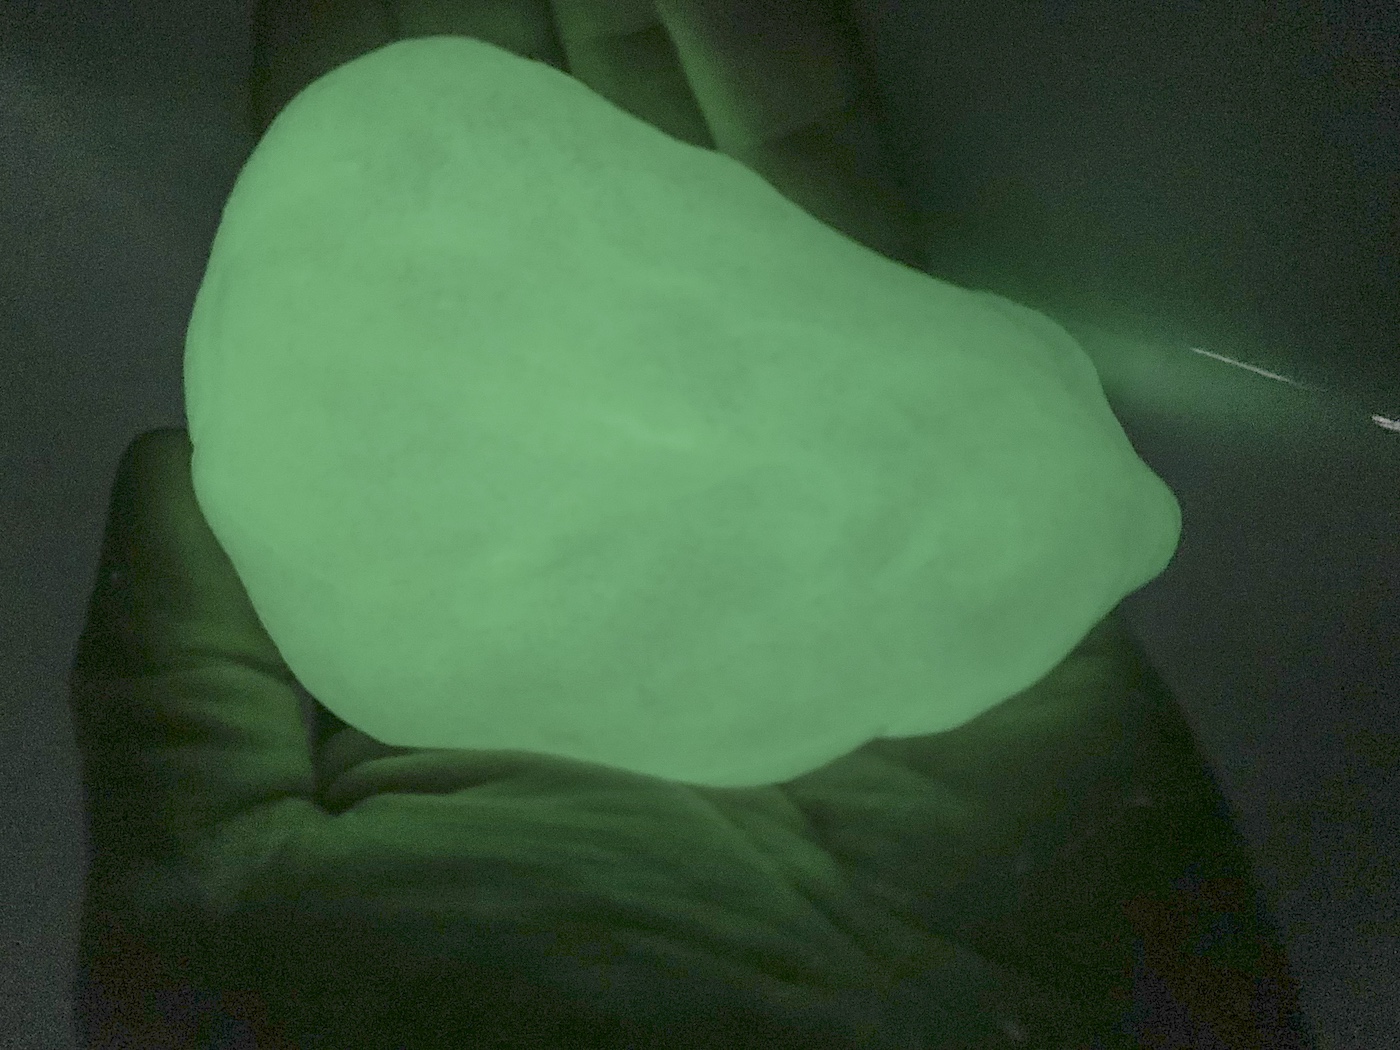
This glow in the dark slime is ridiculously fun because it doesn’t just stretch and squish like regular slime. It actually lights up after being charged under a lamp or in sunlight, which immediately makes everyone ten times more emotionally invested in playing with it.
Honestly, the first time I made it, I expected a faint little shimmer.
Nope. This stuff actually glows.
And unlike some glow projects that need a blacklight to work properly, this version charges using regular light and still gives off a bright glow afterward.
That’s why this recipe is such a hit around Halloween, sleepovers, science parties, rainy afternoons, and basically any moment kids want something weird and cool to play with.
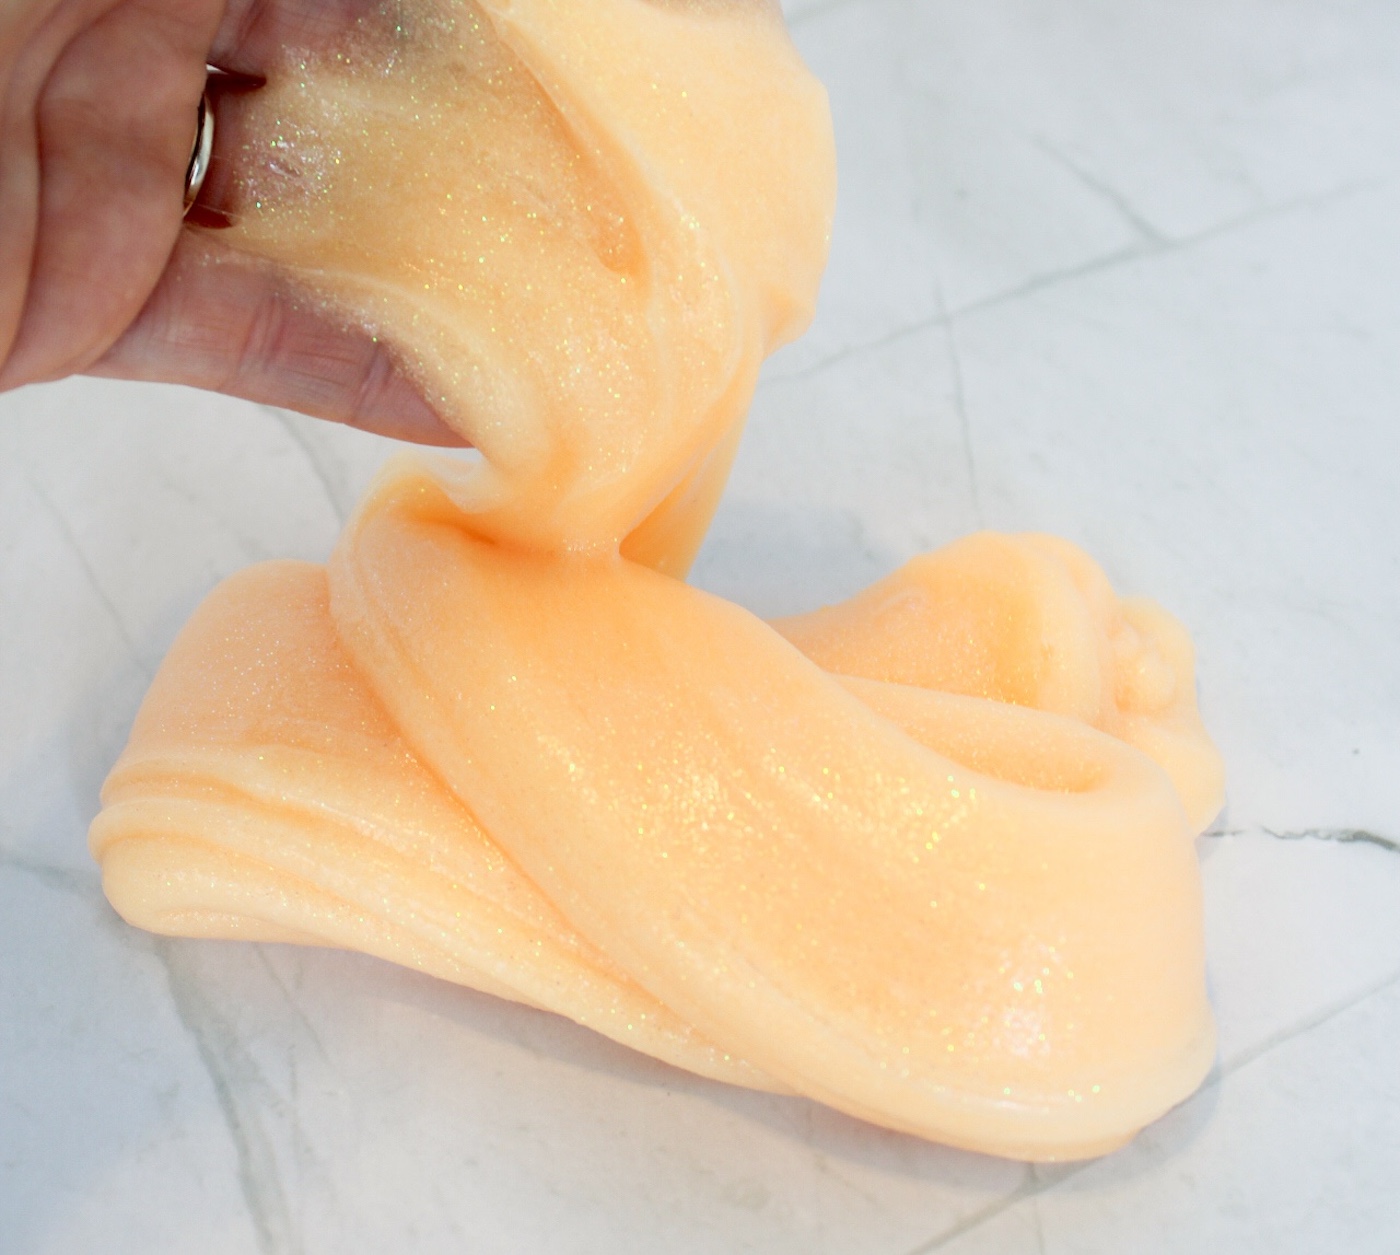
The best part? The ingredients are simple.
This version uses glow in the dark glue, which makes the process much easier than older recipes that relied on luminescence from paint. That method works a little, but the effect usually ends up weaker and streakier.
Using the premade glue creates a smoother mixture and a much brighter result overall.
And yes, if you’ve already gone down the slime rabbit hole before, you probably know there are about five thousand different recipes online.
Some use liquid starch. Some use borax powder. Some use saline solution. Some somehow involve toothpaste for reasons I still don’t fully understand.
This version keeps things simple while still giving you really stretchy glowing slime.
Why This Slime Works
The science behind slime is honestly pretty cool.
When the glue combines with activators containing boric acid or sodium borate (like contact solution), the molecules begin linking together into a stretchy polymer texture. That reaction is what transforms the sticky liquid into slime.
Basically:
science = goo.
Different slime recipes use different activators. Some people prefer liquid starch while others like saline solution because it’s easier to find.
The important thing is checking your labels.
If you’re using saline solution, it needs to contain boric acid. Without it, the slime won’t activate properly no matter how aggressively you stir.
Some contact solutions also contain sodium borate, which helps create the stretchy texture you want.
And thankfully, this recipe comes together fast.
Tips for Better Glow
A few things make a surprisingly big difference with glowing slime.
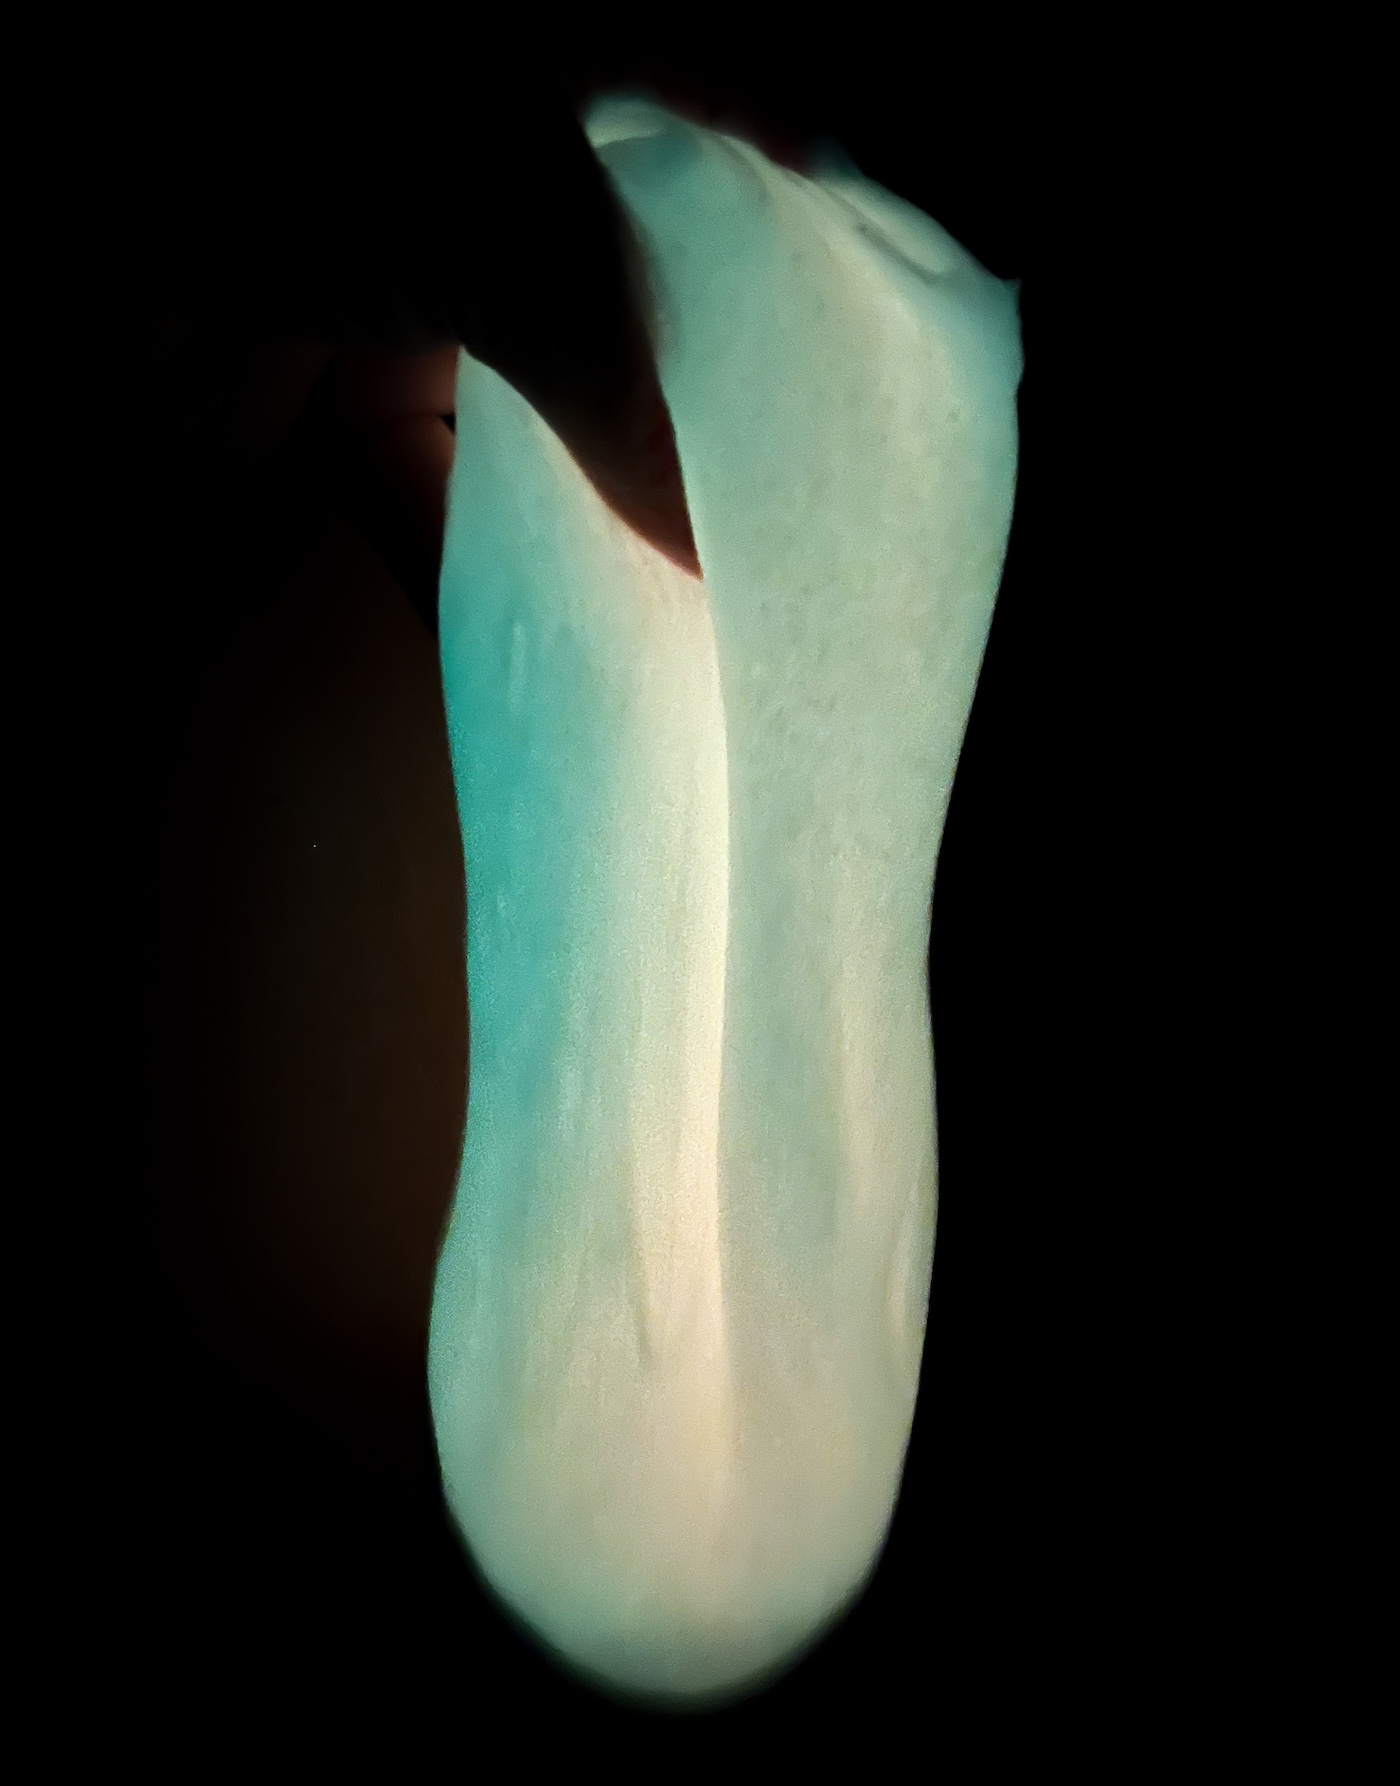
First, let it charge under bright light before expecting dramatic results. Sunlight works best, but strong indoor lamps help too.
Second, glowing Elmer’s tends to create brighter effects than opaque white versions with glow in the dark paint because light passes through more easily.
Third, don’t over-activate the slime.
Too much activator creates a rubbery texture instead of that stretchy, drippy consistency everyone wants.
And finally? Playing with glowing slime in complete darkness is approximately one hundred times cooler than testing it in a dim room and wondering why it looks mediocre.
Trust me on this.
Slime Troubleshooting
If your slime feels too sticky: add a tiny bit more activator.
If it feels too stiff:
- knead longer
- add a little extra glue
- warm it in your hands
A lot of slime problems fix themselves simply by continuing to knead the mixture for another minute or two.
Also, don’t panic if it looks strange initially. Slime almost always gets worse before it gets better.
Kind of like middle school.
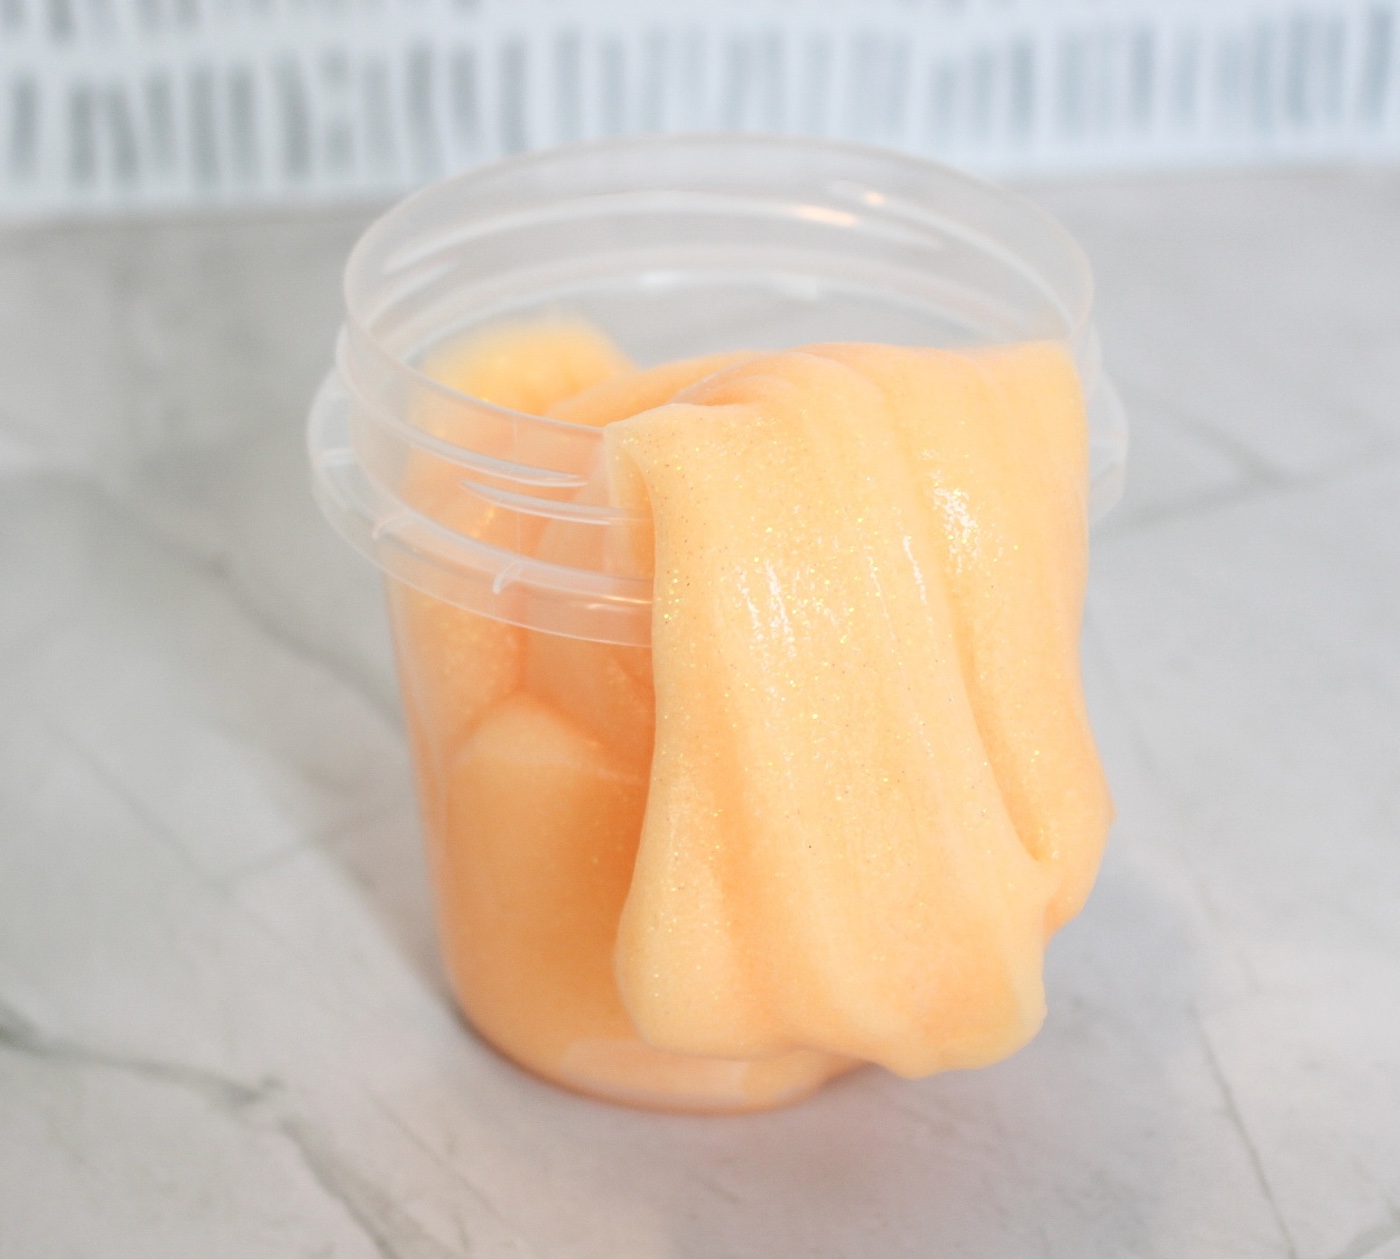
Fun Variations to Try
Once you make one batch, it’s hard not to experiment. Try:
- different colors of Elmer’s
- chunky glitter
- spooky eyeball confetti
- galaxy themes
- tiny foam beads
This is also one of my favorite Halloween sensory activities because kids somehow never get tired of turning the lights off dramatically every thirty seconds.
And honestly? Adults aren’t much better.
Storing Your Slime
Store your slime in an airtight container when you’re done playing with it.
If it dries out slightly over time, adding a tiny amount of water or extra glue can help soften the texture again.
You can also recharge the glow repeatedly by placing it back under bright light.
Which means the entertainment lasts way longer than most kids crafts.

Glow in the Dark Slime
Equipment
- Bowls
- Stir stick or spoon
Materials
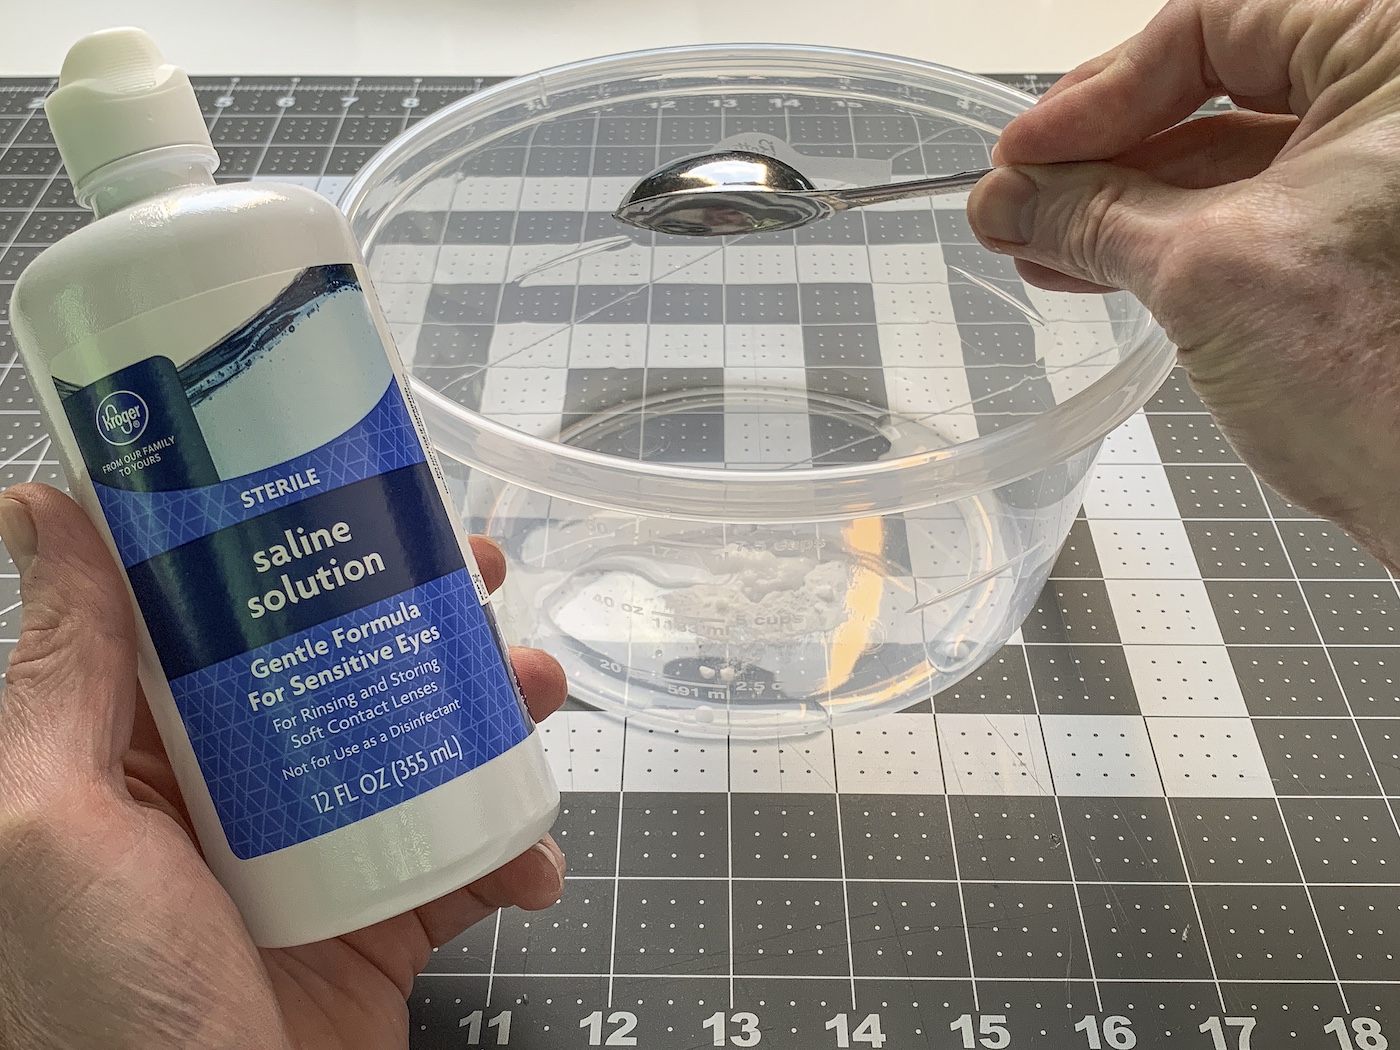
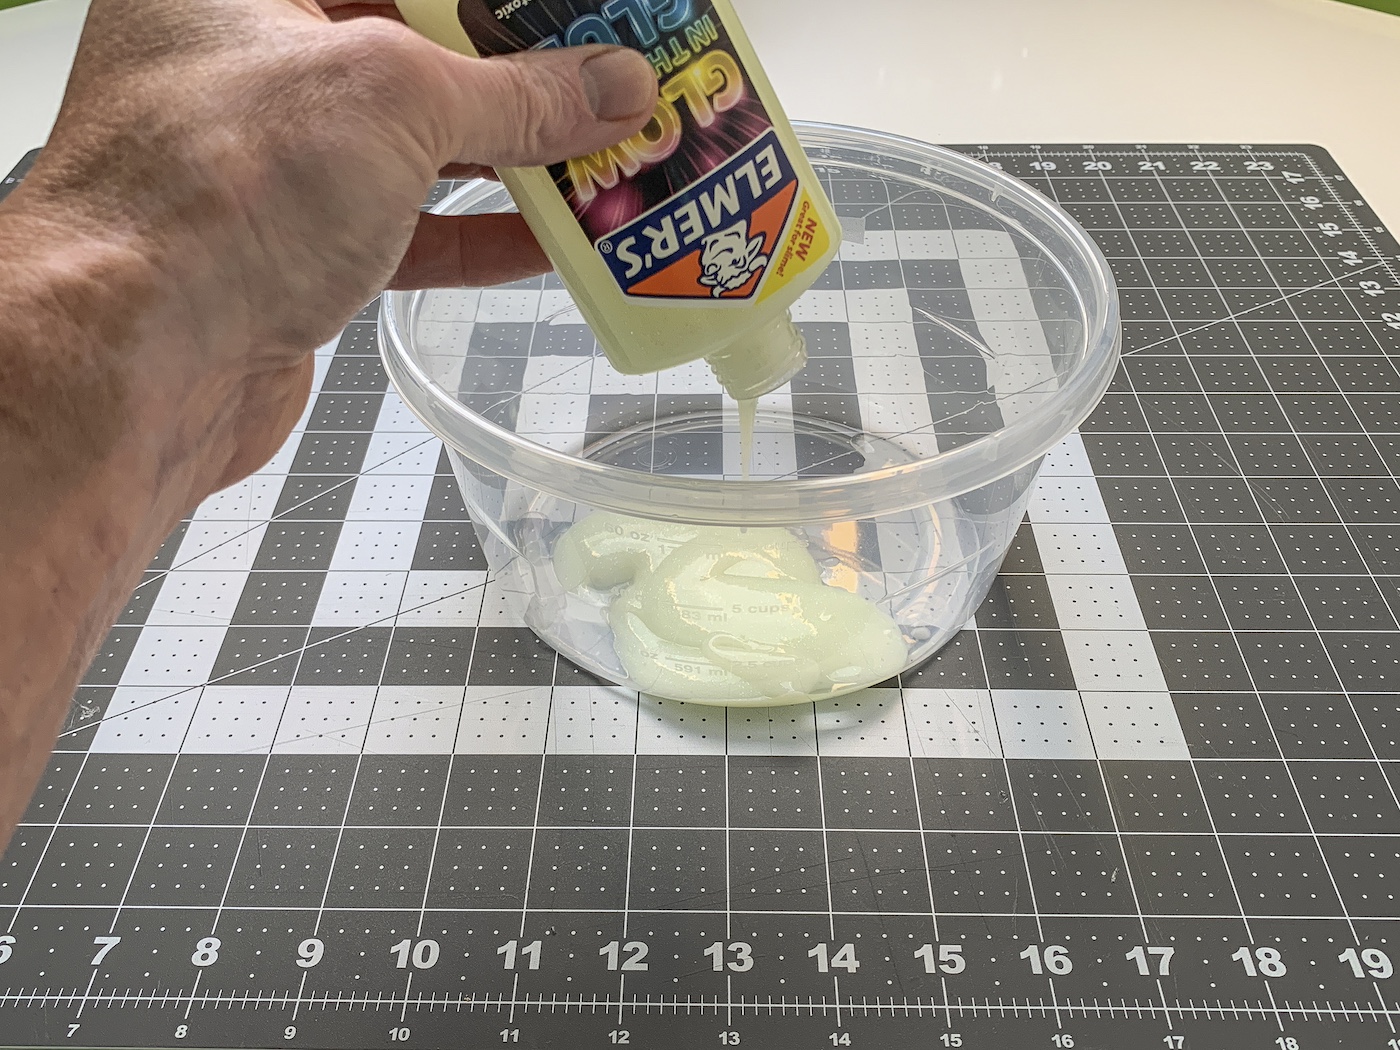
- 1 bottle Glow in the dark glue 5 oz
- 1/2 teaspoon baking soda
- 1 Tablespoon contact lens solution
Video
Instructions
- Add baking soda to a bowl.
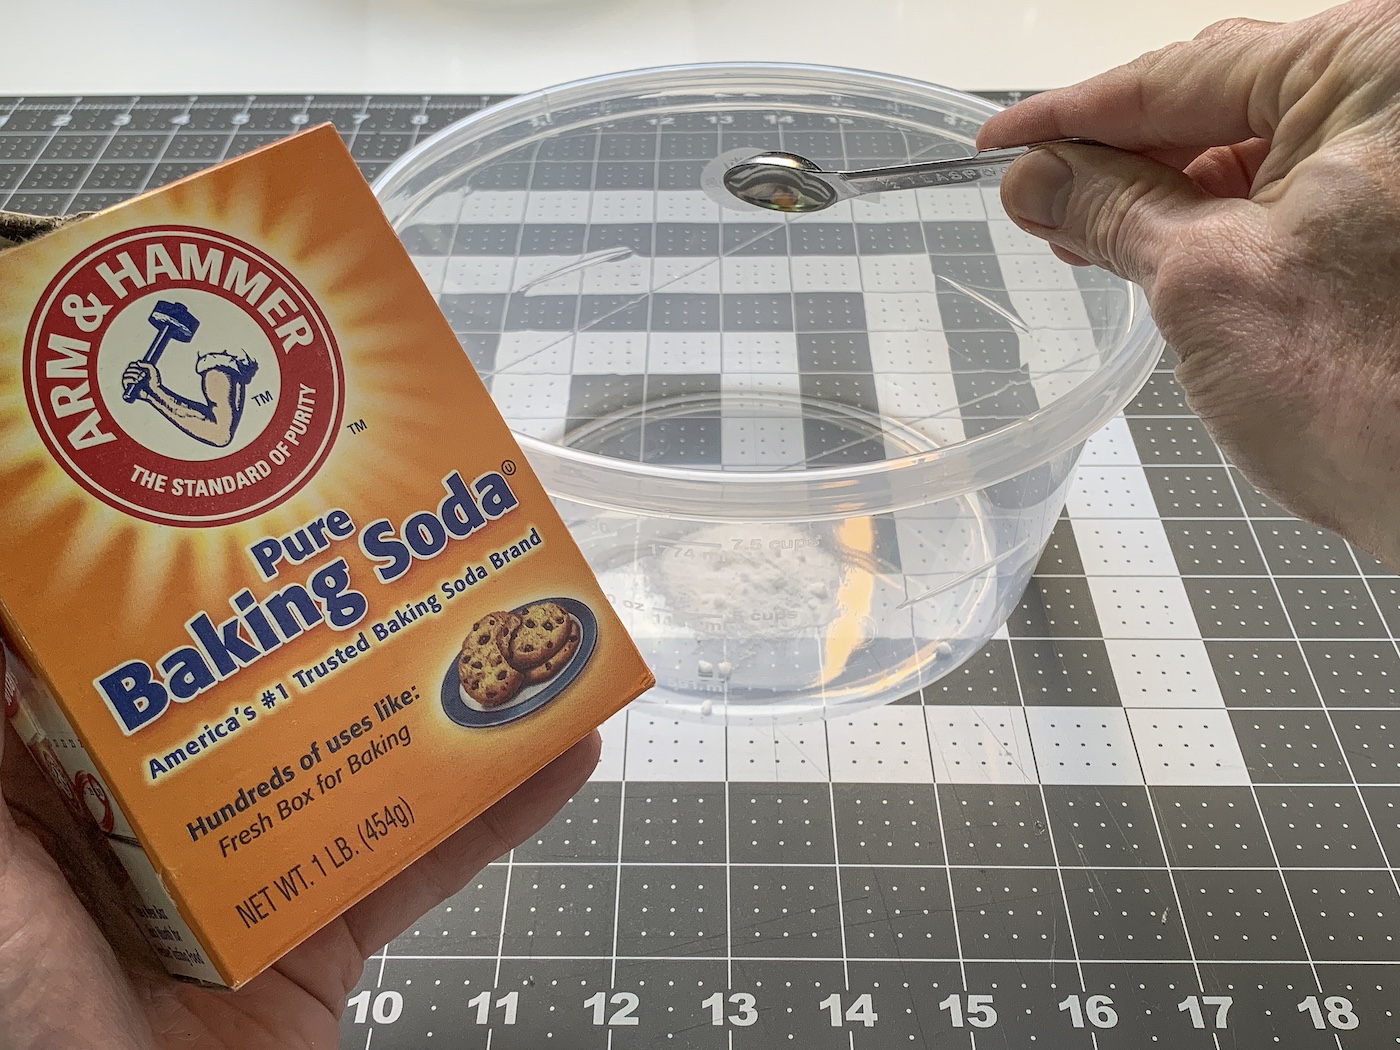
- Add contact lens solution to the baking soda.
- Empty the bottle of glow in the dark glue into the bowl. Make sure to let all the excess glue drip out (keep upside down for a minute or so).
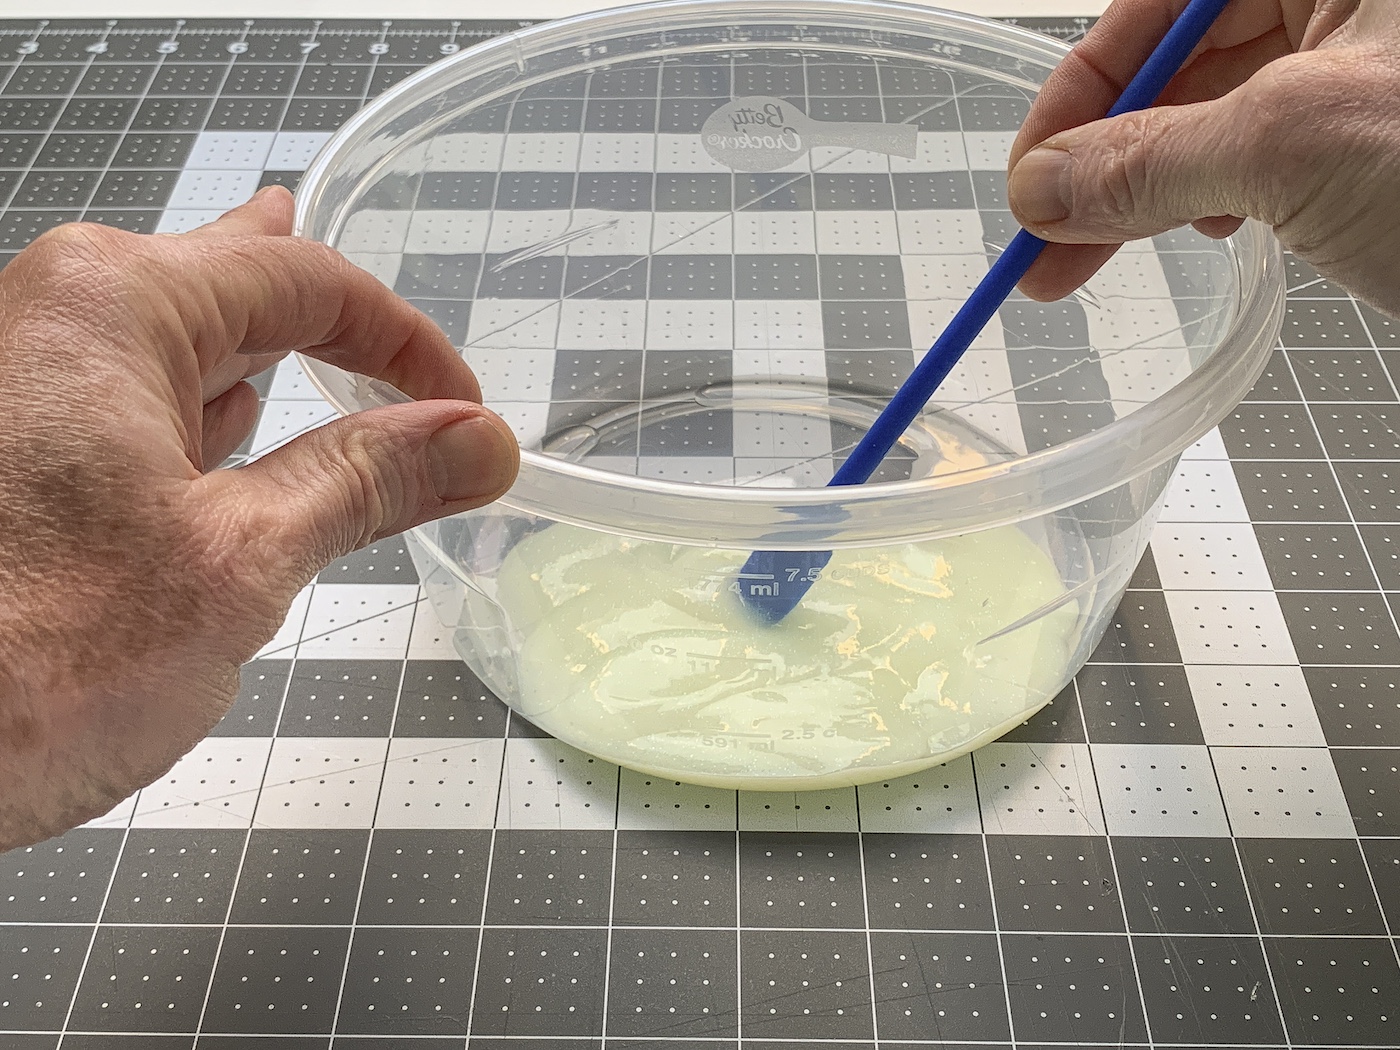
- Stir the ingredients in the bowl with a stir stick until combined.
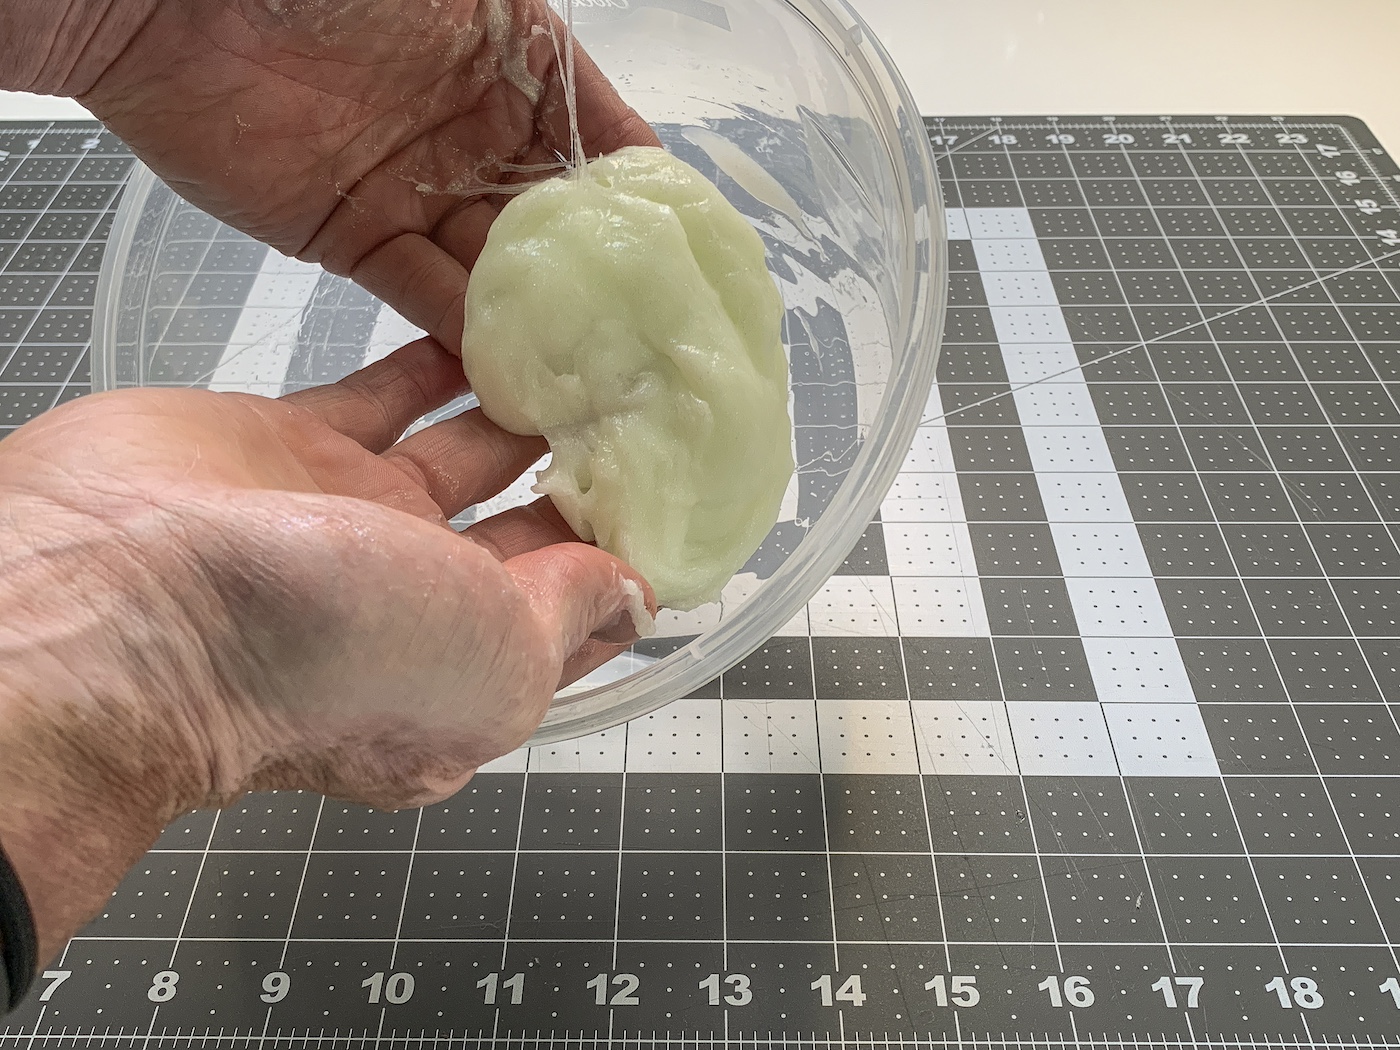
- When the slime is too hard to stir, remove it from the container and continue kneading it the rest of the way with your hands to finish.
- Charge in the sunlight or under a lamp to make the slime glow.
Notes
I hope you enjoyed this fun activity! Please let me know what you think in the comments. I’d love it if you’d go check our other slime and tactile posts:
Clay • Clear • Cloud • Cloud Dough • Color Changing • Crunchy • Edible • Fluffy • Galaxy • Green Booger • Laundry Detergent • Glitter • Halloween • Homemade Playdough • Kinetic Sand • Magic Hydrophobic Sand • Moon Sand • Play Doh • Rainbow • Sand • Silly Putty • Unicorn