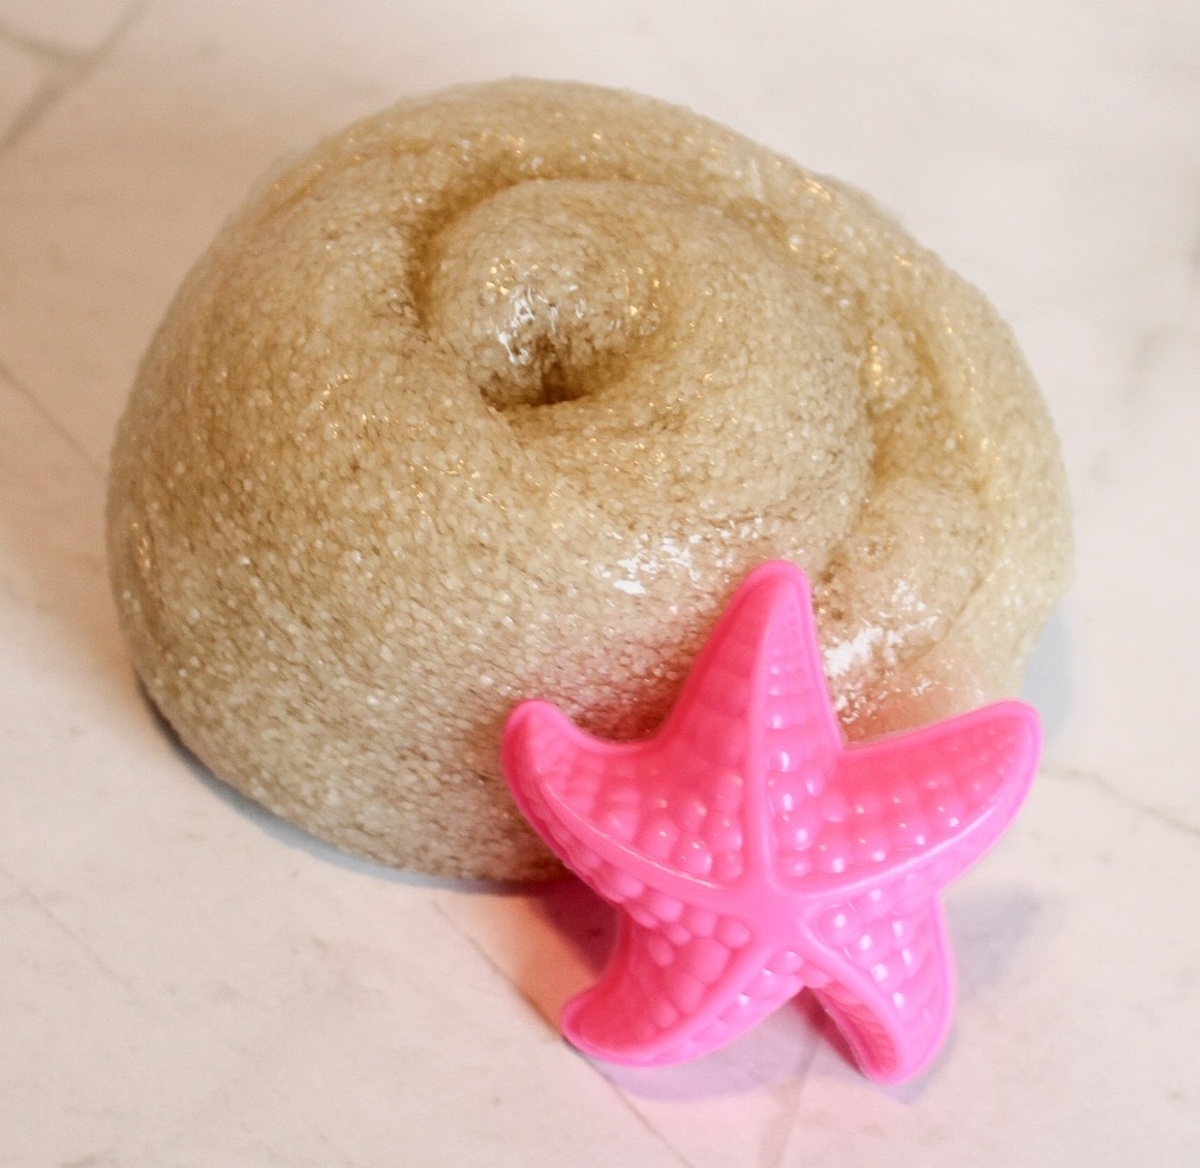
Sand Slime Recipe That’s Stretchy, Gritty, and Fun
This homemade sand slime recipe combines stretchy slime with sandy texture for a fun sensory activity that’s hard to stop squishing.

If beach sand and slime got together and decided to be weirdly delightful, this would be the result.
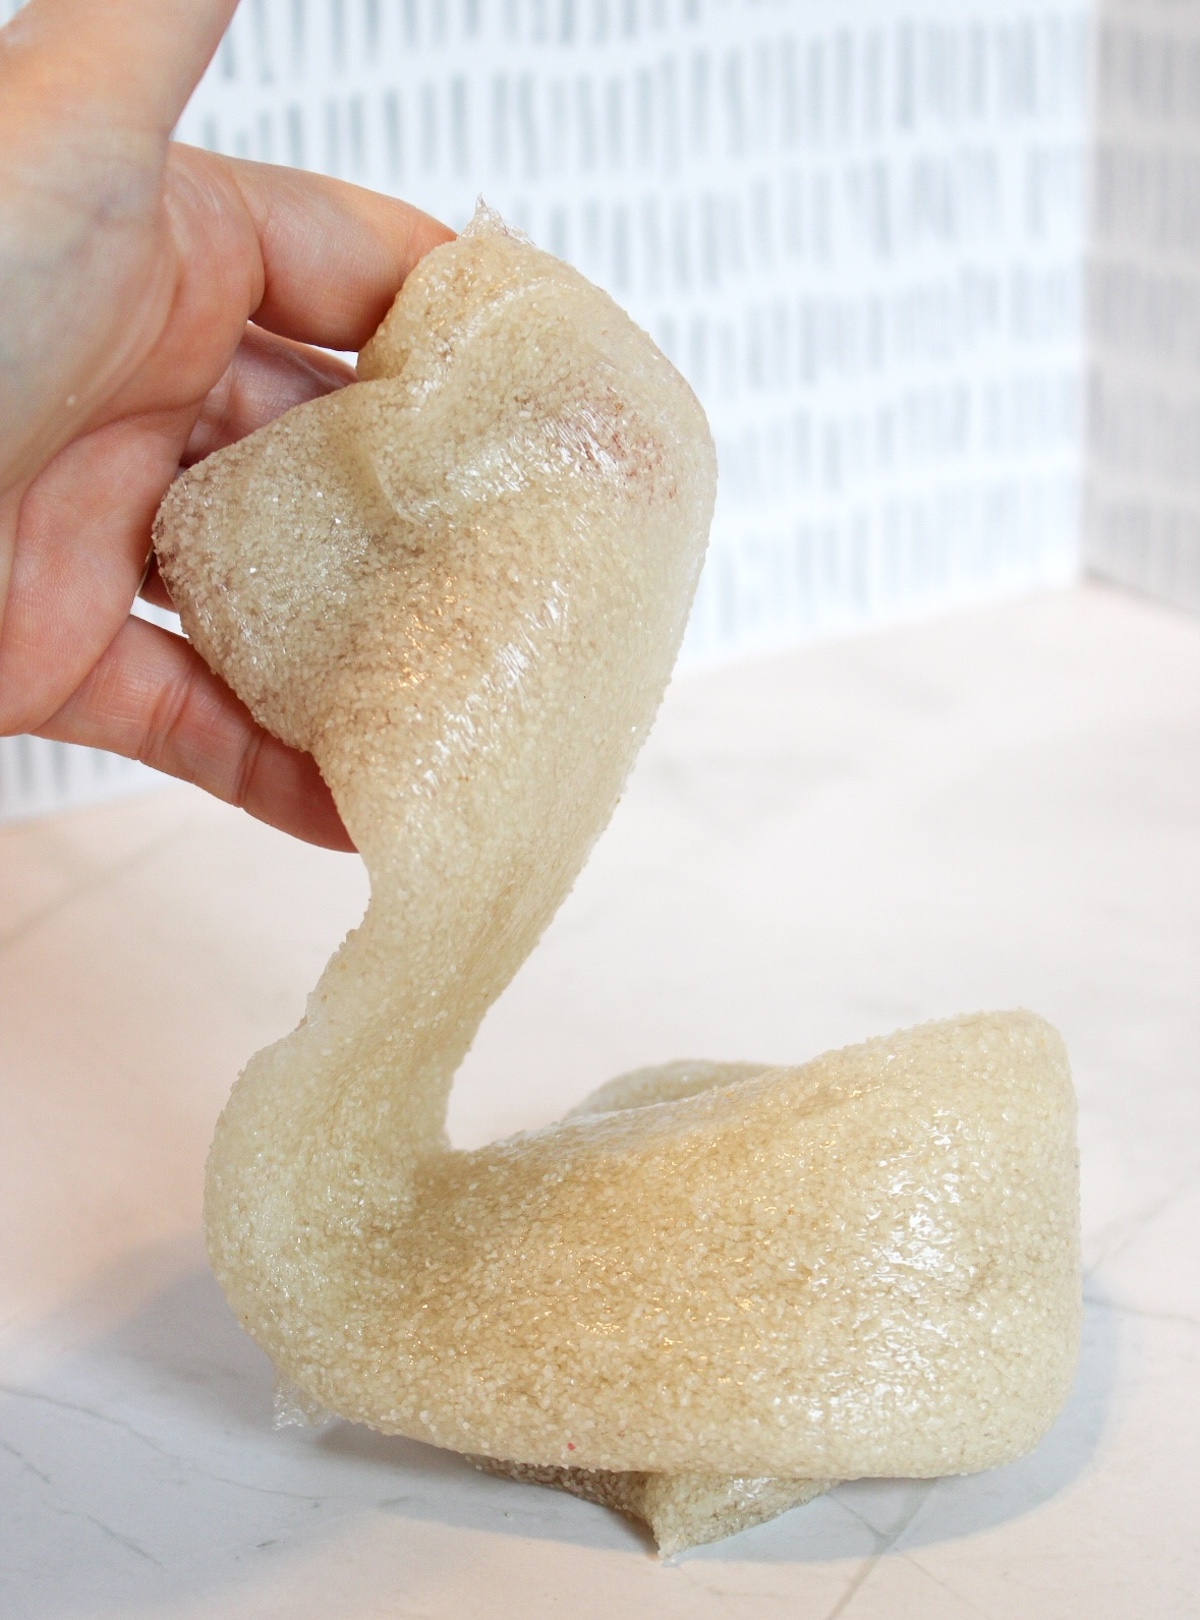
This homemade sand slime has that stretchy, squishy feel people love, but the sand adds a gritty, moldable texture that makes it way more interesting than regular slime. It’s not quite kinetic sand, and it’s not basic either. It lands somewhere in the middle, which is exactly why it’s so fun.
This is a great sensory activity for kids, especially if they like textures they can stretch, fold, press, and squish. The sand gives the slime a little weight, while the clear glue keeps it stretchy and glossy.
And yes, adults will probably play with it too. I’m not judging. I would.
What Makes Sand Slime Different?
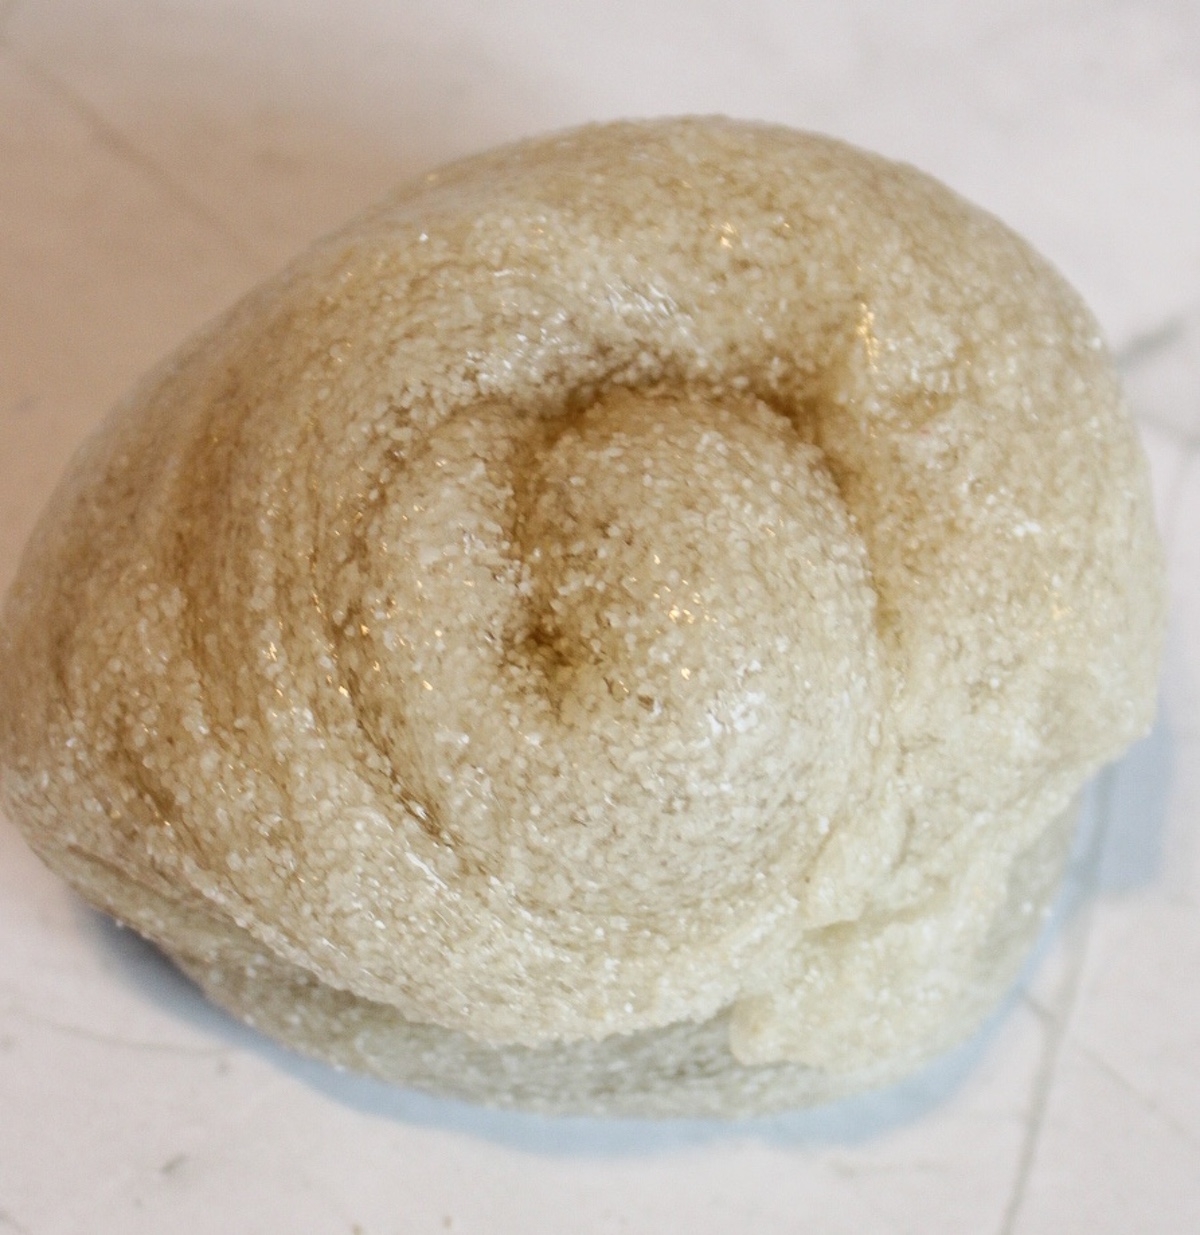
It feels different from fluffy slime because it has more grit and structure. Instead of being light and puffy, it has a beachy texture that makes it feel almost sculptable.
Some recipes use shaving cream for a softer, fluffier version, while others use a cup of liquid starch as the activator. This version is different because it uses clear glue, water, Borax, and the sand.
That gives it a smoother, stretchier finish with the sand suspended throughout. It also looks really cool, especially if you use colored or decorative sand.
Tips for the Best Texture
The biggest thing is not going overboard with sand. More isn’t always better here. A cup of sand sounds tempting if you want extra texture, but too much can make slime break apart instead of stretch.
Fine decorative sand works best. You can find it at craft stores, or grab play sand from Home Depot if you’re making a bigger batch. Just know that finer sand usually blends more smoothly.
If your slime feels too sticky, add a tiny bit more activator and knead slowly. If it feels too stiff, work in a little more glue to soften it back up.
Use a bowl you don’t mind getting messy, and remember that slime is one of those projects where texture can vary a bit depending on the brand of ingredient you use.
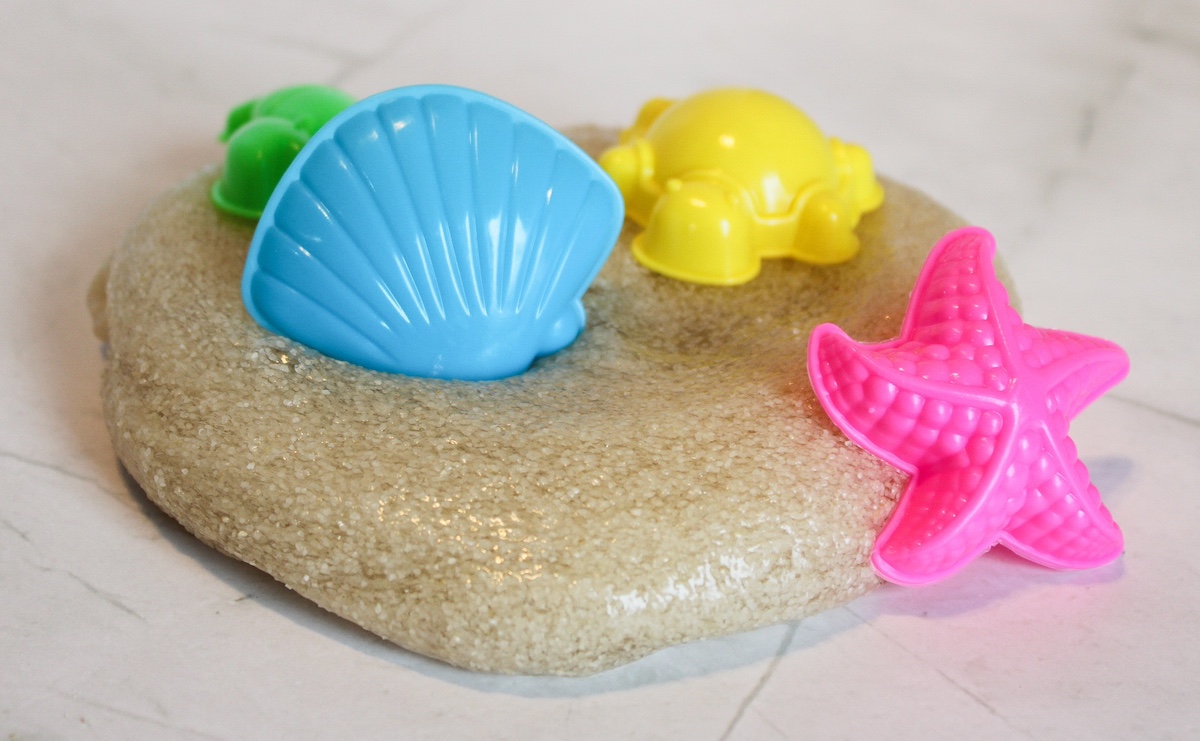
Fun Ways to Customize It
This is where the project gets fun.
Try colored sand for a brighter look, or use natural sand for a beachy vibe. You can also add glitter, tiny shells, or ocean-themed charms if your kids are into mermaid or summer crafts.
For a fluffier variation, you can experiment with shaving cream, though that will change the feel and make it softer instead of glossy. If you want something thicker and puffier, shaving cream is the direction to go.
You can also add food coloring, but colored sand usually gives enough tint on its own. Start small, then adjust after you mix everything together.
Sand Slime vs. Kinetic Sand
These two are not the same thing.
Kinetic sand crumbles, packs, and cuts like damp beach sand. Sand slime stretches, pulls, folds, and squishes because the base is made with glue and activator.
So if you want something that behaves more like dough, kinetic sand might be your winner. If you want something stretchy with a gritty feel, homemade sand slime is the better choice.
Storage Tips
Store your slime in an airtight container or zip-top bag when playtime is over. This helps keep it from drying out too quickly.
If it gets stiff after sitting, knead it for a few minutes before adding anything. Sometimes the texture comes back just from warming it up in your hands.
Are you ready to start? Get the recipe below:
Sand Slime
Equipment
- 1 Bowl(s)
- 1 Stir stick or spoon
Materials
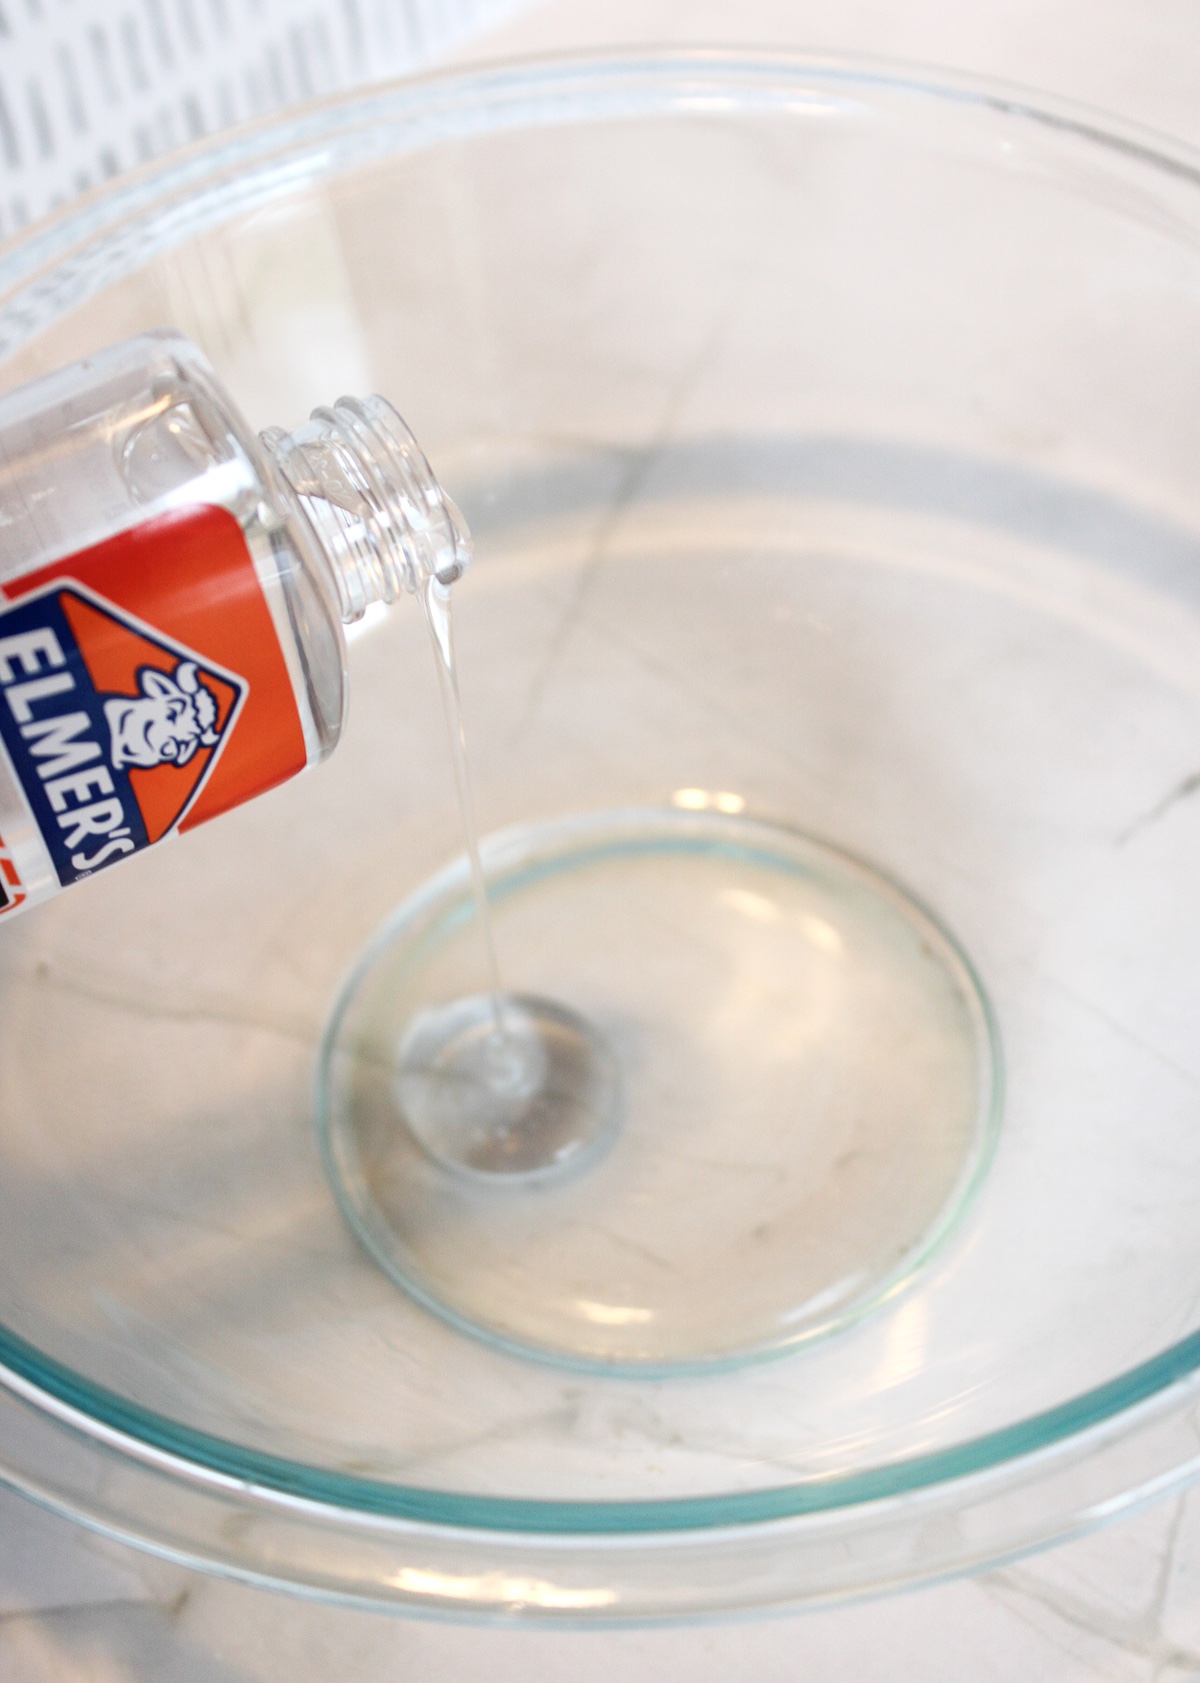
- 1 bottle clear Elmer’s glue 5 oz.
- 1 C water
- 1/2 tsp Borax
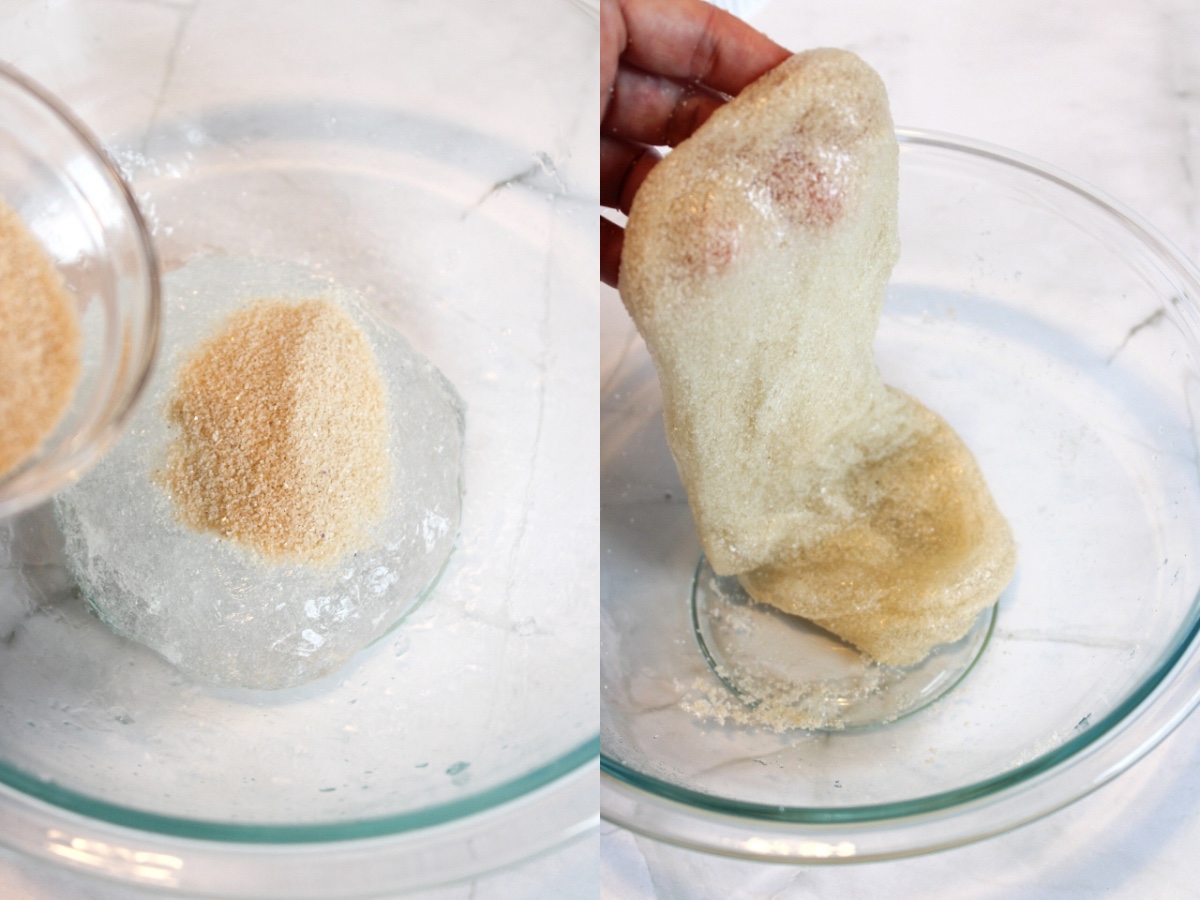
- 2 Tbsp play sand or decorative sand
Instructions
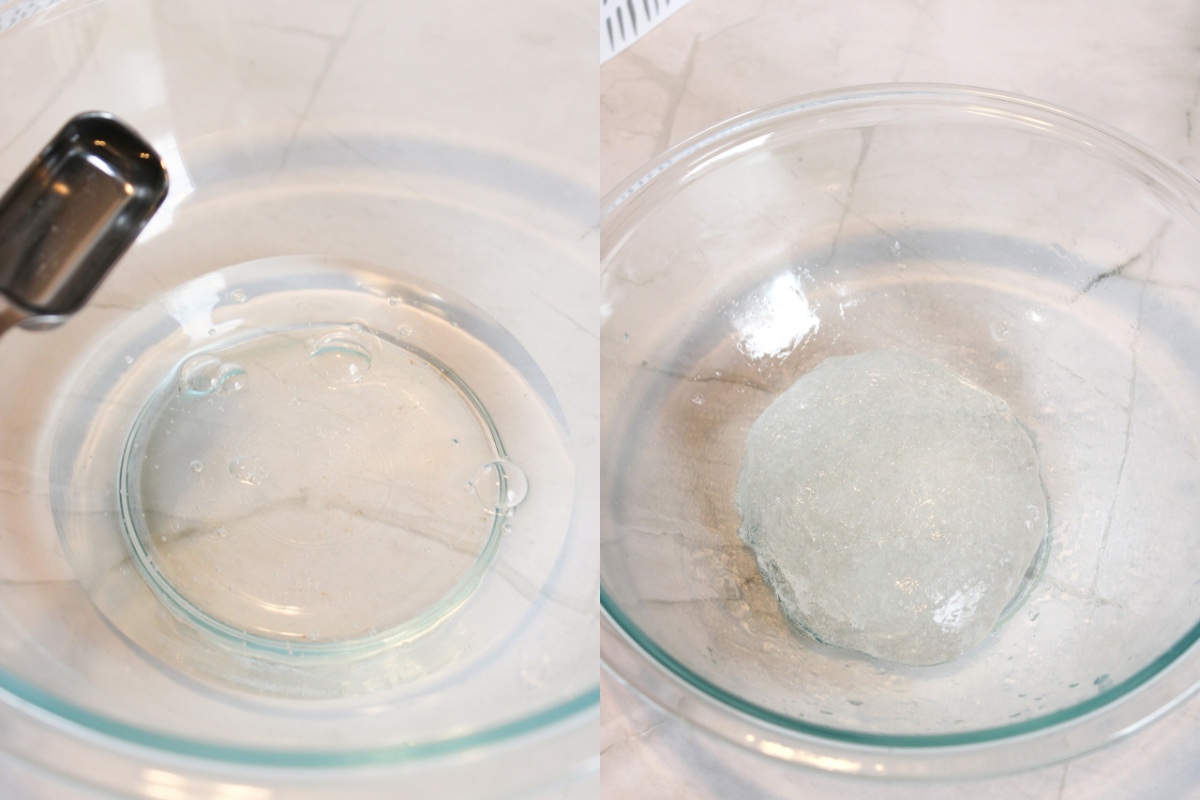
- Place 1 cup of water in a glass measuring cup with 1/2 tsp of borax. Microwave for 30-45 seconds and stir until borax is dissolved.

- In a large bowl, add one bottle of clear glue.
- Add 1 Tbsp of borax water at a time and stir. Continue to add borax water 1 Tbsp at a time until the mixture is no longer sticky.
- Add sand and fold into the slime.
Notes
I hope you enjoyed this fun activity! Please let me know what you think in the comments. I’d love it if you’d try our moon sand, kinetic sand, and hydrophobic sand – then go check our other slime posts:
Clay • Clear • Cloud • Color Changing • Crunchy • Edible • Fluffy • Galaxy • Green Booger • Laundry Detergent • Glitter • Glow in the Dark • Halloween • Play Doh • Rainbow • Unicorn