Make Crunchy Slime at Home with This Easy Floam Recipe
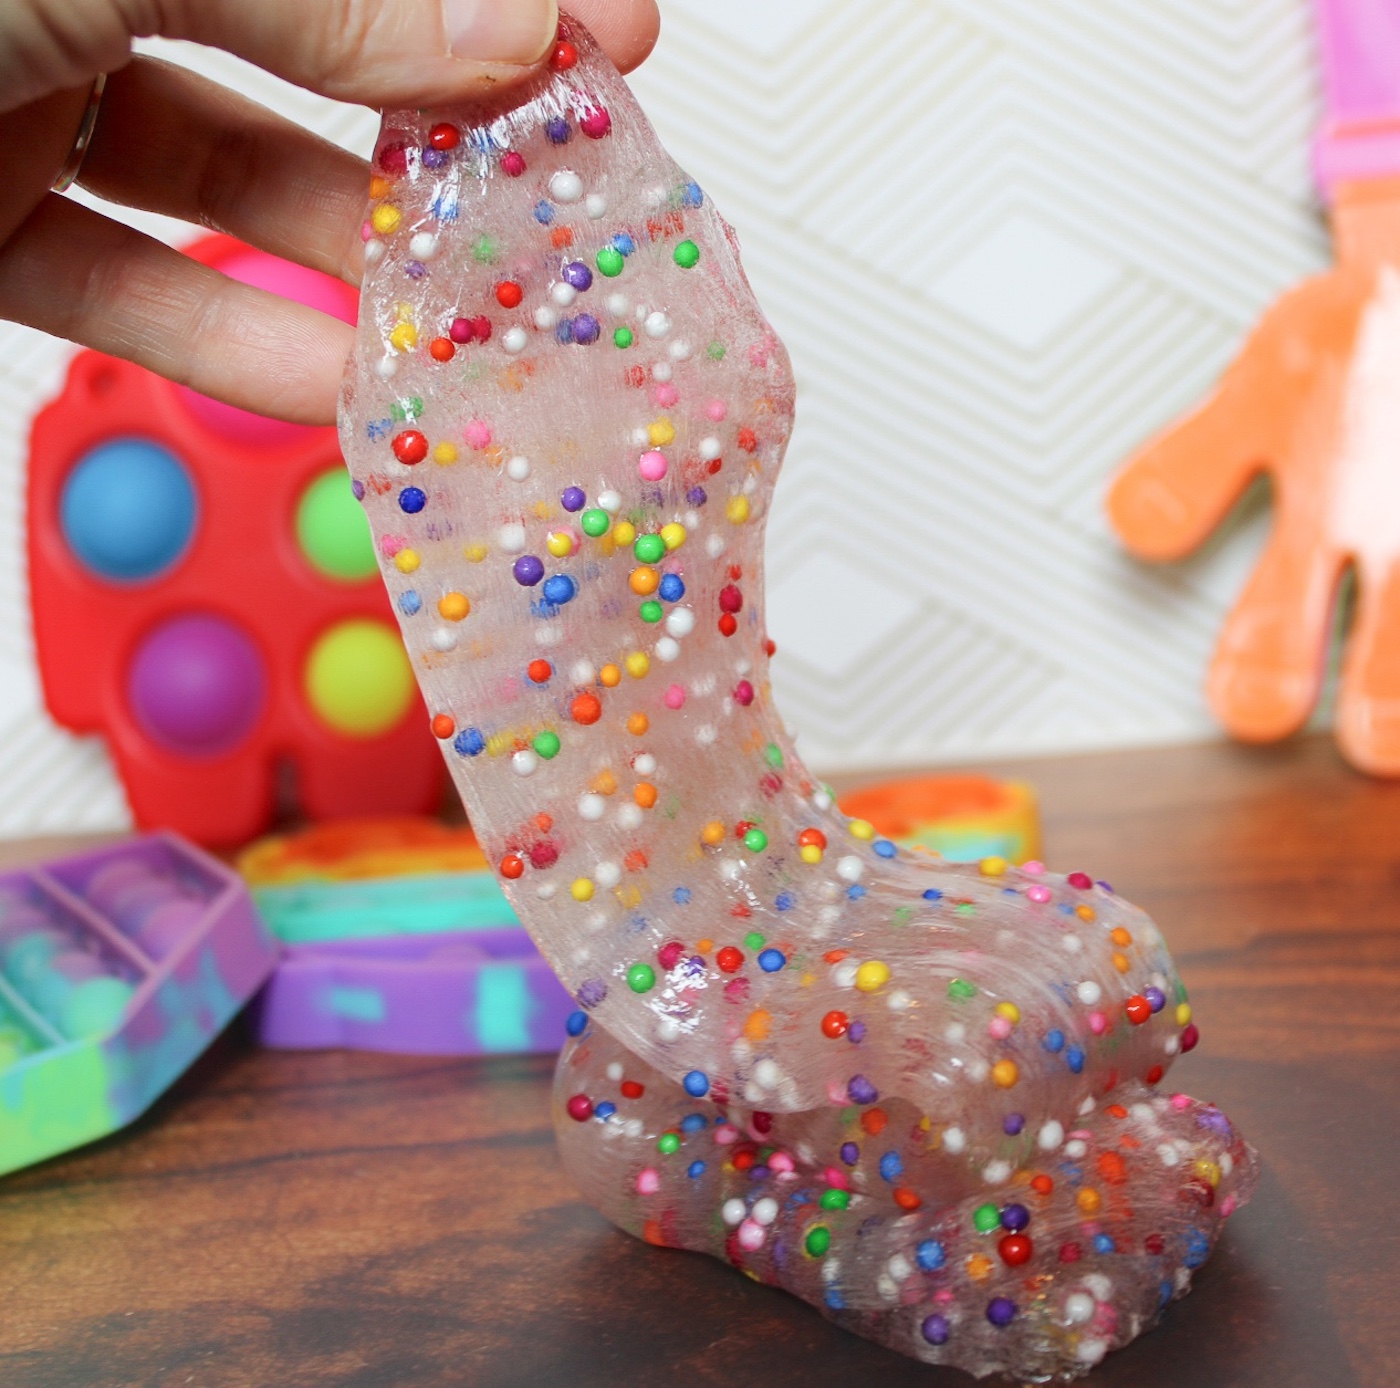
This crunchy slime recipe uses clear glue and foam beads to create colorful floam slime with amazing texture and satisfying crunch.
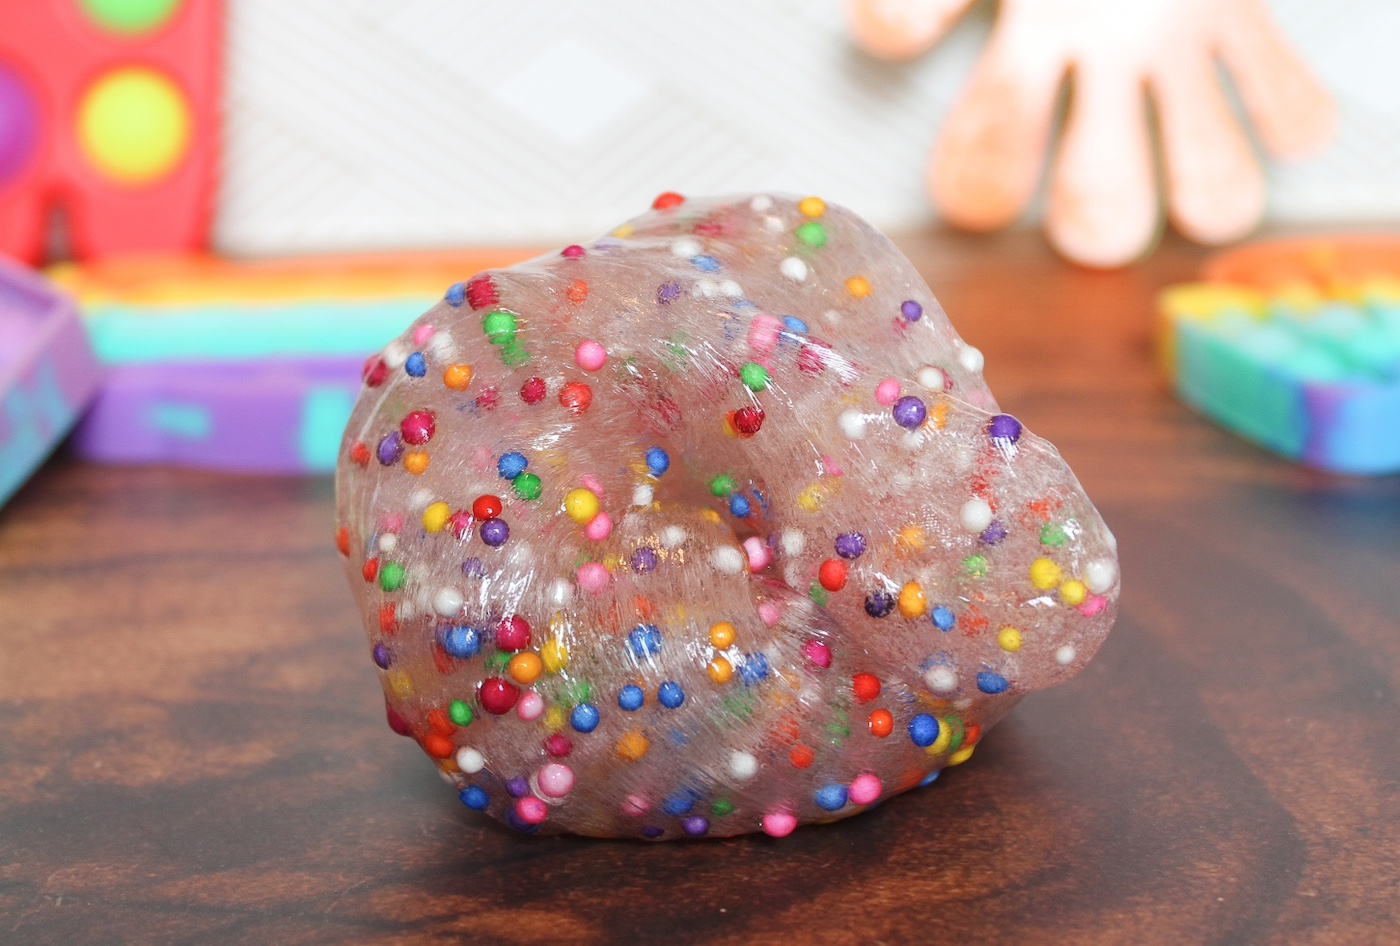
If regular slime is fun, crunchy slime takes things to a completely different level. Between the popping sounds, bead-filled texture, and super stretchy feel, it’s one of the most satisfying sensory activities you can make at home.
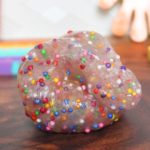
This crunchy slime recipe is packed with colorful foam beads that create an irresistible texture while still keeping the slime soft and flexible. Some people call this type of slime floam, and once you make it, you’ll understand why it’s become one of the best crunchy slimes online.
The best part is that this recipe is simple enough for beginners while still being fun for experienced slime makers who want to experiment with different textures and add-ins. Whether you’re making slime with kids during a rainy afternoon or planning a classroom activity, this project always gets attention.
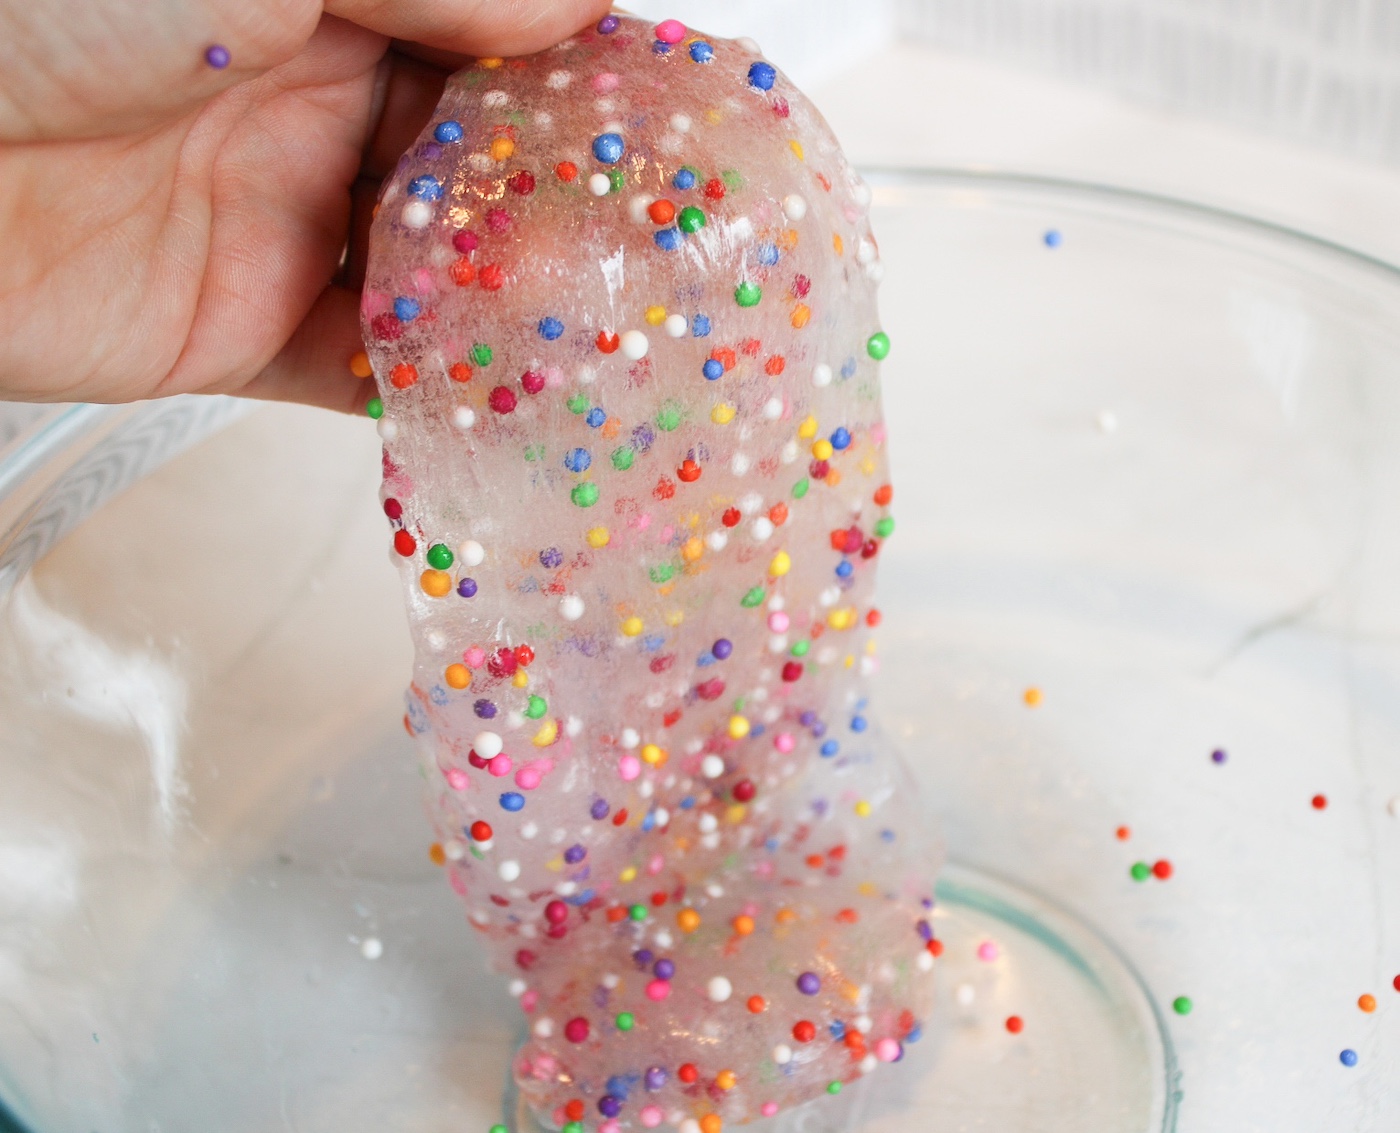
One reason crunchy slime is so popular is the sound and feel. The little foam beads create extra crunchiness while making the slime more interesting to squeeze, stretch, poke, and fold. It’s relaxing, entertaining, and honestly hard to stop playing with once it’s finished.
There are several ways to customize crunchy slime depending on the texture you prefer. If you want a softer version, use fewer beads. If you want thicker floam with extra texture, add additional foam beads slowly until the slime becomes denser and more moldable.
You can also switch up the mix-ins completely. Some people use fishbowl beads for a chunkier feel, while others mix in plastic snow for a softer texture. Glitter, sequins, and charms also work well if you want your crunchy slime recipe to look extra colorful.
The science behind slime is part of what makes it so fun for kids. When the glue combines with slime activators, a chemical reaction takes place that changes the ingredients from liquid into a flexible polymer. It feels like magic, but it’s actually simple chemistry.
Some crunchy slime recipes also use contact lens solution instead of Borax. If you try that method, make sure the contact solution contains boric acid and sodium borate, since those ingredients help activate the slime properly.
Different slime activators create slightly different results too. Some recipes use saline solution, others use borax powder, and some use liquid starch for a softer finish. This crunchy slime uses an easy borax solution that creates one of the best crunchy slimes if you love a softer, flexible feel.
If you’re shopping for supplies, most of the ingredients can be found at a dollar store or craft retailer. Foam beads are especially easy to find online now because floam has become so popular.
One thing beginners sometimes struggle with is getting the right texture. If your crunchy slime feels too sticky, add a tiny bit more activator. If it feels too stiff, knead in a little warm water. Slime recipes are flexible, so small adjustments help a lot.
You’ll also want to use large bowls while mixing because the beads can bounce around a little once you start to stir everything together. Trust me on this one.
Another helpful tip is to add food coloring before the activator. That keeps the color more even throughout the slime mixture and prevents overmixing later.
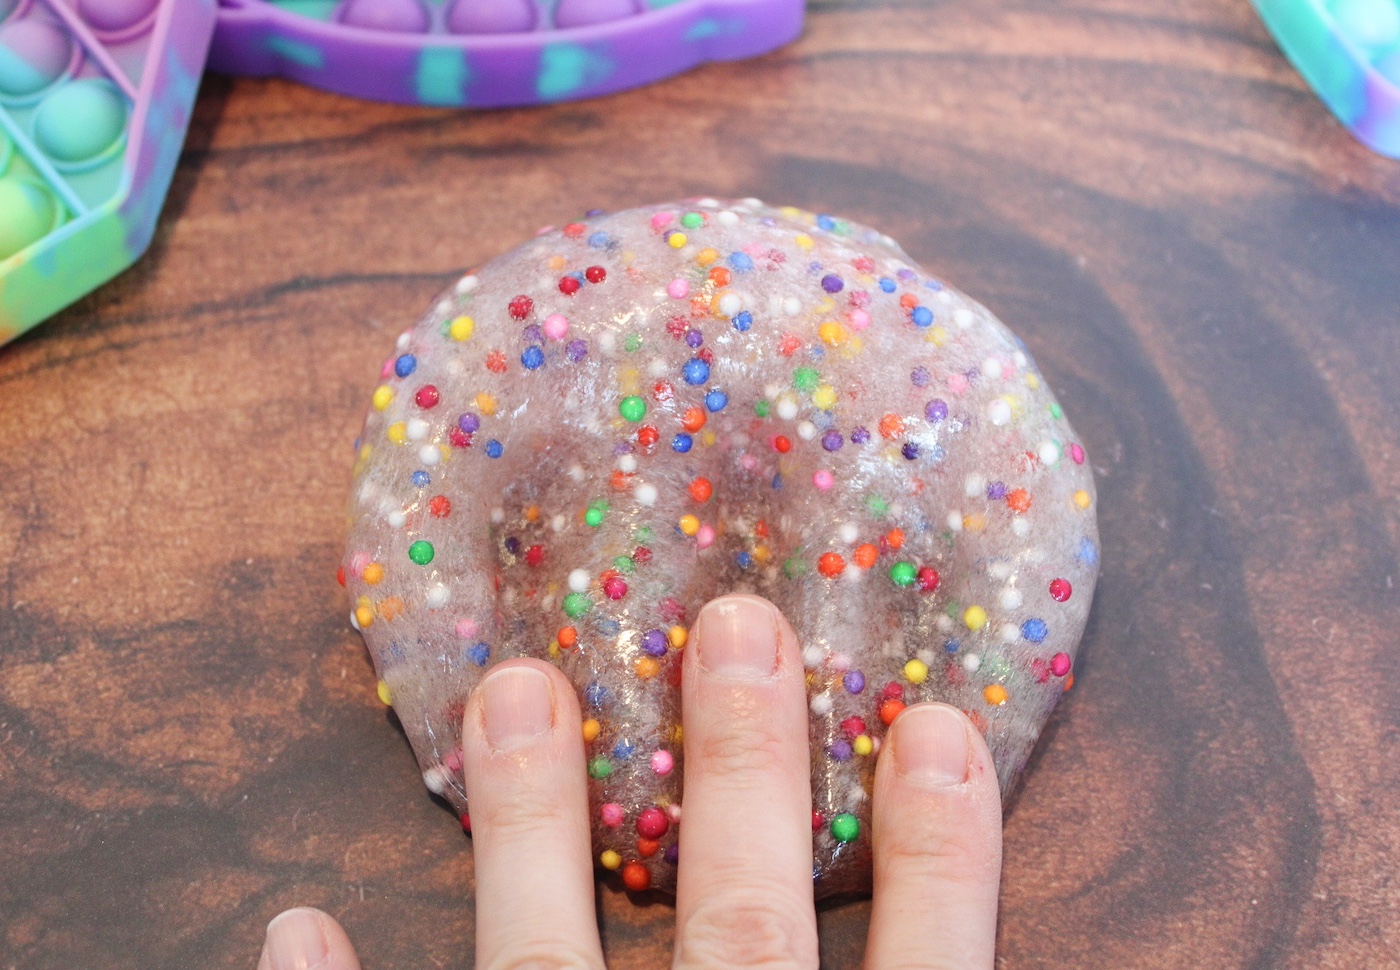
For extra crunchy texture, knead in additional floam beads after the slime forms. The more beads you add, the thicker the texture becomes. Just keep in mind that extra beads can reduce how stretchy the slime feels overall.
If you’ve never made slime before, don’t worry. This crunchy slime recipe is very beginner friendly and comes together quickly using simple ingredients and basic measuring spoons.
Tips for Making Crunchy Slime
- Add foam beads gradually so the slime stays soft and flexible instead of becoming stiff.
- Use separate bowls for mixing activator and glue.
- Stir slowly at first to keep beads from flying everywhere.
- Store crunchy slime in an airtight container to help preserve the texture.
- Don’t use white glue. Clear glue lets you see the colorful crunch beads better, which makes the finished slime look more vibrant and textured.
- A cup of foam beads creates extra crunch and a denser floam texture.
- Food coloring works best when added before activating the slime.
This recipe is especially fun for kids because the texture feels completely different from regular slime. You’ll love it!
Crunchy Slime
Equipment
- Bowls
- Stir stick or spoon
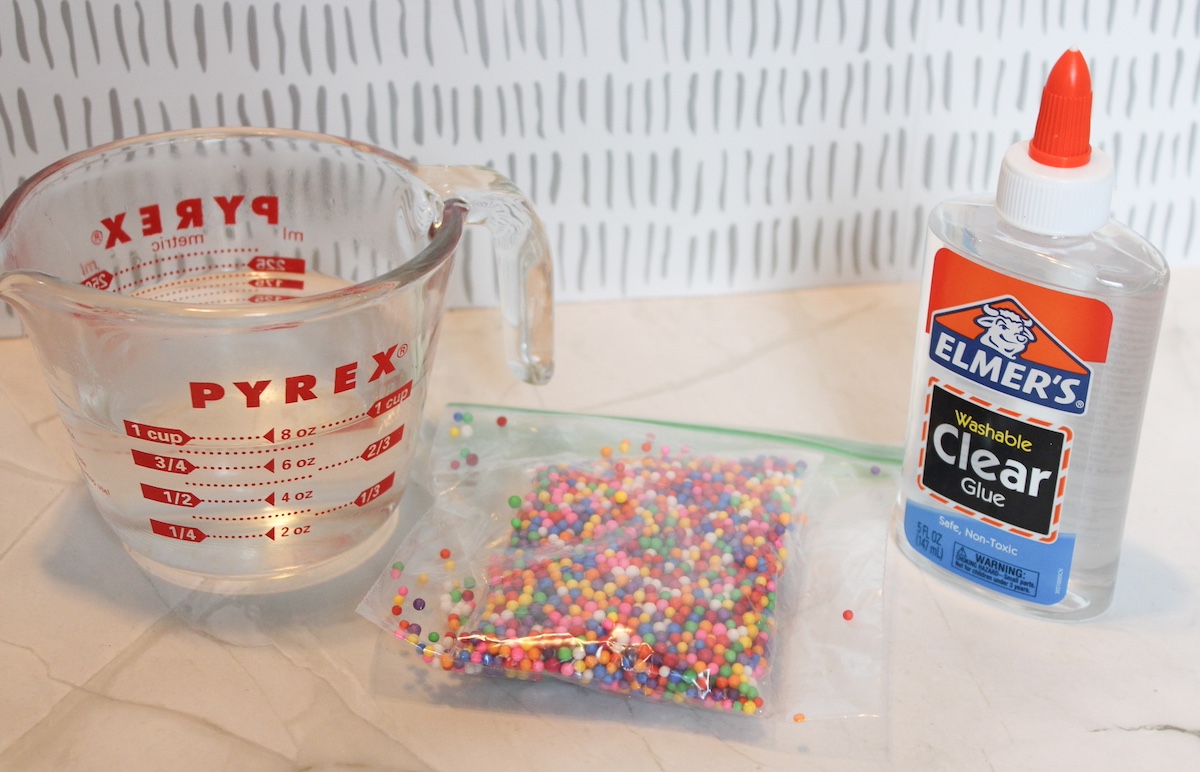
Materials
- 1 bottle clear Elmer’s glue 5 oz.
- 1 C water
- 1/2 tsp borax
- 1/4 C foam beads multi-colored or any color of your choice
Instructions
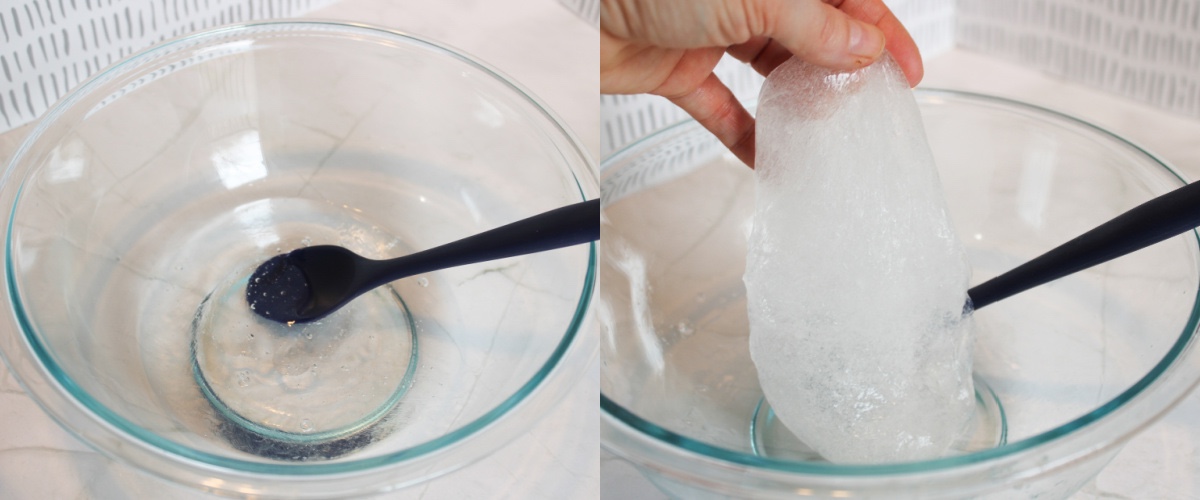
- Place 1 cup of water in a glass measuring cup with 1/2 tsp of borax. Microwave for 30-45 seconds and stir until borax is dissolved.
- In a large bowl, add one bottle of clear glue.
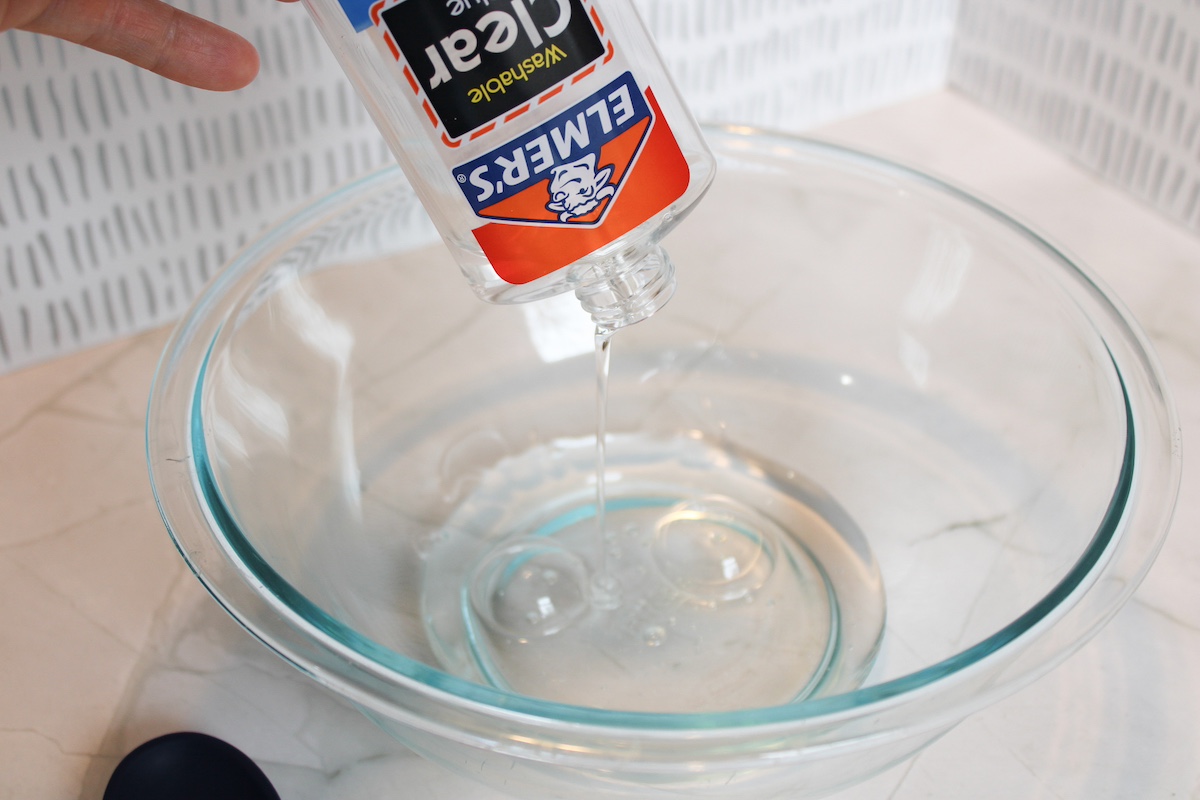
- Add 1 Tbsp of borax water at a time and stir. Continue to add borax water 1 Tbsp at a time until the mixture is no longer sticky.
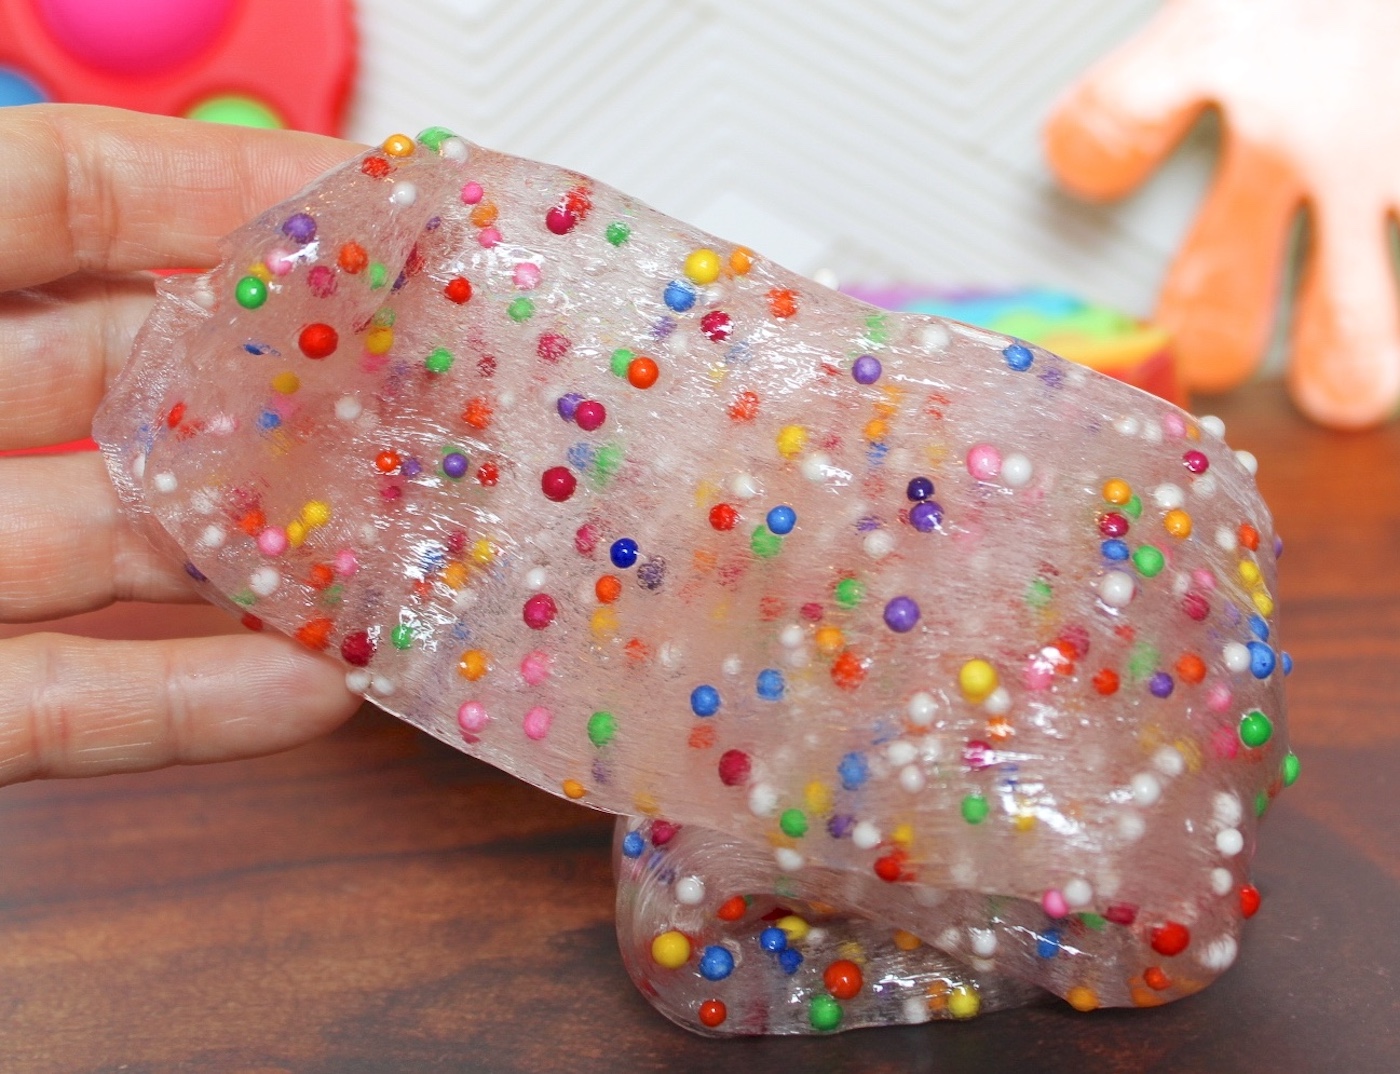
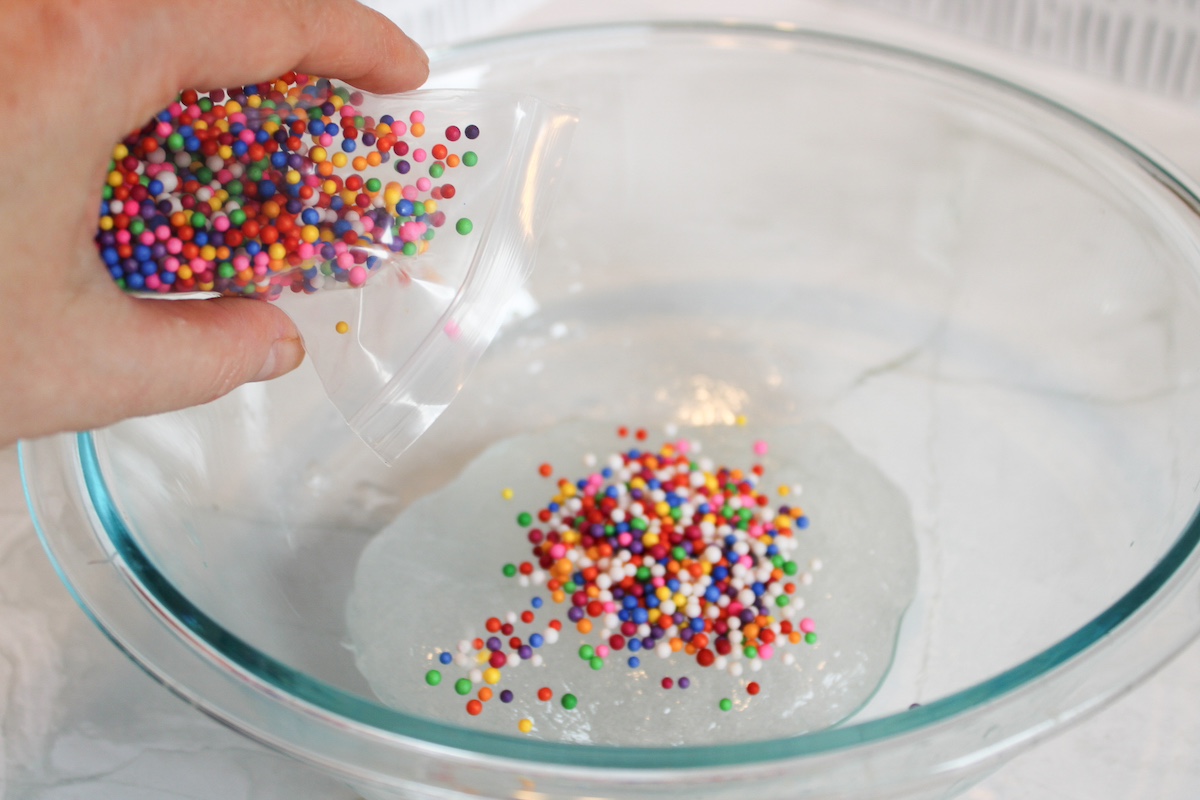
- Add foam beads and fold them into the slime.
Notes
I hope you enjoyed this fun activity! Please let me know what you think in the comments. I’d love it if you’d go check our other slime posts:
Clay • Clear • Cloud • Color Changing • Edible • Fluffy • Galaxy • Green Booger • Laundry Detergent • Glitter • Glow in the Dark • Halloween • Play Doh • Rainbow • Sand • Unicorn