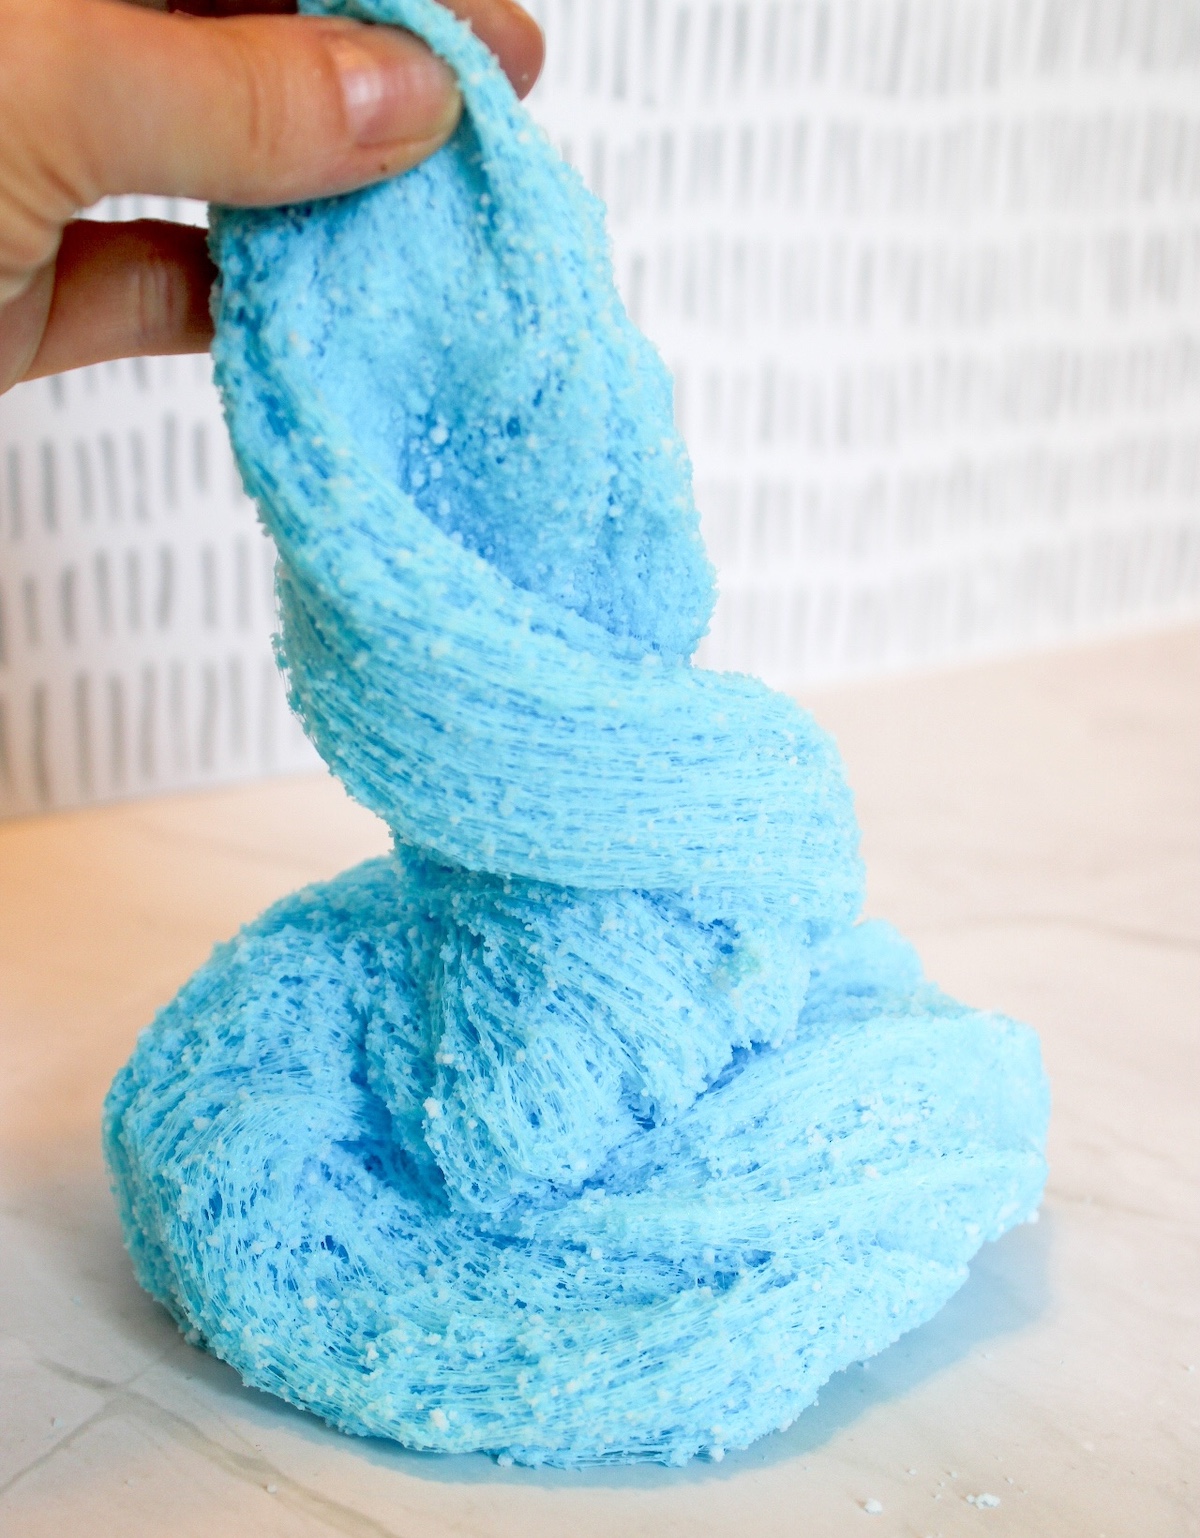
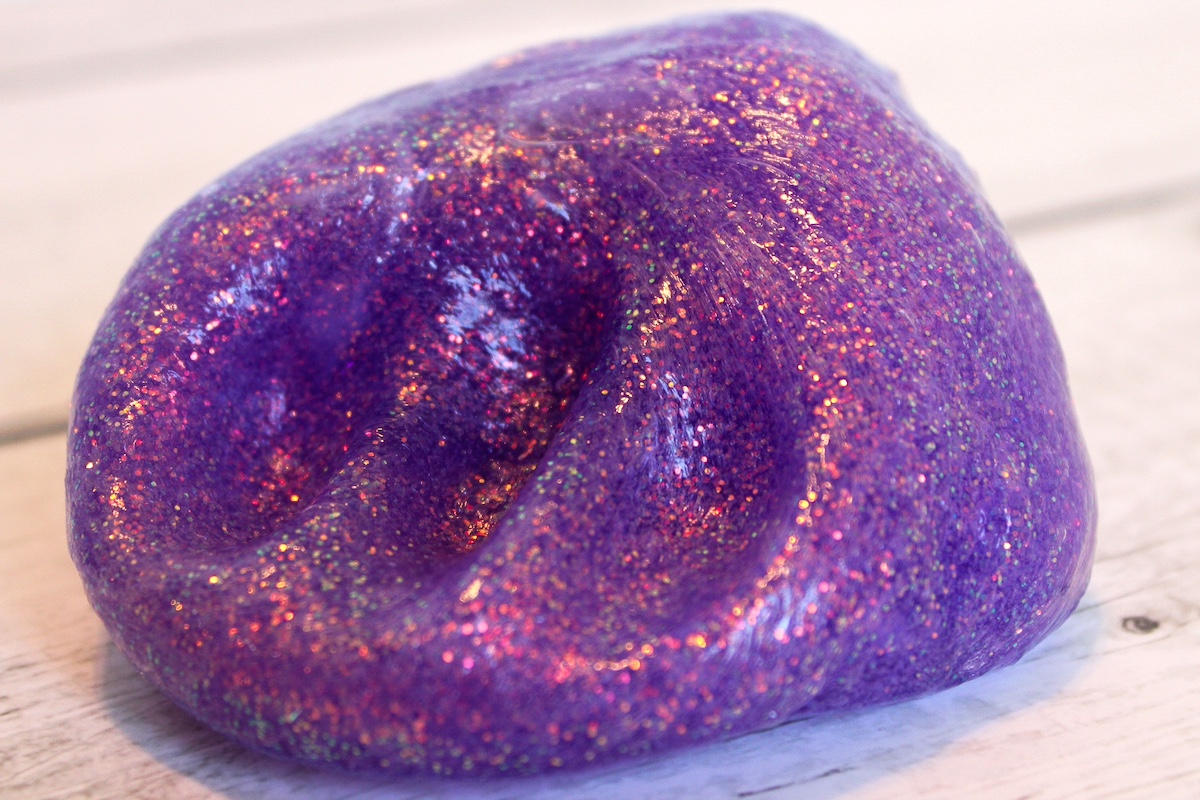
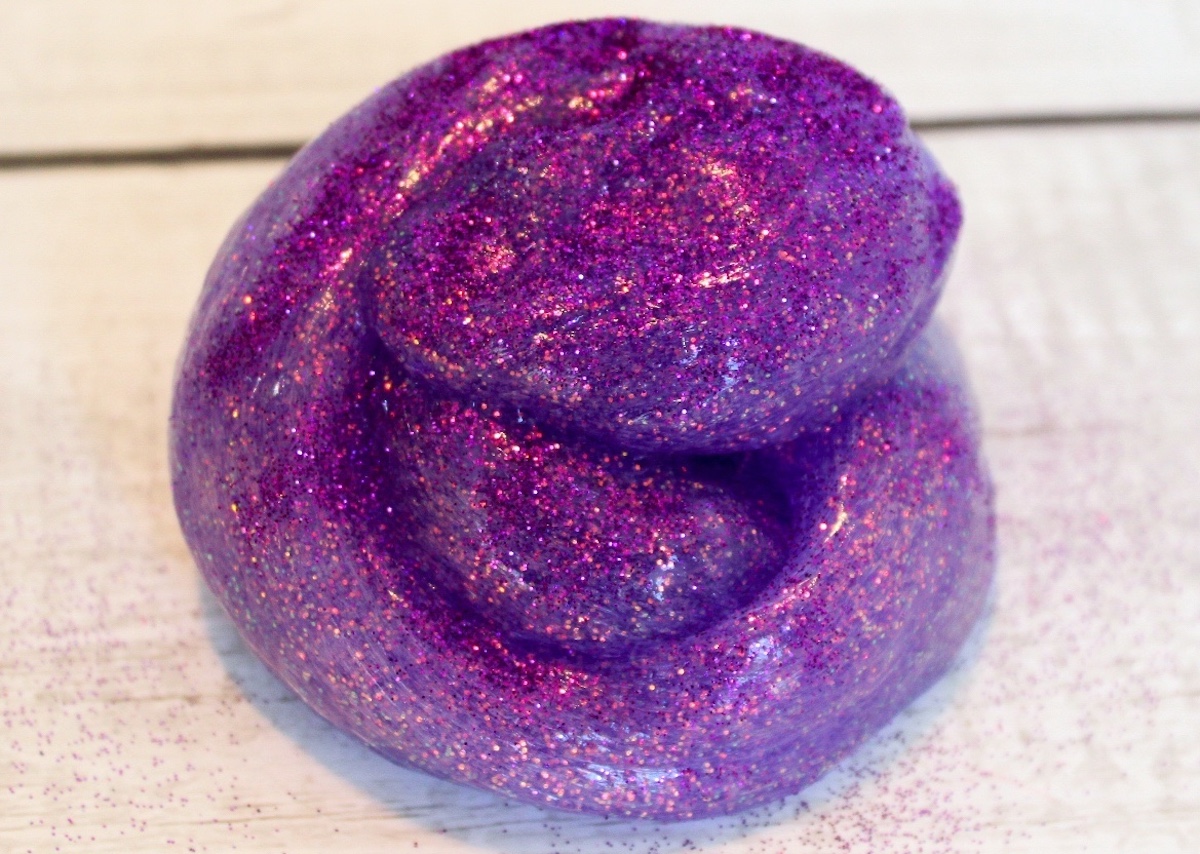
Glitter Slime (Easy, Stretchy, and Seriously Sparkly)
Unleash creativity with our glitter slime recipe! Sparkling, stretchy fun awaits in this easy DIY tutorial. Perfect for craft lovers of all ages.
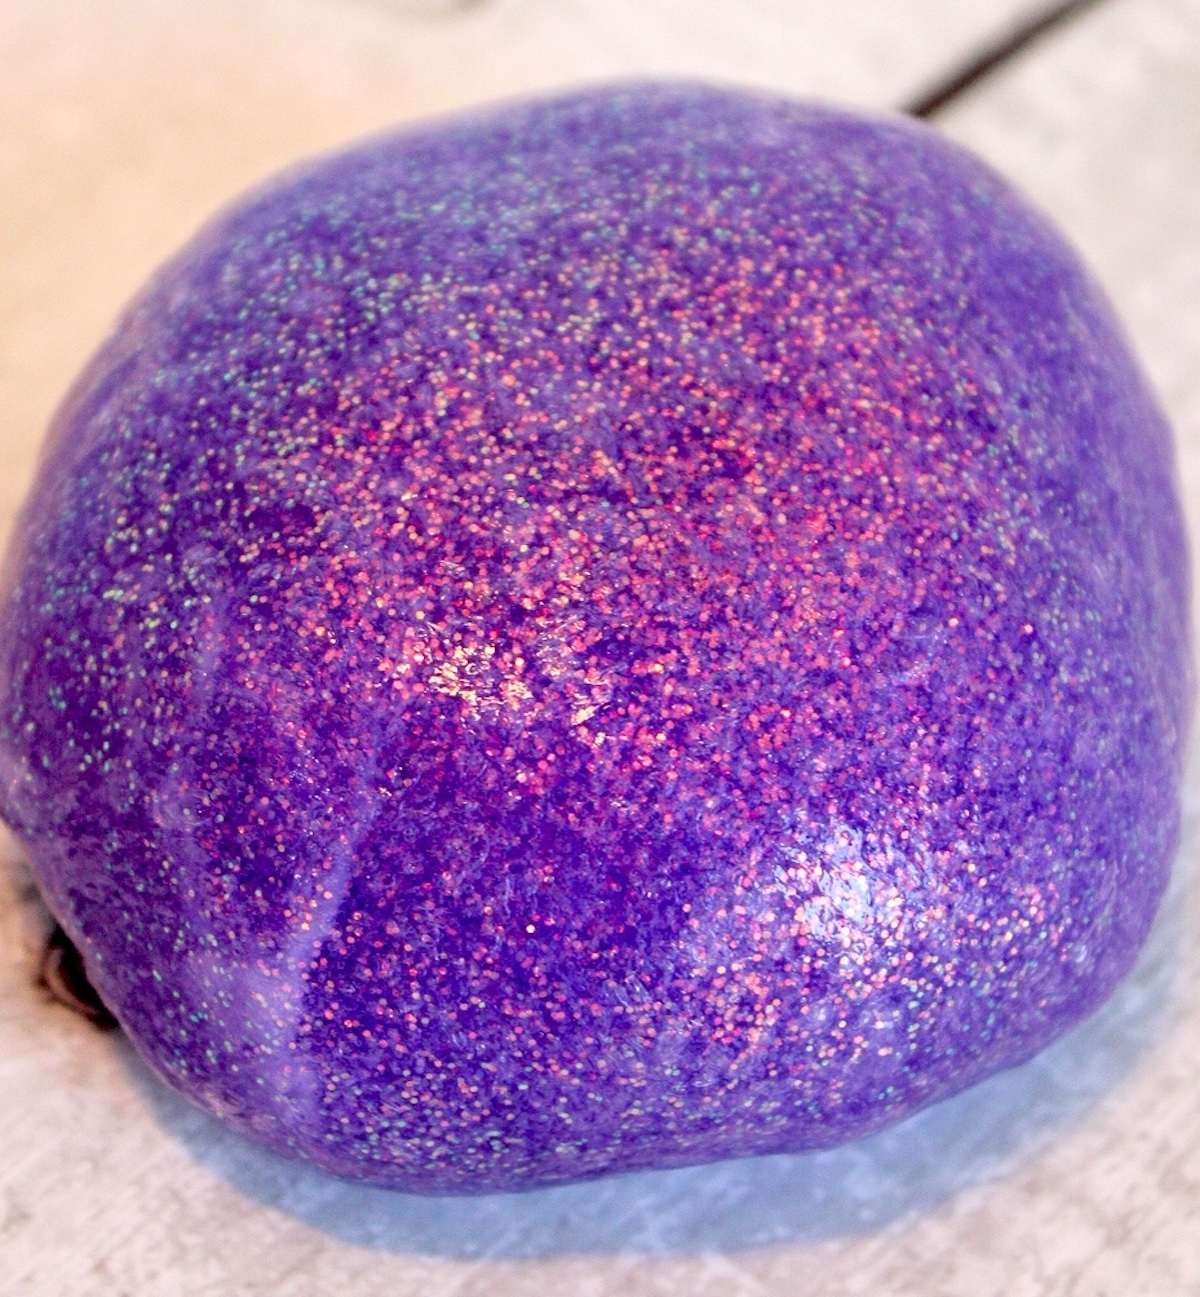
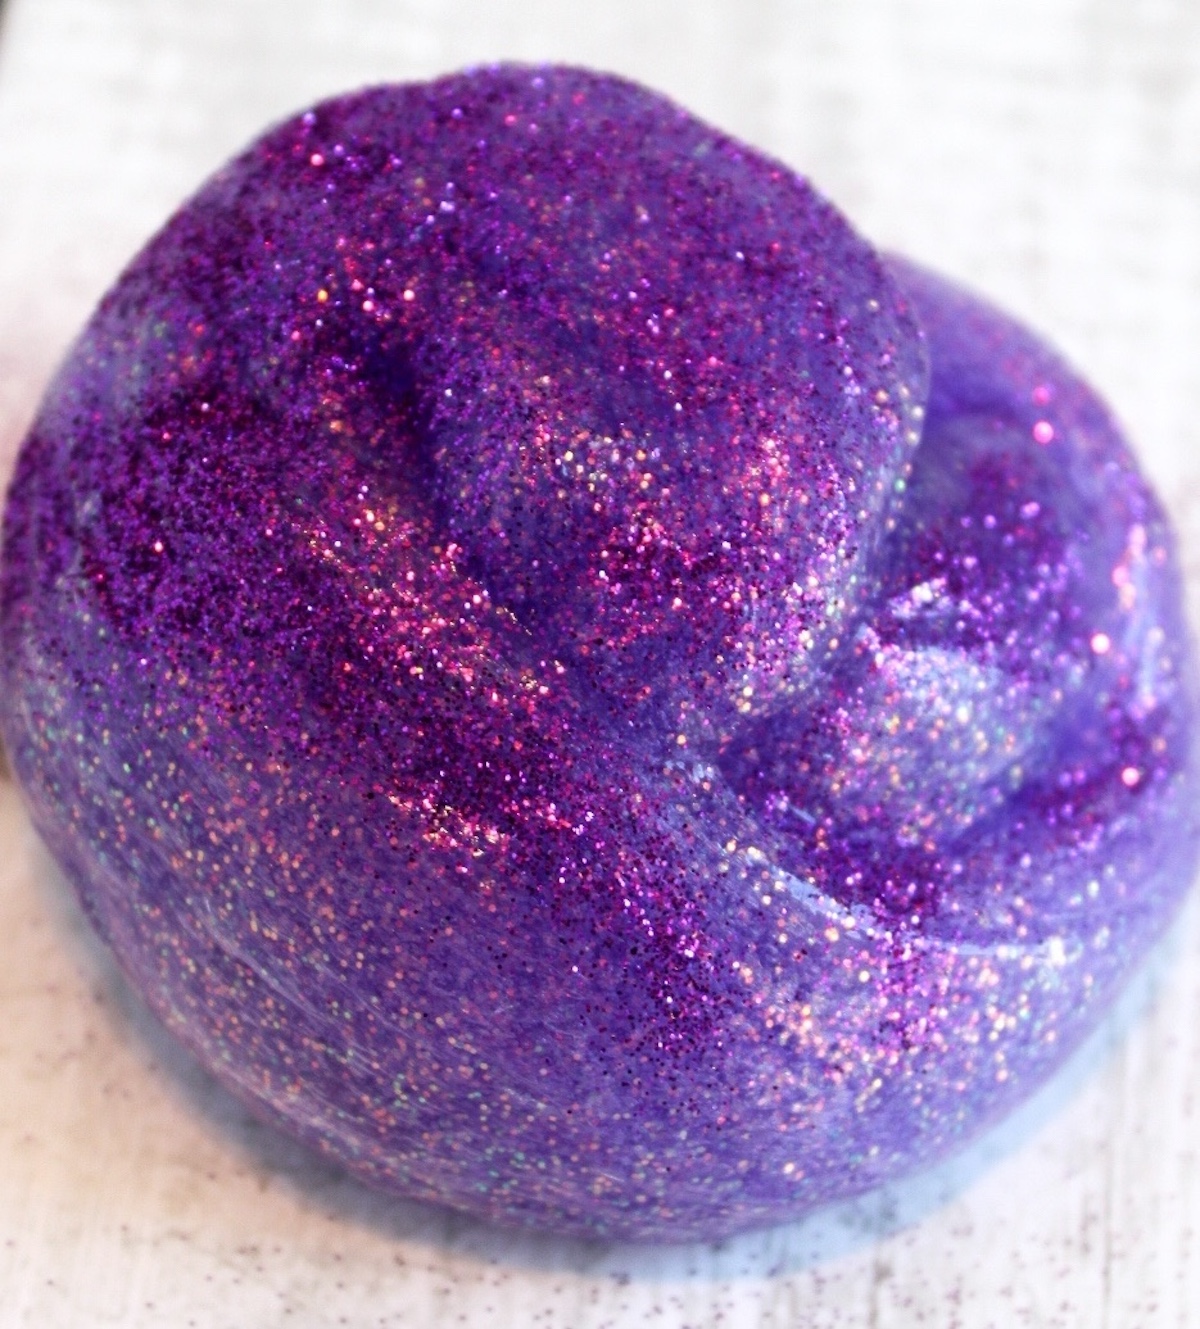
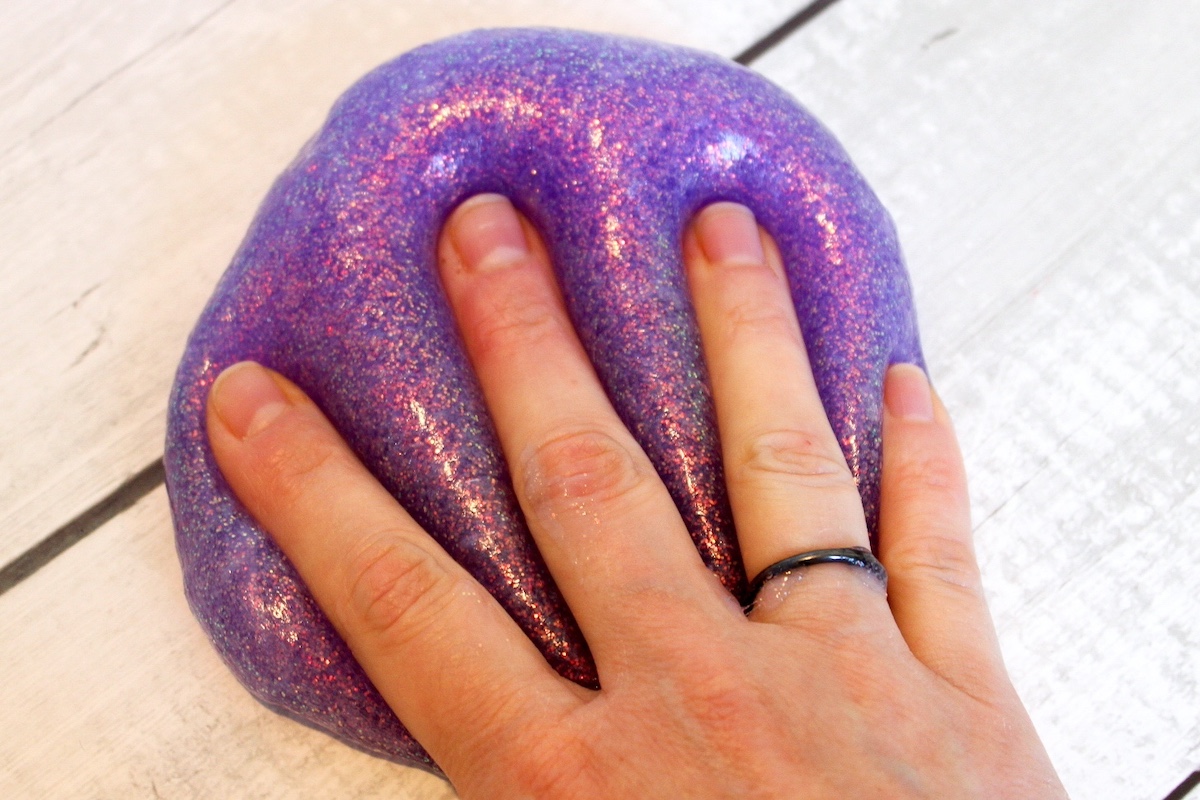
If there’s one slime that never gets old, it’s glitter slime. It’s stretchy, squishy, and somehow even more satisfying when it sparkles.
The best part? You don’t need a bunch of extra steps, loose glitter everywhere, or complicated ingredients to get that wow factor. This version keeps things simple and gives you that bold, shimmery finish right from the start.
If you’ve ever made slime that turned out too sticky, too stiff, or just kind of… meh, this is a much better experience. The combination of glitter glue and a few basic ingredients creates a smooth, stretchy texture that actually feels good to play with—and looks even better.
This is one of those projects that works for pretty much any situation:
- a quick boredom buster
- a rainy day activity
- something fun to make with kids
- or honestly, just an excuse to play with slime yourself
And because the color and sparkle are already built in, there’s less mess and way less guesswork. No chasing glitter across your table. No overmixing. Just mix, knead, and you’re good to go.
If you want to customize it, you can—mix colors, layer different glitters, or keep it simple with one bold shade. Either way, you end up with a stretchy, glossy slime that’s hard to put down.
Why This Glitter Slime Works
There are a lot of slime recipes out there—but this one is popular for a reason.
Using Elmer’s classic glitter glue gives you:
- built-in color (no food coloring needed)
- even sparkle throughout the slime
- less mess overall
It also helps create a more consistent texture. When everything is already blended into the glue, you don’t end up with clumps, streaks, or uneven mixing.
The result is a slime that stretches easily, holds together well, and doesn’t fall apart after a few minutes of play.
What You Need to Know Before You Start
Before you jump into the recipe, a few quick things will make your slime turn out right the first time.
1. Not All Contact Solutions Work
This is one of the biggest issues people run into.
Your contact lens solution needs to contain boric acid (or a similar ingredient). That’s what reacts with the glue and actually forms the slime.
If your slime isn’t coming together, this is usually why.
2. Measure (But Don’t Stress)
Slime isn’t super precise, but getting close helps.
- Too much activator = stiff slime
- Too little = sticky slime
Start with the recommended amounts, then adjust slowly if needed.
3. Mix First, Knead Second
At first, your slime will look like a mess. That’s normal.
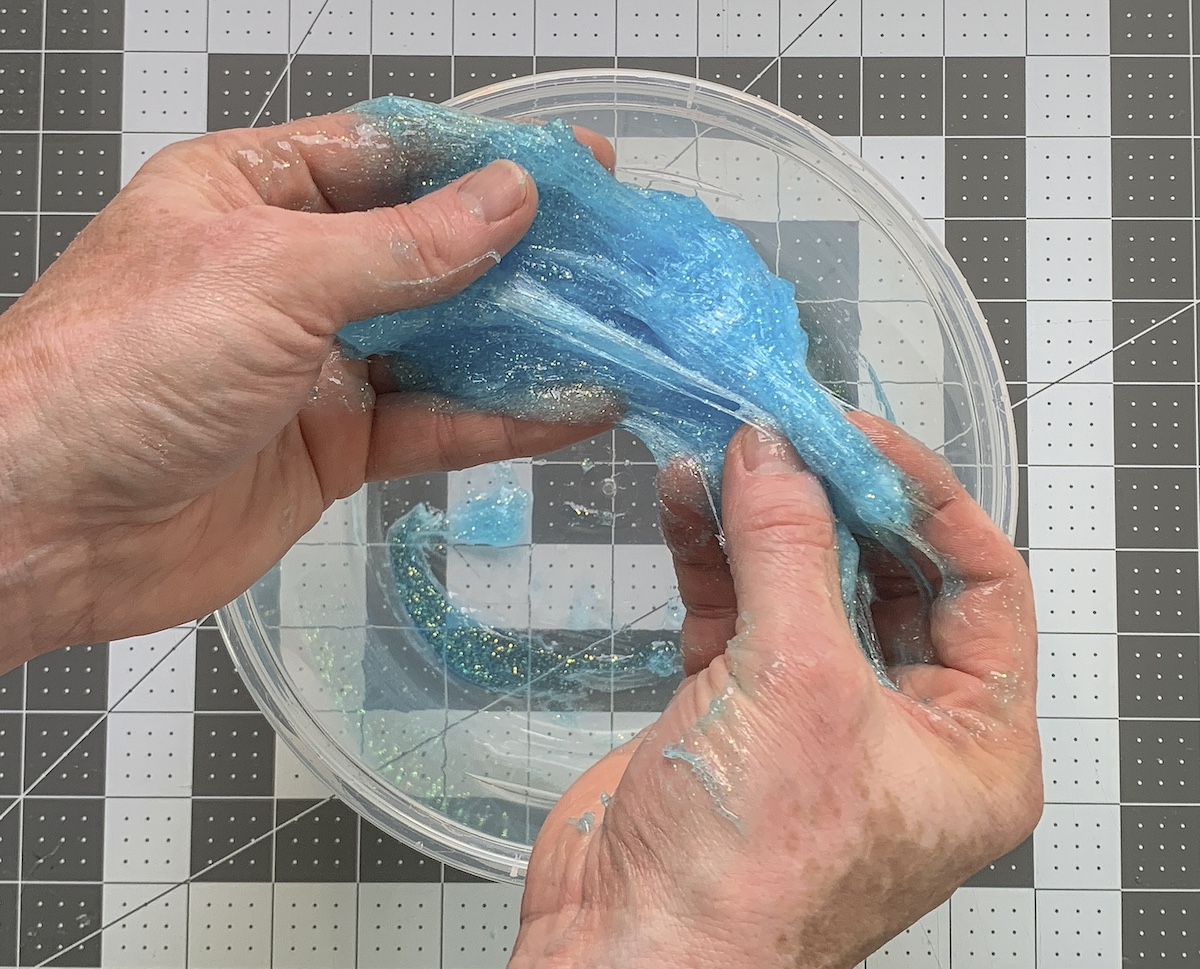
Keep stirring until it starts to pull together, then switch to using your hands. Kneading is what really brings the texture together and makes it smooth.
4. Sticky Is Fixable
If your slime is sticking to everything, don’t panic.
Just add a tiny bit more contact solution and keep kneading. Go slowly—too much will make it rubbery.
5. Texture Changes Over Time
Fresh slime can feel slightly sticky at first. After a few minutes of kneading, it usually evens out and becomes smoother.
Easy Ways to Customize Glitter Slime
Once you’ve made your first batch, you can start playing around with it.
- Mix two glitter glue colors together for a marbled effect
- Add a tablespoon of extra glitter for more sparkle
- Combine batches to create layered or swirled looks
- Try different color combinations depending on the season
This is where it gets really fun—and honestly a little addictive.
How to Store Your Slime
If you want your slime to last more than a day (you do), storage matters.
- Keep it in an airtight container or bag
- Store at room temperature
- If it gets stiff, knead in a tiny bit of water or lotion
Properly stored slime can last for several days to a week depending on use.
Final Thoughts
Glitter slime is one of the easiest ways to get that big “wow” payoff with minimal effort. It’s simple, quick, and actually works—no frustration, no complicated steps.
Once you make it once, you’ll see why it’s such a go-to project.
Scroll down for the exact recipe and measurements to get started.
Glitter Slime
Equipment
- Bowls
- Stir stick or spoon
Materials
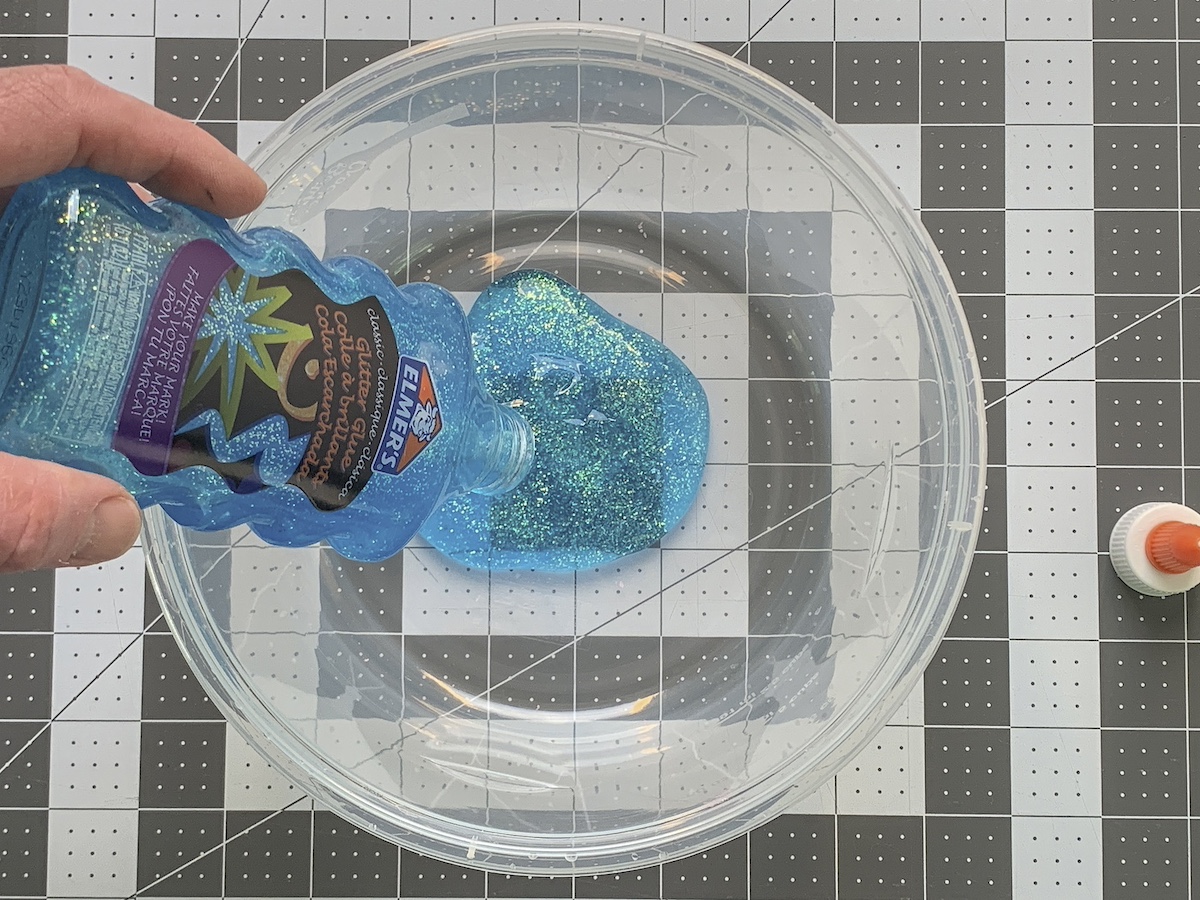
- 1 bottle Elmer’s classic glitter glue 5 oz
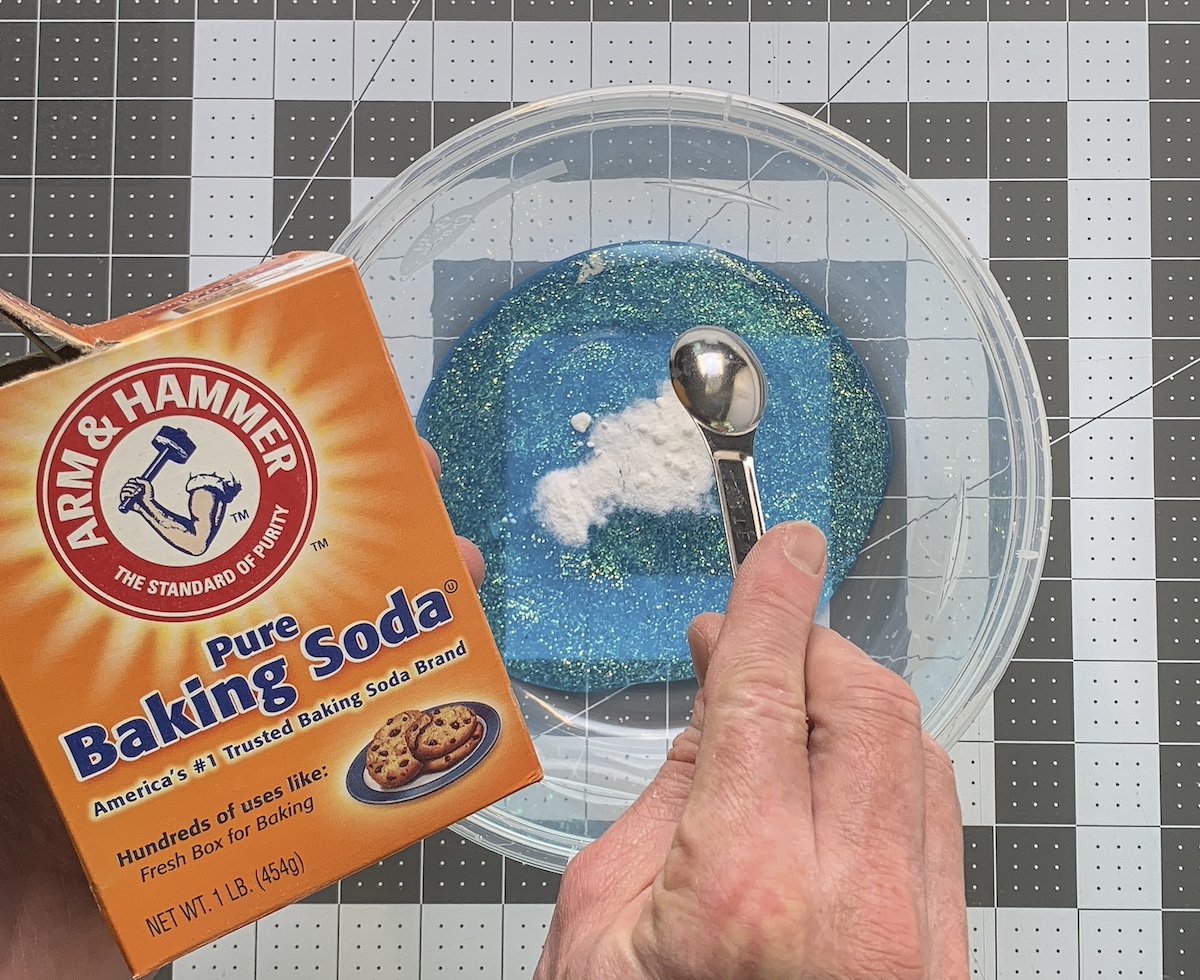
- 1/2 teaspoon baking soda
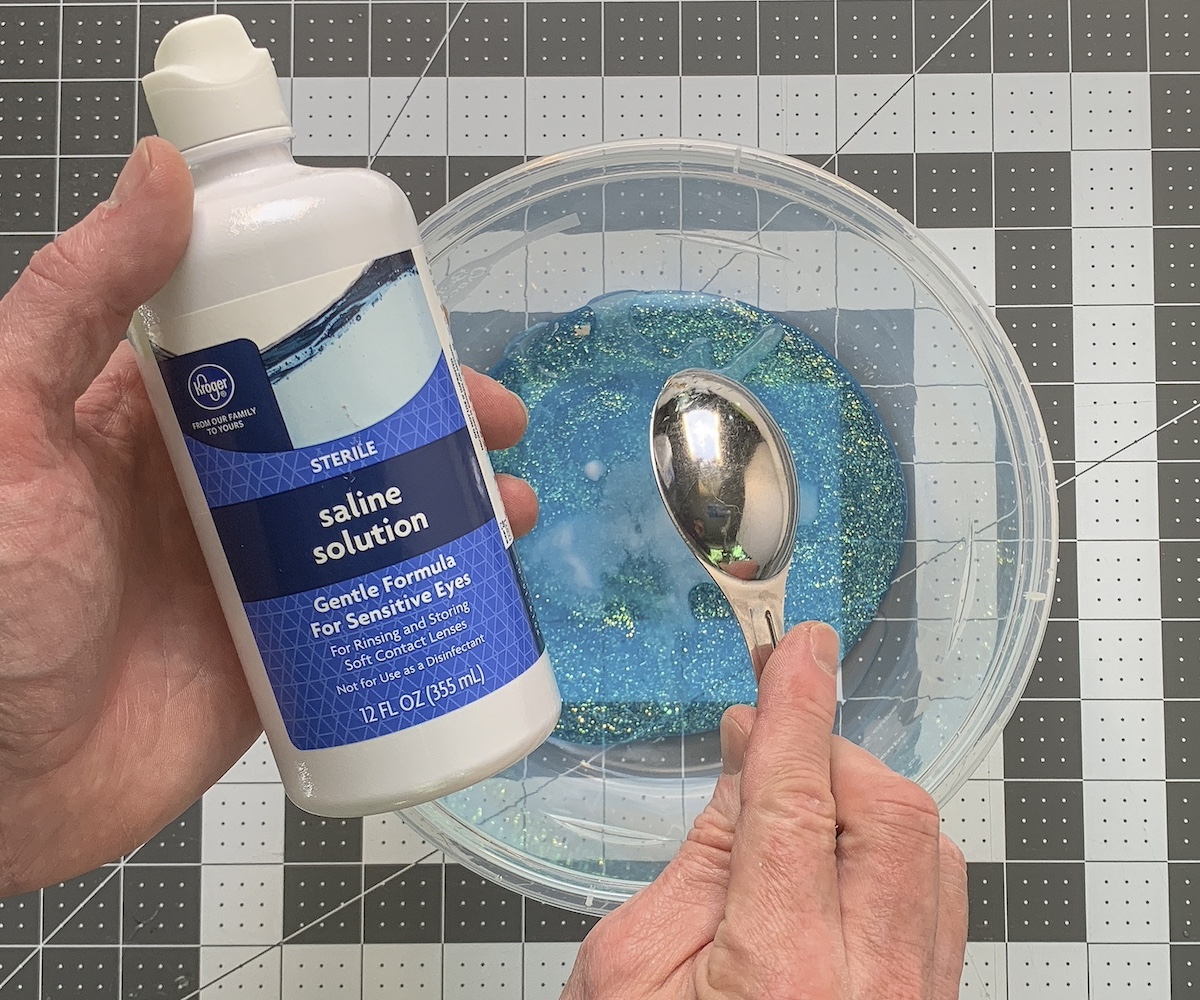
- 1 Tbsp contact lens solution
Video
Instructions
- Empty the bottle of glitter glue into the bowl. Make sure to let all the excess glue drip out (keep upside down for a minute or so).
- Add baking soda to the glitter glue.
- Add the contact solution to the mixture.
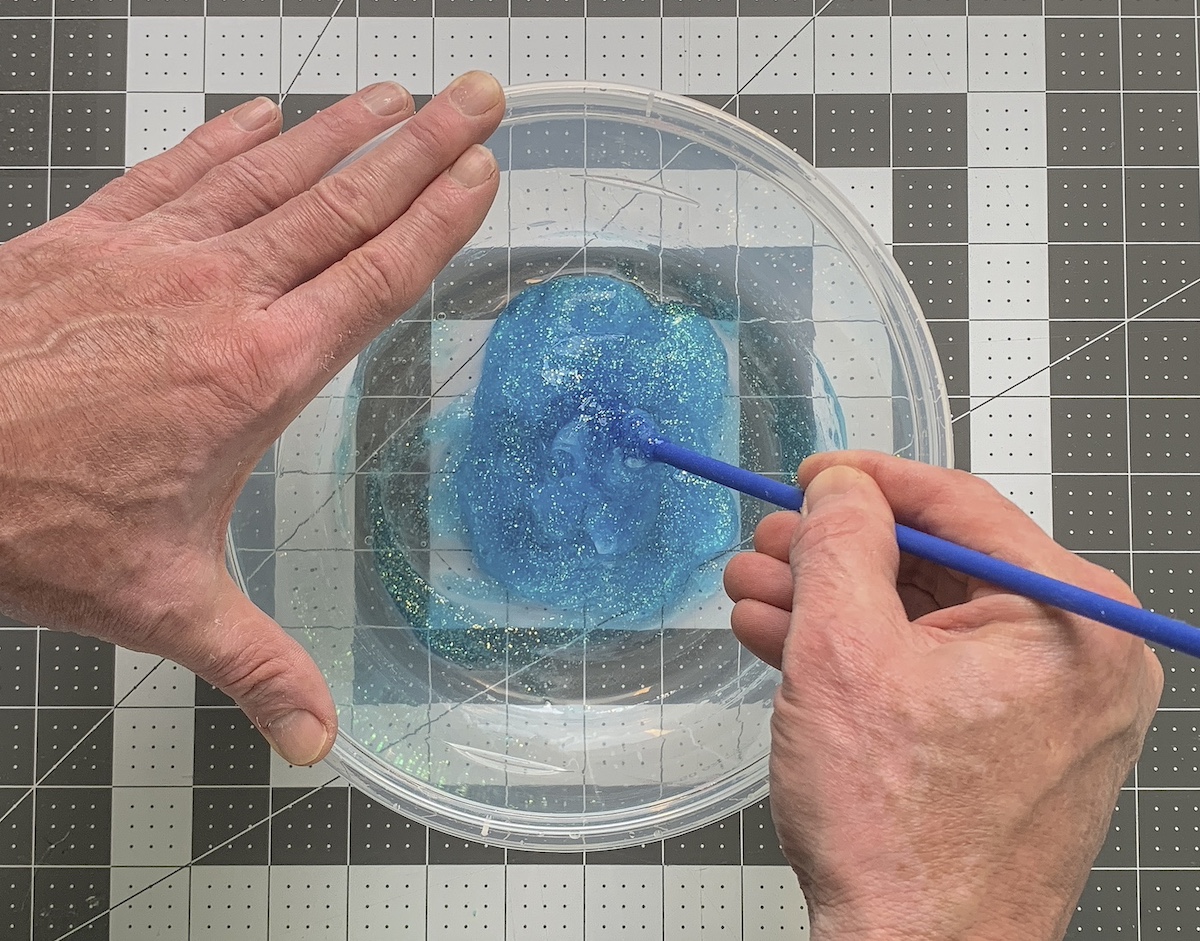
- Stir the ingredients in the bowl with a stir stick until combined.
- When the slime is too difficult to stir, remove it from the container and continue kneading it the rest of the way with your hands to finish.
Notes
I hope you enjoyed this fun activity! Please let me know what you think in the comments. I’d love it if you’d go check our other slime posts:
Clay • Clear • Cloud • Color Changing • Crunchy • Edible • Fluffy • Galaxy • Green Booger • Laundry Detergent • Glow in the Dark • Halloween • Play Doh • Rainbow • Sand • Unicorn