Rainbow Slime for Colorful Play
Craft vibrant rainbow slime with this easy guide! Kids can play with color blending. This slime is fun for St. Patrick’s Day, summer, and beyond.
Skills Required: None. You’re mixing ingredients in a container, and no crafting skills are required for this project.
Who says you need a pot of gold to enjoy a rainbow? Today, we’re swapping out gold for something even more magical – slime!
Today I’m headfirst into the world of DIY with a color-packed, stretchy, and absolutely irresistible rainbow slime recipe that’s as fun to make as it is to play with.
We’re keeping things simple and mess-minimal. You’ll only need a few household items: clear school glue, water, baking soda, contact lens solution, and food coloring. That’s it!
No secret ingredients or slime conjuring spells required. Although, a little bit of magical enthusiasm wouldn’t hurt.
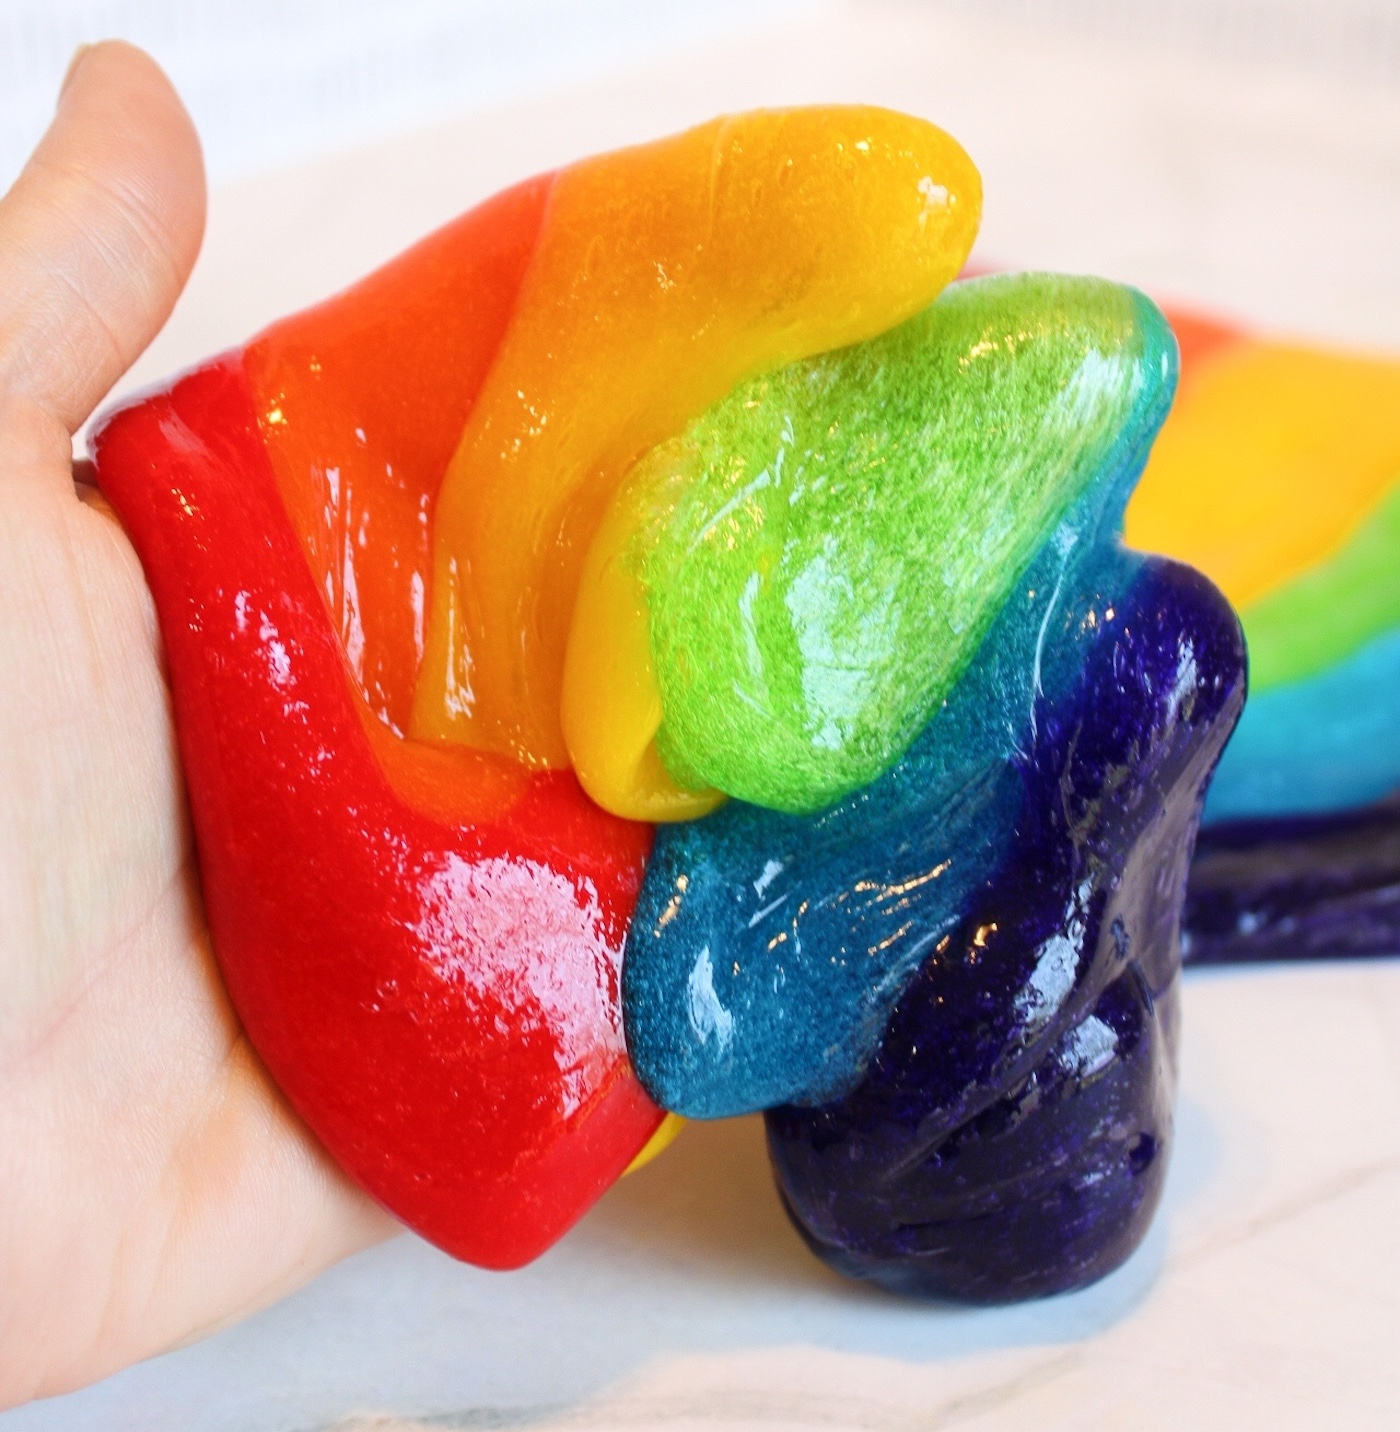
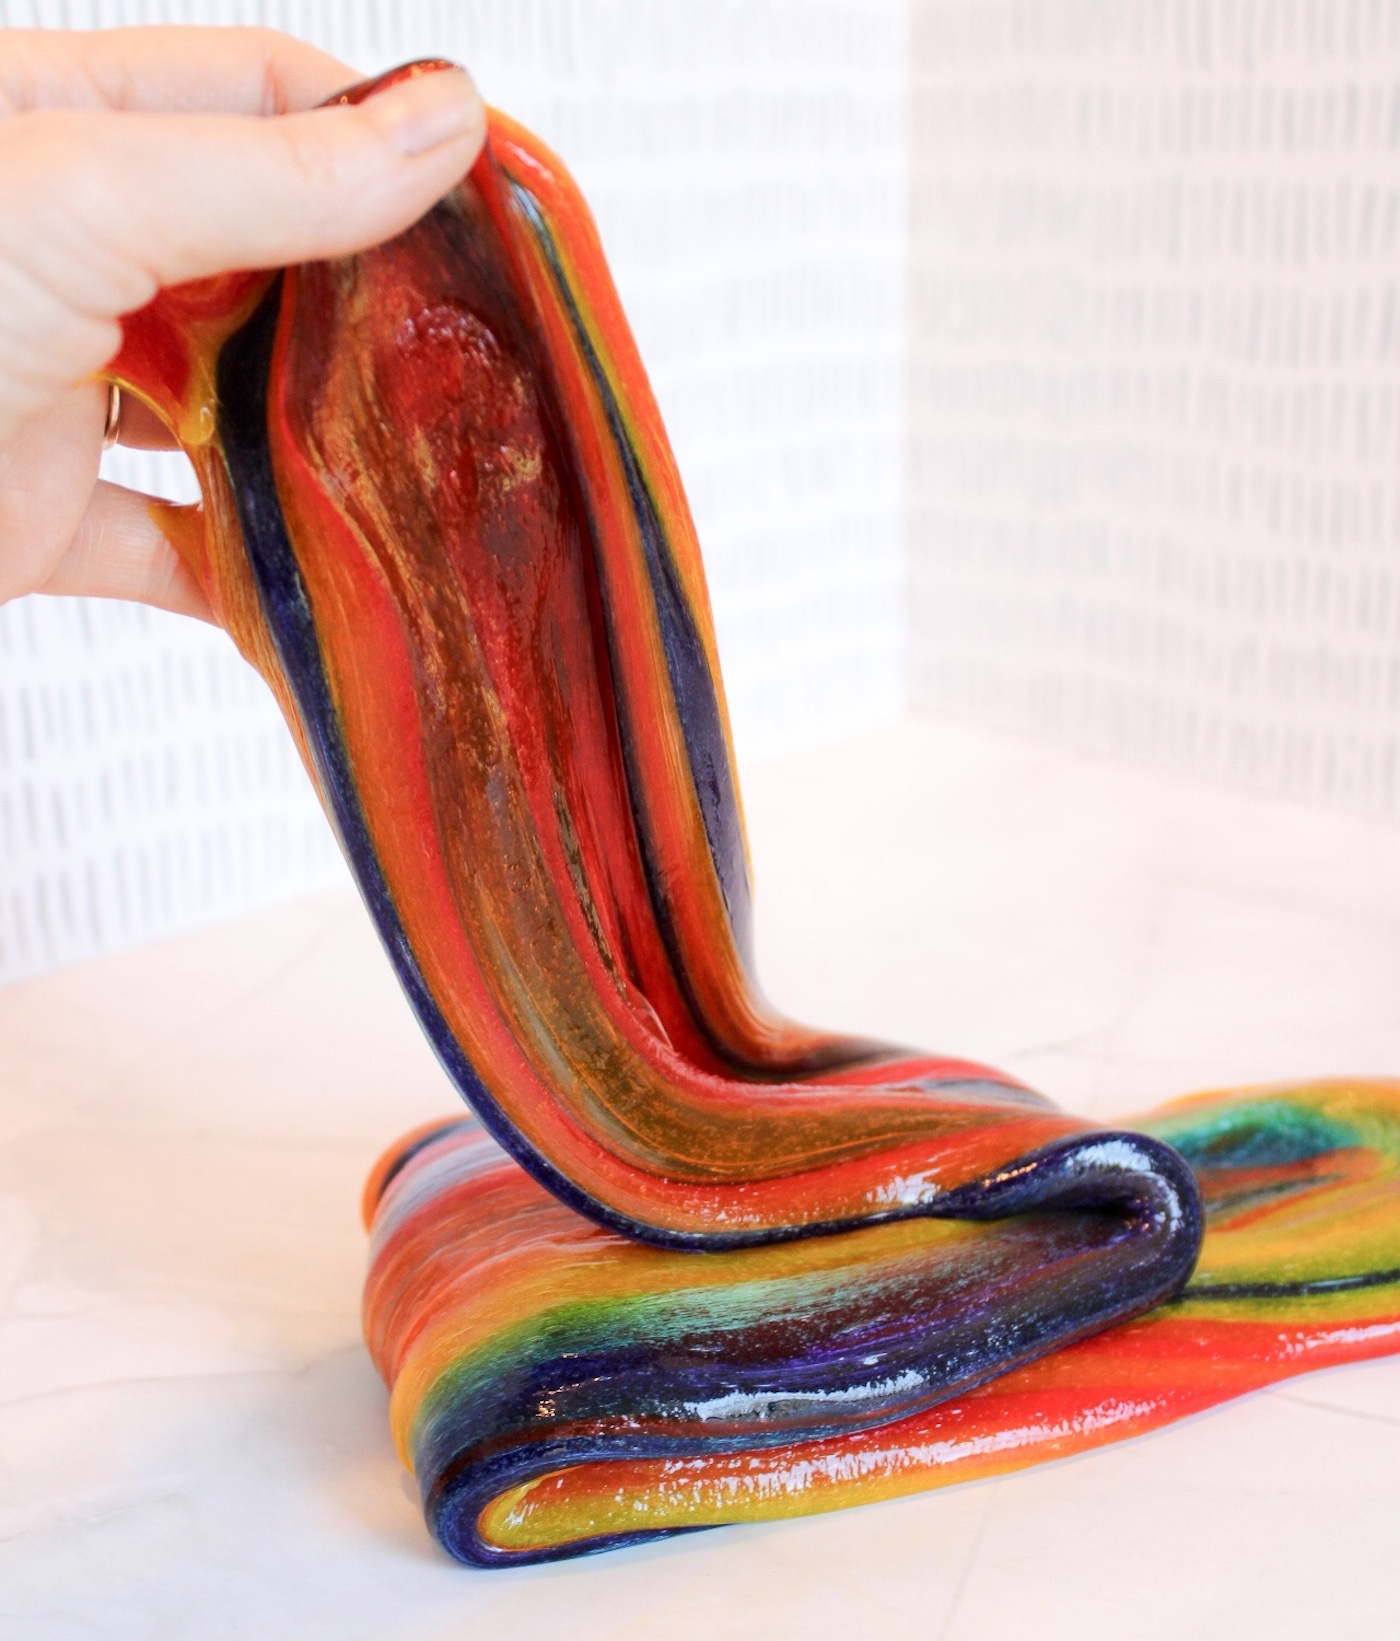
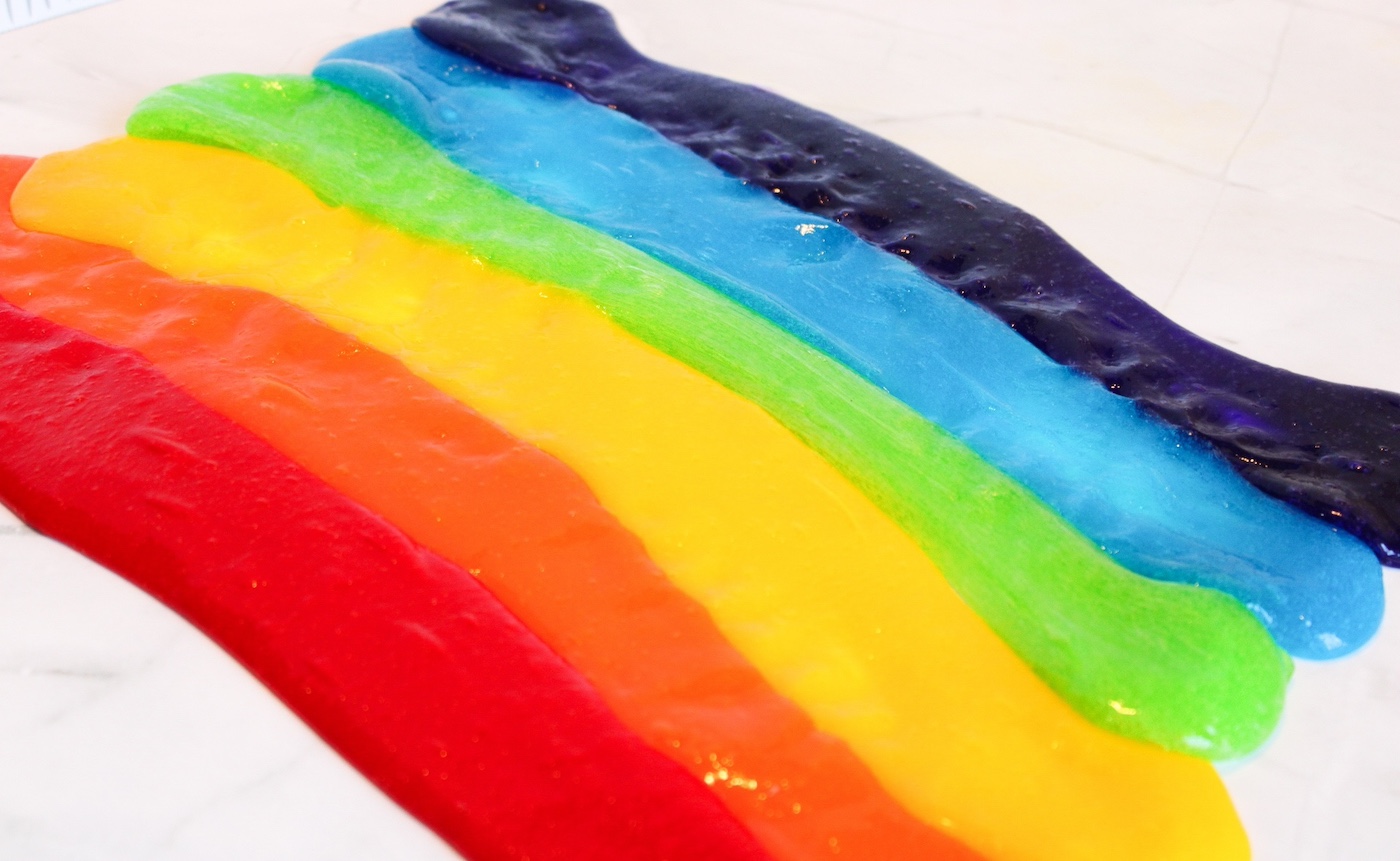
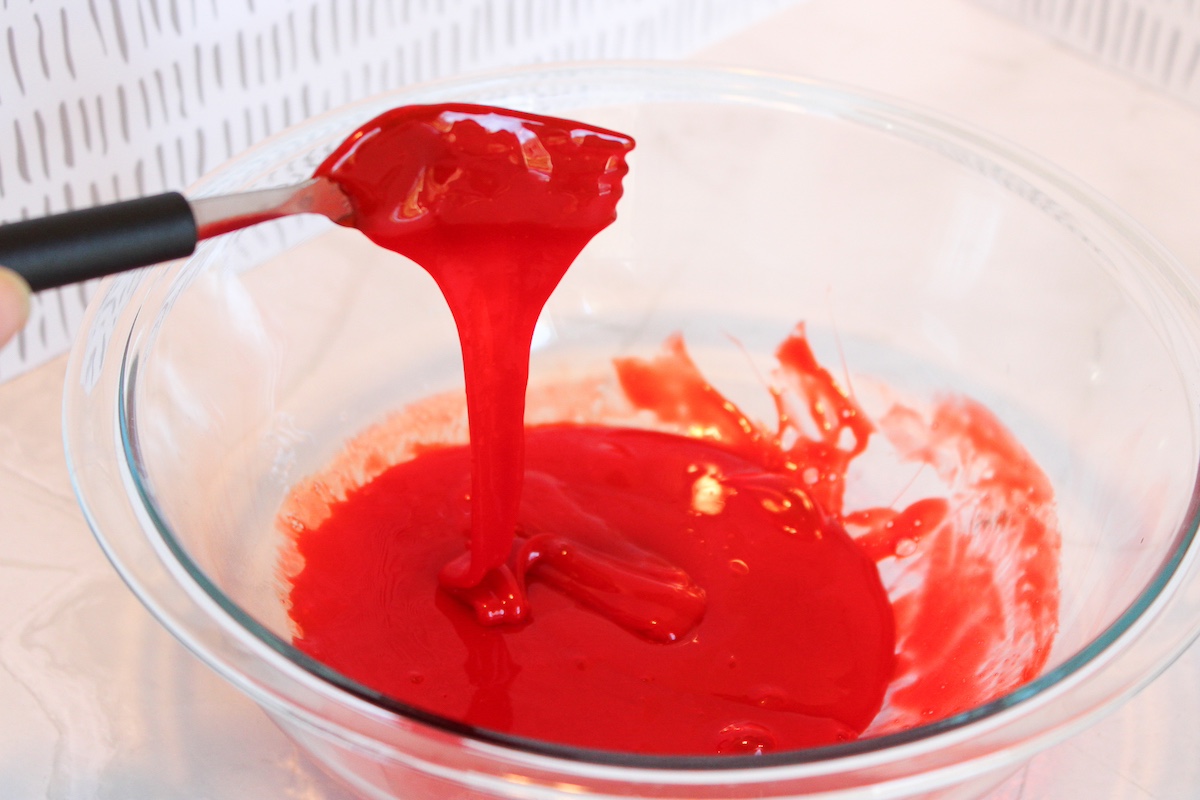
This isn’t just any slime; this is rainbow slime. It’s layers of beautifully blended red, orange, yellow, green, blue, and purple that will have you and your kids (or just you, no judgment here!) stretching, pulling, and perhaps questioning your adult responsibilities as you marvel at your vibrant creation.
Aside from being ridiculously cool and Instagram-worthy, it’s a fantastic way to teach kids about colors and mixing. It’s also the perfect solution for a rainy day, a birthday party activity, or even just a good excuse to get your hands gooey.
So, roll up your sleeves, protect your surfaces (trust me on this one), and get ready for some serious slime-time fun.
Forget about the fails you might have seen online; with this guide, you’re on the path to becoming a slime-making champion. So, what are you waiting for? Let’s get slimy!
Tips for Making Slime
If you’ve never made slime before, here are some great tips you might be interested in. If you don’t need them, head on down to the recipe.
Measure Ingredients Precisely
The key to perfect slime is in the details. Measuring your ingredients as accurately as possible can make the difference between slime that’s just right and a recipe that’s too sticky or too brittle.
Add Mix Ins Slowly
If you’re adding color, glitter, or other fun elements, add them slowly and mix thoroughly to see the effect. You can always add more, but you can’t take it out once it’s in there.
Adjust Texture as Needed
If your slime is too sticky, add a little more activator (like borax solution, liquid starch, or saline solution). If it’s too stiff, add more glue or a bit of water. Do this gradually!
Use Supplies You Don’t Mind Getting Messy
Slime can get everywhere, and while it’s usually easy to clean up, it’s best to use tools (bowls and utensils) and surfaces you’re not worried about.
Use Your Hands
Once the slime begins to form, use your hands to knead it. This helps improve the texture and mix everything evenly. Don’t be afraid to get a little messy!
Storage is Key
Keep your slime in an airtight container when not in use. This will help it last longer and prevent it from drying out.
Safety First
Always use safe, non-toxic ingredients, and if you’re crafting with younger kids, make sure they’re supervised, especially with ingredients like borax.
Slime making is all about experimenting and having fun, so don’t be afraid to try new things and see what works best for you. Enjoy your crafting! Here’s what you’re going to need:
Gather These Supplies
- 6 bottles clear Elmer’s Glue (5 oz. size)
- 1/4 cup warm water – for each color
- 1/2 tsp baking soda – for each color
- 1 T contact lens solution (should contact boric acid) – for each color
- Food coloring – red, orange, yellow, green, blue, purple (or colors of your choice)
Tips and Thoughts for This Craft
Store your slime in an airtight container or baggie. If your slime gets stiff, you can try to add a little water – lotion – hand sanitizer – or even a bit more glue to soften and reactivate it.
Get the recipe below:
Rainbow Slime
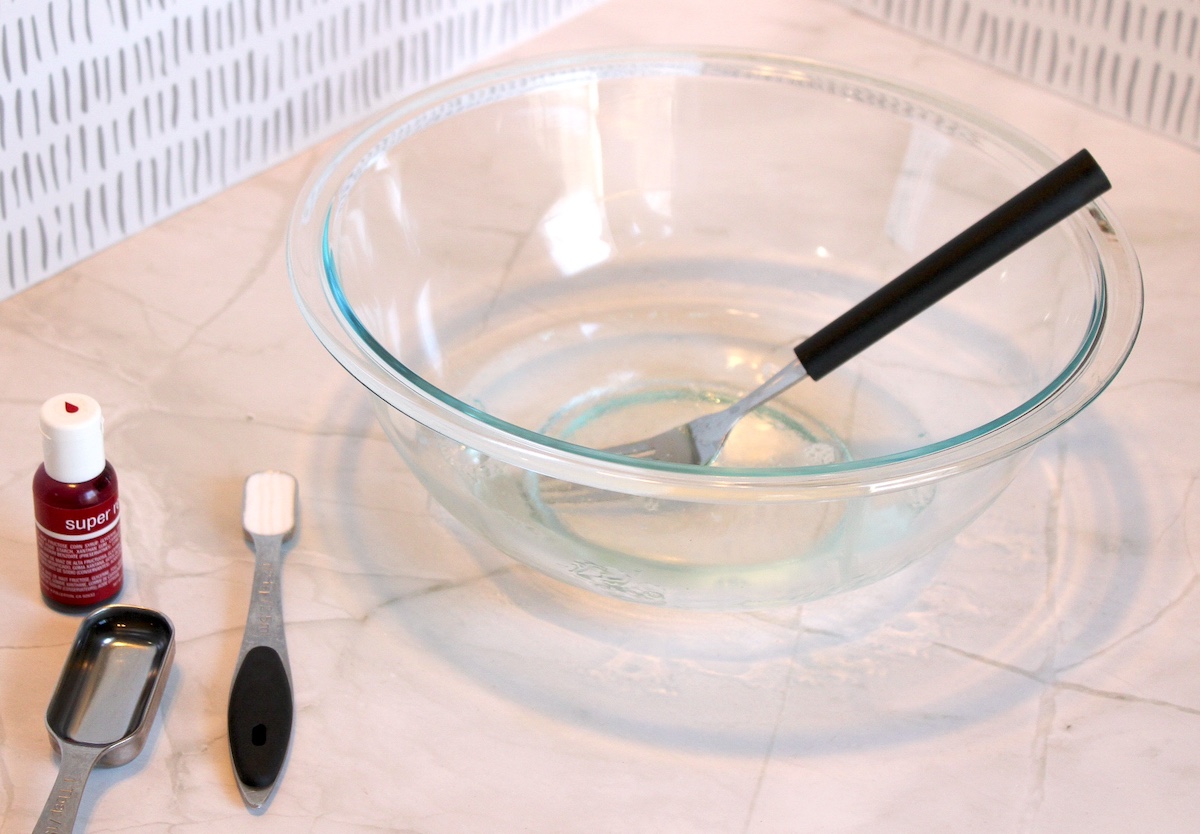
Equipment
- Bowl(s)
- Stir stick or spoon
Materials
- 6 bottles clear Elmer’s glue 5 oz. size
- 1/4 cup warm water for each color
- 1/2 tsp baking soda for each color
- 1 T contact lens solution should contact boric acid – for each color
- Food coloring red, orange, yellow, green, blue, purple (or colors of your choice)
Instructions
- Add 1 bottle of clear glue and warm water to the bowl and stir to mix.
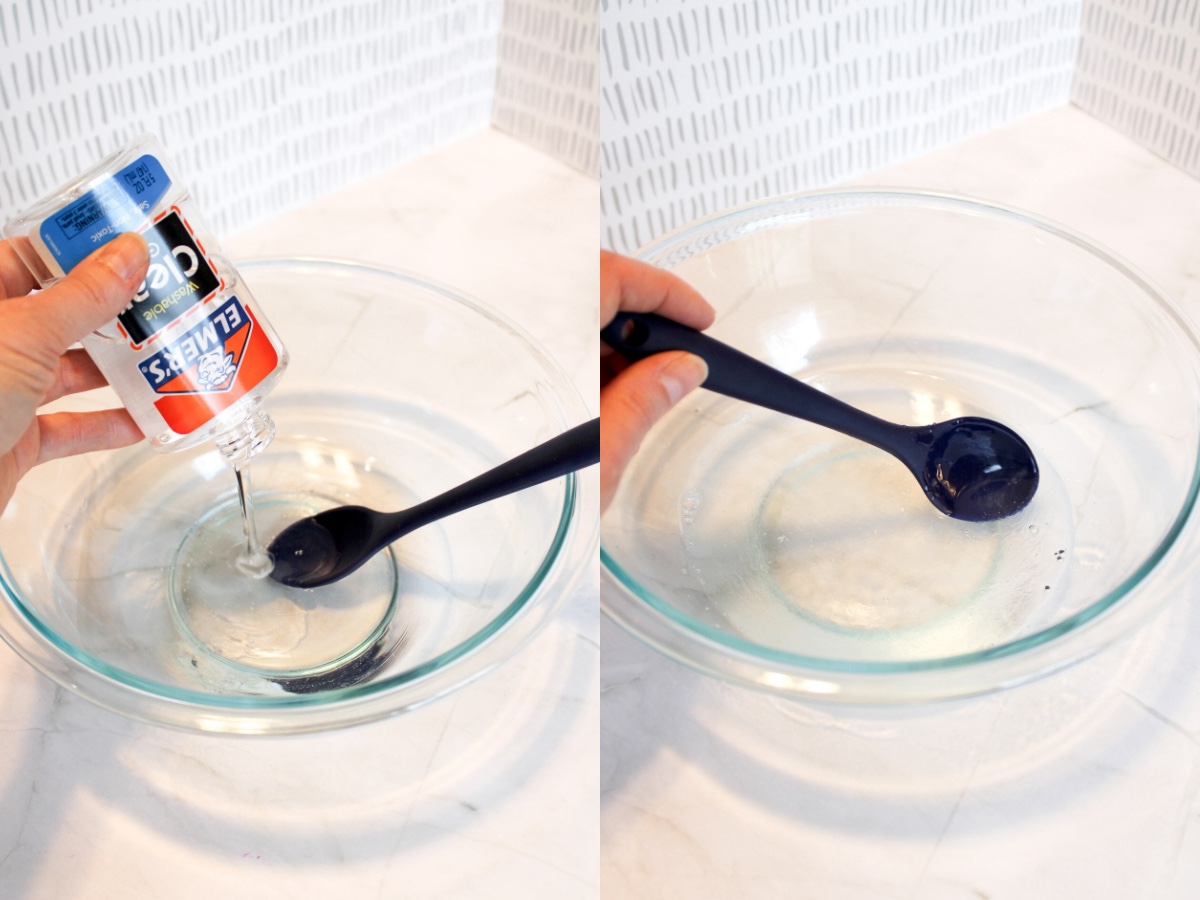
- Add in baking soda and stir to combine.
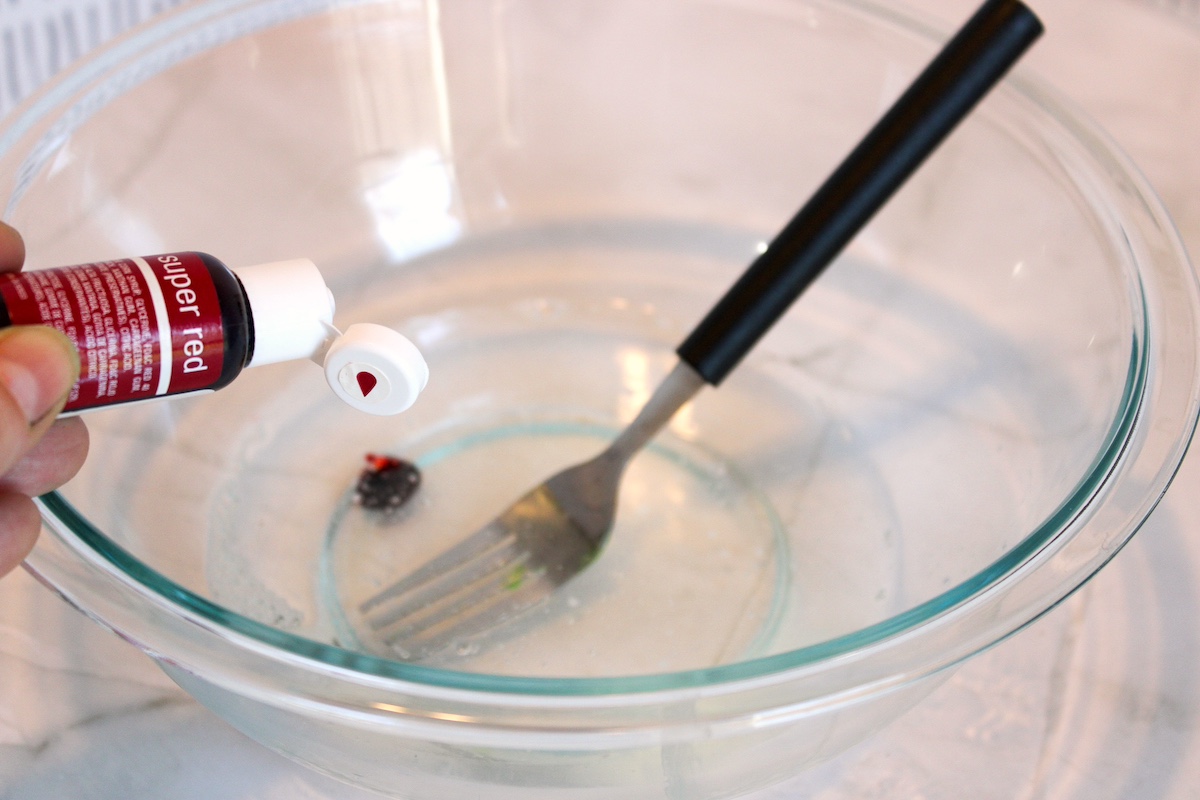
- Add a few drops of food coloring and stir, then add the contact solution and continue to stir until the slime is no longer sticky. You may need to knead to incorporate all the ingredients well.
- Place in a separate bowl or a sandwich baggie while you are creating all the colors.
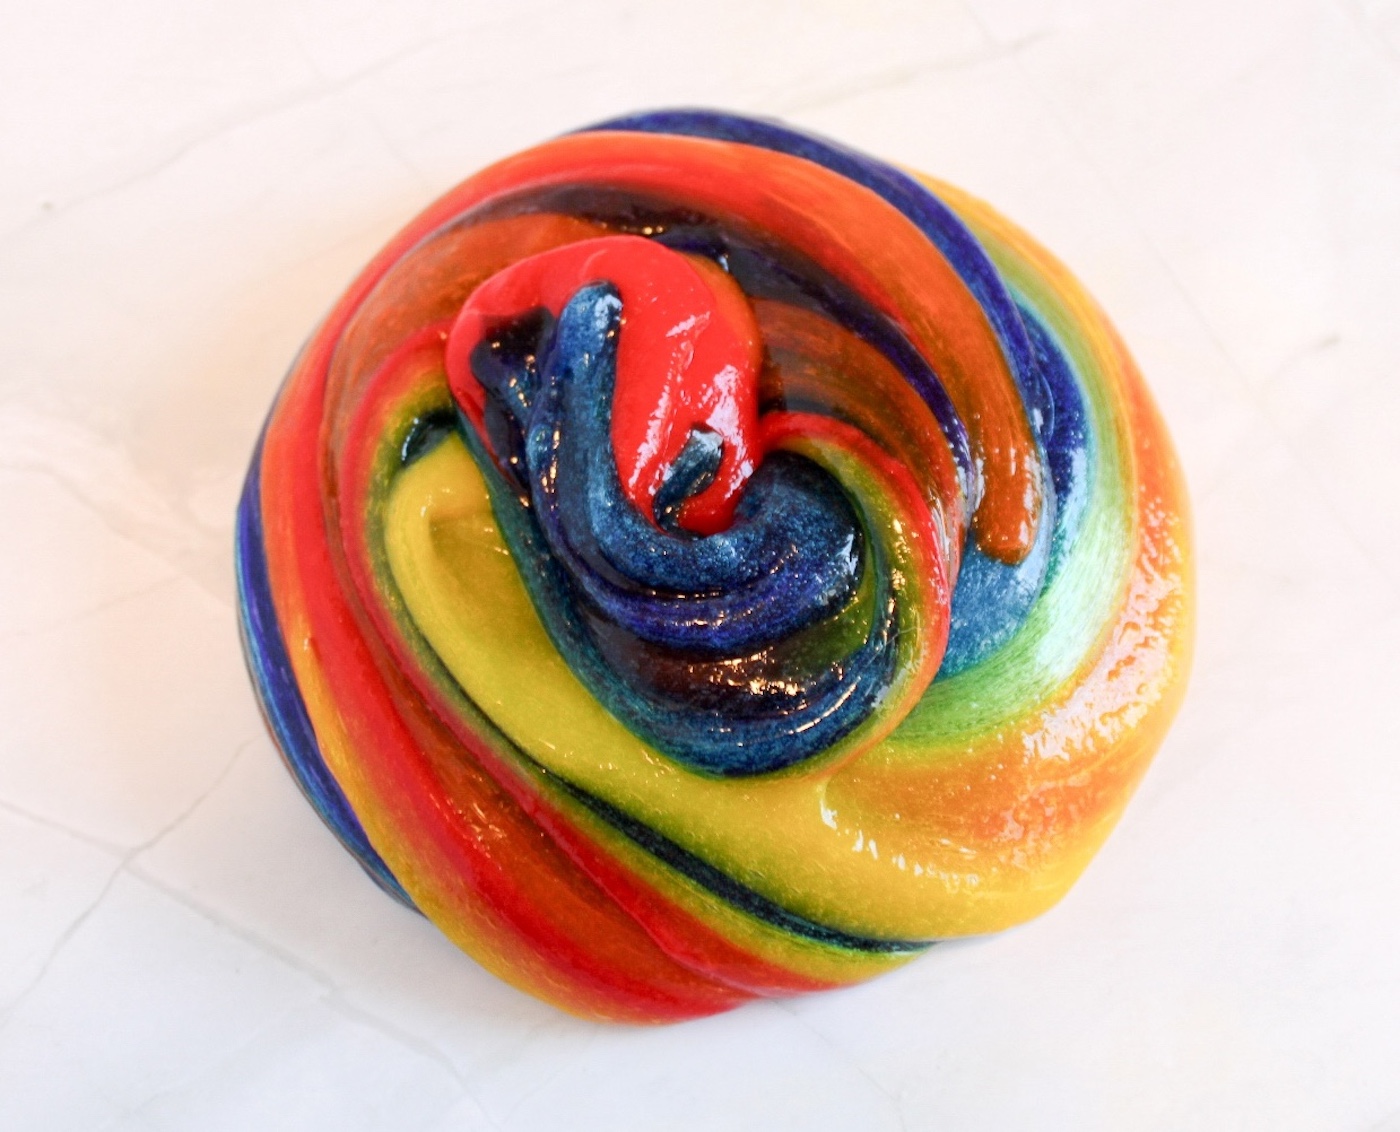
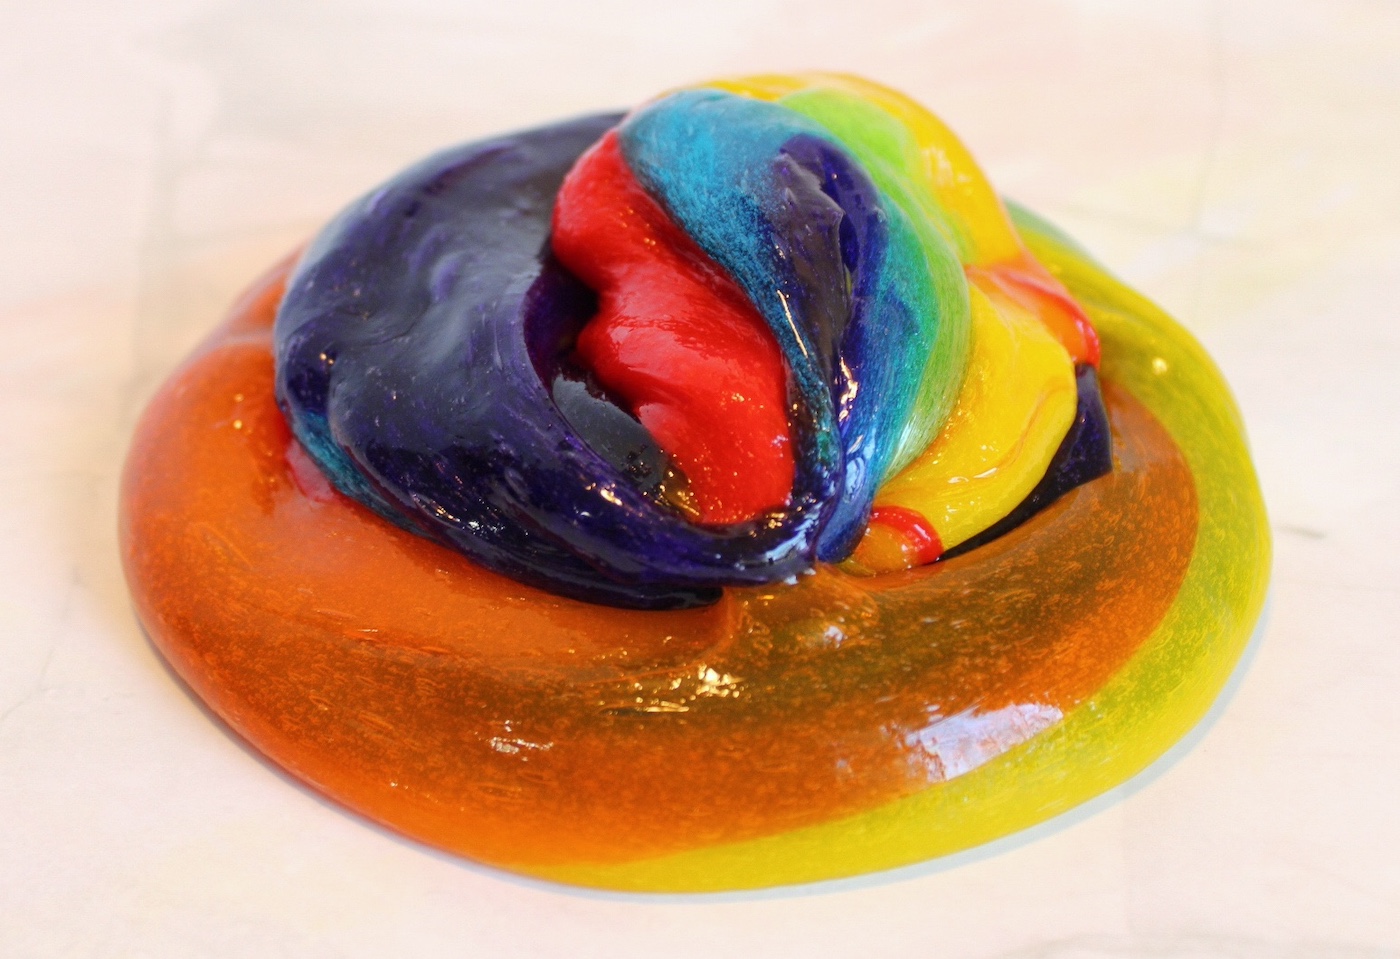
- To create each color of the rainbow repeat steps 2 & 4 until all the colors are made. Twist together as desired.

Notes
I hope you enjoyed this fun activity! Please let me know what you think in the comments. I’d love it if you’d go check our other slime and tactile posts:
Clay • Clear • Cloud • Cloud Dough • Color Changing • Crunchy • Edible • Fluffy • Galaxy • Glow in the Dark • Glitter • Green Booger • Halloween • Homemade Playdough • Kinetic Sand • Laundry Detergent • Magic Hydrophobic Sand • Moon Sand • Sand • Silly Putty • Unicorn