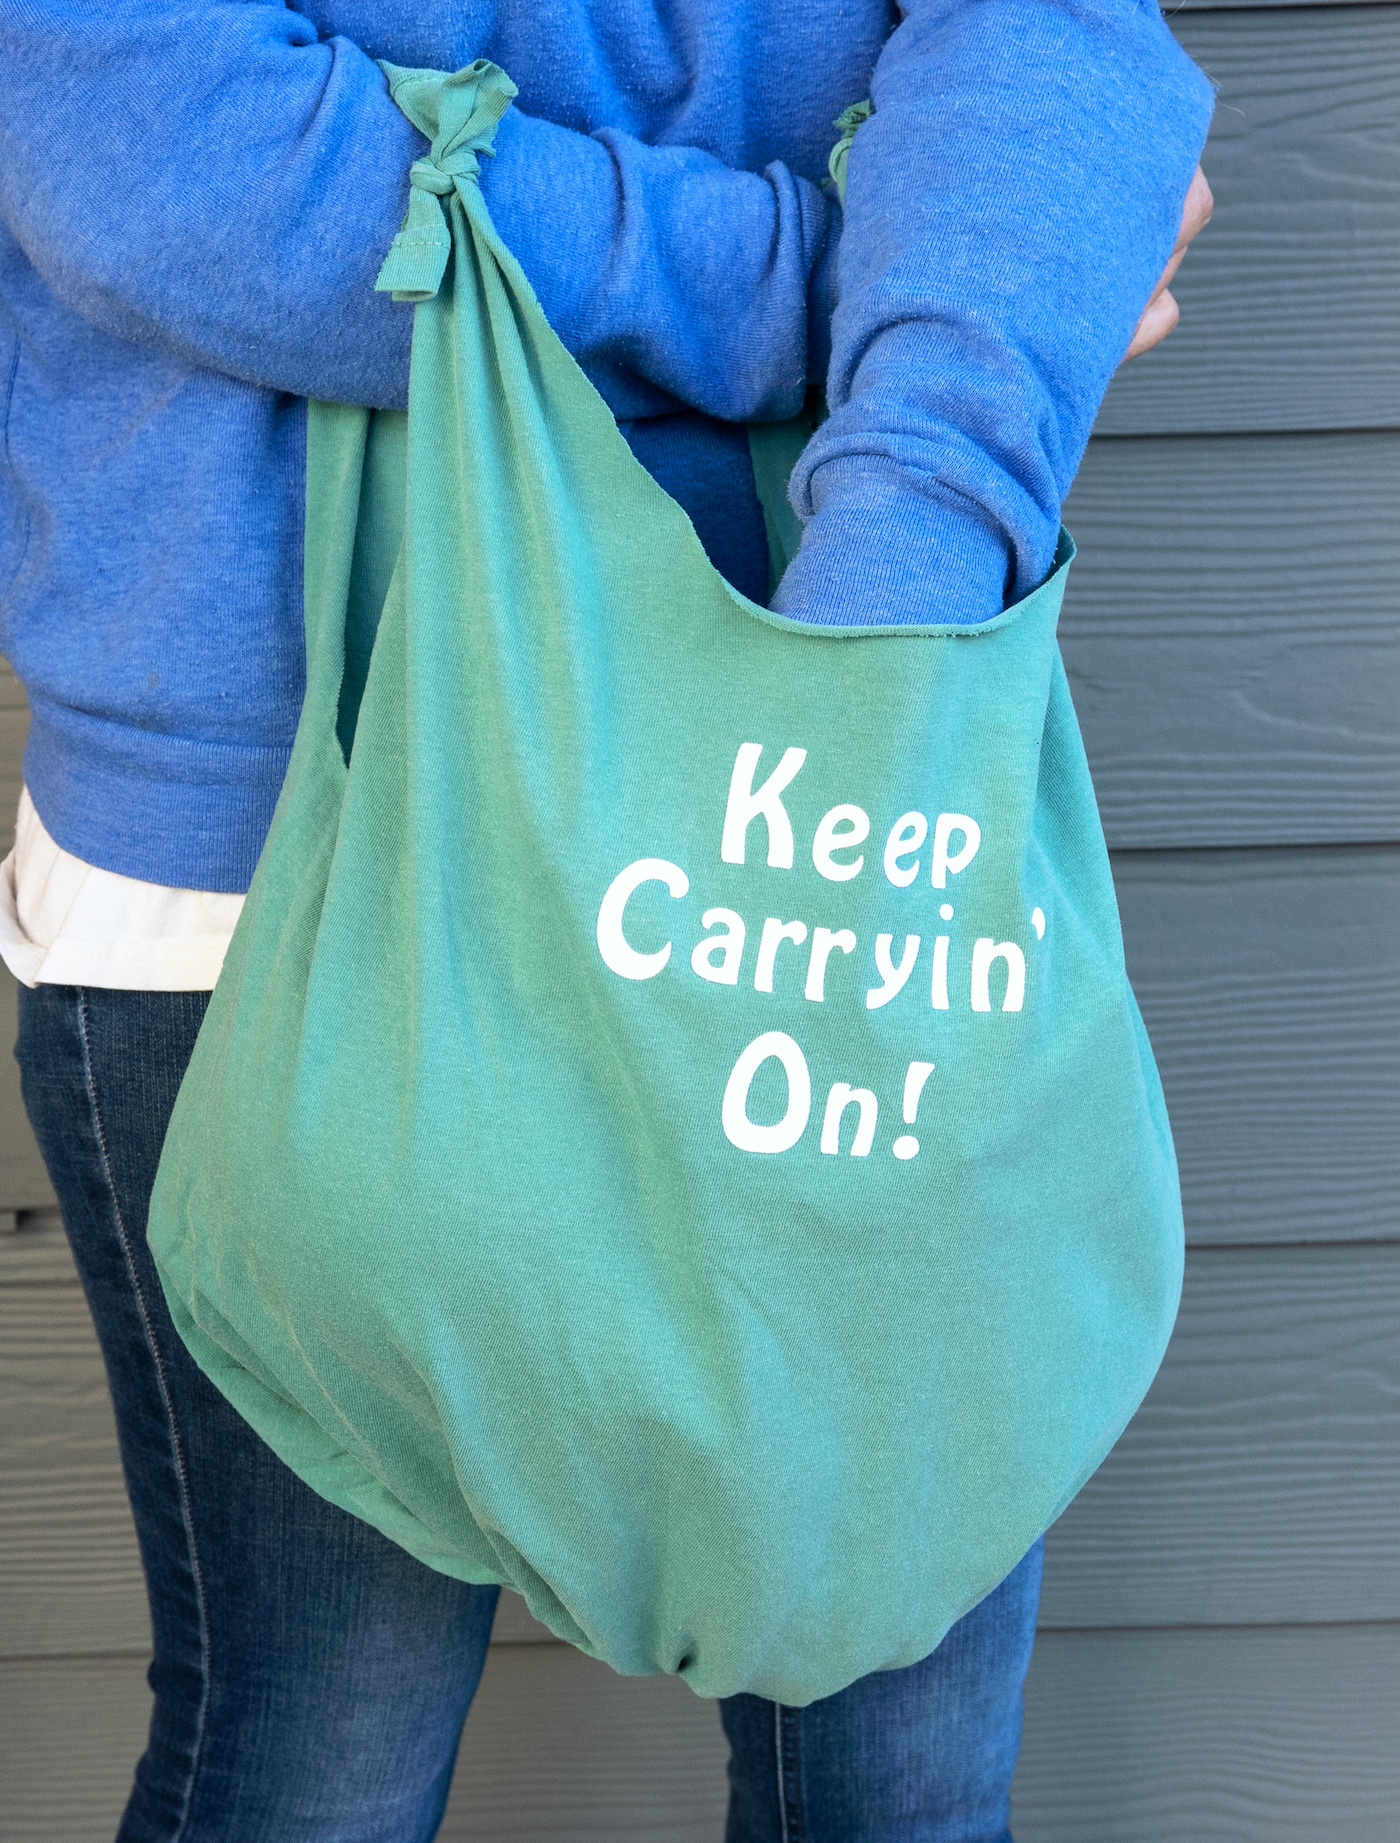
No-Sew T Shirt Tote Bag in Under an Hour
Learn to transform an old tee into a stylish, no-sew t shirt tote bag with our easy DIY tutorial. This craft is perfect for beginners!
Skills Required: None. You just need to know how to use scissors for this project. No sewing required.
Have you ever looked at an old t-shirt and thought, “I’m definitely going to wear that again someday”?
And then three years pass.
If your dresser drawers are anything like mine, they’re probably hiding at least a few tees that have sentimental value, a fun graphic, or a great color . . . but somehow never make it into your regular rotation anymore. Instead of letting them take up precious closet space, why not turn a few into something you’ll actually use?
Like reusable bags . . . ?
This t shirt tote bag is one of my favorite upcycling projects because it’s ridiculously easy. No sewing machine. No special skills. No spending money on supplies you don’t already have. Grab a pair of scissors, make a few cuts, tie a few knots, and you’re done.
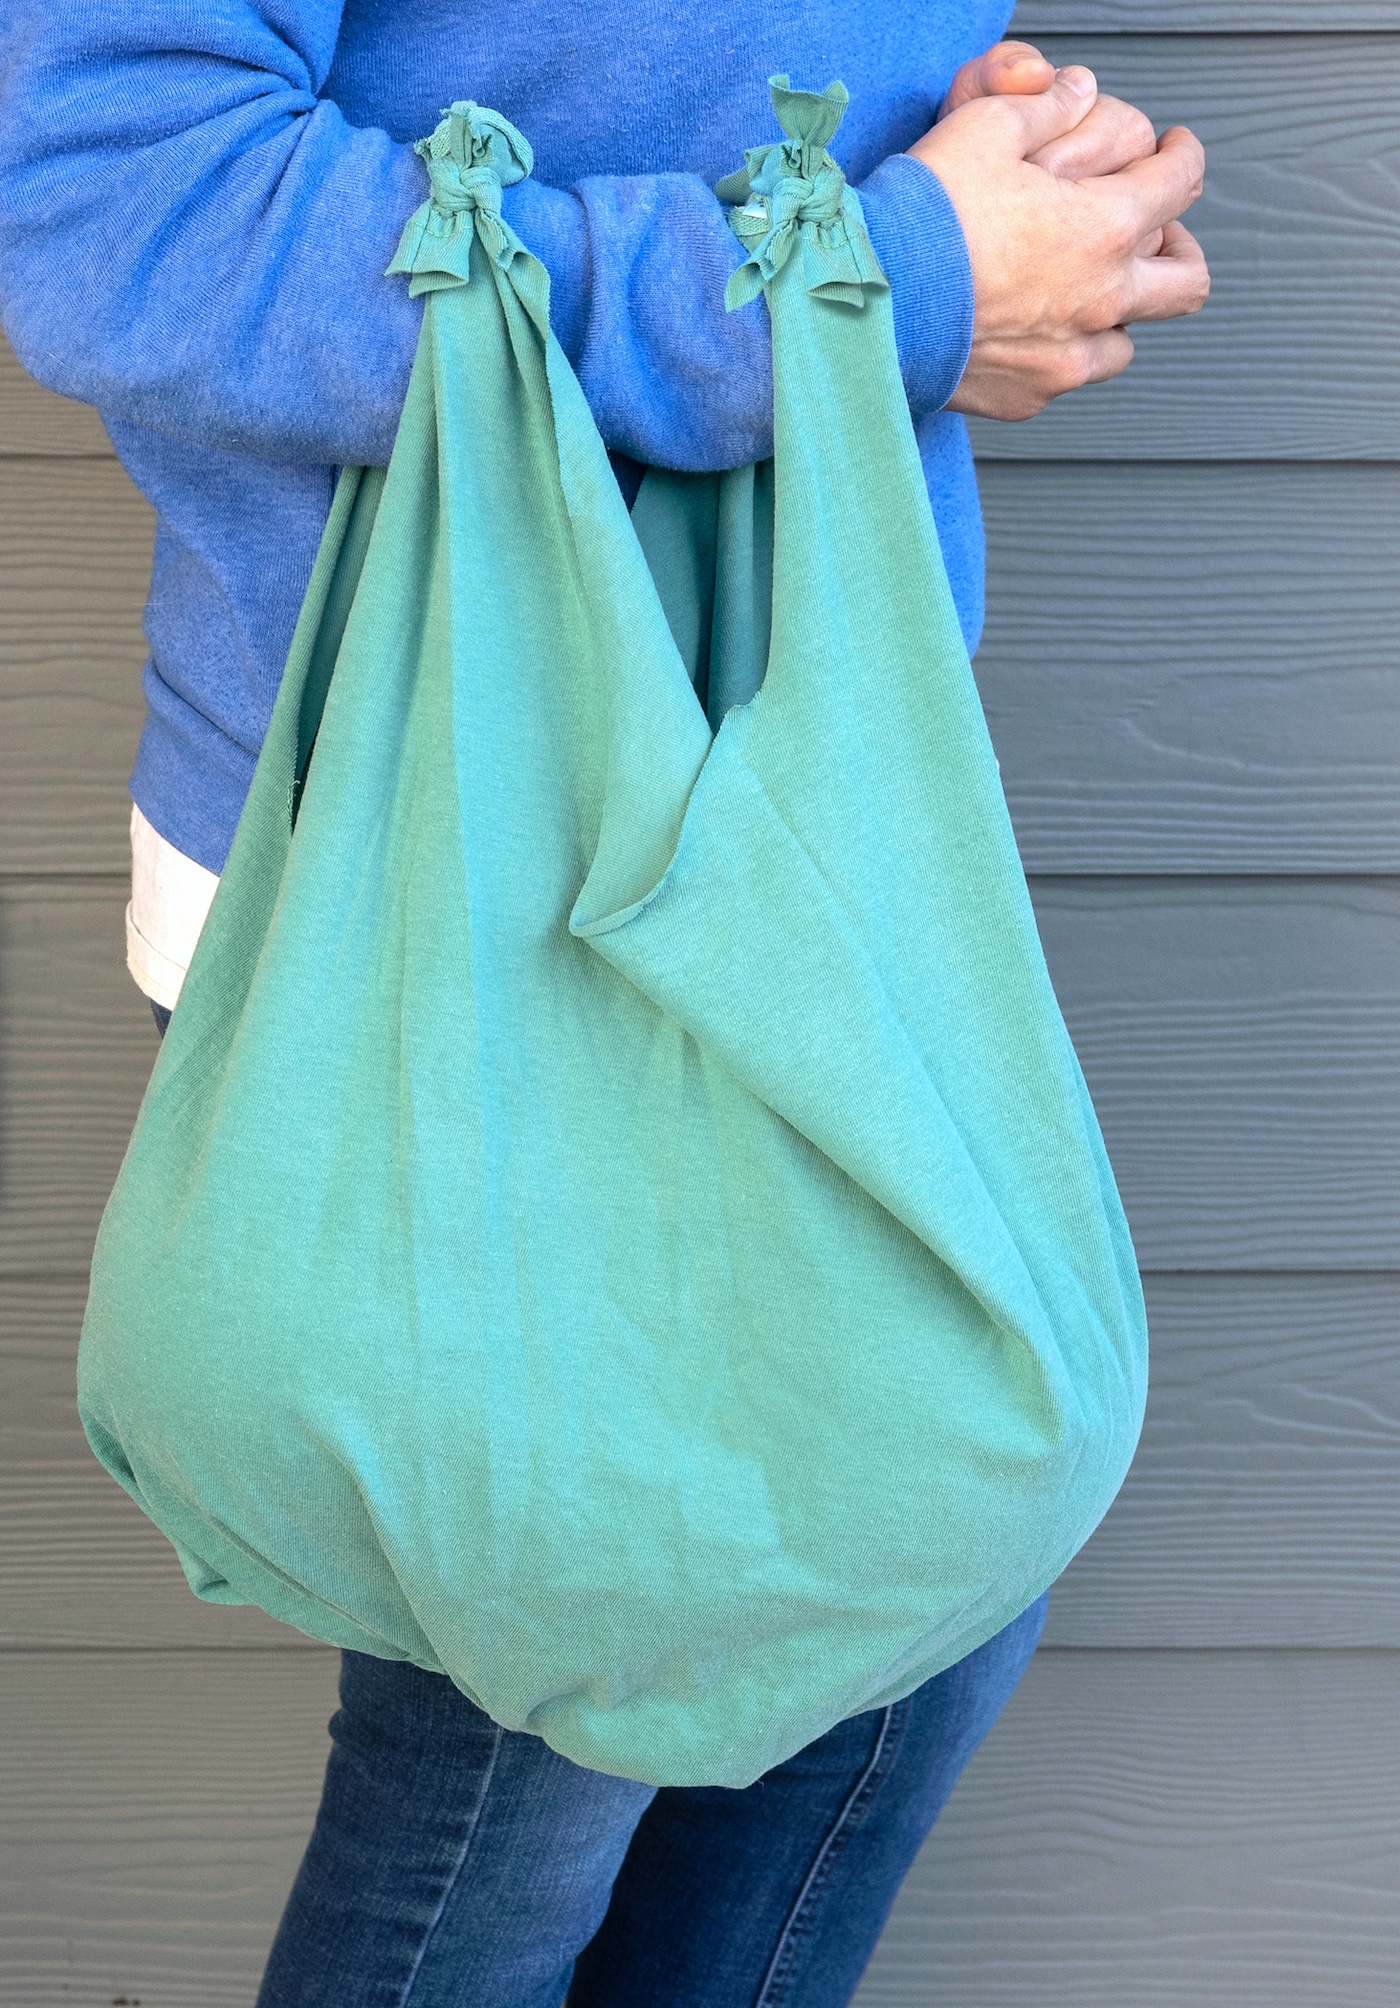
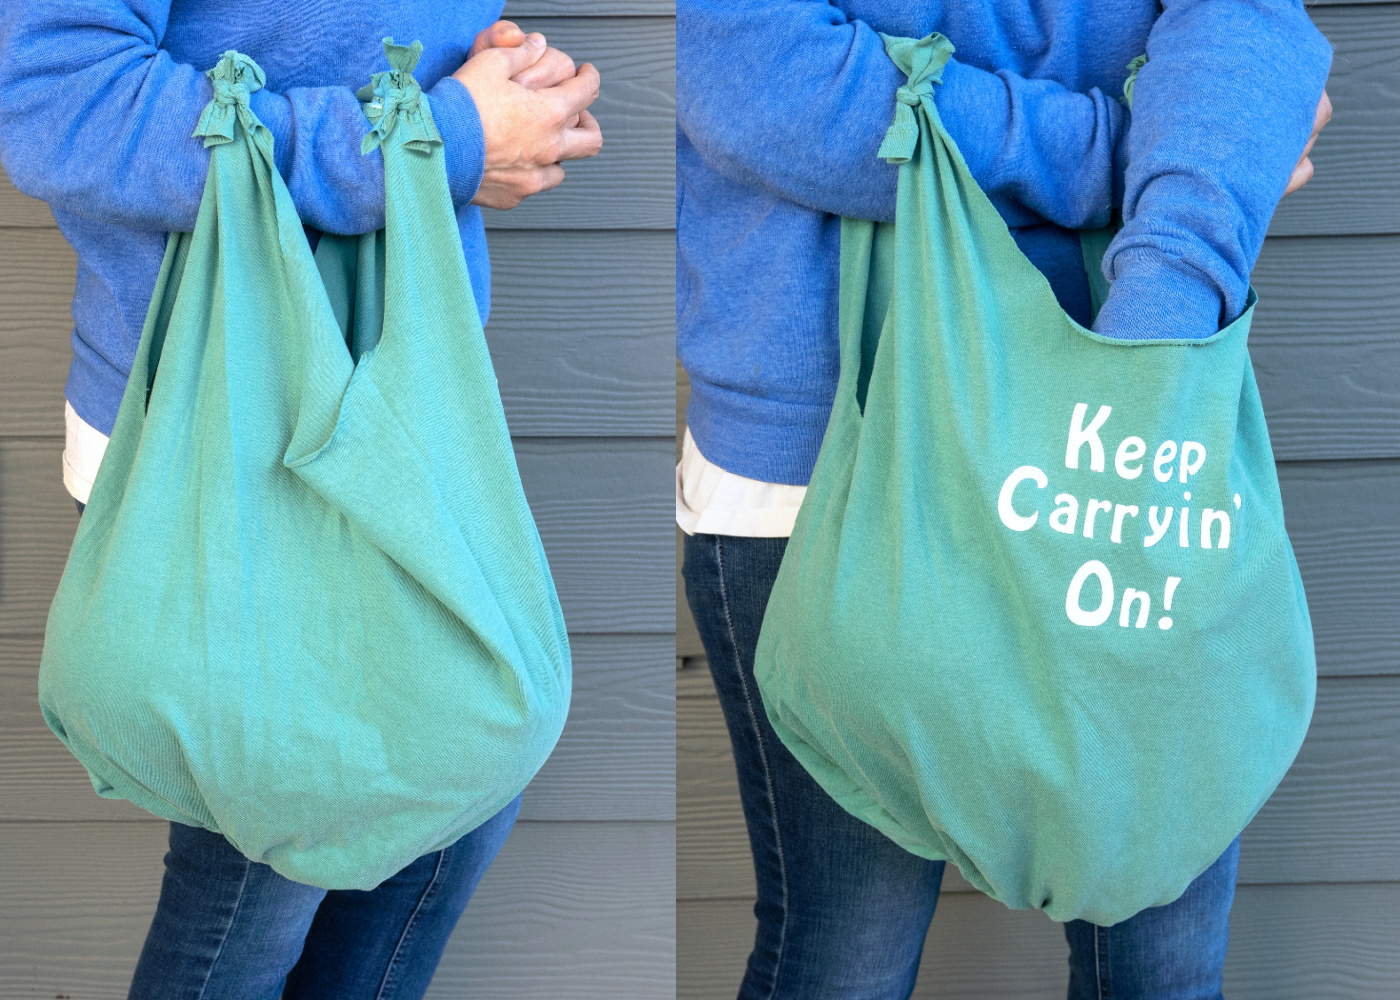
The finished tote (with handles!) is perfect for library books, farmers market finds, craft supplies, beach trips, or all those random things that seem to accumulate in the passenger seat of your car. And unlike some quick DIY projects, this one is actually useful when you’re finished.
The best part? Every t shirt tote bag ends up looking a little different depending on the shirt you use. Vintage concert tee? Cute tote. Funny graphic shirt? Cute tote. That free event shirt you’ve been keeping for reasons you can’t explain? Also a cute tote.
If you’ve got an old t-shirt ready for a second life, let’s make something fun with it.
Tips and Thoughts for This Project
One of the things I love most about this project is that it’s forgiving. Your cuts don’t have to be perfect, your knots don’t have to be identical, and nobody is going to inspect your tote with a ruler. The finished bag still looks great.
A thicker fabric will create a more durable tote, but I’ve made these from all kinds of shirts over the years. Just keep in mind that lightweight material tends to stretch more when the bag is filled.
Don’t throw away the scraps when you’re finished. The sleeves can be saved for other projects, and the leftover fabric works great for cleaning rags, stuffing, or future craft experiments.
Want to personalize your bag? Add iron-on letters, patches, fabric paint, or other embellishments. I love adding a funny phrase or something that makes me laugh every time I grab the bag.
One last tip: think about how you’ll use your tote before cutting. A deeper bag is great for groceries and larger items, while a shallower version works well for books, supplies, and everyday errands.
Get the printable how to card below:

T Shirt Tote Bag
Materials
- 1 t-shirt adult size
- Ink pen or washable marker
- Iron on letters optional
Instructions
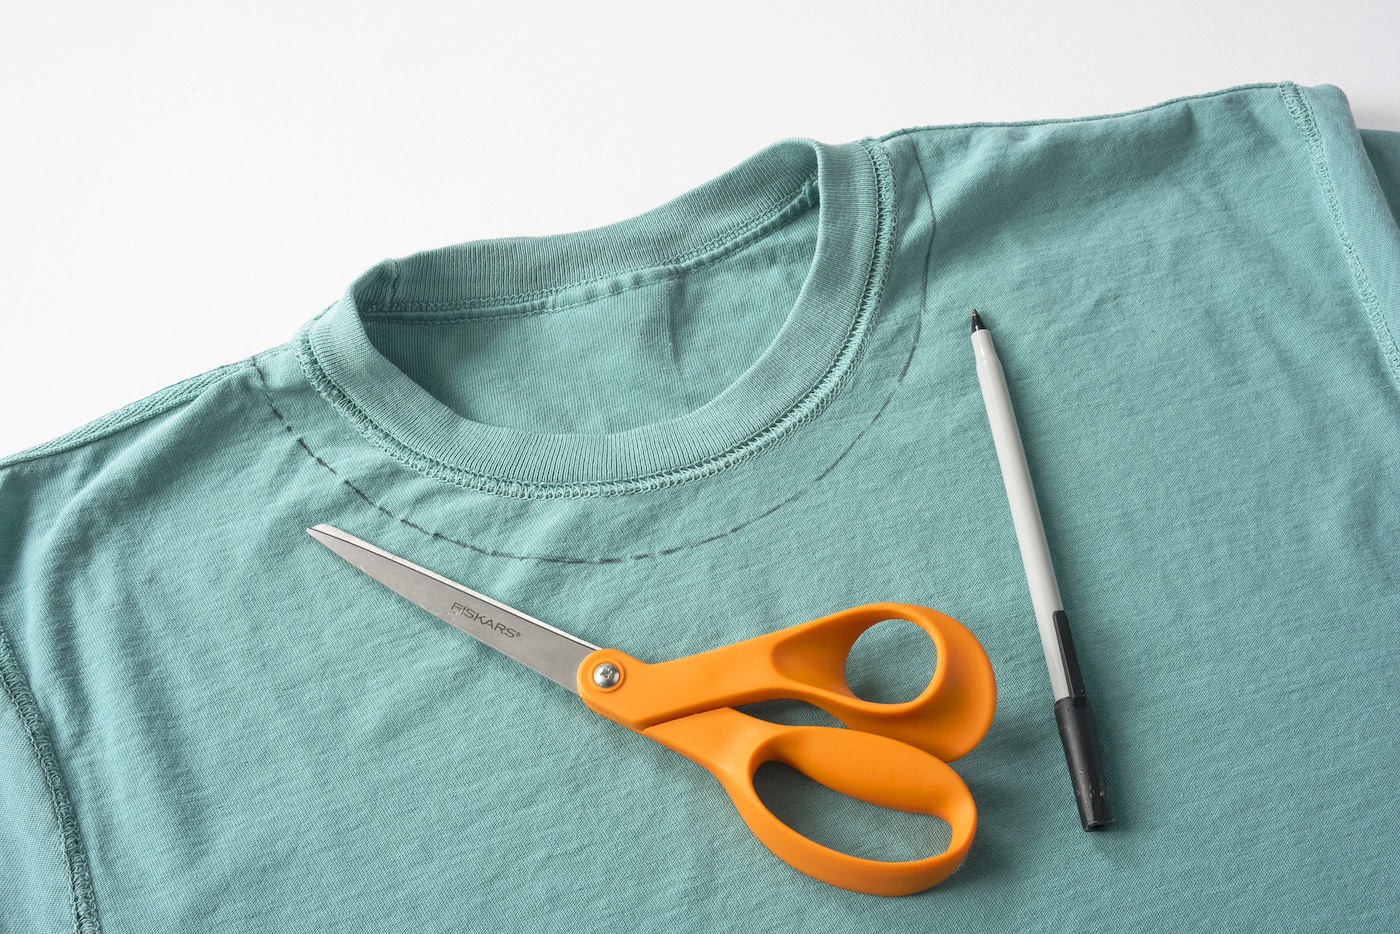
- Lay a freshly washed and dried old t-shirt inside out on your work surface and smooth it flat. Using a washable marker or ink pen, draw a line about 2 inches from the neckline area all the way around. If you'd like a guide, trace the outline of a bowl before drawing your cutting line.
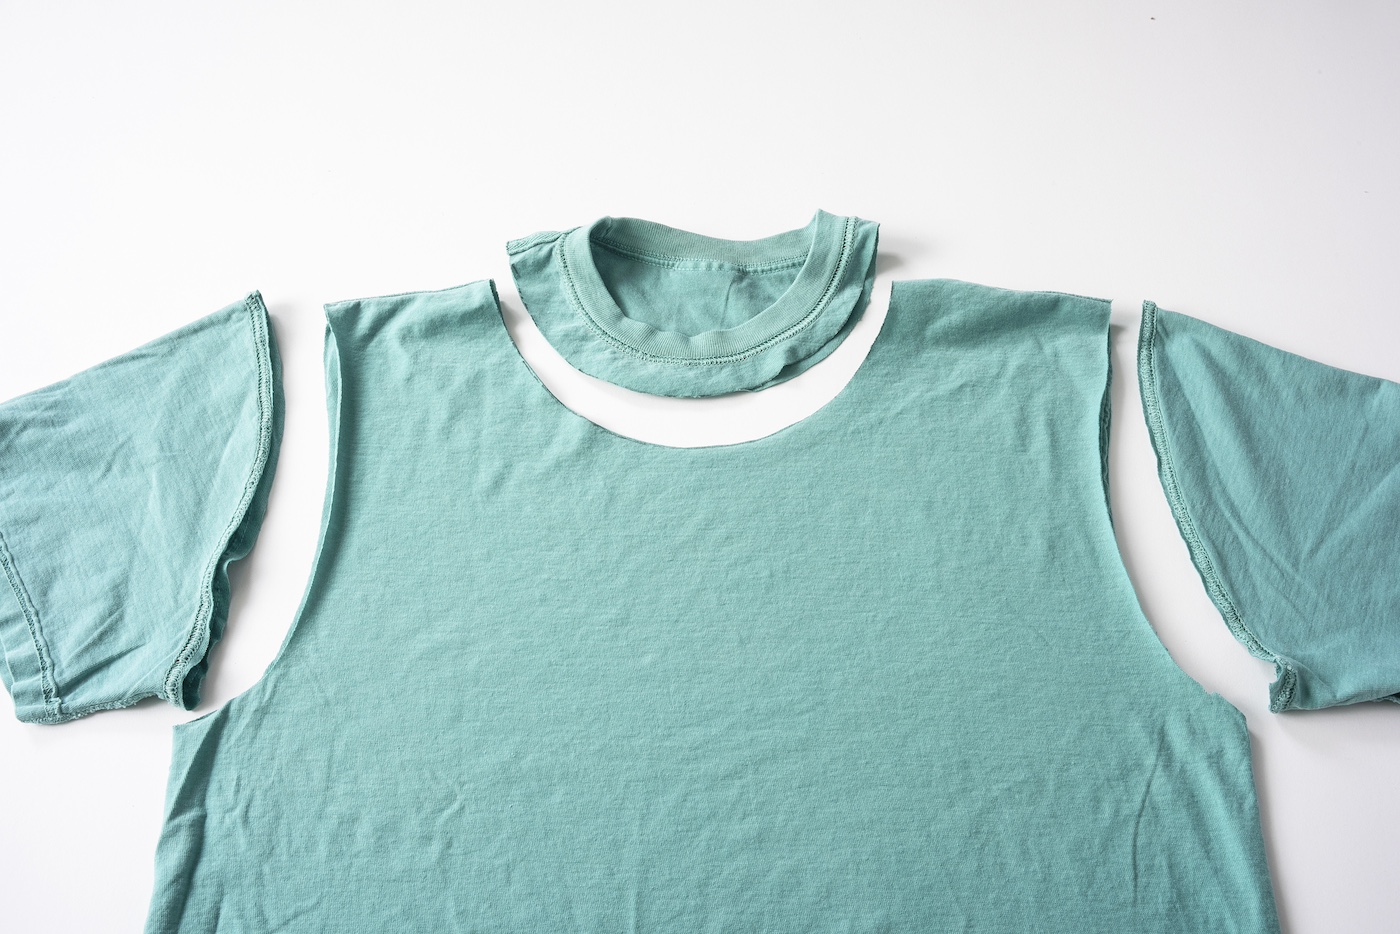
- Using a pair of scissors, cut away the collar along the marked line. Next, remove both sleeves by cutting just inside the seams. If you'd like matching cuts, use the cut side from the first sleeve as a guide for the next sleeve.
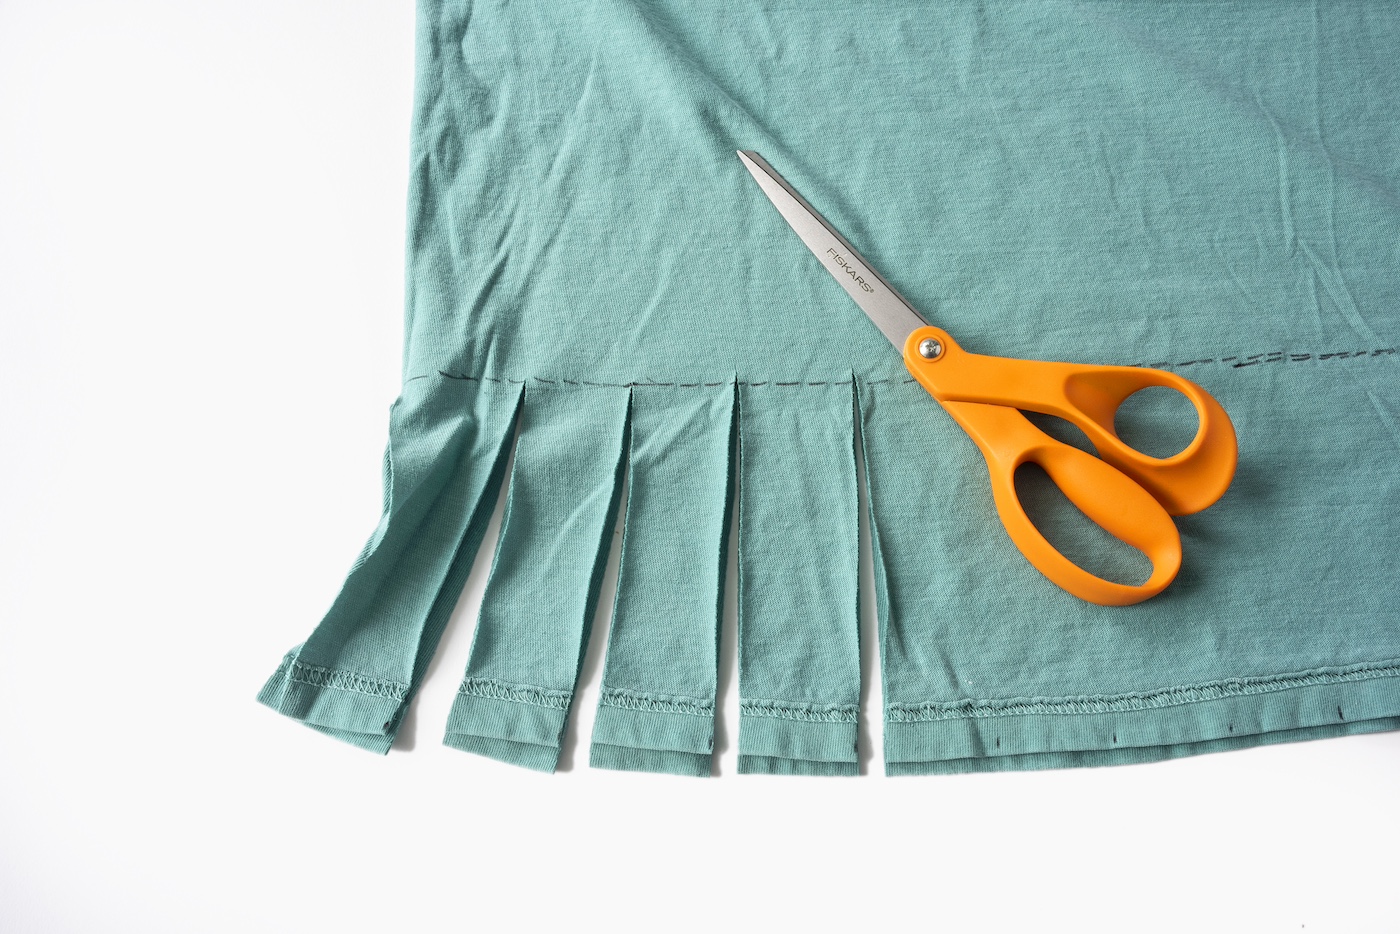
- Place the shirt back on your work surface and smooth it flat. Decide where you want the bottom of your bag to be. Measure about 4 inches up from the bottom of the shirt and draw a horizontal line. At the very bottom of the shirt, make small marks every 1 to 1½ inches.

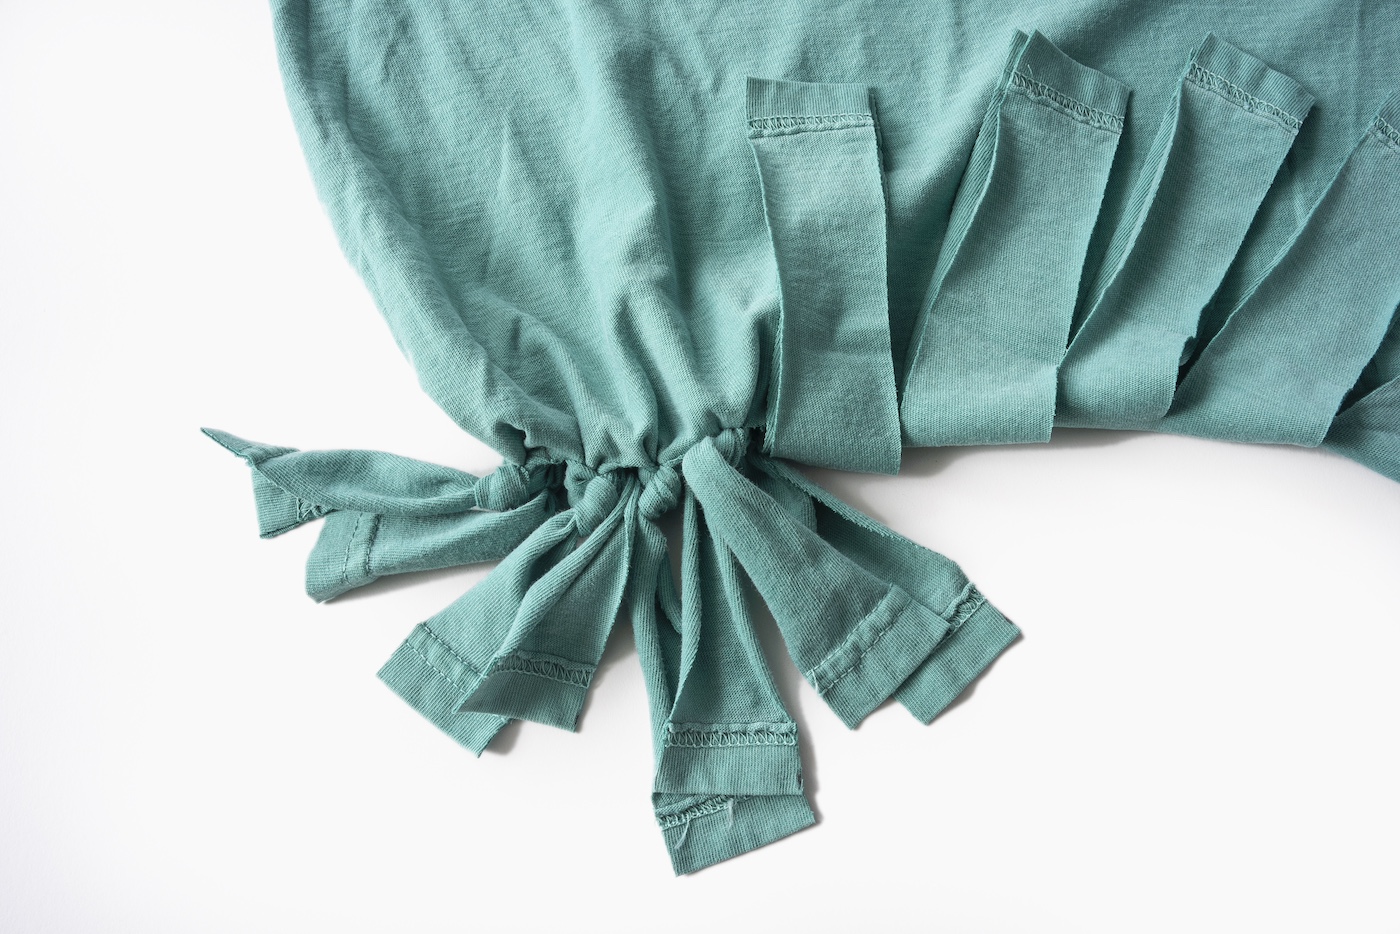
- Cut upward from each mark to the line you drew, creating slits through both the front and back layers. Continue across the entire bottom of the shirt. These slits will become the fringe used to close the bottom of the bag.
- Starting at one end, tie the front and back pieces together into double knots. Continue tying knots all the way across. At this point the bottom of the bag will be mostly closed, but small openings will remain between the knots.
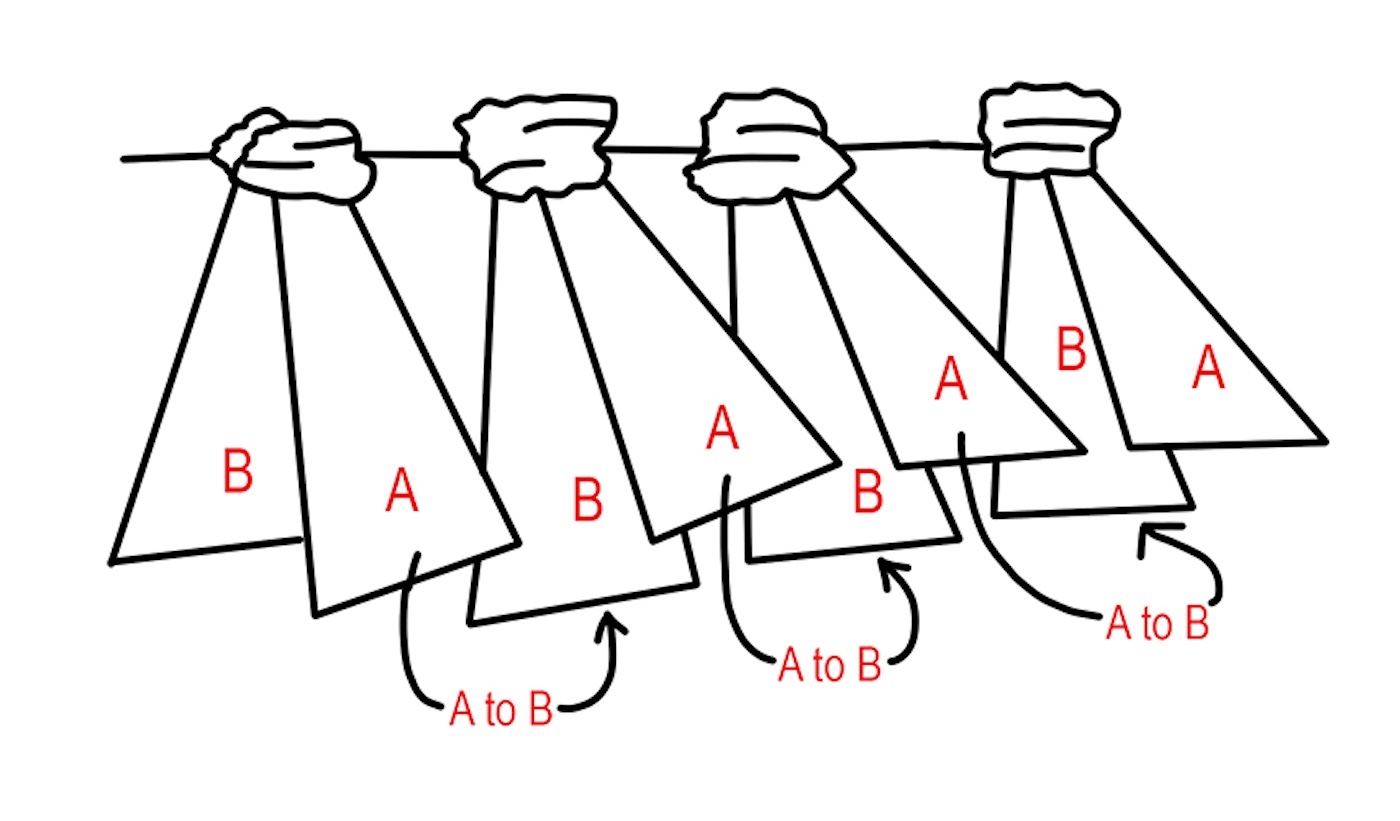
- To close those openings, tie fringe. Work with a few sets of fringe at a time (using our diagram). Take one strand from the left set and tie it to a strand from the middle set. Then take the remaining strand from the middle set and tie it to a strand from the right set. Continue this pattern across the entire bottom of the bag until all remaining openings are closed.
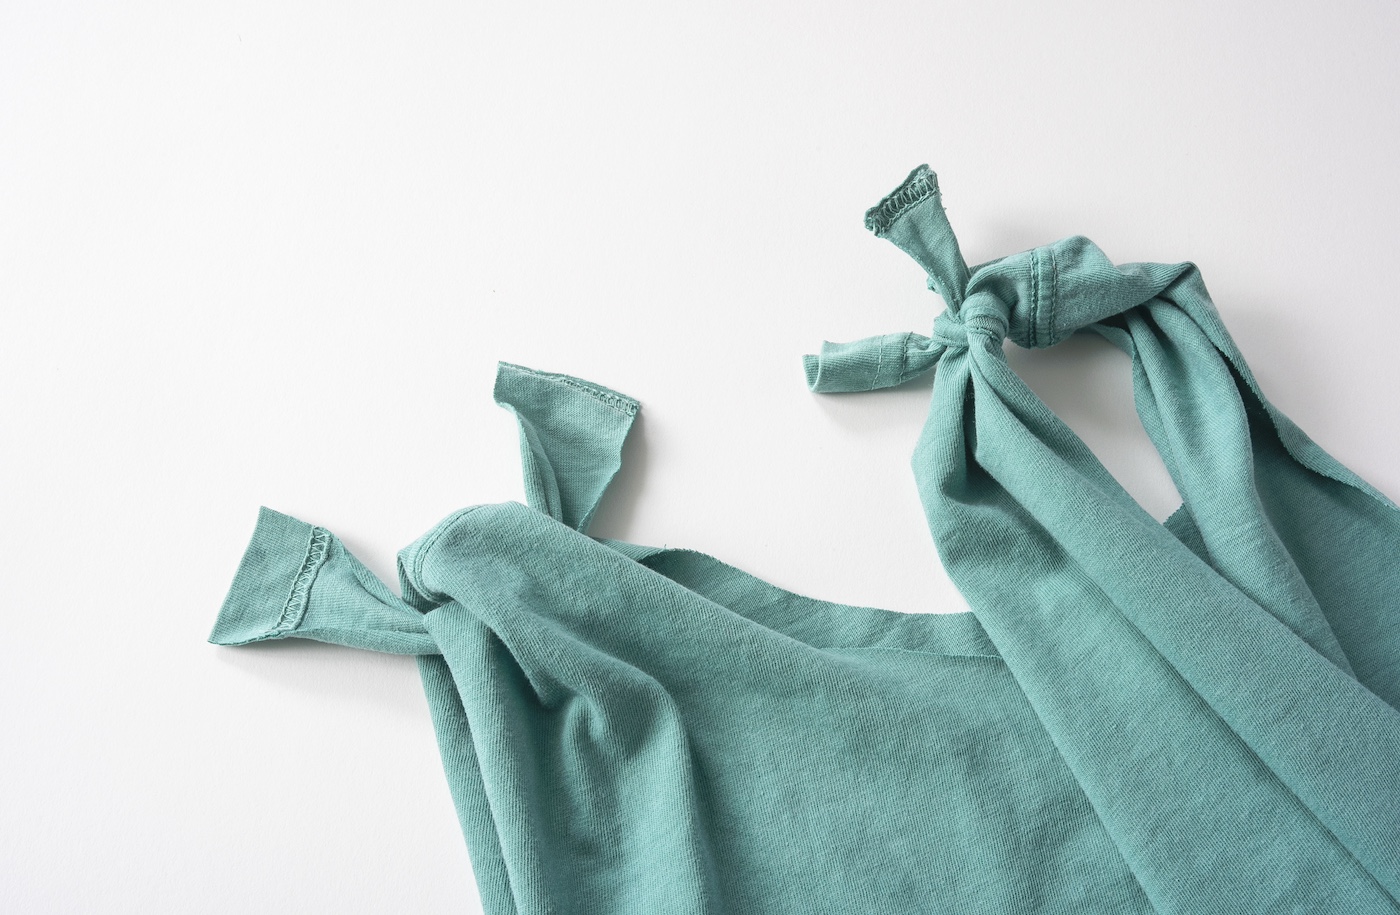
- Turn the tote right side out. The knots will now be hidden inside the bottom of the bag. Cut strips from the remaining fabric and tie bits of t-shirt scrap around the straps near the top for decoration. Tie additional knots as desired.
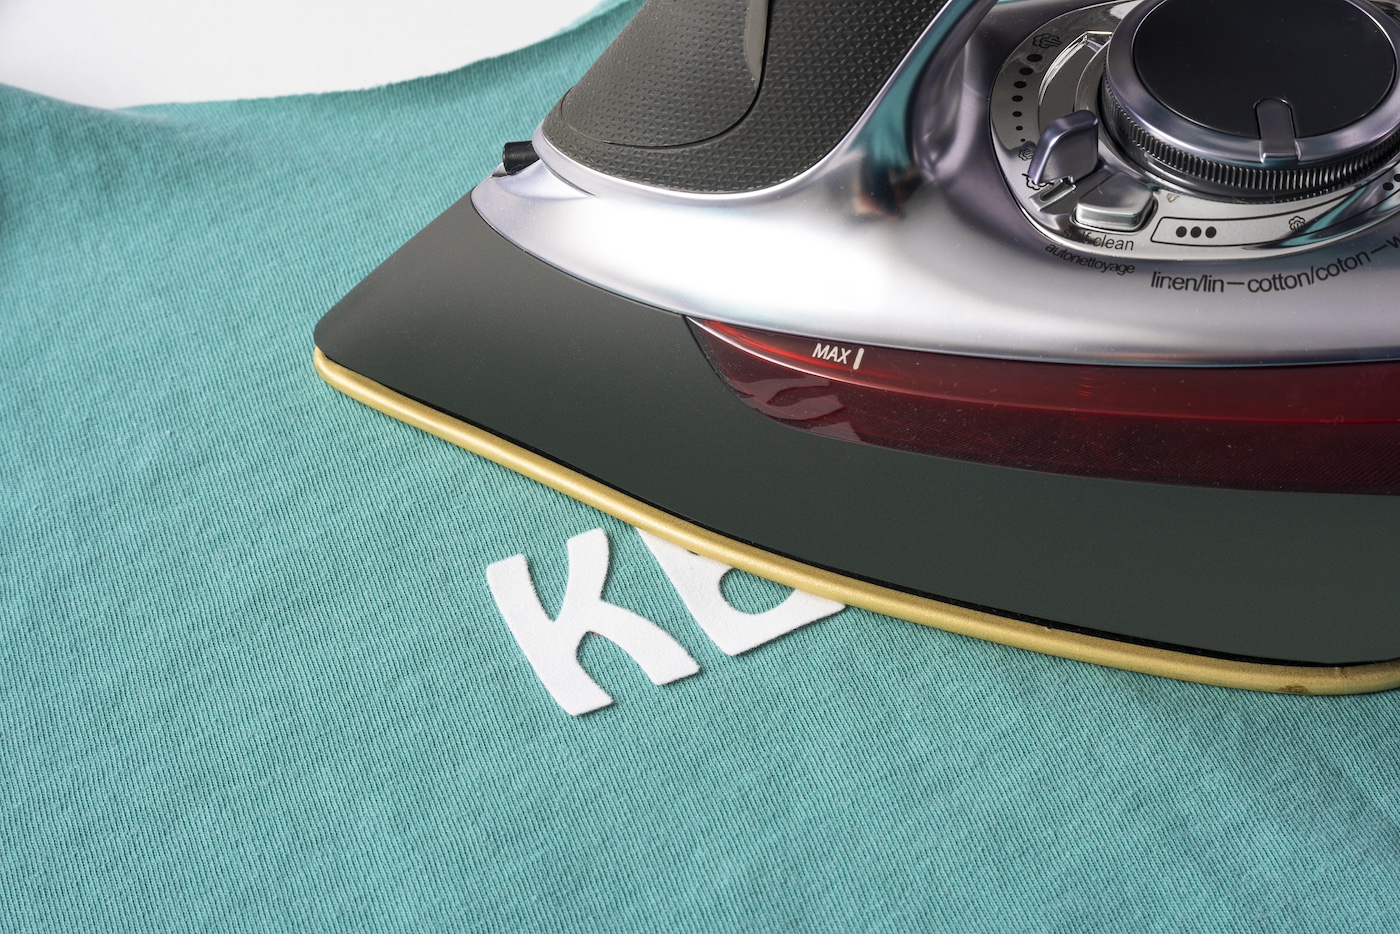
- Iron on letters using the phrases of your choice, following the packaging instructions for the letters. Wash and dry as normal.
Notes
If you enjoyed making this reusable shopping bag, let me know in the comments! I’d also love for you to check out the following projects:
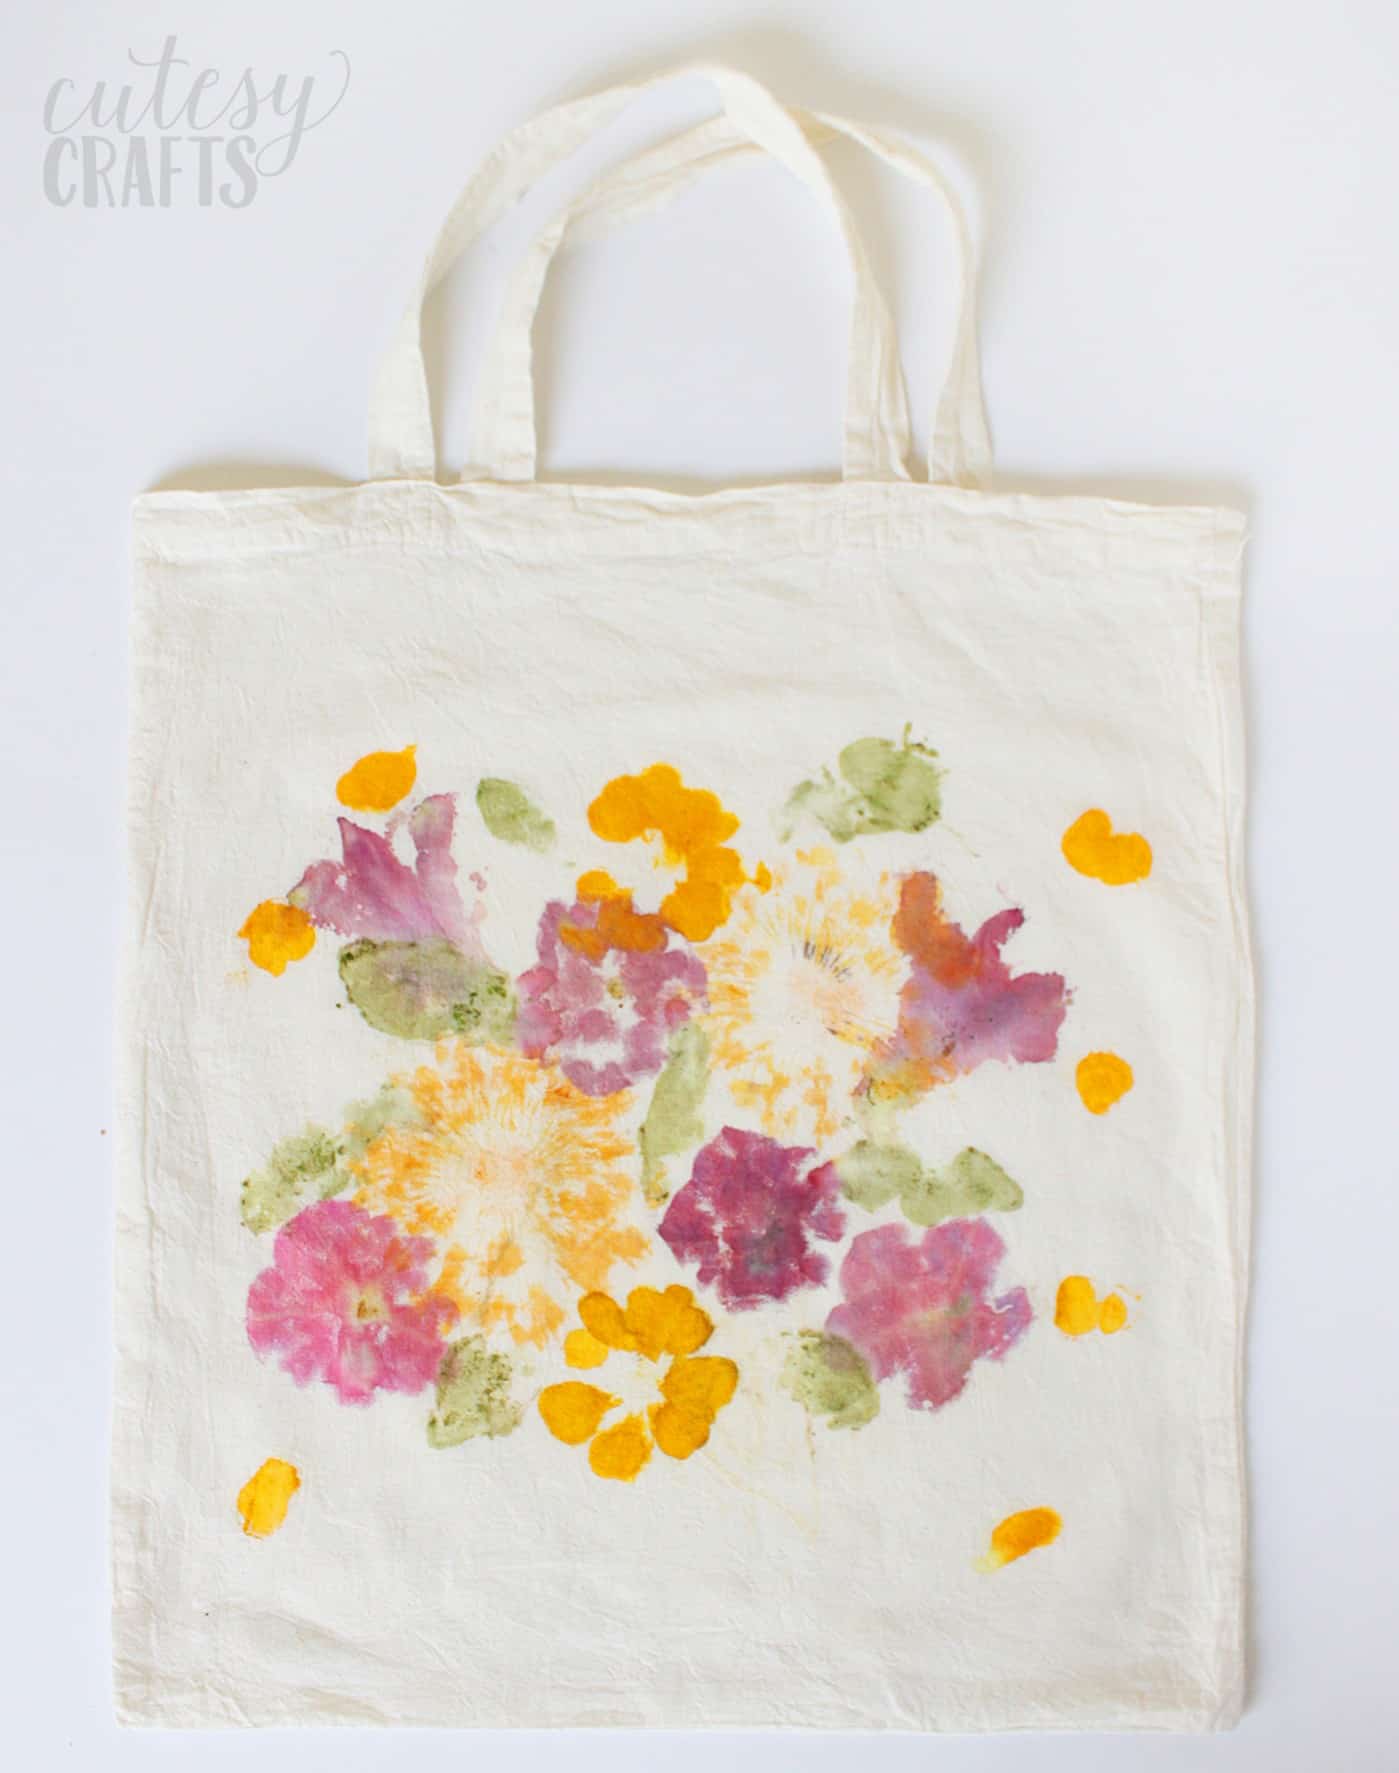
Applique Tote Bag • DIY Chair Cushion with Ties • Headbands from T Shirts • Infinity Scarf from a T-Shirt • Pot Holder without a Pattern • Pounded Flower Bag • Recycled Denim Bunting • Tea Towel Tote • T-Shirt Applique • T-Shirt Stamps