
T Shirt Tote Bag
Learn to turn an old t-shirt into a stylish, no-sew tote bag with our easy DIY tutorial. Perfect for beginners!
Servings 1 bag
Cost $0
Ingredients
- 1 t-shirt adult size
- Ink pen or washable marker
- Iron on letters optional
Instructions
- Lay a freshly washed and dried old t-shirt inside out on your work surface and smooth it flat. Using a washable marker or ink pen, draw a line about 2 inches from the neckline area all the way around. If you'd like a guide, trace the outline of a bowl before drawing your cutting line.
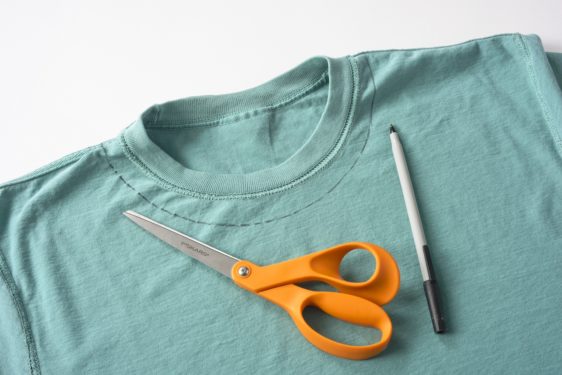
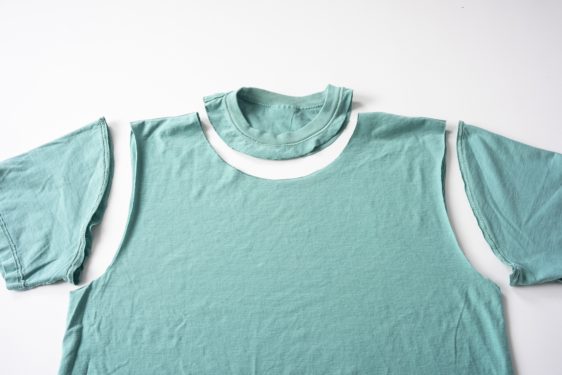
- Using a pair of scissors, cut away the collar along the marked line. Next, remove both sleeves by cutting just inside the seams. If you'd like matching cuts, use the cut side from the first sleeve as a guide for the next sleeve.
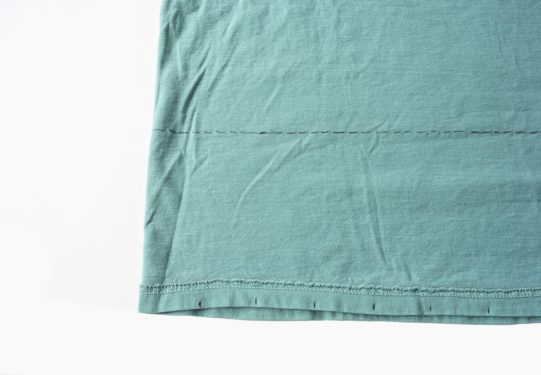
- Place the shirt back on your work surface and smooth it flat. Decide where you want the bottom of your bag to be. Measure about 4 inches up from the bottom of the shirt and draw a horizontal line. At the very bottom of the shirt, make small marks every 1 to 1½ inches.
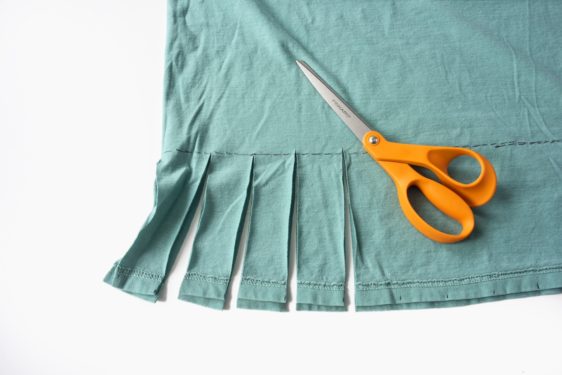
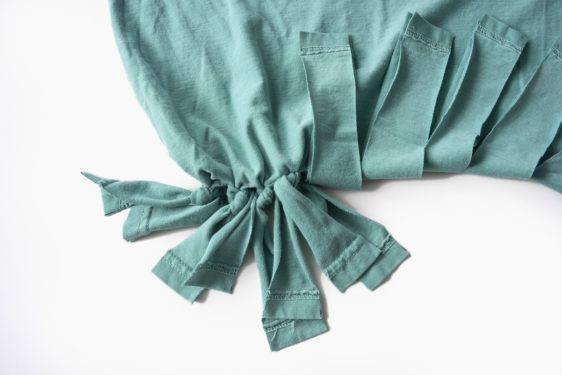
- Cut upward from each mark to the line you drew, creating slits through both the front and back layers. Continue across the entire bottom of the shirt. These slits will become the fringe used to close the bottom of the bag.
- Starting at one end, tie the front and back pieces together into double knots. Continue tying knots all the way across. At this point the bottom of the bag will be mostly closed, but small openings will remain between the knots.
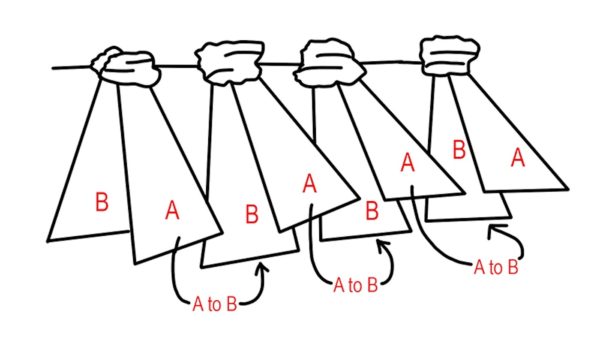
- To close those openings, tie fringe. Work with a few sets of fringe at a time (using our diagram). Take one strand from the left set and tie it to a strand from the middle set. Then take the remaining strand from the middle set and tie it to a strand from the right set. Continue this pattern across the entire bottom of the bag until all remaining openings are closed.
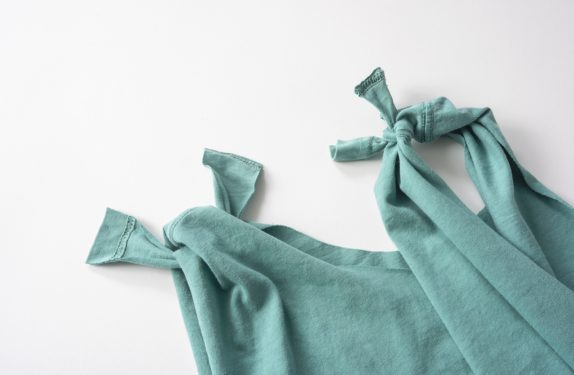
- Turn the tote right side out. The knots will now be hidden inside the bottom of the bag. Cut strips from the remaining fabric and tie bits of t-shirt scrap around the straps near the top for decoration. Tie additional knots as desired.
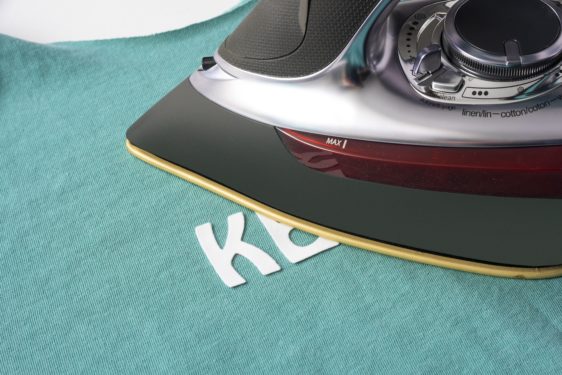
- Iron on letters using the phrases of your choice, following the packaging instructions for the letters. Wash and dry as normal.
Notes
Iron phrases onto the bag that really motivate you! If you’re going to use your bag for school, use quotes like “be open to the world,” “rest but don’t quit,” or “strong minds discuss ideas.” Choose something that speaks to you and brings you joy.