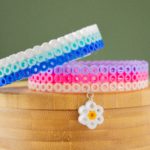
Perler Bead Bracelets
Learn how to make the cutest bracelets with perler beads! There are so many options for customization here.
Servings 3 bracelets
Cost $2
Equipment
- Mini iron
- Glass
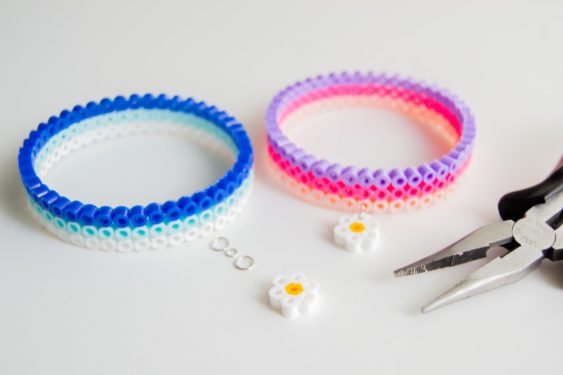
- Jewelry pliers
- Hot glue gun and glue sticks optional
Ingredients
- Pegboards
- Perler beads in your favorite colors
- Parchment paper
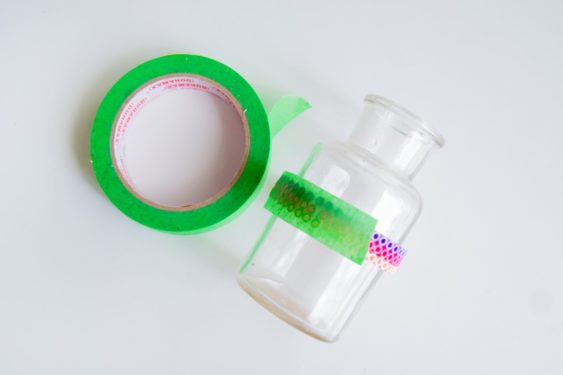
- Painter's tape
- Jump rings
- Acetate optional
Instructions
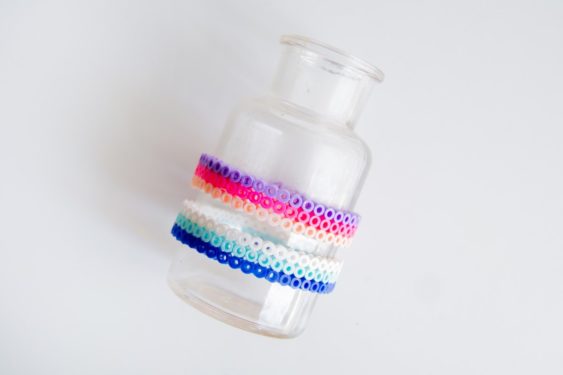
- Choose a design - I chose a diamond design that was three beads wide and about 8.5" long. Measure your wrist if necessary.
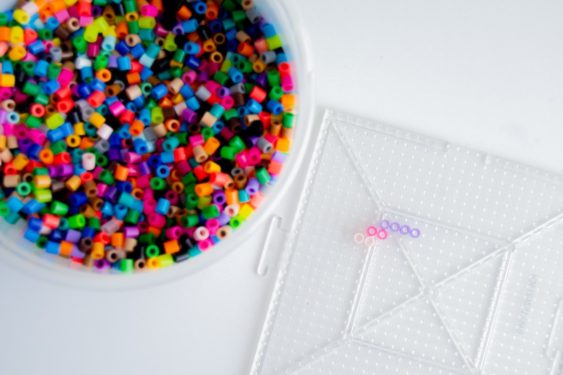
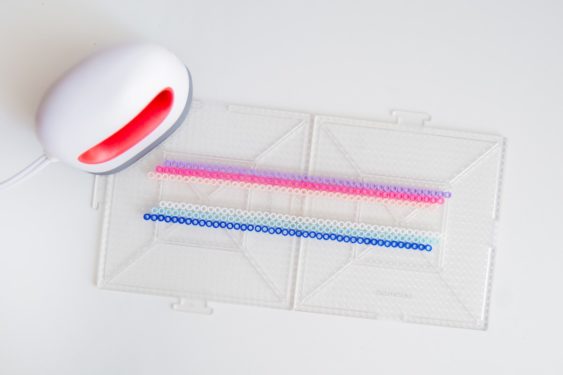
- Place the perler beads on the pegboards to create the bracelet. Make sure the start and finish of your bracelet end at different angles so they'll match up when you form the loop.
- Using the hexagon board, add beads to the pegboard to create charms.
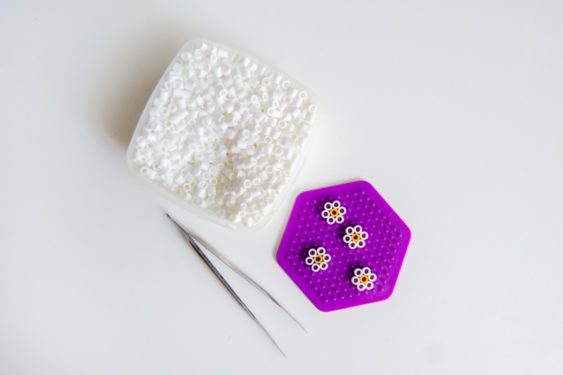
- Place the parchment paper on top of the daisies and iron. Place painter's tape on top of the length of perler beads for the bracelet, then parchment paper, then iron.
- Take the strip while it's still warm and wrap it around your glass, making sure to join the ends together. Once you've fused the two ends together, iron your way around the rest of the bracelet to give it extra hold.
- Leave the bracelet to cool on the glass. This will help it keep its shape.
- If desired to reinforce the bracelet, cut a piece of clear acetate to fit the inside.
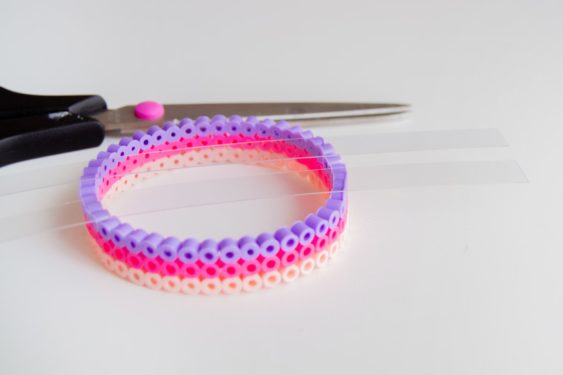
- Attach the clear acetate using a hot glue gun and glue sticks - you can also use E-6000. Let dry.
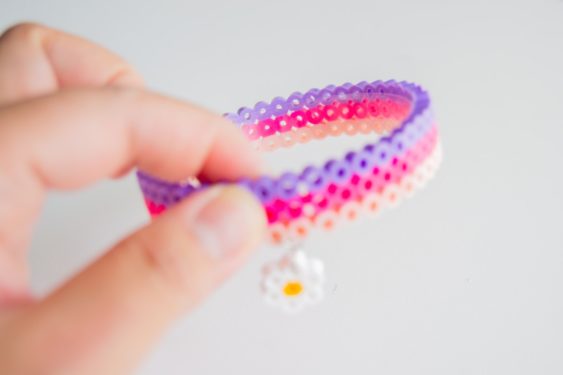
- Attach the charm to the bracelet using a jump ring and the jewelry pliers.
Video
Notes
The painter's tape method keeps the beads together while you take them to the glass.