Colorful DIY Photo Booth Props for Any Occasion
Do you want to incorporate a photo booth in an upcoming wedding or birthday party? These colorful DIY photo booth props are easy to decorate!
Skills Required: None. Even if you’ve never crafted before, you can make these props. You’ll be painting and gluing. It’s easy; just requires some patience.
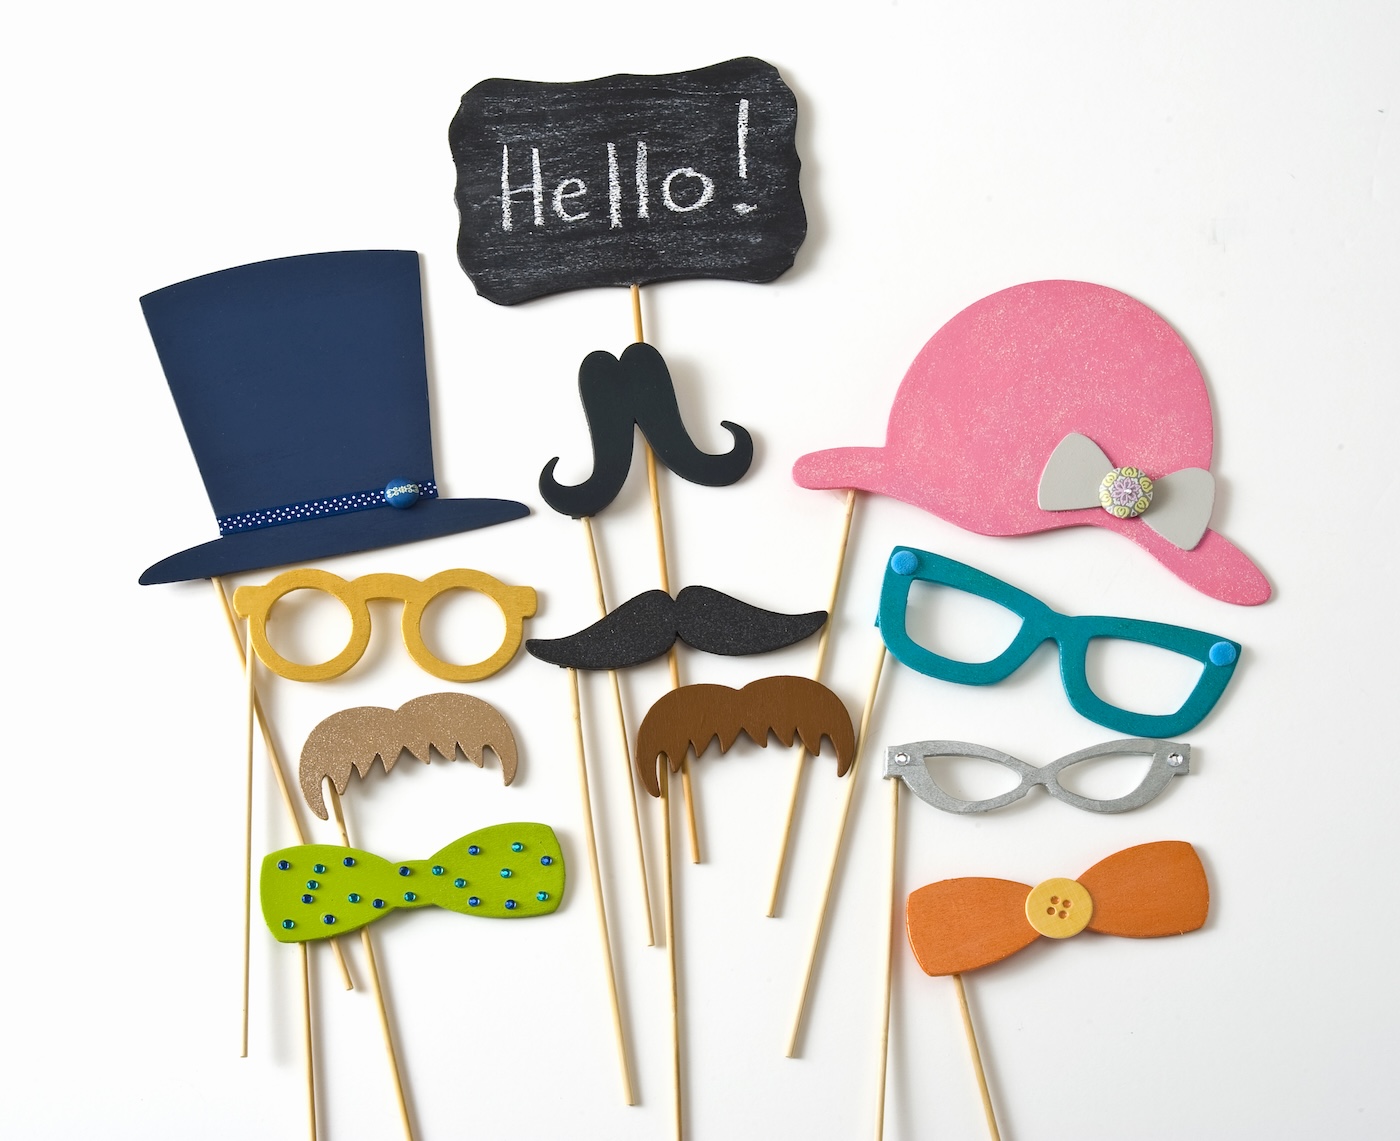
Looking for a creative way to jazz up your next party or family gathering? DIY photo booth props are a fun and unique addition that let you unleash your creativity while adding some extra flair to your event.
I recently stumbled across some wooden photo prop blanks in my craft stash, and I couldn’t resist giving them a colorful makeover.
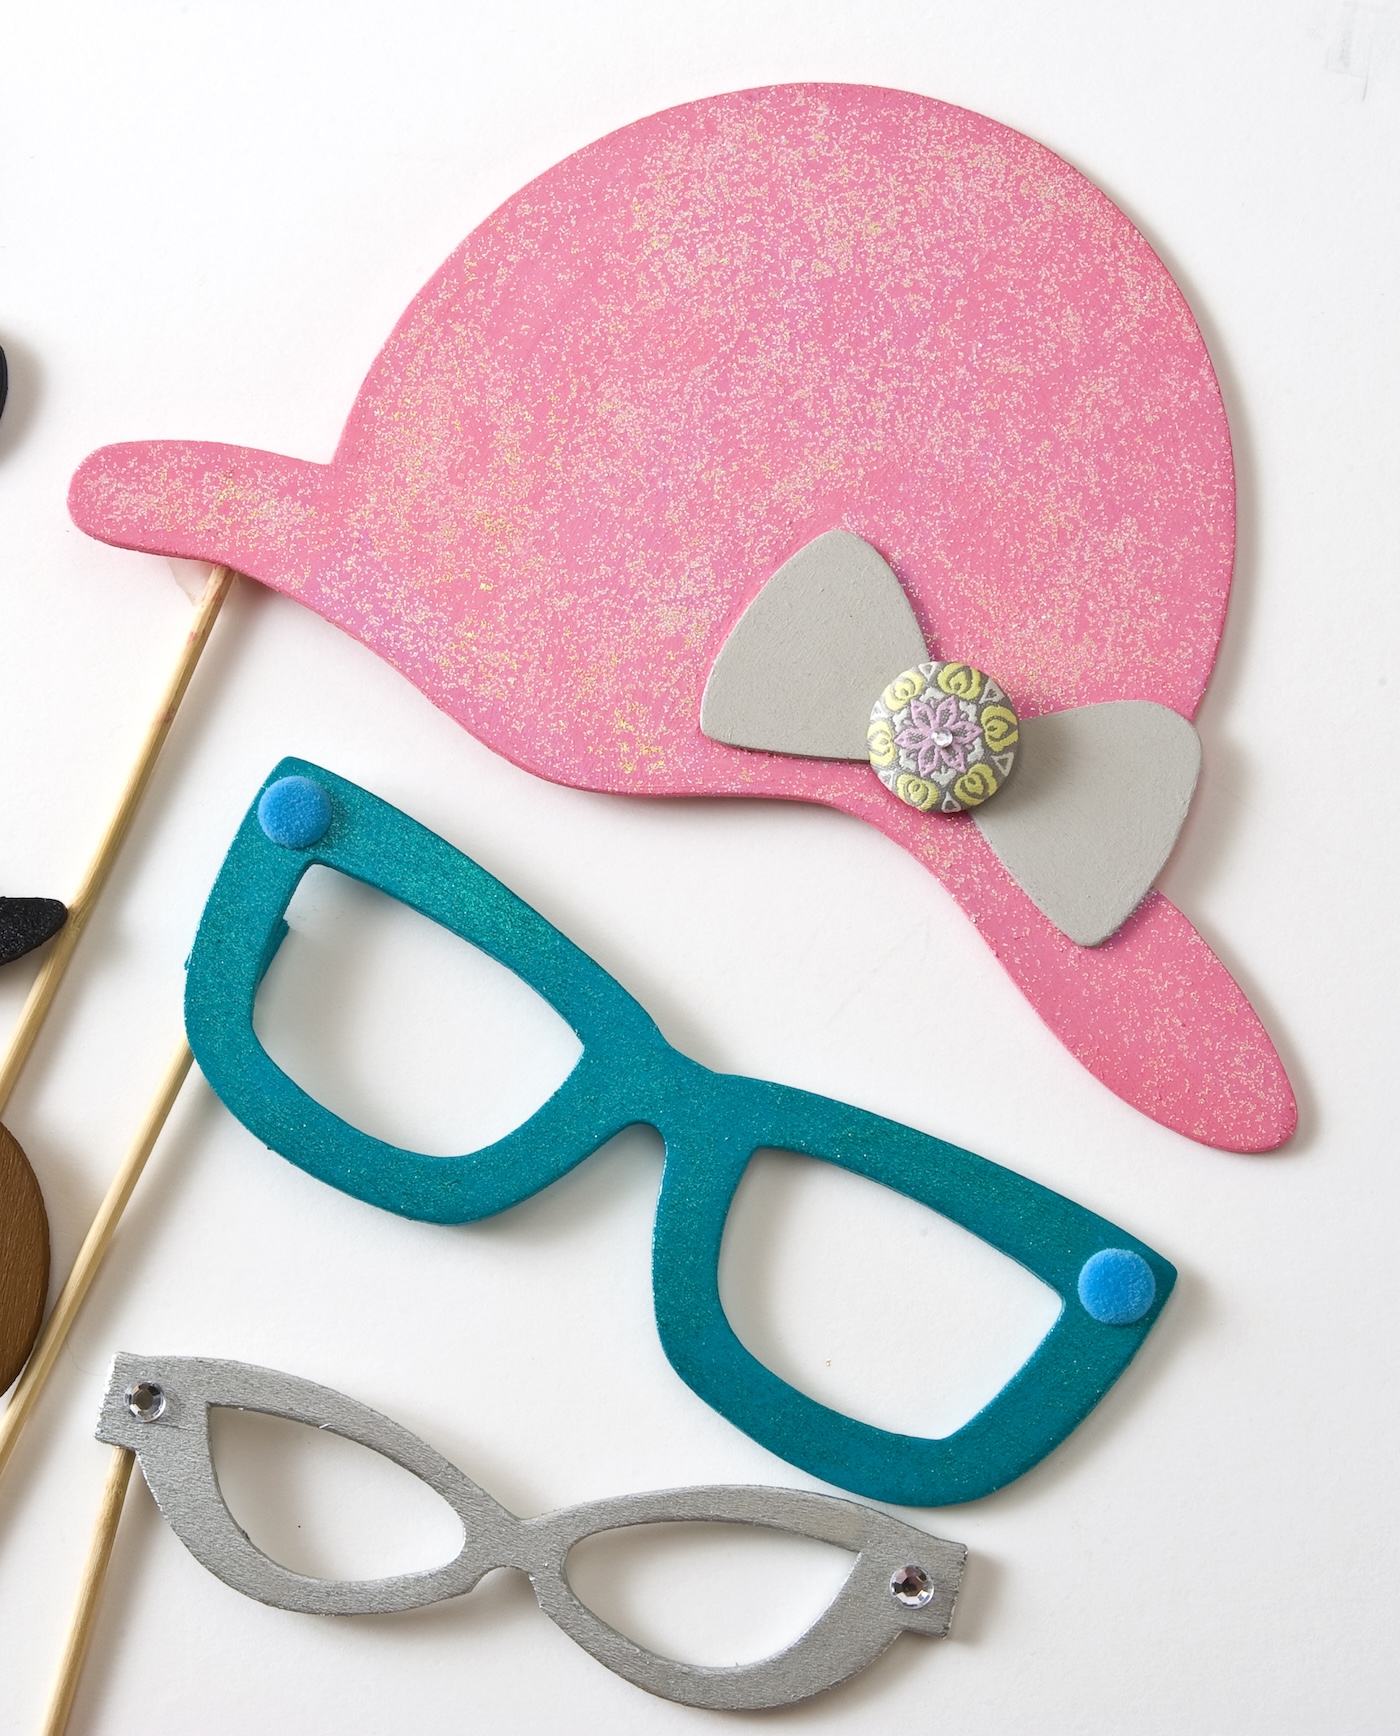
The best part about these props is that they’re a blank canvas, ready to be transformed with whatever craft supplies you have on hand.
Whether it’s paint, glitter, or other embellishments, the possibilities are endless. Plus, they’re perfect for using up those odds and ends from your craft drawer!
In this post, I’m sharing how I decorated my photo booth props to give them personality and charm. While this isn’t a step-by-step tutorial, I hope it inspires you to grab your crafting tools and have fun customizing your own.
Let your imagination run wild and create props that will make everyone smile—and maybe even strike a pose. Here’s what I used to make them.
Gather These Supplies
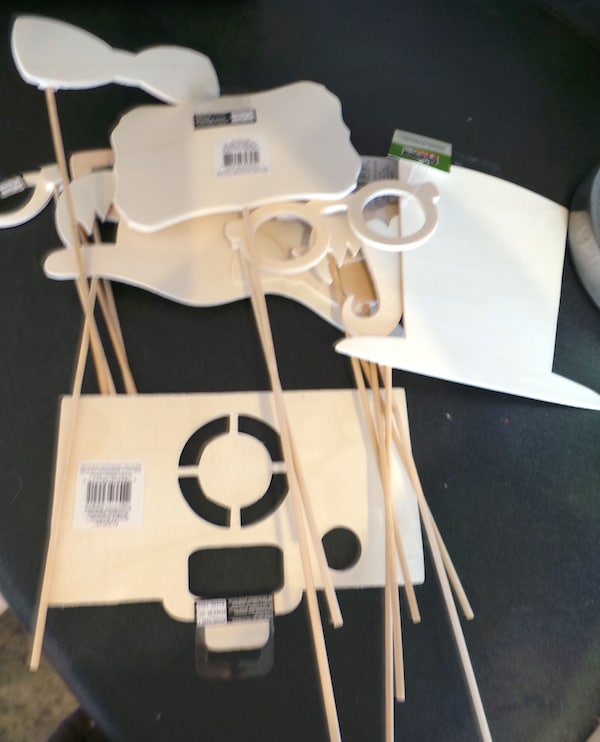
- Wood photo booth props (you can create your own with wood shapes and dowel rods – 24 Hour Crafts has some great surfaces)
- Acrylic paint in your favorite colors
- FolkArt Extreme Glitter
- FolkArt Chalkboard Paint
- Ribbons, brads, and other embellishments
- Craft glue
- Paint brushes
- Hot glue gun (optional)
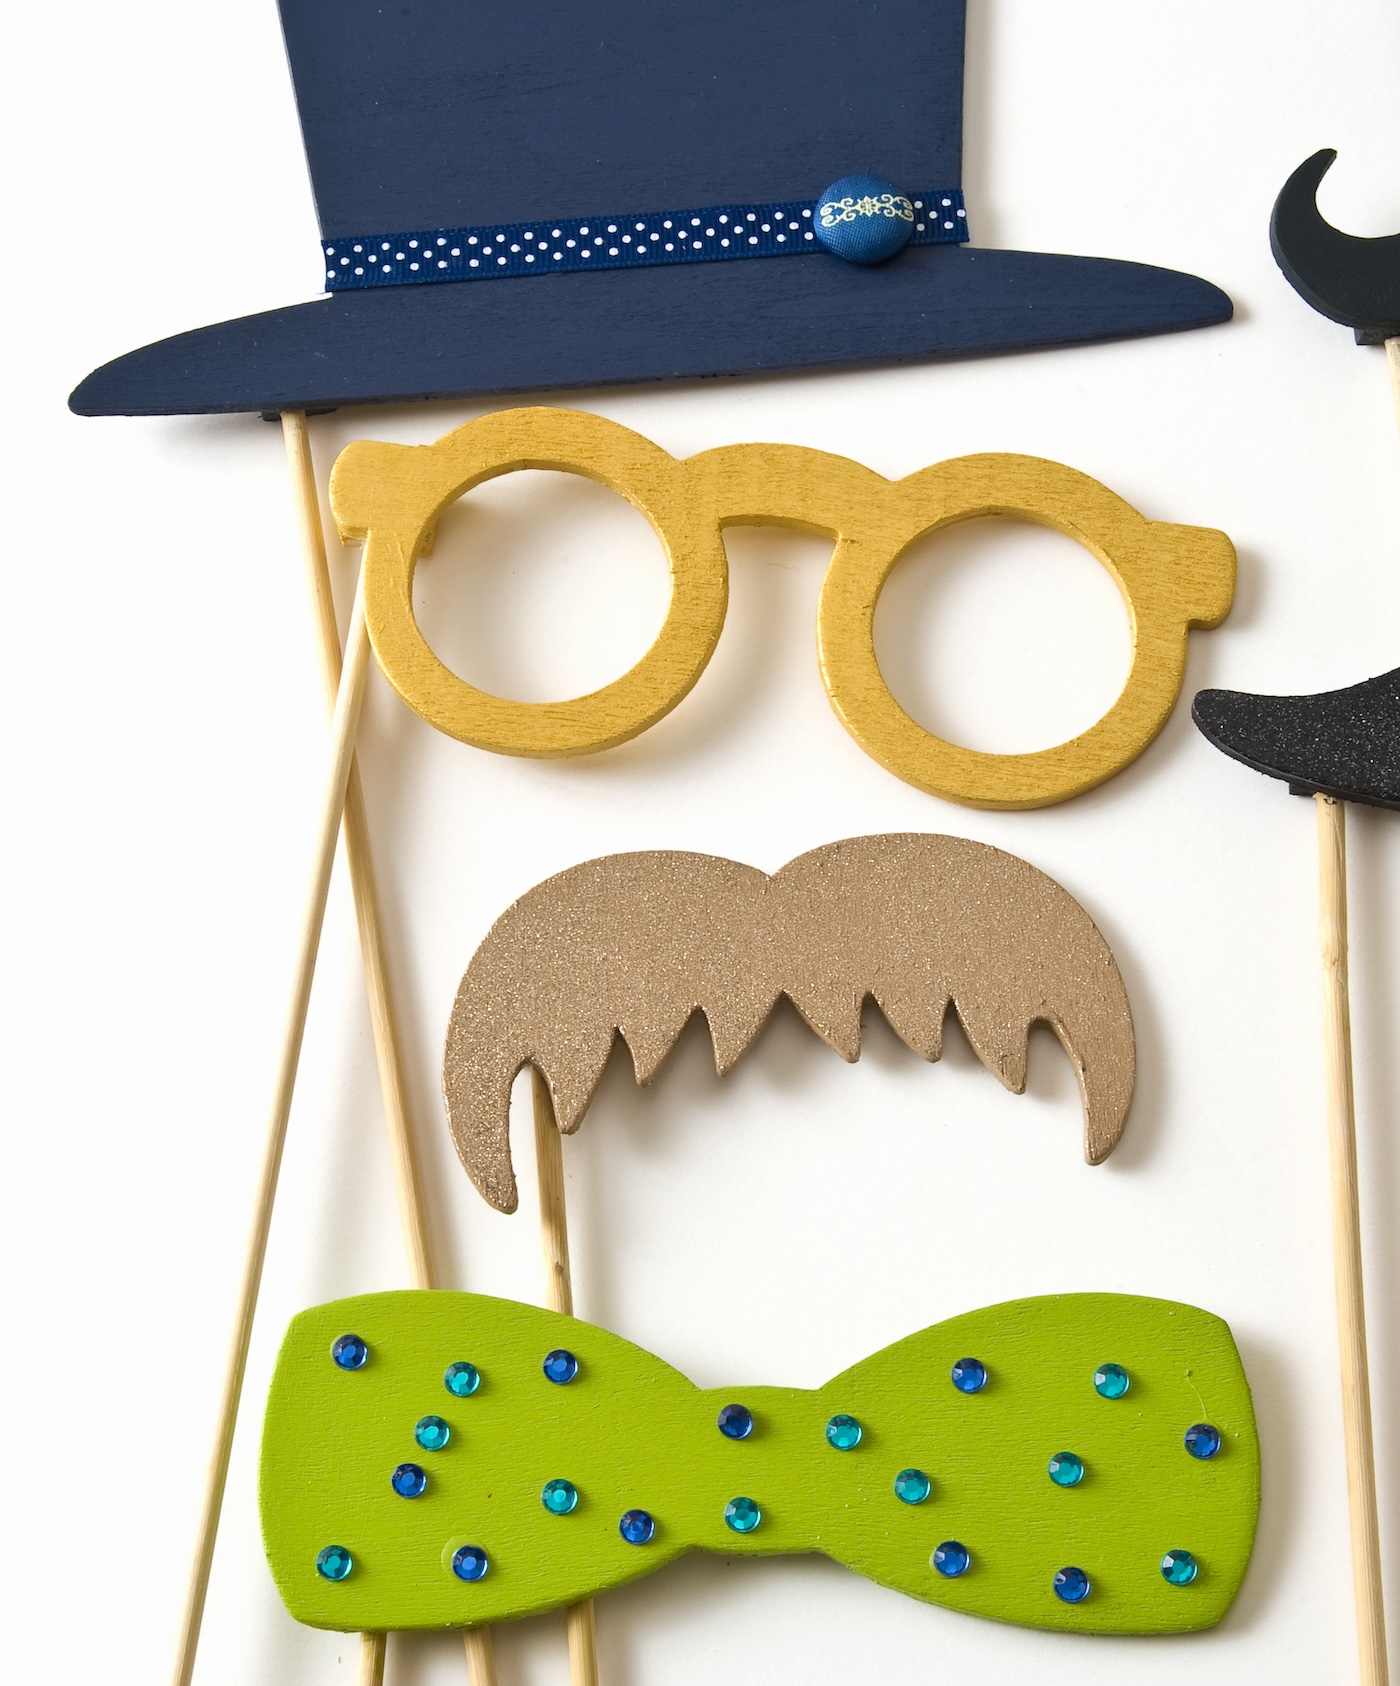
You may not know where to begin. Sometimes I think the easiest thing to do is start with what you know to get the creative juices flowing. Meaning, it’s easy to paint a mustache black because a lot of mustaches are black. Then go from there.
This was such a fun exercise – and let me suggest to you that if you need a creative jump start or outlet, grab some wood pieces and just let your mind go wild!
How would you decorate your photo props? Let me know in the comments! Get the printable how to card below:

DIY Photo Props
Equipment
- Hot glue gun and glue sticks optional
Materials
- Wood photo booth props
- Acrylic paint
- FolkArt Extreme Glitter
- Chalkboard Paint
- Ribbon(s) brads, and other embellishments
- Craft glue
Video
Instructions
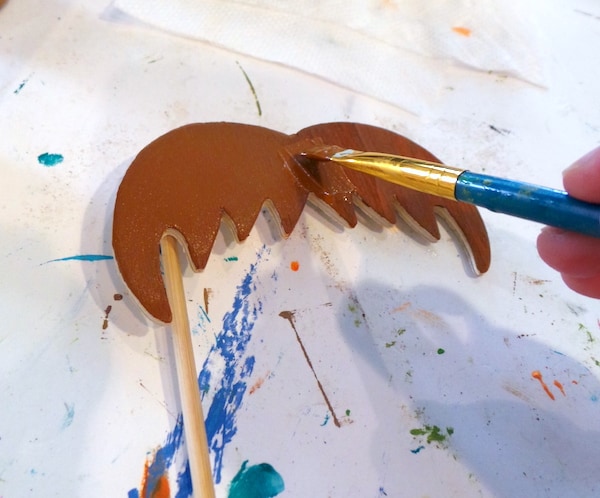
- To make your props, hot glue the dowel rods to your wood pieces. Let cool.
- Using your acrylic paint, add a basecoat the wood pieces and let dry. Do this with acrylic paint or chalkboard paint if desired.
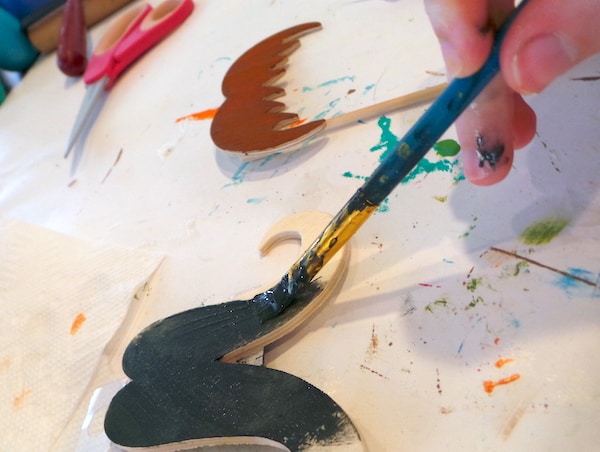
- Once dry, add a top coat of either the same color paint or a metallic paint if desired. Let dry.
- On some of the wood pieces, paint with Extreme Glitter or Sparkle Mod Podge. Let dry.
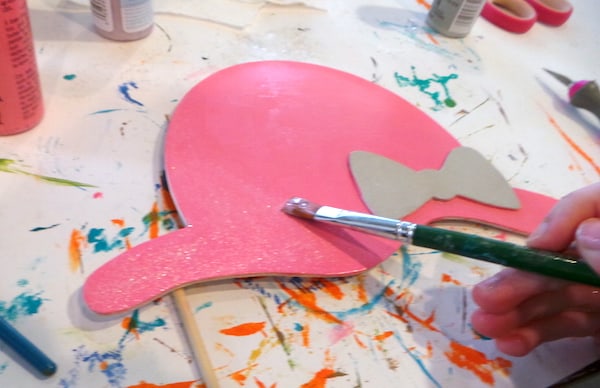
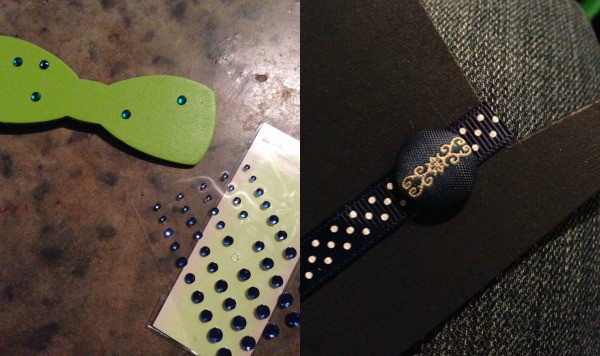
- Add embellishments like brads, adhesive gems, and ribbon with craft glue. Let dry.
- If you painted any chalkboard pieces, condition them with chalk according to the instructions on the chalkboard paint package. Let dry before using.
If you like these DIY photo booth props, I think you might like these other ideas as well:
Colorful Paper Garland • Crepe Paper Flowers • Crepe Paper Garland • Cupcake Birthday Card • DIY Baby Shower Decor • DIY Candy Garland • DIY Oscars • Felt Ball Garland • Giant DIY Greeting Cards • Make Cascarones • Make a Paper Chain • New Years Photo Booth Props

Will you just make me some and sell them to me? I was in a bad accident last week and can’t do too much. I decided a photo booth would be easier on me than all the crafts and games that we usually play. (Our NYEve party is always with the 5 grandchildren who live near us. Thanks.
These are so great! I love the sparkly touches.
I love how you decorated these props! Visiting from Made by you Monday 🙂