Easy Crepe Paper Flowers, Made in Five Minutes!
Learn how to make crepe paper flowers in 5 minutes flat – so easy and so pretty! You don’t need any crafting experience, and they are perfect for birthday parties or decor.
Skills Required: None. Even a beginner can make these flowers. I recommend them for older children as well.

Hi there! I’m excited to meet you all here at DIY Candy! My name is Ana and I blog over at Babble Dabble Do where I focus on art, science, and design for kids.
I also love a mean DIY tutorial so I am especially pumped about today’s post because it gave me the chance to explore a “grown-up” project I have been itching to try.
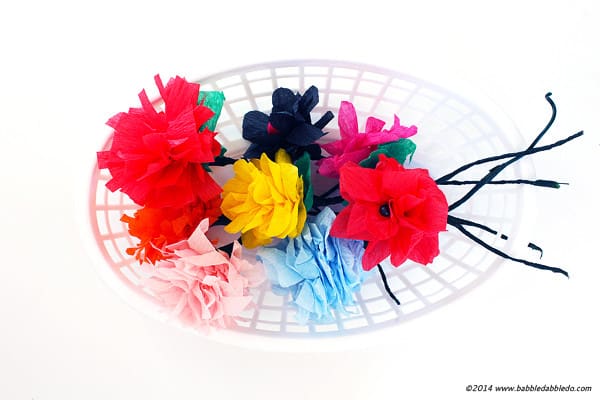
Today I’m going to show you how to make paper flowers from crepe paper, AKA streamers, in 5 minutes. Yes, that’s all the time it takes to make one flower. Actually, they took me 3 1/2 minutes each but who’s counting . . .
So the next time you’re mulling over easy, colorful, and inexpensive party decor ideas or perhaps a twist on the ‘ole bouquet of fresh flowers, take about 30 minutes and make a handful of these.
If you like paper crafts, this is going to be fun for you. Once you master the technique it will be interesting to see what else you use to make these!
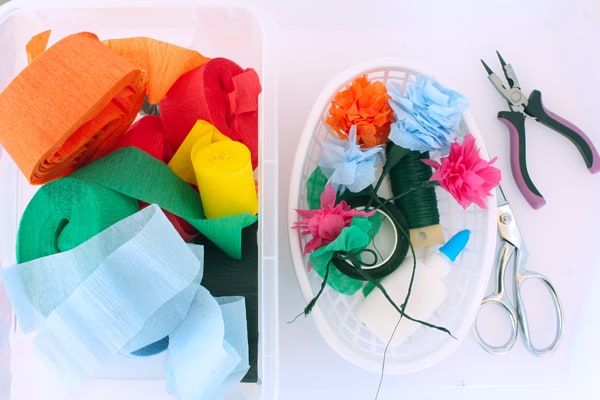
Use leftover streamers from parties and you’ve got yourself a killer upcycled project to boot!
Crepe Paper Flowers
Gather These Supplies
- Crepe Paper Streamers (reuse leftover party streamers if possible)
- Floral Wire
- Floral Tape Green
- Round Beads
- Scissors
- Wire Cutters
- Glue and/or Mod Podge
Instructions
Note: The size of the flower depends on the amount of crepe paper you cut. For our basic flowers, I cut 36” of crepe paper per flower. For larger flowers cut longer lengths of paper. Older kids can also do this project. I recommend starting them out with a 12″- 24″ piece of crepe paper.
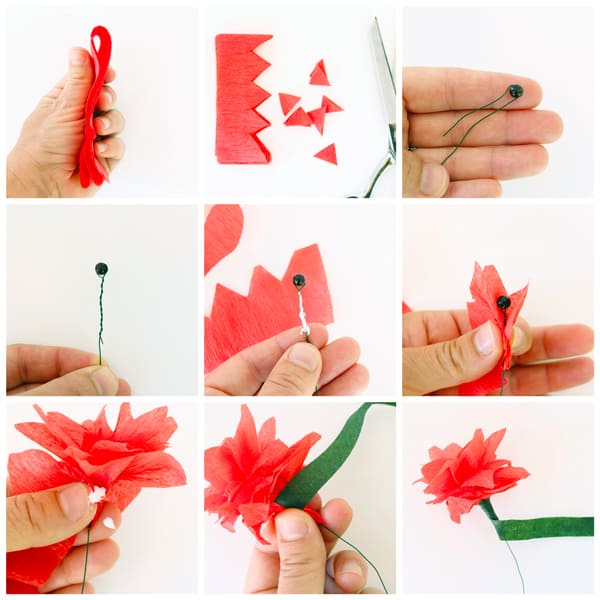
Step One: Trim your crepe paper into one long piece as noted above.
Step Two: Fold the crepe paper in half, then half again and again until you have about a 3”-4” folded strip.
Step Three: Cut one edge of the paper with a zig zag edge. This will allow the crepe paper to more easily fan out and will provide a sweet decorative look to the flower edges. Unfold.
Step Four: Cut a roughly 6” length of floral wire. Take one bead and thread it through the wire leaving a 1” length on one side of the bead.
Step Five: Fold the wire over the bead and then twist it around the other side of the wire to secure it in place. This will be you stem and flower center.
Step Six: Take your “stem”and add a dollop of glue around the twisted base. Then begin wrapping it with the trimmed crepe paper. As you wrap, pinch the bottom of the crepe paper and gently fold it while fanning out the zig zag edges.
Fold and pinch, fold and pinch, got it? Add glue periodically around the base as you pinch it to secure the flower together.
Step Seven: When the crepe paper has been fully wrapped around the stem, pinch the base tightly together. Gently pull on the stem to tighten the center of the flower around the bead.
Step Eight: Cut a roughly 12” piece of floral tape and begin wrapping it around the base of the flower and stem. You want it to be as tight as possible at the base as this is what holds the flower together.
Continue wrapping the tape all the way down the floral wire to form a meaty stem.

You’re done! Fluff as desired! In thirty minutes, I bet you can make 6 more. At least!
TIPS
If you want to make larger flowers cut longer lengths of crepe paper. The caveat is that crepe paper is not very wide. Your flowers will never be big and bushy, but rather sweet and delicate. If you want big, gigantic paper flowers, try making them out of tissue paper.
Add a dollop of glue or Mod Podge on the stems and underside of the flower base after making each flower. This will help the floral tape stay in place.
Crepe paper flowers are delicate! They can be re-fluffed after a good crushing but will never quite look as pretty. Treat the finished flowers with care and by all means don’t hand them to your toddler, ha! I tested this and my flowers faced immediate crushing, tearing, and unraveling….
Crepe paper can also be tightly wound around the base in lieu of floral tape. You will need to securely glue to the base of the flower if you try this method.
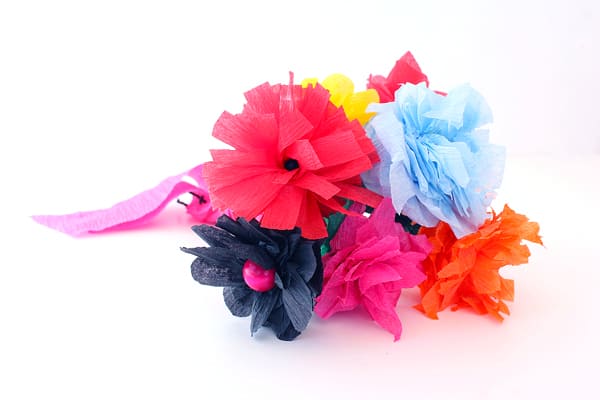
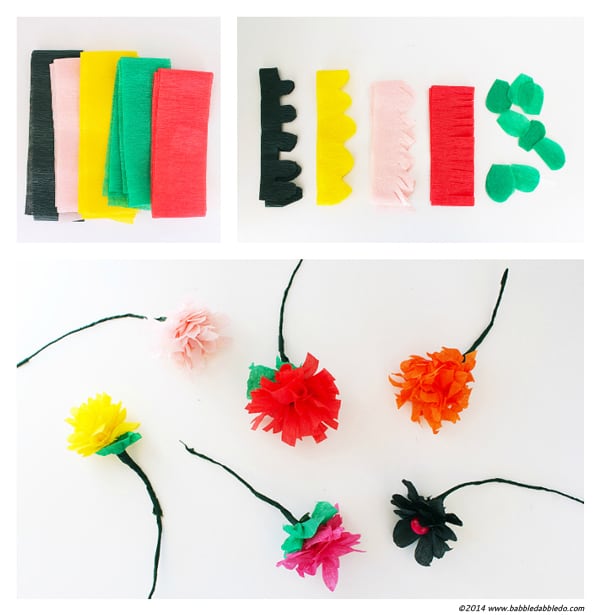
Get creative with the cutting! There are endless variations for the edges. Here are a few we tried including leaves which can be tucked under flowers for greenery.
Now that you’ve made crepe paper flowers what can you do with them?
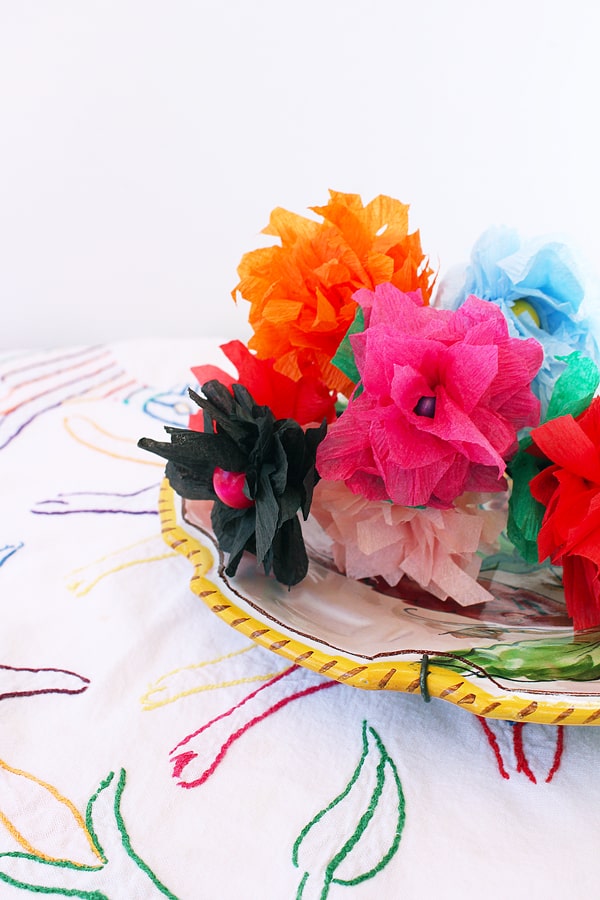
- Mini bouquets for table décor and/or gifts
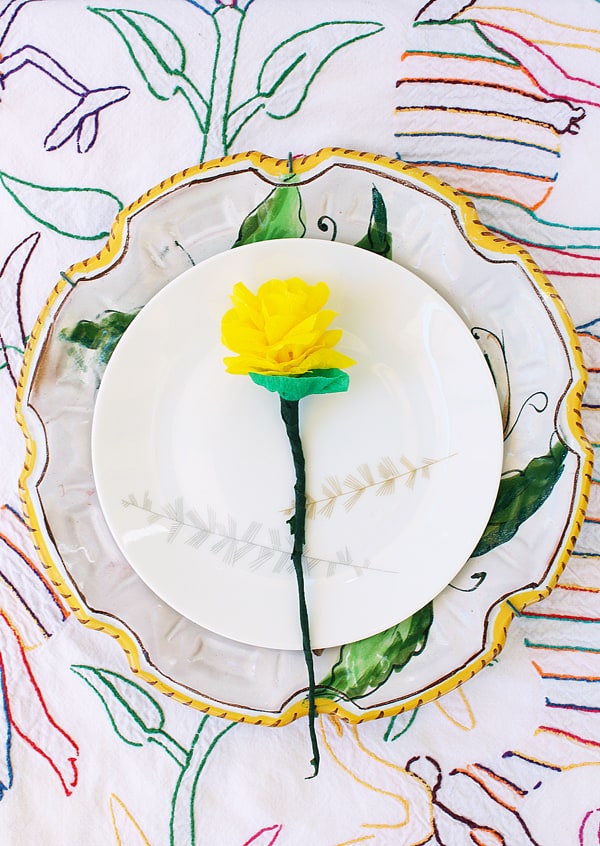
- One flower per table setting for a dinner party
- Put one with a small stem behind your ear and get tropical
- Use them in place of bows on gifts
- Twist them into a pretty garland
- Use them on a wreath
I love when a tutorial is super quick and yields lovely results. I hope you enjoyed learning how to make paper flowers in 5 minutes flat!
If you enjoyed this crepe paper project hop over to Babble Dabble Do and check out our Crepe Paper Bracelets too! Then go ahead stay awhile, we’d love to have you!
Crepe Paper Flowers
Equipment
- Wire cutters
Materials
- Crepe Paper Streamers
- Floral Wire
- Floral Tape Green
- Round Beads
- Glue and/or Mod Podge
Instructions
- Trim your crepe paper into one long piece as listed in the notes.
- Fold the crepe paper in half, then half again and again until you have about a 3”- 4” folded strip.
- Cut one edge of the paper with a zig-zag edge. This will allow the crepe paper to more easily fan out. Unfold.
- Cut a roughly 6” length of floral wire. Take one bead and thread it through the wire leaving a 1” length on one side of the bead.
- Fold the wire over the bead and then twist it around the other side of the wire to secure it in place. This will be you stem and flower center.
- Take your “stem”and add a dollop of glue around the twisted base. Then begin wrapping it with the trimmed crepe paper. As you wrap, pinch the bottom of the crepe paper and gently fold it while fanning out the zig-zag edges.
- Fold and pinch, fold and pinch. Add glue periodically around the base as you pinch it to secure the flower together.
- When the crepe paper has been fully wrapped around the stem, pinch the base tightly together. Gently pull on the stem to tighten the center of the flower around the bead.
- Cut a roughly 12” piece of floral tape and begin wrapping it around the base of the flower and stem. You want it to be as tight as possible at the base.
- Continue wrapping the tape all the way down the floral wire to form a thick stem.
Notes
Did you enjoy these crepe paper flowers? I’d love for you to check out these other party ideas!

