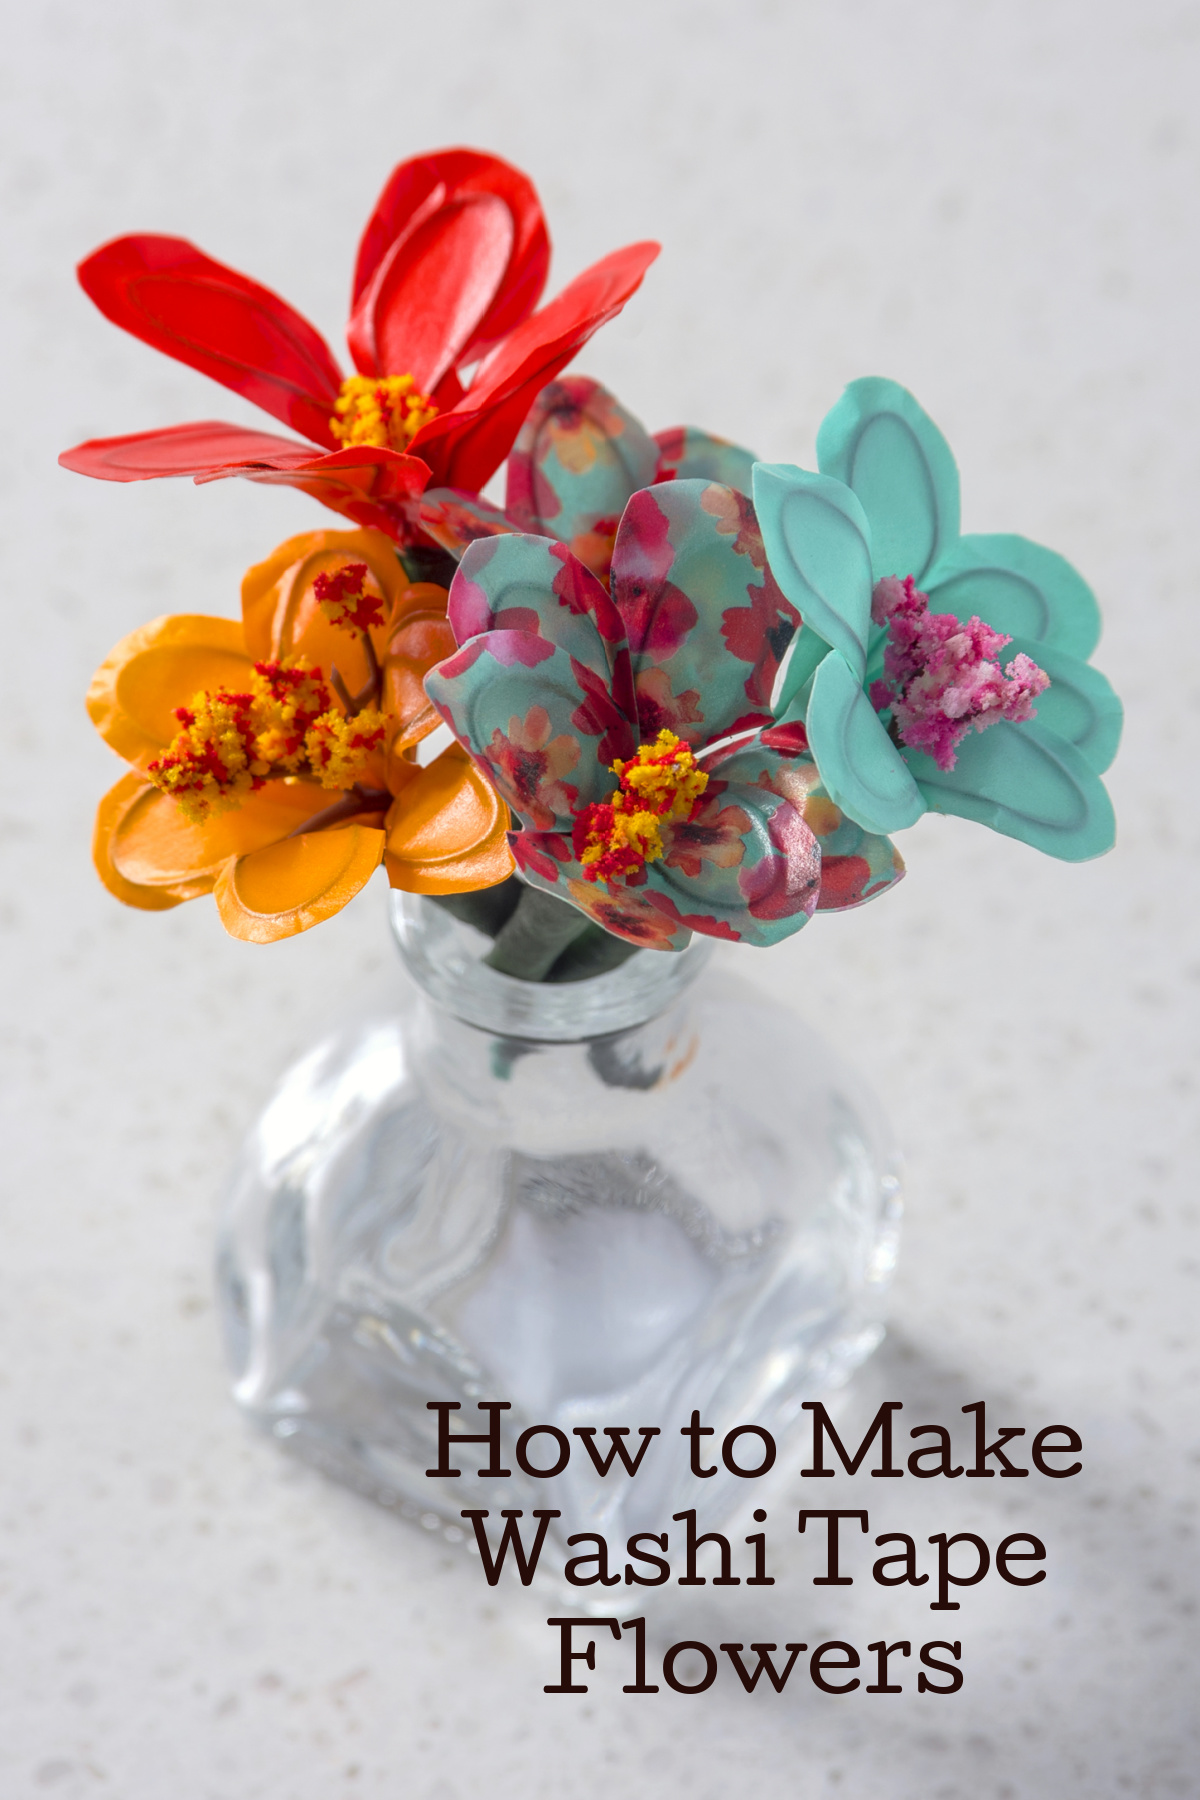
Make Washi Tape Flowers The Easy Way!
Learn to make washi tape flowers – the easy way! You’ll use just a few craft supplies, and anyone can make flowers with this method, including kids.
Skills Required: Beginner. You will be cutting and bending wire as well as using tape. This tutorial is nice because there is nothing to learn and no mess. Each flower takes just a few minutes to make.
With spring in full swing, and summer right around the corner – I feel like flowers are everywhere! All my neighbors plants are blooming, and the weather here is beautiful. I feel inspired by all things bright and colorful, which is how these washi tape flowers came to be.
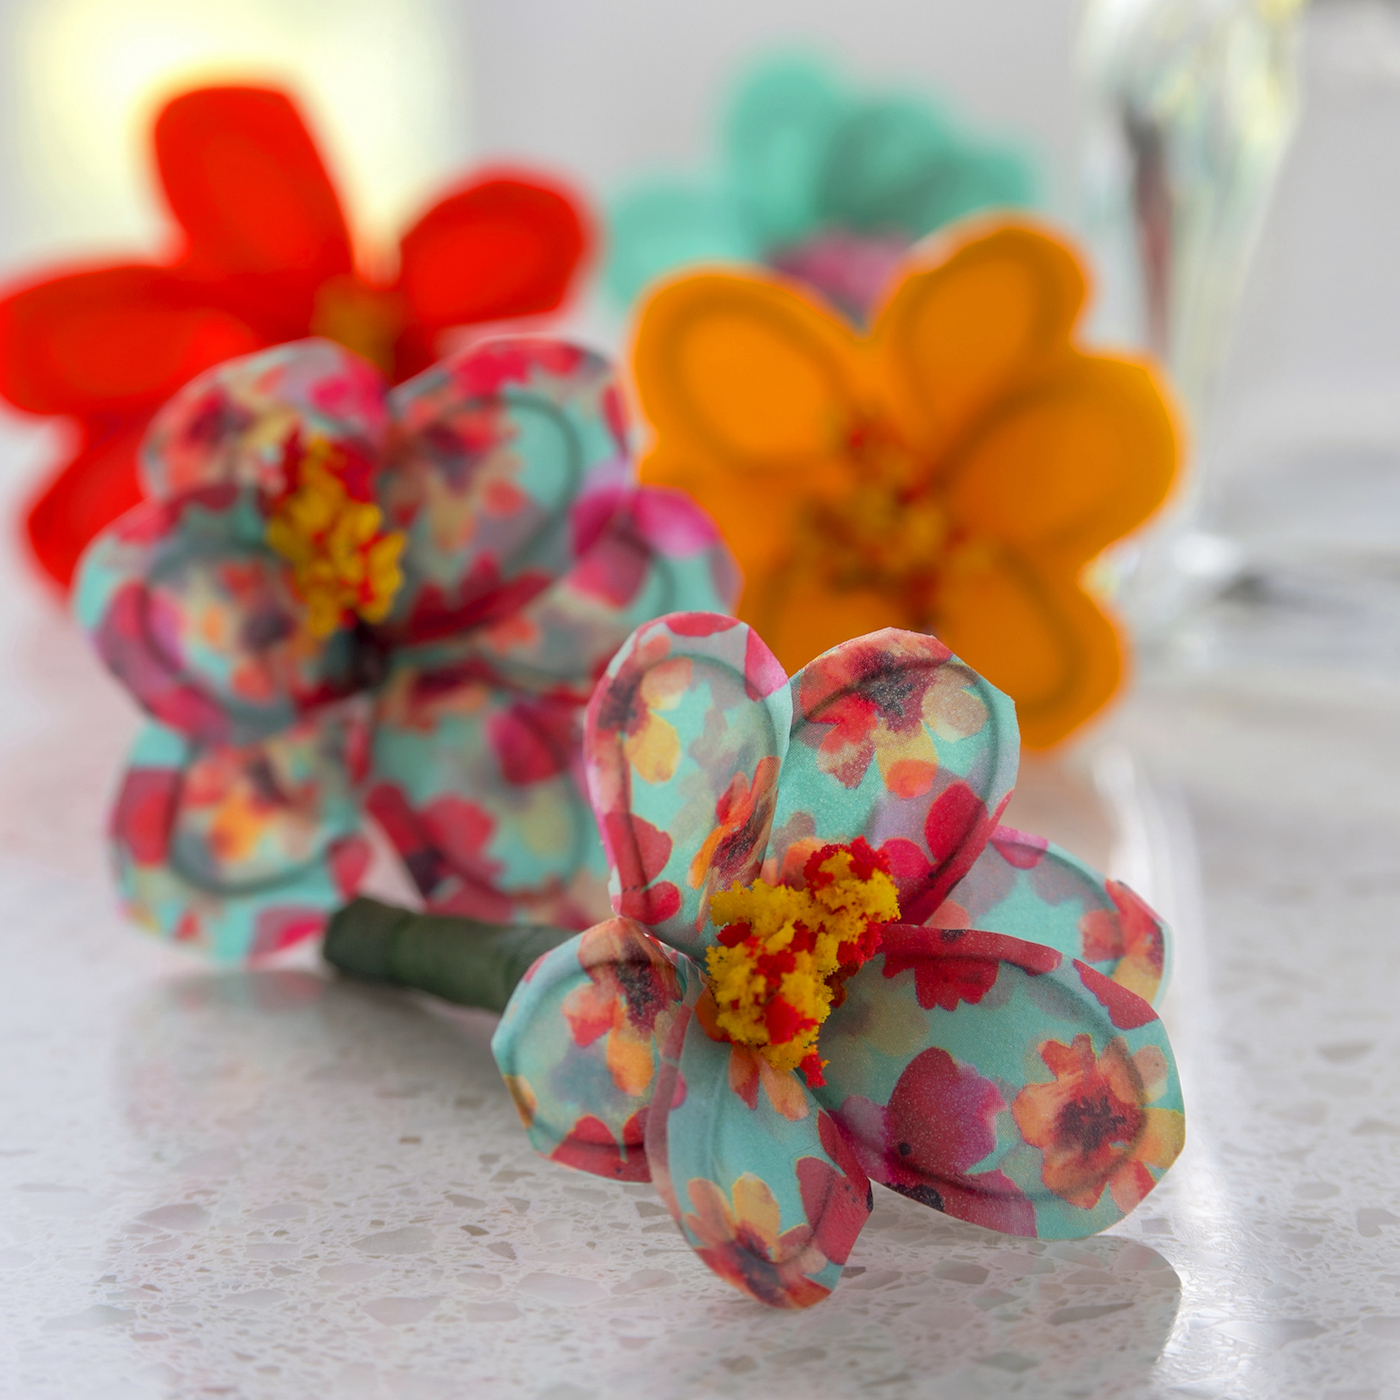
If you’ve never tried to make flowers with washi, it’s one of the easiest things you can do with this type of tape. Washi tape sticks to itself easily, and of course the patterns and colors make them perfect for florals. Can’t you see these used in spring/summer crafts, home decor, party, or even wedding?
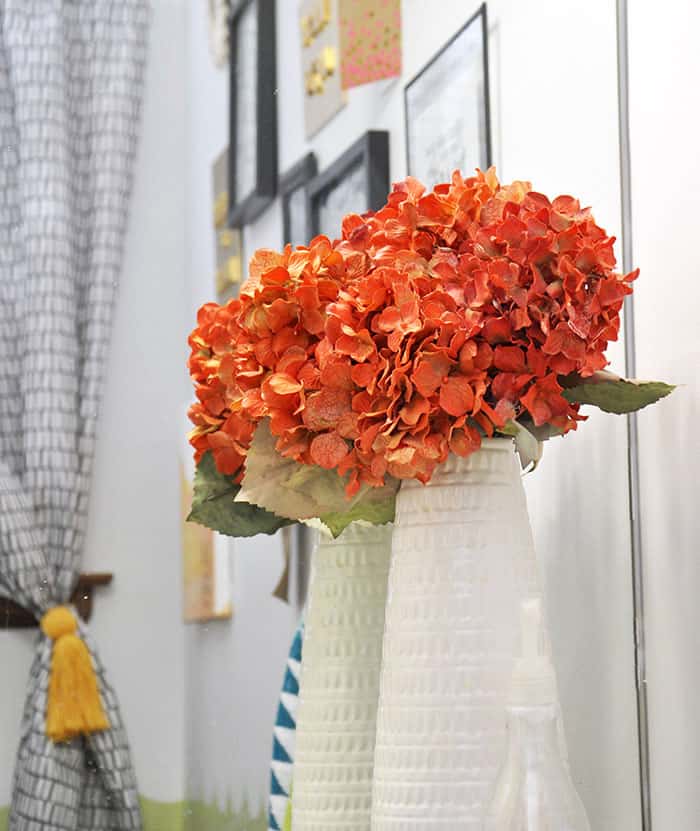
I made a bunch of washi tape flowers to display in a little vase around my home, and I wanted to show you how to do it as well. Once you start making these, you won’t want to stop.
The only hard part of this tutorial is deciding which washi tape to use. I love that the longest part of this project is selecting what colors and patterns I like!
Before I show you how to make flowers, I want to give you my best tips for using washi tape.
Tips for Using Washi Tape
I’ve used a lot of washi tape over the years, and I personally love the Duck Washi Crafting Tape. If you’ve bought a lot of washi tape, you understand that there is a difference in quality.
Some of the “cheap” types just don’t stick. What I love about the Duck Washi (besides the awesome patterns!) is that it sticks every time.
Duck Washi sticks to itself pretty well, so just keep that in mind as you use this tape. If you stick the tape together and make a mistake, simply pull it apart and try again if you can. If you can’t, just strip it from the wire and start over.
As far as patterns, it looks cool to mix washi tape colors/patterns. Do keep in mind that the tape is slightly transparent. So I would use solids and patterns together, but not patterns/patterns unless you are using them on separate petals.
Are you ready to learn to make flowers? Get the tutorial for this easy adult craft below!
Make Flowers out of Tape
Gather These Supplies
- Duck Tape washi tape in various colors and patterns
- Floral wire – any color, I used 24 gauge
- Floral tape
- Floral accents (for the centers) – floral section at Michaels
- Wire cutters
- Scissors
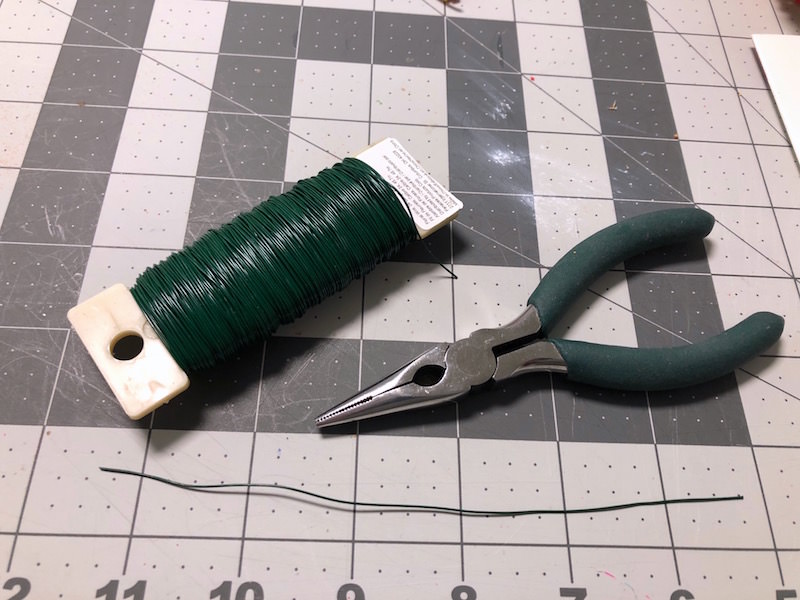
Cut a piece of floral wire approximately 6″ long using your wire cutters.
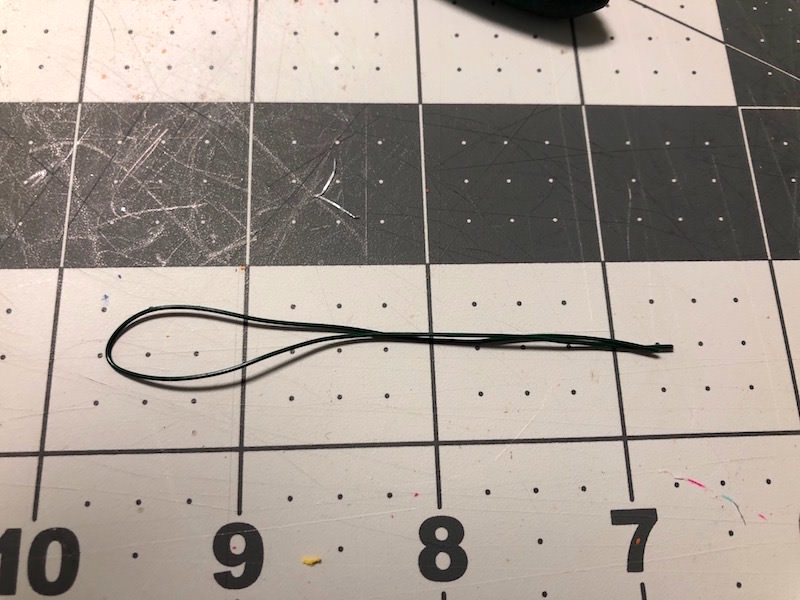
Fold the wire in half and bring the ends together, leaving a loop at the top just like you see in the picture above.
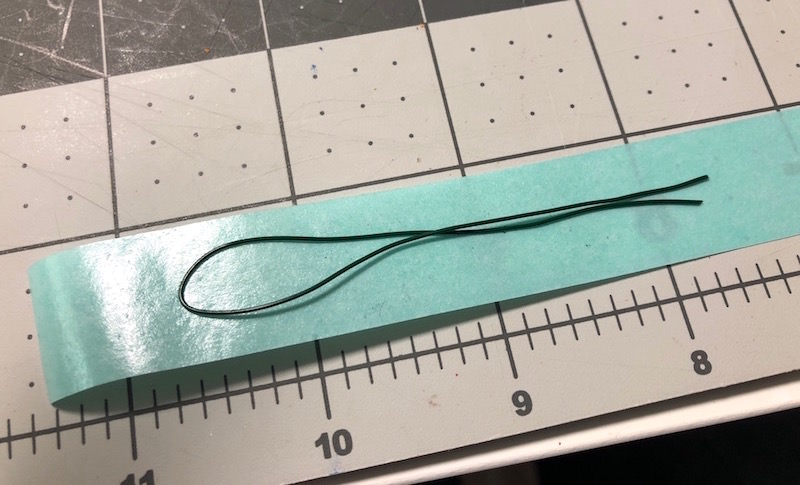
Place a piece of washi tape on the back of the floral wire, completely covering the wire.
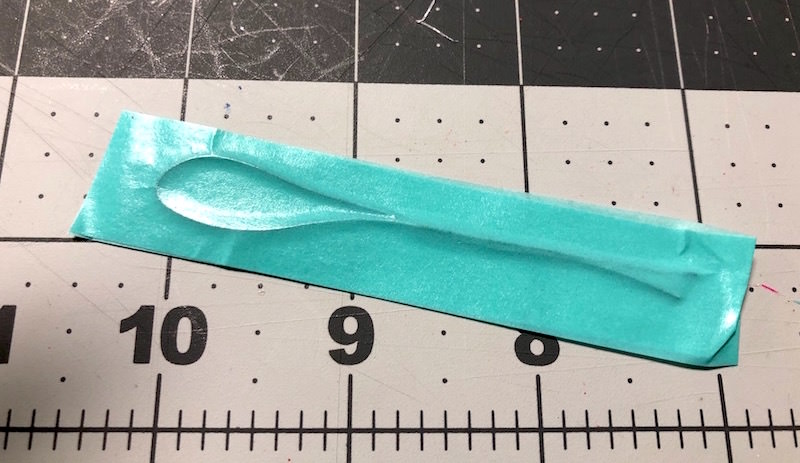
Flip the wire over and place another piece of tape on the other side, smoothing down to make sure the pieces adhere.
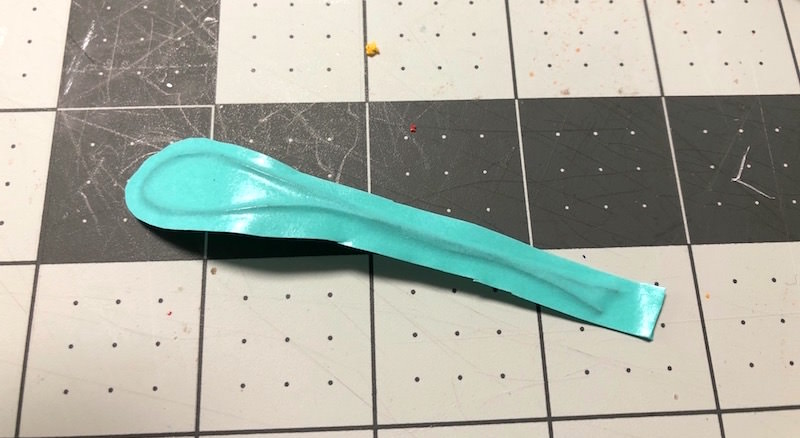
Trim around the edge of the wire with scissors, but don’t cut too close to the wire. You want to make sure there’s about 1/8″ – 1/4″ of washi tape around the edge that can stick together.
After you make one petal, you are going to want to make four to five more. I used a total of six petals for each flower.

Cut a piece of floral accent that you can put in the middle of the petals. I got some small, pretty flowers from the floral section at Michaels.
I noticed they also have this same accent material in the spring section near the gnome houses. You don’t necessarily need to put something in the middle, but I like how it finishes the washi tape flowers.
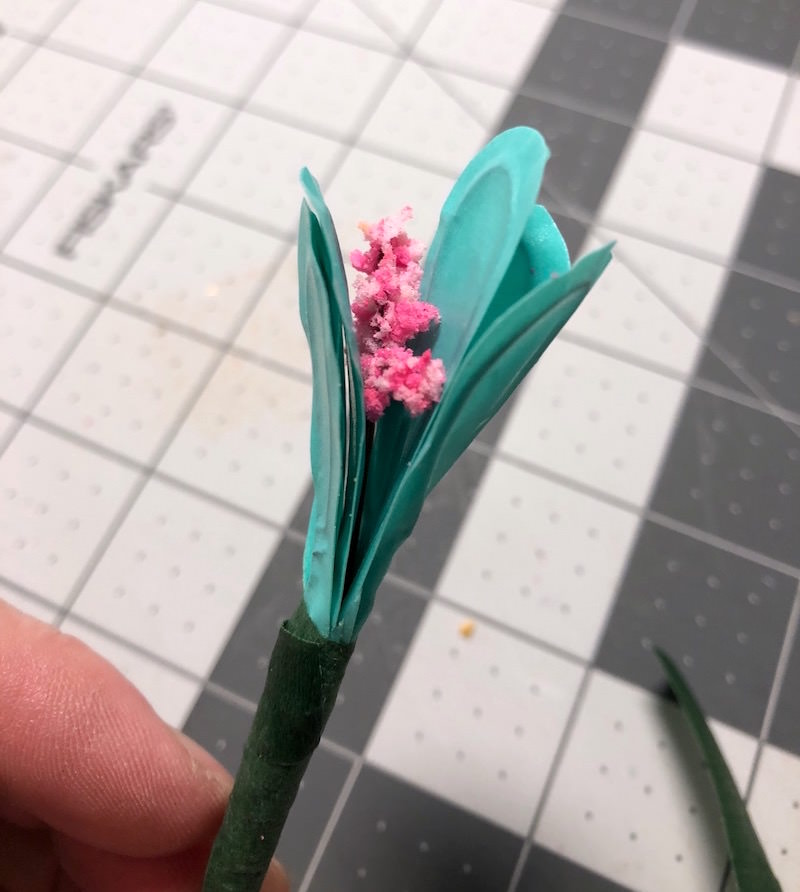
Place three petals on one side of the center accent and three petals on the other. Wrap the base with floral tape as shown. You’ll wrap the base about 8 – 10 times. You can tear or cut the floral tape at the end (and it sticks to itself).
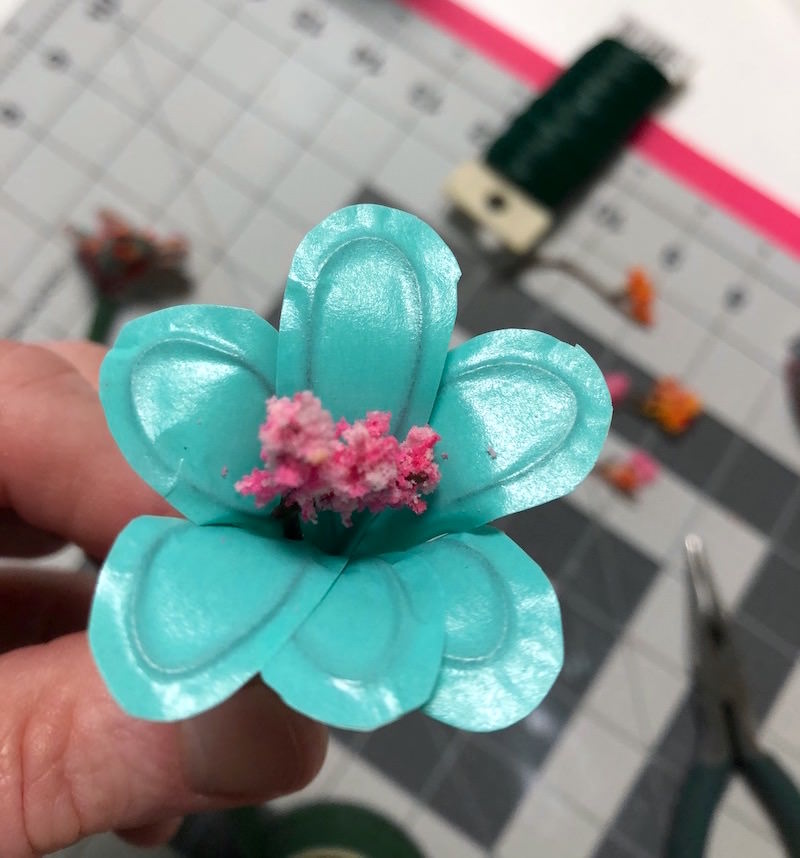
Bend the petals in the direction that you want them to go around the center of the flower. The wire makes it really easy!
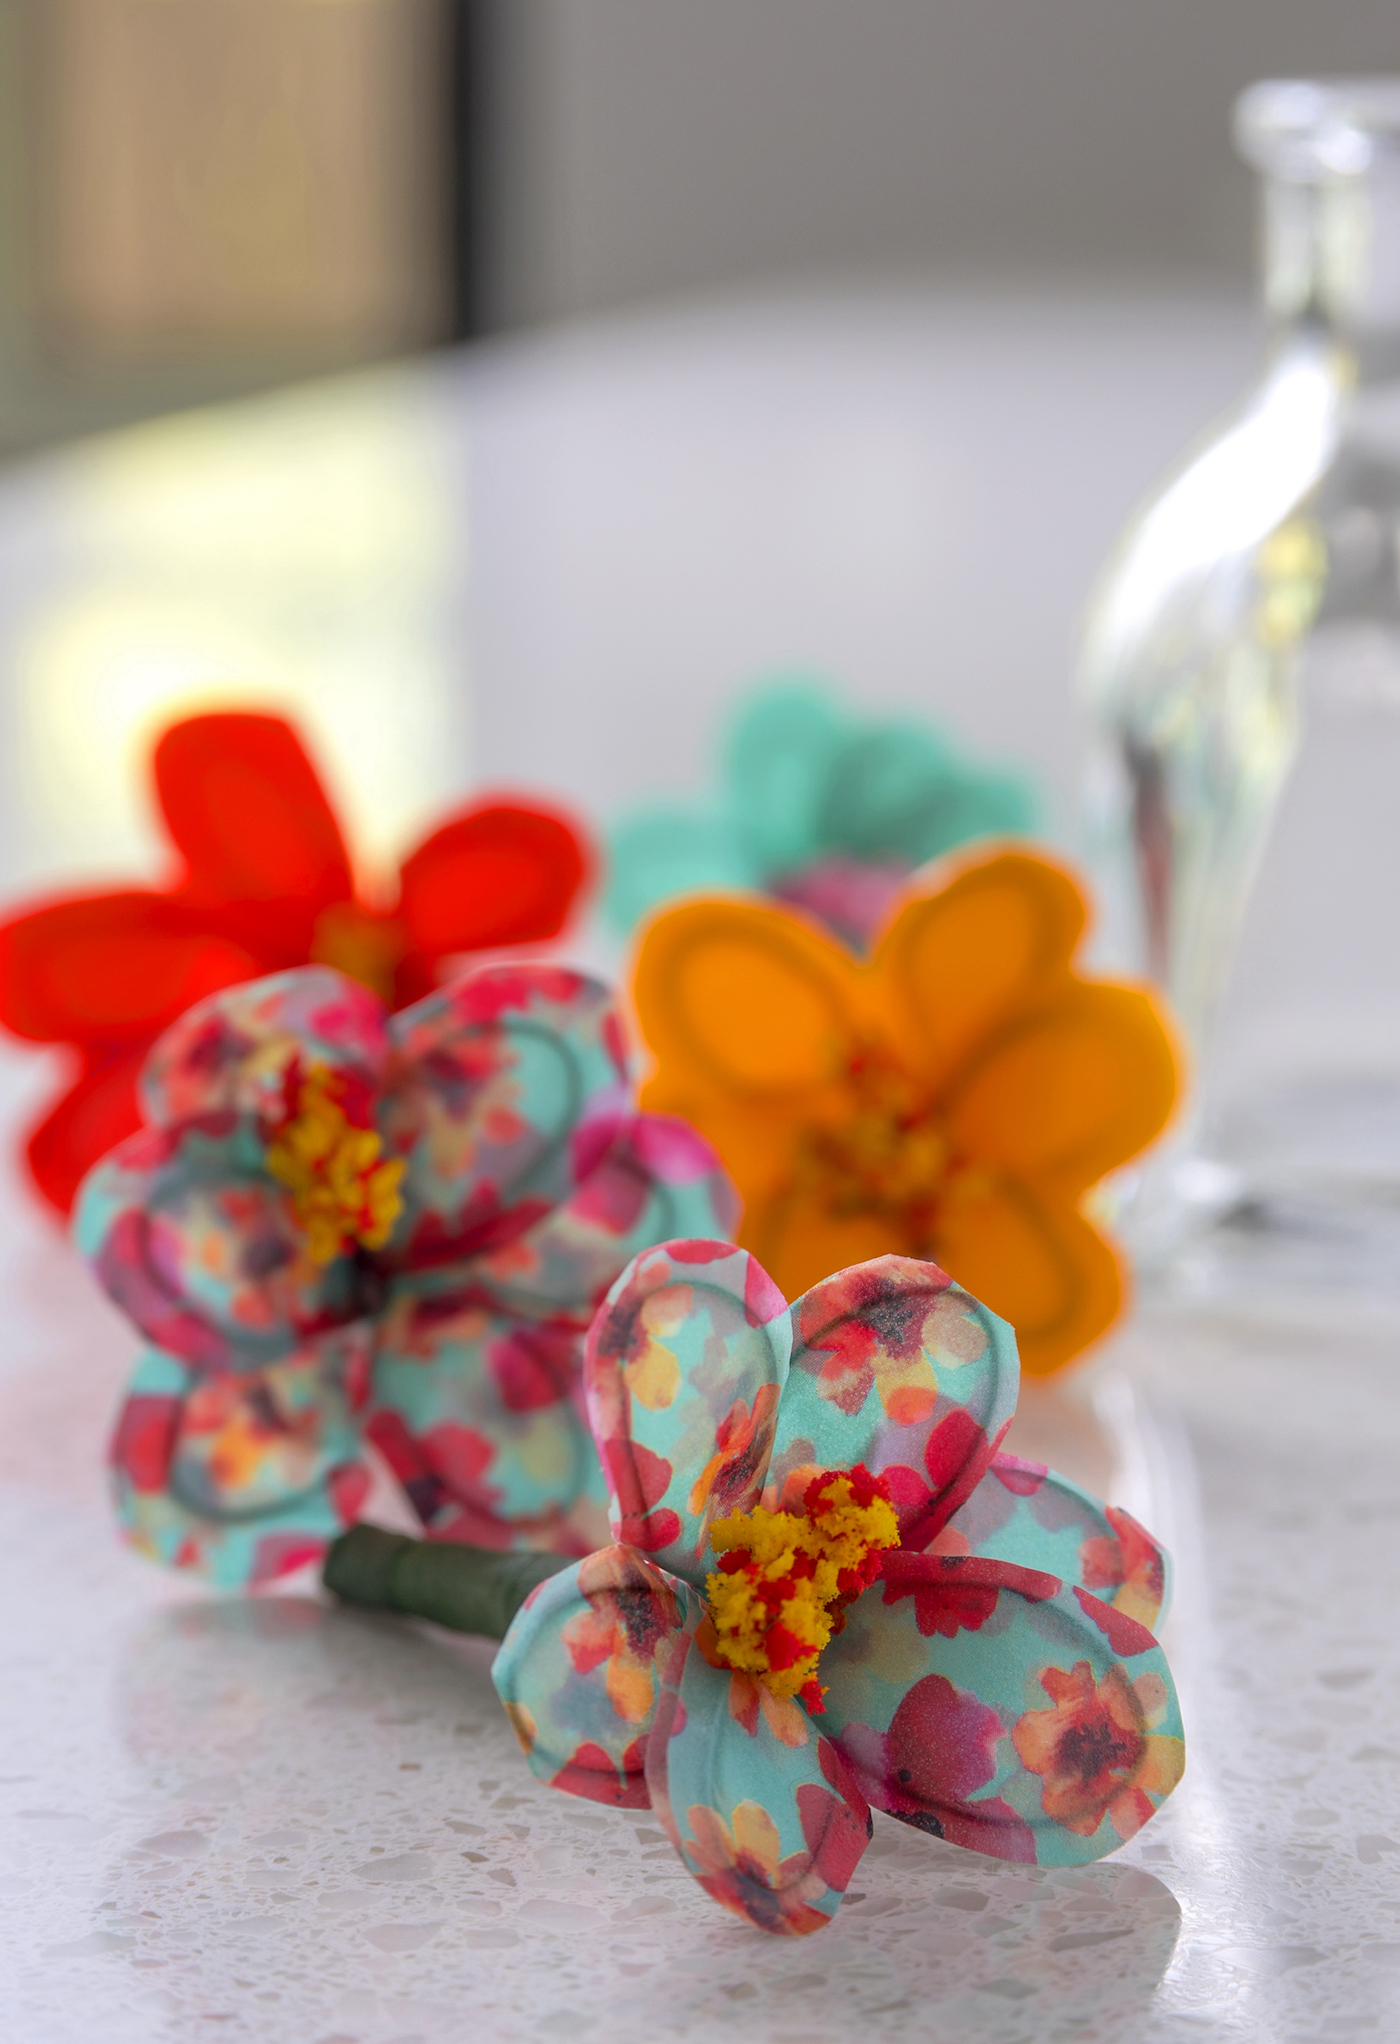
Once you make one flower – make at least 100 more! Okay maybe not 100 . . . but you’ll probably want to make a lot. Anyone that tries this tutorial is automatically obsessed with it. It’s just too easy and fun not to love!
If you enjoyed these washi tape flowers, try these DIY dry erase boards. They use washi tape as well! I’d also love for you to check out these other ideas: