DIY Candy

the best of creative eye candy

  • Crafts
  • Holiday
  • Home Decor
  • Household
  • Recipes

Home / Crafts / Easy-to-Make DIY Dry Erase Board for $1

Easy-to-Make DIY Dry Erase Board for $1

April 26, 2019 by Amy

Facebook6TweetPin417YummlyEmail

Make your own dry erase board the easy way! This DIY dry erase board was created from a $1 frame and uses washi tape. Even a beginner crafter or kid can do this project.

Learn how to make your own dry erase board using a $1 frame from IKEAIf you’ve ever been to the frame section of IKEA, there are so many good options – and a lot of them are inexpensive. That’s the whole reason we love IKEA, right? Good looking stuff for a few bucks. 
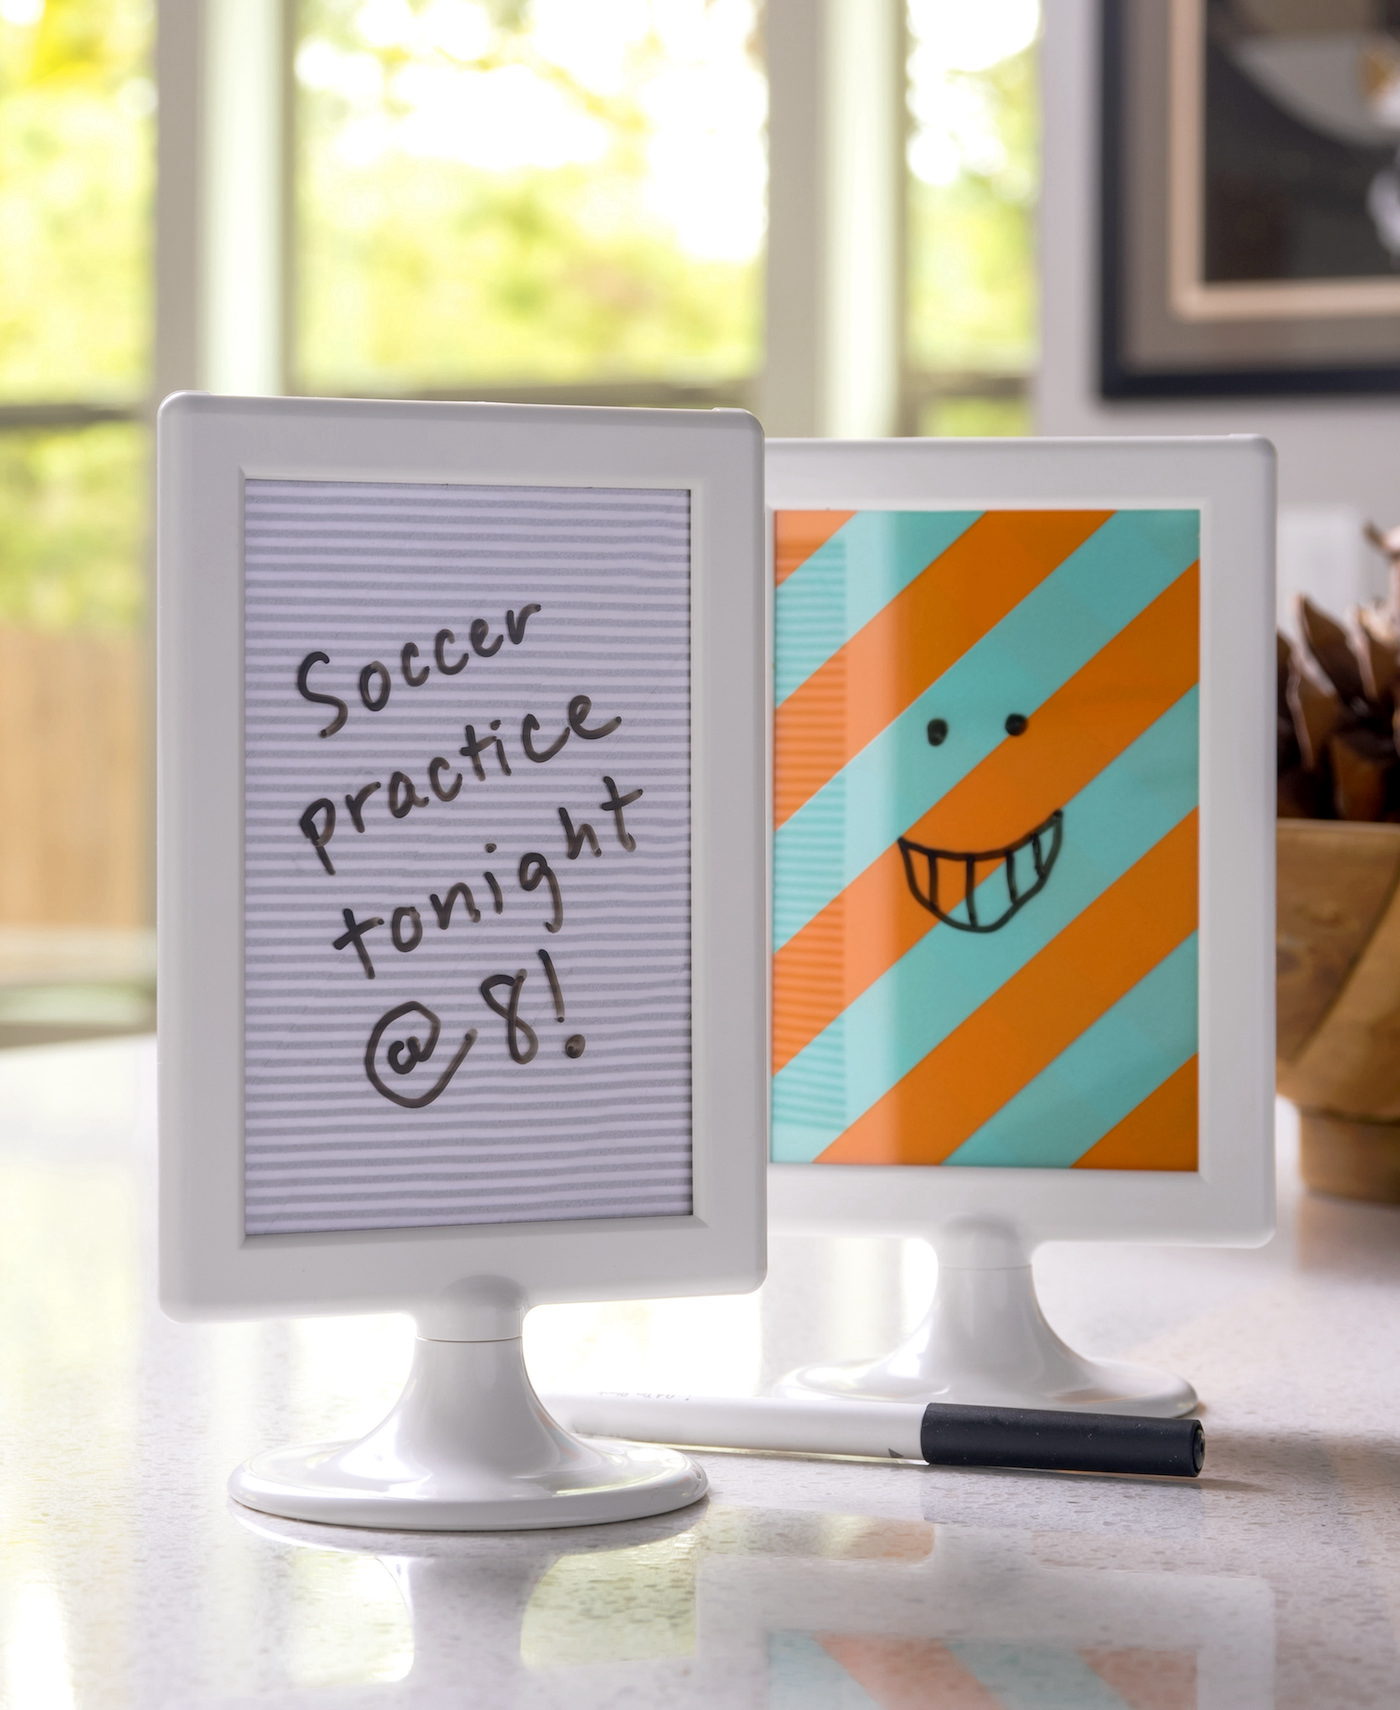
One of those options in the frame section that’s on point is the Tolsby frame. The same frame I used to make this DIY dry erase board.

Make Your Own Dry Erase Board

If you want to make your own dry erase board, you can use any frame as long as it has a glass or plastic insert. What I love about the Tolsby frame is that it’s double-sided, so that means you can use it as a dry erase board on both sides.

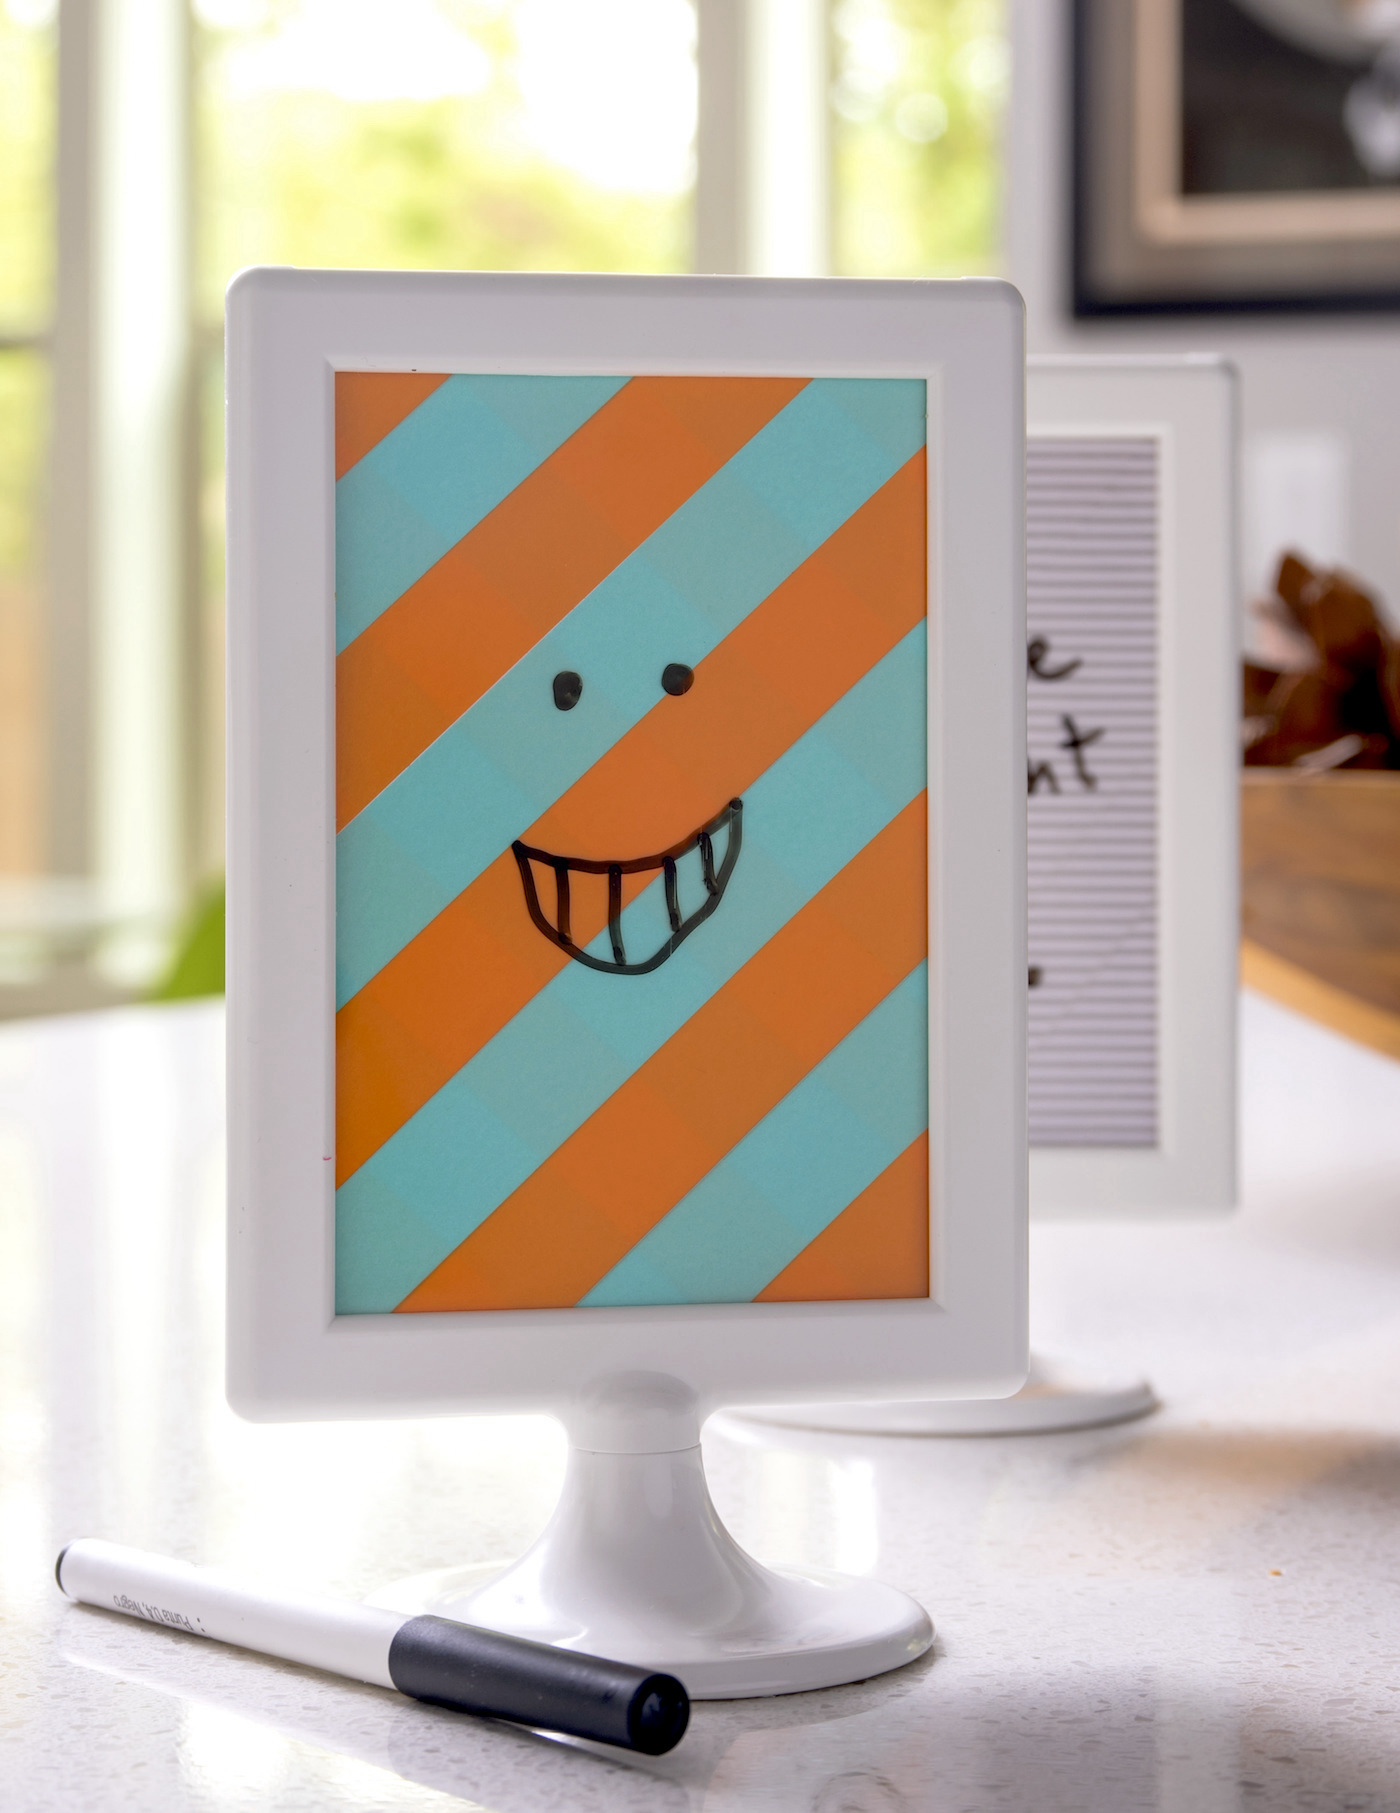
This is a mini board given that it only displays a 4″ x 6″ picture, but you can go with any size and use the same washi tape method below to decorate. Not only does IKEA have frames on the cheap that work, but Dollar Tree does too. There are a lot of places that sell frames, but I’m all about making this DIY erase board project on a budget. Don’t forget to hit the thrift stores too!

Duck washi crafting tapeTips for Using Washi Tape

I’ve used a lot of washi tape over the years, and I personally love the Duck Washi Crafting Tape. If you’ve bought a lot of washi tape, you understand that there is a difference in quality. Some of the “cheap” types just don’t stick. What I love about the Duck Washi (besides the awesome patterns!) is that it sticks every time.

Washi tape pretty much sticks to everything except for fabric and plastic. On both of these surfaces, it’s going to roll up over time. Besides that, you can use just about anything in your frame.

As far as patterns, it looks cool to mix washi tape colors/patterns as I did with the aqua and orange in this project. You can place washi tape on the cardstock horizontally, vertically, or diagonally. I say just experiment and play with it. The worst thing that can happen is that you have to cut a new piece of cardstock and start over. It’s really no big deal since it’s so easy to use and you won’t invest a lot of time!

Are you ready to make your own dry erase board? Keep reading!

DIY Dry Erase Board

Gather These Supplies

  • Tolsby frame from IKEA (or similar)
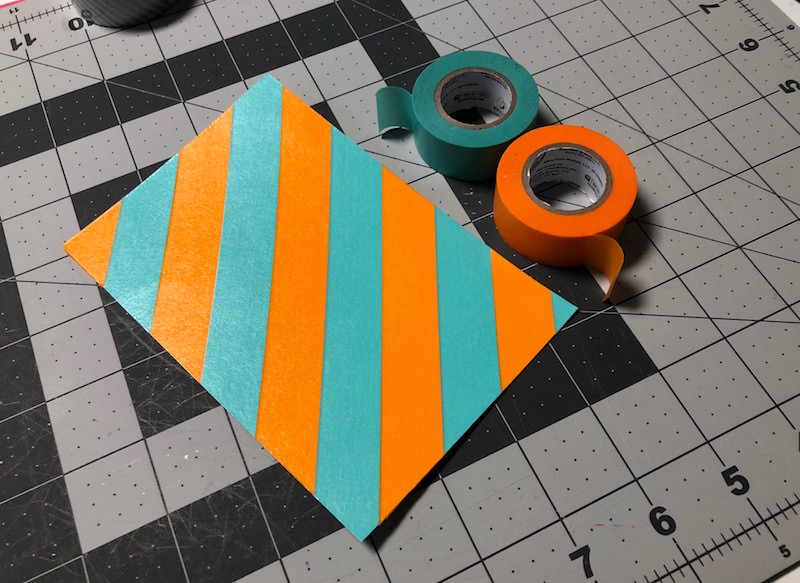
  • Duck Tape washi tape in various colors and patterns
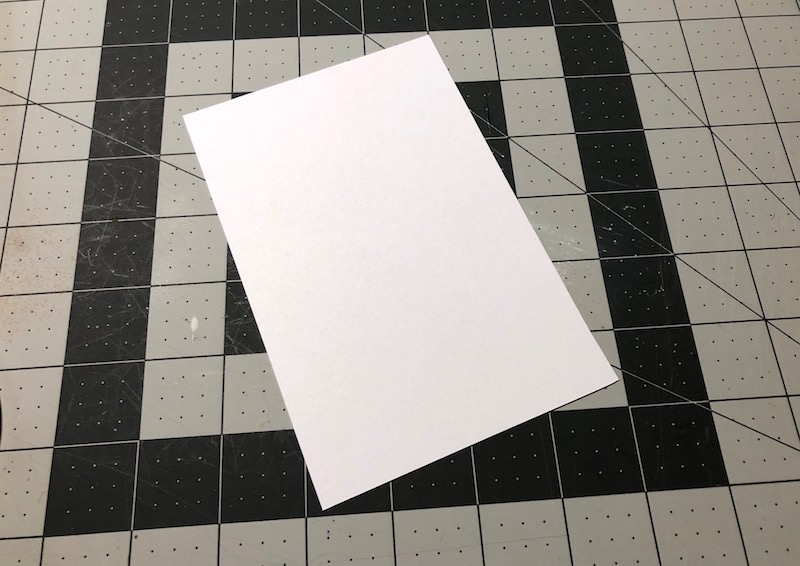
  • One sheet of cardstock
  • Scissors or craft knife

DIY dry erase board frame parts - IKEA tolbyThis is the frame I used from IKEA. There are two plastic inserts and then a base that the frame screws in to. The pictures go back to back in this frame, so it’s two sided (which makes it more fun for the dry erase board).

To make your own dry erase board, use a frame similar to this. Of course any glass or plastic frame will work, but this one is two sided!

DIY dry erase board - cut paper to fitCut a piece of white cardstock to fit your frame. It’s easy to get the right size – just take the plastic inserts from inside, trace, and then cut.

Covering cardstock with washi tapePlace your washi tape down on the cardstock. You’ll just peel it off the roll and place down on the cardstock. Tear or cut the ends and then smooth down.
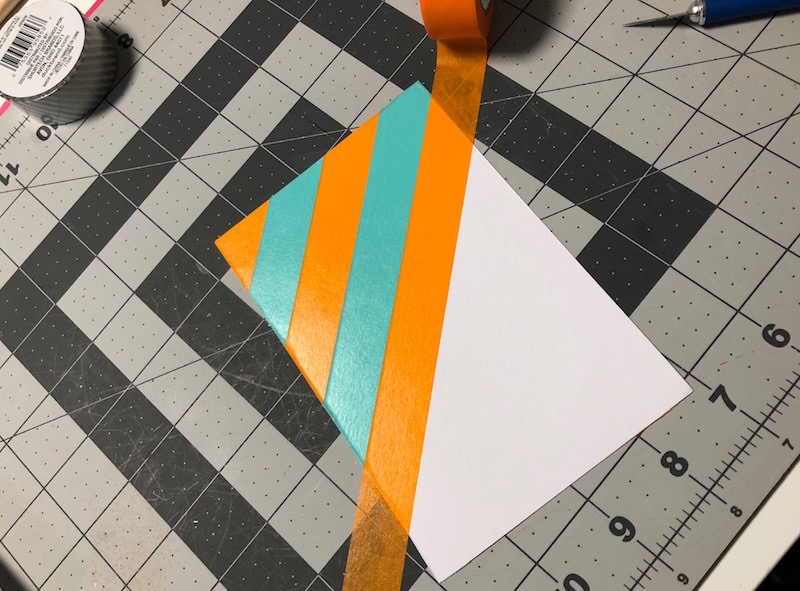
 Washi tape sticks to cardstock pretty well without any additional help.

Trim around the edges of washi tape cardstockAt the corners of your cardstock, trim the washi tape using scissors or a craft knife.

Cardstock covered in two colors of washi tapeOnce you are doing covering one side of the cardstock with washi tape, cover the other side and then trim.

Make a DIY dry erase board using a $1 frame from IKEAInsert the cardstock into the frame, making sure to place the glass or plastic insert over the top. You can use any dry erase marker to write on your DIY dry erase board, and it wipes away with ease.

Learn how to make dry erase board using a $1 frame from IKEAUse this mini DIY dry erase board to leave notes for family members – or to yourself! These are so fun for surprising people with sweet messages. I like to keep one at my desk so I can remind myself of the most important thing I need to accomplish for the day.

What will you write on your DIY dry erase board? Let me know in the comments!

And if you are interested in another craft that uses washi tape, try these upcycled mint tins. Just click the image below:

If you love washi tape crafts, grab your favorite pattern, a used mint tin, and turn into a cute little holder! This is such a fun and easy upcycled craft!

Disclosure: I’m working with Duck Brand as an ambassador for the year. While I am compensated for my time, all opinions are 100% my own and honest – I absolutely love Duck Tape!

Facebook6TweetPin417YummlyEmail

FILED UNDER | Accessories, Budget, Crafts, DIY Home Decor TAGGED | Duck Tape crafts

subscribe-diycandyDo not miss another post. Subscribe today to have future blog posts delivered!

  • 
  • 
  • 
  • 
  • 

You might also like:

Christmas string artCool Christmas String Art (with a Free Template!)
DIY bracelets for kids with Duck TapeMake DIY Bracelets for Kids with Duck Tape
Deer head canvas using fabric Duck TapeDIY Deer Head Silhouette Canvas with Fabric Tape
Learn how to make a very unique unicorn valentines box with Duck Tape! Grab a shoebox and the free patterns - kids will love to make this!DIY Unicorn Valentine’s Box with Duck Tape
If you've never made a wreath with Duck Tape before, you're missing out! This DIY Halloween wreath is very simple and can be made with any pattern of tape.DIY Halloween Wreath with Duck Tape
  • 
  • 
  • 
  • 
  • 
amy-anderson-diycandy meet Amy »

subscribe-diycandyDo not miss another post. Subscribe today to have future blog posts delivered!

Project of the Week

Transfer Photos to Wood

Transfer Photos to Wood

  • Home
  • About Me (Let’s Work Together!)
  • Advertising
  • Privacy Policy
  • Other Policies

© 2019 DIY Candy · All Rights Reserved · Built on Genesis Framework by Anchored Design

Share this ArticleLike this article? Email it to a friend!

Email sent!