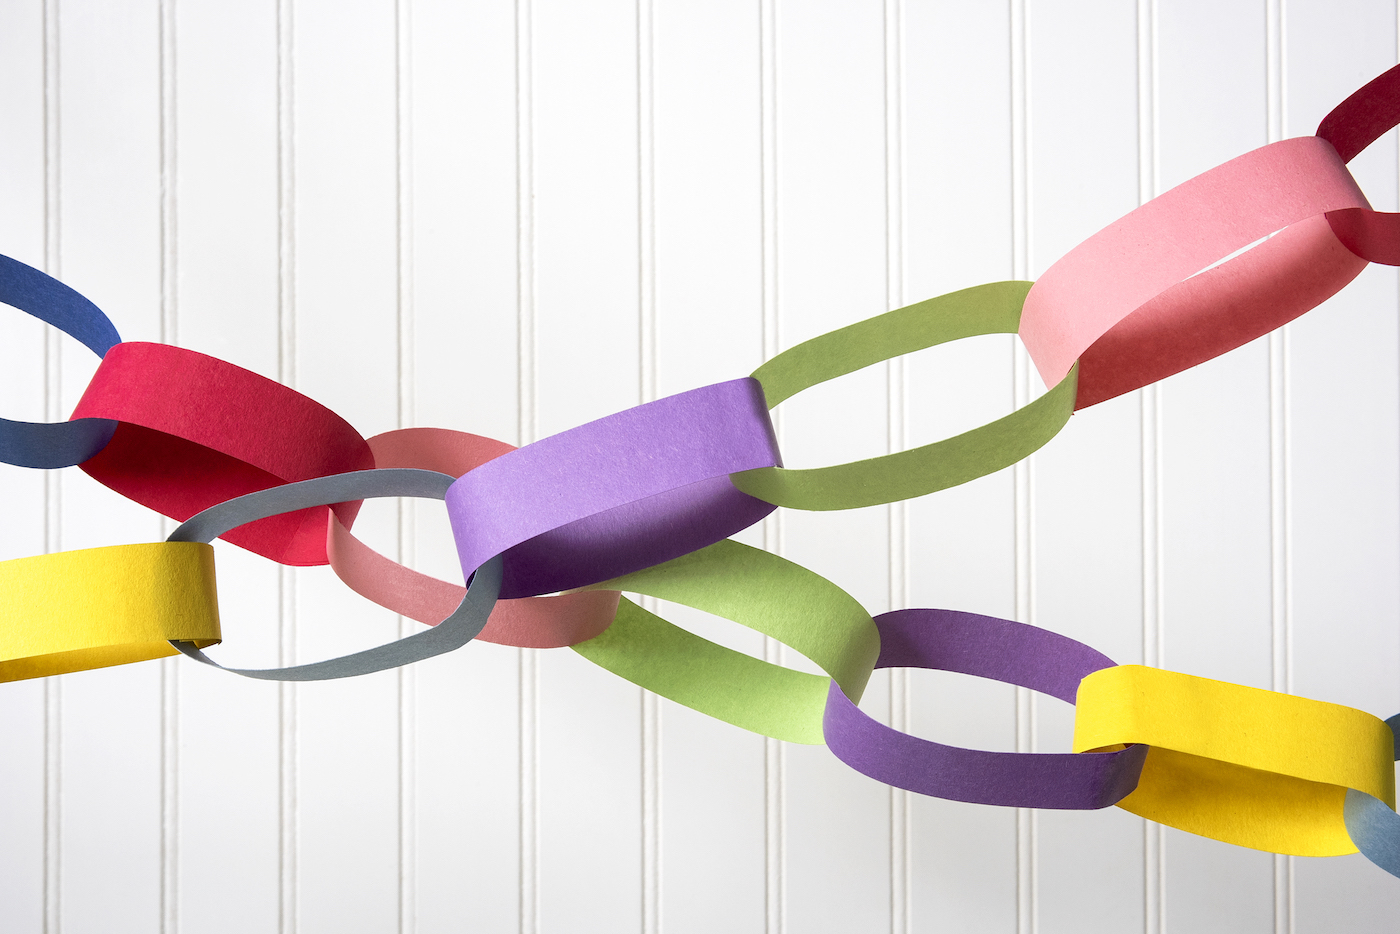
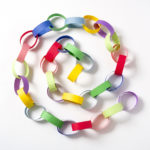
Paper Chain Made in Four Simple Steps
Learn how to make a paper chain the easiest way possible! Making paper chains is a great craft for kids and perfect for party and holidays.
Skills Required: None. Even if you’ve never made anything before, you can make these chains. You’ll be cutting paper, attaching ends, and stringing loops together.
Let’s face it: paper chains have been around forever! They’re nothing new. Since the invention of construction paper and folks making paper crafts . . . paper chains have been a thing.
People love making them because they’re easy even if you’ve never made one thing before. They’re also a fun reminder of crafting in school. Who didn’t make one of these when they were little?
Just because you’re not a child anymore doesn’t mean you can’t enjoy crafting, and a DIY paper chain is a great place to begin!
The beauty of the paper chain lies in its simplicity, as it requires minimal materials and can be tailored to suit various celebrations or occasions. They’re perfect for home decor, Christmas, birthday parties, showers, classrooms, and even weddings.
They can be casual or more fancy depending on the type of paper you use. But regardless of what you supplies you choose, they’re budget friendly. The main ingredient? Paper.
You’re going to find that creating a paper chain is a fun and easy project that will leave you feeling accomplished, creative, and inspired. Roll up your sleeves, gather your materials, and let’s embark on this colorful adventure together!
Before I show you how to make the chain, I’m going to answer a few frequently asked questions about the project. If you’re ready to see the how to, simply scroll down to the how to card at the bottom.
Q: What is a paper chain and what is it used for?
A: A paper chain is a simple yet impactful craft made from strips of paper that are looped and linked together. They are often used for decorating and celebrations. They’re a fun, hands-on activity for children and adults alike.
Q: How do you make a paper chain?
A: You’re going to choose the paper types and colors, cut the strips, make a foundation loop, and then attach more loops. It’s a simple four step process I will walk you through (plus there’s a video).
Q: Can you use different materials to create one?
A: Yes, you can use construction paper, cardstock, wrapping paper, paper bags, or even recycled materials like magazine pages. Just ensure the material is flexible enough to create loops and strong enough to hold its shape (even if you have to reinforce it).
Q: How can I make my chain more unique and personalized?
A: To add a personal touch try using different colors, patterns, or textures of paper. You can also experiment with varying strip widths, lengths, and shapes.
For a more festive look, consider adding glitter, stickers, or other embellishments to the paper strips before looping them together. You can even write personalized messages or draw designs on the strips.
See our Christmas paper chain for a good example!
Q: How do I store and reuse my paper chain if I want to keep it?
A: Carefully fold or roll it up, taking care not to crease the loops. Place it in a resealable plastic bag or airtight container to protect it from dust and moisture. Store it in a cool, dry place away from direct sunlight to prevent fading. To reuse the chain, simply unroll or unfold it and hang it up as desired.
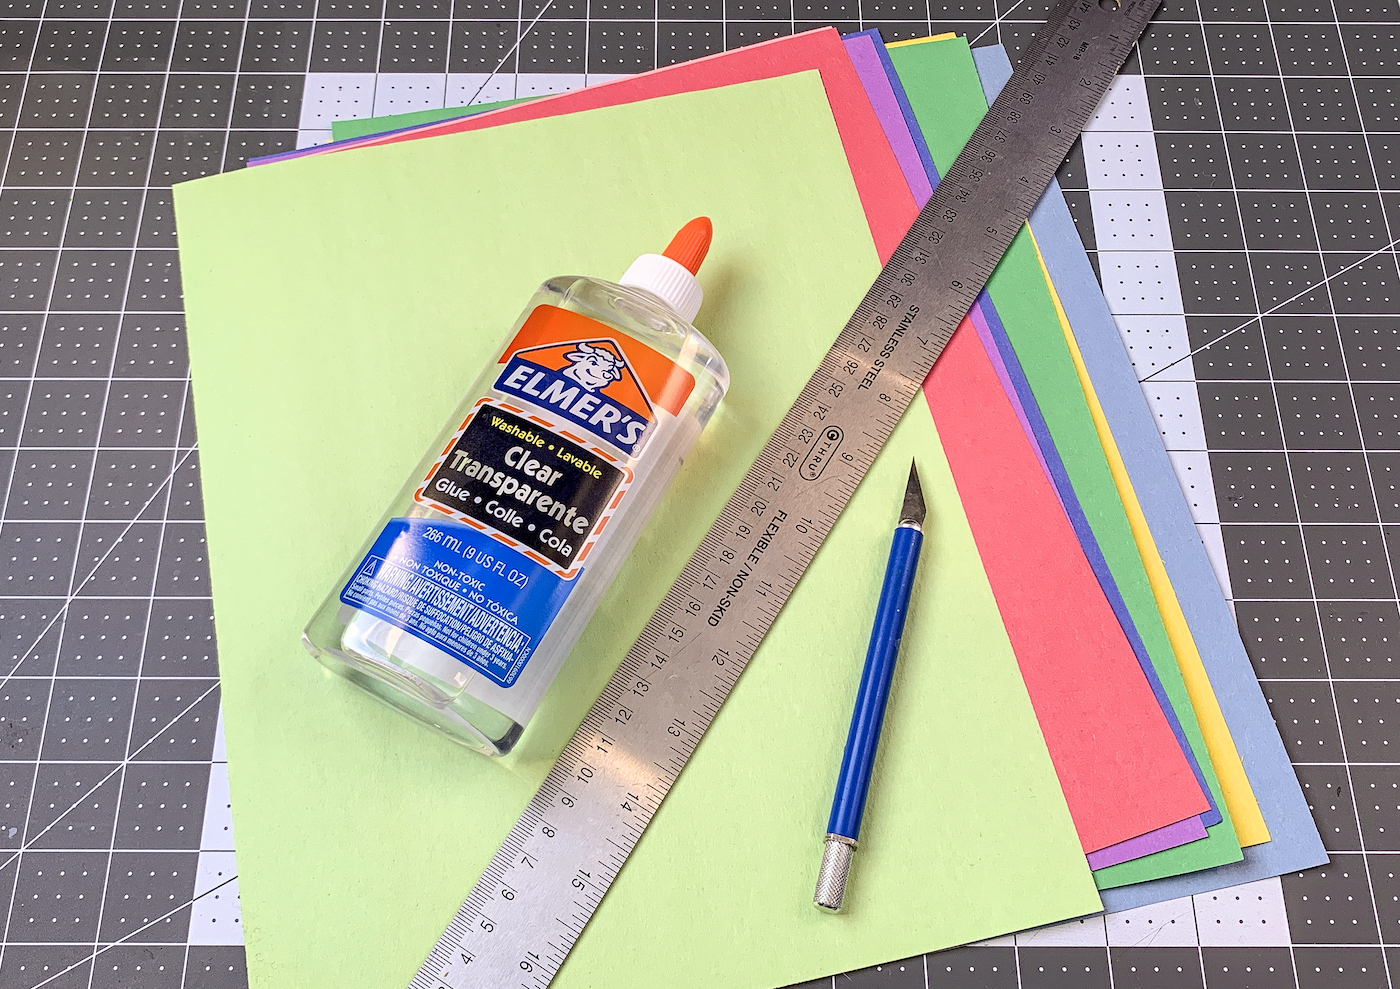
Here’s what you’re going to need to make your project.
Gather These Supplies
- Construction paper or cardstock
- Stapler or Glue Dots or school glue (glue stick)
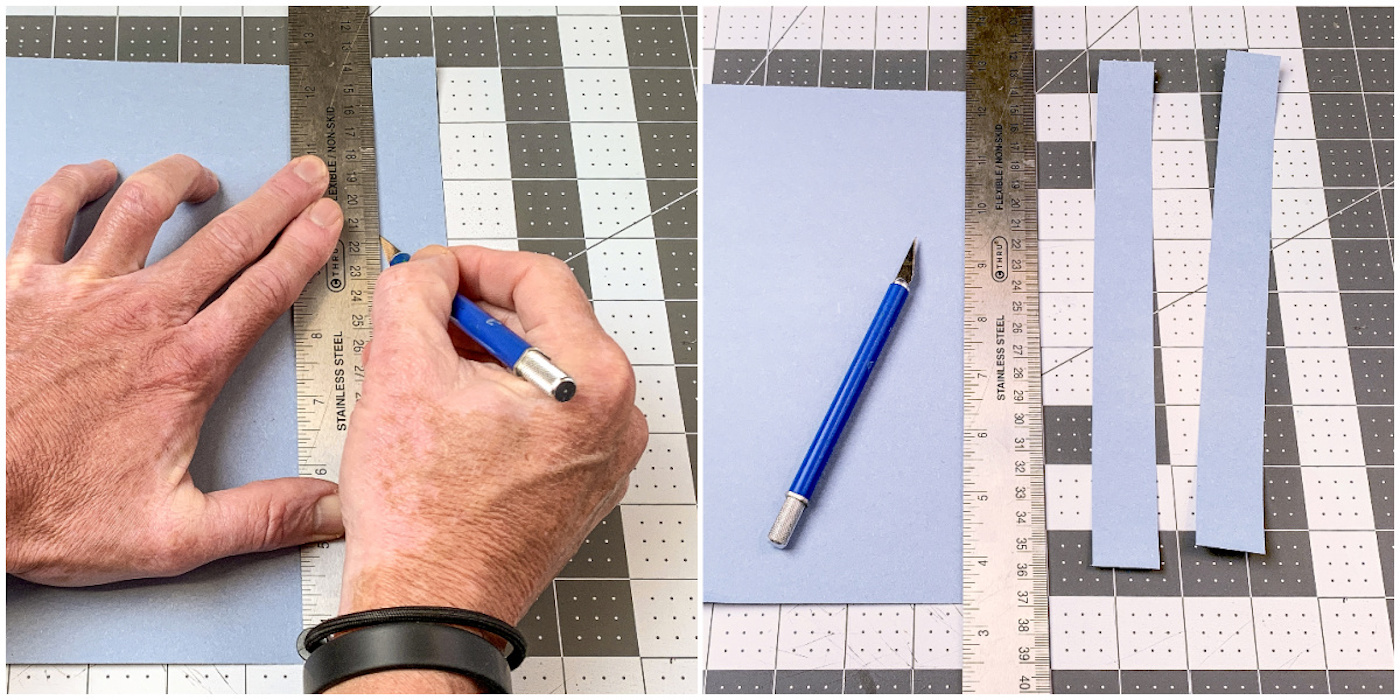
- Ruler
- Pencil
- Scissors or craft knife
I prefer cardstock because of the thickness and stability.
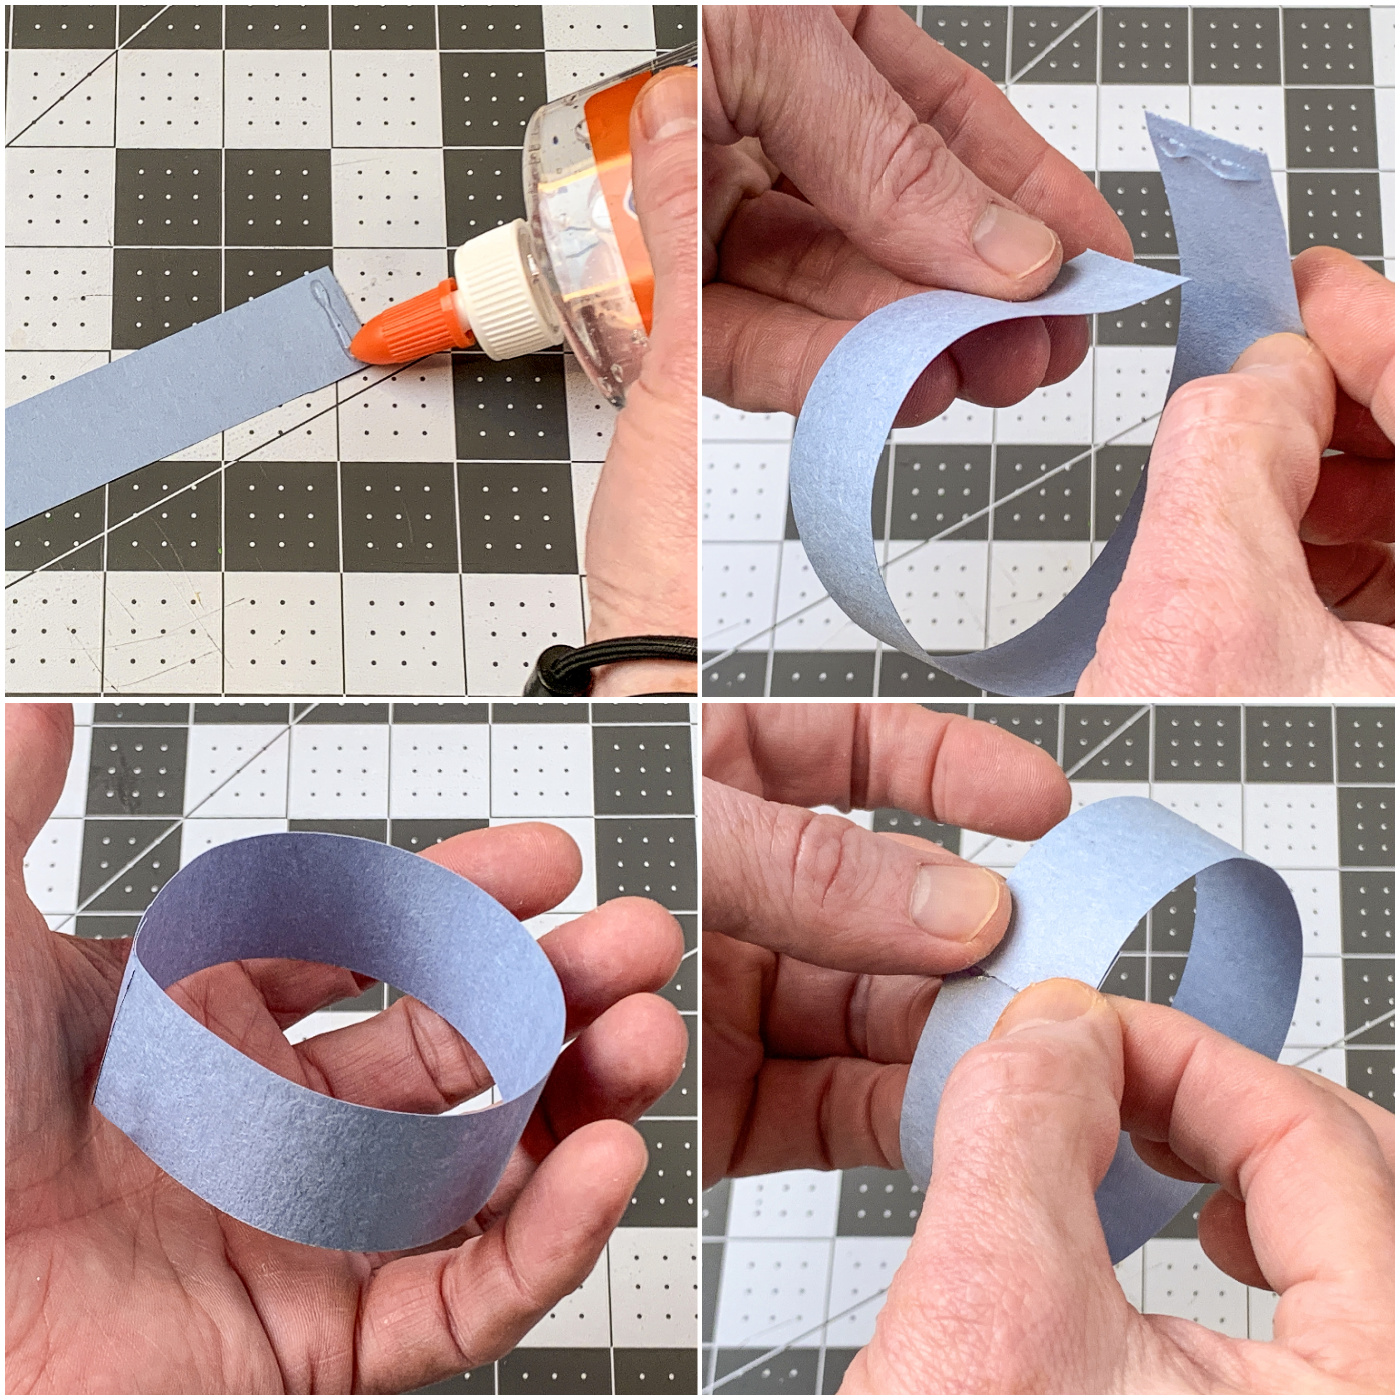
You have several options for attaching the ends of the paper to each other to create the loops. The most common are adhesive dots, glue, and a stapler.
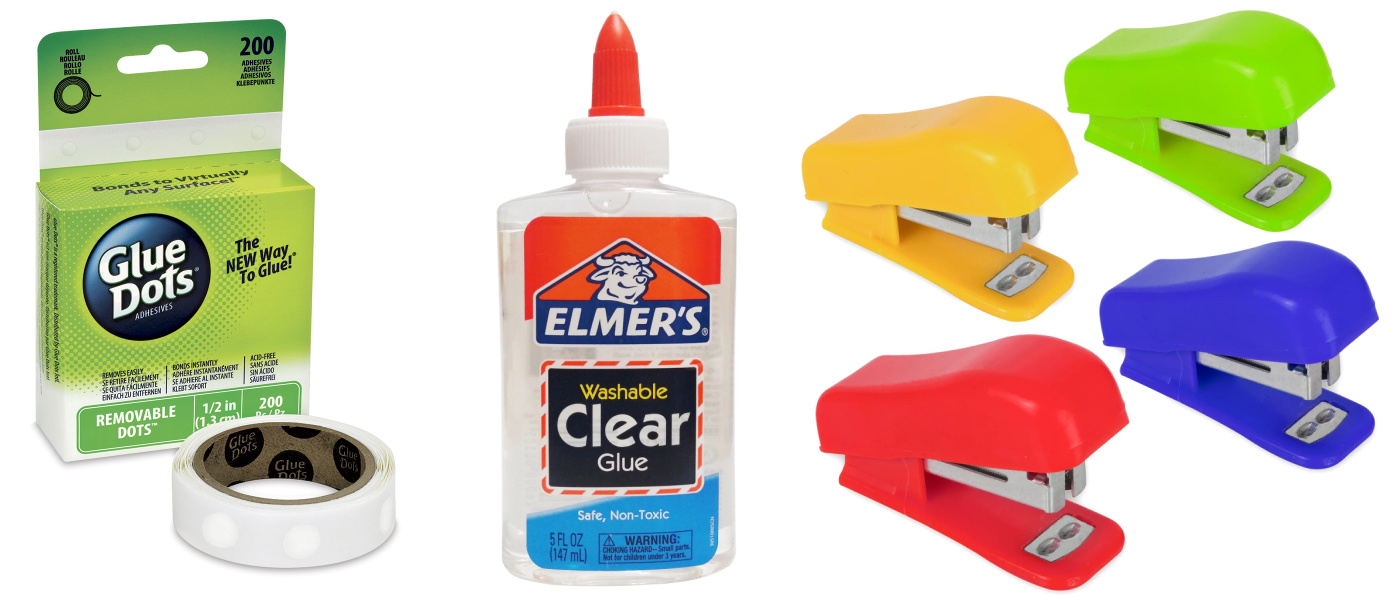
The Glue Dots, or adhesive dots, are great because they are no mess and you can’t see them. They’re easy to apply. They’re probably the most expensive of the options, and not that expensive.
Glue is another option and great if you’re doing this with kids. You can use liquid glue or glue sticks. You do have to hold the paper in place until it sticks if you choose this option, so get quick tack if you’re working with littles who might get impatient.
Finally, you can always use a stapler if you’re desperate. Staples are visible somewhat and the edges of the paper don’t seal down well, but staples are great in a pinch!
Are you ready to make paper chains? Get the how-to card and video below!
How to Make a Paper Chain
Materials
- Construction paper or cardstock
- Stapler or adhesive dots or school glue
Video
Instructions
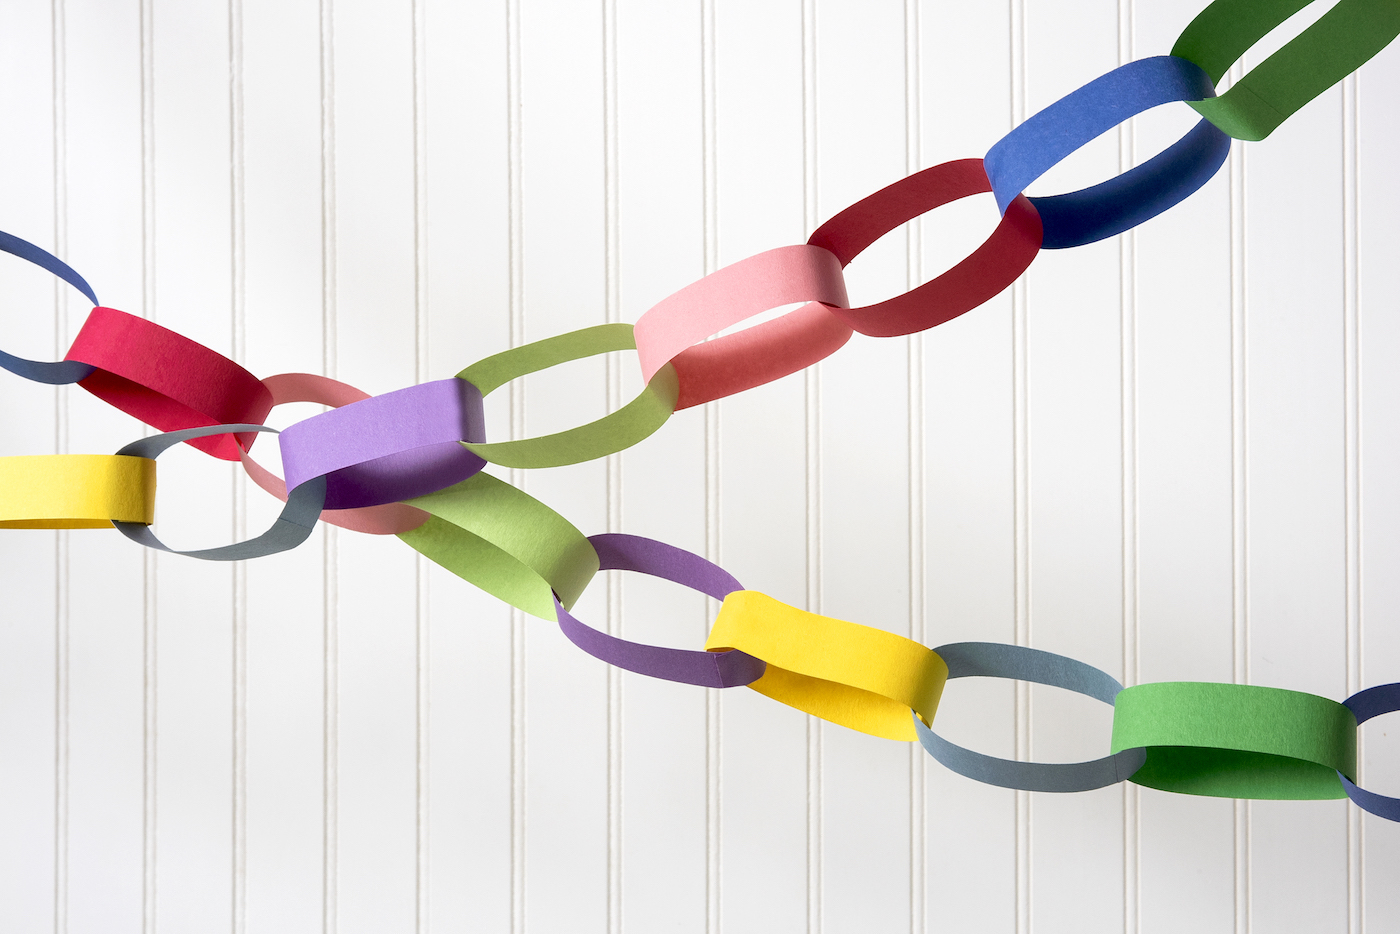
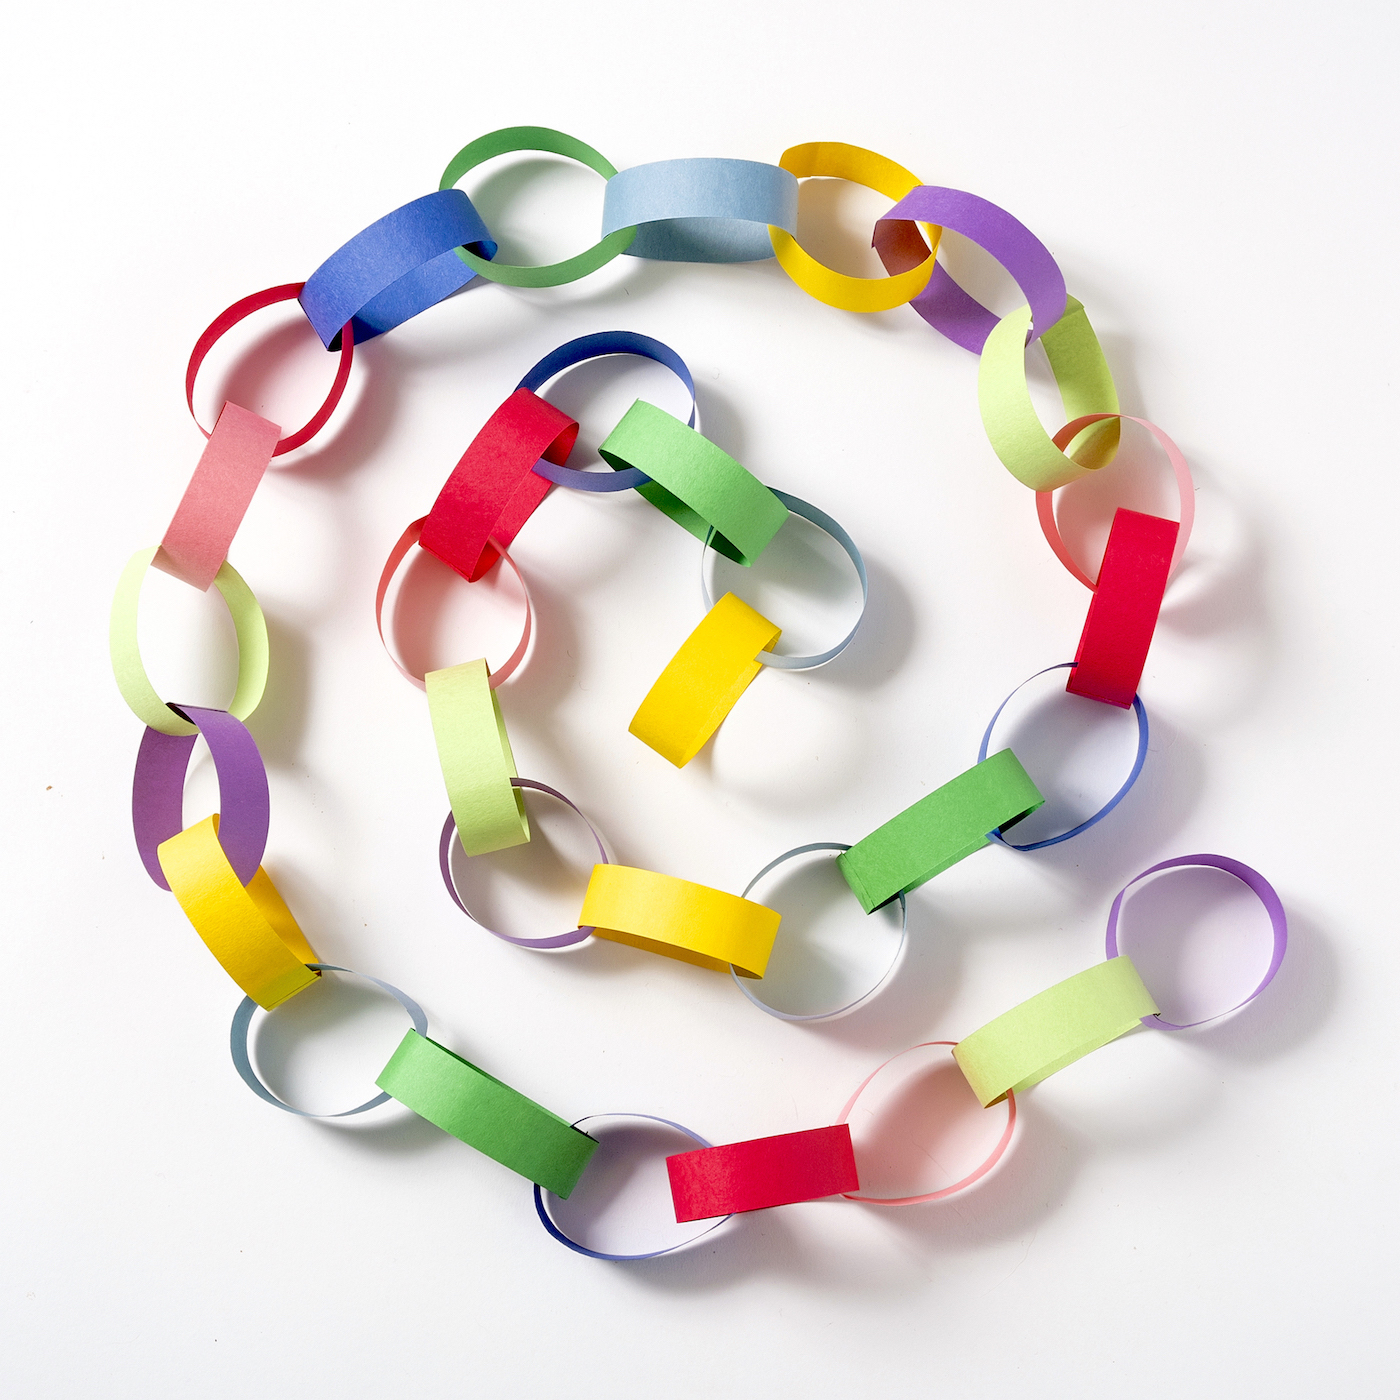
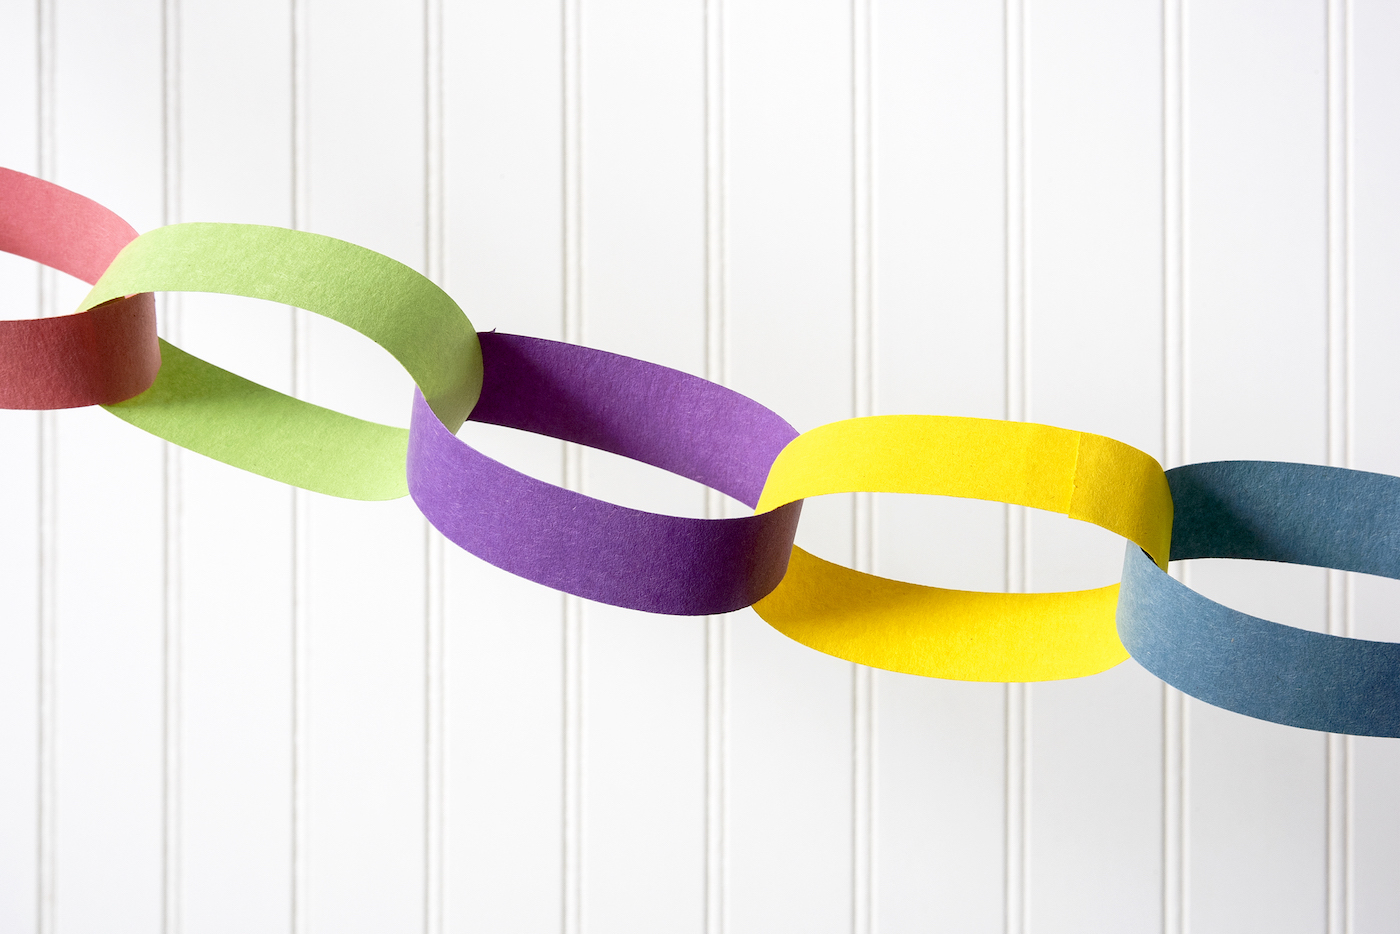
- Choose paper to use for your chain. Thicker paper helps the chain hold its shape, and you can choose colors for your holiday or event. Each piece of paper makes 11 links.
- Using the craft knife and ruler, cut 1" strips from the paper. If you don't have a craft knife, draw lines with the pencil. Then cut the strips on those lines with scissors.
- Place glue or an adhesive dot (or two) at the end of one strip of paper. Bring the other end around and hold until the end sticks. Let dry.
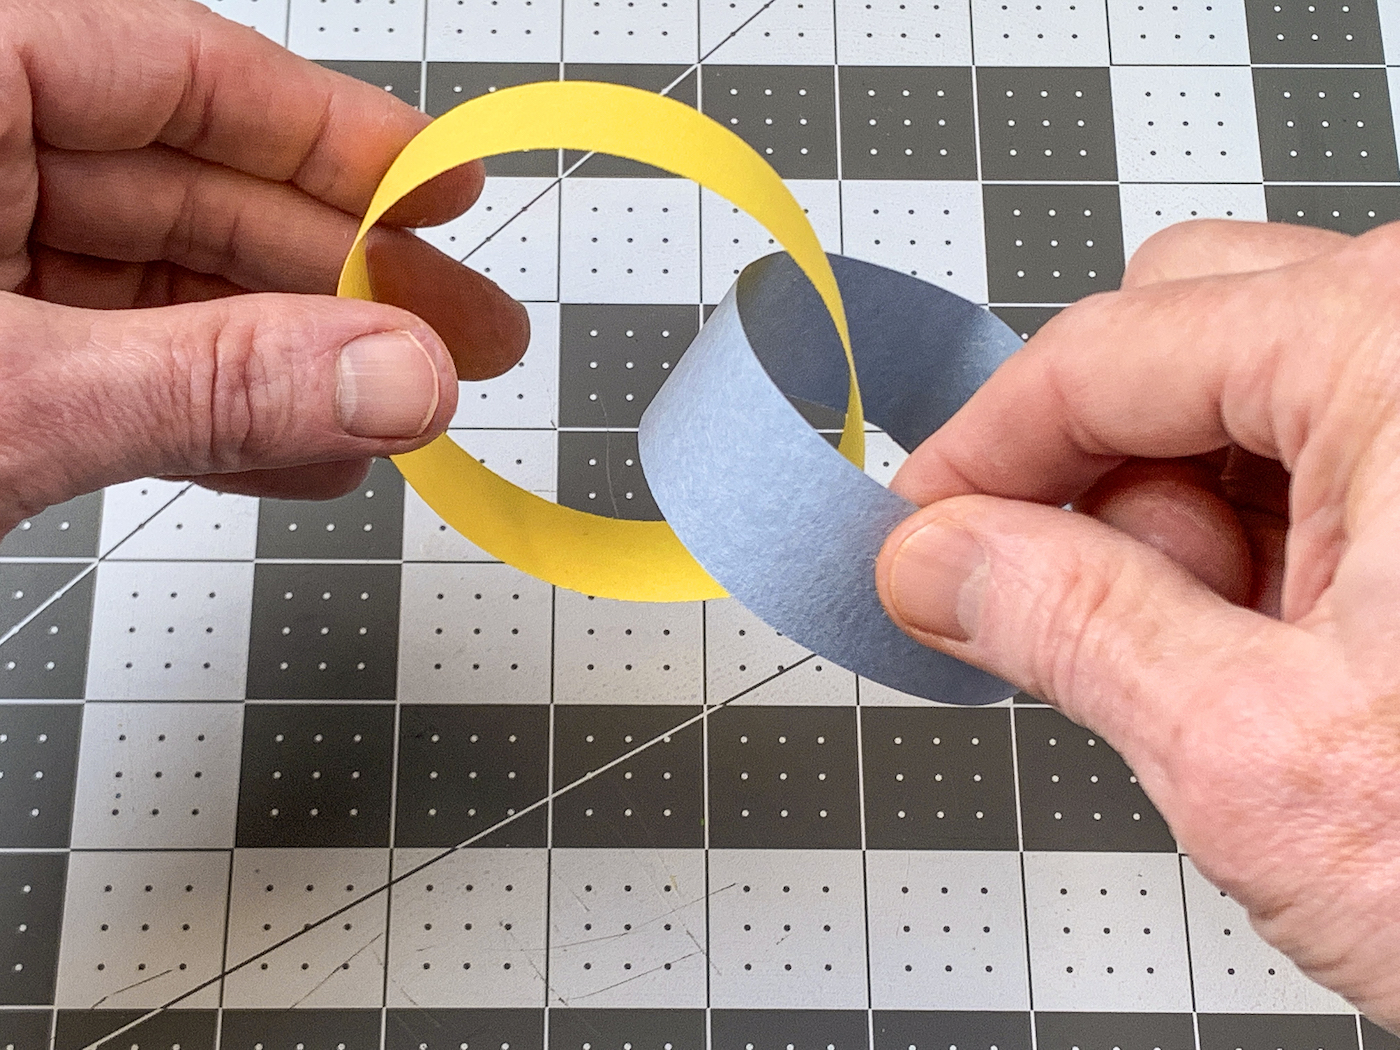
- Choose another paper strip. Thread it through the foundation strip, and join the ends together with glue. Let dry. Continue this step until all the paper strips have been added and the chain is the length you desire.
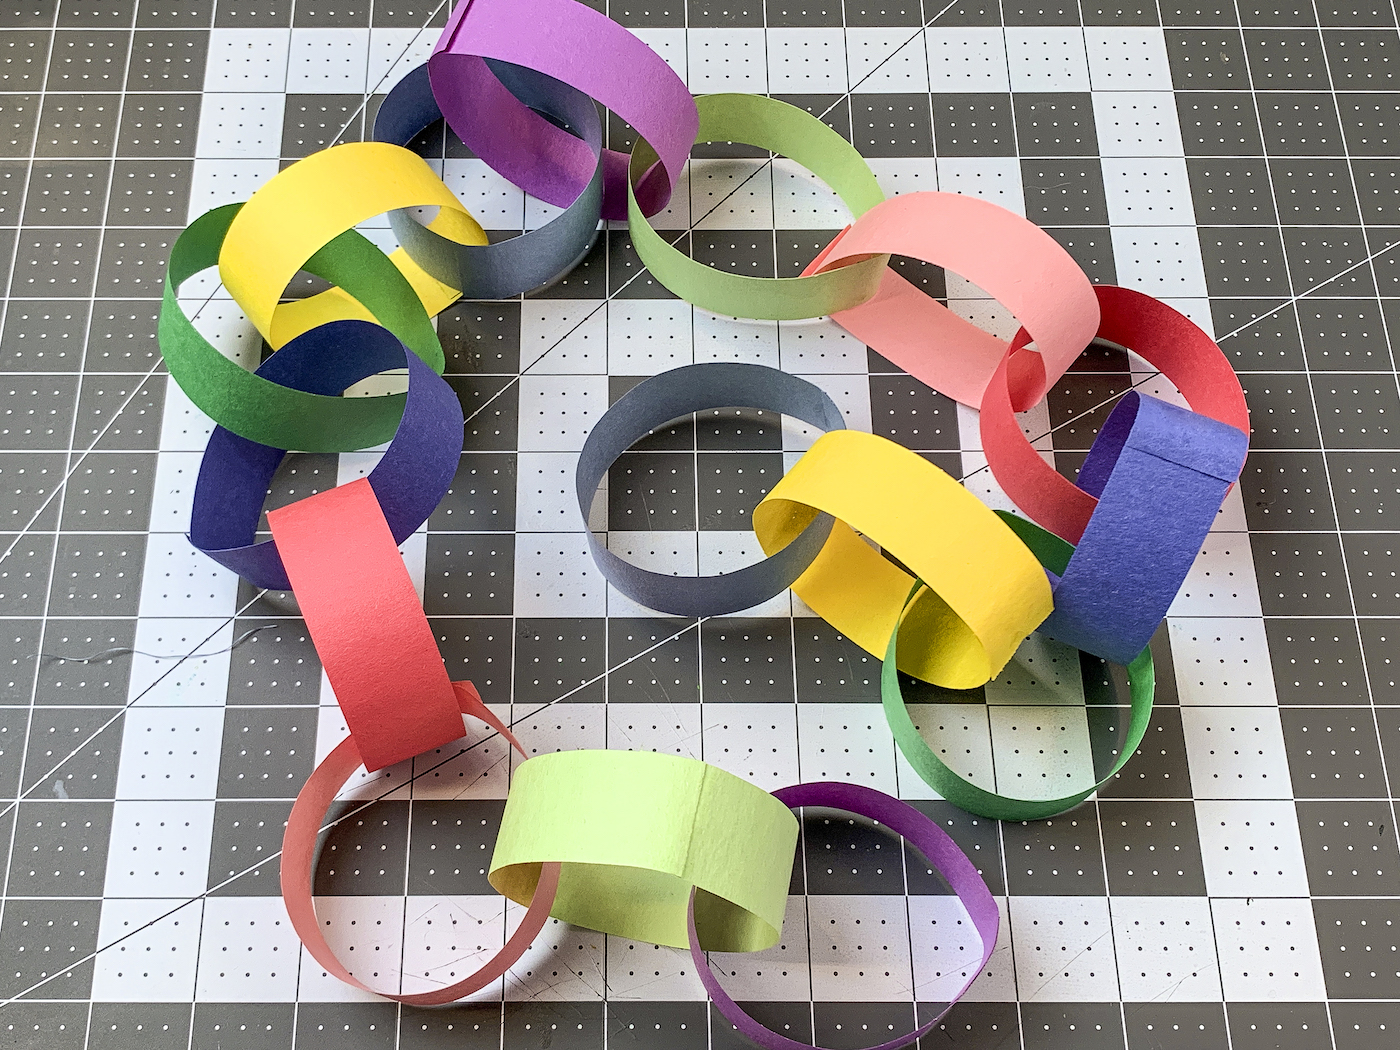
- Add your final link. Let the chain dry, then hang with Command strips or tape.
If you enjoyed this project, let me know in the comments! I’d also love for you to check out these other ideas: