Make a Colorful Paper Garland in Minutes
Are you looking for an easy, fun, and cheap way to decorate your home for parties? Then check out these DIY paper garlands. You can make them very quickly, and customize the colors!
Skills Required: None. Even if you’ve never crafted before, you can make this DIY garland. It’s easy enough for kids or adults.
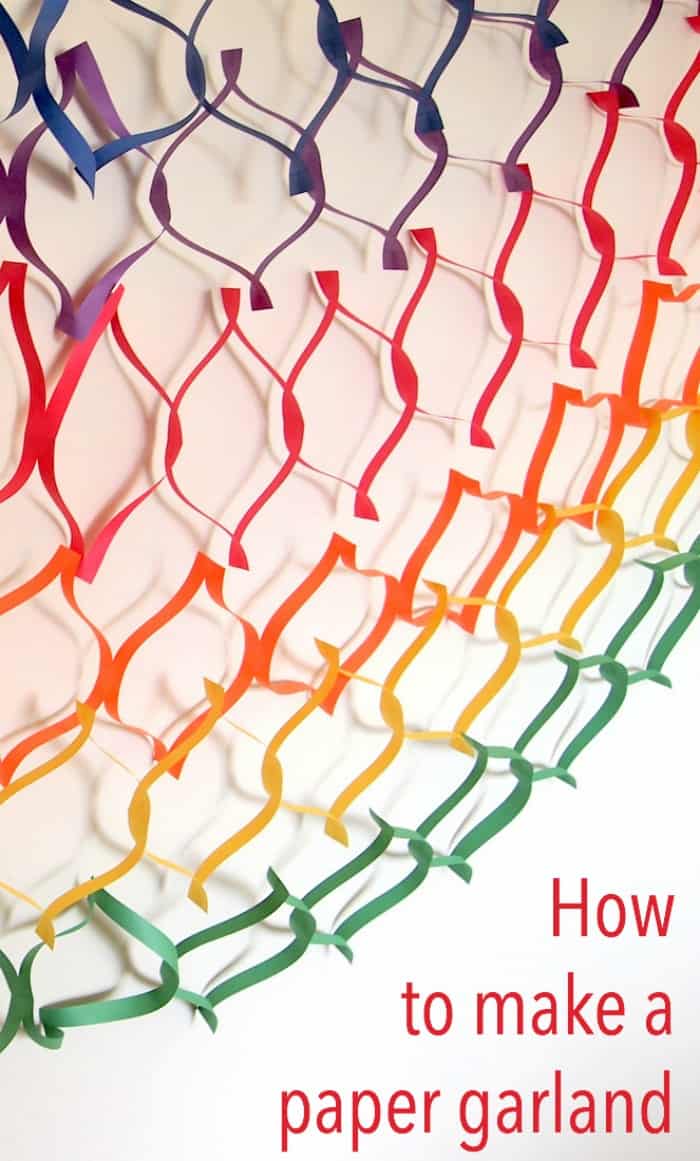
Are you looking for an easy, fun, and cheap way to decorate your home for parties? What about some additional decor in a kids’ room or nursery? Then check out these DIY paper garlands.
These garlands are so easy to make, and the kids can help out too! Grab a few simple supplies and you’ll have a paper garland in no time.
DIY Paper Garland
Here’s what you’ll need:
- Construction paper (the more colors, the merrier!)
- Scissors
- Ruler
- Pen
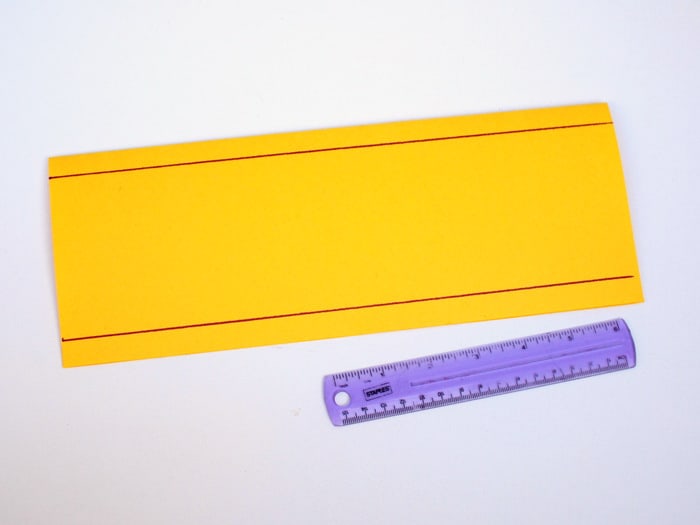
1. Fold your paper in half.
2. Mark ½ inch from the top and bottom (I would typically use a pencil, but I used purple marker to help you see the lines.)

3. Then, make ½ inch vertical marks across the paper.

4. Now it’s time to cut your garland out! Cut along your ½ in vertical marks starting from one side all the way up to the ending horizontal ½ mark. Stop there! Then, cut out the next line.
But this time, start from the other side. Again, make sure to stop at the ending horizontal ½ mark. Keep going and repeat this process of making cuts starting from alternating sides.

5. Once you’re done, carefully unfold your paper and stretch your banner out. (It’s really neat to see the results. The kids will definitely “ooh” and “ahh.”)

6. Then, repeat the process for the rest of your colors.
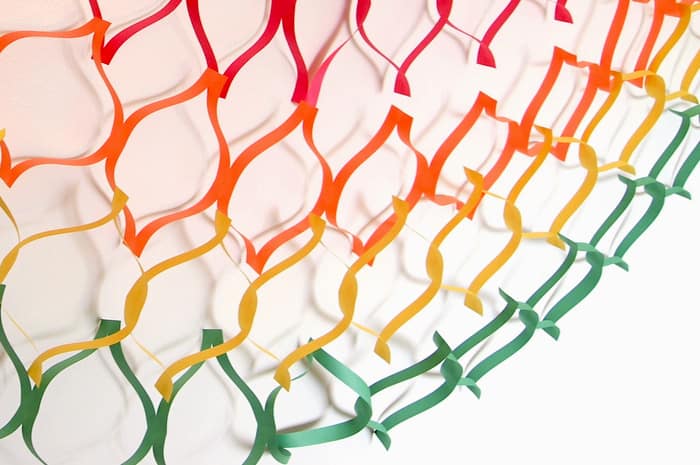
Voila! You’ll soon find yourself with tons of colorful garlands. These would be perfect for party decorations. Or, they would look great as a fun photo background too!
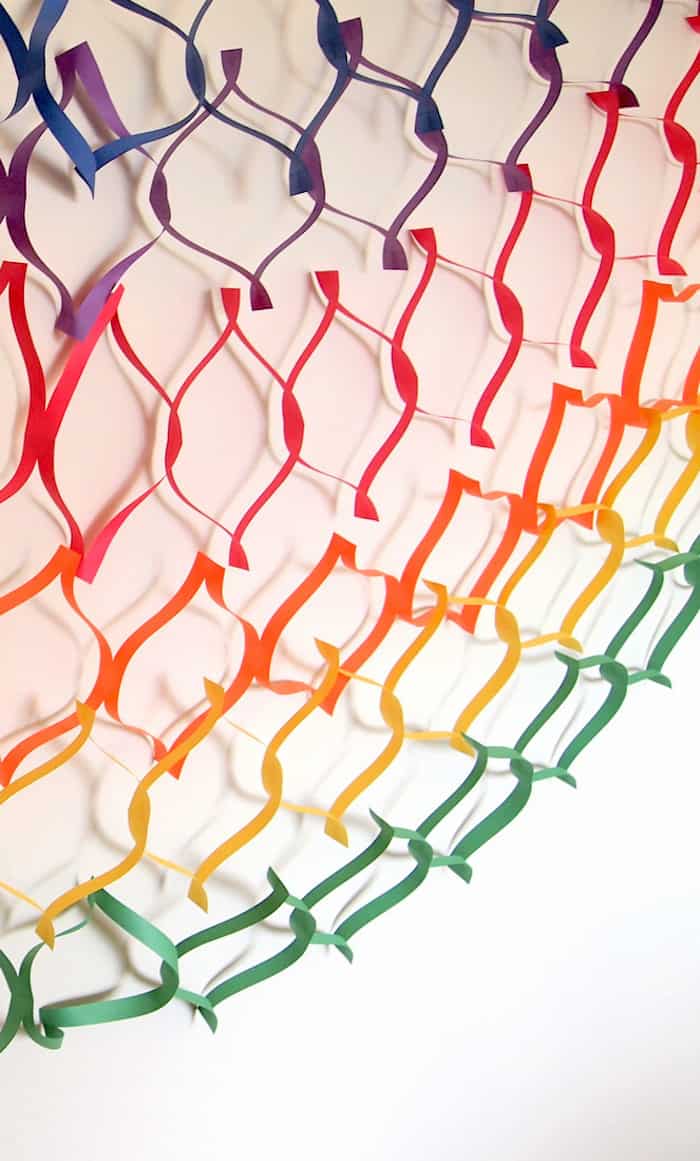
Get the printable how to card below!
Paper Garland
Materials
- Construction paper
- Tape
Instructions
- Fold the construction paper in half.
- Mark ½ inch from both the top and bottom of the paper.
- Make ½ inch vertical marks all the way across the paper.
- Use the scissors to cut along your ½ in vertical marks, starting from one side all the way up to the ending horizontal ½ mark. Stop then cut out the next line.
- This time, start from the other side. Again, make sure to stop at the ending horizontal ½ mark. Repeat this process of making cuts starting from alternating sides.
- Carefully unfold your paper and stretch out.
- Repeat the process for the rest of your paper colors.
- Use tape to hang!
If you liked this paper garland idea, check out my blog Pink Stripey Socks for more fun kid-friendly paper crafts. Happy making, friends!


