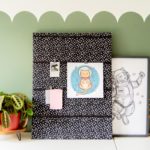
DIY Bulletin Board
Learn how to make a canvas bulletin board using this simple tutorial! It's so easy and it's done in minutes.
Servings 1 board
Cost $18
Equipment
- Marking tool
- Finger protectors
Ingredients
- 1 Wrapped canvas any size (I used an 18×36 inch)
- Fabric - large enough to cover a canvas
- Ribbon(s)
- Clips
Instructions
- Measure the canvas and add two inches (or more if you are using a thicker canvas) on the side and top as allowance so you can fold it over on the back of your canvas. Cut the fabric and iron it to make sure there are no creases.
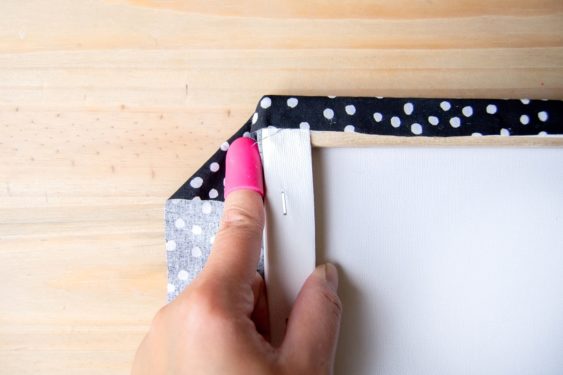
- Center your fabric on the front of the canvas. Using the hot glue, fold over one side (I started with the top edge of the canvas) and press down, making sure to keep a straight edge. Slowly go along the side, gluing and pressing until you get to the end of the side.
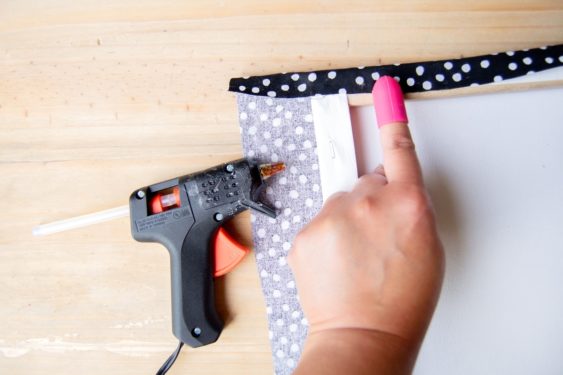
- Glue the opposite edge, making sure to pull the fabric taut while you are gluing the edge down for a smooth fabric surface.
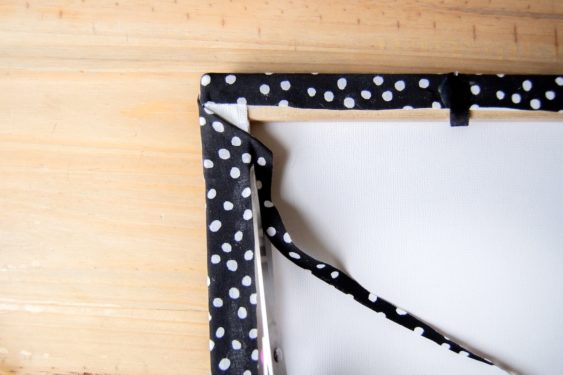
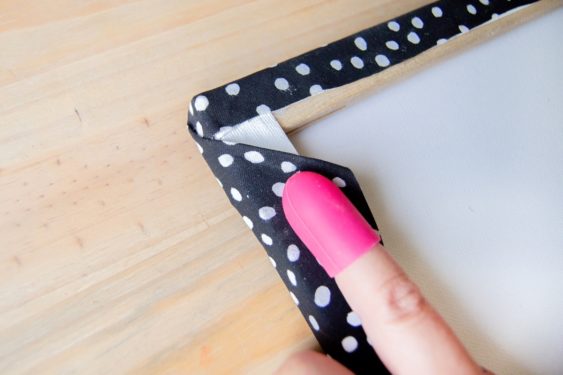
- Fold the corner of the fabric like you are wrapping a gift and glue. Make sure to pull the fabric taut here as well for a clean edge and smooth fabric surface.
- Repeat all the way around the canvas until you have completely glued the fabric to the canvas frame.
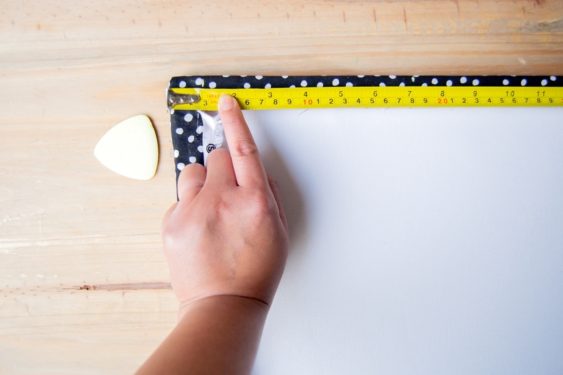
- Decide on how many ribbon strips you want, then use a fabric marker to mark spacing. Give a 1 inch space from the top of the canvas to the first ribbon row. Measure and mark both sides of the canvas back to ensure the ribbon is straight.
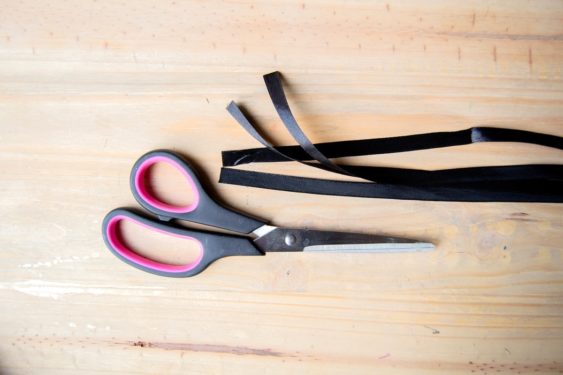
- Use a thicker ribbon at least 1/2” in width. Cut your ribbon to size, making sure to add extra to fold on the canvas back.
- Use hot glue to attach your ribbon to the canvas - use the marks as guides to where to glue it on. Pull it taut so there is no slack and make sure that the ribbon is not twisted as you glue it down to the back of the canvas. Repeat this step until you have glued all the rows down.

- For the canvas front, find the center of the ribbon and add a dab of glue to the back of it to secure it onto the fabric and help it support the weight of what you are clipping onto it.
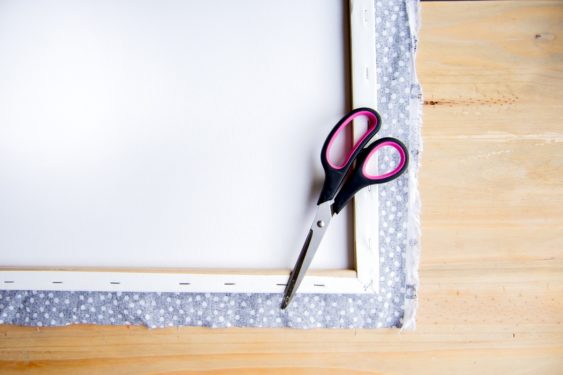
- Finally, cut the excess fabric and ribbon on the back of the canvas. Add a wall hanger if desired.