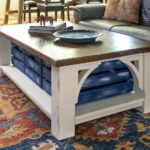
DIY Coffee Table with Storage
This farmhouse coffee table DIY is perfect for your living room, and the optional storage is really easy to add.
Servings 1 table
Cost $160
Equipment
- 1 Compound Miter Saw with Laser
- 1 Belt sander
- 1 Drill with drill bits also a 3/4″ countersink bit
- Kreg Jig R3 Jr.
- Planer (optional, see Step 14)
Ingredients
- 1 4″ x 4″ x 8′ board cut into four 4 pieces 16 1/2" long (legs)
- 1 2″ x 4″ x 8′ board cut into four 4 pieces 18" long (short side support pieces)
- 2 2″ x 4″ x 8′ boards cut into four 4 pieces 39" long (long side support pieces)
- 1 – 2″ x 4″ x 8′ board cut into four 4 pieces 18" long (cross support pieces for top and lower shelf)
- 1 – 1″ x 4″ x 8′ board cut into two 2 pieces 39" long (bottom shelf side pieces)
- 2 – 3/4" x 12" x 8' boards cut into two 2 pieces 3/4" x 9" x 46" (bottom shelf center pieces)
- 6 – 2" x 6" x 6' boards cut into six 6 2" x 4 3/4" x 50" length pieces (top of table)
- 4 Wood corbels optional, see Step 12
- Wood glue we recommend Titebond III
- 80 Wood screws 1 1/2″ - 2" length - about 80; 8 additional screws if you are using corbels
- 1 Pencil
Instructions
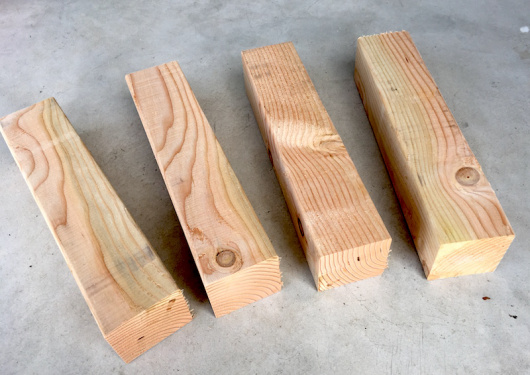
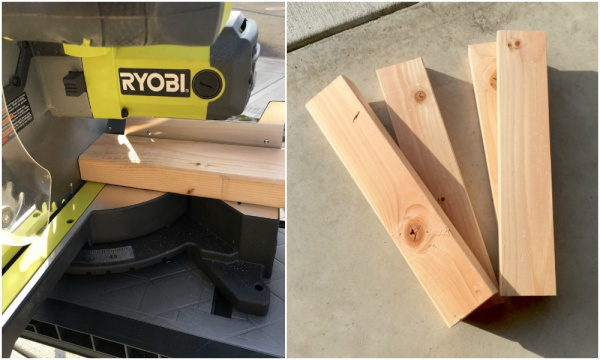
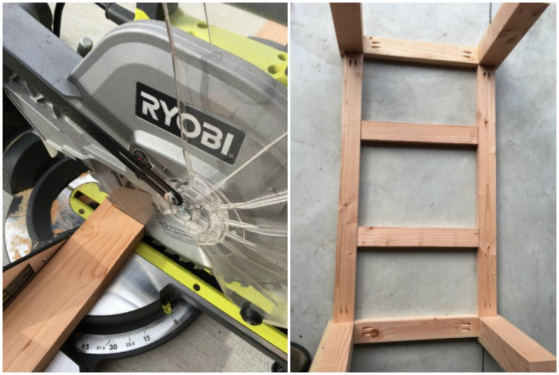
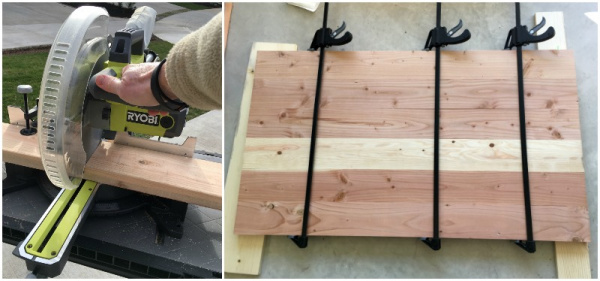
- Take a 4” x 4” x 8' piece of wood and, using a miter saw, cut it into four (4) pieces 16 1/2” long. These will be your legs.
- Take a 2” x 4” x 8' piece of wood and, using a miter saw, cut it into four (4) pieces 18” long. These will be your short side support pieces.
- Take two (2) 2” x 4” x 8' pieces of wood and, using a miter saw, cut them into four (4) pieces 39” long. These will be your long side support pieces.
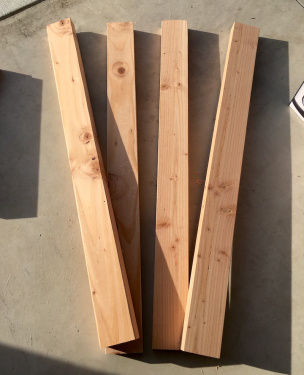
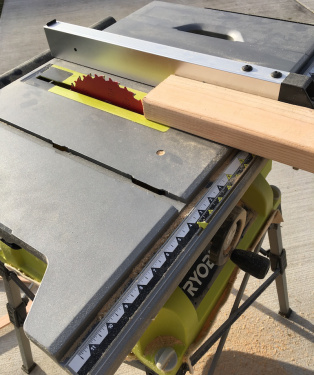
- For this step, you're going to keep the pieces the same length and rip some width off using a table saw. You're going to use the table saw to cut all eight pieces from steps 2 and 3 to a 2" x 2 3/4" width (maintaining the length). You'll end up with four pieces - 2" x 2 3/4" x 18" and four pieces - 2" x 2 3/4" x 39".
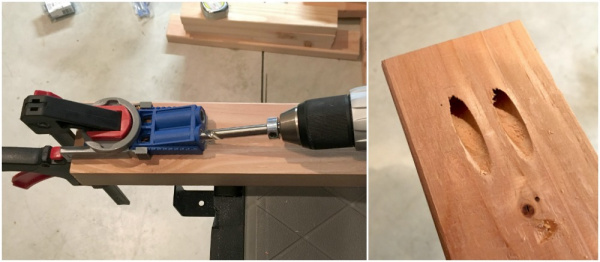
- Using a Kreg Jig and a drill, create the holes so that you can attach your side and end support pieces to the legs. The Kreg Jig holes are going to go at the end of each of the pieces you cut in steps 2 and 3.
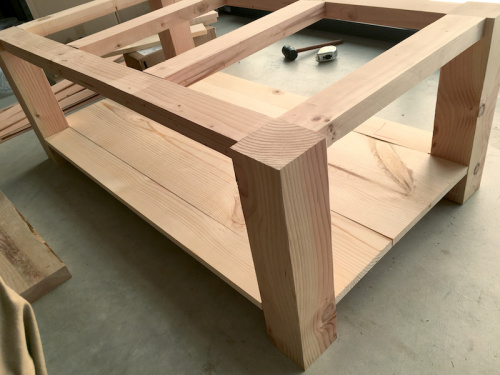
- Start with two long and two short support pieces. You are going to assemble the table frame upside down for ease. Line up the inside of your support pieces flush with the inside of the table legs.
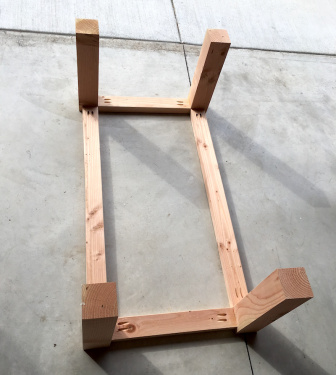
- Use your screws, Kreg Jig driving bit (it comes in the kit), and a drill to attach the upper support pieces to the legs (use wood glue to make the connection more structurally strong).
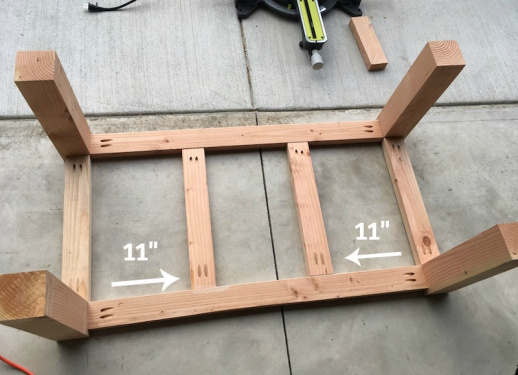
- Use a miter saw to cut the wood that will act as cross/support pieces for your table top and then for your lower shelf. Cut a 2" x 4" x 8' board down to four (4) pieces that are 2" x 4" x 18" long each.
- Use your Kreg Jig to make the holes, then use screws, glue, and drill to attach these pieces 11” in from each end.
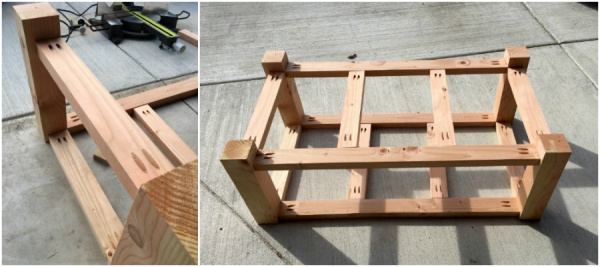
- With the table frame still upside down, start attaching the lower support pieces. Put them in place the same way you placed the upper support pieces, but 2” from the bottom of the legs.
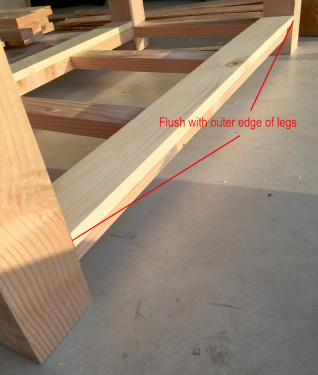
- Take a 1” x 4” x 8’ piece of wood and, using a miter saw, cut two (2) 1” x 4” x 39” pieces. The actual size for these pieces will end up being around 3/4”x 3 ½”x 39”. These two pieces will be the outside pieces of the lower shelf. These will be attached flush with the outside of the table legs - so place them to make sure they fit, and do any adjusting as necessary. You won't mount until Step 20.
- To cover the inside of the lower shelf, use a miter saw to cut a 3/4" x 12" x 8' piece of wood down to two (2) pieces, 3/4" x 9" x 46" each. You won't mount them until Step 20 (with the outer pieces).
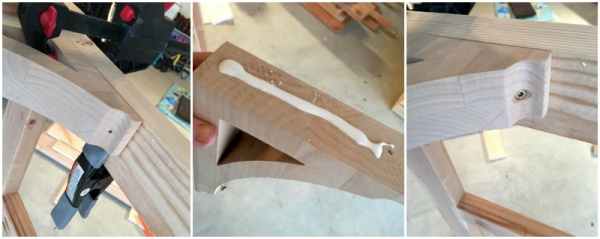
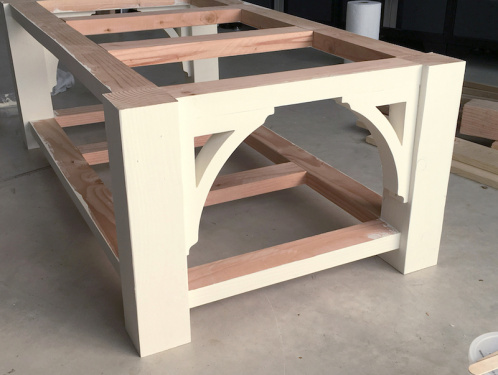
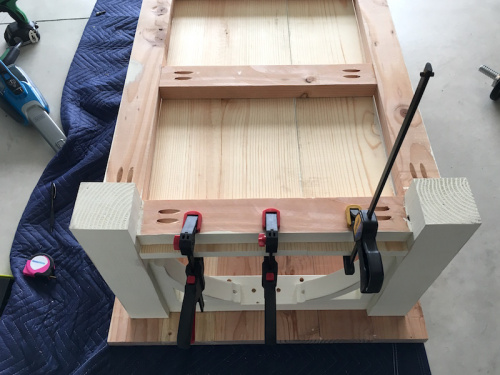
- If you're going to add the corbels, clamp in place (flush with the upper/outer edge of the upper end support pieces). Drill pilot holes at the attachment points on the corbels (this could vary depending on the corbels you select) - for us these were at each end of the corbel. Next use a countersink drill bit on each of the pilot holes. Unclamp the corbel, and put wood glue on each of the contact points; clamp again. Screw into place using two screws per corbel.
- Paint the wood frame as well as the lower shelf pieces from Steps 11 and 12 (figure out which parts of the frame are going to show and only paint those surfaces. This will save time and paint).
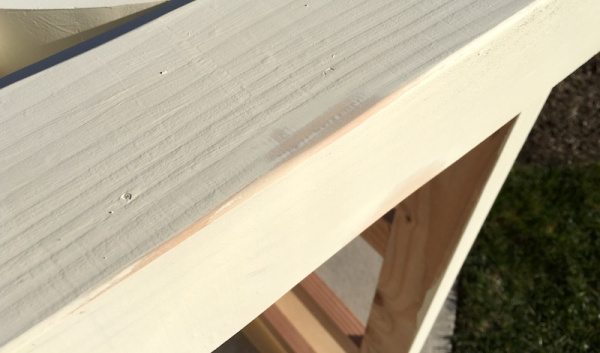
- Using 120-grit sandpaper, distress the table frame and lower shelf boards, making your wood coffee table look worn in various areas.
- To make the table top, use a miter saw to cut six (6) 2” x 6” x 6' boards to 50” lengths each. Use a table saw to rip the six (6) 2” x 6” pieces to a 4 3/4” width, removing width from both edges of each board so you get a nice straight edge on both sides of each board. This is where you can use a planer to make the boards smooth as well.
- Use wood glue and bar clamps to glue the boards together. Let dry overnight.
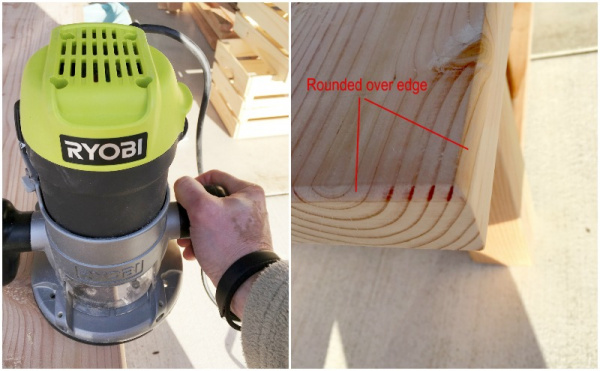
- If desired, use a router and round over bit to round the top of the outside edge of your table top. This just makes it a bit more finished and the edge isn't as sharp for children. Another option (alternative to a router) is to use sandpaper, though it takes a bit of arm muscle.
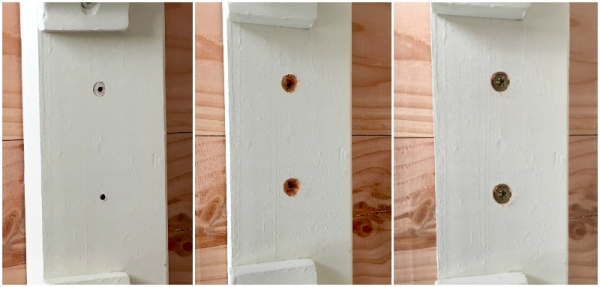
- To attach the top to the frame, place the top face down on a soft surface (ie., a moving blanket). Center the table frame upside down on the top, and drill pilot holes into the underside of the frame. Set your drill bit depth so that it goes almost completely through the frame, falling 1/8” short of the edge. For example, if the frame is 1” thick, drill your pilot hole 7/8” deep. Drill out each hole with a countersink bit. We used 2” wood screws to attach the tabletop. We attached the tabletop to both end rails in several places, both cross support rails, and both side rails. We used five to six screws in each support rail to firmly secure the top to the frame.
- Leaving the table upside down, attach the lower shelf. Clamp the lower shelf into place. Use 1 3/4" wood screws to attach the lower shelf just like the tabletop, making sure to use enough screws to secure it.
- Stain or paint the top of the table, then use a Water Based Satin Polyurethane to seal. Let dry for 24 hours before using.