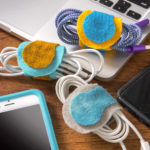
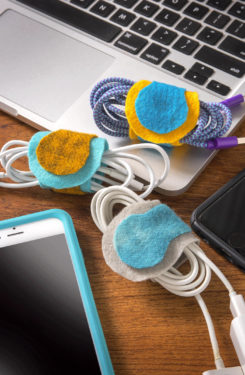
DIY Cord Organizer
Learn how to make a cable wrap using felt and Velcro! This organizer is an easy, no sew project.
Servings 1 wrap
Cost $.25
Equipment
Ingredients
- Felt sheets or pieces, in two colors
- Paper template
- Velcro
Instructions
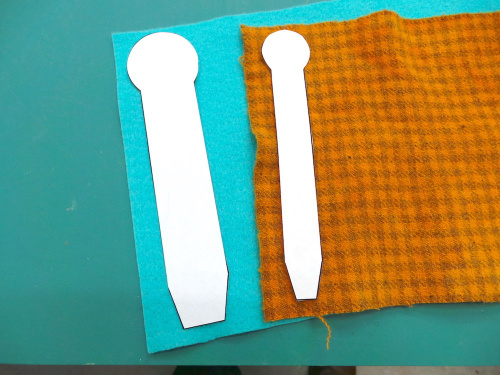
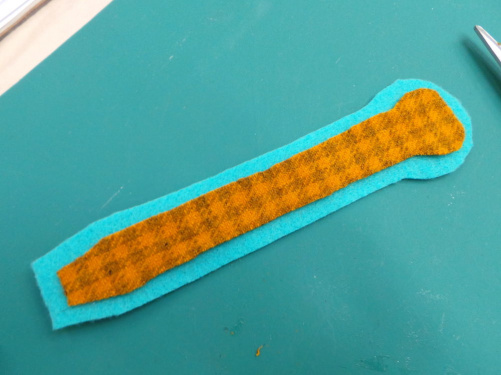
- Using the template, cut out the large piece from one color of felt, and the smaller piece from a contrasting color.
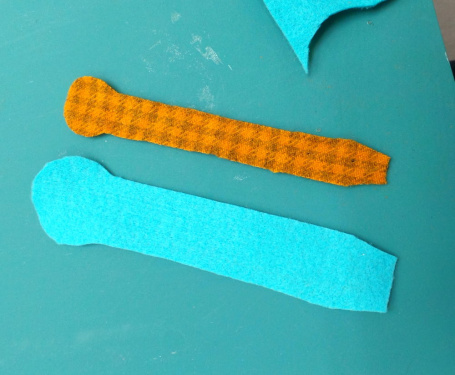
- You’ll have two pieces of felt that you’ll layer on top of each other. Trim off any edges that might not be straight.
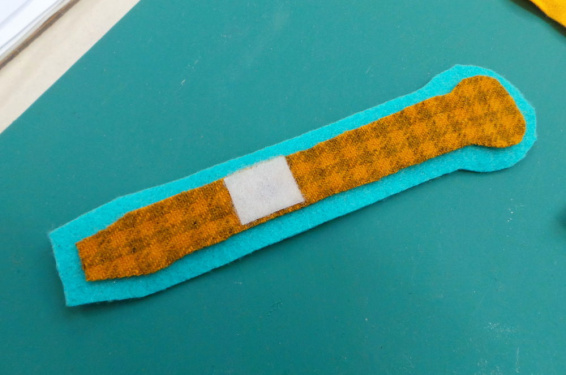
- Add hot glue to the bottom of the smaller piece of felt, all the way around the perimeter. Use a thin bead.
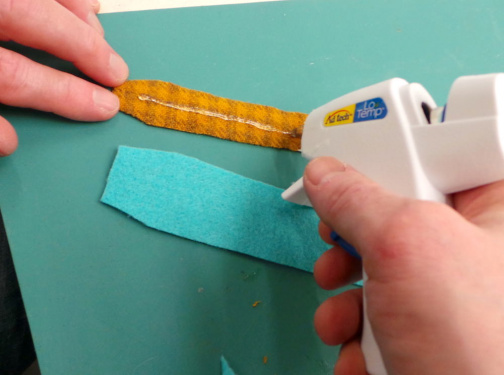
- Smooth down the top piece of felt onto the larger bottom piece.
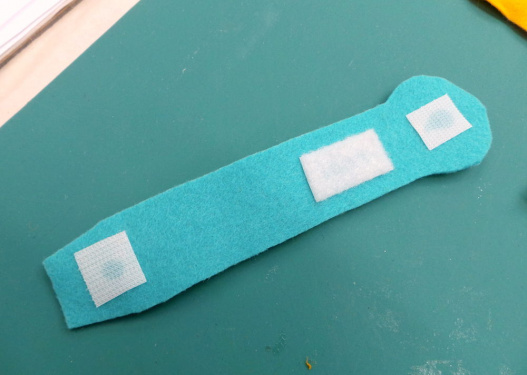
- Hot glue Velcro on the back of the larger felt piece as follows: one 3/4” male piece with the center at 3/4” from the small end, one 1 1/2” female piece with the center at 3 1/2” from the large end, and one 1” male piece with the center at 1” from the large end.
- Hot glue Velcro on the back of the smaller felt piece as follows: one 1” female piece with the center at 3 1/2” from the small end.
- Let cool and then wrap your cord as described in the Notes.
Video
Notes
How to wrap your cord:
- Wrap your cord and place it down on the felt
- Fold the short end down and attach the Velcro
- Roll the cord over once
- Pull the tab up and attach the Velcro again