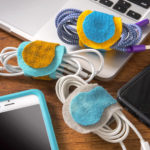
DIY Cord Organizer the Cheapest Way Possible
You can make a DIY cord organizer for cheap using this tutorial! This cable organizer can be made in minutes – we even provide a template.
Skills Required: None. You don’t need any prior crafting knowledge to make a cable tidy using this method. You’ll simply be hot gluing felt and attaching Velcro. Even a child can do it (supervised, of course!).

I got my first cell phone when I was 25 years old. Of course it had a charging cord, and along with the phone quickly became something to manage. Now I had a phone AND a charger to keep track of – and did I mention, if I lost one, the other became worthless?
You should never put small phones and cords in the hands of disorganized people such as myself.
Fast forward several years (okay almost 19 years), and here I am with more devices and more cords than I know what to do with! Do you know how many cords I’ve purchased over the course of time that I thought I lost, only to find them again?
It’s a lot.
So consequently, I’ve had to make a DIY cord organizer more than once. More than ten times, really. And now I’m going to show you how to make a cable organizer on the cheap!
The secret is that my design is extremely easy and extremely inexpensive to make. This is a great craft idea for adults, but also perfect for kids for back to school crafts. Kids these days have cords to manage too!
One of the complaints I had about other cord organizers is that they still didn’t keep the cable tidy – I could stuff them in a pouch, but then they’d be twisted when they came out.
With this cable organizer, you have to tidy the cord first before wrapping it around. It works really well for staying organized.
Plus the price is right Felt is less than $1 per piece at the craft store, and if you enjoy creating you probably have the other supplies on hand. Well, you’ll probably have to buy Velcro.
Velcro to Use
The only question you might have about this cable tidy project is what kind of Velcro to use. If you’ve never bought Velcro before, there are a few things to know:
- You can get it in any color you like to coordinate with your felt (we used white)
- I prefer the 3/4″ width but you can also use either 7/8″ or 1″
- It can be purchased in a long strip or in squares – don’t get the round pieces
- You can get either self-adhesive or no adhesive – you’re going to use hot glue to attach it
Keep in mind that there are two parts to Velcro, the male and the female. The male side has the hooks, the female side has the loops. That’s important as you follow the tutorial below, so that when you wrap the cable tidy, it’s secure.
If you’re ready to start the project, this is what you’re going to need.
Gather These Supplies
- Felt in two colors
- Paper template
- Velcro
- Hot glue gun
- Scissors
The tutorial for the project is at the bottom of this post, but before you scroll down to that, I want to mention a few things you might need or want to know:
- If you don’t have a hot glue gun, you can use craft glue or felt glue. I keep felt glue on hand just because it works better than regular glue. It doesn’t soak in as quickly into the felt and doesn’t make blotches. You can try it with craft glue, it just takes longer to dry. Place a book on top or something heavy while setting.
- Felt is available at the craft store, but many times it’s just the cheapy stuff in the kids’ section. You can check out the fabric section if your craft store has it. You can also look for wool felt on Etsy. Benzie Design has some cute stuff too.
- You could probably substitute with another fabric besides felt, but it has to be thick enough to be stable when you wrap it (and hold the cords). For example, regular cotton fabric is a no-go on its own. If you try something else, let me know how it works!
Ready to wrap your cord? Here’s how it’s done:
- Wrap your cord and place it down
- Fold the short end down and attach the Velcro
- Roll the cord over once
- Pull the tab up and attach the Velcro again
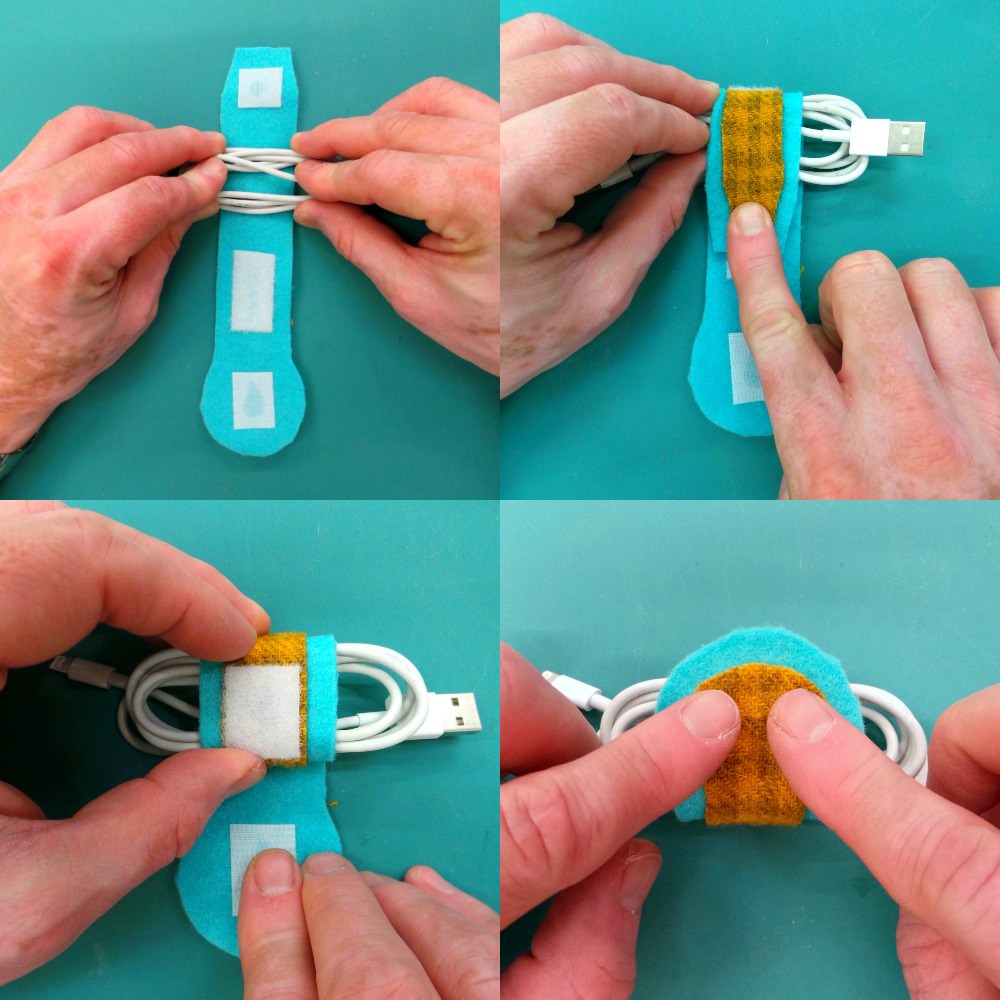
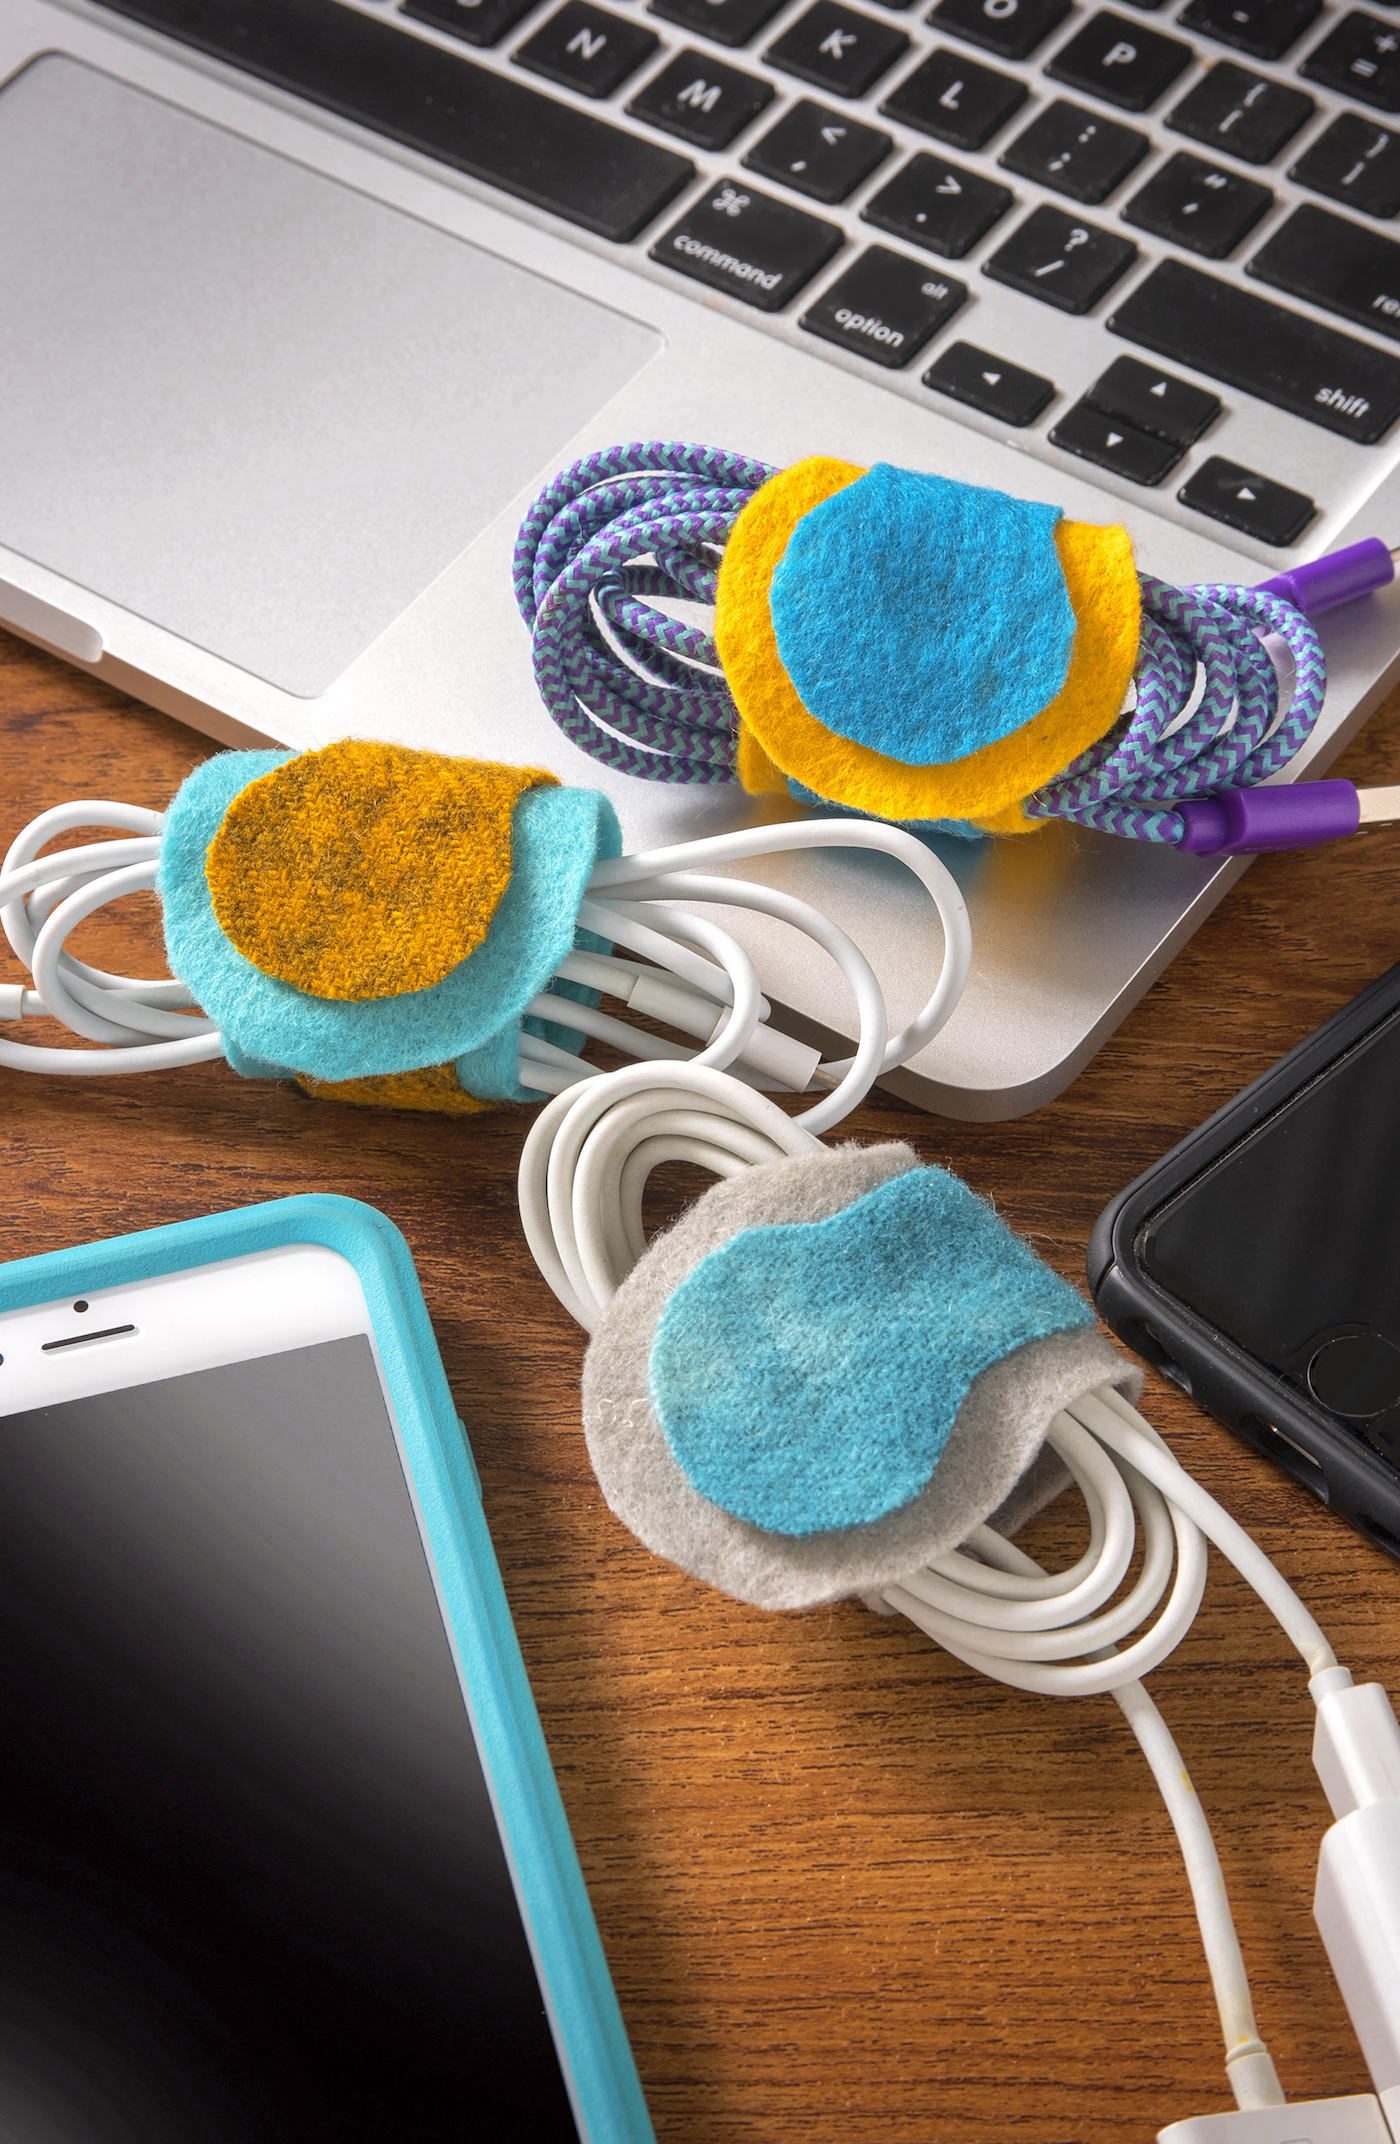
Your cord is very secure and the organizer won’t slip off, even in your bag! I had so much I made three of these DIY cord organizers in just a matter of minutes. Here’s the how to card for this project:
DIY Cord Organizer
Equipment
Materials
- Felt sheets or pieces, in two colors
- Paper template
- Velcro
Video
Instructions
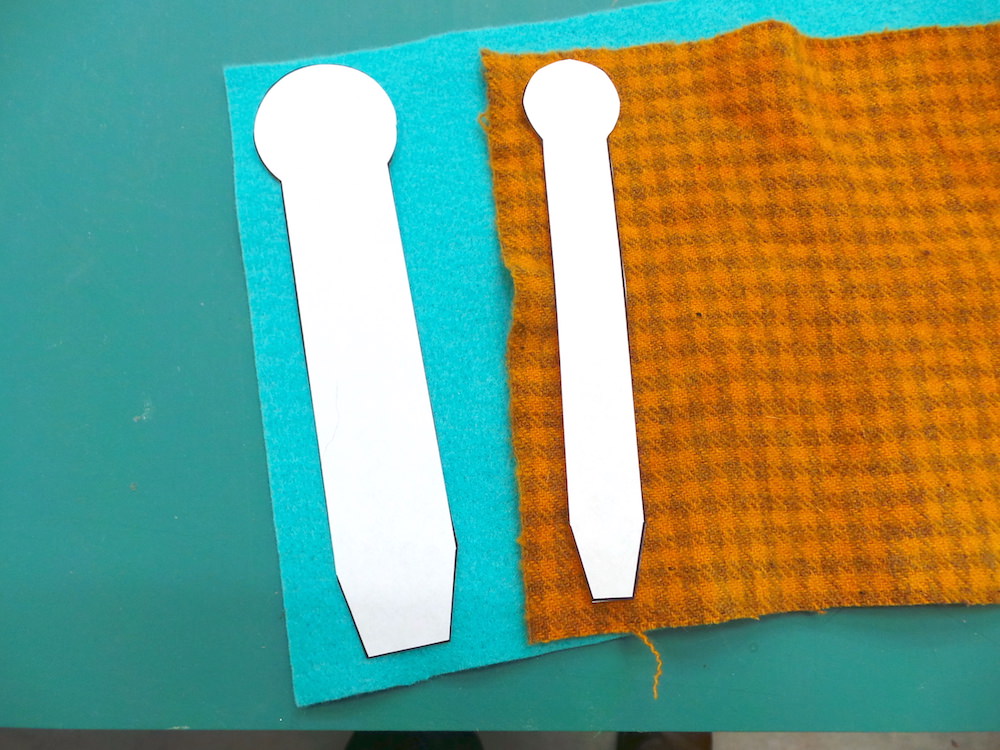
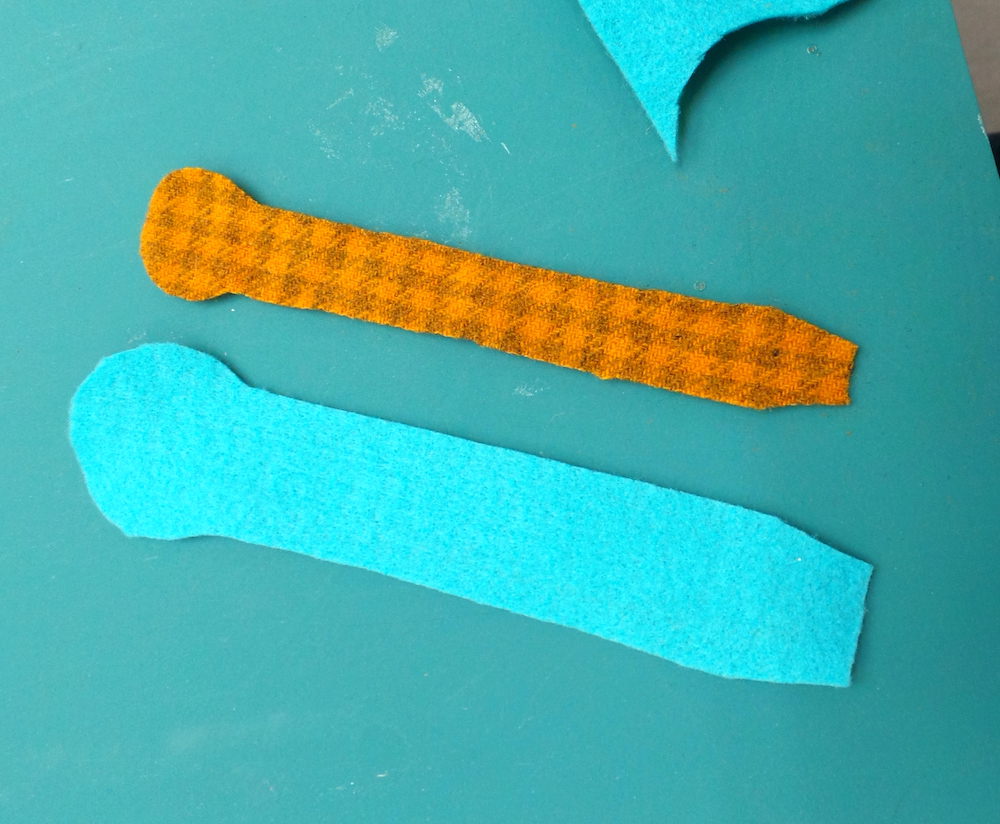
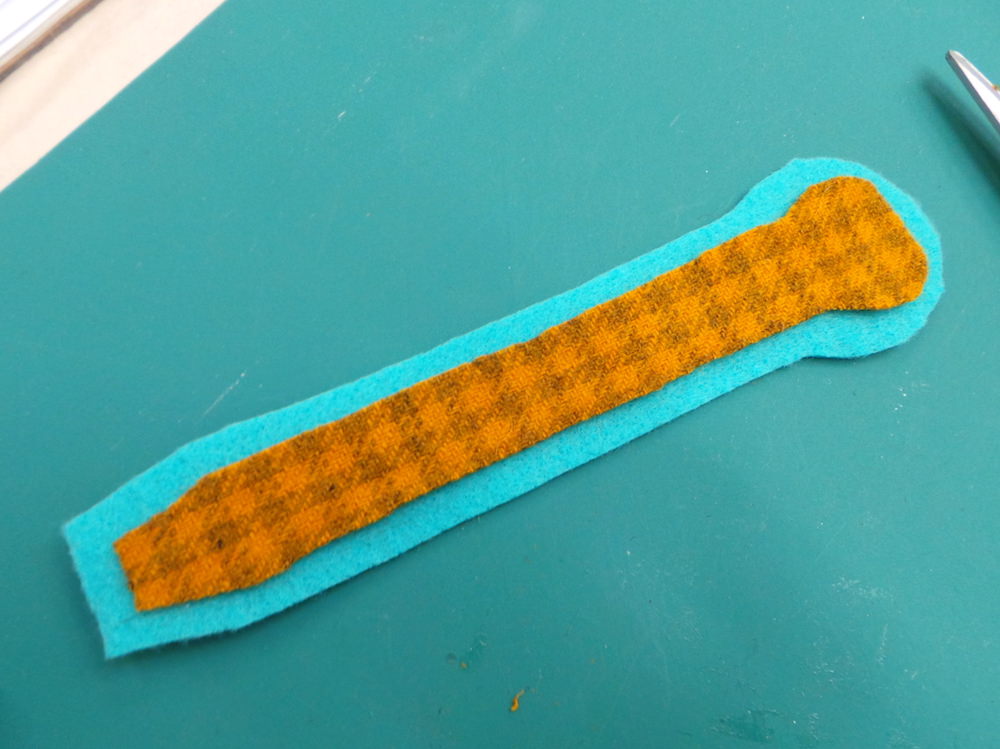
- Using the template, cut out the large piece from one color of felt, and the smaller piece from a contrasting color.
- You’ll have two pieces of felt that you’ll layer on top of each other. Trim off any edges that might not be straight.
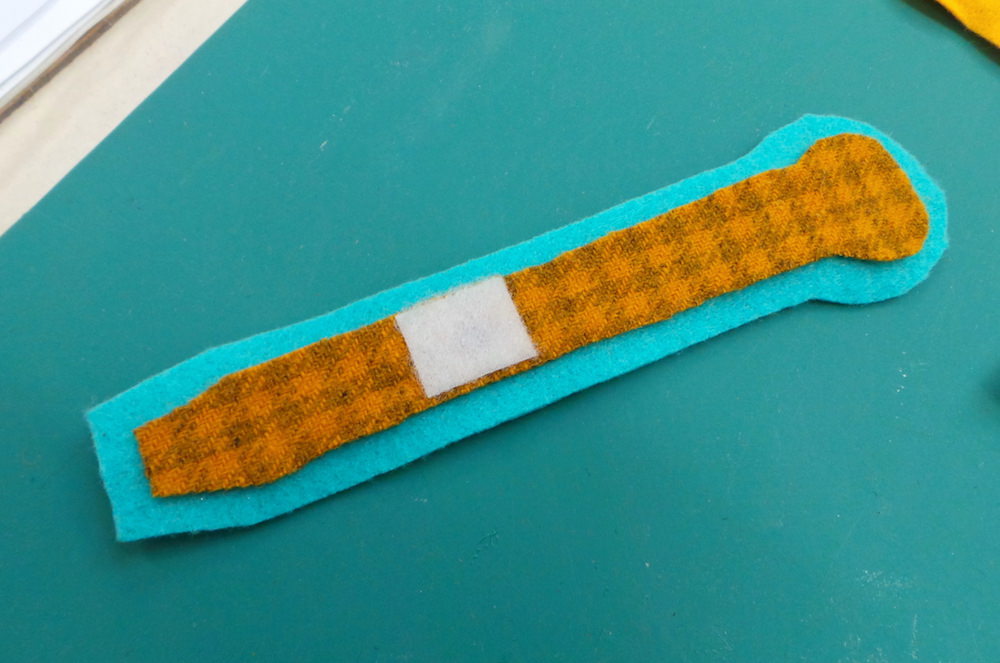
- Add hot glue to the bottom of the smaller piece of felt, all the way around the perimeter. Use a thin bead.
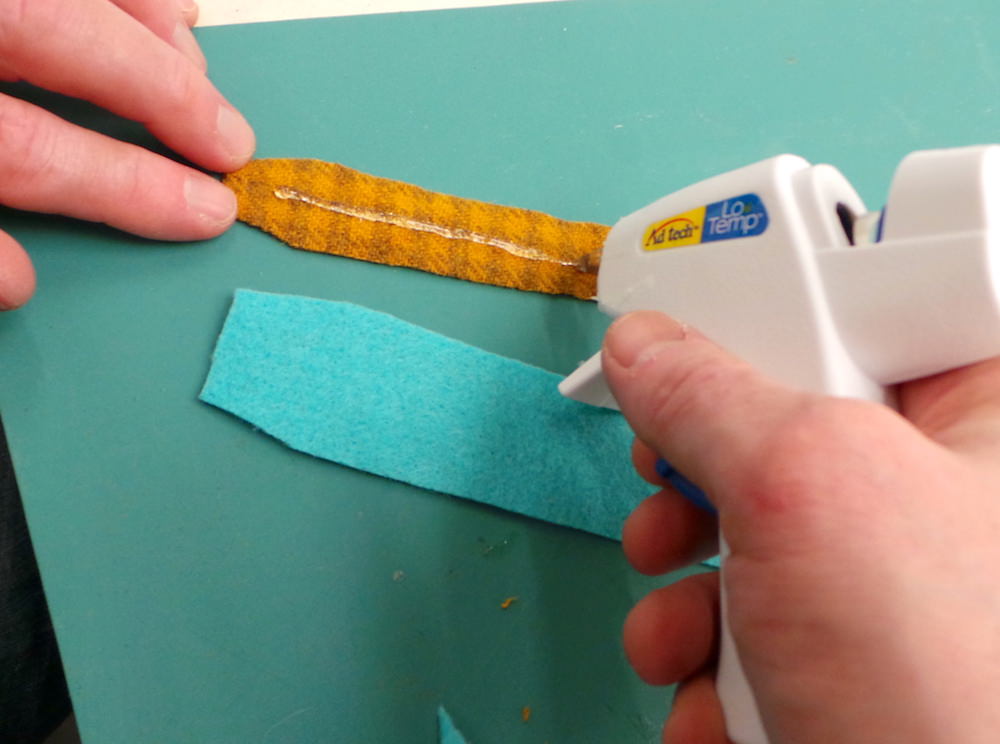
- Smooth down the top piece of felt onto the larger bottom piece.
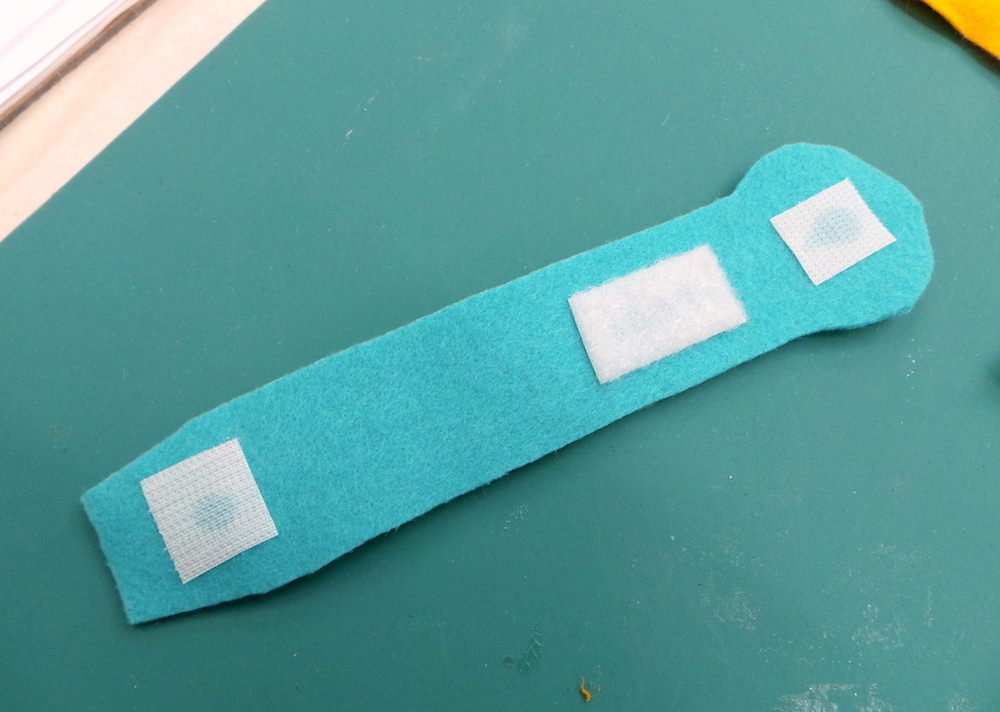
- Hot glue Velcro on the back of the larger felt piece as follows: one 3/4” male piece with the center at 3/4” from the small end, one 1 1/2” female piece with the center at 3 1/2” from the large end, and one 1” male piece with the center at 1” from the large end.
- Hot glue Velcro on the back of the smaller felt piece as follows: one 1” female piece with the center at 3 1/2” from the small end.
- Let cool and then wrap your cord as described in the Notes.
Notes
- Wrap your cord and place it down on the felt
- Fold the short end down and attach the Velcro
- Roll the cord over once
- Pull the tab up and attach the Velcro again
After I finished the project, I realized that I could’ve added some sort of embellishment to the large tab. Something like embroidery, a button, etc. I kind of like them plain, but I just wanted to bring that up in case you want to give it a go. Let me know what you think in the comments!
We have other posts on the topic of organizing I think you are going to love. Check these out: