Learn how to make a unique DIY house number from a wood slice – this is such a great home decor project, and on a budget!
Skills Required: Beginner. You don’t need any crafting or DIY skills to make this simple craft. It’s a perfect beginner project.
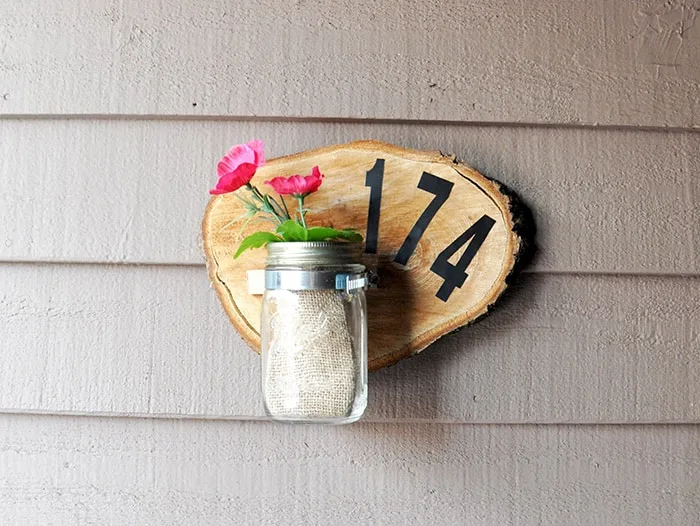
We have a family friend who owns a tree cutting business. Last year he asked if I would like some real wood slices for any projects. I said yes, and then headed over to his house before he gave them away!
There are so many things you can do with wood slices, and Amy has several projects. Check out her wood burned plaque, tree branch coasters, and farmhouse Thanksgiving sign.
At my house, these wood slices have been centerpieces, table decor and studio signs. Our condo really needed a house number sign, so guess what came in handy? I’m excited to show you what I did.
You can create this DIY house number plaque on a budget and with ease. It looks great displayed with different flowers of the season hanging in the mason jar. It’s perfect for your rustic or farmhouse themed decor!
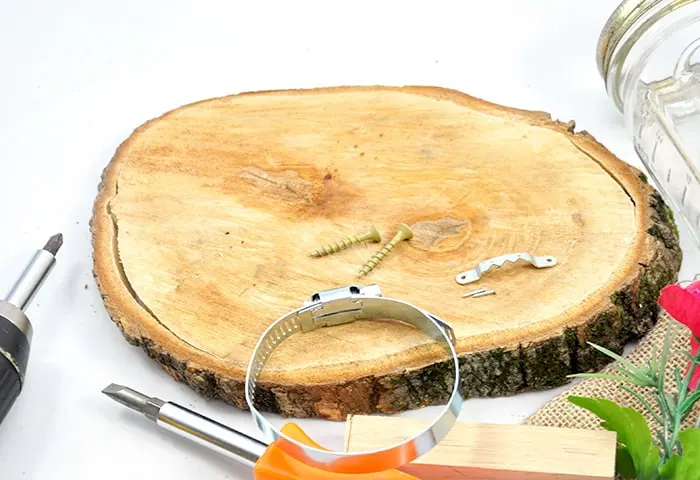
Gather These Supplies
- Wood slice
- Mason jar
- Hose clamp
- Screwdriver
- Small piece of wood
- Sandpaper
- Vinyl numbers
- Picture hook and nails
- Burlap
- Flowers
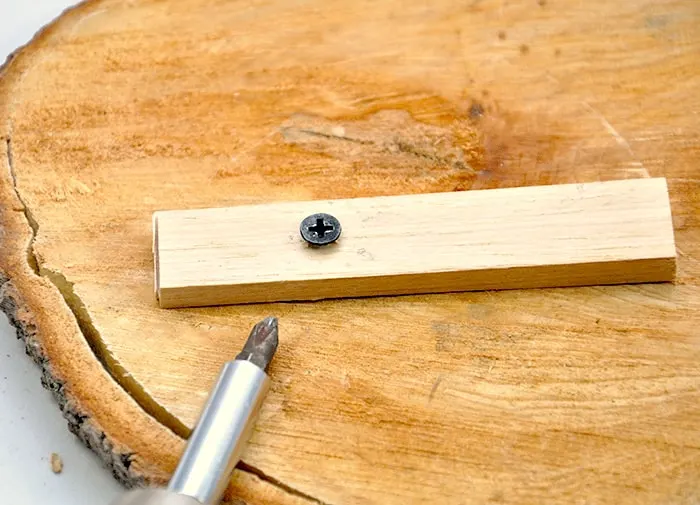
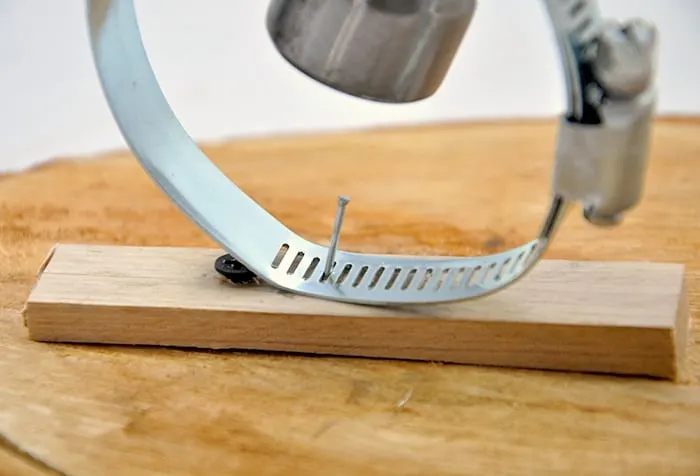
Lay out the project and decide where you want the mason jar to be. The lip of the jar needs room, so screw in a small piece of wood into the wood slice.
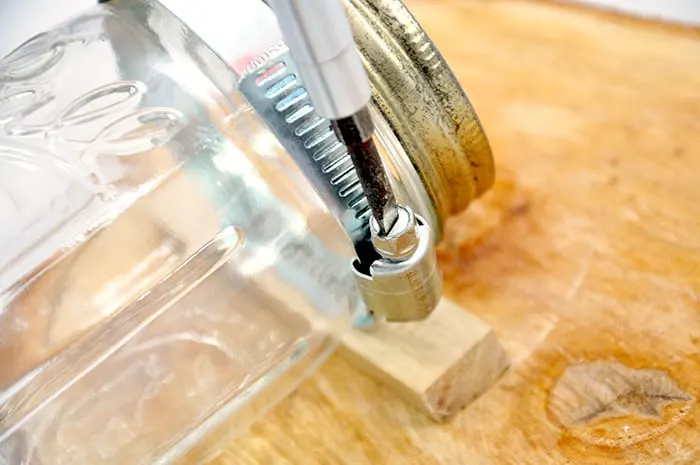
Nail two thin nails into the slots of the hose clamp and into the piece of wood.
Take a hand screwdriver and tighten the clamp around the mason jar until secure.
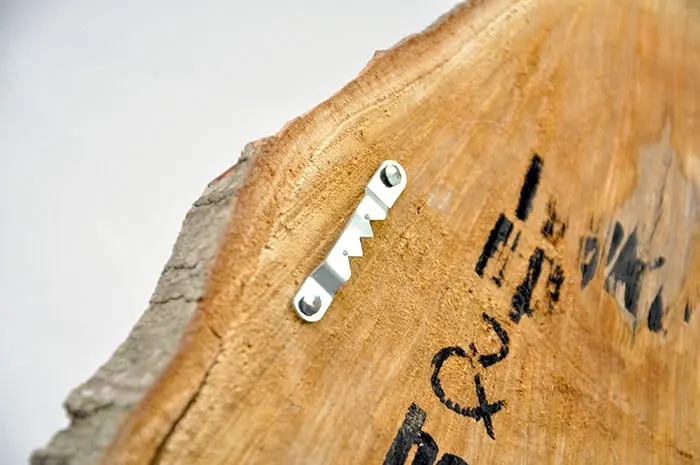
Add a picture hook to the back of the house number plaque for hanging.
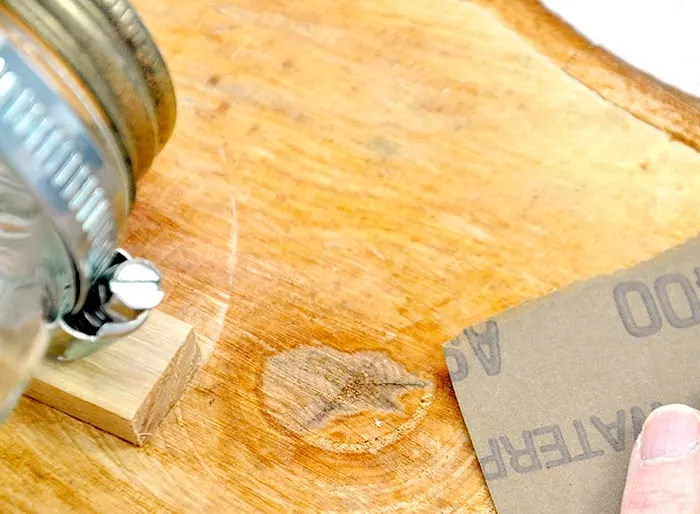
Take some sandpaper and smooth out where the number will be. We had a package of vinyl letters and numbers from Home Depot.
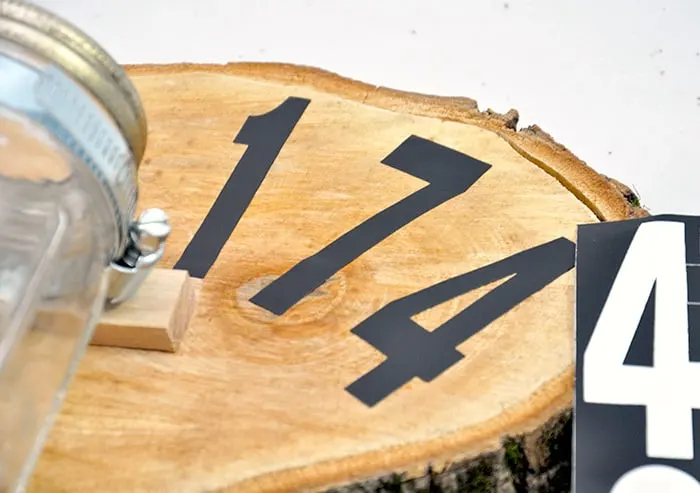
Peel off the numbers needed and stick them on the wood slice in the desired arrangement.
Tip: if you have paint, you can draw some freehand numbers on the plaque with a pencil and then paint them in so you don’t to buy the vinyl letters. We just happened to have them on hand.
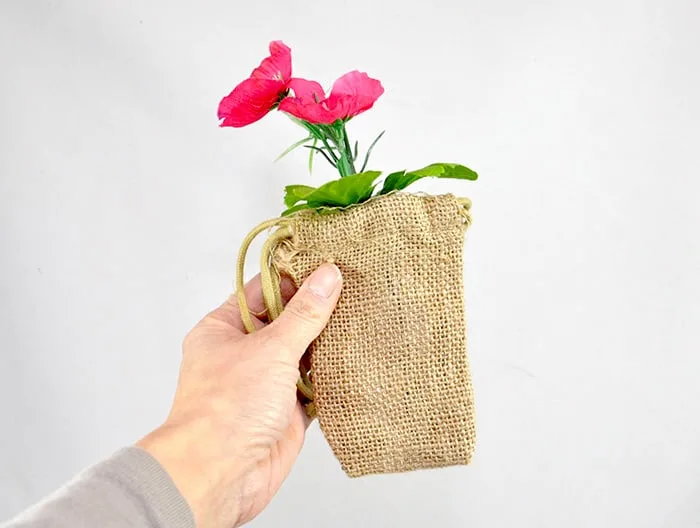
To finish, wrap a few artificial or real flowers in burlap and place them into the jar. I had a little burlap bag leftover from a wedding that was perfect.
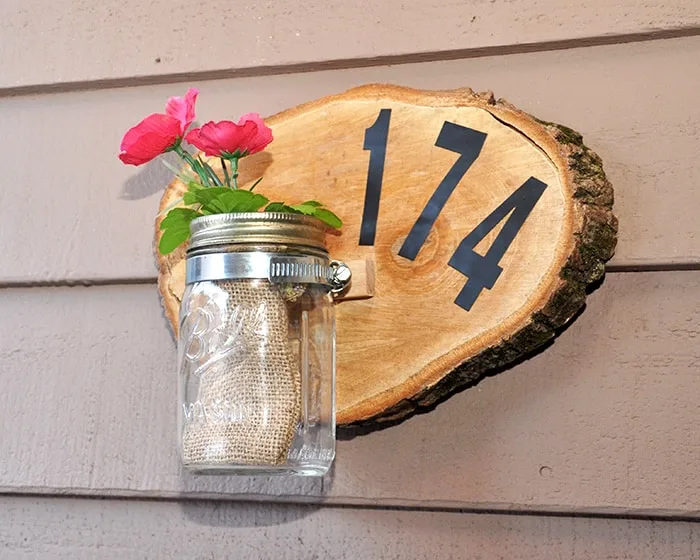
Now hang up your new DIY house number sign and enjoy some cute spring porch decor!
DIY House Number Sign

Learn how to make this DIY house number with a wood slice! Make your address clear with a pretty display at the same time.
Materials
- Wood slice
- Mason jar
- Hose clamp
- Small piece of wood
- Sandpaper
- Vinyl numbers
- Picture hook and nails
- Wood screws
- Burlap
- Flowers
Tools
- Screwdriver
- Drill (optional)
Instructions
- Decide on mason jar placement; screw the small piece of wood into the wood slice in this location. Use the drill.
- Nail two thin nails into the slots of the hose clamp and into the piece of wood.
- Use a hand screwdriver to tighten the clamp around the mason jar until secure. Add a picture hook to the back of the wood slice for hanging.
- Use some sandpaper to smooth out the area where you will place the vinyl numbers.
- Peel off the numbers needed and stick them on the wood slice in the desired arrangement.
- To finish, wrap a few artificial or real flowers in burlap and place them into the jar. Hang the plague on your home outside, preferably in a covered area.
If you enjoyed this craft idea, I’d love for you to check out these other posts as well:

Amy Cooley
Saturday 14th of March 2015
What a cute idea!