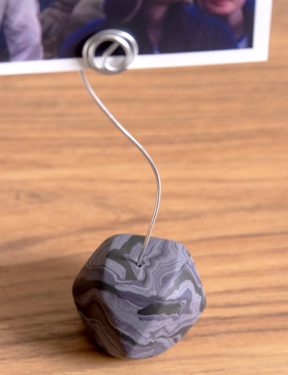
DIY Photo Holders
Learn to make unique picture holders with polymer clay. This is a fun and easy tutorial, perfect for kids or adults.
Servings 3 photo holders
Cost $5
Equipment
- Wire cutters
- Oven
- Rolling Pin
- Knife
- Pliers (optional)
Ingredients
- Polymer clay 3 to 4 colors
- Heavy gauge wire or a paperclip
- Craft glue
Instructions
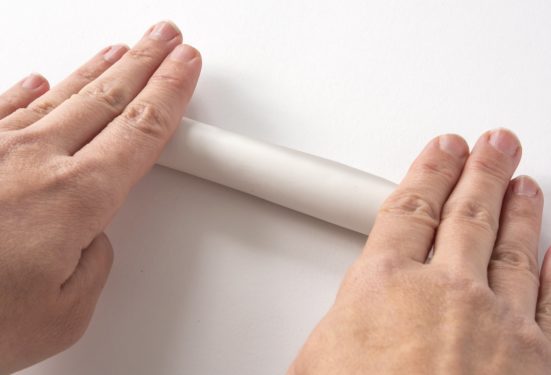
- Choose one color to be your main clay color – usually it is the lightest or white, but it can be any color you like. Roll the entire piece into a tube on your work surface.
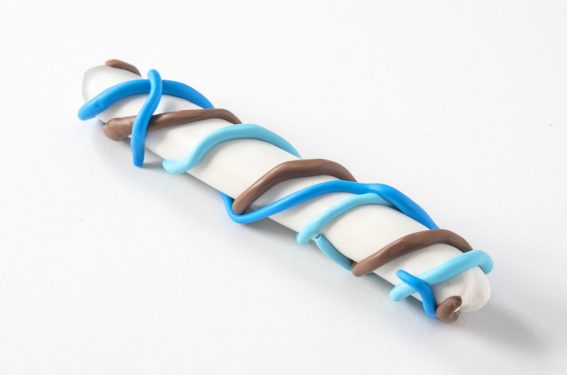
- Choose 2 to 3 other clay colors and break off smaller pieces. Roll into small tubes and then wrap around the larger tube from step one.
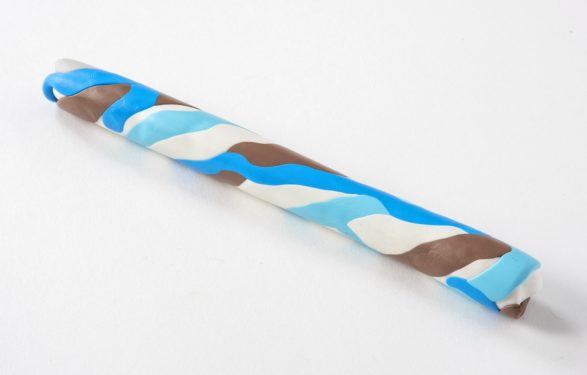
- [mv_schema_meta name=""]Roll on the work surface until all of the colors are combined and you have a flat tube.
- Twist the tube and bend that twisted tube into a “U” shape.
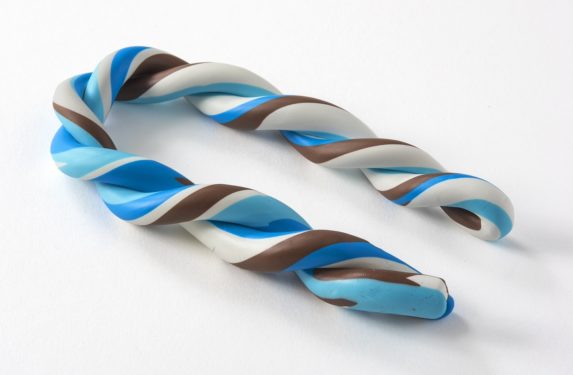
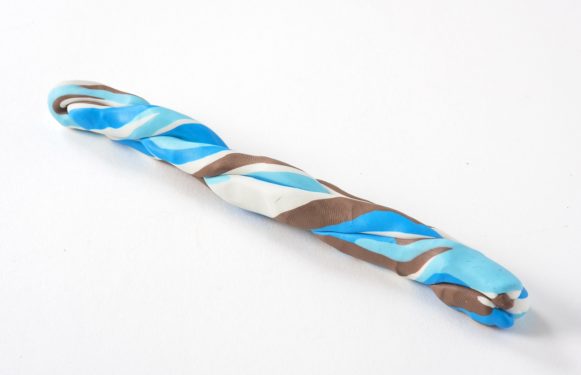
- Roll the U shape together into one tube again, and watch as the colors combine. Repeat step 4 and 5 a few more times.
- Form the piece of clay into a cube shape, or the shape of your choice.
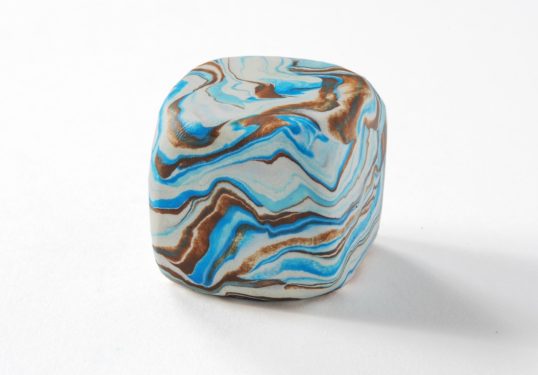
- Use the knife to trim the sides into a more clean cube shape. You can cut off the four corners to make your shape more interesting. Use the wire or a paperclip to place a hole in the top before baking.
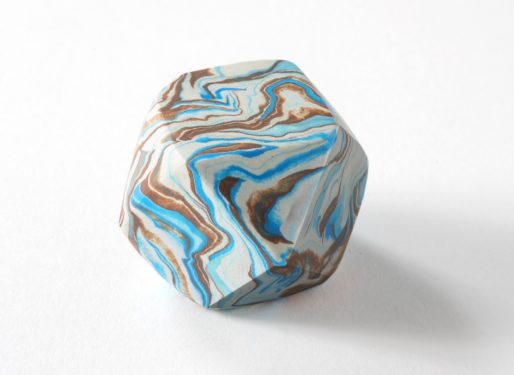
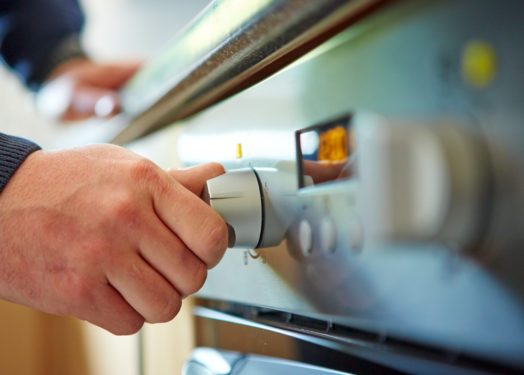
- Add to a non-stick baking sheet and bake the clay according to package instructions (usually 250 degrees for several hours). Once baked, removed from the oven and let cool completely.
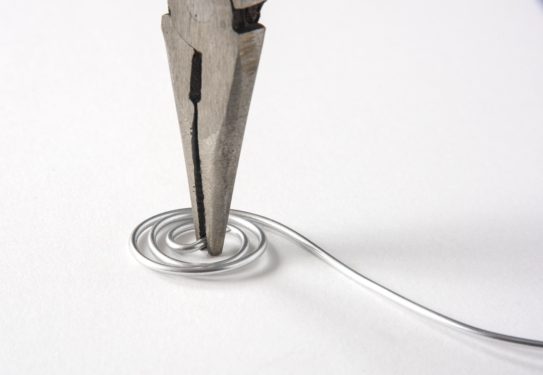
- While the block is cooling, use a piece of jewelry wire to form a photo holder. You’ll do this by cutting a length, then wrapping the end of a wire into a loop with pliers. You can also use a large paper clip, bending out one of the ends.
- Add a dab of glue onto the end of your wire or paper clip, and then insert into the hole on top of the photo holder. Let dry completely before using.
