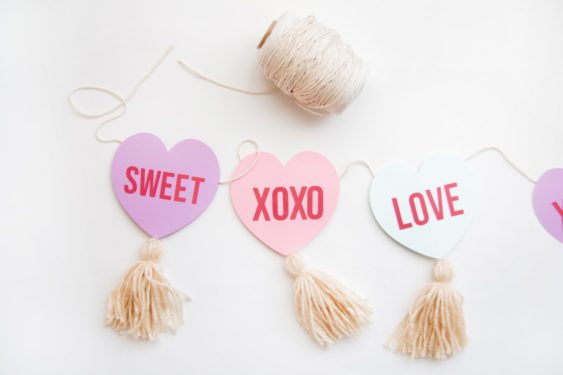
DIY Valentine Garland
Craft a delightful DIY Valentine's Day garland featuring charming paper hearts! This adorable project is the perfect touch to spruce up your space for the celebration.
Servings 1 garland
Cost $10
Ingredients
Instructions
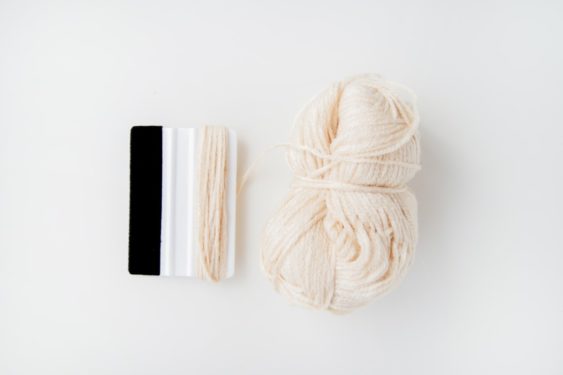
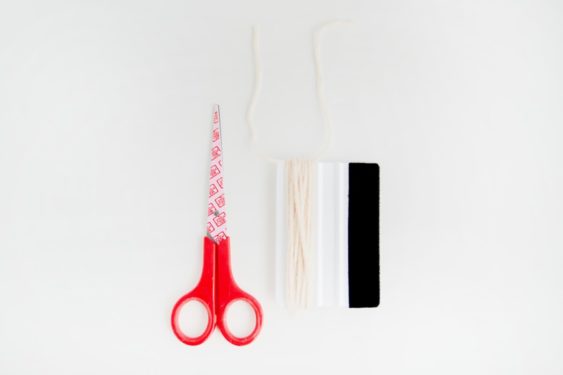
- To create a tassel, wrap yarn around the long side of a gift card sized card 20-25 times (or more if you would like a thicker tassel).
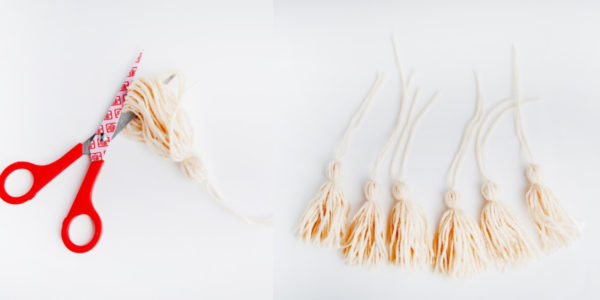
- Cut a separate piece of yarn (at least 9 inches long) to tie off the top of the tassel. Take the piece of yarn and slide it underneath the wrapped yarn at the top. Tie two knots to secure. Slide the wrapped yarn off the card gently and keep its general shape intact.
- Use a clear rubber band or hair tie and wrap it around the top section of the tassel to create a tassel head. Cut the bottom of the tassel and trim the ends to clean it up. Create one tassel for each heart and set aside.
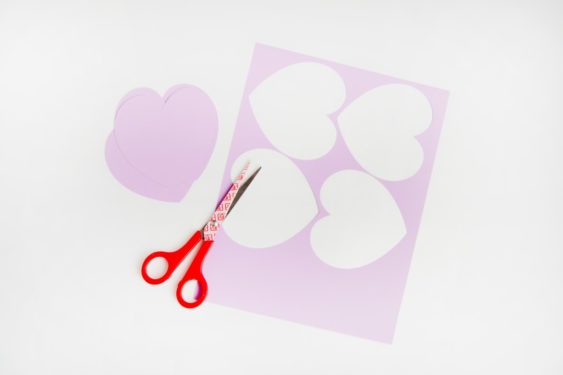
- Cut the heart shapes out of the pastel cardstock using the provided template.
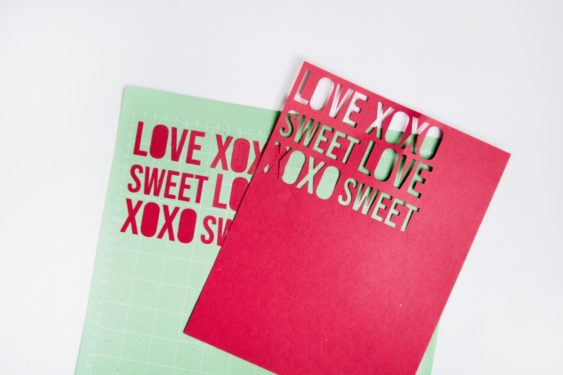
- Cut the letters using your electronic die-cutting machine.
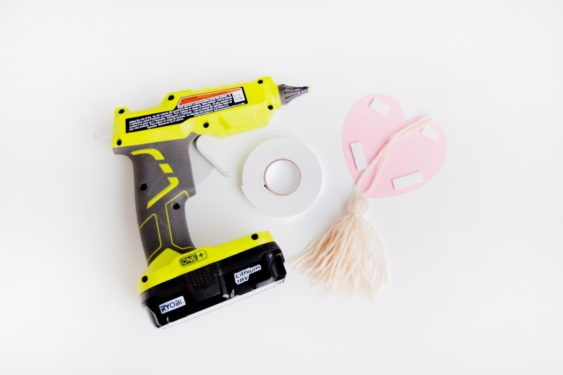
- Attach the tassel to the middle of a cut heart using hot glue. Cut pieces of double sided mounting tape (for dimension) and adhere it onto the heart as well. This will be the backside of the conversation heart. Repeat for the rest of the back pieces.
- Mod Podge the letters to spell your message onto the front pieces (I did XOXO, Love and Sweet). Make sure they are centered on the heart. You can choose to apply a layer of Mod Podge on the heart and letters for added durability. Leave it to dry.

- Assemble the conversation hearts by pairing the same colored pieces. Remove the protective paper from the mounting tape, align the front and back sides and attach them together.

- String the assembled conversation hearts onto a long piece of yarn, making sure to space them out evenly. Use hot glue to keep them in place.