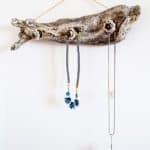
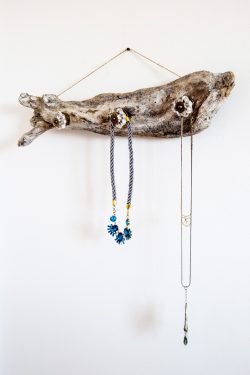
Driftwood Jewelry Hanger
Learn how to make a jewelry hanger out of a piece of driftwood. It's a unique display and looks great on the wall.
Servings 1 hanger
Cost $5
Equipment
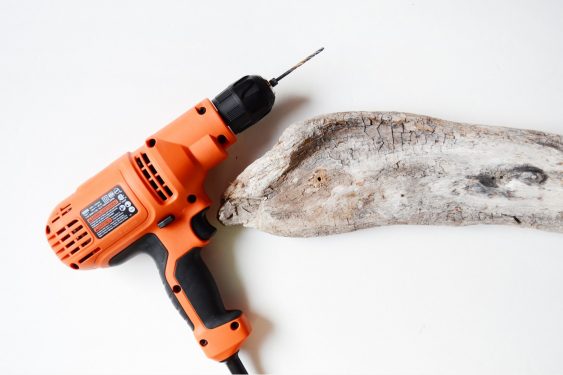
- Drill with drill bits including 3/16″ bit
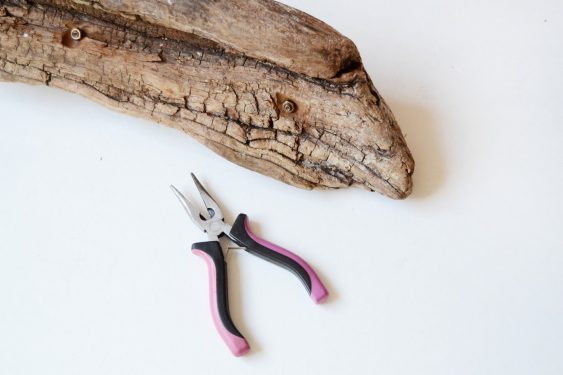
- Flat nose pliers
- Dremel tool optional
- Picture hanger with nail
- Hammer
Ingredients
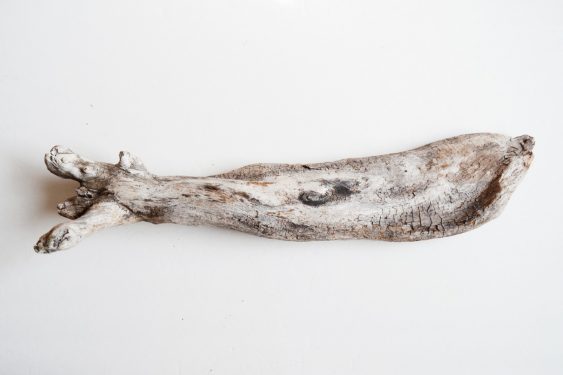
- 1 Driftwood piece
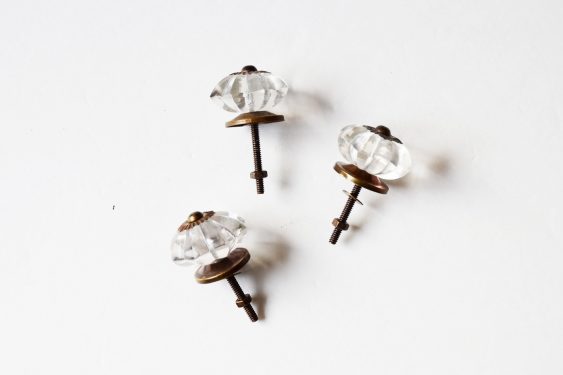
- 3 Crystal knobs
- 2 Screws or eye hooks
- Jute string
- 1 Sharpie(s)
- Wood glue optional
Instructions
- Clean your driftwood with a slightly damp cloth (if necessary) and let dry.
- Use a tape measure to decide the location of the knobs. I determined I needed about 3 knobs on my hanger, so I eyeballed mine. They ended up roughly spaced at 6 1/2" apart. Mark with a Sharpie.
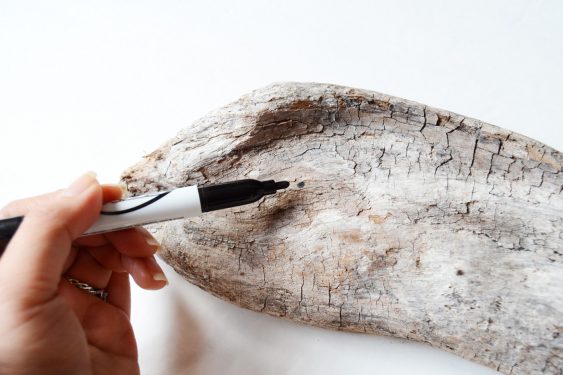
- Choose the knobs for your project. Slowly drill a pilot on hole on the marked holes. You want to do this step so that you don't crack your wood piece, as it is somewhat fragile.
- Once all your pilot holes are drilled, change the drill bit to a size that would accommodate the screw from your knob and drill to widen the holes.
- Drill through the back of the driftwood and attach the knob. Shave off any excess wood on the back with the rotary tool. You can also cut the end of the screw off with the right bit. This is optional to make the knobs go all the way through, and so the organizer sits flush against the wall.
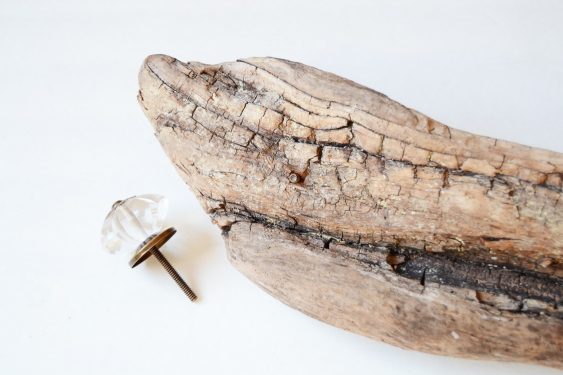
- To secure the knobs, use hex nuts to tighten them to place.
- To hang, I used two screws and drilled it to the top-most stable surface of the driftwood piece. I used 3/4" screws to give it a good hold. If it allows, you can use 1 or 1 1 /2" screws for it to be more stable.
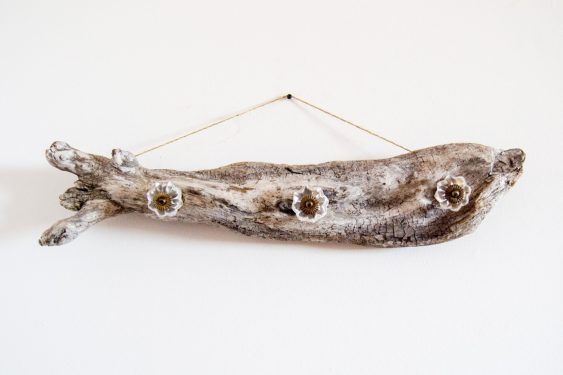
- Add the screws or eye hooks and tie the jute string to the hooks. Hang from a picture hanger to display.
Notes
My piece of driftwood was free - cost varies depending on the price of knobs and if you purchase the wood.