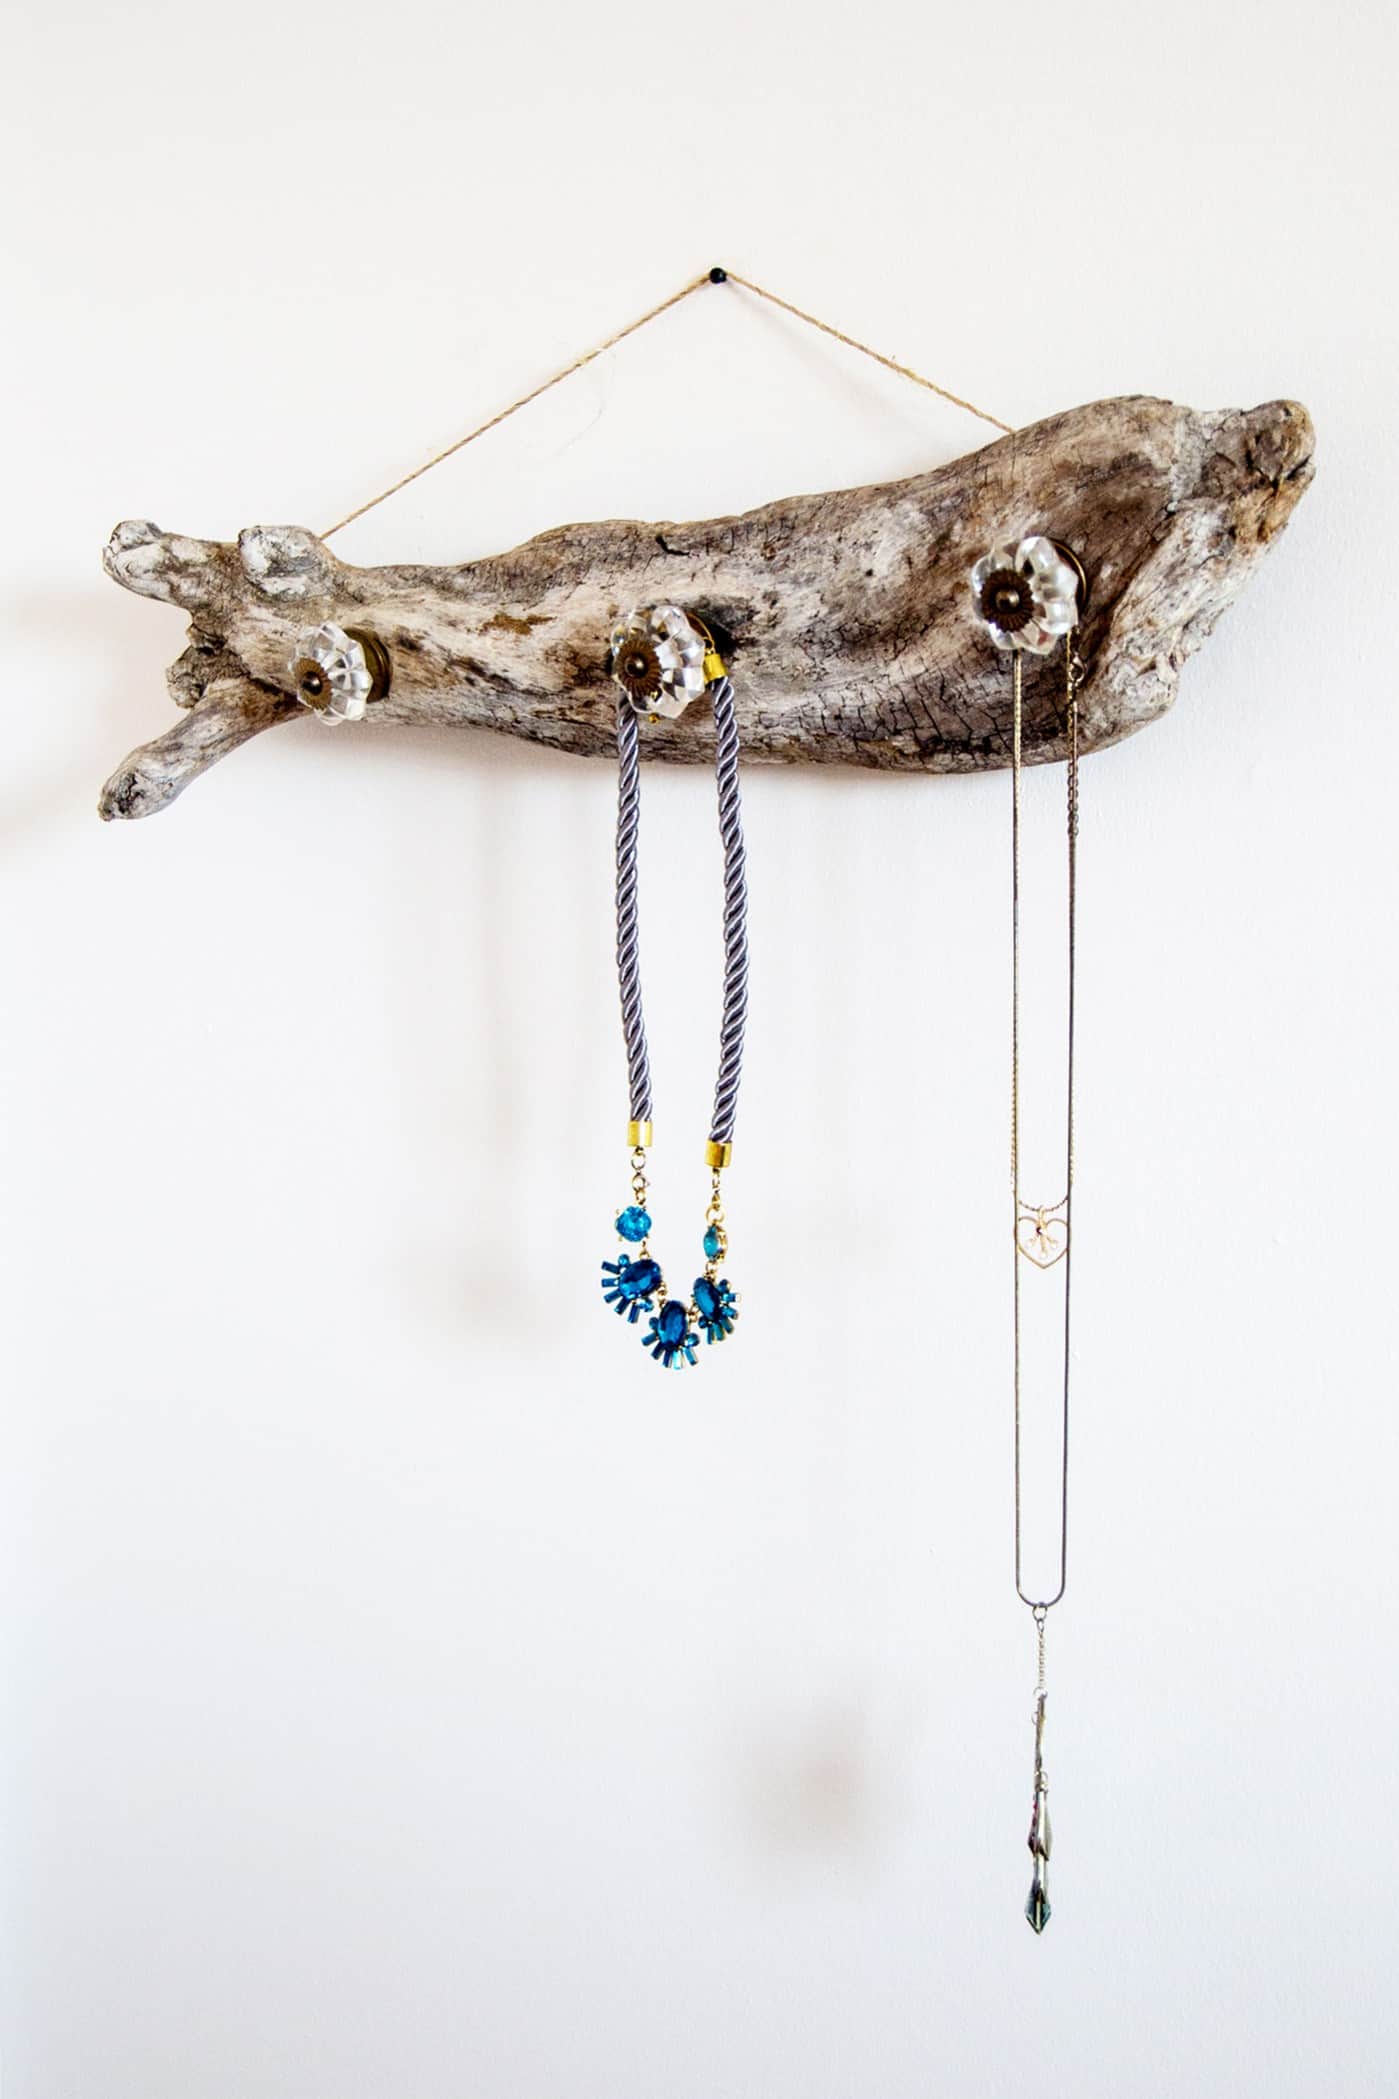
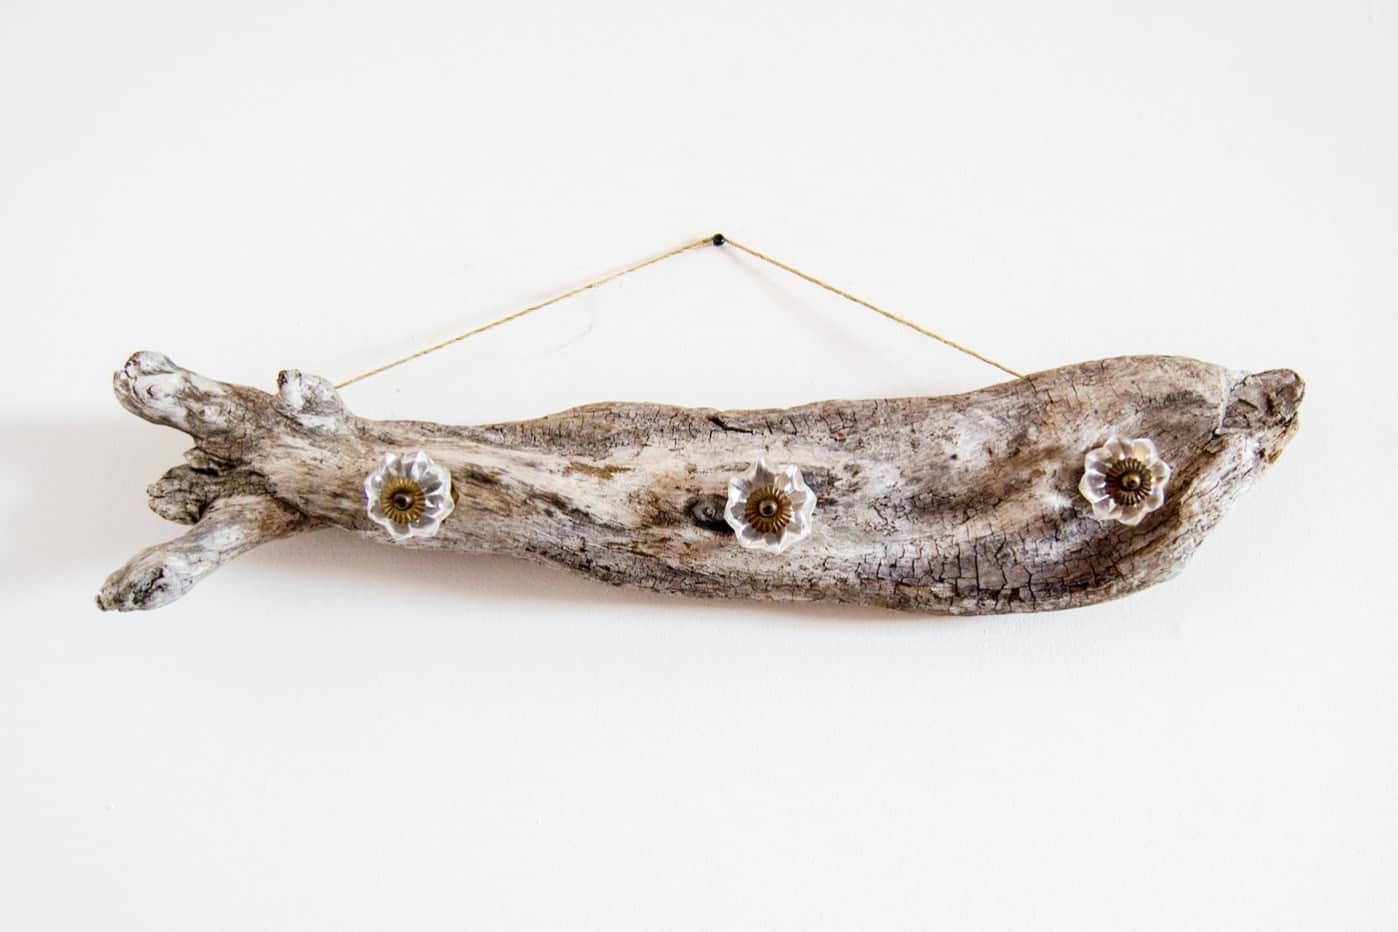
Beautiful Driftwood Jewelry Hanger You Can Make
Use a gorgeous driftwood piece to create a unique jewelry hanger. It looks great on the wall whether you have jewelry on it or not, and it’s easy to make!
Skills Required: Beginner. You’ll need to know how to use a drill and screw things into wood, as well as hang something on the wall. Besides that it’s a relatively simple project.
Hey guys – It’s Aki again from Minted Strawberry. It’s already spring – and with it comes organizing and purging! I’ve been looking for an effective way to display the necklaces I wear the most so they don’t tangle with each other, and I’ve concluded that I needed a jewelry hanger.
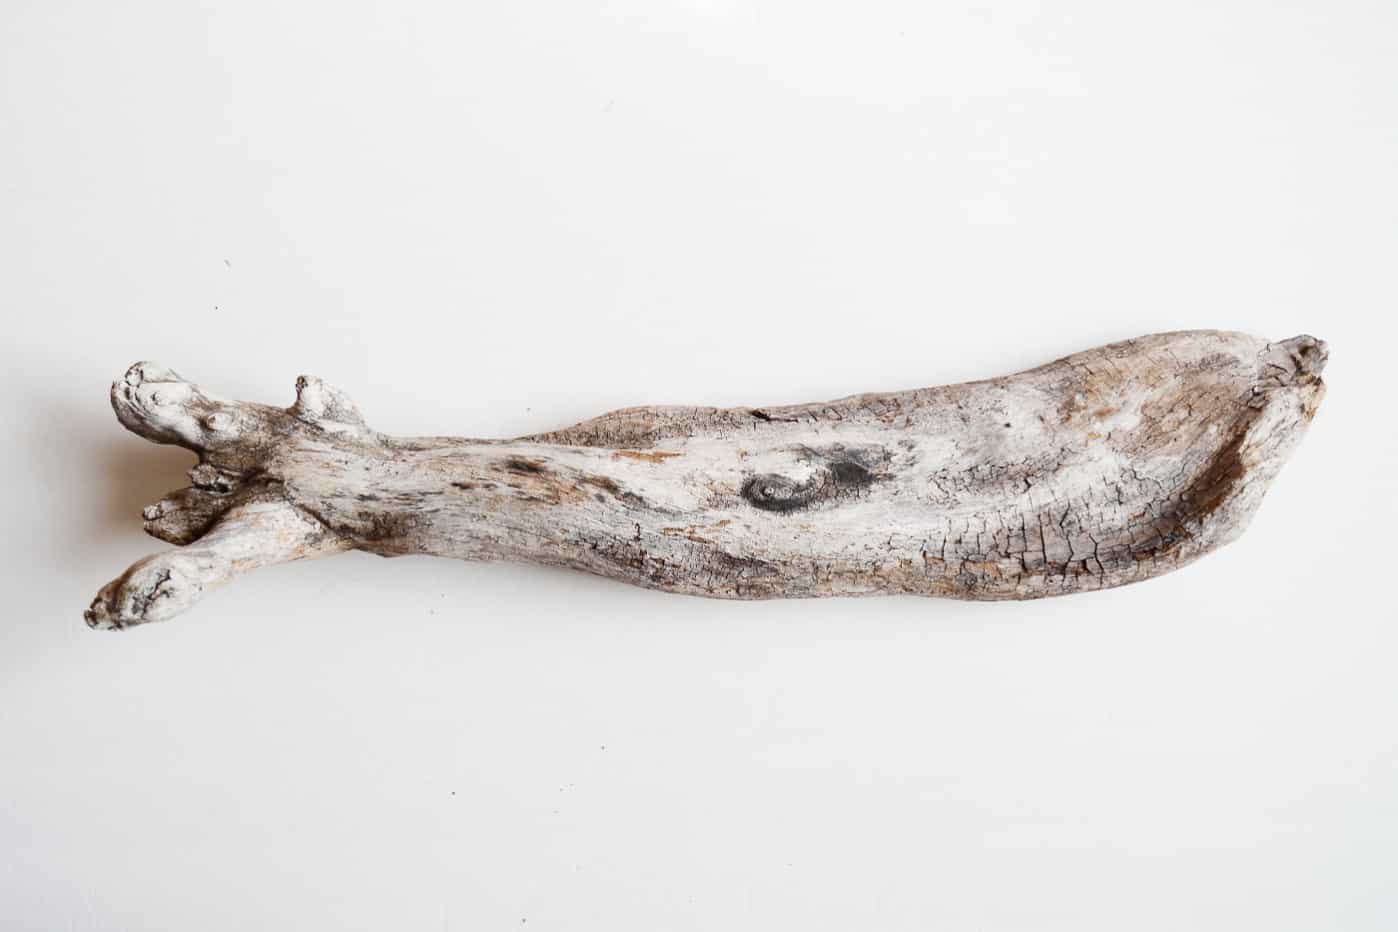
My mother-in-law brought me this gorgeous driftwood piece that’s been sitting in the storage for months, so I thought that would be the perfect base for my jewelry hanger.
I believe around this time of year is the perfect time to acquire driftwood pieces! There would be lots strewn about on the beach and it won’t be picked over by people yet.

Once you grab a piece of wood off of the beach, you’ll be ready to make your own jewelry holder. Here’s how this home decor project is made.
Tip: if you don’t have an ocean nearby, grab driftwood from Etsy.
Gather These Supplies
- Driftwood piece or wood base
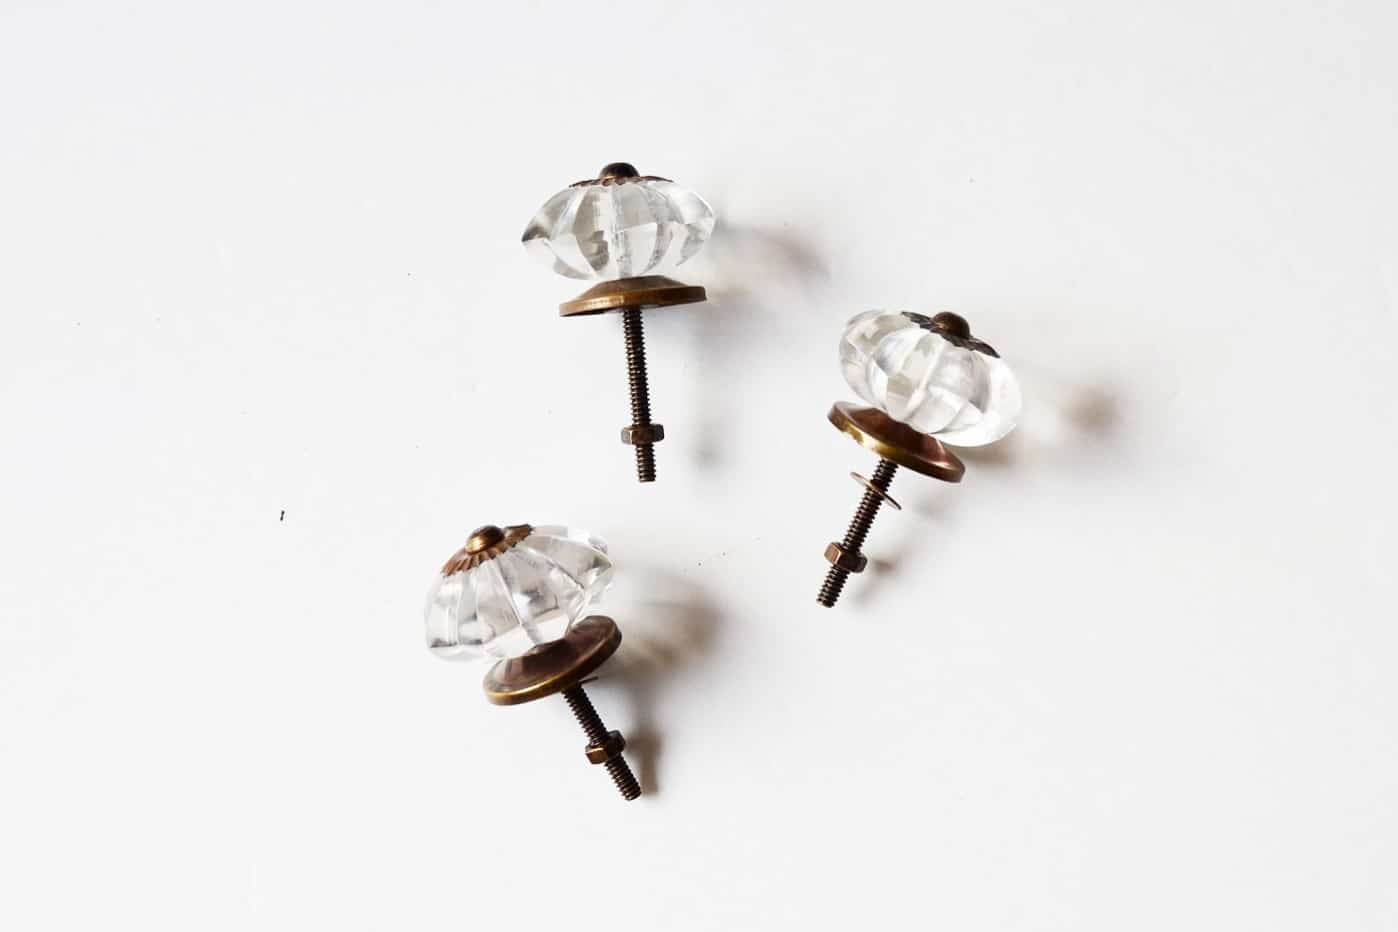
- Crystal knobs
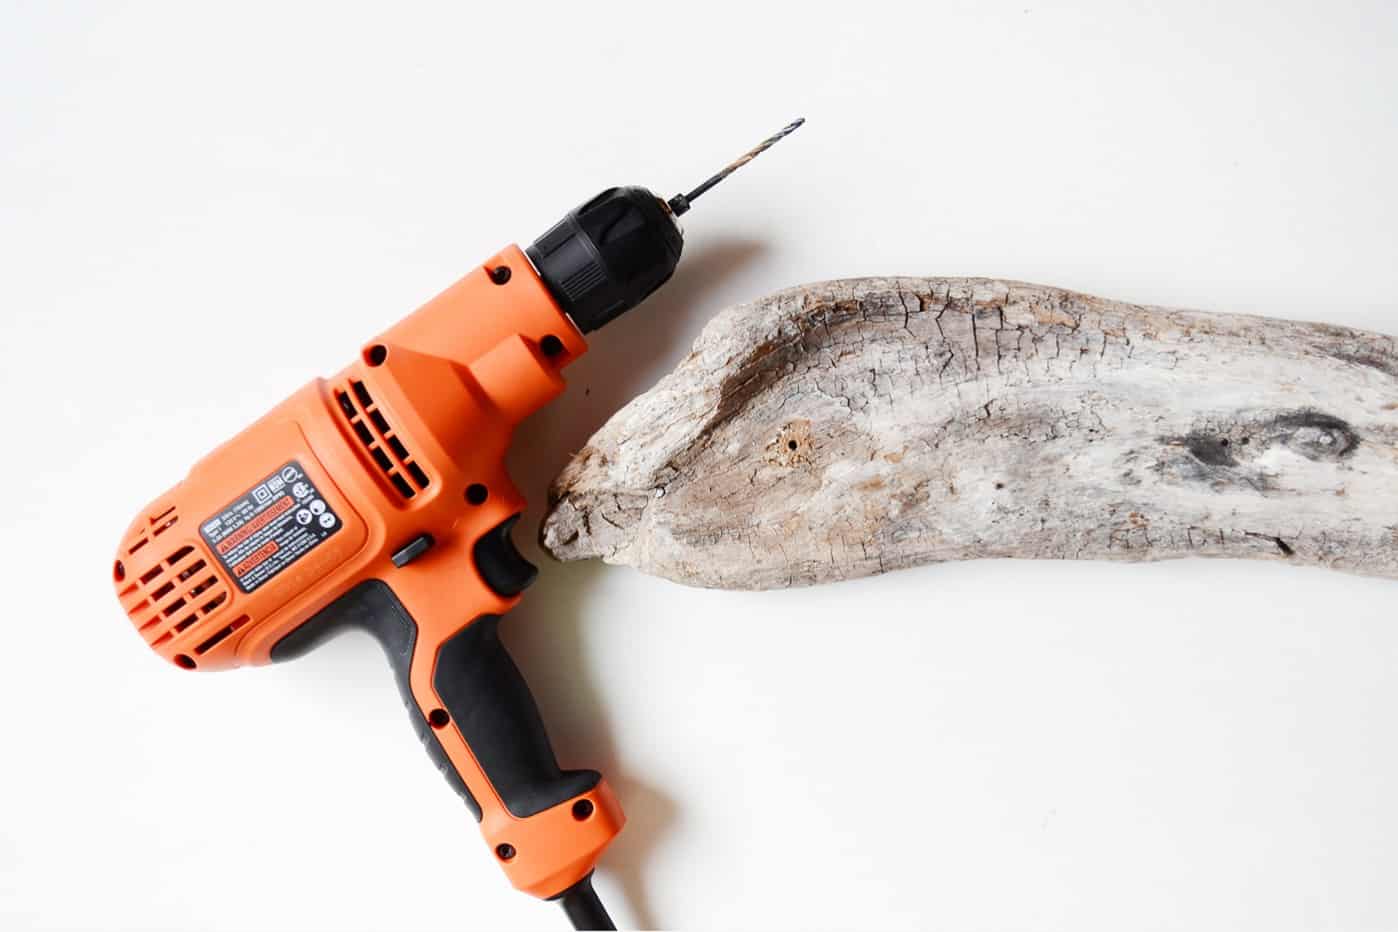
- Drill, 3/16″ bit
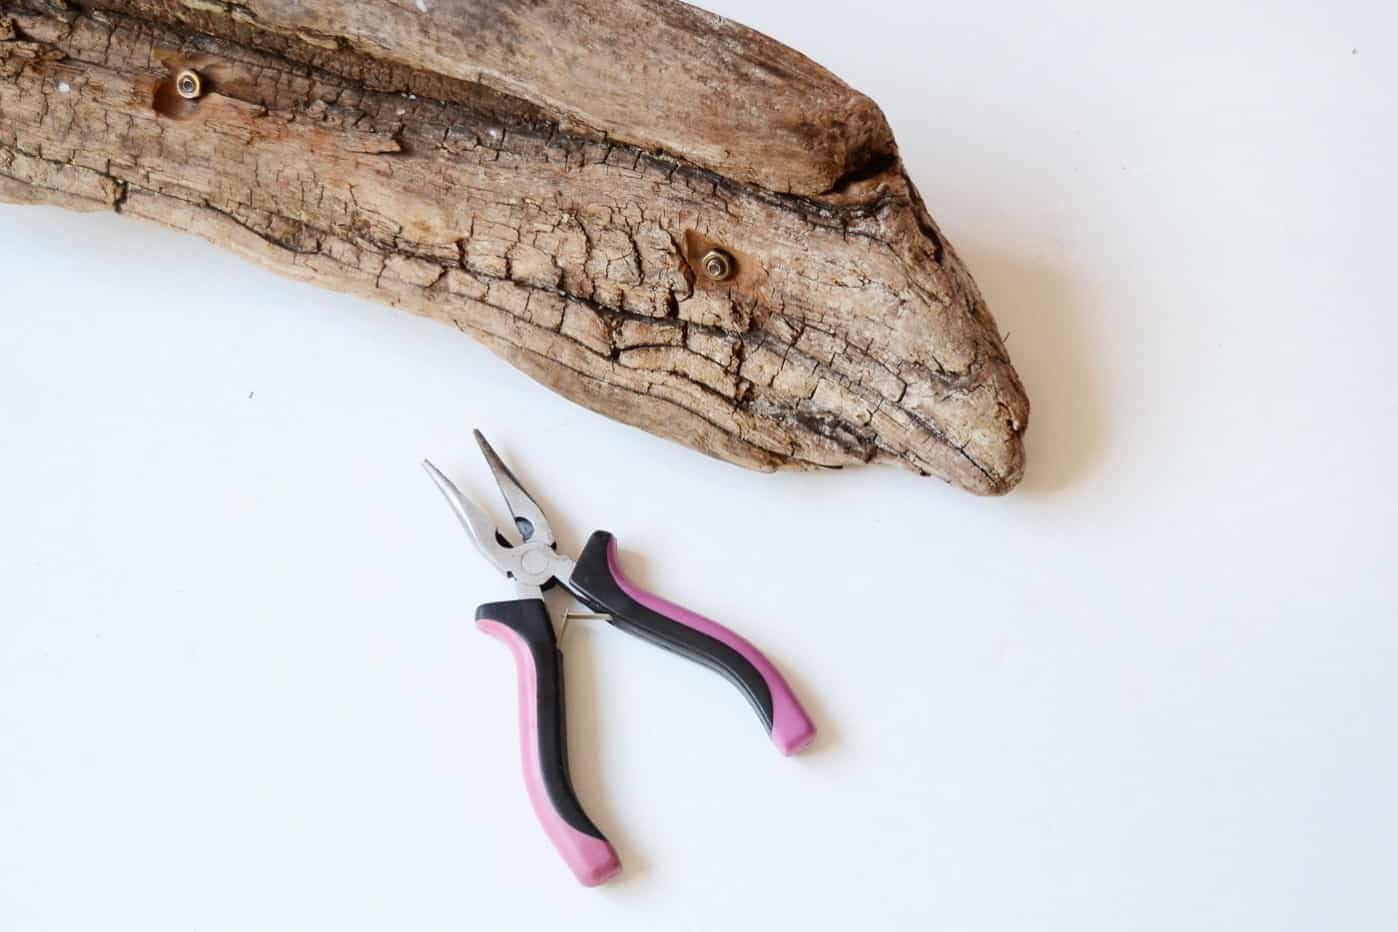
- Flat nose pliers
- Dremel Rotary Tool (optional)
- Picture hanger
- Screws or eye hooks – 2
- Jute string
- Sharpie
- Tape measure
- Wood glue (optional)
This project is a one-of-a-kind piece that gives off a natural, relaxed vibe. It’s really perfect for the Spring/Summer months.
I think it’s also a really great piece to give away to someone whose style is minimalist, boho chic, or even someone who loves the beach. Get the how to below:
Driftwood Jewelry Hanger
Equipment
- Drill with drill bits including 3/16″ bit
- Flat nose pliers
- Dremel tool optional
- Picture hanger with nail
- Hammer
Materials
- 1 Driftwood piece
- 3 Crystal knobs
- 2 Screws or eye hooks
- Jute string
- 1 Sharpie(s)
- Wood glue optional
Instructions
- Clean your driftwood with a slightly damp cloth (if necessary) and let dry.
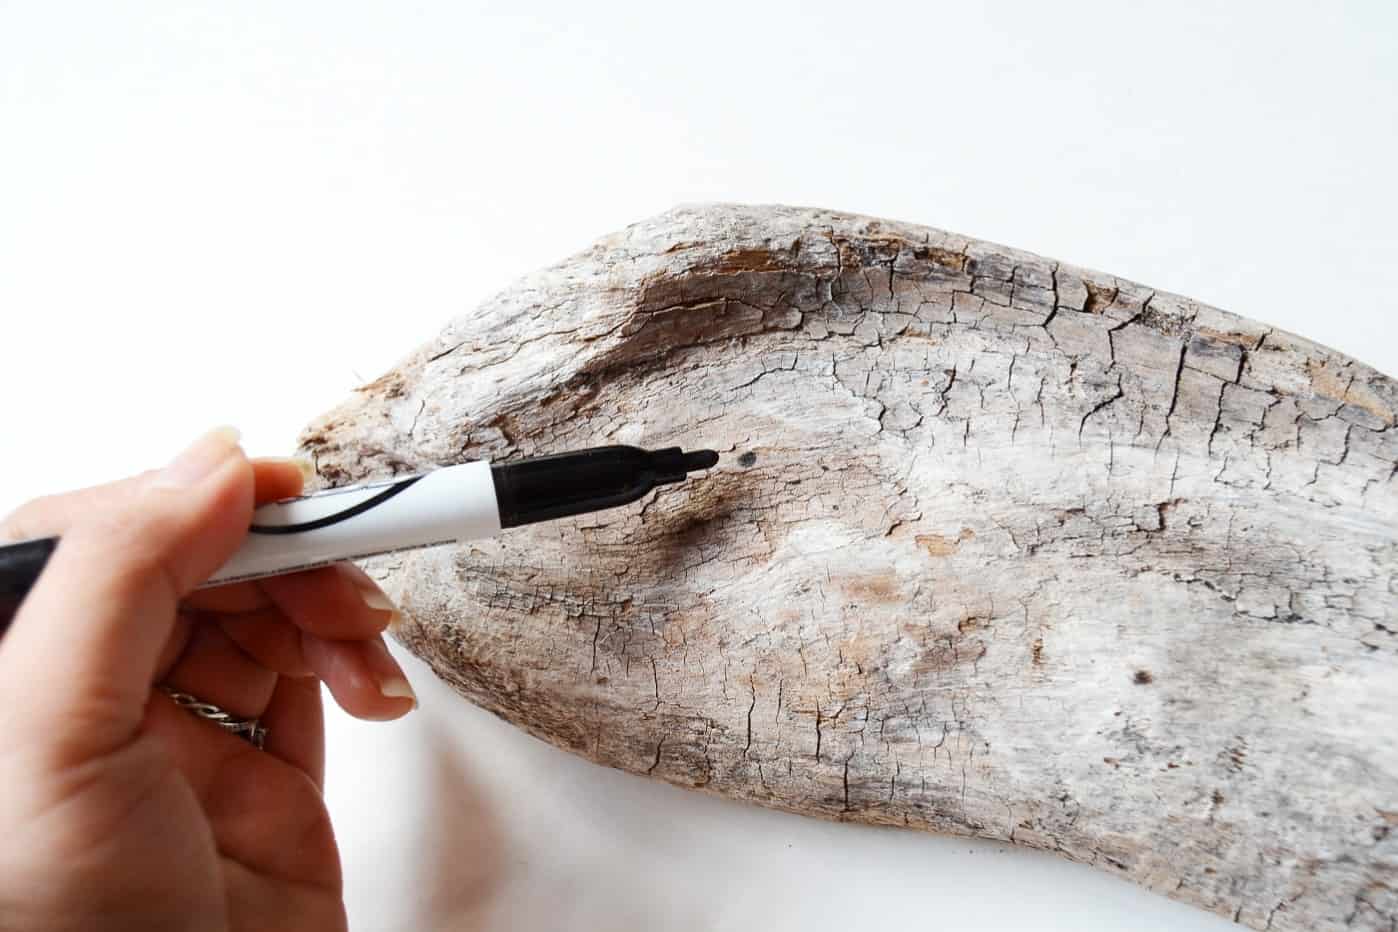
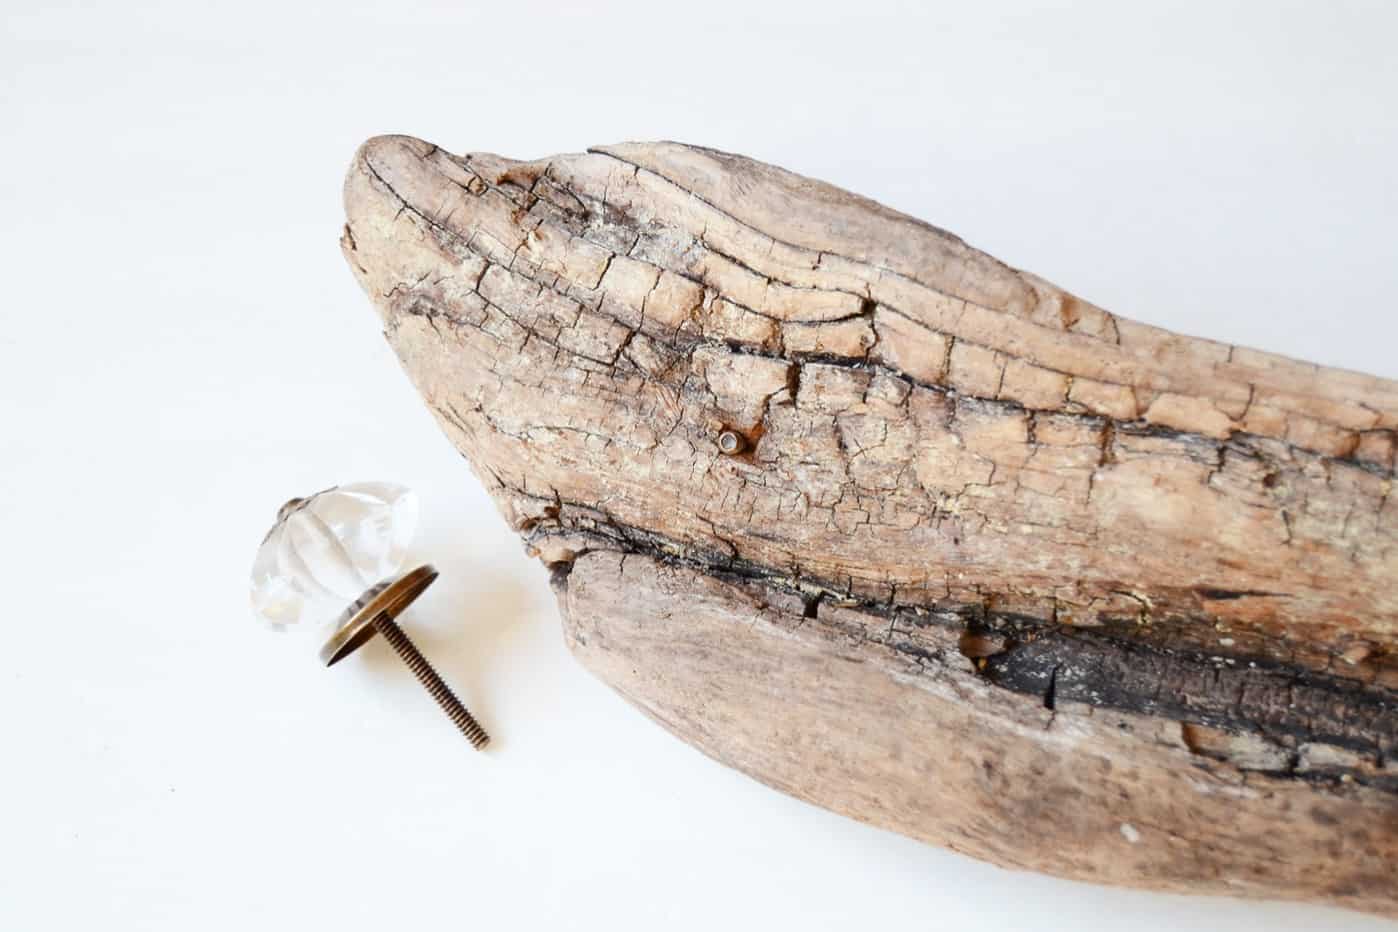
- Use a tape measure to decide the location of the knobs. I determined I needed about 3 knobs on my hanger, so I eyeballed mine. They ended up roughly spaced at 6 1/2" apart. Mark with a Sharpie.
- Choose the knobs for your project. Slowly drill a pilot on hole on the marked holes. You want to do this step so that you don't crack your wood piece, as it is somewhat fragile.
- Once all your pilot holes are drilled, change the drill bit to a size that would accommodate the screw from your knob and drill to widen the holes.
- Drill through the back of the driftwood and attach the knob. Shave off any excess wood on the back with the rotary tool. You can also cut the end of the screw off with the right bit. This is optional to make the knobs go all the way through, and so the organizer sits flush against the wall.
- To secure the knobs, use hex nuts to tighten them to place.
- To hang, I used two screws and drilled it to the top-most stable surface of the driftwood piece. I used 3/4" screws to give it a good hold. If it allows, you can use 1 or 1 1 /2" screws for it to be more stable.
- Add the screws or eye hooks and tie the jute string to the hooks. Hang from a picture hanger to display.
Notes
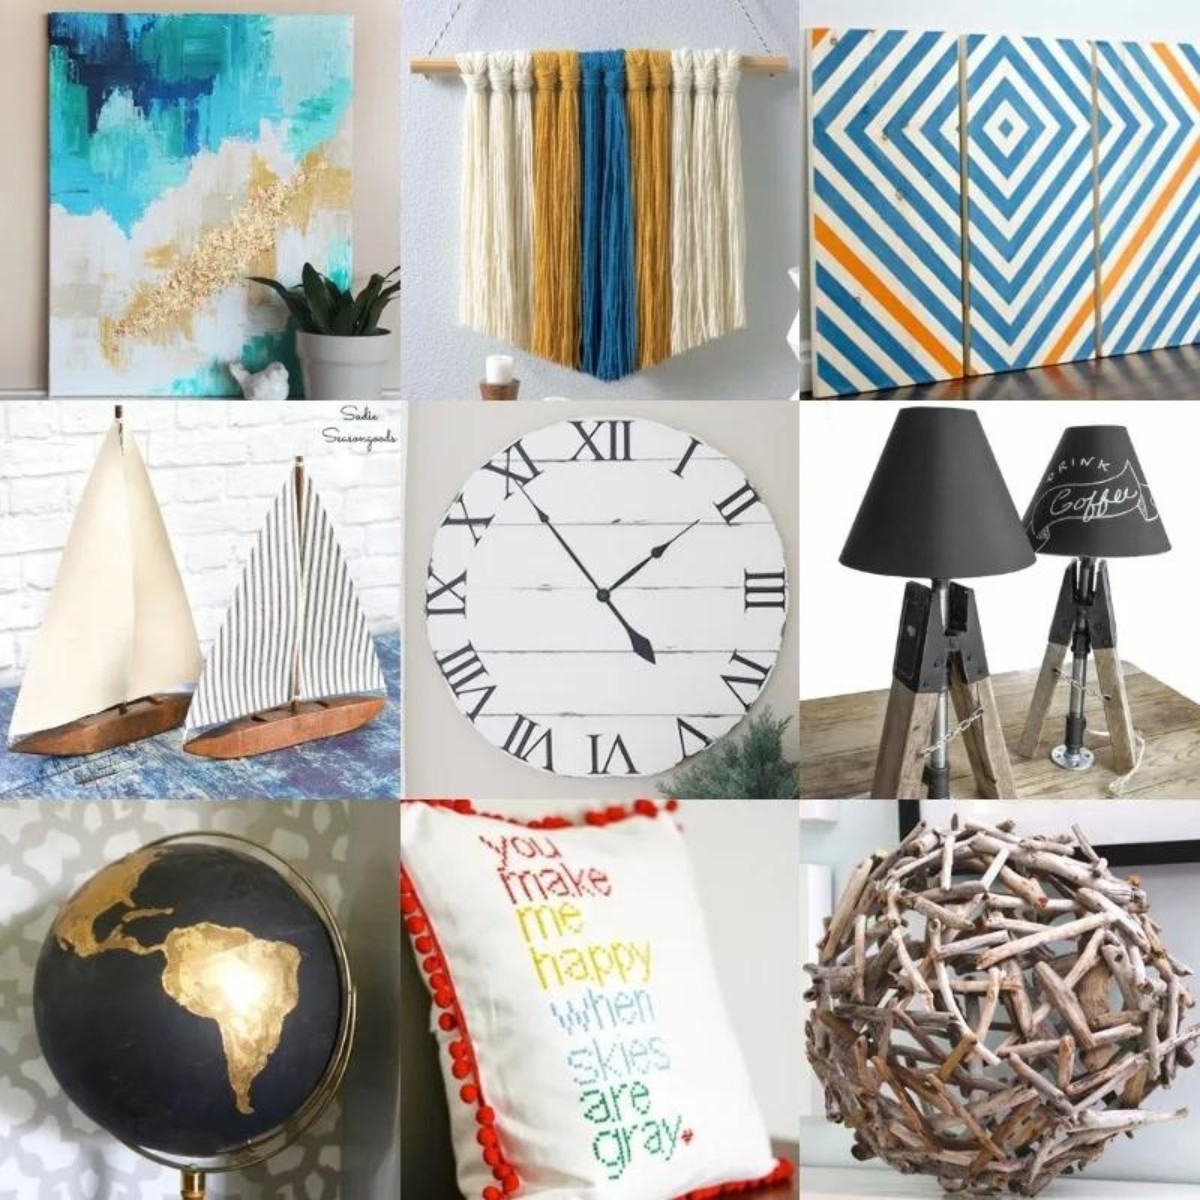
If you enjoyed this hanging jewelry organizer, you’re going to like these other posts too:
Coffee Filter Wreath • Concrete Candle Holders • DIY Bath Mat • DIY Door Stop • DIY Plant Hanger • Felt Ball Garland • Floral Hanging Frame • Modern Nesting Dolls • Paint Fake Flowers • Painted Doormat • Pom Pom Garland • Pom Pom Wall Hanging • Poster Hanger • Ribbon Wreath • Song Lyric Art • Twig Candle Holders • Wood Bead Garland • Yarn Wall Art • Yarn Wall Hanging


Love this idea. Such a cute way to store your jewelry 🙂