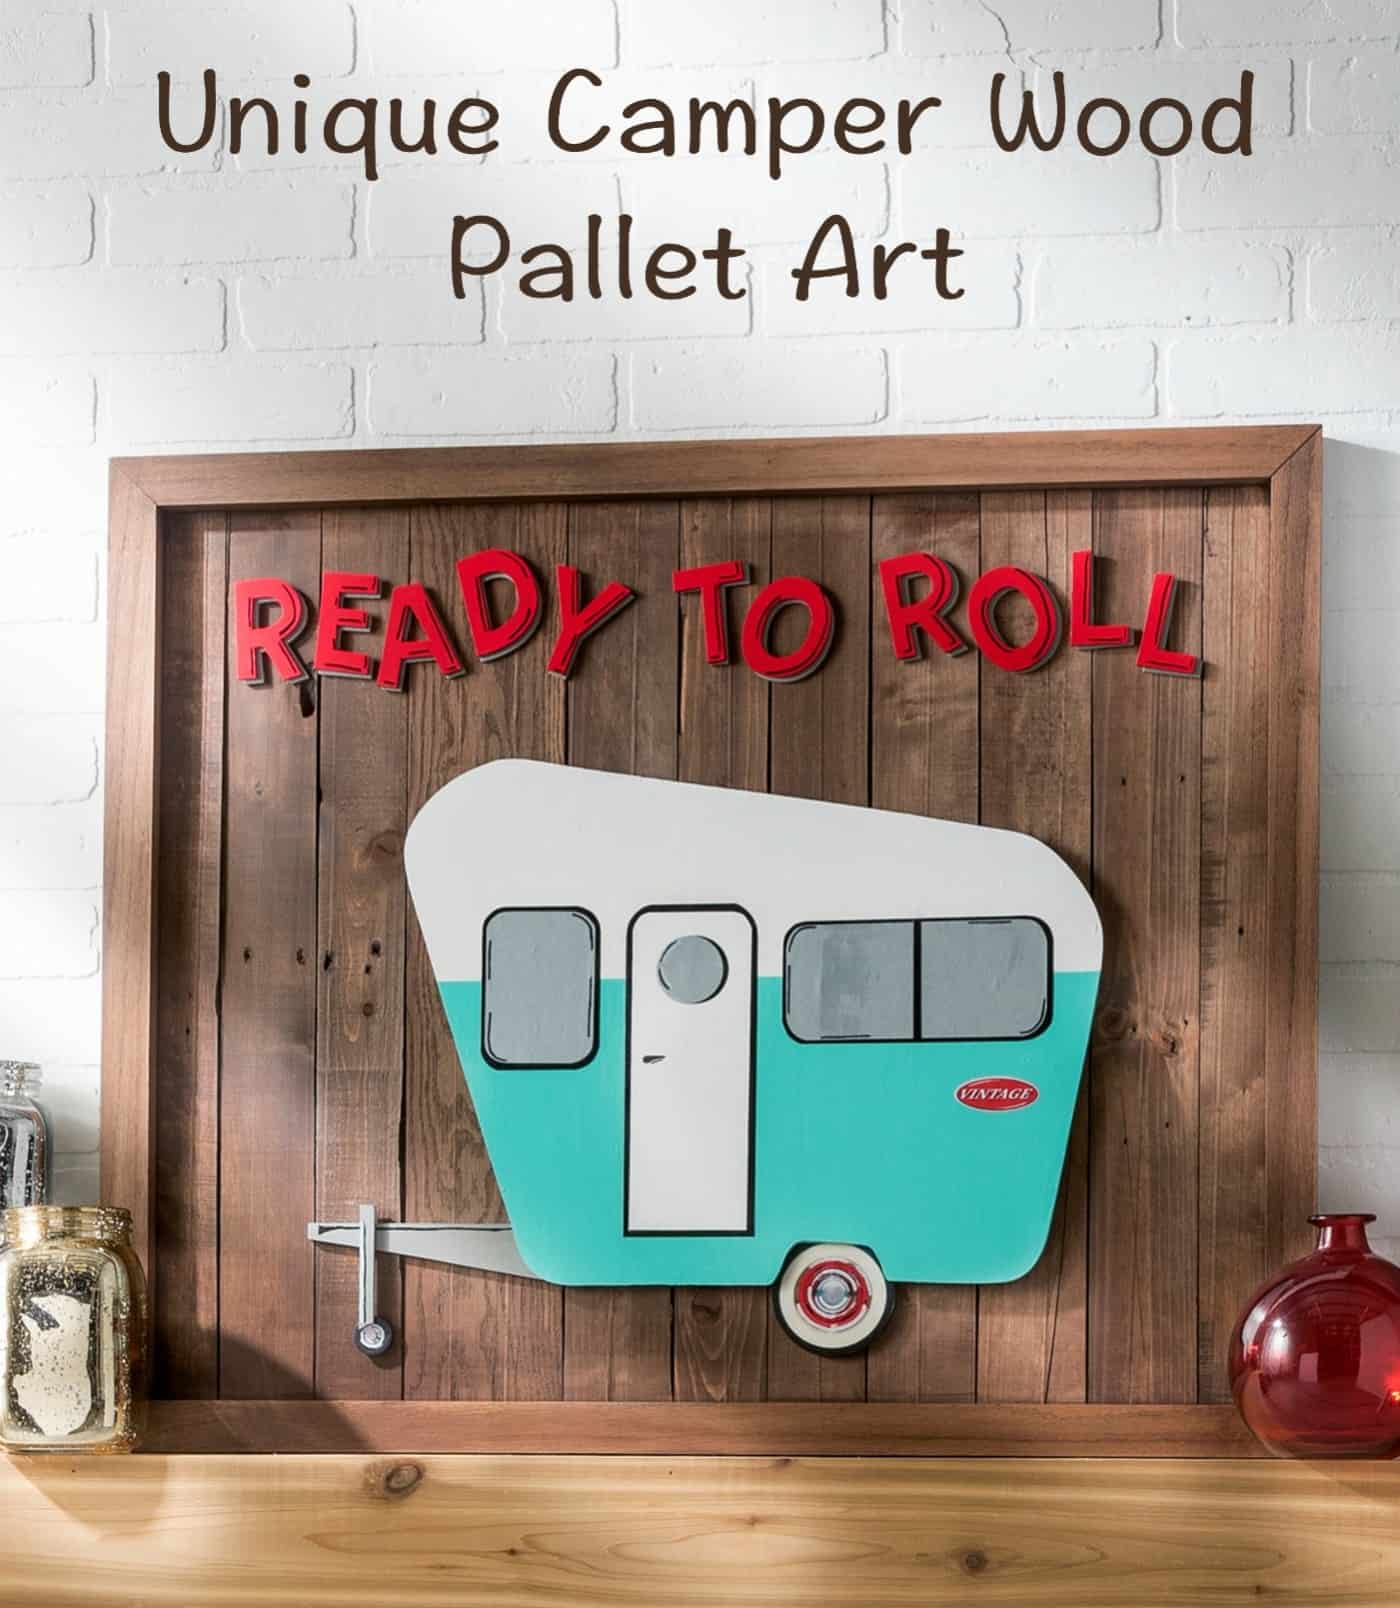
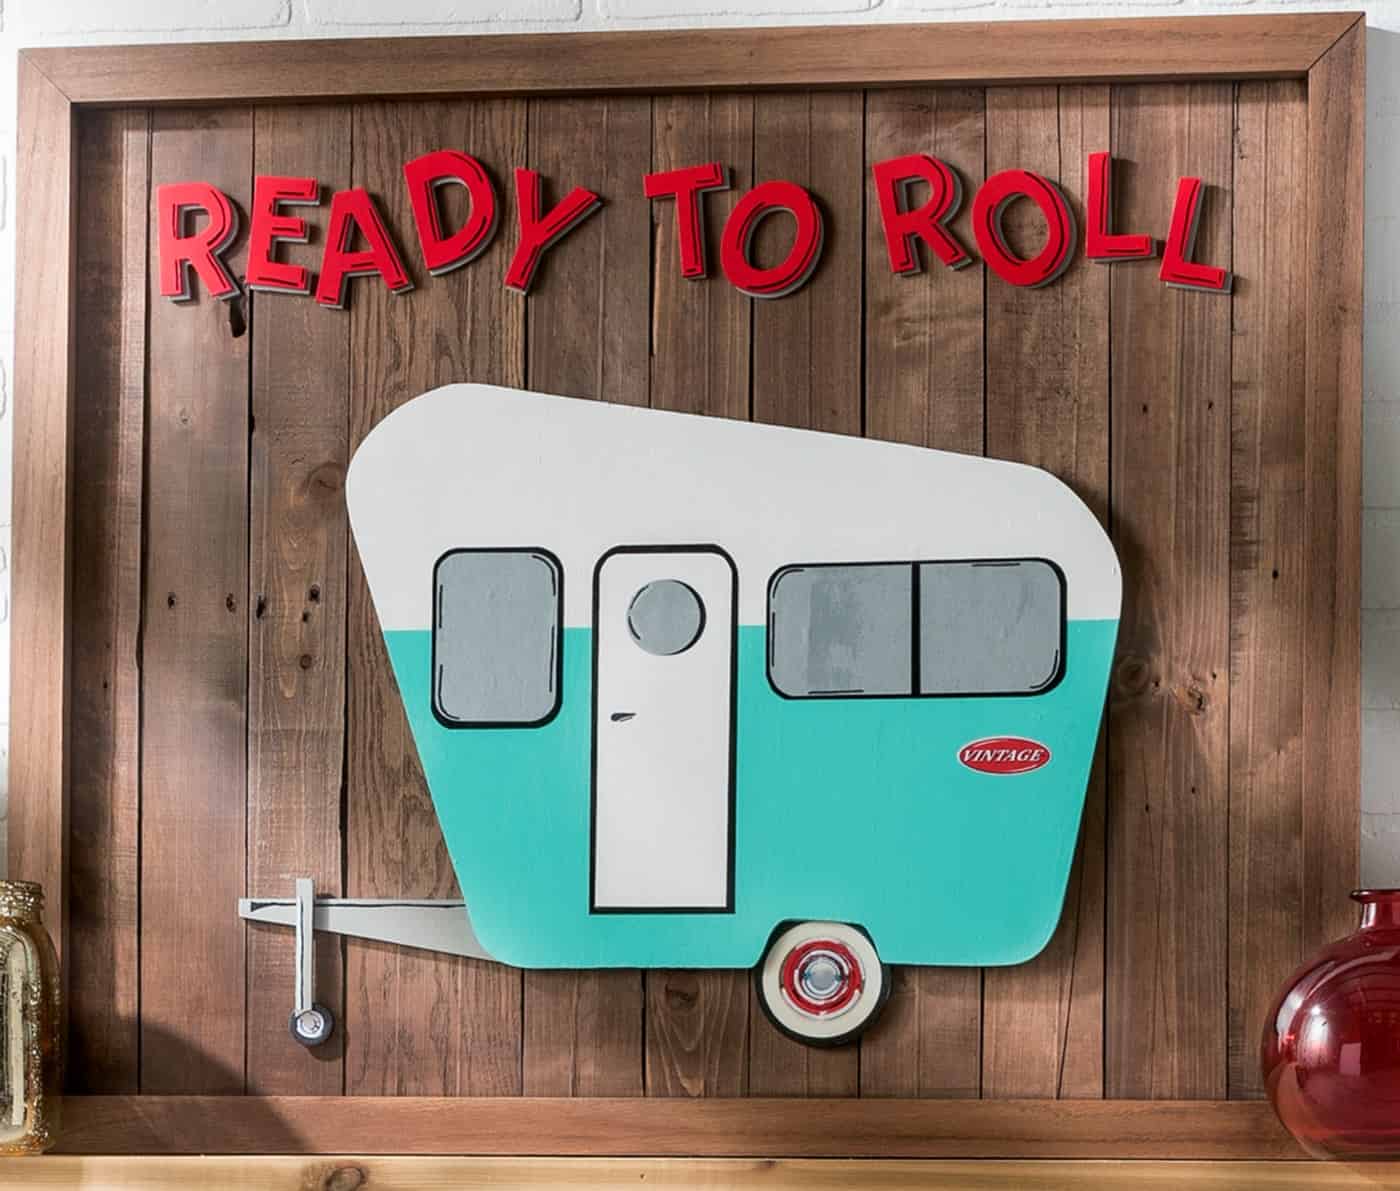
Ready to Roll Camper Wood Pallet Art
Share your love of travel with this unique “ready to roll” camper wood pallet art! It didn’t cost us much to make – we got the pallets for free. So fun!
Do you know how easy it is to find pallets? At least around here – they are behind every dumpster in the area, including grocery stores, manufacturing facilities, and even Starbucks (I recommend asking before you grab). We were given some pallets by one of our neighbors and decided to turn it into unique pallet art!
It seems everyone these days is re-doing a trailer, and we wanted a little trailer of our own on some wood wall art. We love road trips, but you can’t keep a trailer in a condo parking lot so . . . . this wall hanging was our fun compromise. It’s a perfect beginner woodworking project!
Learn how to make this camper wall art below.
Wood Pallet Art
Gather These Supplies
- Pallet wood – We used 11 pieces, for a total of about 28 feet of pallet wood
- Finished plywood – 1/4″ x 24″ x 24″ (one piece)
- Wood letters – “Ready to Roll” – we got our letters from CraftCuts and used the “Bimbo” font, 3 inches tall. We bought two sets
- Acrylic paint – White, turquoise, black, red, silver, gray
- Acrylic wood stain – any shade you like
- Mod Podge Satin
- Scrapbook paper – black, silver, white (about 1 sheet each)
- Additional camper graphics – get them here
- White paint pen
- Black Sharpie
- Wood glue
- Scissors
- Paintbrushes
- Painter’s tape
- Ruler
- Pencil
Tools
- Table saw
- Miter saw
- Jigsaw
- Planer
- Sander or sandpaper
- Tape measure
- Goggles and gloves
Before you start on any pallet art, you’re going to want to disassemble your pallets. This is a great video that will show you how to do it – or you can pry out nails slowly. It’s up to you!
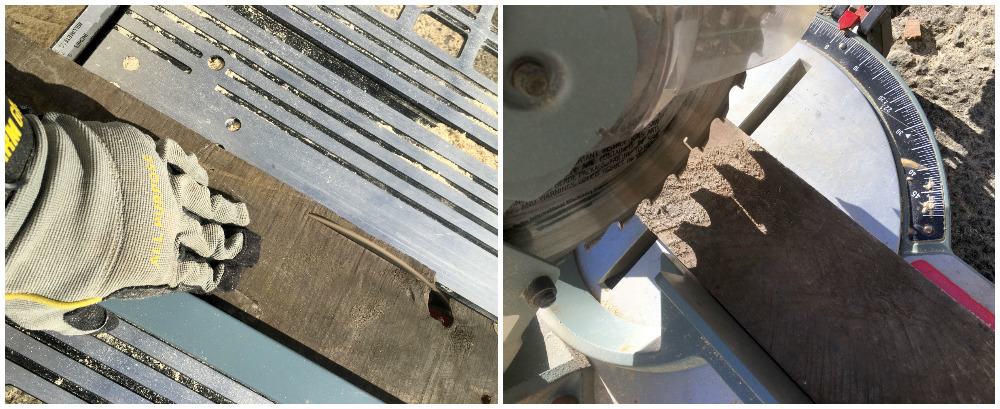
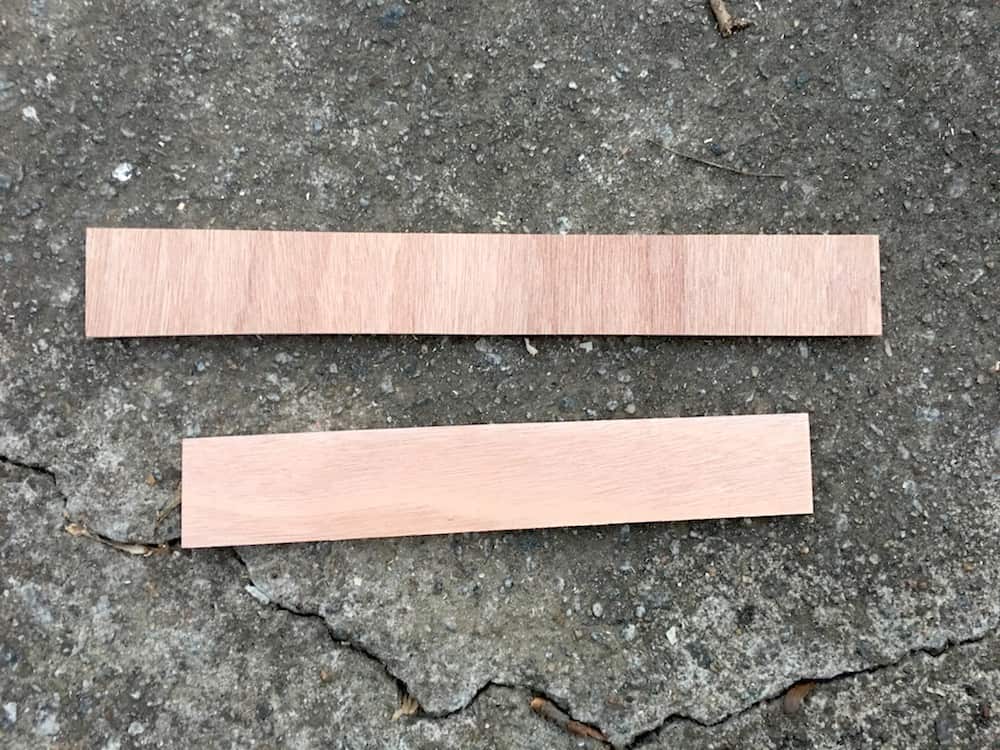
The pallet wood is going to need to be cleaned up. Use a table saw to straighten the long edges of each plank, then use a miter saw to cut all the planks to a 30” length. They don’t need to be the same width – just trim up the edges.

The goal is to end up with a “canvas” approximately 30″ x 36.” This will be your background.
Next, you’re going to cut down four pieces of pallet wood to use for your frame. The table saw was used to cut the length and the miter saw for the ends. You’ll want:
- 2 pieces – 1.5″ x 30″
- 2 pieces – 1.5″ x 36″
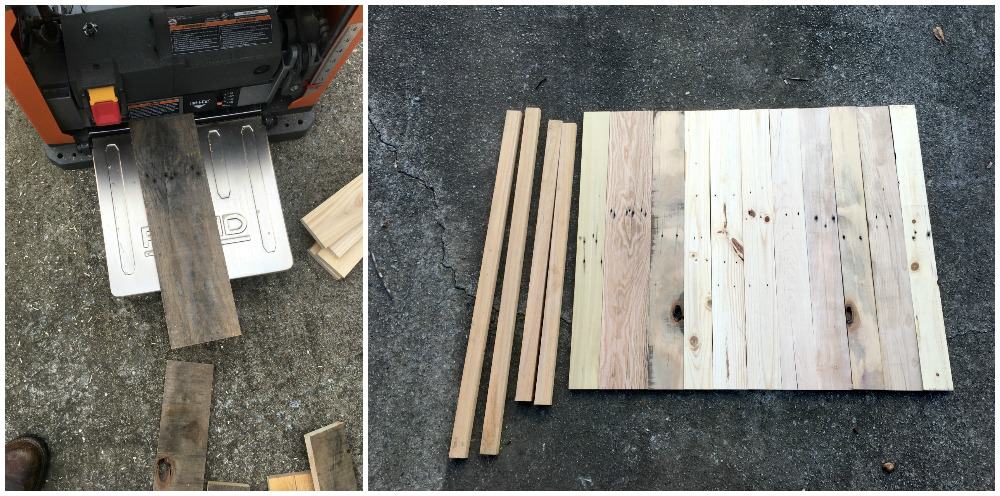
Plane all of your cut pallet wood pieces to a uniform thickness (around .5”) include the frame pieces.
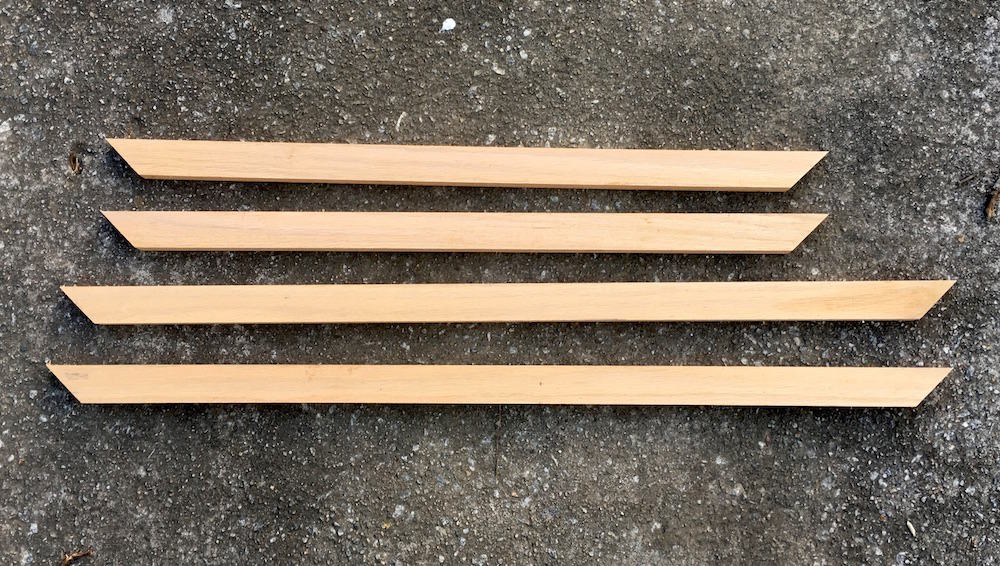
Cut 45º angles at both ends of your frame pieces using the miter saw.
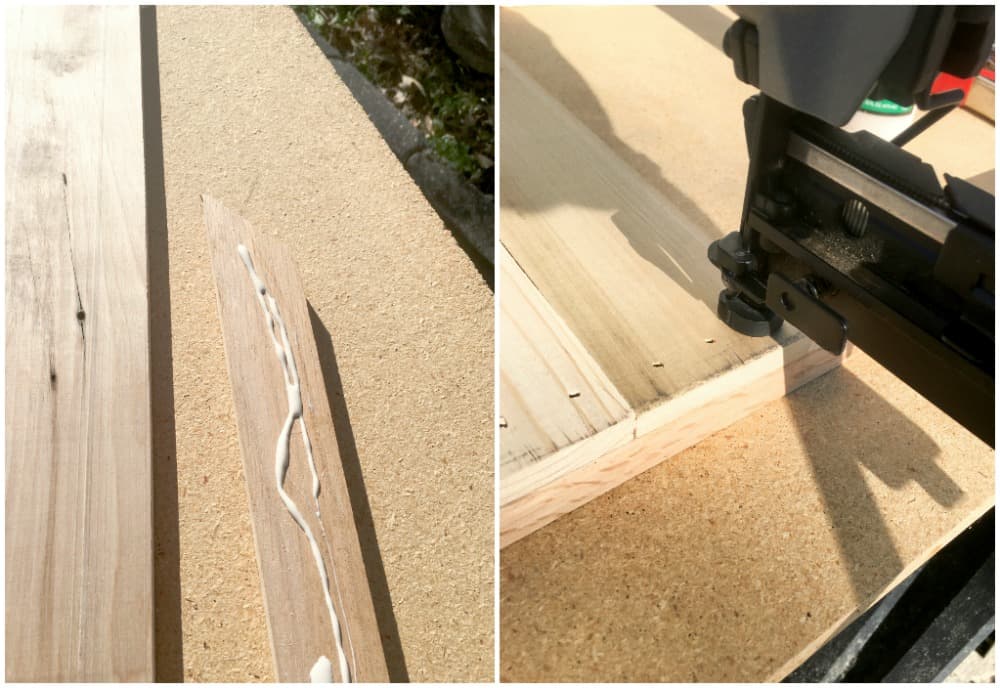
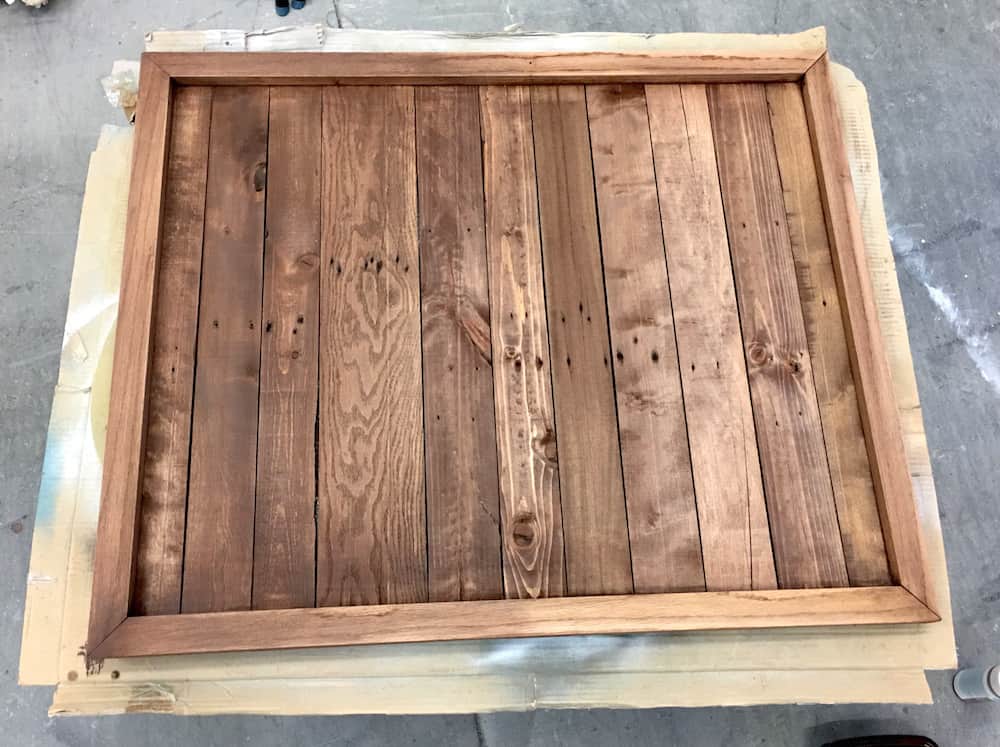
Assemble the wood background and frame. Lay your planed wood pallet pieces on the ground, all together, with the side you want to be the back facing down. Add wood glue to the frame pieces, and line the pallet wood pieces with the frame pieces. Let dry and then nail everything in place as shown above for added stability.
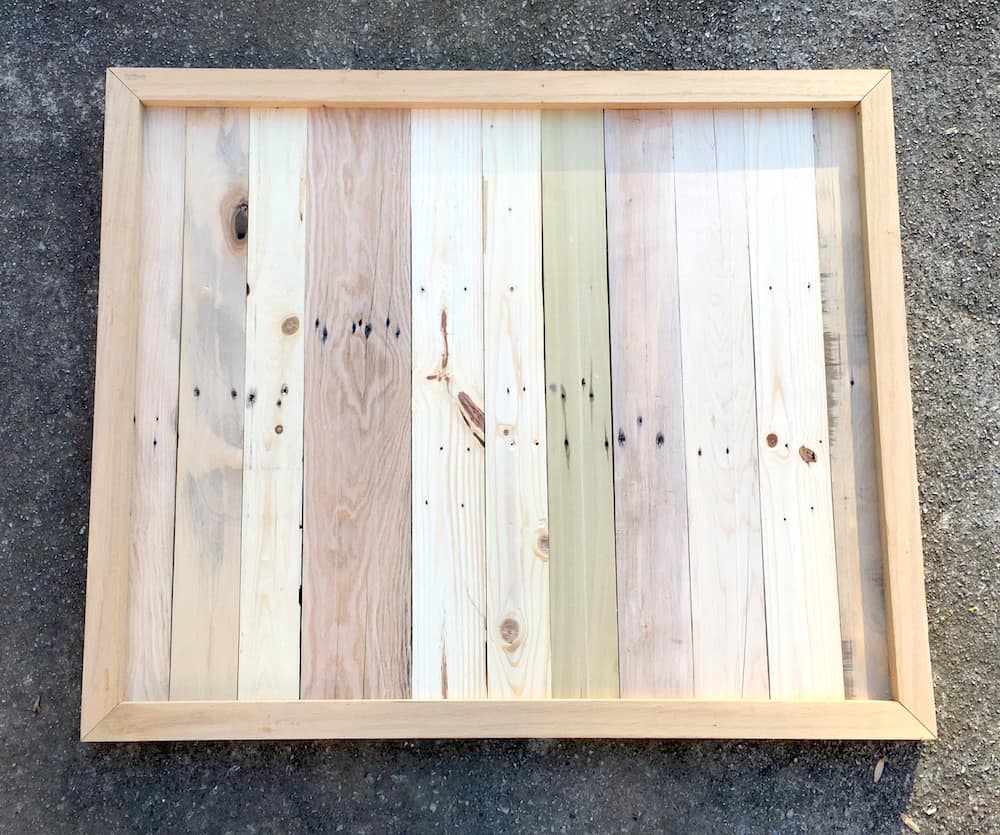
When your background frame is done, it will look like this. Set aside for a moment.
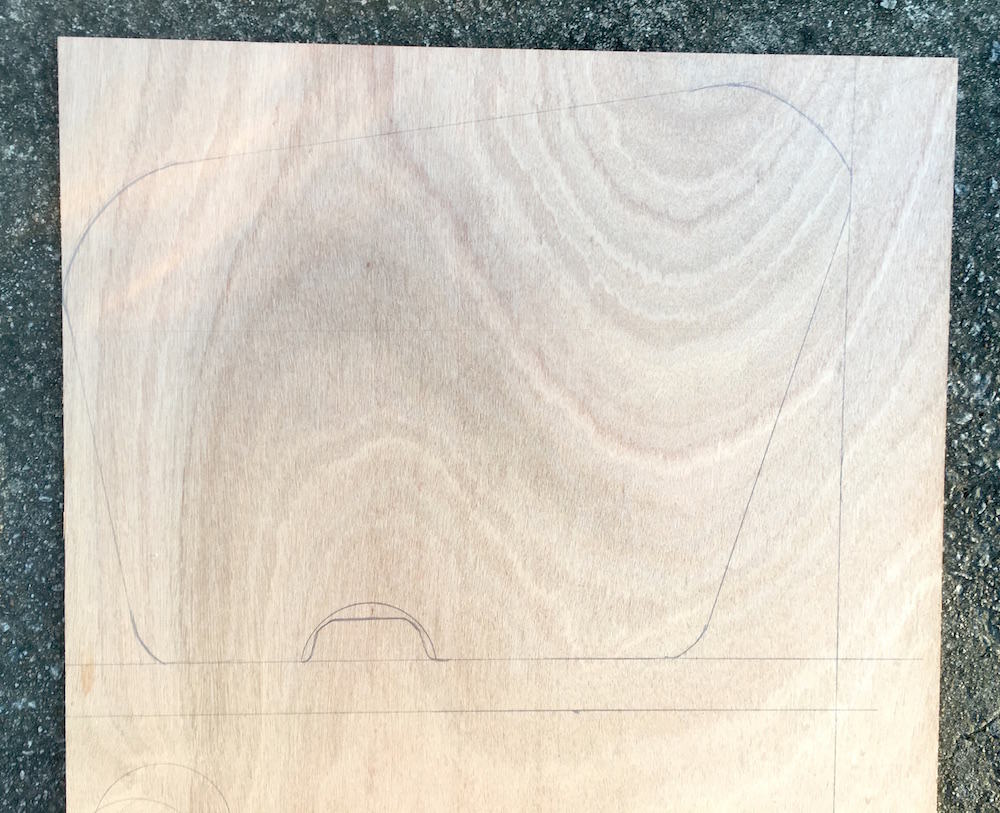
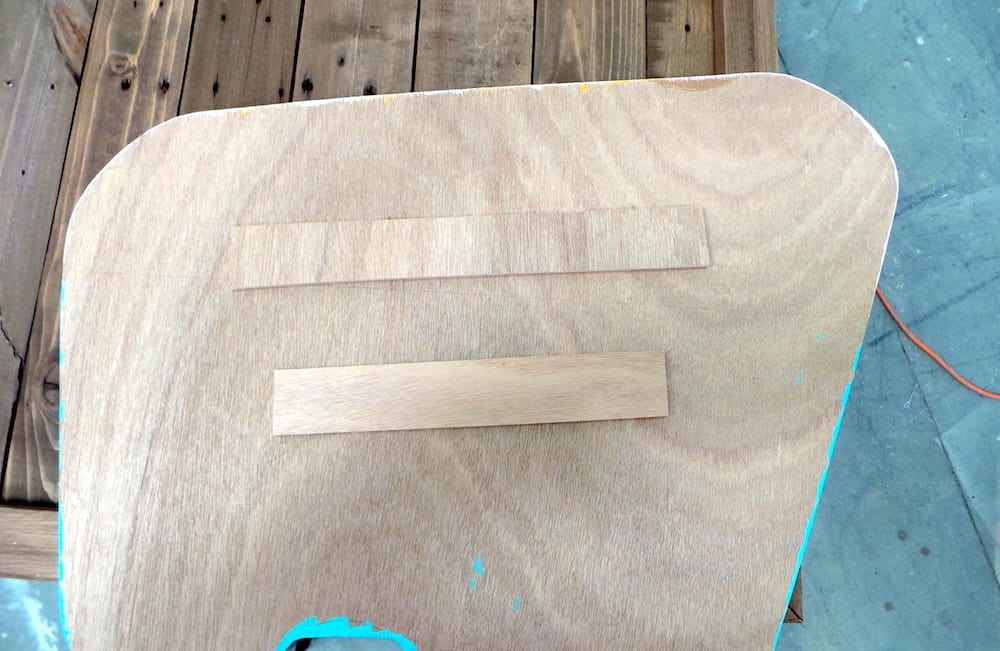
Grab your piece of plywood and section off a 21″ wide by 16″ tall square with a ruler. Use the ruler to guide your drawing of a camper body as shown. You don’t have to be an artist and it doesn’t have to be exact – we actually used clip art to inspire this drawing above! You can use items around the house for the curves. Whatever your idea of a camper is . . . that’s what you should draw.
Now – if your drawing skills are really horrible, I’d recommend printing out the clip art and tracing around it.
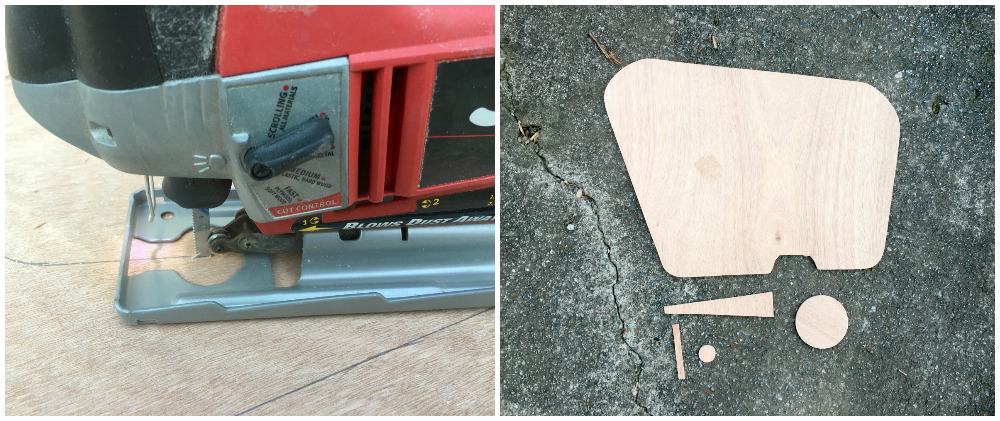
Cut out the silhouette with a jigsaw. In addition to the camper shape, we also cut a 7″ long triangular wedge AND a small 3.5″ x 1/2″ wood piece to serve as the hitch. For the tires, we cut out one 3.5″ circle and one 1.25″ circle. To trace those, we just used small items we already had.
Cut some additional small scraps out of plywood that you’ll use to mount the camper. Doesn’t really matter what size they are.
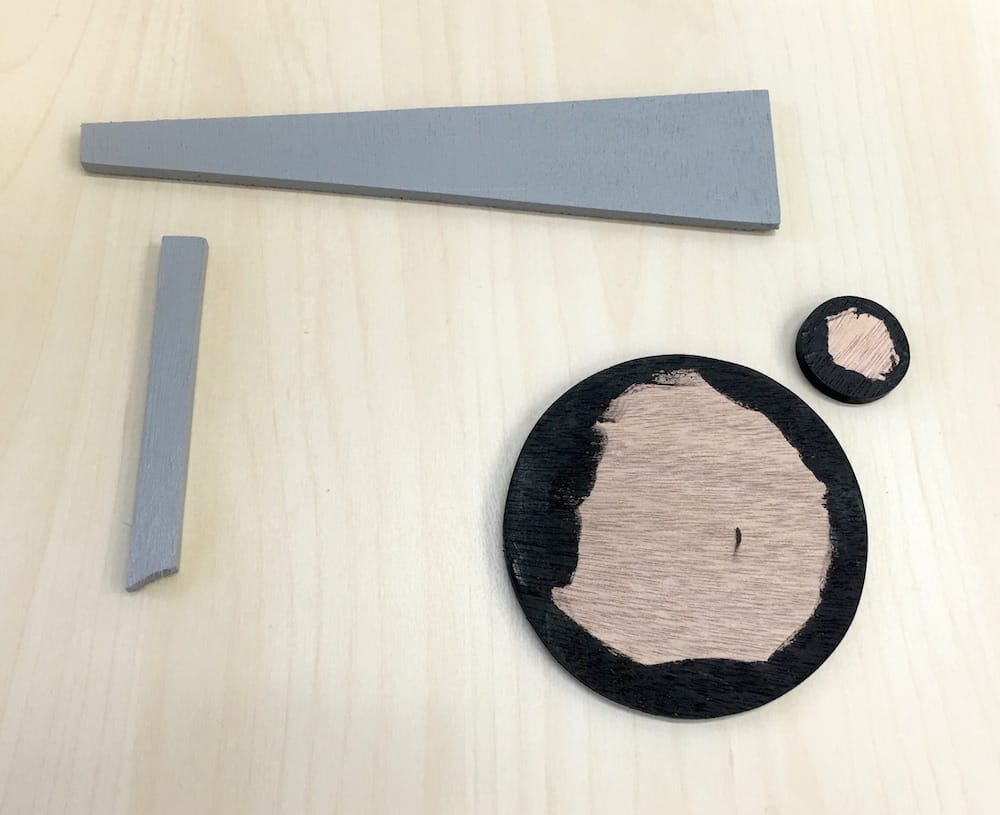
Paint your wood components – the parts that will be the hitch and also the wheels. My recommendation is that anything that you are going to paint silver, you paint gray first: a gray that is similar to your silver. The gray will be a nice basecoat under the silver, which doesn’t cover quite as well. let your components dry.
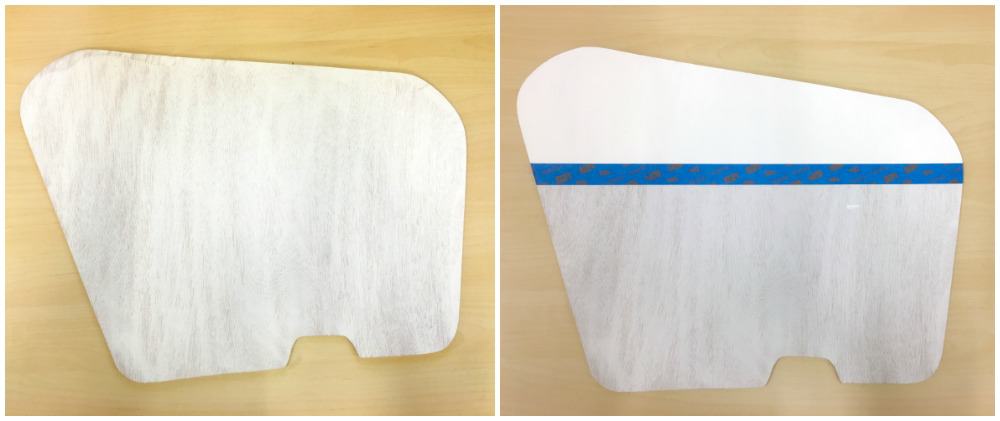
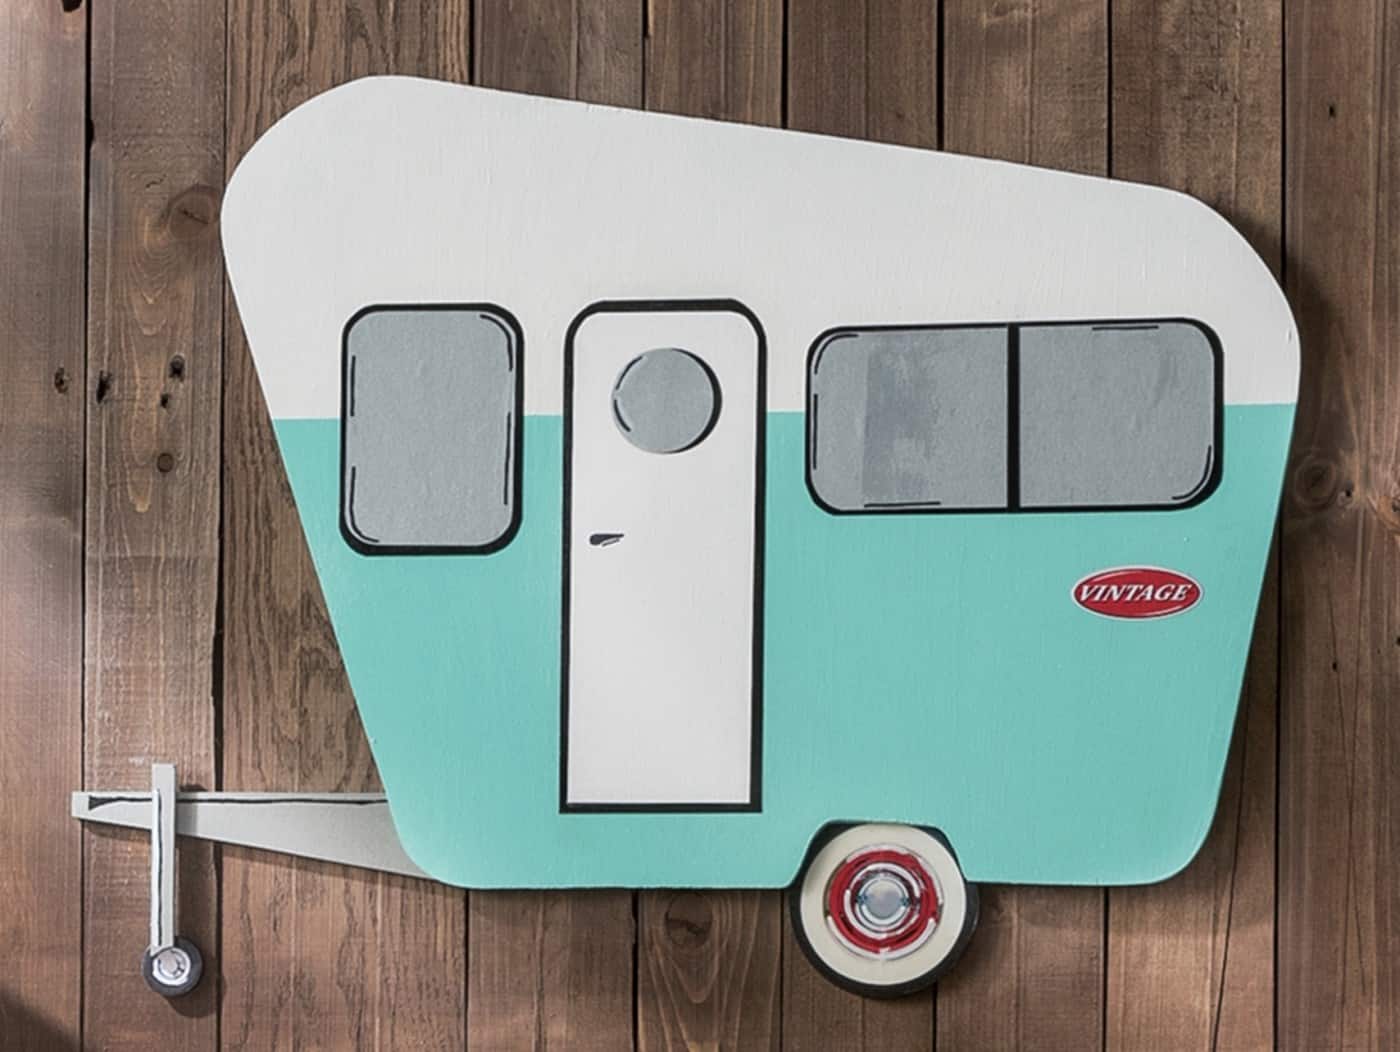
Prime the camper silhouette and let dry. Paint the top one-third white, and let dry. Then add painter’s tape and paint the bottom two-thirds of the camper with a shade of turquoise. Let dry.
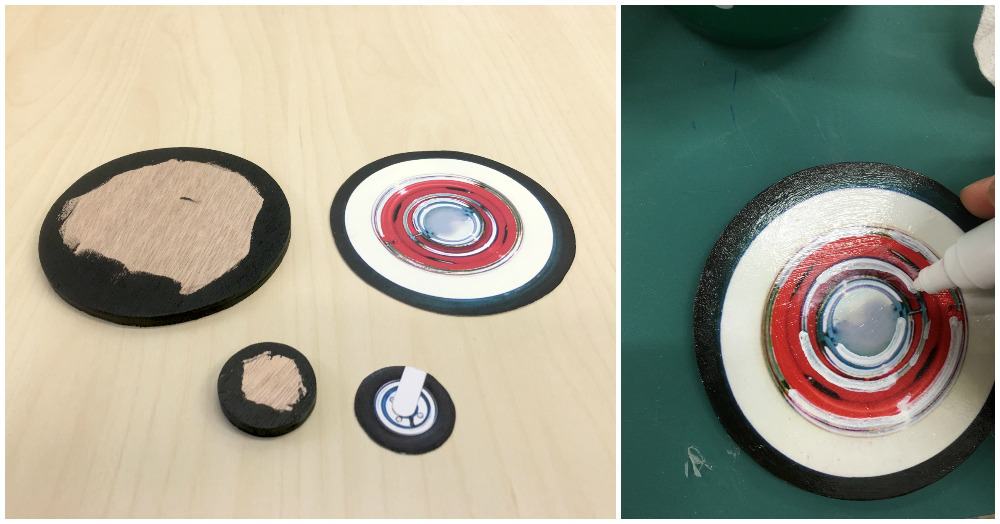
Print out your camper graphics (resize them if you need to). Cut them out and Mod Podge the wheel graphics to your circles. Let dry. Add any accents you want with the white paint pen.
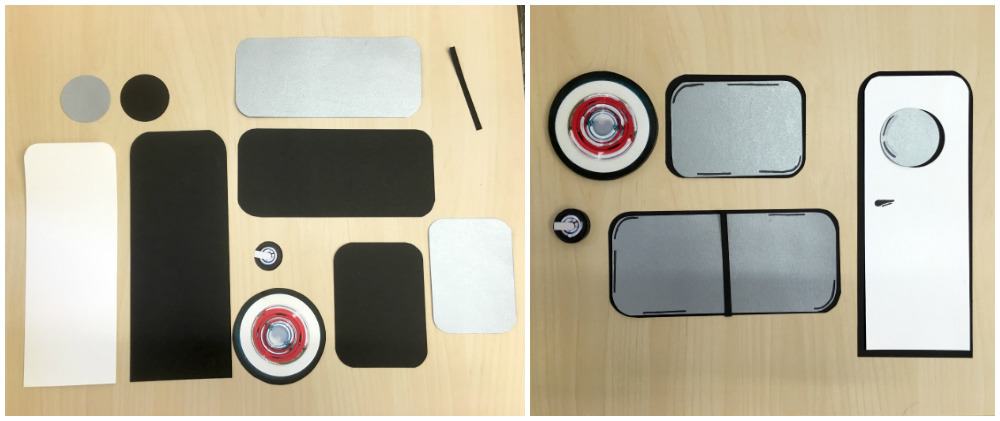
Use your ruler and scissors to cut out pieces for two windows and a door. Here’s what we did:
- Door – one black piece that is 9.75″ tall and 3.75″ wide. Cut a white piece that is slightly smaller so the black outlines. Punch out two circles for the window – one silver, one black. Add accents to the window and add a handle on the door with a black Sharpie.
- Small window – one black piece 4.75″ tall and 3.5″ wide. Cut a silver piece that is slightly smaller so the black outlines. Add accents with a black Sharpie as shown.
- Large window – one black piece 3.5″ tall and 8″ wide. Cut a silver Cut a silver piece that is slightly smaller so the black outlines. Cut a small black line to split the window that is 3.5″ tall. Add accents with a black Sharpie as shown.
All corners were rounded with scissors (translation: not exact), but you can use a corner rounding punch if you want it exact.
Cut out the “Vintage” graphic from the trailer printed page as well.
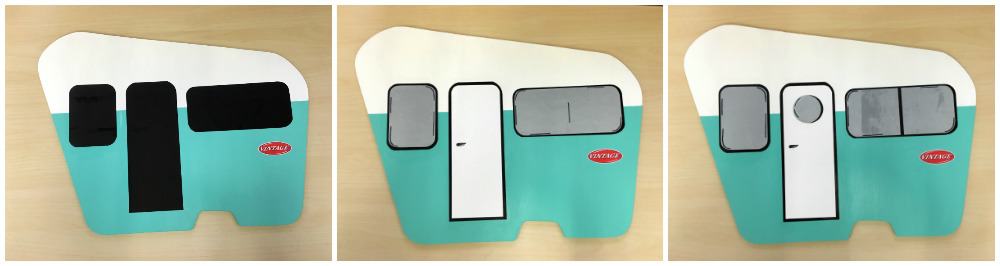
Mod Podge your layers down as shown above, letting dry for 15 – 20 minutes between layers. Let dry and then cover the entire camper with two coats of Mod Podge. Let dry.
While your camper is drying, stain the pallet background. Simply follow the instructions on the bottle and let dry.
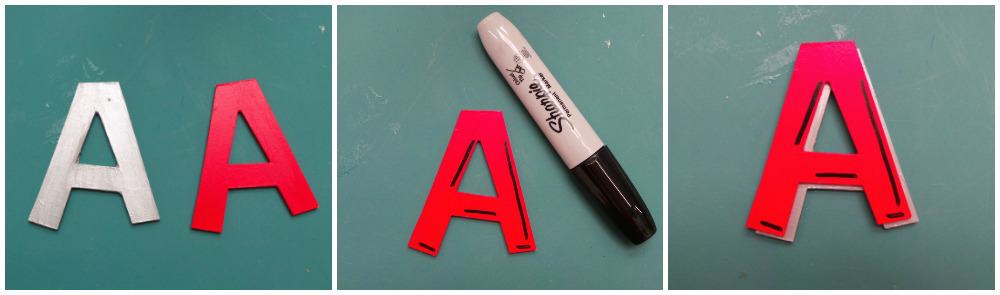
Paint your letters – two sets – one with silver and one with red. Let them dry and then draw accents on your red letters with a black Sharpie. Glue the red letters on top of the silver letters, offset slightly for a little dimension.
Use the wood glue to attach those scraps to the back of your camper piece. Let dry. Then glue everything down to the pallet background! You’re so close to being done!
Let it all dry.
Isn’t it fun?? I wish this camper was real so I could ride away in it.
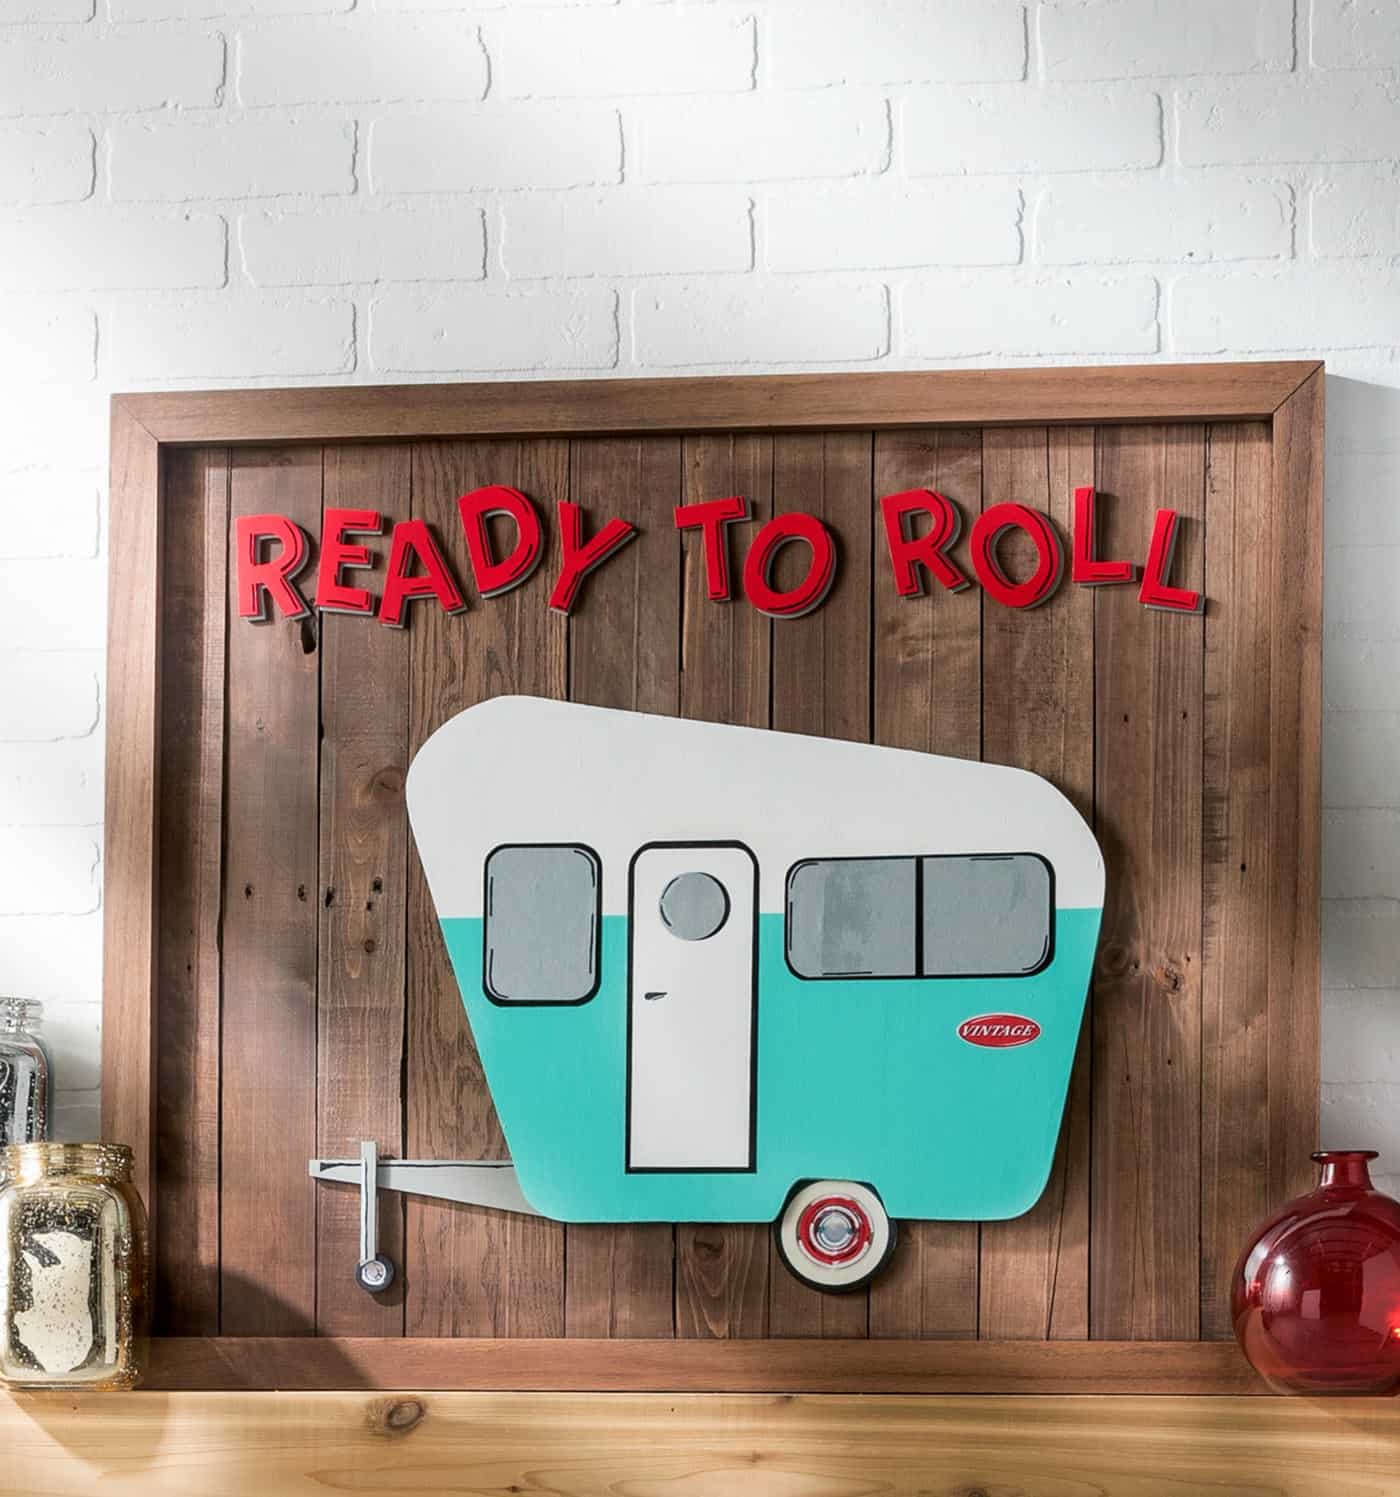
We haven’t mounted our wood pallet art on the wall, but instead have it displayed on a mantel. However, it would be fun to hang too! Are you ready to roll with this unique pallet art? Let me know in the comments!
I’d also love for you to check out these other related projects:

That’s so cute! thanks for sharing. I’ll have to be on the lookout for pallets.