DIY TV Riser in Three Steps (Easy Woodworking)
Learn how to make a DIY TV riser using simple tools and wood. You can customize this to any size and stain any color you like. Make this riser fit into your decor.
Skills Required: Beginner. You’ll be using a few saws, a router, and then staining. It’s relatively easy if you have experience with tools. And honestly it’s a great project to get started with tools if you never have before!
One of the things that is nice about having neighbors is that you can help each other out. When you have a pretty solid tool collection (love you Ryobi) and know how to use them, sometimes that means making something that your neighbor needs.
And that’s how this television riser came about.
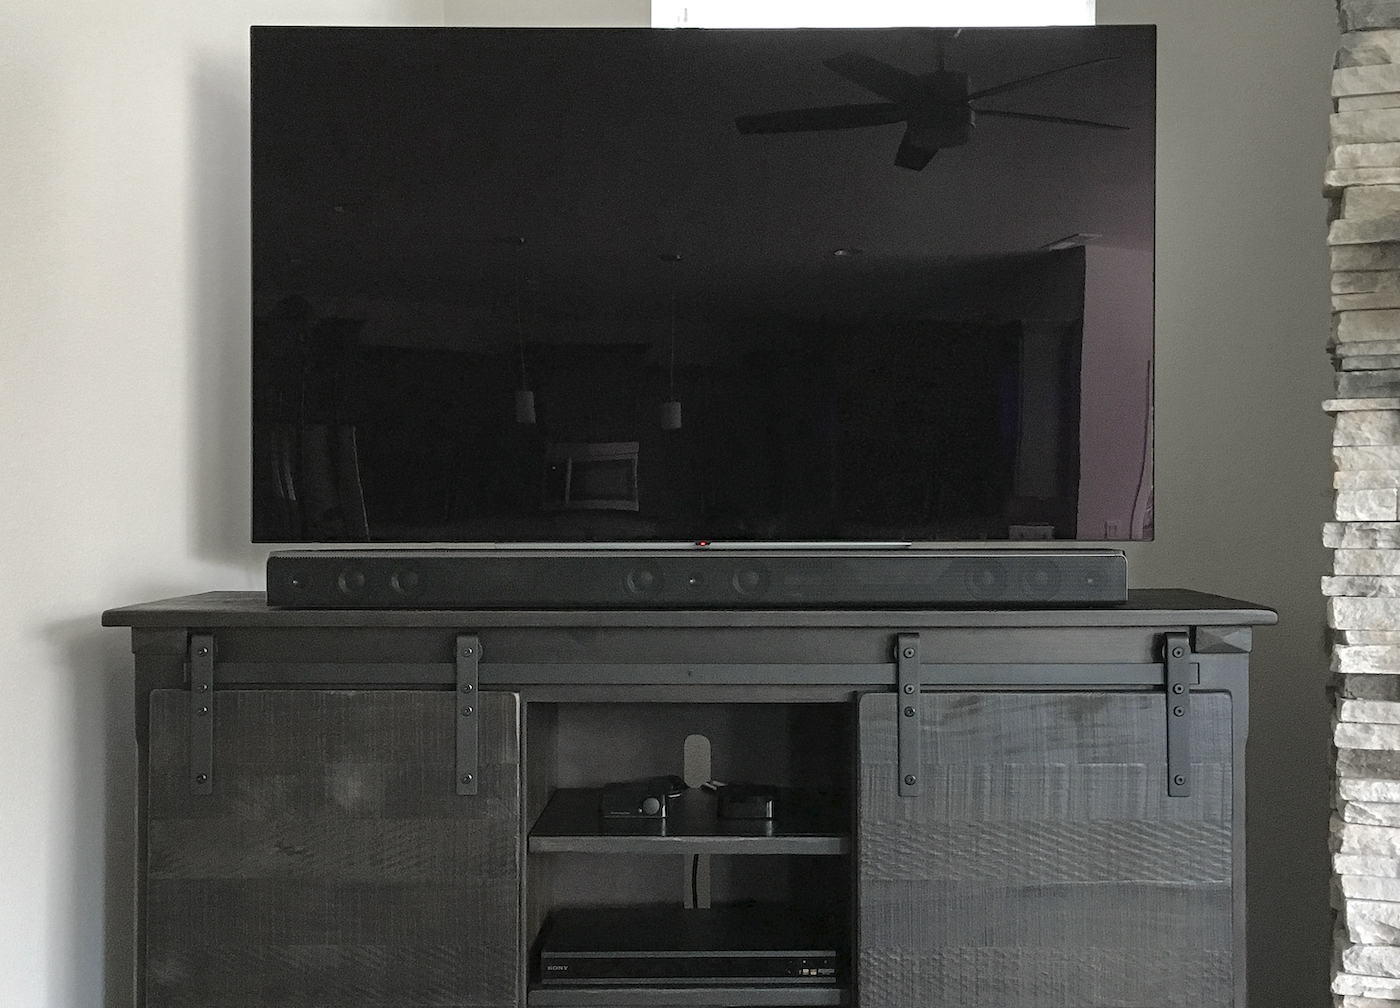
Neighbors Kiel and E.B. bought a super cute piece of furniture at Costco and then put their television and sound bar on top of it. What they didn’t notice, and I wouldn’t have either – the sound bar covered up the bottom of the screen over an inch.
They found this incredibly annoying and I don’t blame them. It was just enough that I’d be thinking, “what is going on down there? What am I missing?” Whether or not there is action behind the sound bar is irrelevant! To give you an idea . . .
Before the Riser:
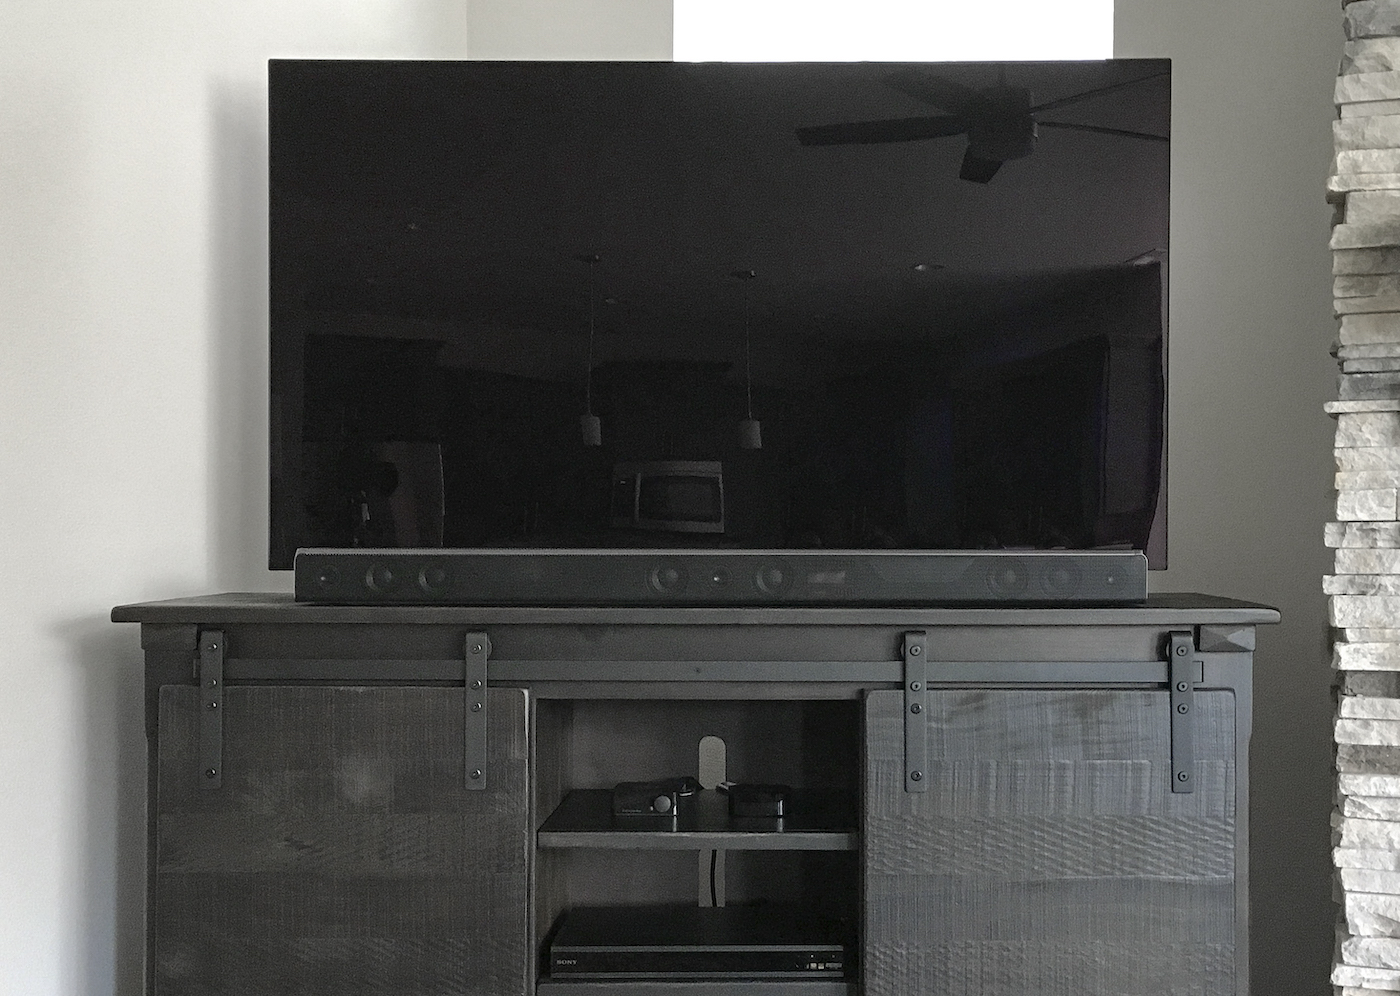
The above image shows you the situation that they were dealing with. So they reached out for help, and a DIY TV stand was born from sawdust. There were a few criteria for the riser, so here’s what we were working with for creation qualifications:
- Right height – there wasn’t a need for anything with feet, because it would be too tall. You could add feet to it though.
- Blend in with the unit – instead of just slapping a board down, it needed to be inconspicuous and the same color as the entertainment unit.
- Correct depth – the stand of this television is particularly large, so it required more than one board width.
Easy enough, right? Here’s how this easy woodworking project was made. Scroll down to the bottom for the printable card.
Gather These Supplies
- 2 in. x 4 in. x 8 ft. Douglas Fir
- Tape measure
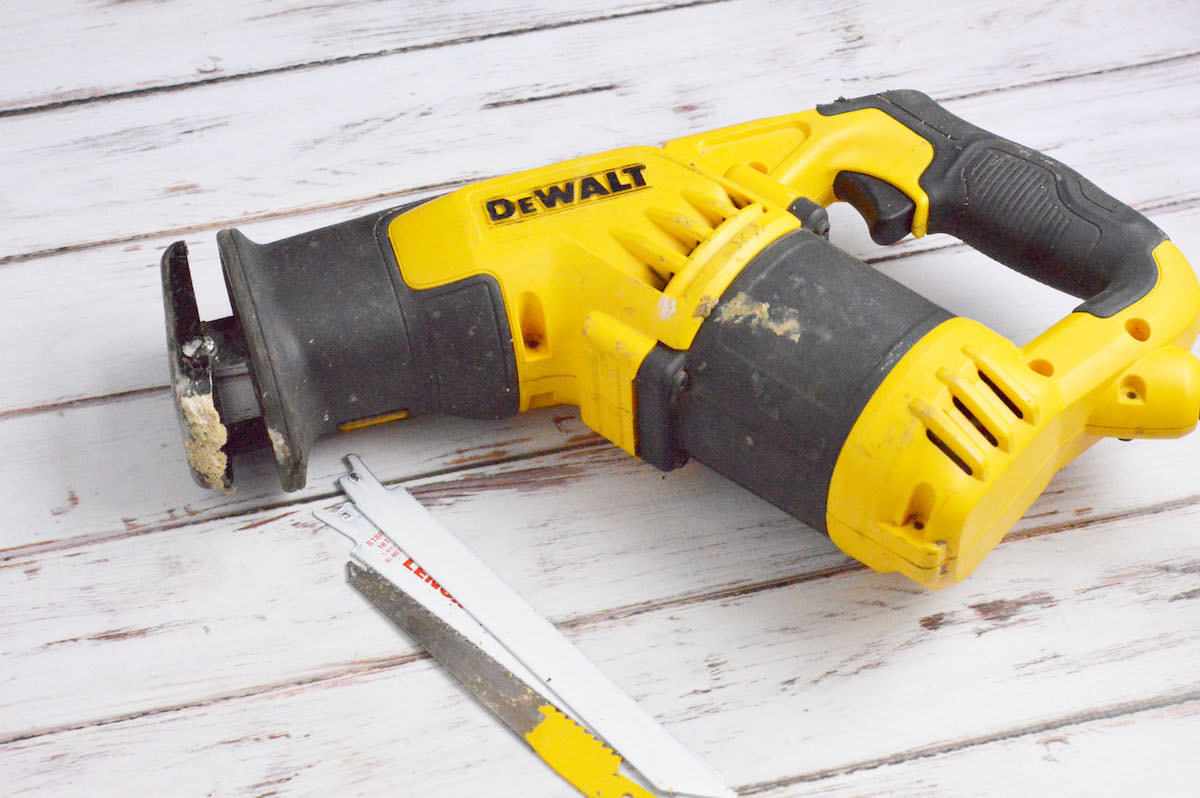
- Circular saw
- Table saw
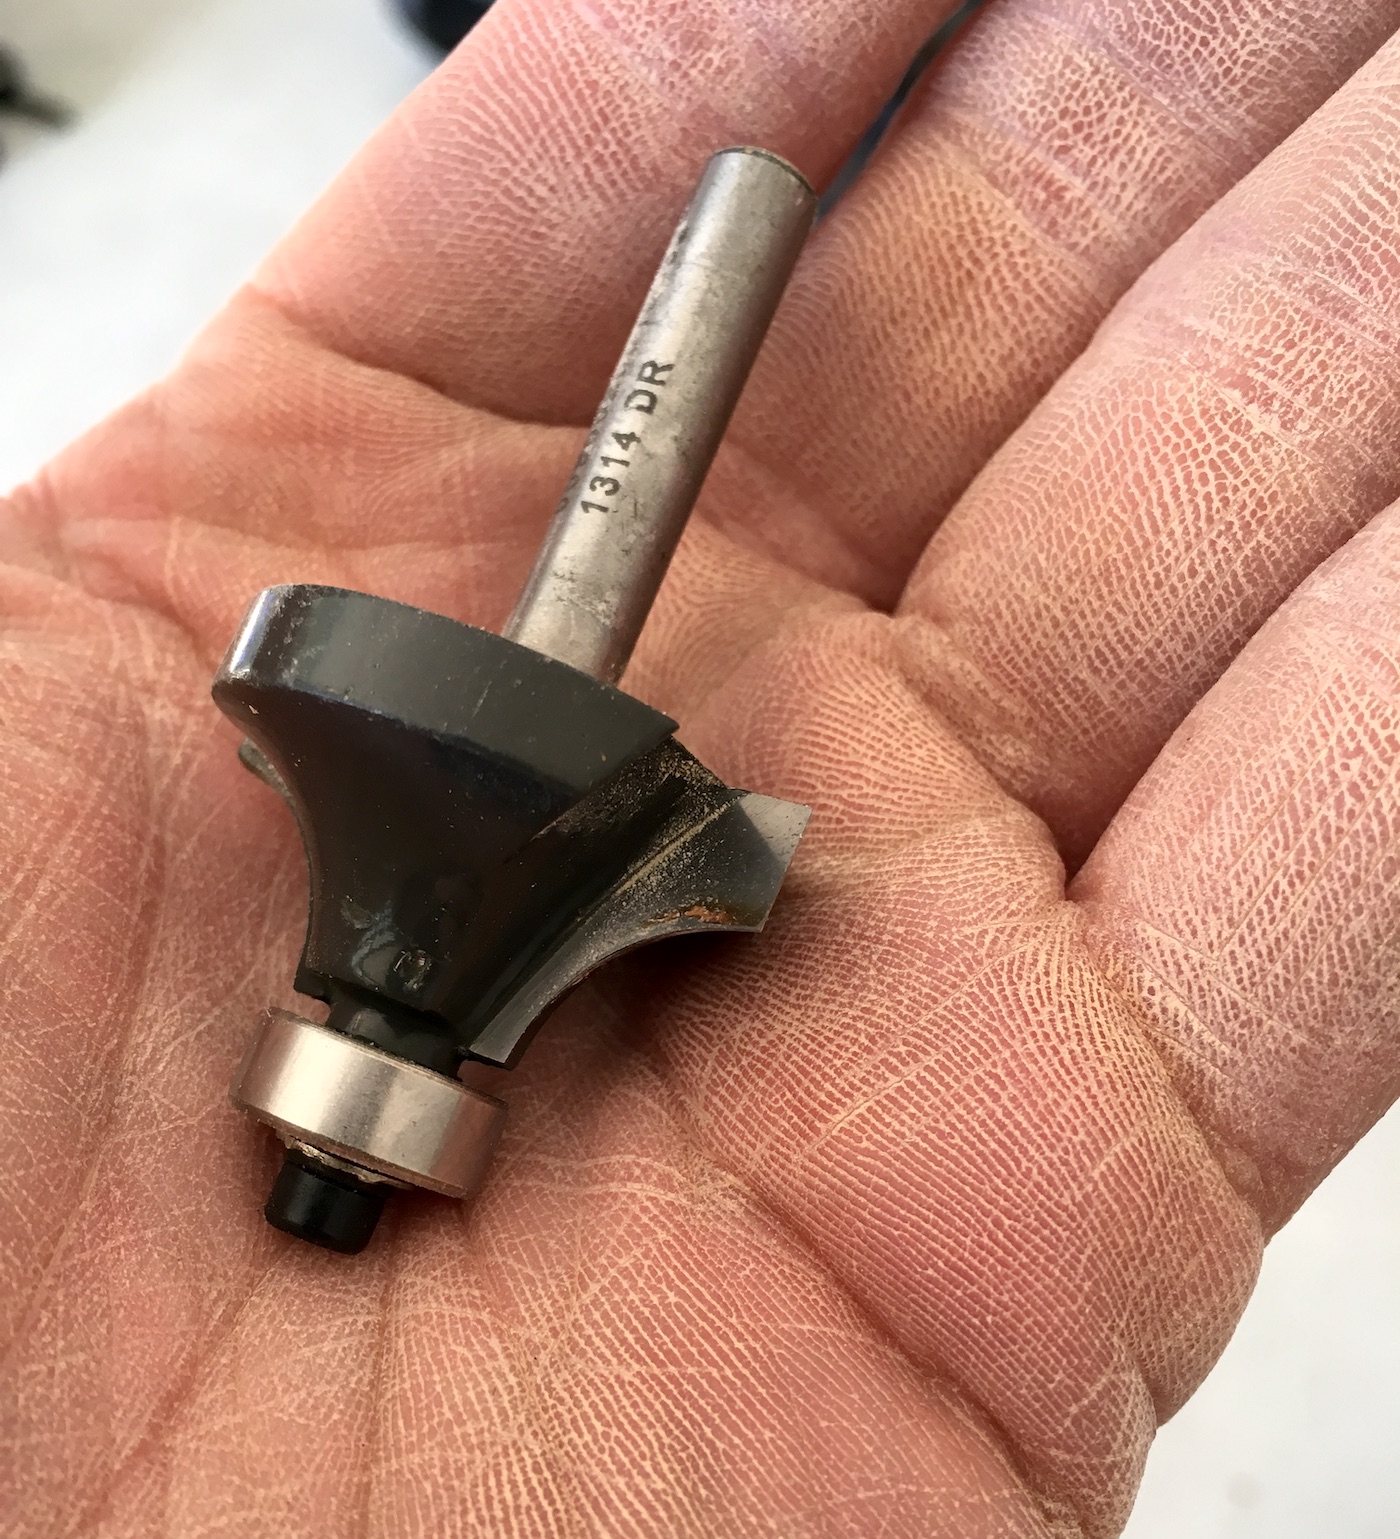
- Router and bit
- Clamps
- Wood glue
- Sandpaper
- Polycrylic
- Stain
- Rags
- Pencil
- Bench feet (optional)
Tips and Thoughts for This Project
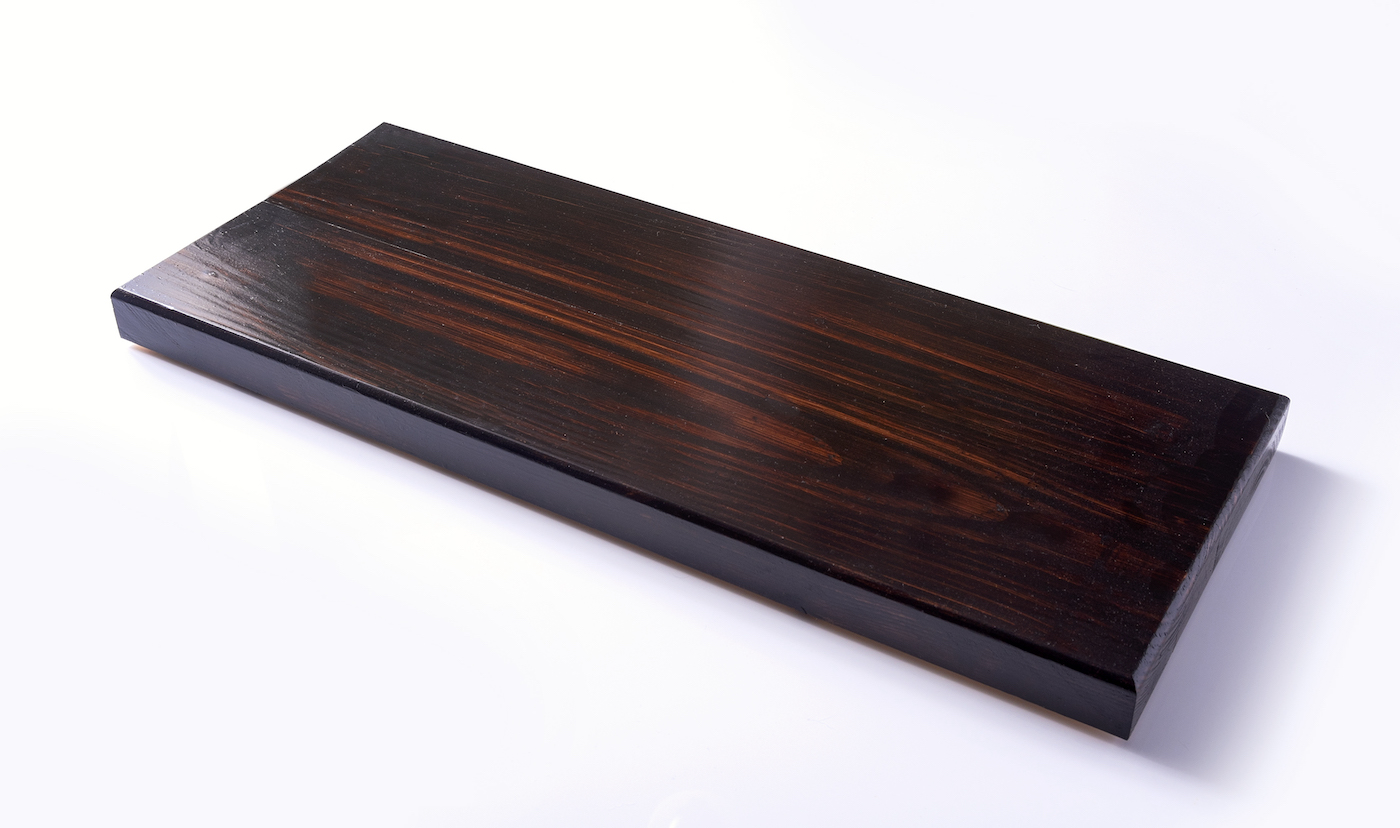
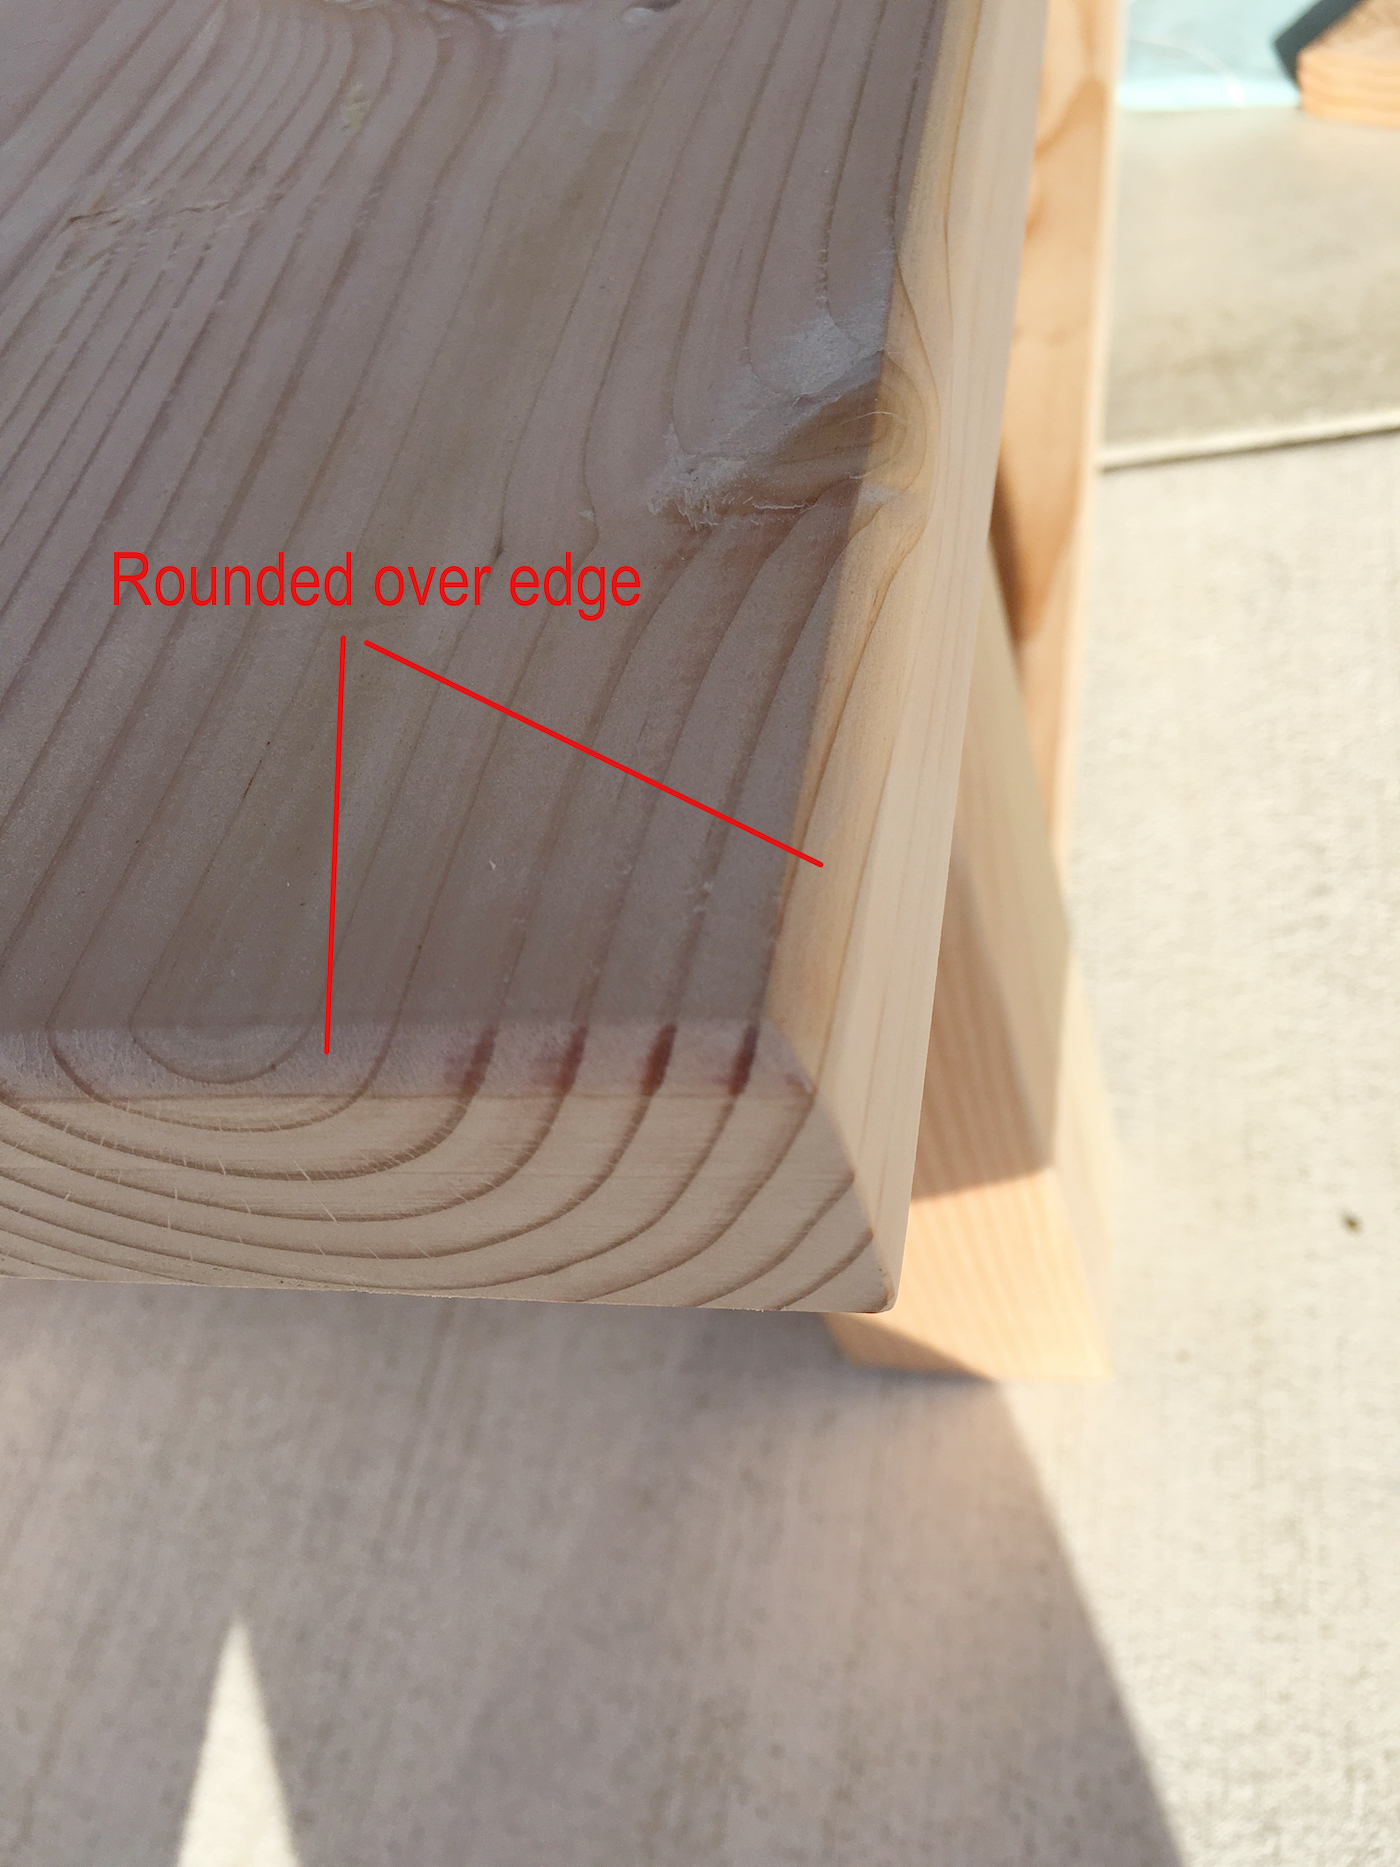
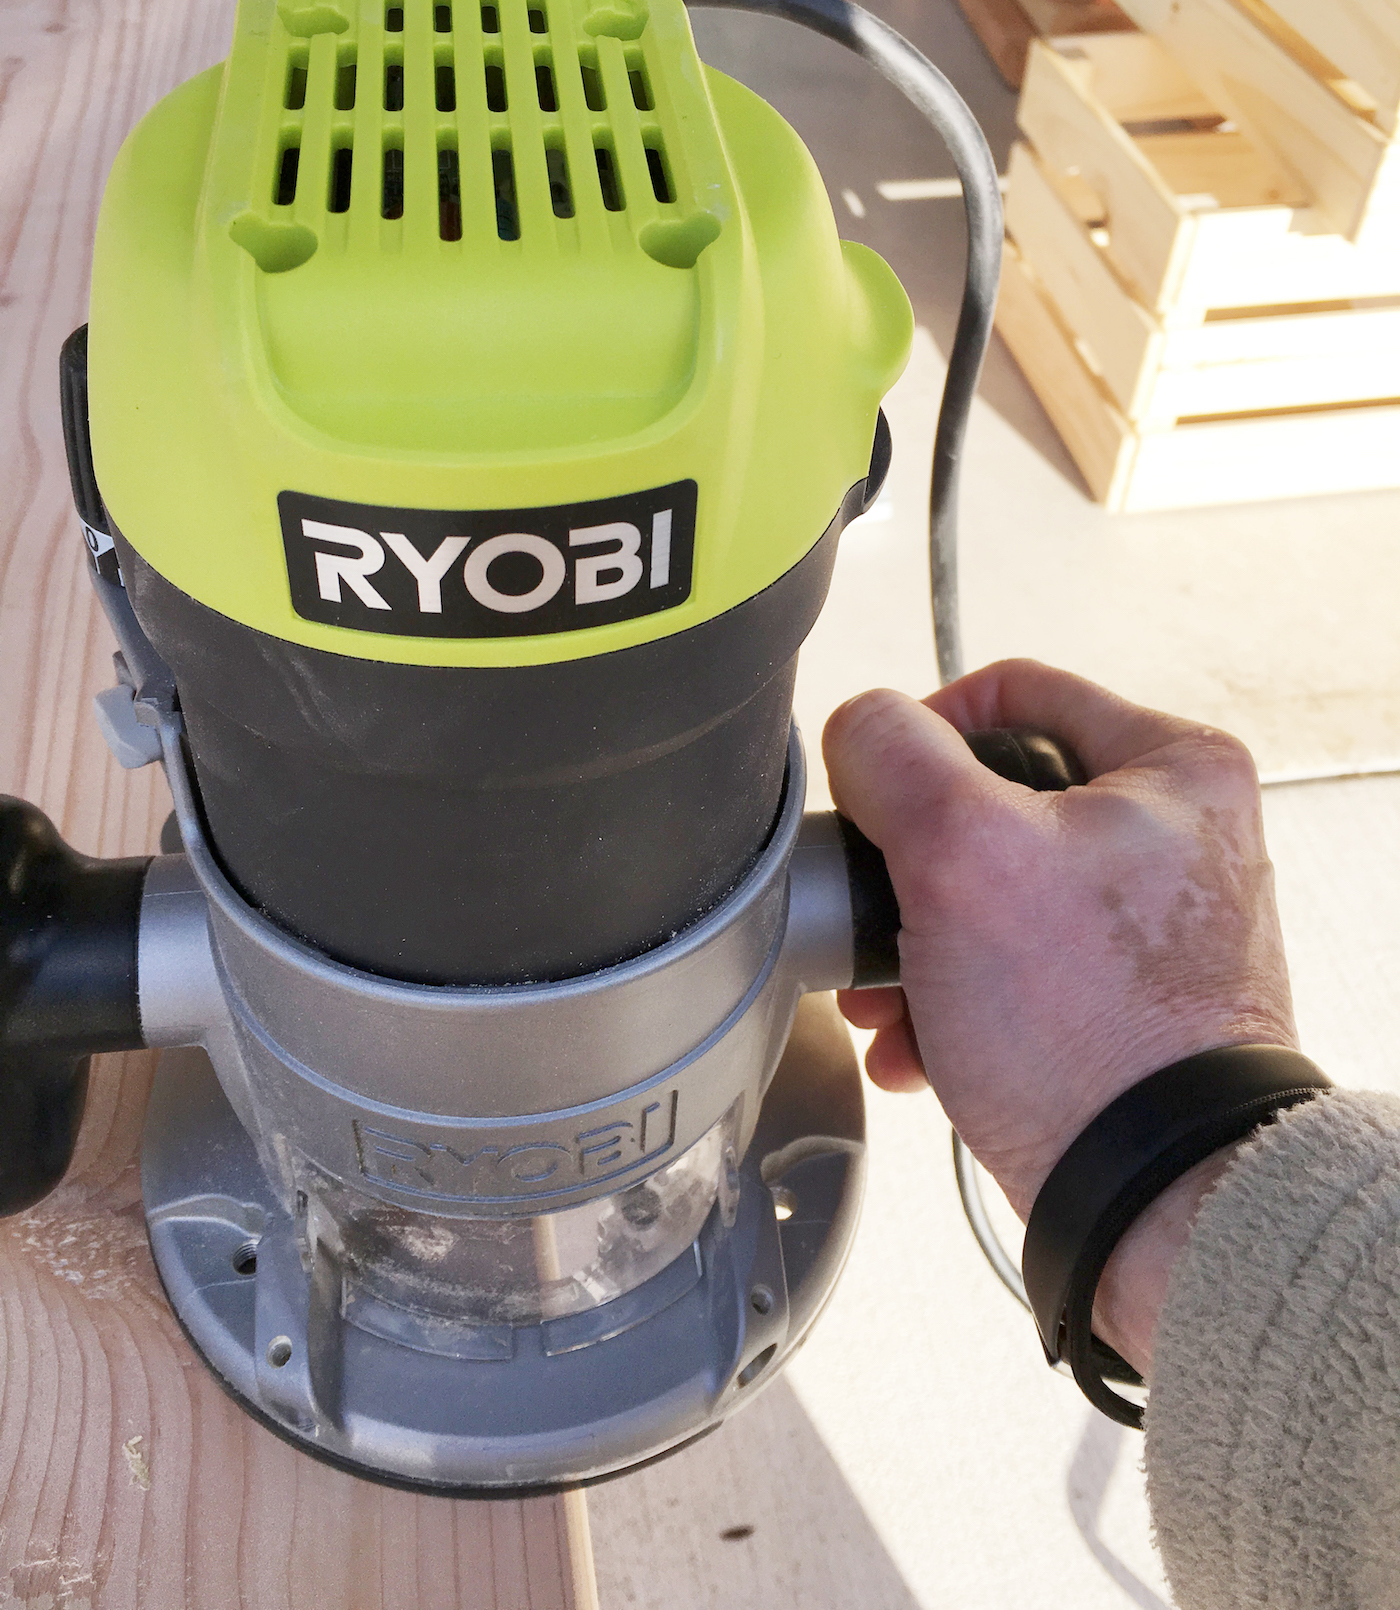
Select a router bit so that you can give the edge a nice little round. These keeps it from looking like you picked some boards out of the wood pile and stained them.
It’s amazing what a difference it makes!
You can use this is ANY room of course – a home office, bedroom . . . you can also paint it any color.
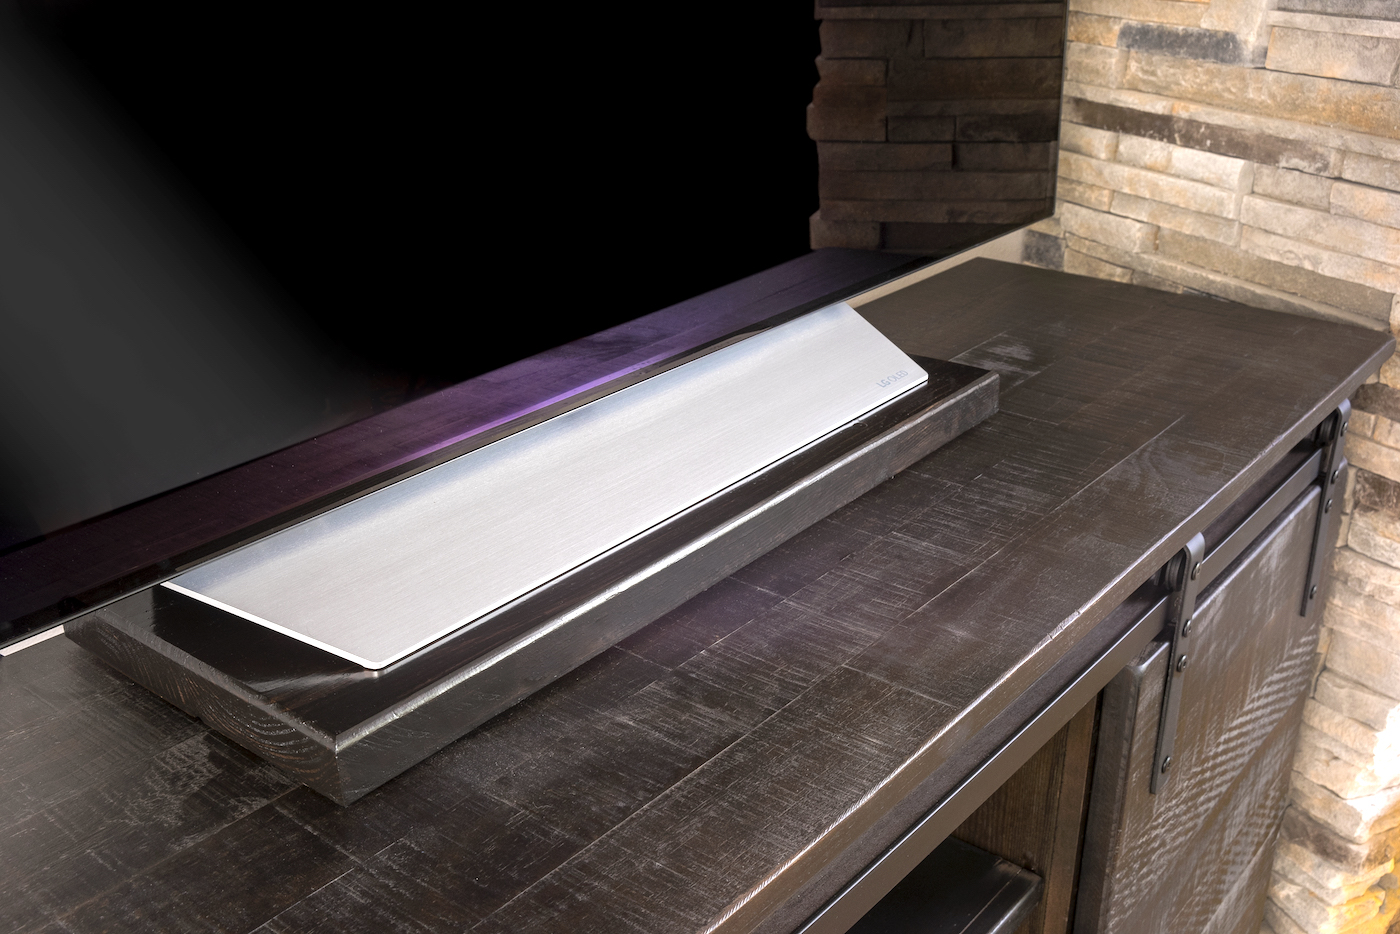
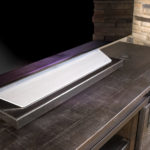
After the Riser:
This is such a simple woodworking project that solves a problem, blends into the environment, and still looks good while doing it. Get the printable how-to card for this DIY TV riser below.
DIY TV Riser
Equipment
- 1 Pencil(s)
Instructions
- Figure out the length you'd like to make your stand. Measure the wood using a tape measure and make pencil marks for cutting.
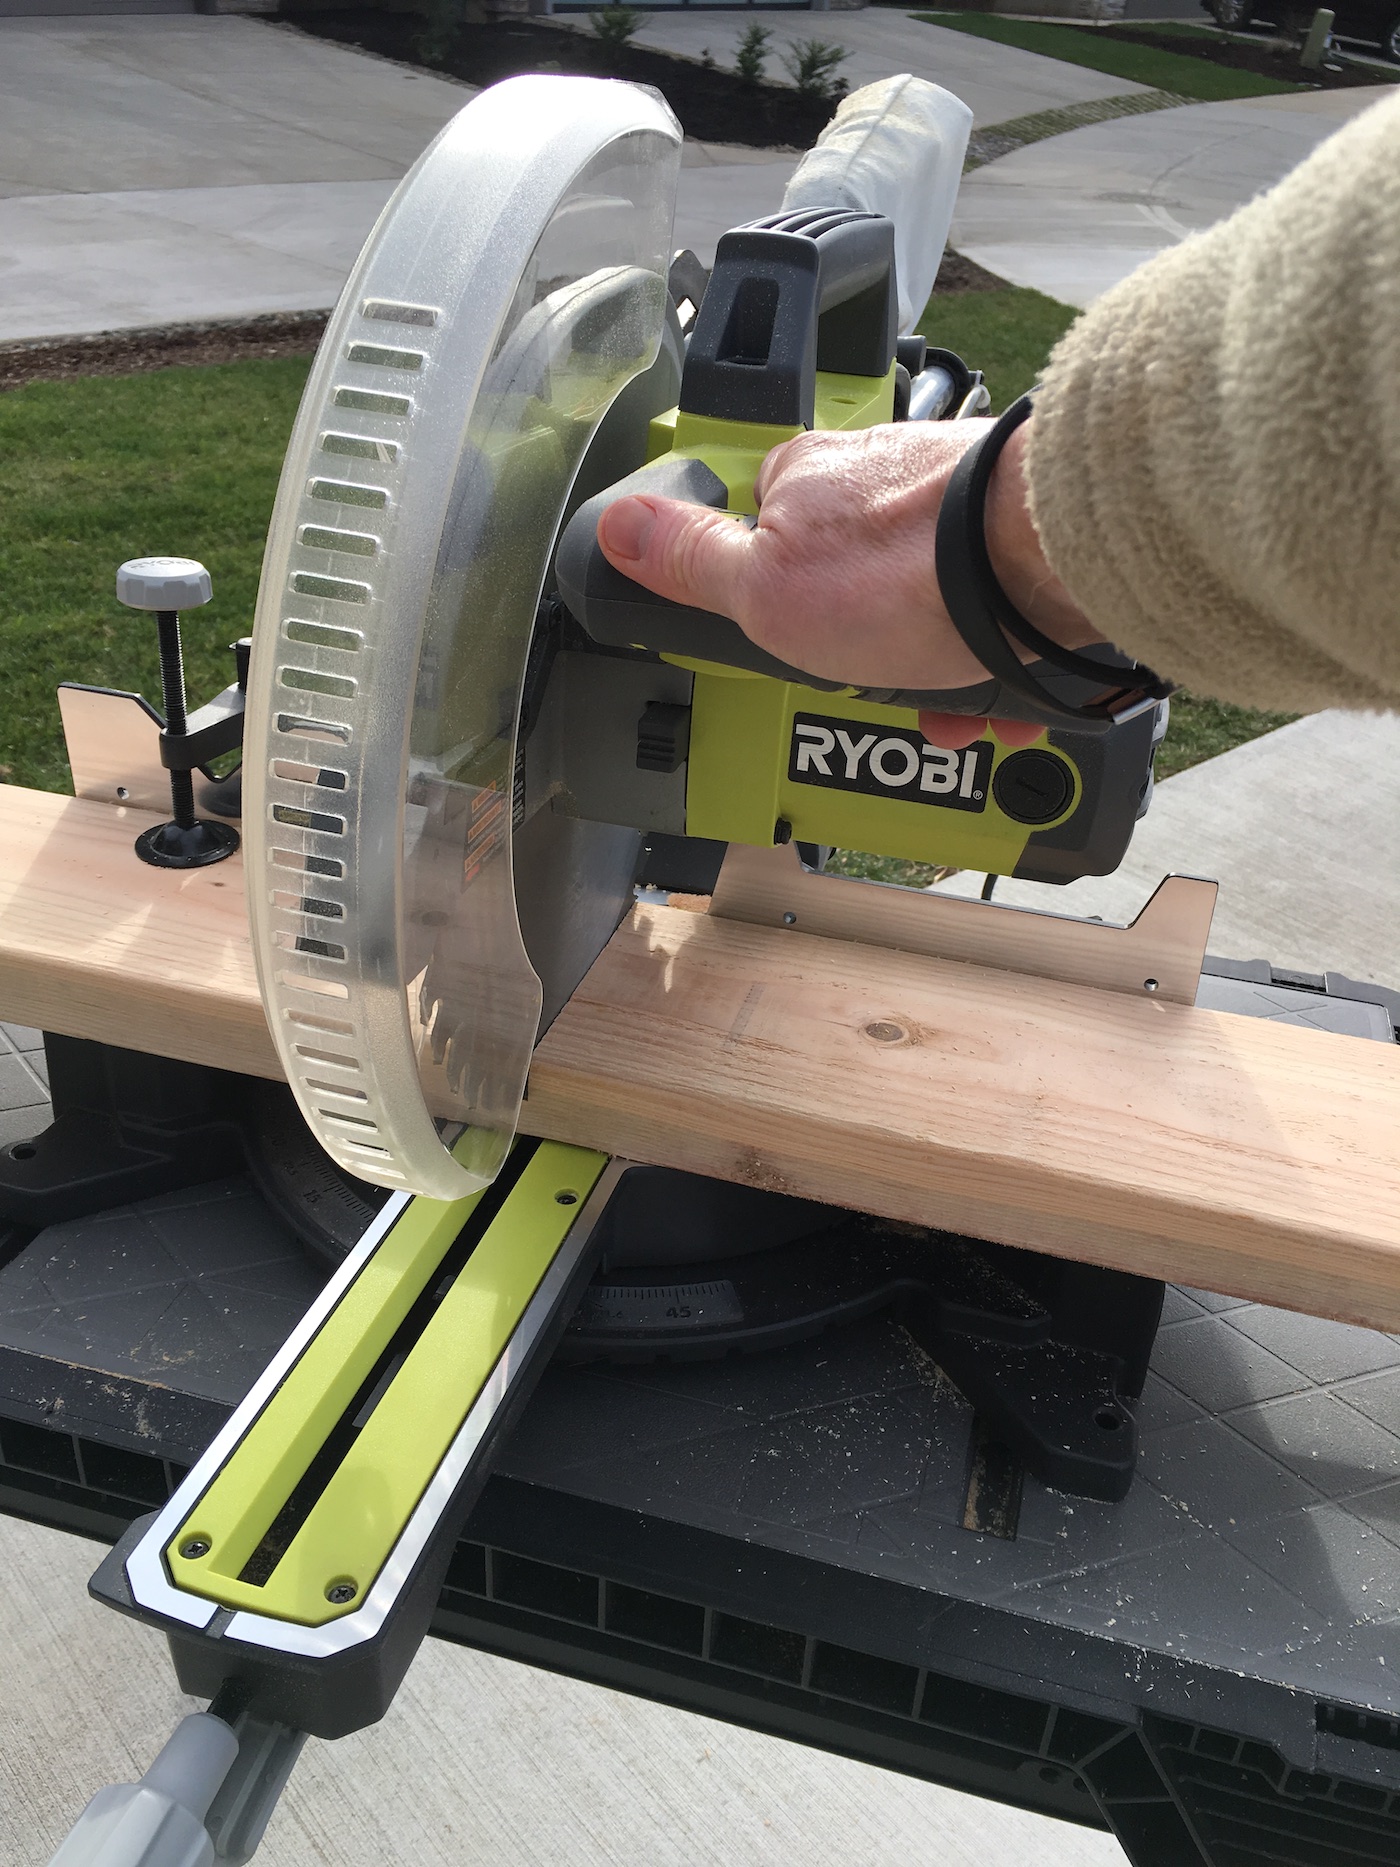
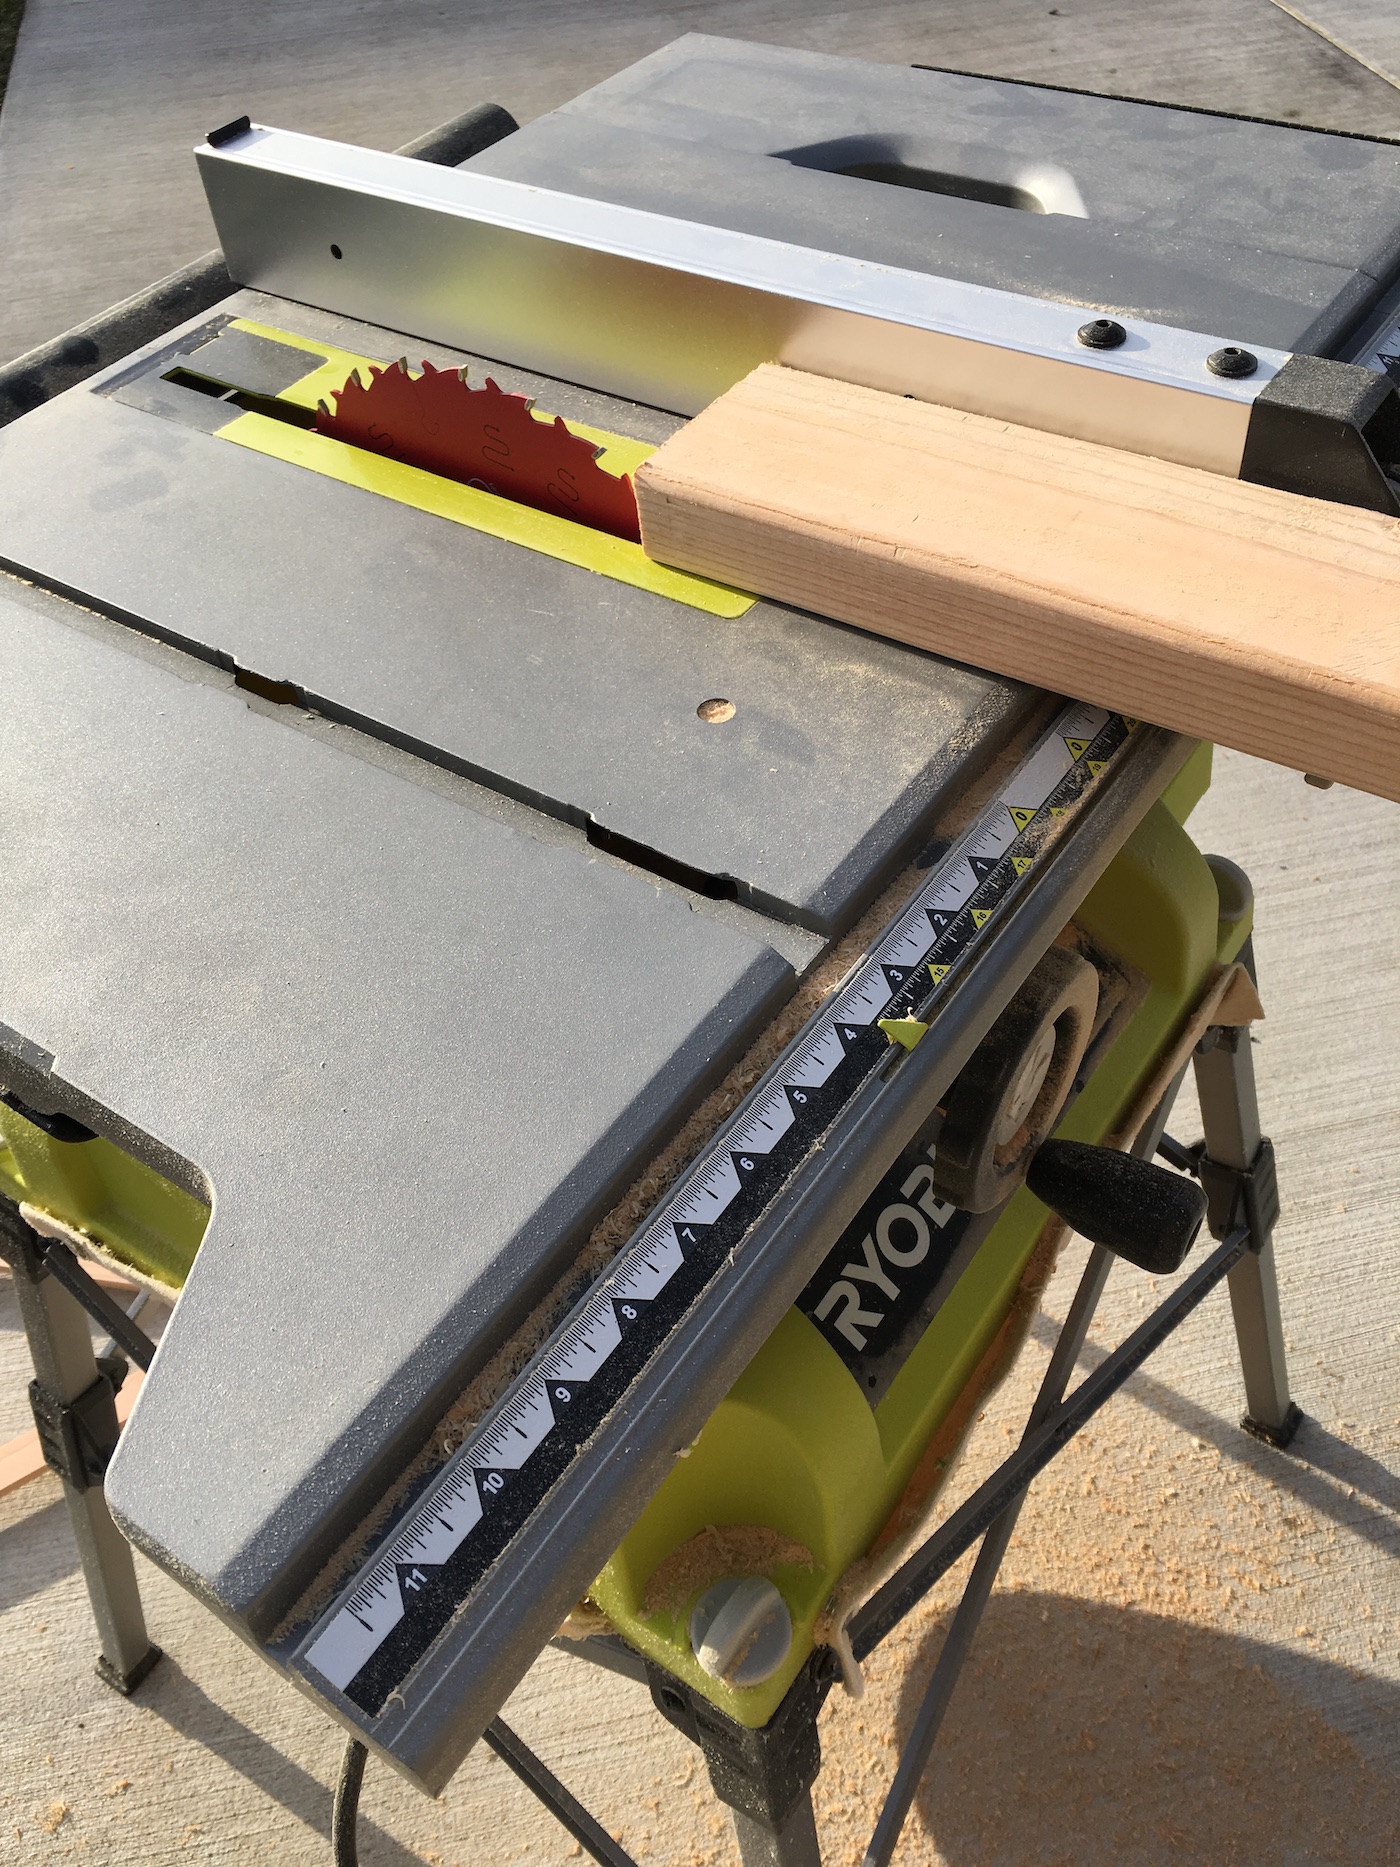
- Use a circular saw to cut the wood down to the correct length. If you need a wide stand because the base of the TV is large, you'll want to cut a few pieces to make more of a platform. We cut three pieces.
- Use a table saw to cut the rounded (long) edges of the wood down flat so that they can be glued.
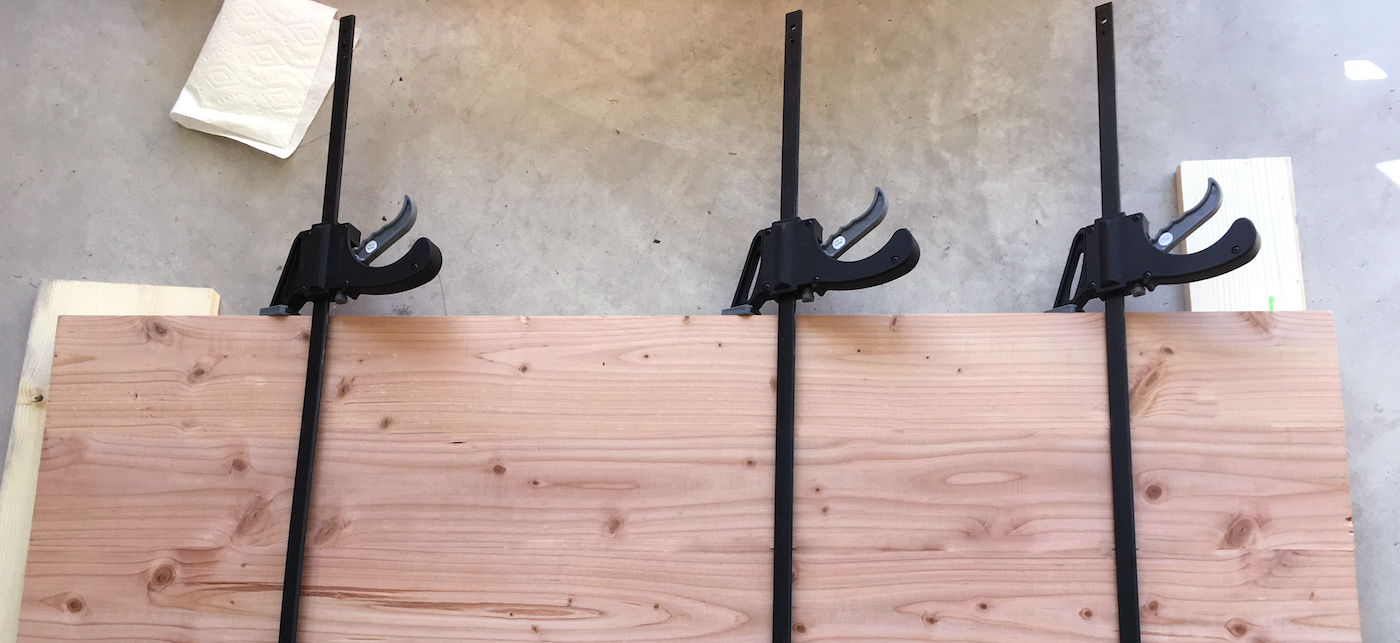
- Make one solid riser piece by adding wood glue to the long ends of the boards and then clamping the pieces together. Let dry overnight.
- Route all the top edges of your riser. Sand if necessary and wipe away the dust.
- Stain the wood using the stain color of your choice and then a rag. Let dry.
- If desired, coat the riser with polycrylic and let dry.
- Our piece didn't need legs, but at this time you can add them to finish if desired.
If you enjoyed this project, I’d love for you to check out these other woodworking ideas. Also let me know what you think in the comments!
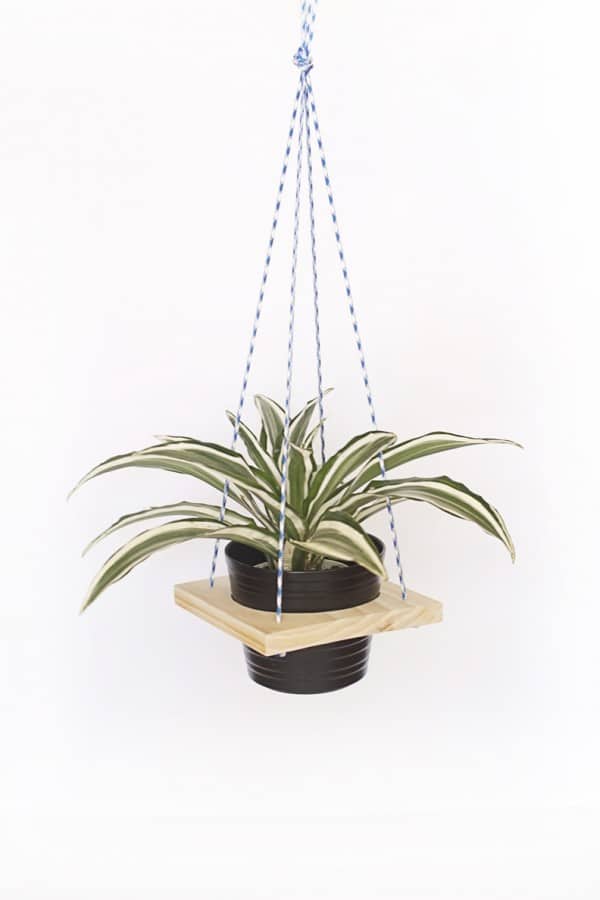
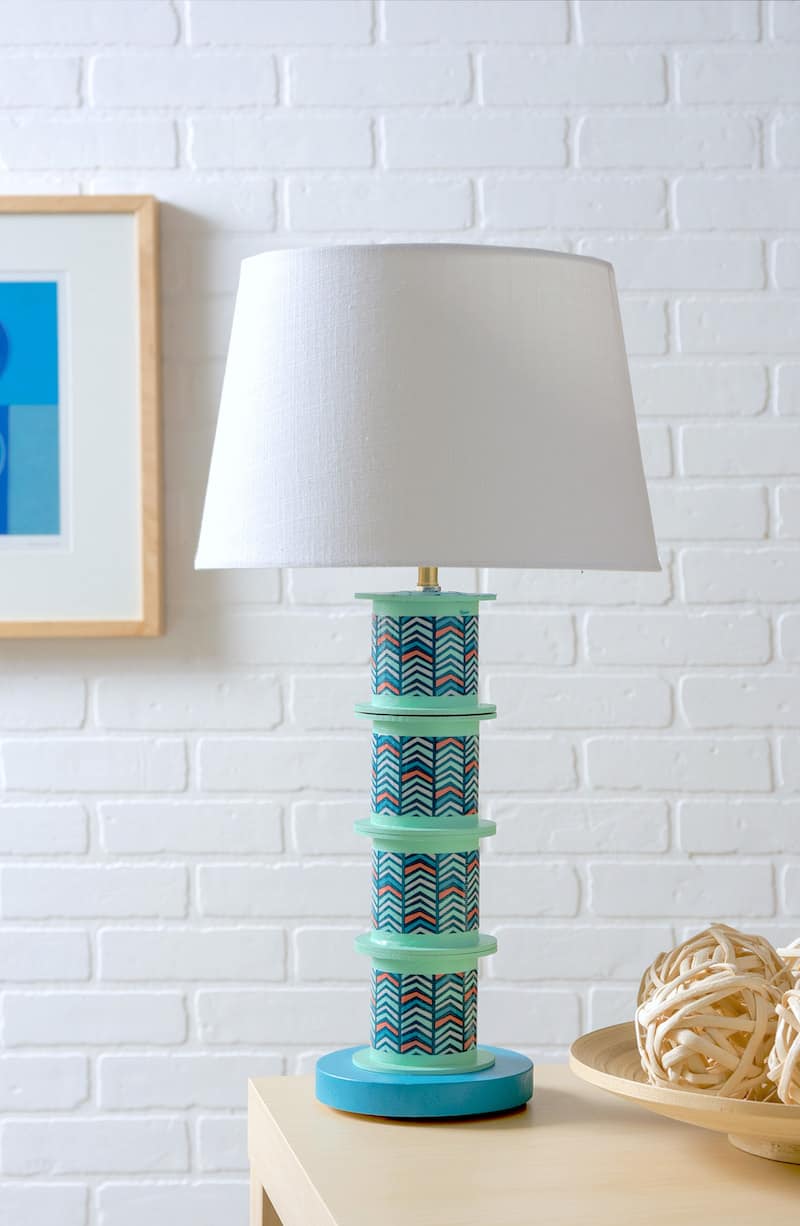
Camper Pallet Art • Coffee Table • Coffee Table with Storage • Industrial Pipe Shelving • Lack Endtable Hack • Nolmyra Chair Hack • Pallet Shelf • Plant Hanger • Poster Hanger • DIY Entry Wood Bench • Table Lamp • Table Revamp with Vinyl • Wood Sign • Wood Step Stool Chair


This DIY TV riser is super smart and easy to make — love how it upgrades any space!
Hi I have been making cricket bats for about 30 odd years, I’m now 82 yrs old and my son has taken over, I’ve been asked not to use the Machines too much. We are one of the leading bat makers called Fusion Sports. I would like to ask an easier way of making a jig to do the spiles in the cleft and to cut the handle to fit Perfectly!!! I can do this but I’m not perfect, which is what we wish to achieve, o could send pic’s with of what we are doing at this time. I hope you can give me some guidance our web site is http://www.fusionsports.com. Bill Cornford Cheshire.