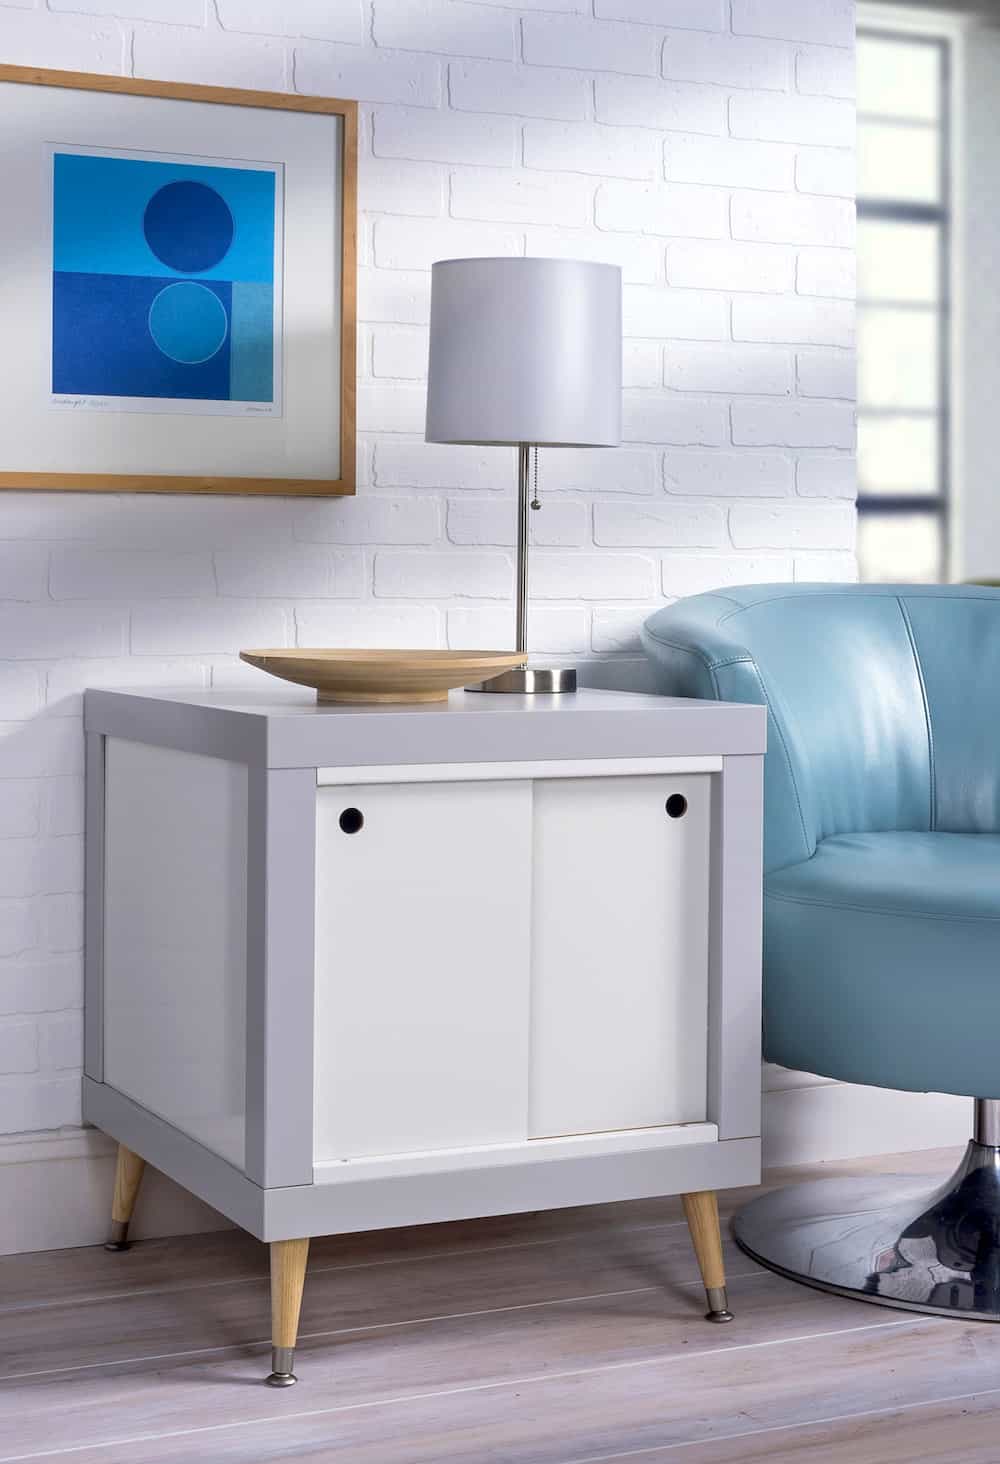
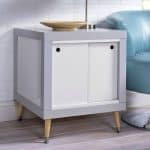
IKEA Lack Hack: End Table with Storage
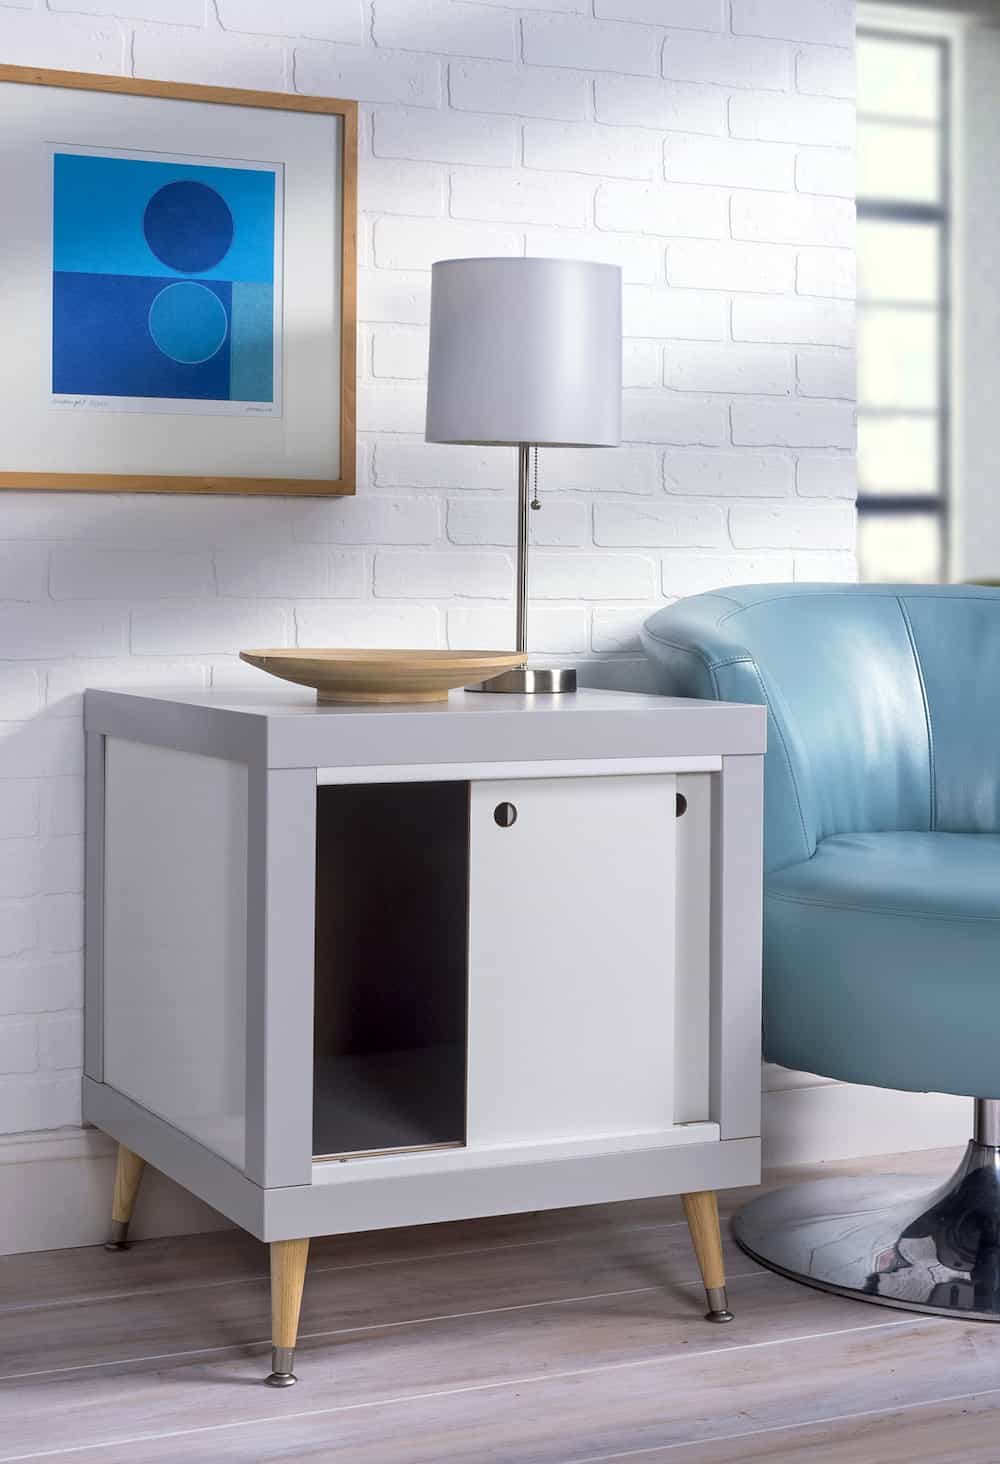
A DIY end table with storage for under $60?? We did it with two square Lack tables! You’ll love the modern design of this IKEA end table hack and the sliding doors on the front. Click here to get the tutorial.
Skills Required: Advanced Beginner. You’ll need to be able to use a table saw, miter saw, and operate a drill.
I’m sure you have heard of the IKEA Lack. Okay, maybe not, but the Lack is pretty cool. It might be the most simple piece of furniture in the history of the universe – four square legs and a square tabletop, sold at IKEA for around ten bucks.
DIY End Table
It’s very popular to do hacks with an IKEA end table, and for our hack we decided to use two Lacks to make a DIY end table with storage!
We did this entire project for a little less than $60 total, including the legs. The sliding doors might seem intimidating, but if we can do this project, you can too. Keep reading to learn how to make a modern DIY side table with storage – it will be your favorite ever. We promise!
Why Hack an IKEA End Table?
It’s so easy to turn two Lacks into a DIY side table because they are essentially squares that you are putting together. You’ll need two table tops and four legs total (so you’ll have four legs leftover).
You’ll form a box with those parts, and the only “technical” part is adding the grooves for the doors. And that part is relatively easy! Also . . . who can beat the price of an IKEA end table? They are so cheap!
IKEA Lack Hack
Gather These Supplies
- 2 square IKEA Lack tables (keep the hardware!)
- 2 pieces of 24” x 48”, ¼” thick white dry erase board
- 2 ¾”x 1 ½” pieces of MDF cut to a length of 17 ½”
- 4 table legs and mounting plates
- 4 3” wood screws
- 4 1 ½” wood screws
- White primer (if your MDF comes unpainted)
Tools
- Table saw
- Miter saw
- Drill and drill bits
- 1” drill bit
- Countersink bit
A Lack IKEA end table comes with four legs, separate from the table top. As I mentioned, you’re going to use two Lack table tops and four of the legs.
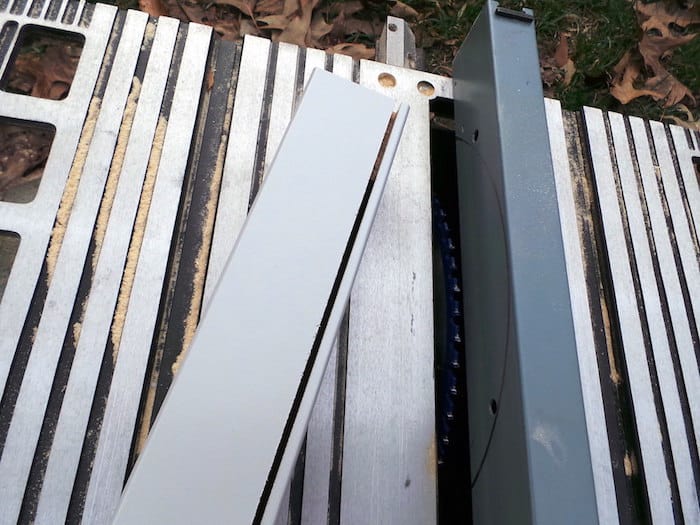
Your end table is created by sliding dry erase board into grooves on the legs of the Lack. So the first thing you have to do is cut the grooves – and each groove is two blade widths wide. When you make your cuts for this project – use a finishing blade. It will keep you from tearing up any parts of your project.
Use a table saw set the cut depth to ¼”, then cut a line the length of the table leg ¼” in from the one side. It doesn’t matter which side. Do this on all four legs.
Move the cutting guide over the width of the blade and make another cut down the length of each leg right next to the cut you just made – making the total width of the groove approximately ¼”.
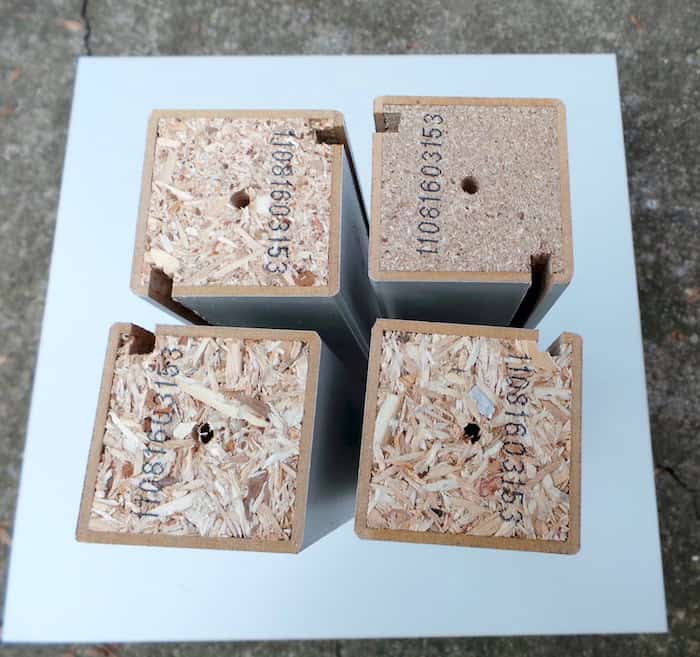
Two legs will have only one ¼” cut in them – but on the other two legs will need additional grooves on perpendicular sides (see the image above).
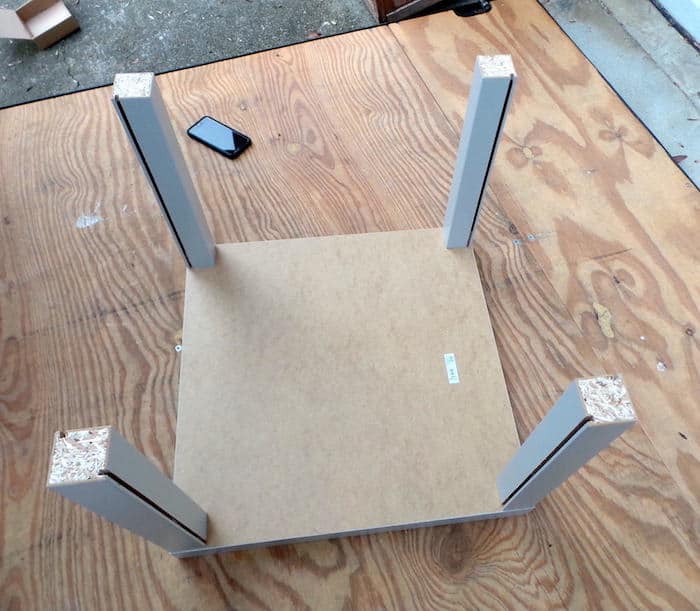
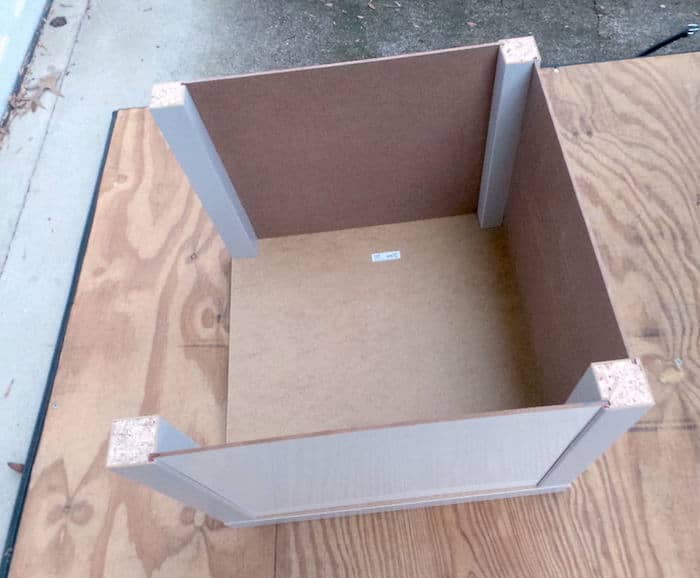
Attach the legs to the tabletop with the cut grooves as shown above. You’ll use the hardware that came with the tables to attach the legs.
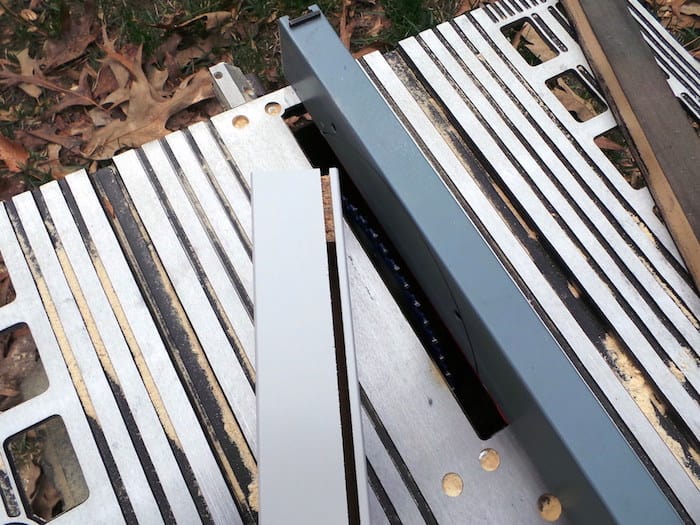
Using a table saw, cut three 18” x 15 ¾” panels out of ¼” thick white dry erase board. Take care as you cut your board and be careful not to chip the ends or corners. This particular board can be somewhat delicate.
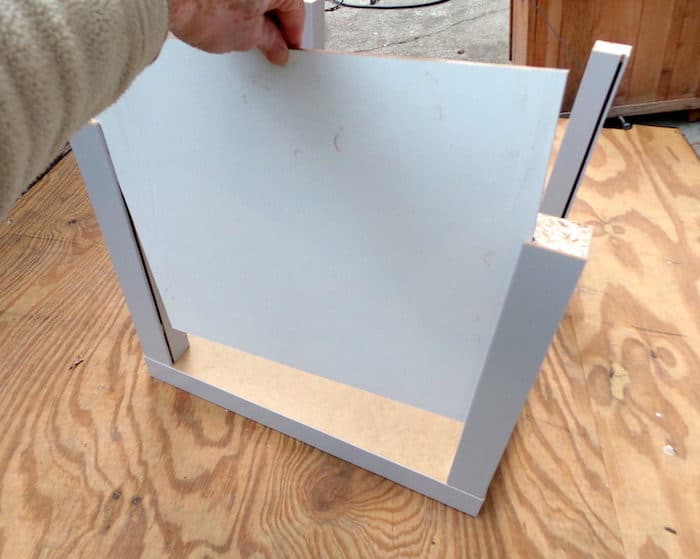
Slide the panels into the grooves as shown in the photo above.
Using four 3” wood screws, attach the other table top to the bottom of your structure with the finished side going toward the inside of the cube. There will be an opening on one side where you’re going to insert your doors.
You can purchase MDF board in white – however, if yours isn’t white, purchase white primer and paint it before cutting.
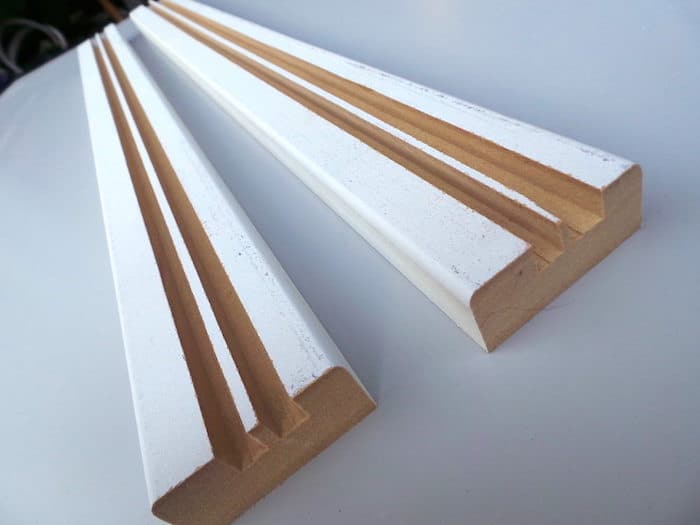
Using a miter saw, cut two 17 ½” length pieces out of the ¾”x1 ½” MDF. Using a table saw, cut two ¼” grooves ¼” deep each in your MDF boards approximately ⅜” in from the edge (cut the grooves the same way you cut the grooves in the table legs – two blade widths thick each).
Using a table saw cut two 9 ¼”x 14 ¾” pieces of the dry erase board. These will be your doors.
Use a 1” drill bit and drill a finger pull hole in the upper corners of each door – one in the upper left corner and the other in the upper right corner. You want to mark where you drill your 1″ holes on each board so that they are in the same place.

Put the doors into the two grooves of the MDF boards. Place one in the front groove and the second in the back groove. Place the doors so that the finger holes are in the upper right and the upper left corners when shut. You’ll want the thicker lip of the MDF to face the front of the DIY end table.
Next, place the doors and the MDF guides into the open space in your DIY side table and screw into place using four 1 ½” wood screws. You’ll insert the doors and MDF guides “assembled” into the space.
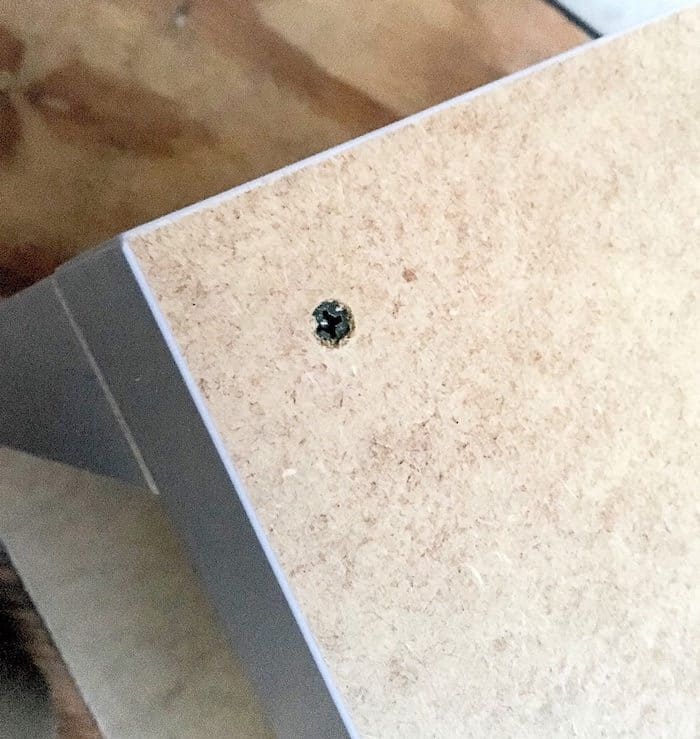
You will drill a pilot hole and then use the countersink bit – then insert the screws and secure (four screws, one in each corner upper and lower).
Tip: the countersink bit allows you to recess the screws below the surface. You don’t *have* to do this, but it looks more finished and clean, in my opinion.
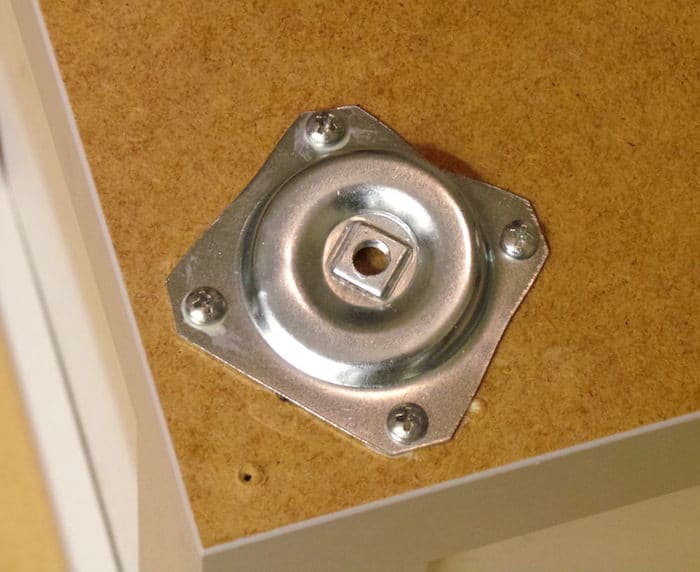
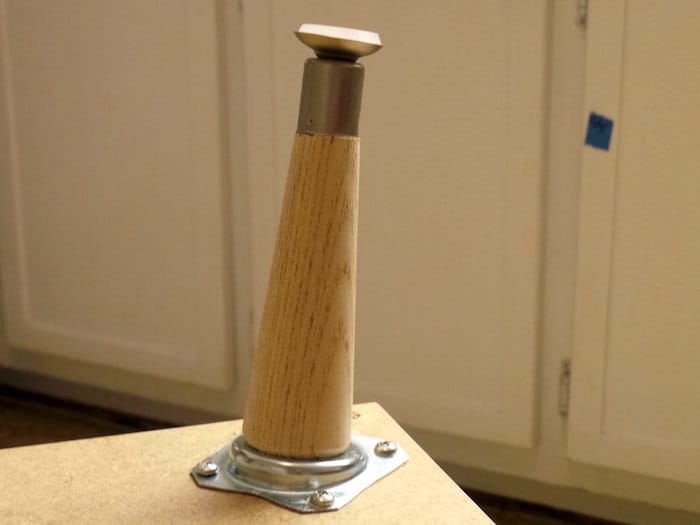
Flip your DIY side table over and place the leg mounting plates on as shown. Put them in each corner so the legs will angle out to the corners. We got ours at Home Depot. Screw the legs on and flip your end table back over!
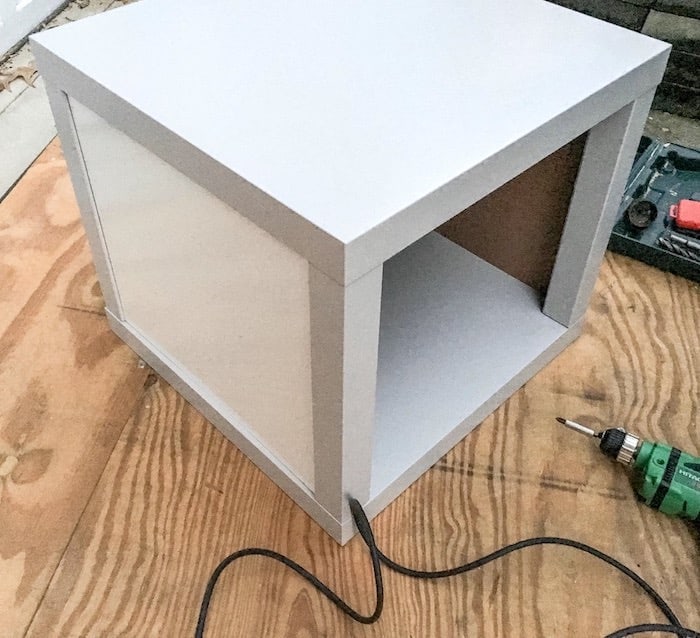
Your doors will slide open along the tracks of your amazing, new DIY side table. And you don’t have to worry about them coming out because they are secured in the grooves! How do you like your IKEA Lack hack?
Tip: you can write on the doors of your IKEA end table with dry erase markers. We haven’t done it, but it’s a fun idea if you like writing notes to your roommates :D. We just bought this particular board because it was white and lightweight!
I just love our little hacked DIY end table! Is this an IKEA hack you’d like to try as well? Let me know in the comments!
IKEA Lack Hack
Equipment
- Miter saw
- Drill with drill bits including a 1” drill bit and Countersink bit
Materials
- 2 IKEA Lack tables
- 2 pieces 24” x 48” 1/4” thick white dry erase board
- 2 ¾”x 1 ½” pieces of MDF cut to a length of 17 ½”
- 4 table legs and mounting plates
- 4 wood screws 3”
- 4 wood screws 1 ½”
- Primer optional
Video
Instructions
- Open your Lack tables and set aside the hardware. You're going to use four of the eight legs that come with the tables.
- Use a table saw set the cut depth to ¼”, then cut a line the length of the table leg ¼” in from the one side. It doesn't matter which side. Do this on all four legs.
- Move the cutting guide over the width of the blade and make another cut down the length of each leg right next to the cut you just made – making the total width of the groove approximately ¼”.
- Two legs will need additional grooves on perpendicular sides for the sliding portion. Repeat step three on two legs.
- Attach the legs to the tabletop with the cut grooves. The two legs with additional cuts should be on the same side. You'll use the hardware that came with the tables to attach the legs.
- Using a table saw, cut three 18” x 15 ¾” panels out of ¼” thick white dry erase board. Take care as you cut your board; particular board can be somewhat delicate. Slide the panels into the grooves.
- Using four 3” wood screws, attach the other table top to the bottom of your structure with the finished side going toward the inside of the cube. There will be an opening on one side.
- If the MDF isn't white, prime it at this time. Let dry.
- Using a miter saw, cut two 17 ½” length pieces out of the ¾”x1 ½” MDF.
- Using a table saw, cut two ¼” grooves ¼” deep each in your MDF boards approximately ⅜” in from the edge (two blade widths thick).
- Using a table saw cut two 9 ¼”x 14 ¾” pieces of the dry erase board. These will be your doors.
- Use a 1” drill bit and drill a finger pull hole in the upper corners of each door – one in the upper left corner and the other in the upper right corner. You want to mark where you drill your 1" holes on each board so that they are in the same place.
- Put the doors into the two grooves of the MDF boards. Place one in the front groove and the second in the back groove. Place the doors so that the finger holes are in the upper right and the upper left corners when shut.
- Place the doors and the MDF guides into the open space in your DIY side table and screw into place using four 1 ½” wood screws. You'll insert the doors and MDF guides "assembled" into the space.
- Flip the table over and place the leg mounting plates on as shown. Put them in each corner so the legs will angle out to the corners. Screw the legs on and flip your end table back over.
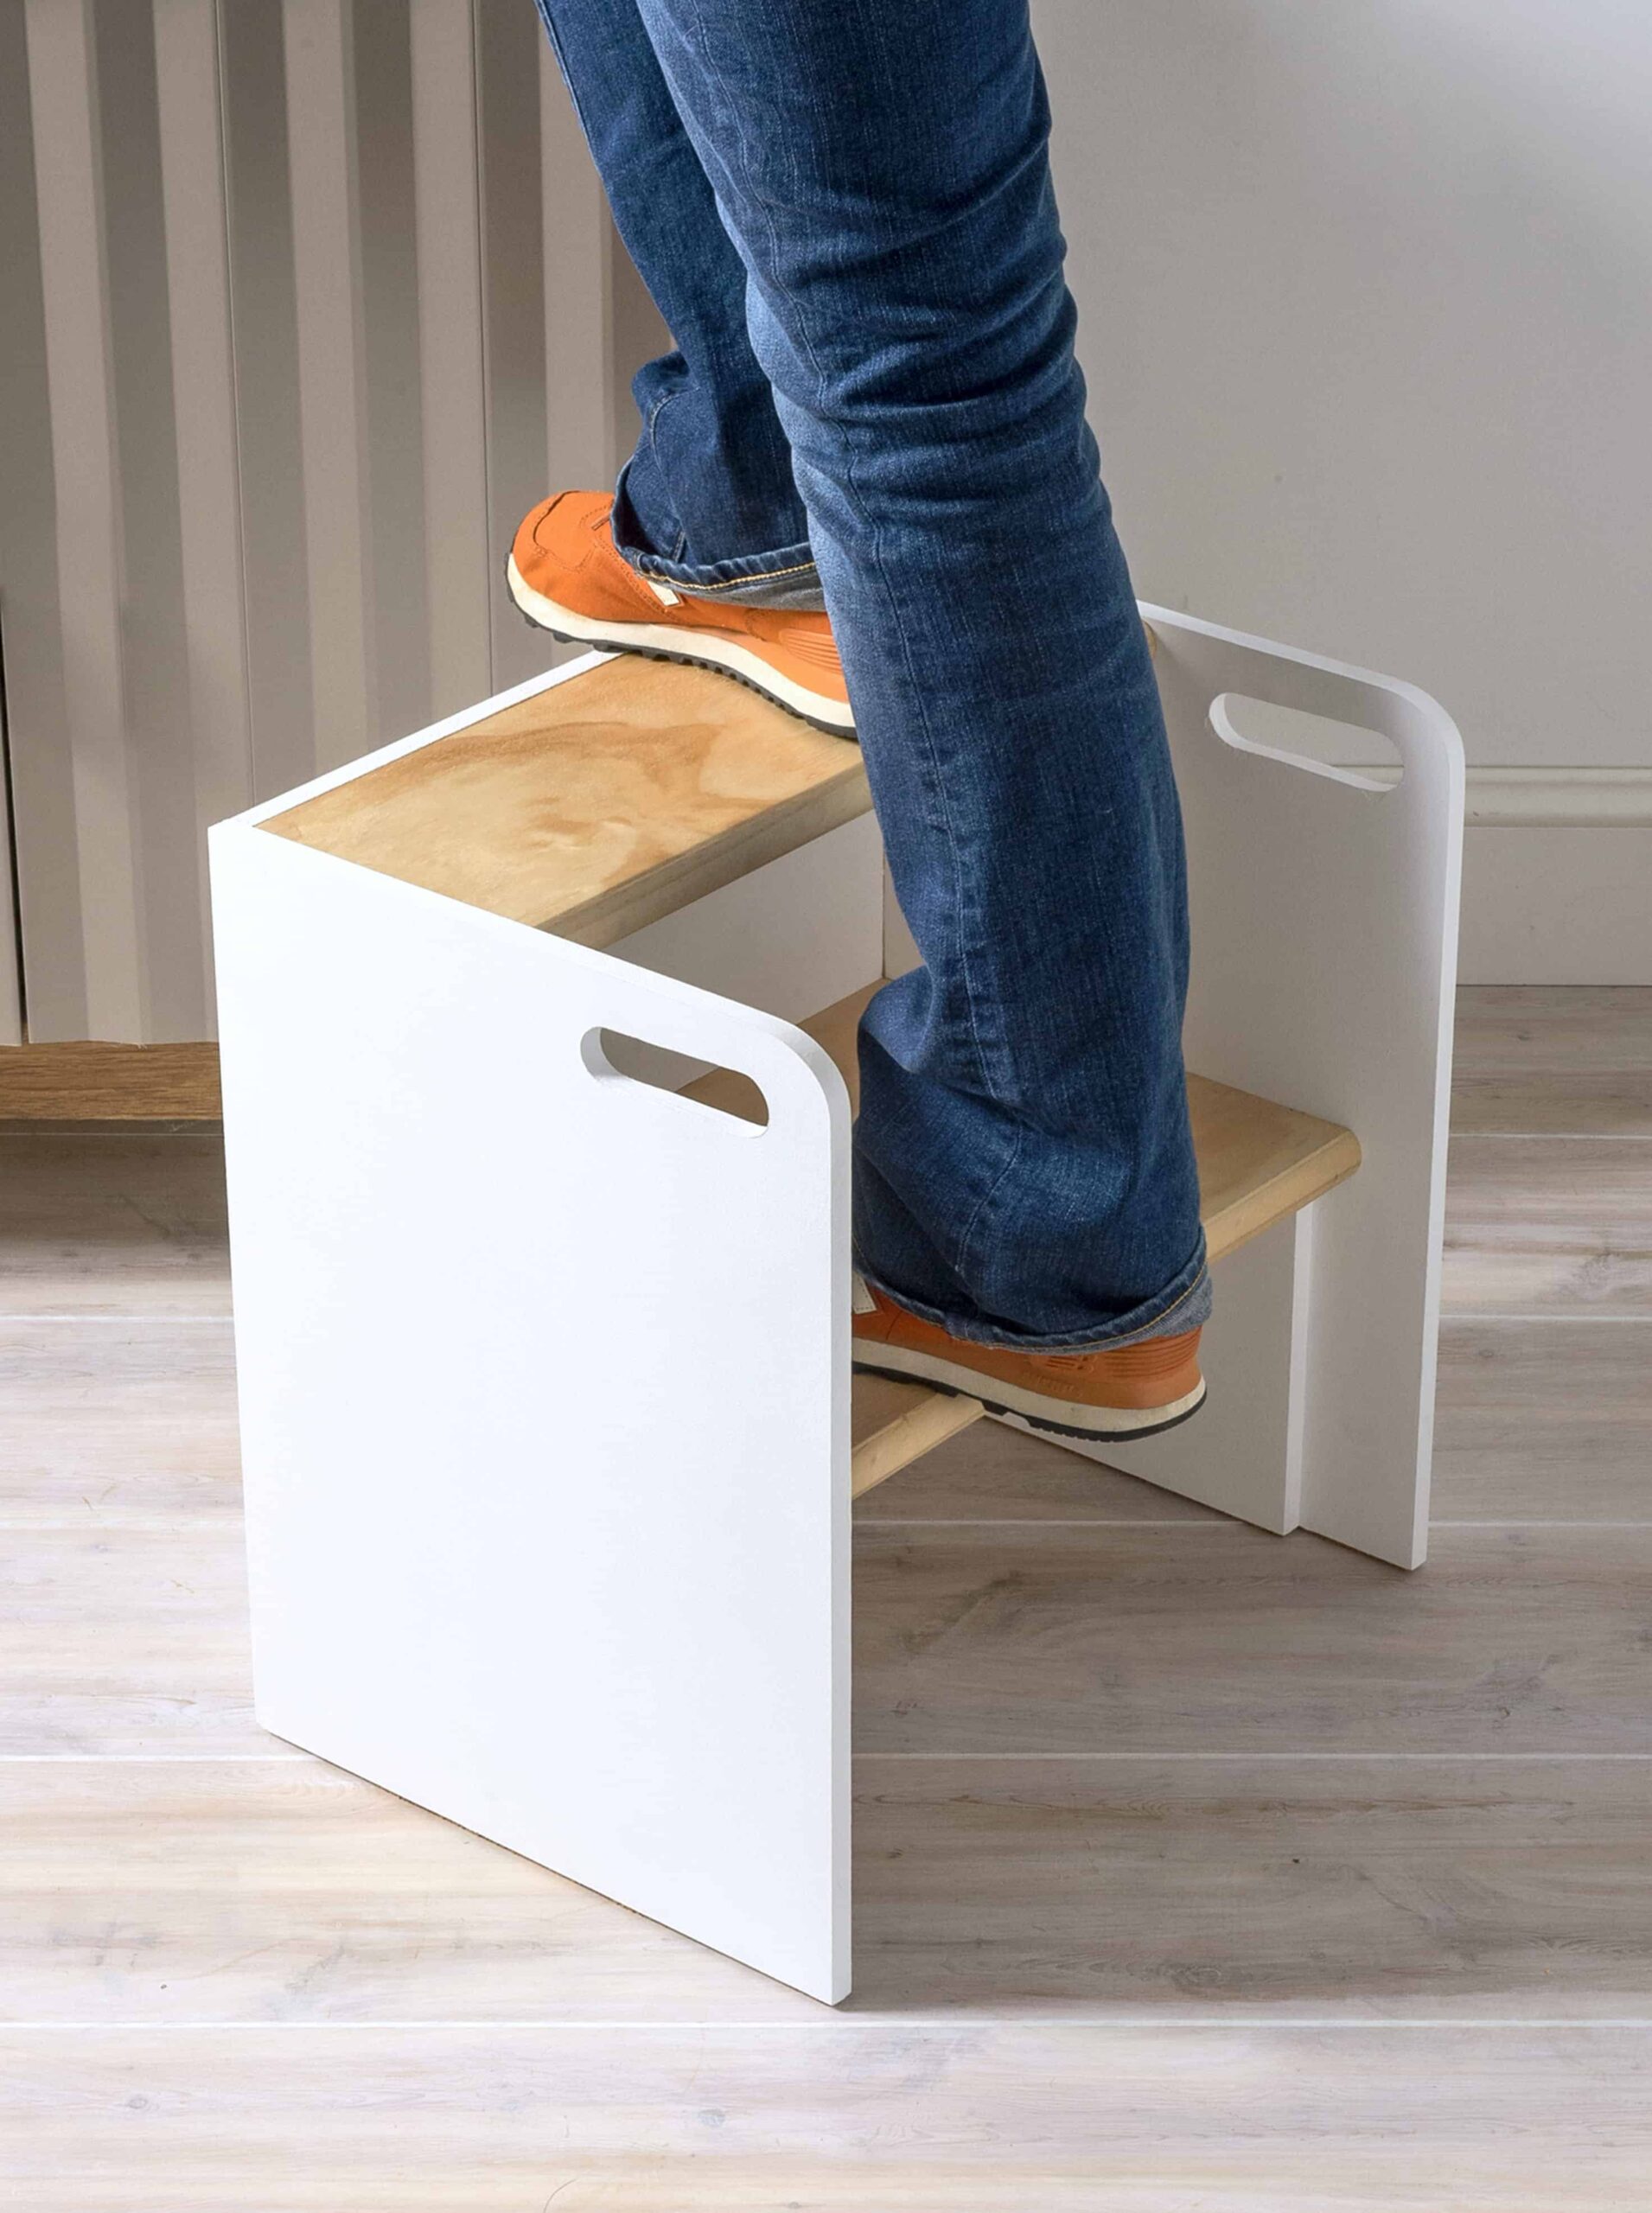
Want to see another IKEA hack? We built a frame chair as well! I’d also love for you to check out the following projects you can build:
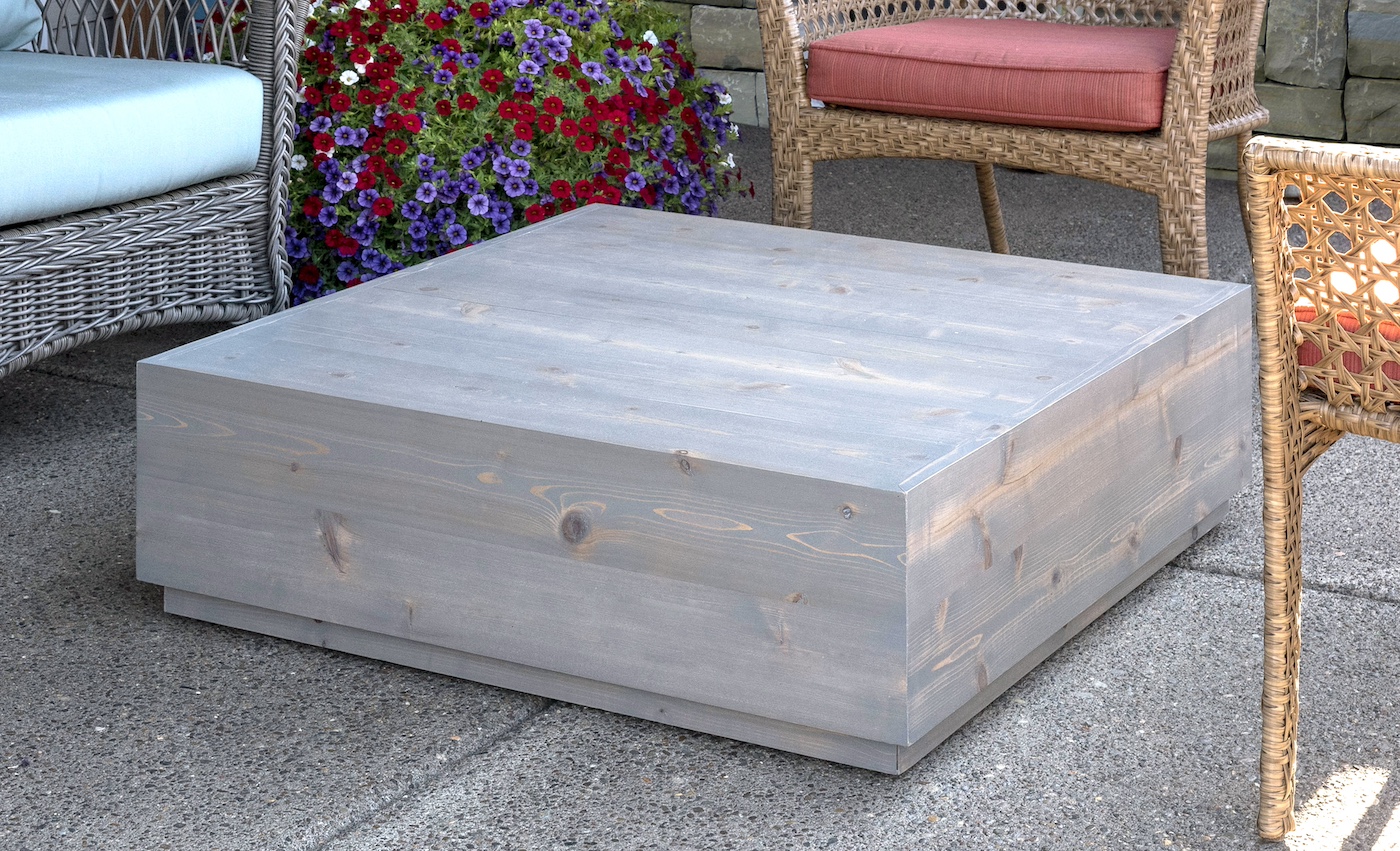
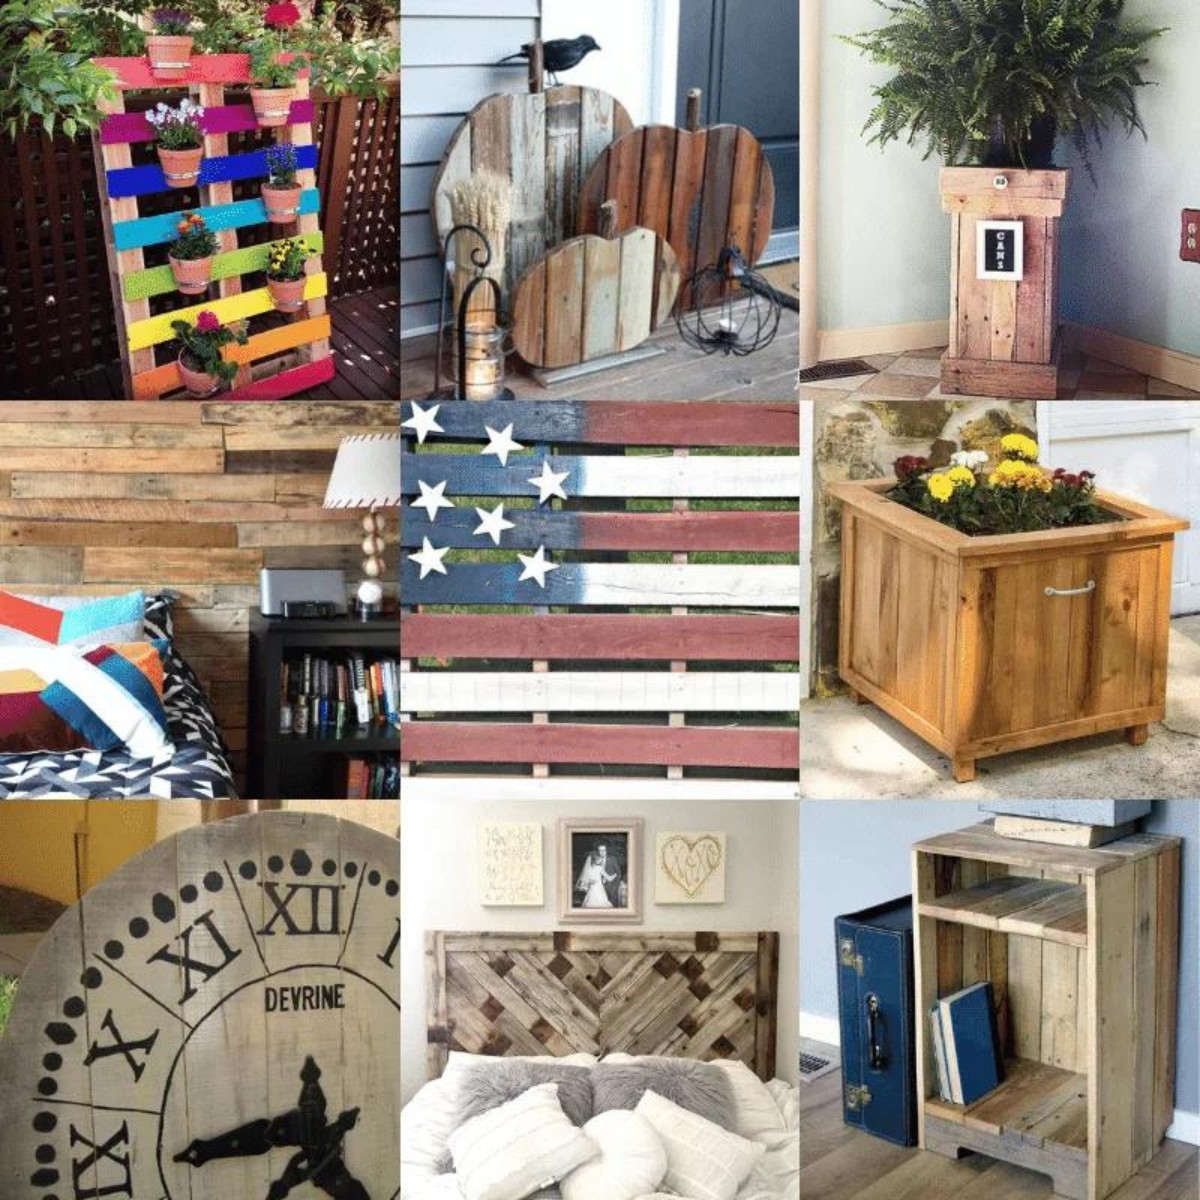
Coffee Table • Coffee Table with Storage • Industrial Pipe Shelving • Mirror Frame • Modern Headboard • Nolmyra Chair Hack • Pallet Shelf • Platform Bed • Poster Hanger • Stacked Entry Bench • Table Lamp • DIY Laminate Table Top • TV Riser • Wood Slat Doormat • Wood Sign • Wood Step Stool Chair • Wooden Beer Caddy