DIY Mirror Frame for a Builder-Grade Bathroom
Learn how to build a DIY mirror frame for a builder-grade bathroom mirror. This easy woodworking project costs about $25 and looks custom.
I have a confession.
For years, I never really noticed bathroom mirrors.
Sure, I looked in them every day. But unless one was especially beautiful (or especially ugly), it barely registered.
Then I started paying attention.
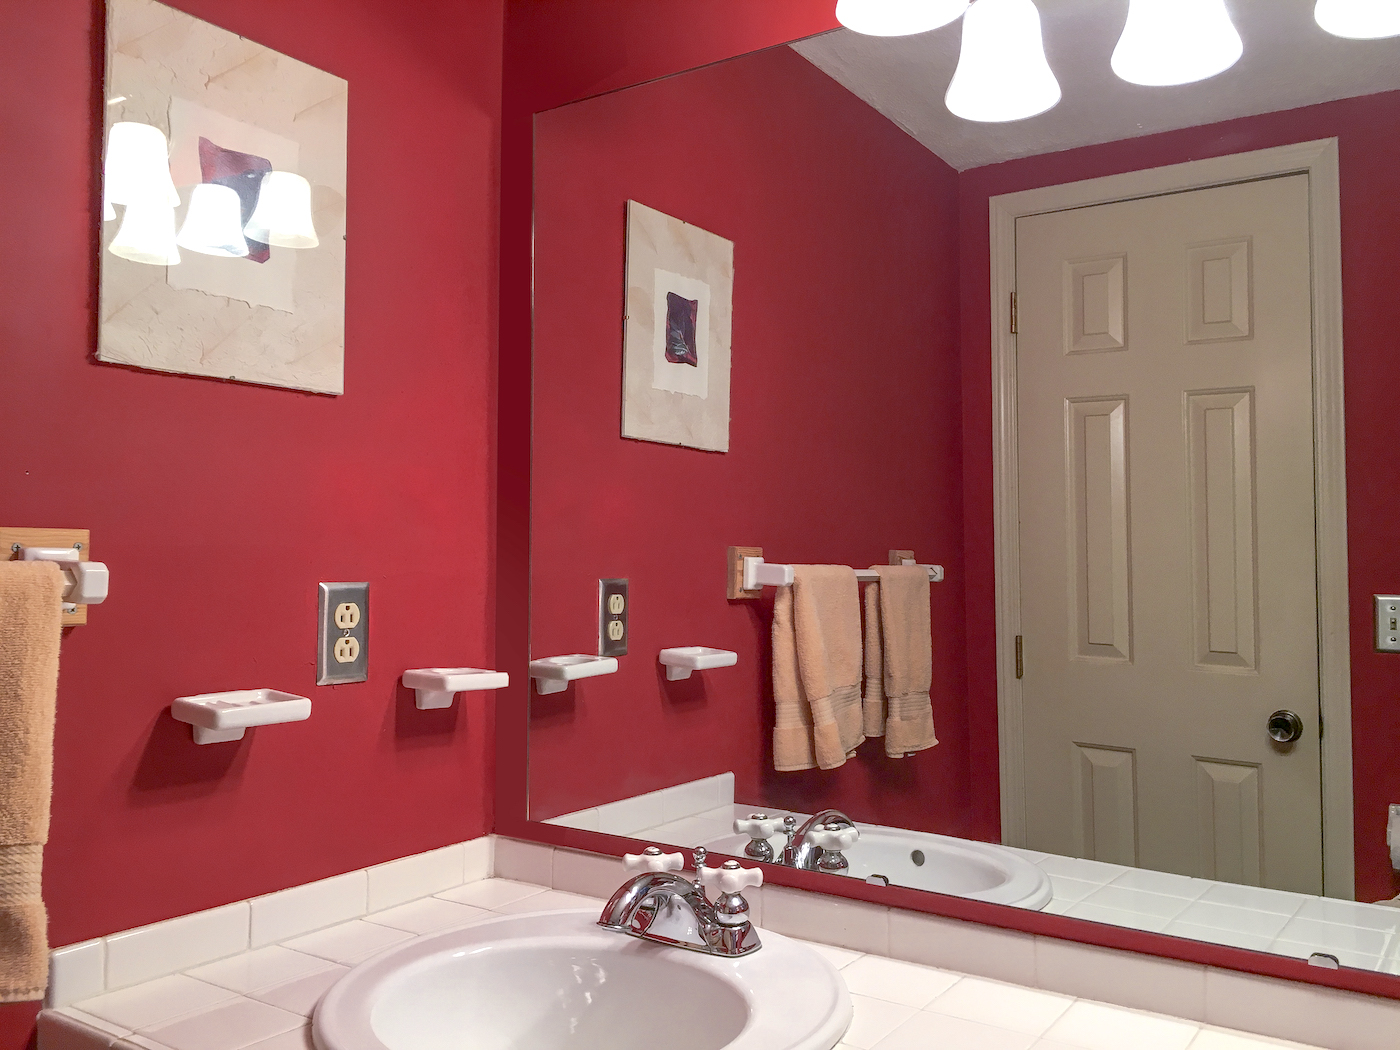
Have you ever noticed how many homes have those giant builder-grade mirrors clipped directly to the wall? They’re perfectly functional, but they don’t exactly scream “designer bathroom.” They just sort of . . . exist.
And the worst part? A beautiful framed mirror can cost hundreds of dollars.
When a friend needed a new mirror after hers broke, we started shopping around. A basic 3′ x 5′ frameless mirror was about $50. A similar mirror with a wood frame? More than $300. Suddenly the idea of building our own became a lot more appealing.
Not only would we save money, but we could create exactly the look we wanted.
That’s one of my favorite things about this woodworking project. You’re not stuck with whatever style happens to be available at the store. Want rustic farmhouse? Easy. Prefer something modern and painted black? Go for it. Love a weathered coastal look? That works too.
Another thing I love about this project is that the frame isn’t permanently attached to the mirror itself. Many tutorials rely on products like Liquid Nails to glue wood directly onto the glass.
There’s nothing wrong with that approach, but we wanted it to be removable. If our friend ever decides to repaint, update the decor, or switch styles completely, she can simply take the frame down instead of replacing the entire mirror.
We assembled the project using a Kreg Jig and Titebond III Ultimate wood glue. The combination creates strong joints while keeping the build beginner-friendly. If you can measure carefully and make basic miter cuts, you can absolutely tackle this project.
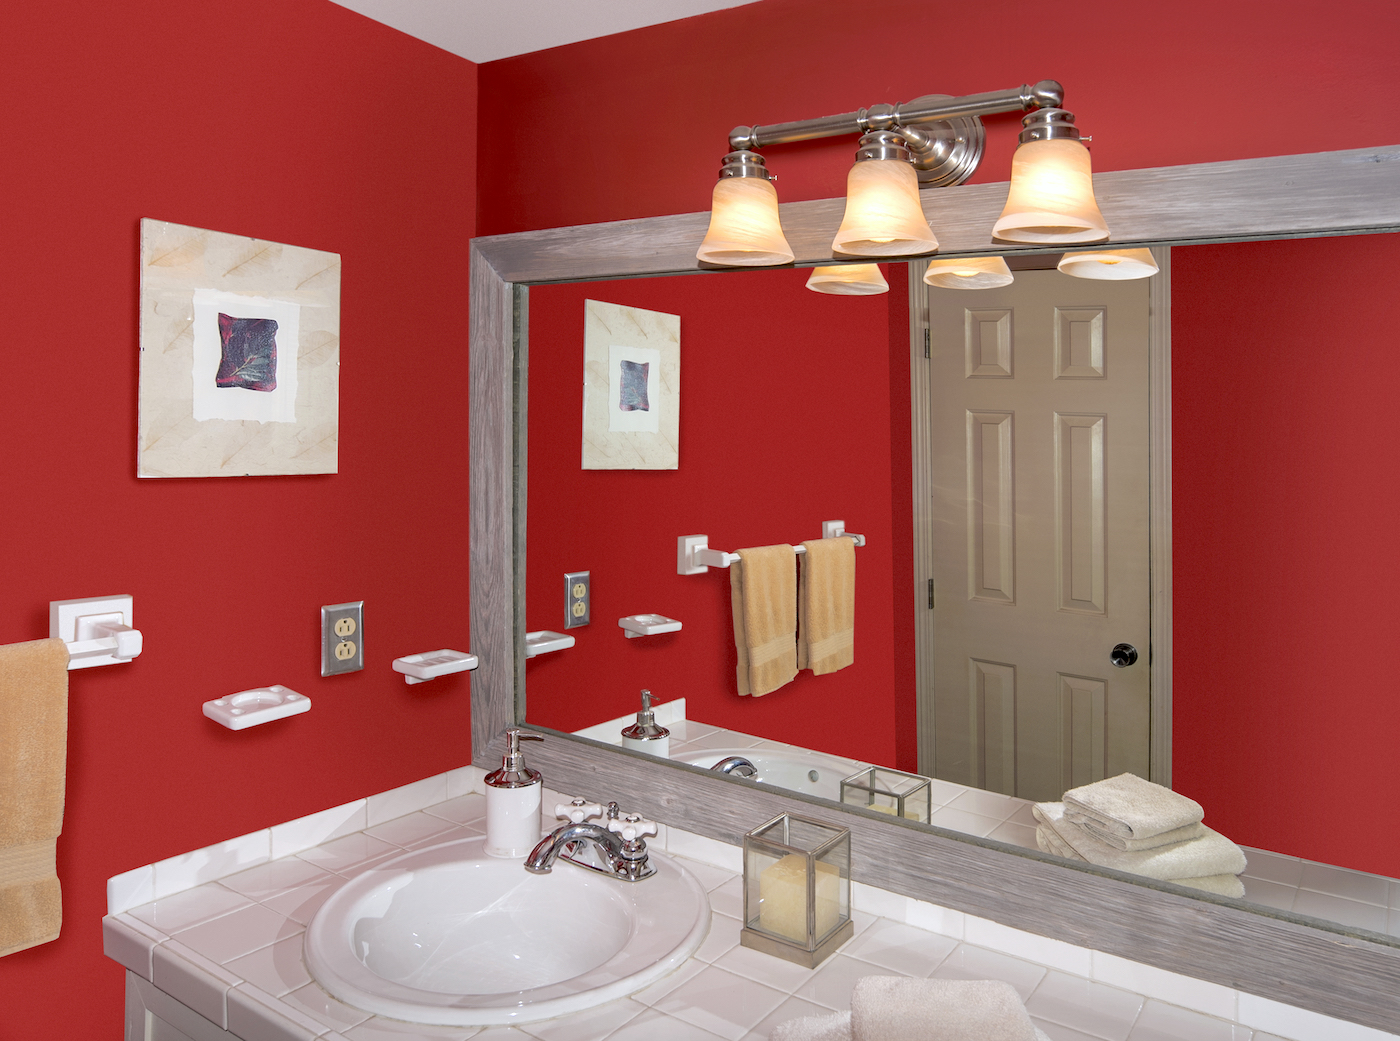
And honestly? The transformation is ridiculous.
It’s still the same mirror. Same size. Same location.
But now the mirror feels custom, intentional, and significantly more expensive than it actually was.
That’s my favorite kind of DIY project.
Choosing the Wood
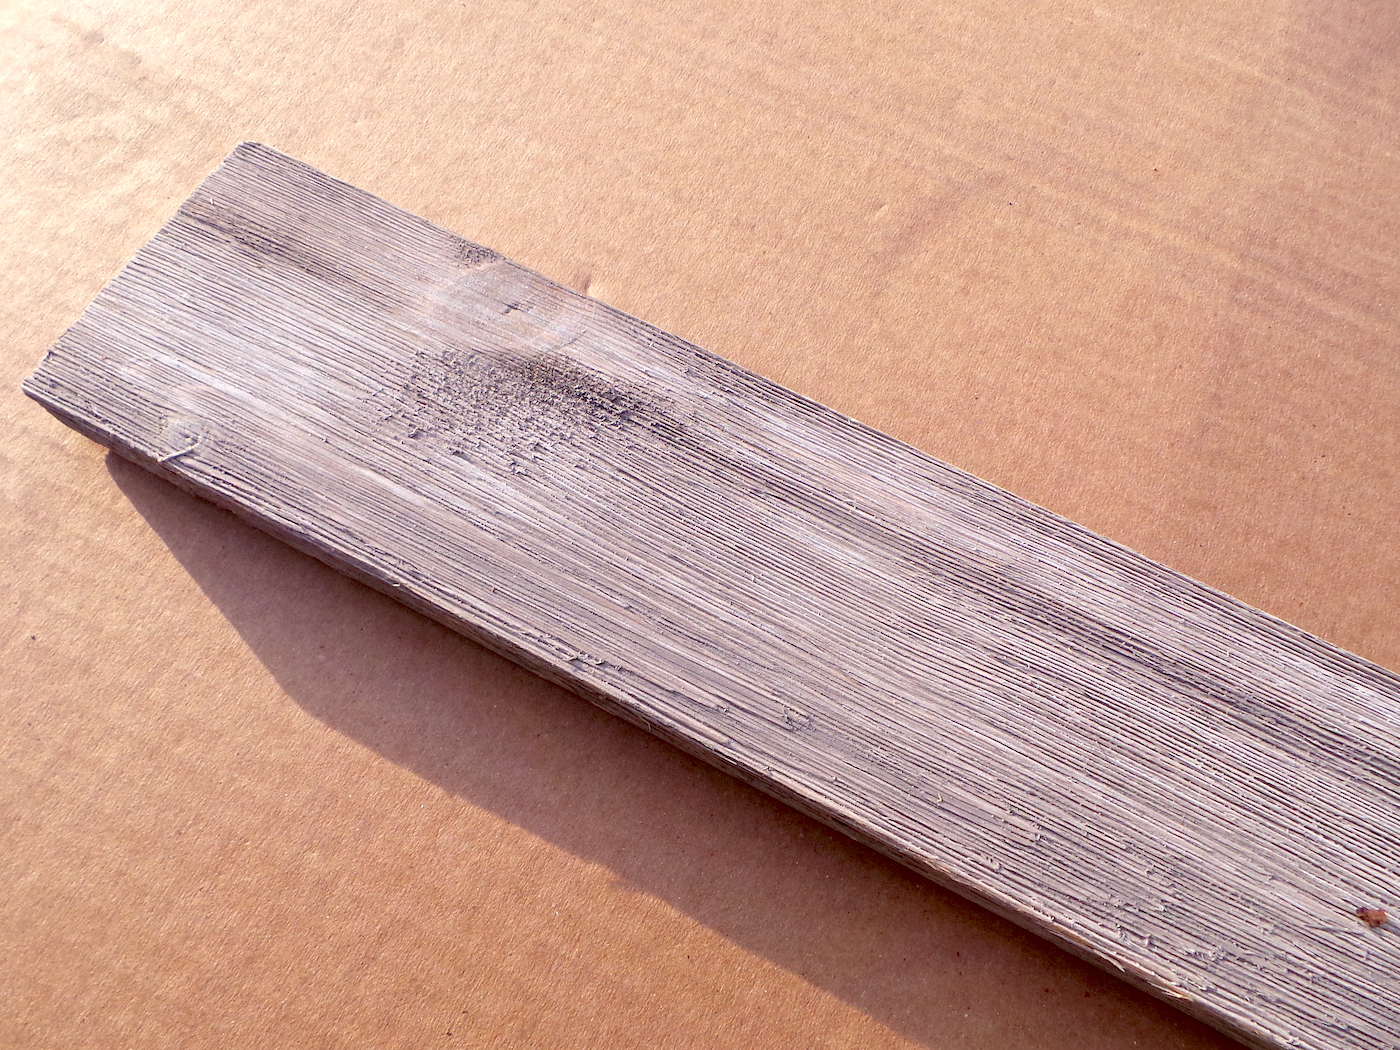
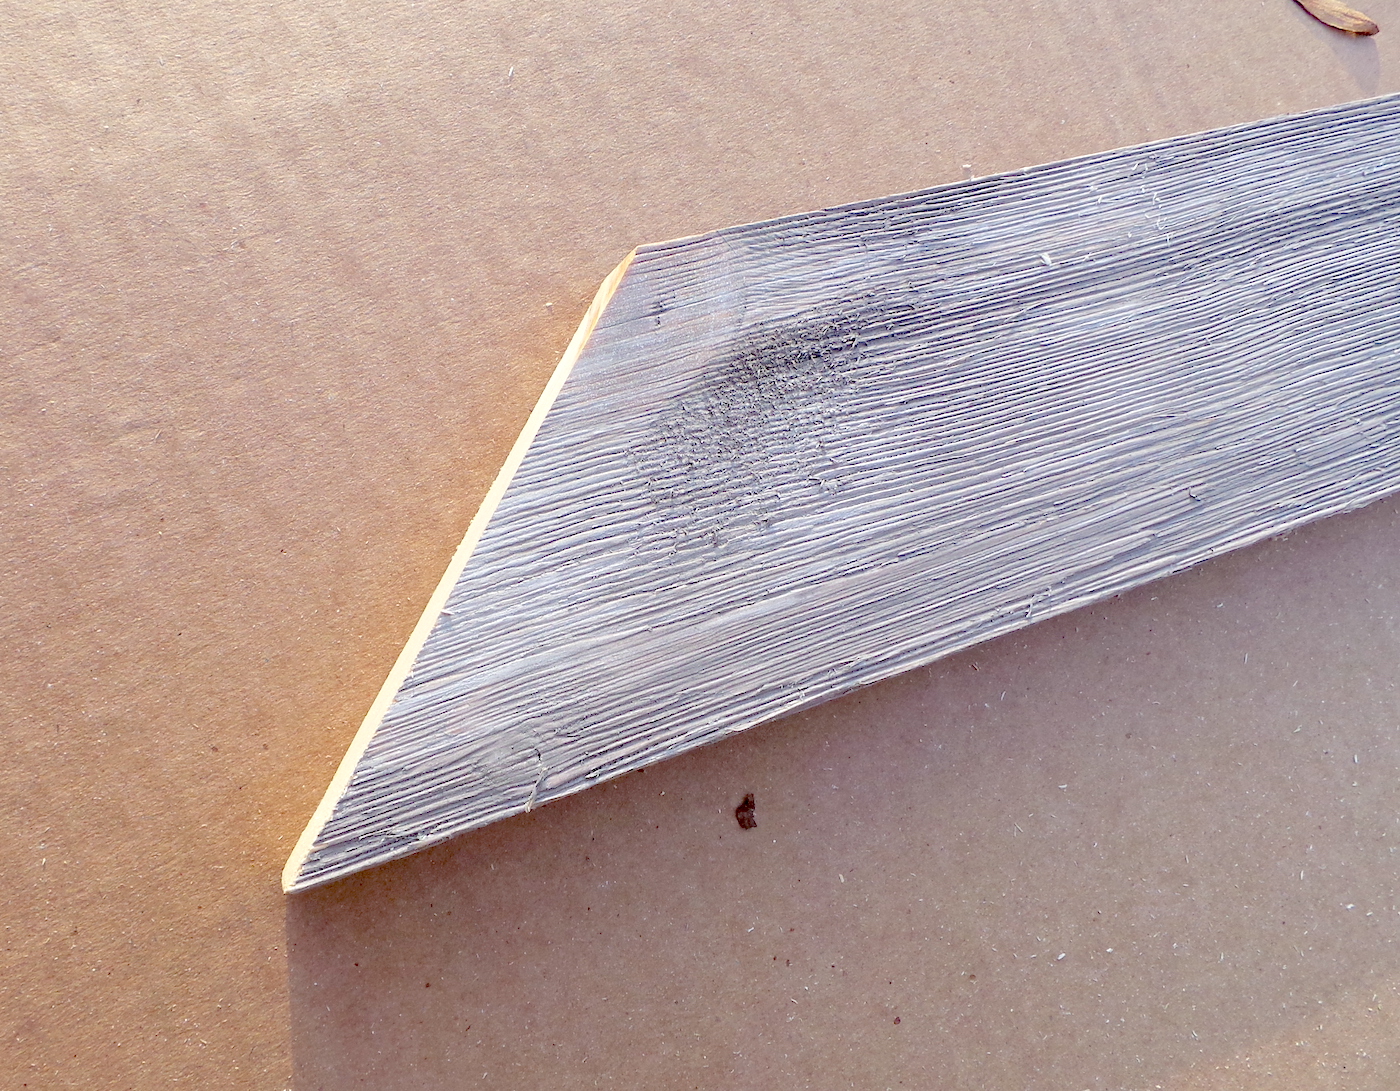
For this bathroom, we chose faux barnwood because the goal was a farmhouse-inspired space. The texture and color already had plenty of character, which meant less finishing work and a lot more visual impact. But don’t feel locked into that choice.
Pine is an affordable option if you plan to paint. Oak looks beautiful stained and highlights the natural grain. Reclaimed wood can add instant age and personality.
Note: prices of lumber are changing rapidly these days, so do your research instead of breaking the bank.
This is the 1″ x 4″ x 8″ barnwood we bought from Home Depot. It was less than $8 a piece! We needed three pieces.
After you’ve gotten the mirror hung (or it’s already there) and the wood selected (and painted potentially), you are ready to begin! If you have a 3′ x 5′ mirror, you’ll use my measurements. If your mirror is a different size, you need to take your own cut measurements.
Here’s the printable how to card below!
DIY Bathroom Mirror Frame
Equipment
- Miter saw
- 1 Kreg Jig 1 hole
- Drill with drill bits and a Philips head screw bit
- Level
- Stud finder optional
Materials
- 3 pieces 1” x 4”x 8” faux barnwood
- 1 piece 1' x 2' wood board cut to a 4 ½' length
- 3 wood screws 3”
- 3 wood screws 1/2"
- 4 Kreg Jig screws
- Wood glue
- 3 hanger loops
- 6 wood screws 2 1/2“, optional
- 4 – 6 spring loaded mirror clips optional
Instructions
- From the three pieces of barnwood cut (using the miter saw) cut two 3’ 7 ½" pieces to go down the sides. Then cut two 5’ 7 ½ “ pieces to go across the top and bottom.
- Using the saw, cut 45° angles at each end of all four pieces.
- Cut the 1' x 2' down to 4 1/2' to use as a frame hanger and stabilizer.
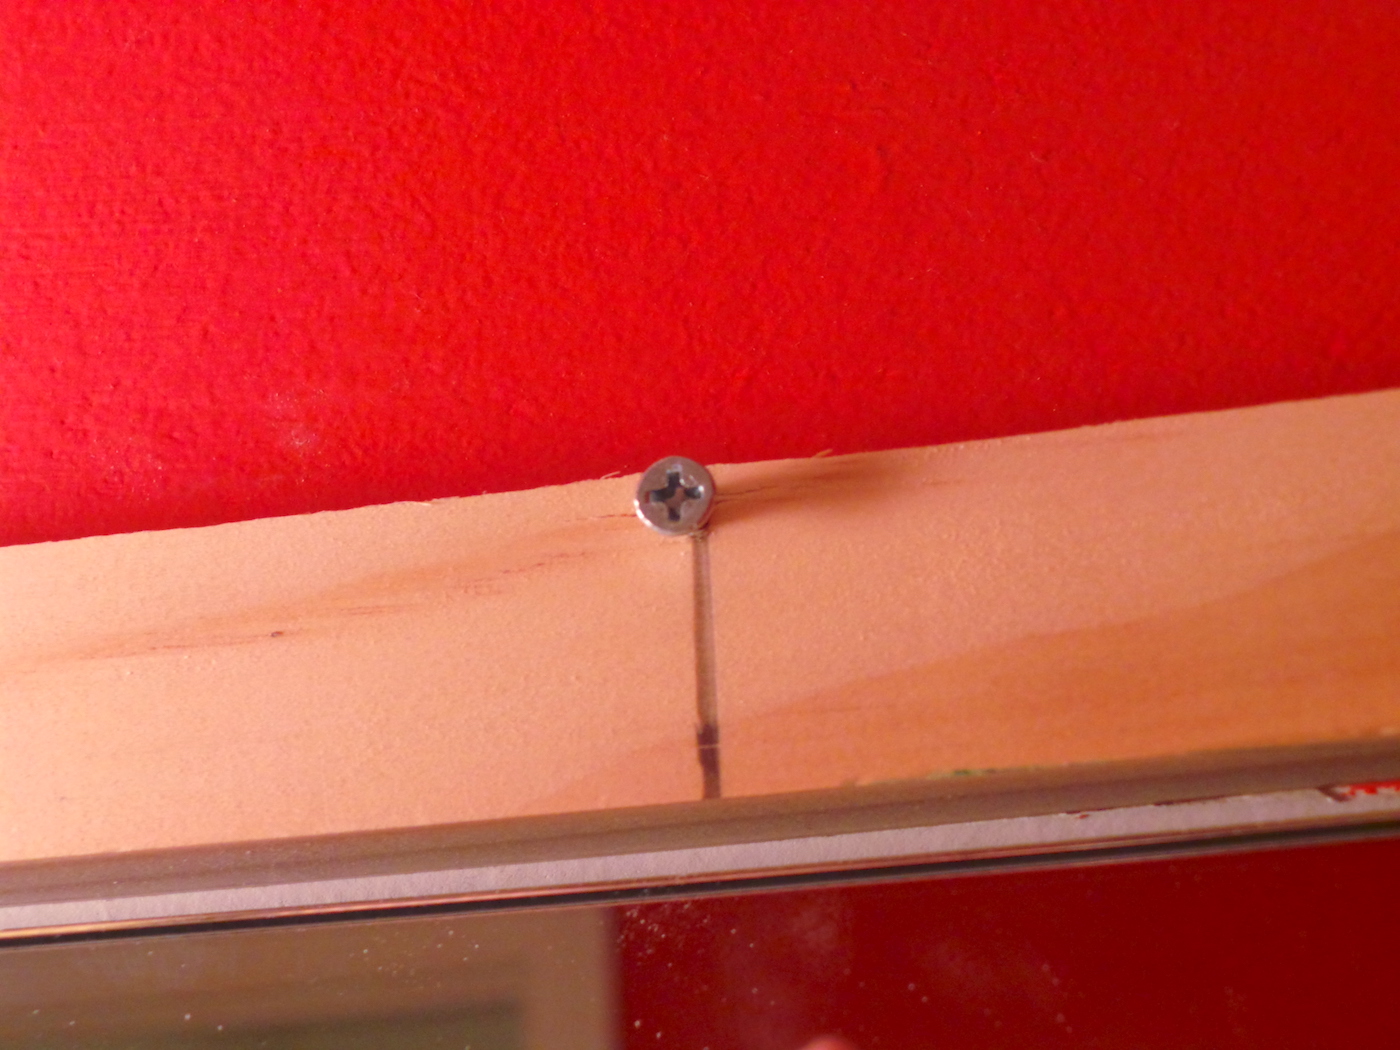
- Center this 4 1/2' piece above the mirror and anchor it into the wall using the 3" wood screws. Use the stud finder again to make sure you go into the wood studs.
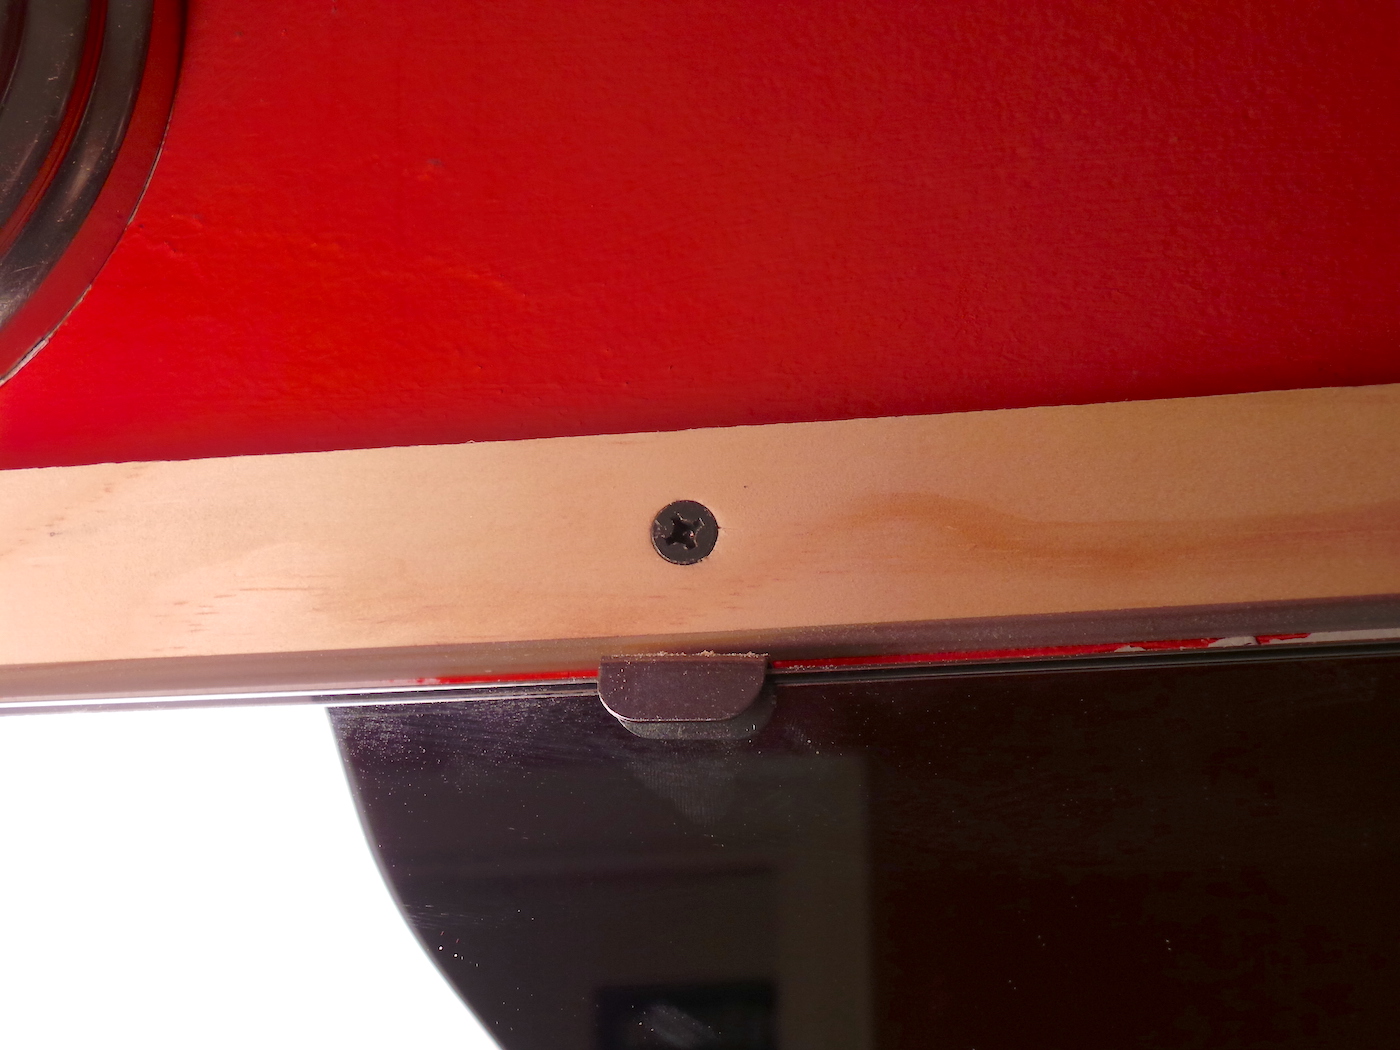
- After the 1' x 2' is mounted, put three evenly spaced 1/2" wood screws into that piece towards the top. Don’t screw them all the way in; leave them backed out about ⅛“ – leaving room for the hanging loops.
- Begin assembly. Using a Kreg Jig, drill a pilot hole for the attachment screw in the center of one of the pieces at each join (it doesn't matter which one).
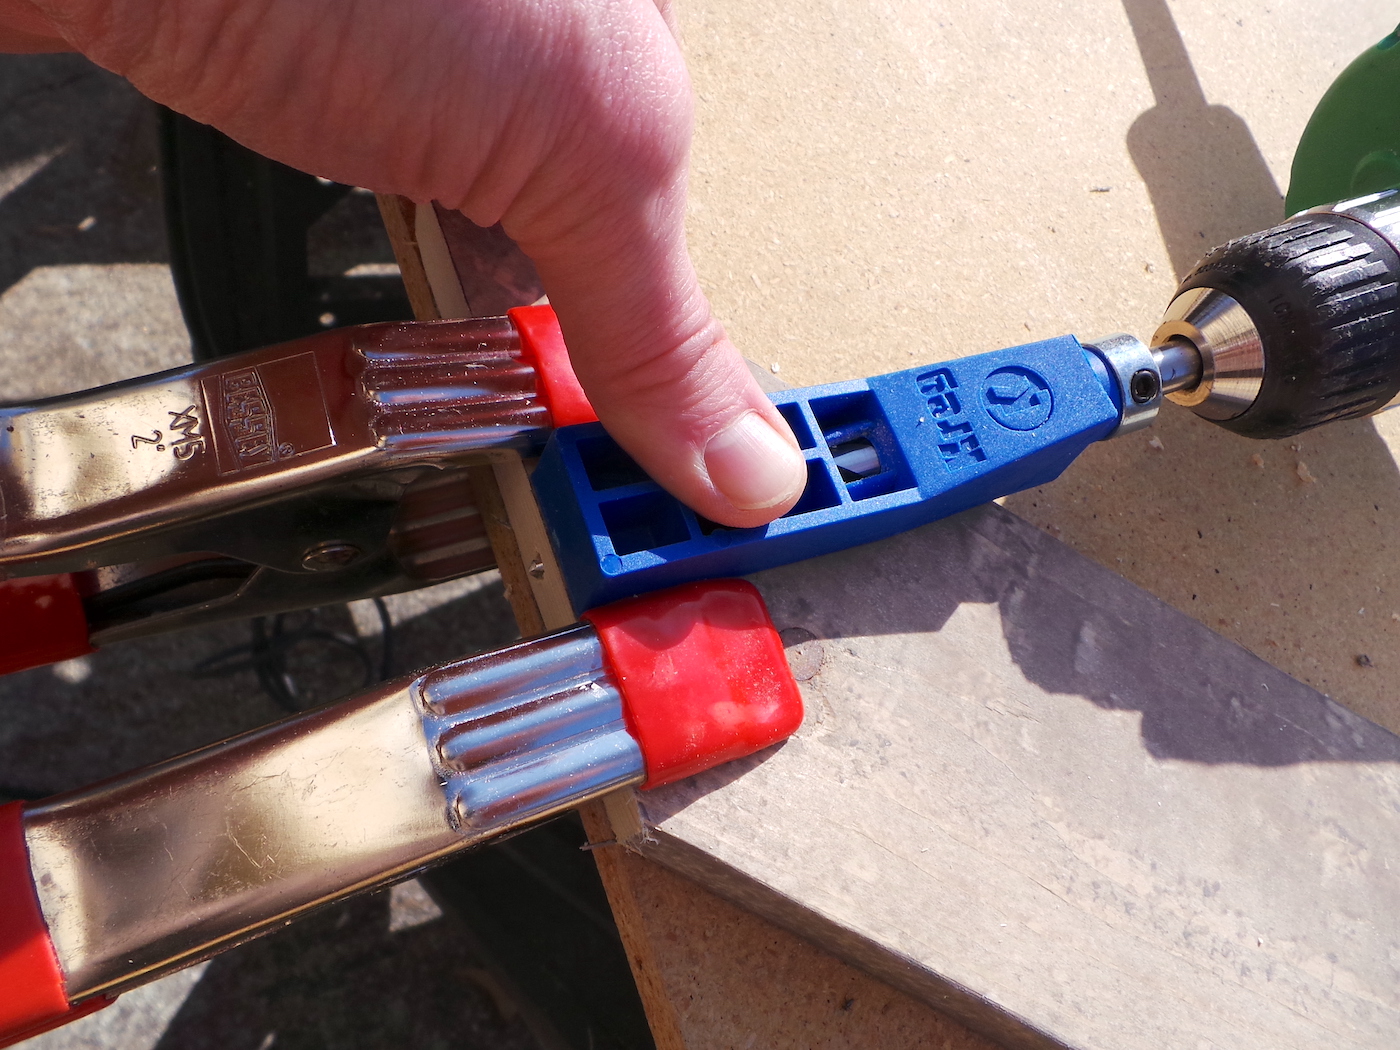
- Working one corner at a time, add glue to the edges of the wood.
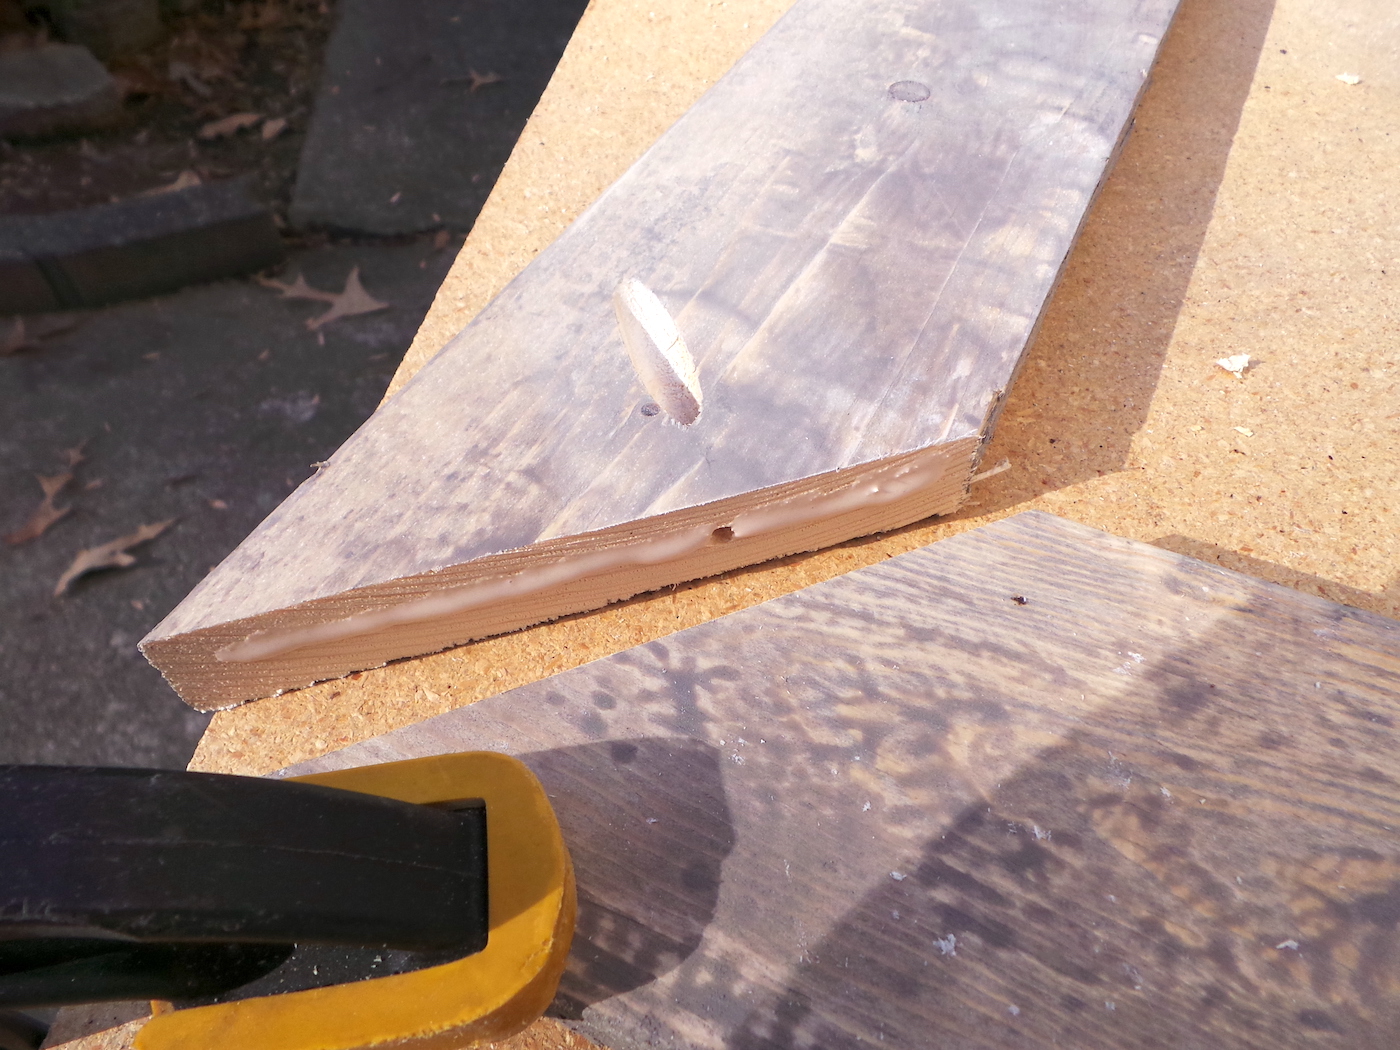
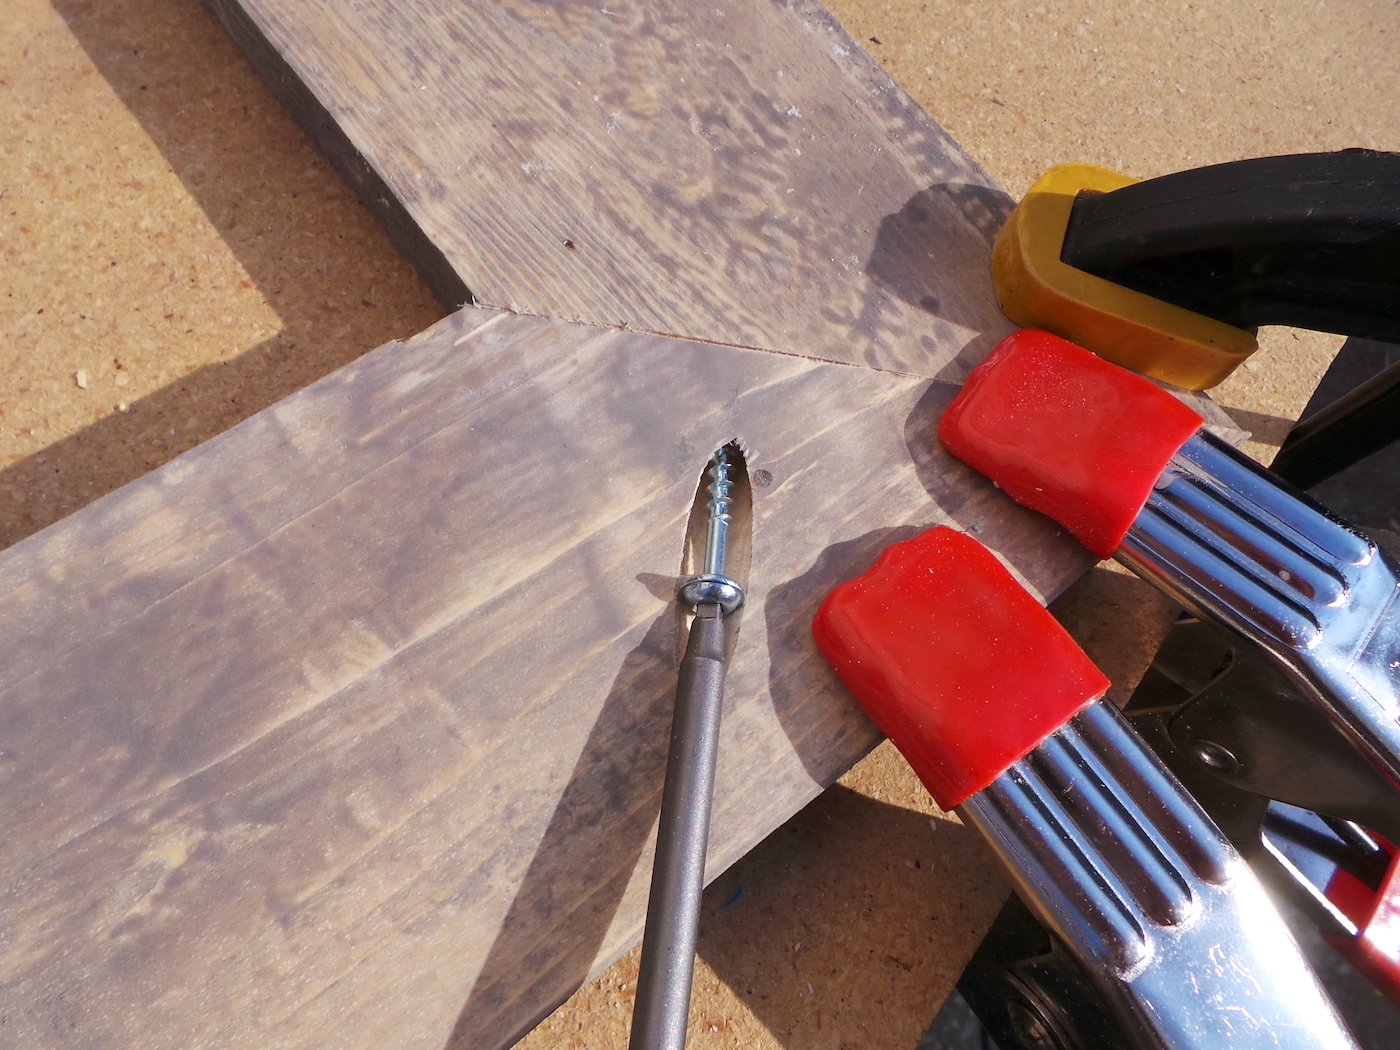
- Use clamps to hold the glued pieces of wood together.
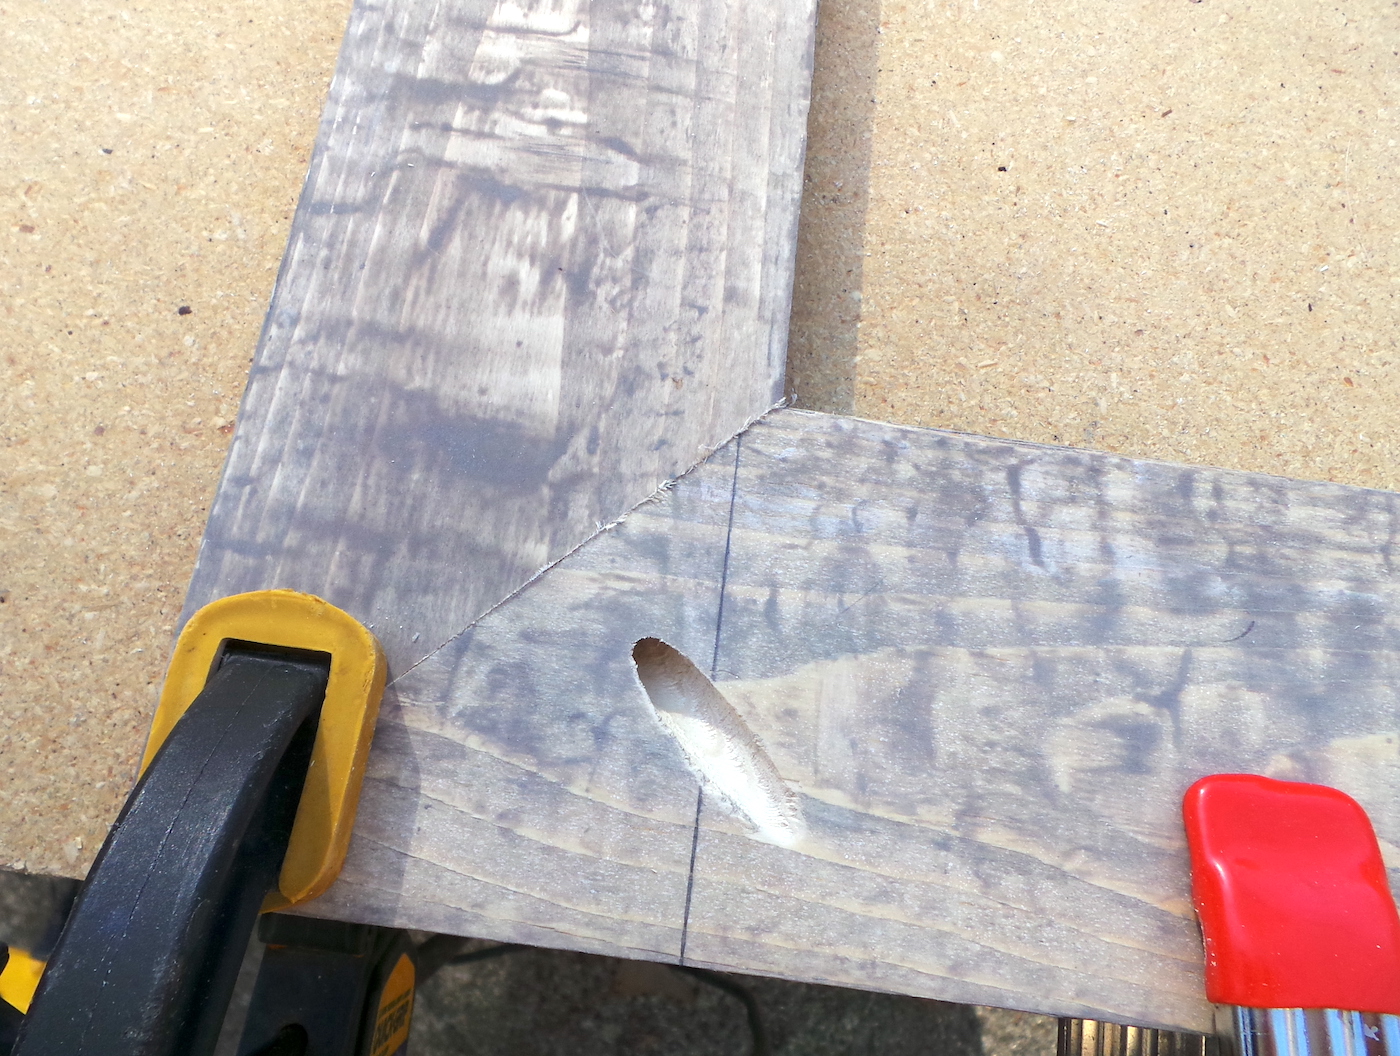
- Screw a Kreg Jig screw into the hole of the glued pieces. Do this four times and the frame will be formed. Let the wood glue dry.
- After everything is dry, mount the three frame hanger loops to the back of the frame at the top to align with the screws that were placed on the 4 1/2' wood piece.
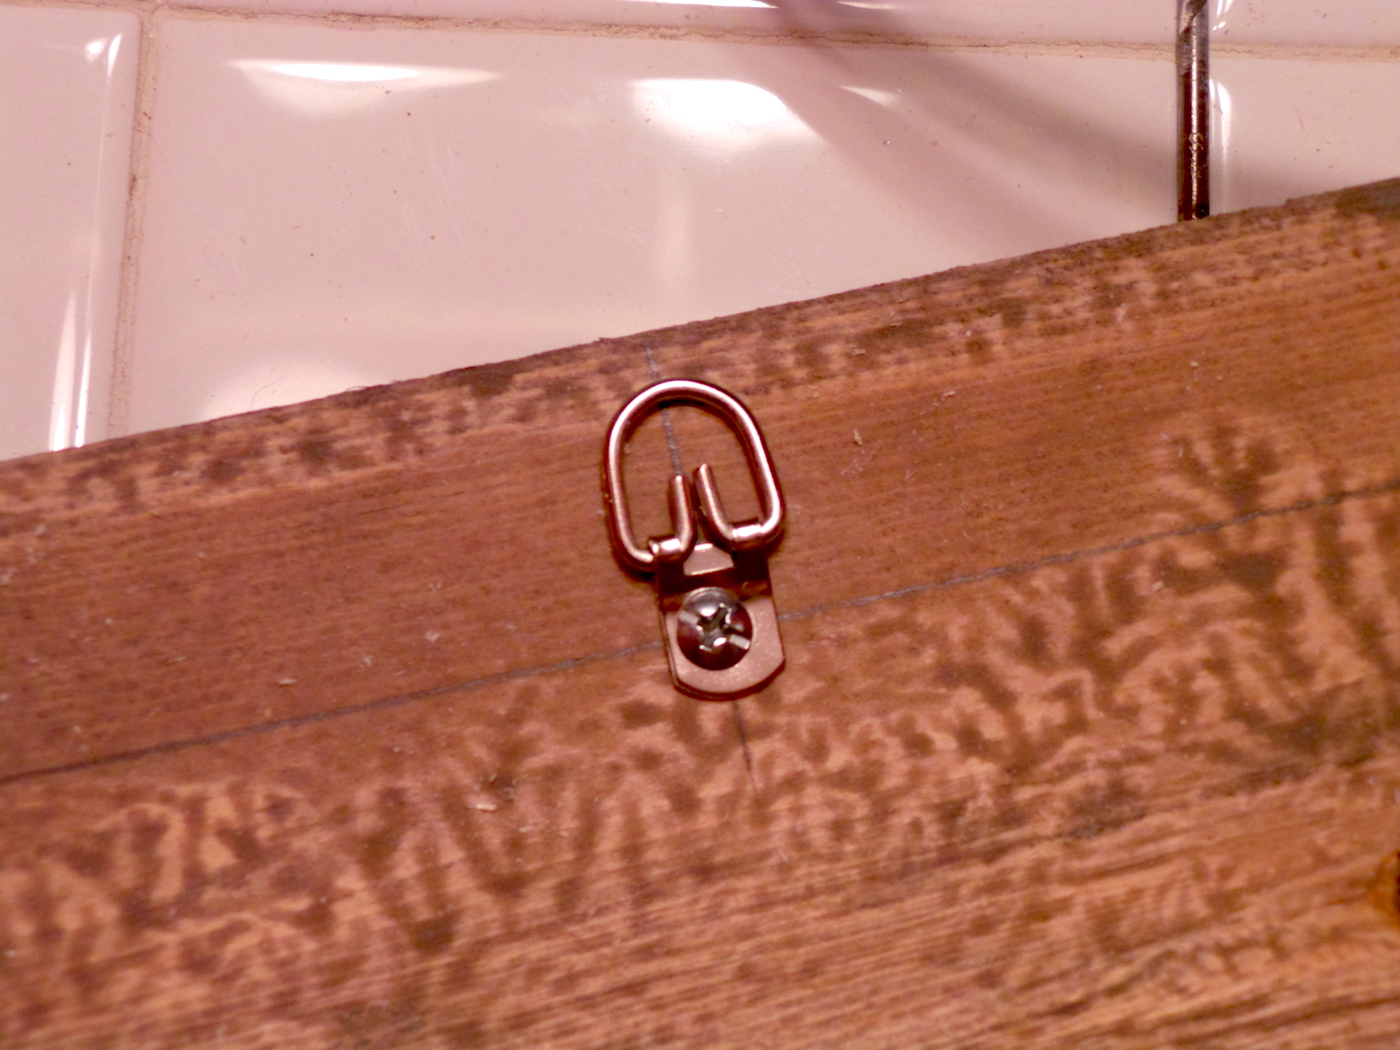
- Use a tape measure to locate the hanger loops in the same place as the screws. You are ready to hang.
Notes
Now I’d love to know what you think of this project in the comments! I’d also love for you to check out these other budget friendly builds:
Square Coffee Table • Coffee Table with Storage • Hose Holder and Planter • Modern Headboard • Outdoor Bench • Pallet Shelf • Platform Bed • Poster Hanger • DIY Entry Bench • Table Lamp • Table Revamp with Vinyl • TV Riser • Wood Sign • Wood Slat Doormat


Looks awesome! I have been thinking about upgrading since last summer and finally I am going to do it! Thanks for sharing such a cool idea 😉