DIY Coffee Table Inspired By West Elm
Create a stylish DIY coffee table using pallet wood! Perfect for budget-friendly home decor, this step-by-step guide will help you build a unique and rustic centerpiece.
Skills Required: Intermediate Beginner. I wouldn’t try this as your first woodworking project ever, because I think you should have a bit of experience with power tools. Maybe build something really simple first before trying this project.

Sometimes you see a piece of furniture in a catalog you HAVE to have (remember my DIY outdoor bench?). You know what I’m talking about, right?
For us it was a West Elm Plank Coffee Table, with the price tag of $1,155. But then we realized something – we could make our own coffee table, for a lot less, out of pallet wood.
We’ve worked with pallet wood before, but this was the biggest project we decided to tackle with it. The good news? It wasn’t as hard as we thought . . . and this table ended up being less than $50 to make! $45 total.
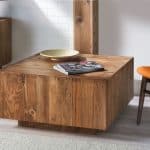
To give you a frame of reference, this is the table on the West Elm site that we liked:
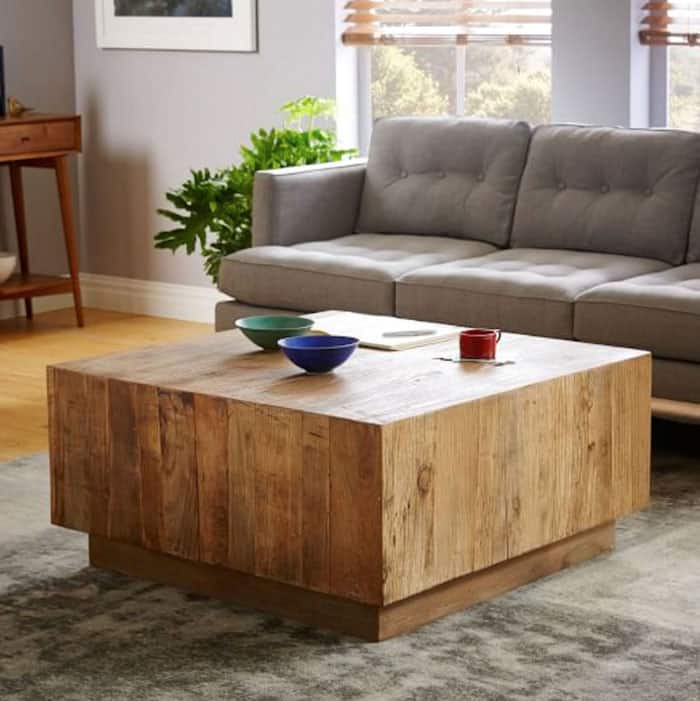
It’s no longer available, but it was originally listed for $1,155. We weren’t about to be intimidated by a table and we knew we could make a DIY coffee table ourselves! Here’s how we made ours. First you’ll need to gather your supplies.
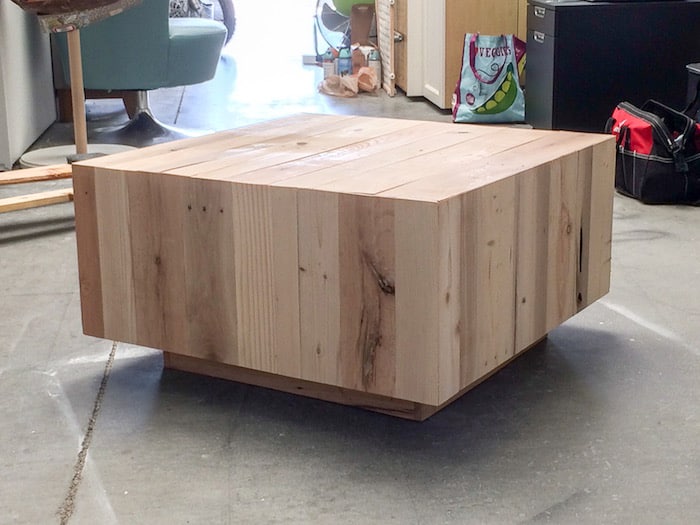
The finished dimensions of this table are 16″ tall x 30″ wide (square).
Gather These Supplies
- 3 – 4 old pallets – let pallet wood sit for several weeks before using (see first step); see Cut List for how to cut the pallet wood
- 4′ x 4′ piece of pine plywood – (cut to 30″ x 30″, see Cut List)
- 2″ x 2″ x 8′ lengths of pine (4) – (4 are cut to 27″, 8 are cut to 30″, see Cut List)
- 2″ x 4″ x 6′ (or 8′) length of pine (1) – (cut into four 12″ pieces, see Cut List)
- Wood screws (32) – 2 1/2″ long
- Wood screws (8) – 1″ long
- Corner braces (12 total, 2 in each package) – 2″
- Miscellaneous clamps
- Tape measure
- Pencil
- Wood glue – we swear by Titebond III
- Wood stain – we used FolkArt Home Decor Antiquing Wax
- Cloth
- Goggles to use with your tools
Tools
- Small table saw
- Miter saw
- Planer
- Nail gun with 1 1/4″ nails
- Drill with selection of bits
Tips and Thoughts for This Project
Cut List – you can download the entire cut list HERE or each page separately: Cut List 1, Cut List 2, Cut List 3. I highly recommend downloading the cut lists and printing to follow along with the instructions.
The cut list will help you purchase the right amount of wood assuming you don’t buy the same lengths as listed in the Supplies above.
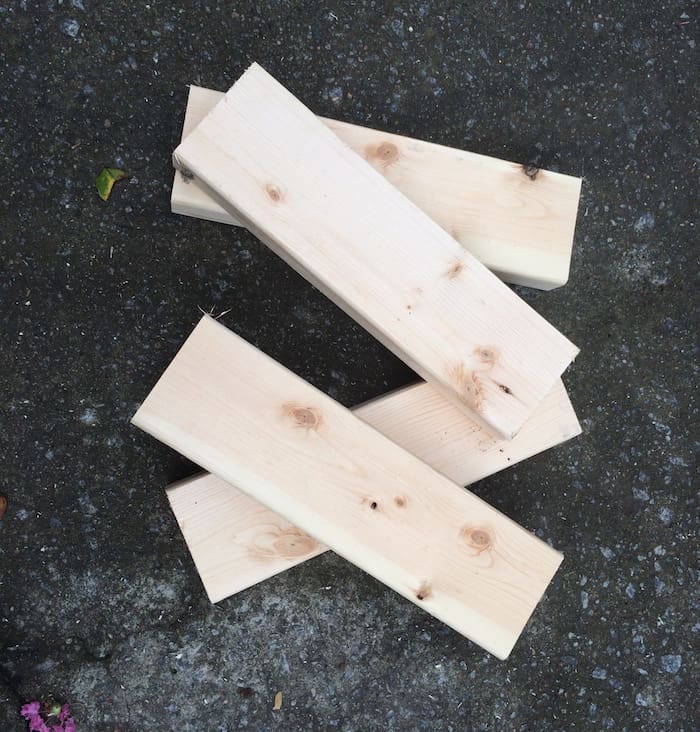
We learned a lesson on this project right away! Once you find your pallets, YOUR FIRST STEP needs to be to strip excess wood off of the pallet and plane the pieces to a uniform thickness of 1/2″.
Then let it sit for several weeks to dry in a non-humid environment (at least inside a garage or basement) so that the drying doesn’t occur after your table is assembled. We assumed our wood was already dry because it felt dry – we learned the hard way. 😮
For step 12, the top wood planks are 31″ because they overhang on each side by 1/2″.
You may or may not have six middle pieces depending on a variety of factors (like how big you decided to make your table or how wide the pieces were to begin with).
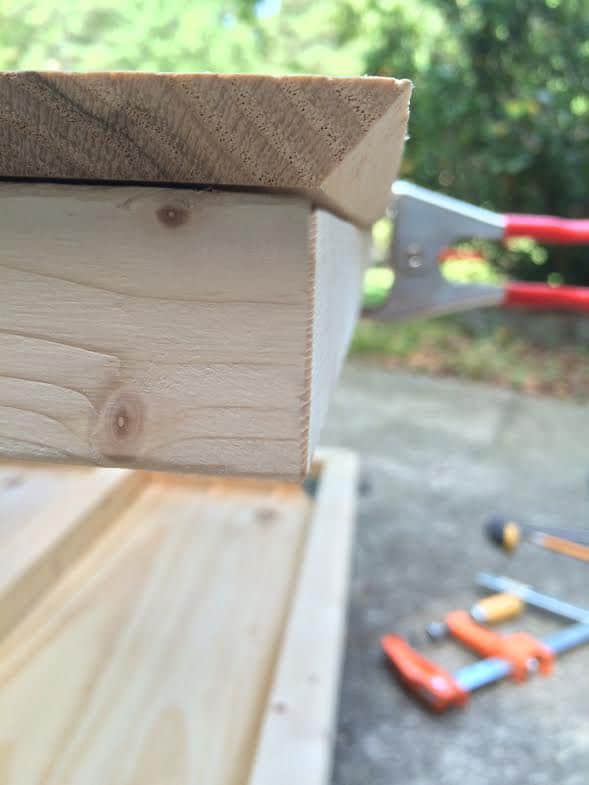
Steve cut and glued as he went along. He started at one end. He cut the end piece using his table saw (with the 31″ length and the 45º angle), then glued it down (clamped). Once he got close to the end, he did the end piece first, THEN went back and cut the last piece to fit in the remaining gap with his table saw.
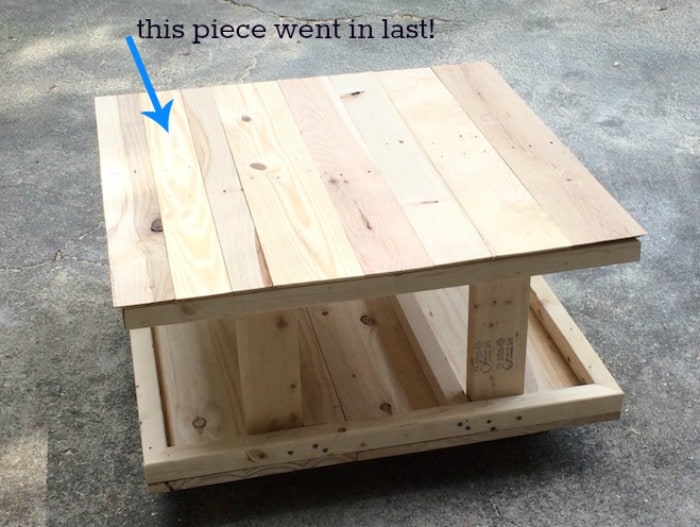
When you glue the side boards on, they will meet the top boards and the two 45º angles will fit right together. It might not be perfect . . . but it will be close enough for government work, if you know that saying? (tee hee)

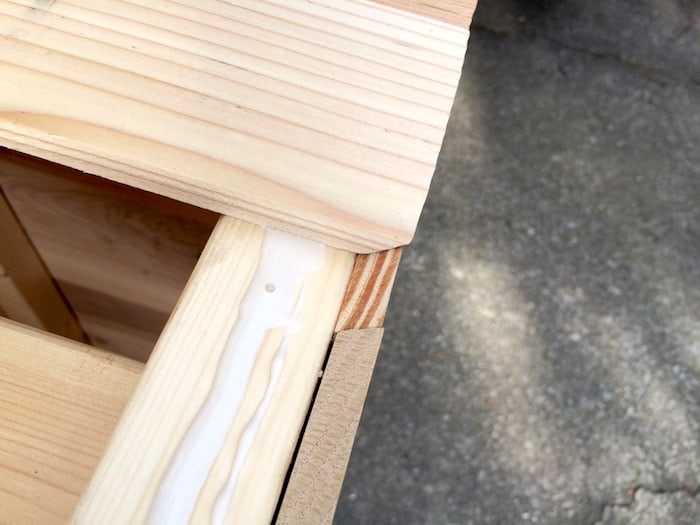
You might be asking if the wood glue is enough to hold all four sides and the top on – the answer is yes. We’ve done a lot of sitting and dancing on the table (you think I’m kidding) and it’s really sturdy. You’re in the home stretch!
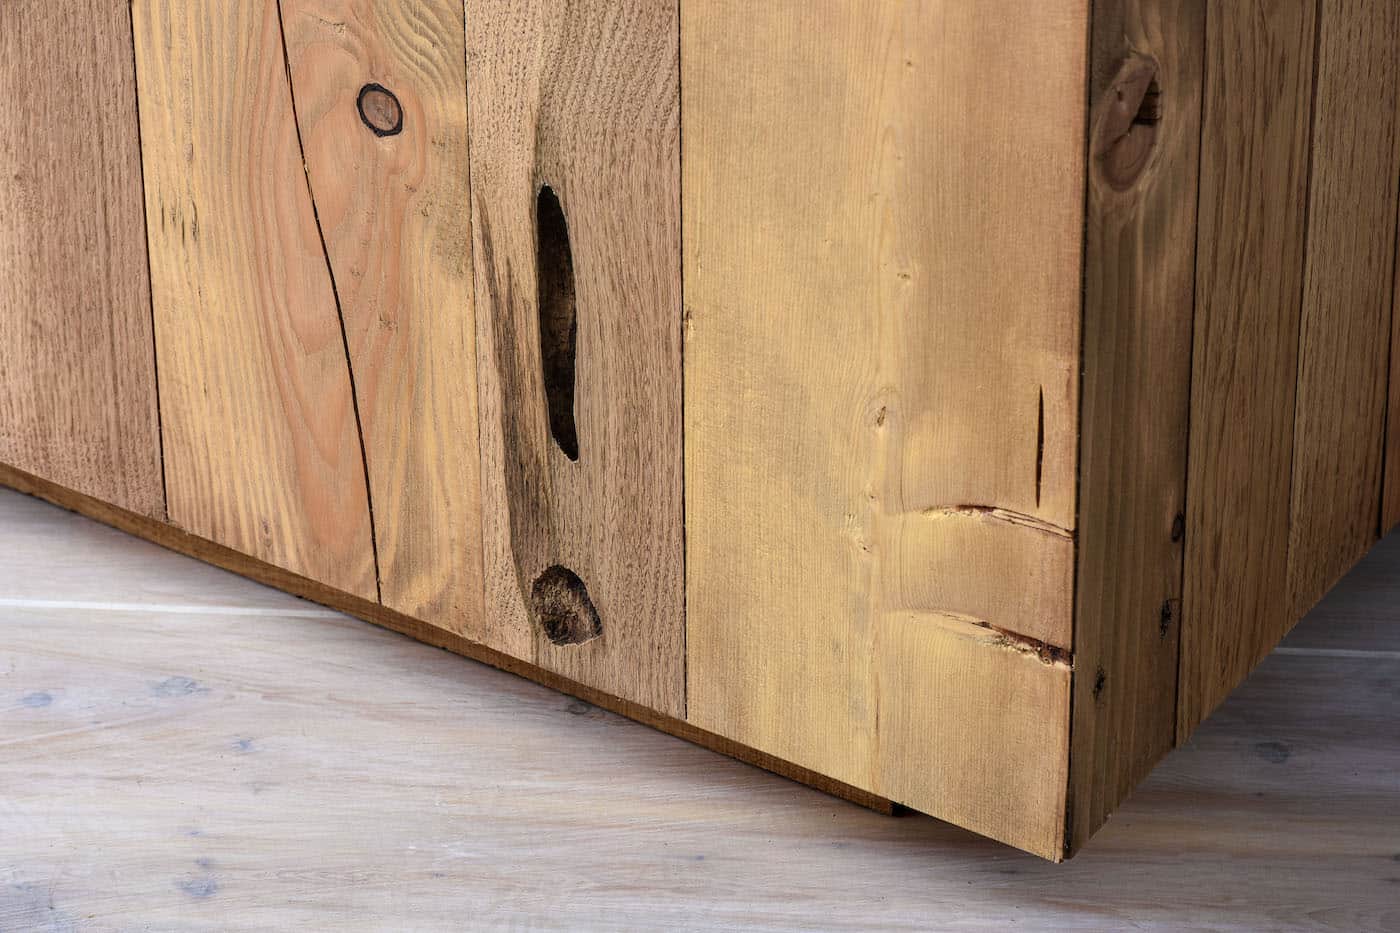
It’s really amazing how the stain soaks into the pallet wood on the table and gives a beautiful finish . . . with gorgeous variations in color. The nail holes and knots add character as well.
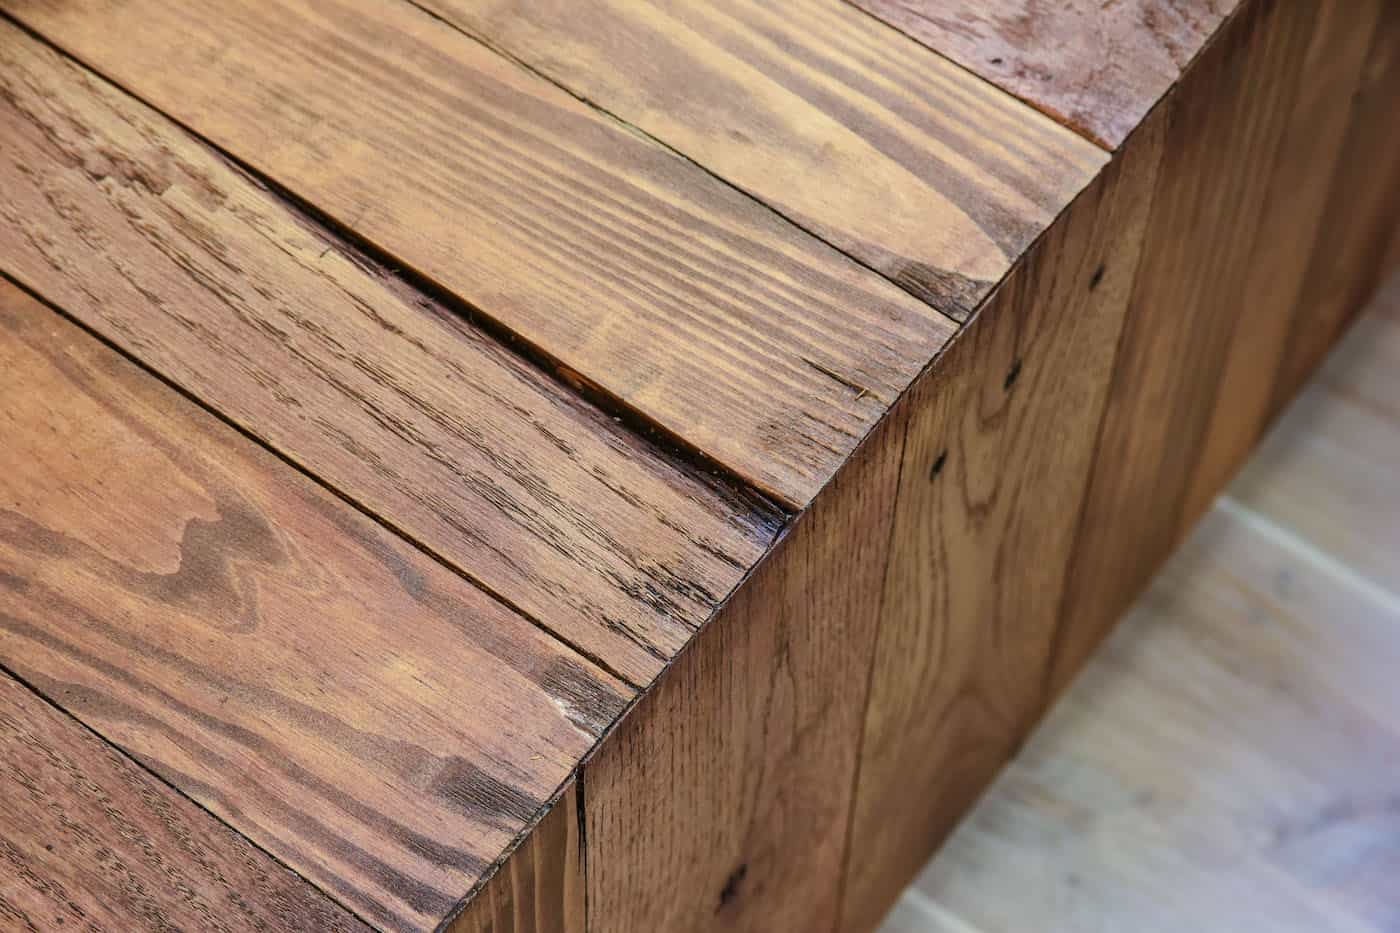
Take a look at the details – we’re so happy with how our coffee table DIY turned out! It looks amazing in a living room.
The pallet wood helped with the cost and also helped with the character. If you want to make something with pallets but aren’t sure where to find them or where to start, check out this article.
Get the printable how to card for this project below.
DIY Coffee Table
Equipment
- Miter saw
- Planer
- Nail gun with 1 1/4" nails
- Pencil(s)
- Safety goggles and other safety equipment
- Staining rags
Materials
- 3 – 4 old pallets
- 1 4' x 4' piece of pine plywood
- 4 2" x 2" x 8' lengths of pine
- 2" x 4" x 6' or 8′ length of pine (1)
- 32 Wood screws 2 1/2" long
- 8 Wood screws 1" long
- 12 Corner braces 12 total, 2 in each package – 2″
- Titebond III
- FolkArt Home Decor Antiquing Wax
Video
Instructions
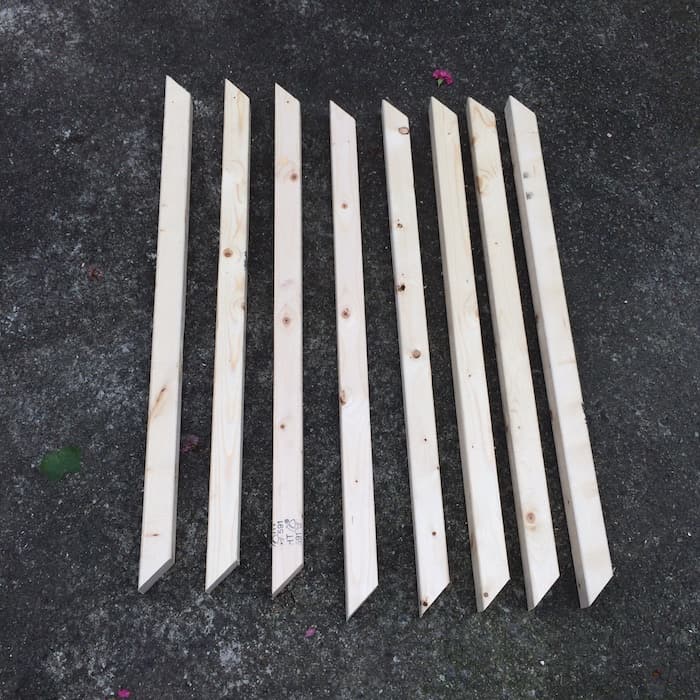
- Grab 2 x 2s and trim them down to eight 30" pieces. Make 45º cuts at each end using the miter saw (Fig 1 on the Cut List).
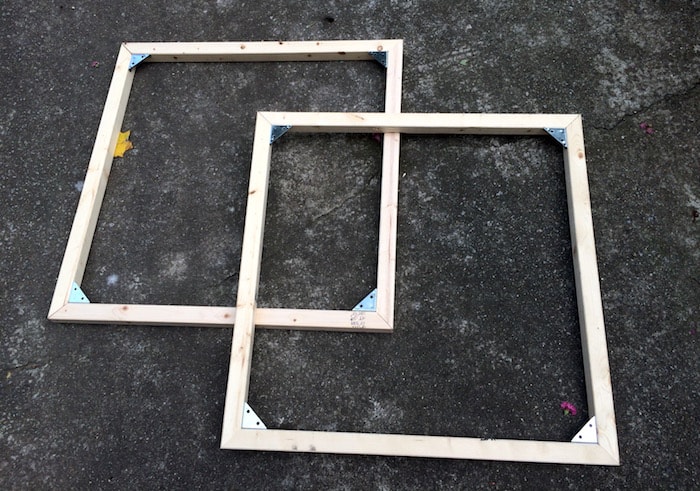
- Use the corner braces with a drill to join the 2 x 2s into two frames.
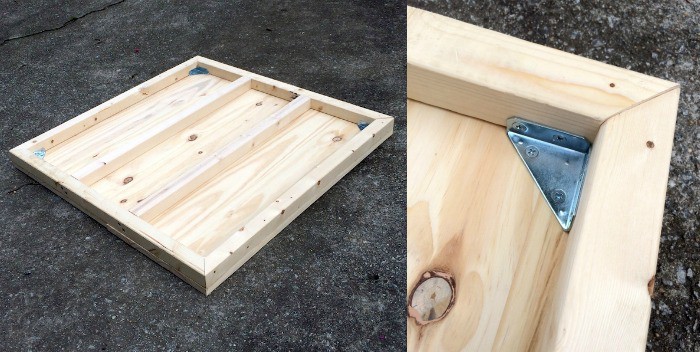
- Cut down the remaining 2 x 2 wood into 27" long pieces (see Fig. 3 on the Cut List). You're going to add two cross pieces to each frame.
- Use your tape measure to add the cross pieces at 10" and 20" – so equidistant across the frame on the top and bottom. Mark with a pencil, drill two pilot holes, and then screw in 2 1/2" wood screws. If they aren't EXACTLY at 10" and 20" – you'll be fine.

- Cut your plywood down to 30" x 30" using a table saw (or a circular saw – anything you can cut a straight line with, see Fig. 4 on the Cut List).
- Attach the plywood to one of the frames (it doesn't matter which one you pick) using the bottom sides of the corner brackets and your drill. The plywood piece is going to sit on the base of your table, which you'll make shortly.
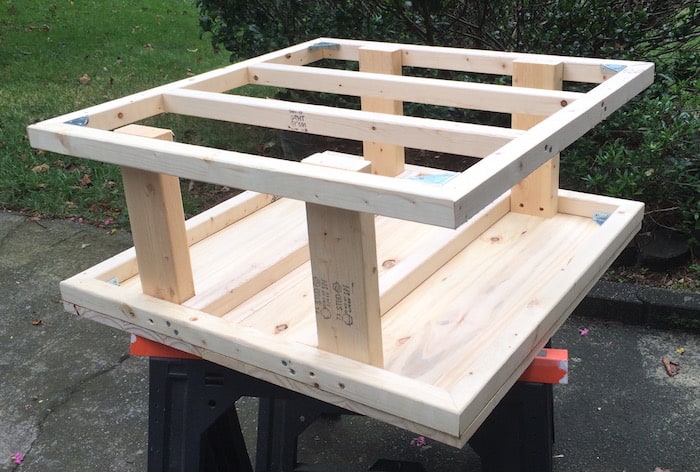
- Cut the 2 x 4 into four 12" pieces (see Fig. 2 on the Cut List).
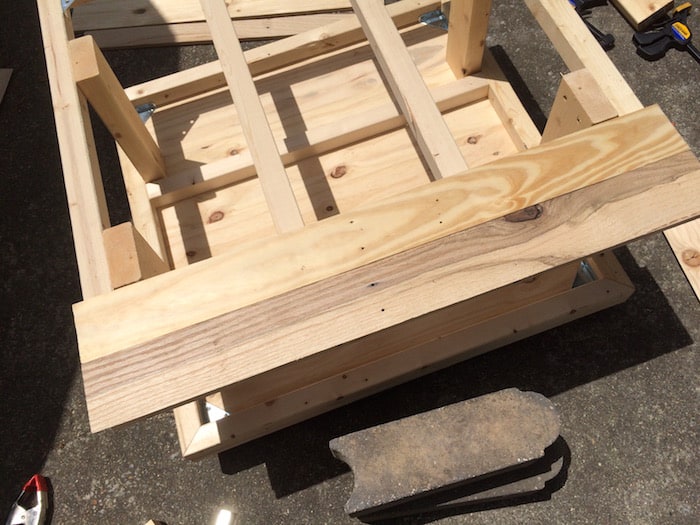
- Attach the four 12" pieces as shown using wood screws and a drill to complete the frame. Notice that the slats on your 30" top frame are perpendicular to the frame on the bottom with the plywood attached. This is on purpose to add some rigidity to the piece.
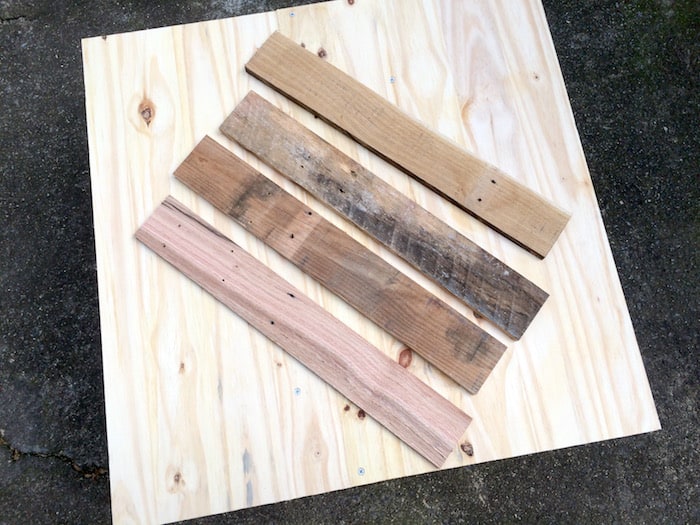
- Turn the table skeleton over so the plywood base is facing up. Cut four pieces of pallet wood to 3.5" wide by 22" long (see Fig. 5 on the Cut List). We used a table saw to cut the length and the miter saw to quickly cut the ends. Use whatever saw works best for you.
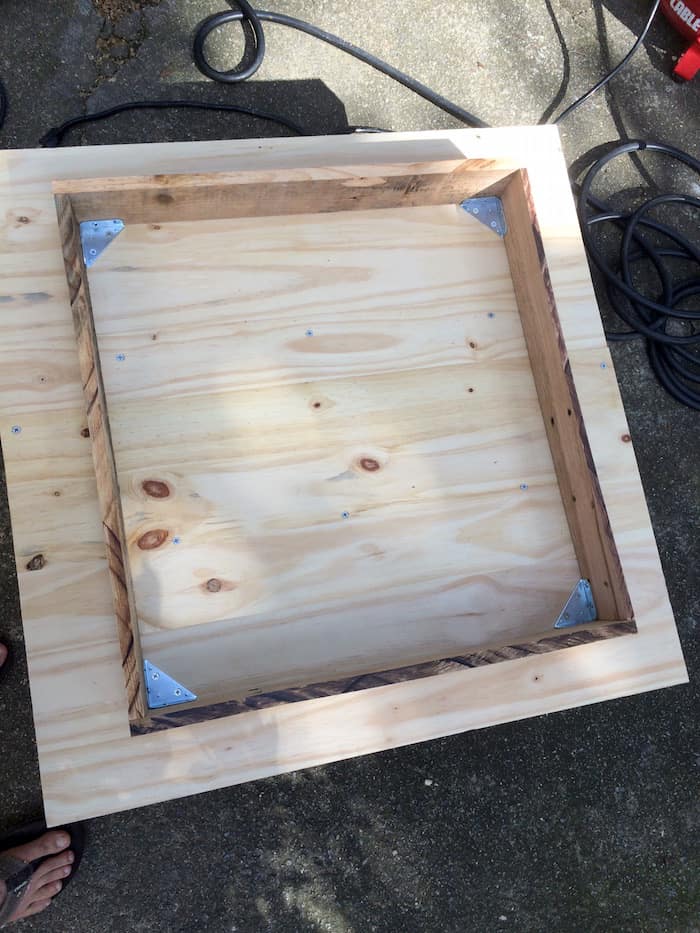
- Form a table base by making a frame out of the four 22" pieces. Put wood glue on the end of each board, attach to another board as shown, then nail the ends with the nail gun.

- Use the four remaining corner brackets to add the base to the bottom of the plywood – use a measuring tape to center the base. Add about eight additional 1" wood screws to attach the plywood to the frame. Add them in the middle, randomly. Flip the table back over.
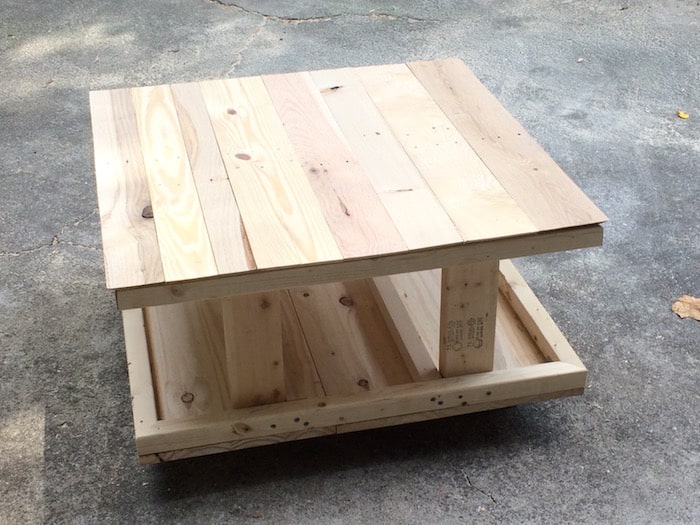
- Now you need to cover the skeleton frame with pallet wood, starting with the top. Cut the end pieces first. The two end pieces need 45º angles down three sides – two short sides and one long side – cut with a table saw. The middle pieces need 45º angles on each end. Our table top has two end pieces (shown as Fig. 7 and Fig. 8 on the Cut List) and SIX pieces in between (the top wood planks shown as Fig. 6 on the Cut List) of varying widths.
- Keep cutting, varying the width of the boards. As the boards are cut, glue them down.
- Let the table top dry for several hours.
- Cut and glue down the side pieces. The side pieces are shorter (12.5" long), the end pieces need two sides with 45º angles (instead of three), and the middle pieces only need one short end with a 45º angle instead of both. Cut and glue as you did in steps 12 and 13. Repeat with the other three sides.
- Do a light sanding with 120 grit sandpaper. Wipe away the sanding dust.
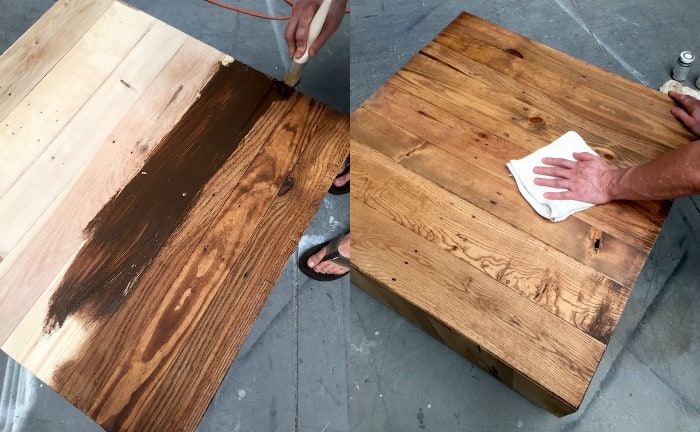
- Stain and wax the table. Glop it on as shown, then rub in with a cloth. Work about 1/3 of the table top at a time, then the sides, then the base. Don't leave the wax on for too long before wiping away with the rag because it will soak in. Let dry for several hours before using.
Notes
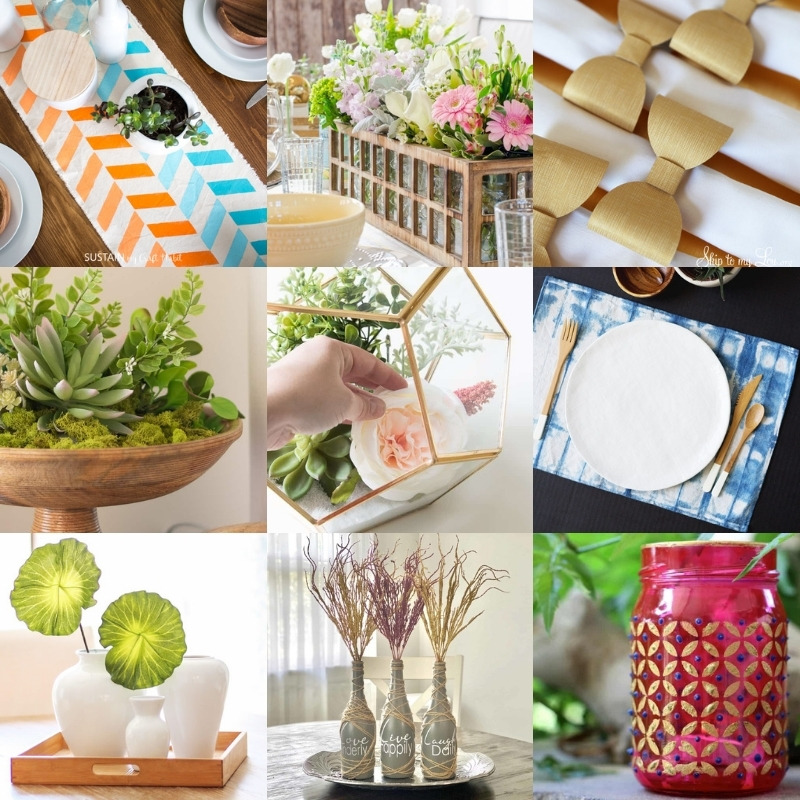
Let me know what you thought of this project in the comments! For some related DIYs you might also enjoy, check out these posts:
Camper Pallet Art • Coffee Table with Storage • DIY Coffee Tables • Hose Holder and Planter • Industrial Pipe Shelving • IKEA Coffee Table Hacks • Lack Endtable Hack • Mirror Frame • Outdoor Bench • Outdoor Table • Pallet Shelf • Platform Bed • Stacked Entry Bench • Table Revamp with Vinyl • Wood Step Stool Chair

This DIY is seriously impressive! You’ve captured that sleek, modern West Elm vibe perfectly—without the hefty price tag. I love how customizable it is too, making it easy to match any living room style. Definitely adding this to my weekend project list!
This is gorgeous! But why are the cross pieces for the frame 27” long and not 26”? (Since the skeleton frame is 30” minus the 2” width on each side)
Thank you so much! Because 2 x 2 x 8 is the nominal size – 1.5″ is the actual size! It gets confusing: https://www.thesprucecrafts.com/understanding-wood-sizes-in-softwood-lumber-3536905
Hi! Thanks so much for the awesome coffee table idea! I had a quick question – the cut list states the pallet wood top pieces are 31″ long but the steps above state 30″ length. Which is the correct length? Thanks!
Hi Kevin! The cut list is correct. I made the correction in the text – thank you for catching it! The top pieces overlap by 1/2″ on all sides and meet at a 45 degree angle to the other pieces, so 31″ is correct. Thank you!
So you need 12 corner brackets not 8 right? There are four more to make the brace for the bottom as you already used 8 to build the frames.
Also you meant connect the 4 22 inch pieces not 12 inches pieces. This confused me and I want to be sure.
I have read it over and over to be sure.
I want to do this tonight!
Hi Steve! Yes, 12! And yes, connect the four 22-inch pieces. Thank you for catching both errors! They’ve been fixed. 🙂
I wonder if it is possible if it can be made with the removable top so you can also use it as storage?
Awesome!!!! I would also like to know what to substitute the pallet wood with? I cannot plane the pallets and want to get started right away. Pine 1x’s? I will be using this as an outside table with a few modifications to house my well pump for my garden. Thanks
If it’s going to be outside, use treated lumber like cedar – and then you could sand it smooth (if you want to). It’s also fine to keep it rough. Use a waterproof sealer or a deck stain. Pine will disintegrate in the weather. Cedar is a little bit more expensive but then you won’t be upset because your table won’t ruin.