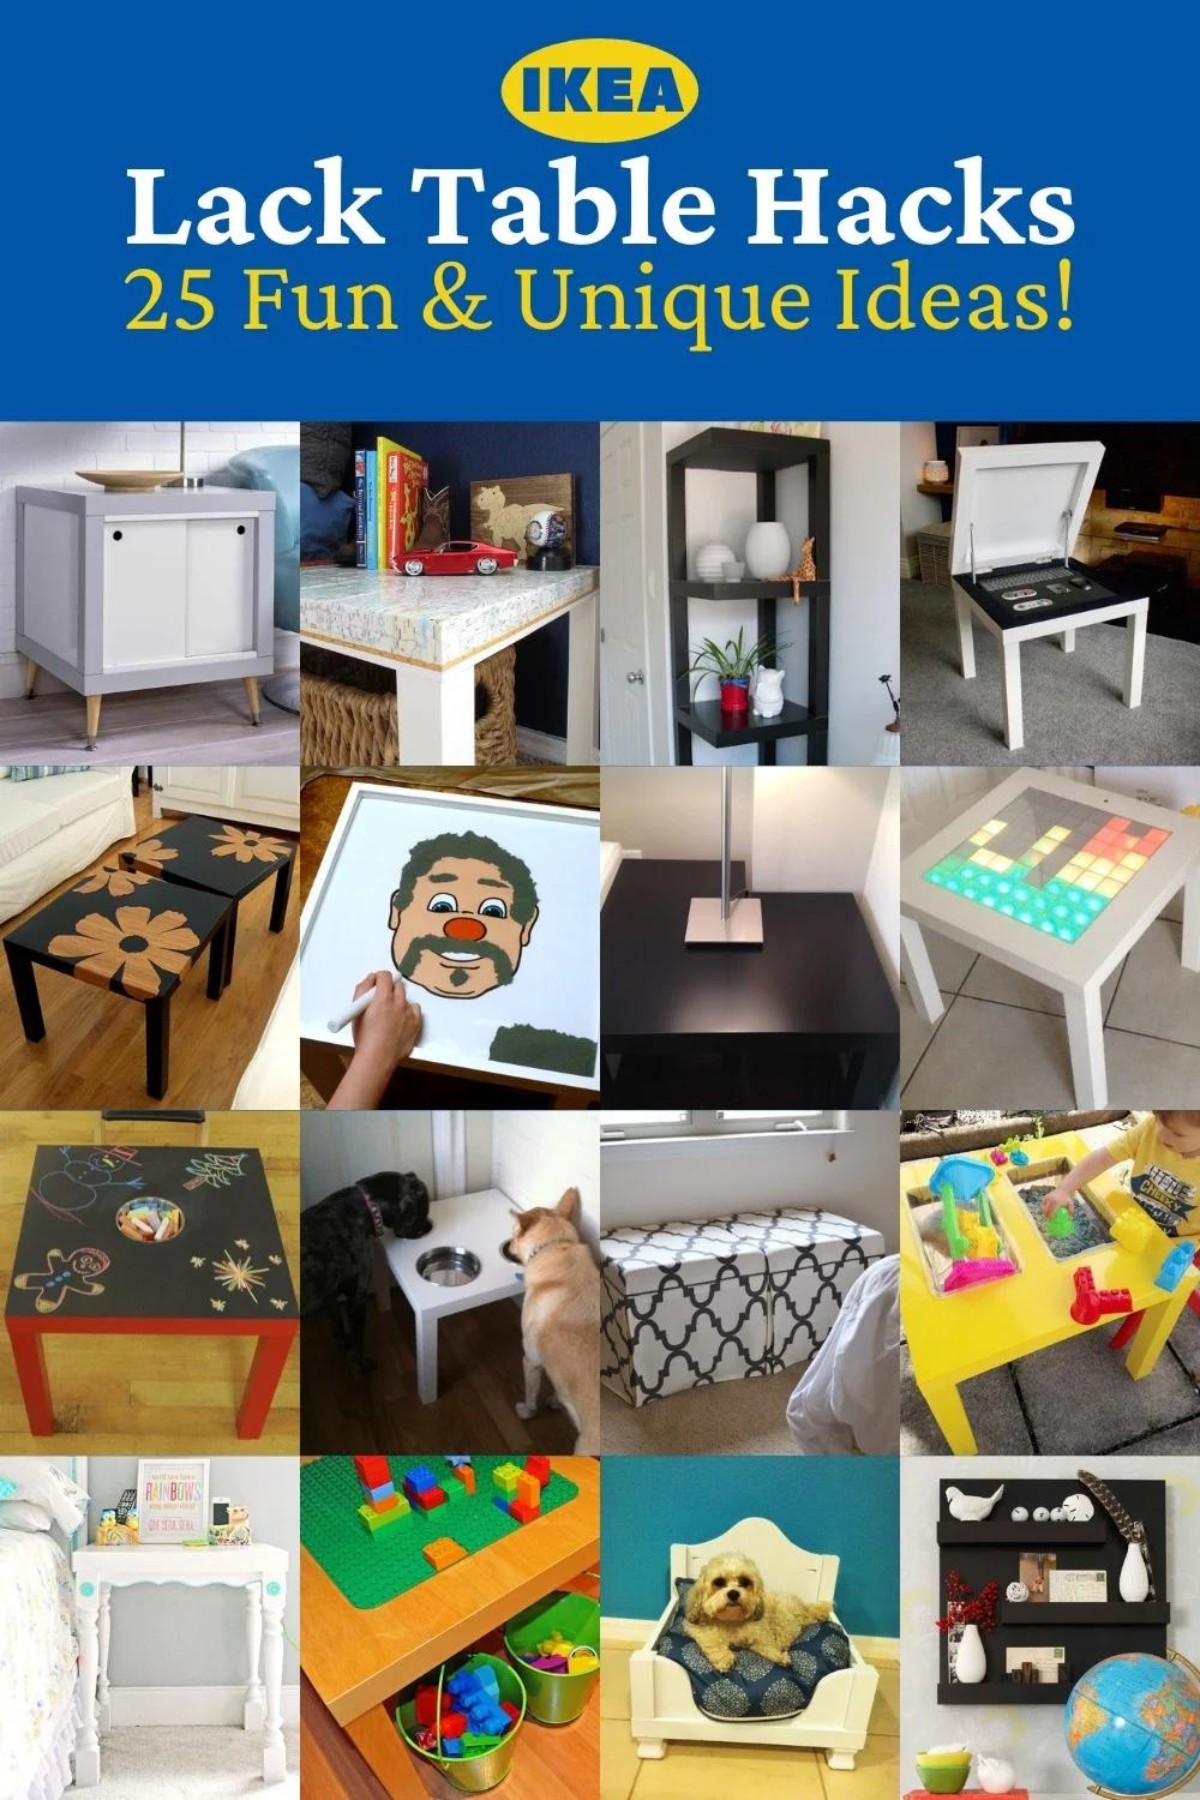
Transform your IKEA Lack table into a stunning centerpiece with these easy, creative hacks. Upgrade your space with style and functionality on a budget!
If you are into IKEA hacks, there’s almost no better item to try than IKEA’s Lack coffee tables. At $13 for an entire table, there’s almost no risk in purchasing one or more and trying a side table hack of your very own.
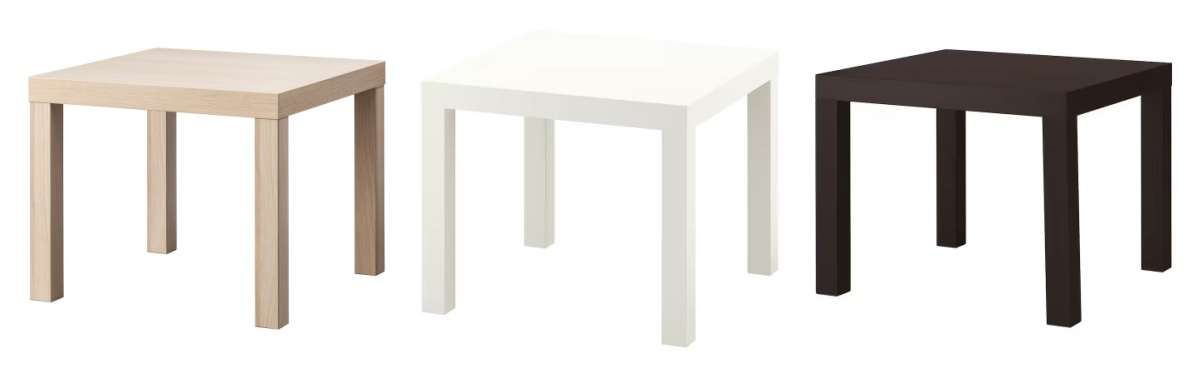
The Lack side table comes in three colors (sometimes they add a fun color just because) which gives you a lot of possibilities for projects to try.
The top is completely square at 21 5/8″ x 21 5/8″, while the legs are 17 3/4″ long. The fact that a Lack is (almost) square makes it really easy to stack, and very straightforward when it comes to cutting, gluing, or screwing.
It’s great for beginners – no expertise required except for a basic knowledge of tools!
Tools You’ll Need
This video shows what your Lack side table looks like inside. Basically the top has a special honeycomb type construction that means it’s not solid wood but it can still hold weight.
The legs are hollow except for small pieces of particle board at the top and bottom. Now you know why the table is so lightweight!
Because the Lack isn’t solid, you’re going to want to use a finishing blade on a regular miter saw to cut the legs.
I recommend figuring out where you want your cut, marking it, and then placing a piece of painter’s tape all the way around the leg.
You’ll cover the mark you made, but you’ll still be able to see it if you used a black marker. Cutting the leg at the tape mark gives you a clean cut and keeps any splintering from happening.
Cutting the Top
When you cut the top, I recommend drawing your shape first – let’s use a rectangle as an example. Draw the rectangle and then drill into the four corners (doesn’t matter what size). Don’t drill down through the bottom.
Use a jig saw to connect one drilled hole to another. Again – don’t go through the bottom; only the top layer.
Use a pair of scissors or a utility knife to cut out that portion of honeycomb. Then repeat the process above on the underside, measuring so that it exactly matches the rectangle you made on the top (obviously a measuring tape will be required). Sand the cut edges to finish.
Are you ready to turn a cheap-yet-attractive IKEA side table into the easy DIY of your dreams? I’m excited for you to see what I pulled together; just scroll down and let me know which IKEA Lack hack is your favorite!
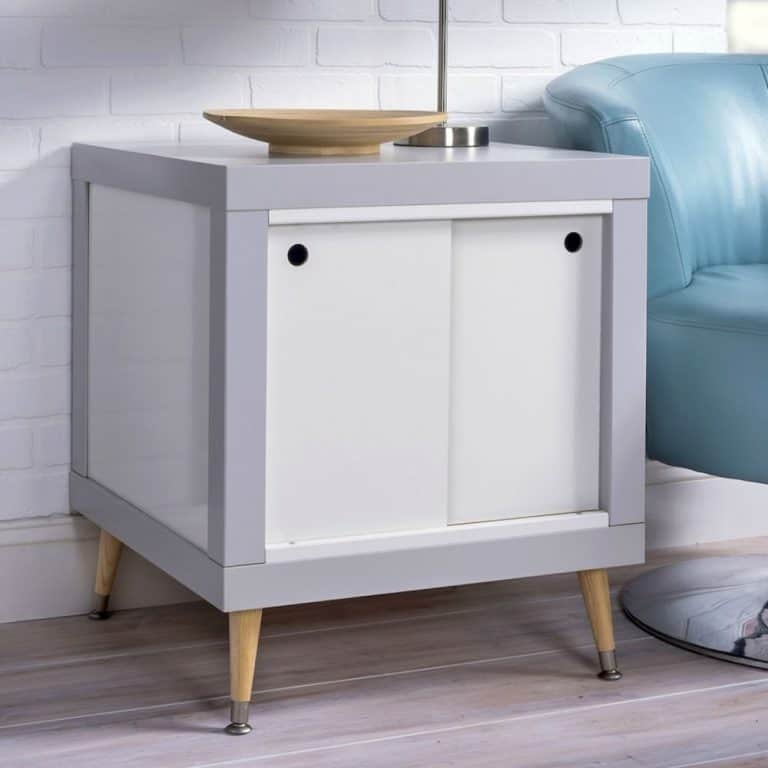
1
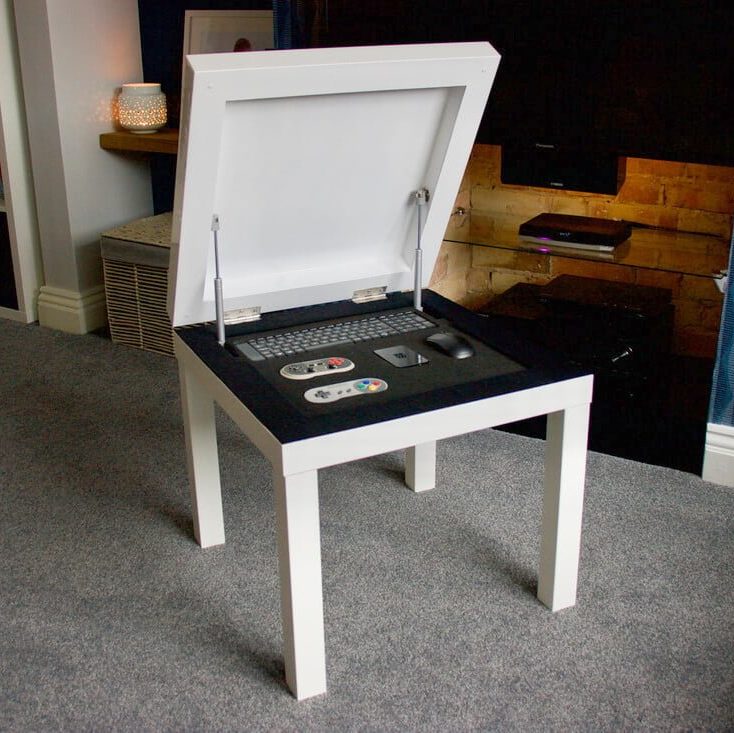
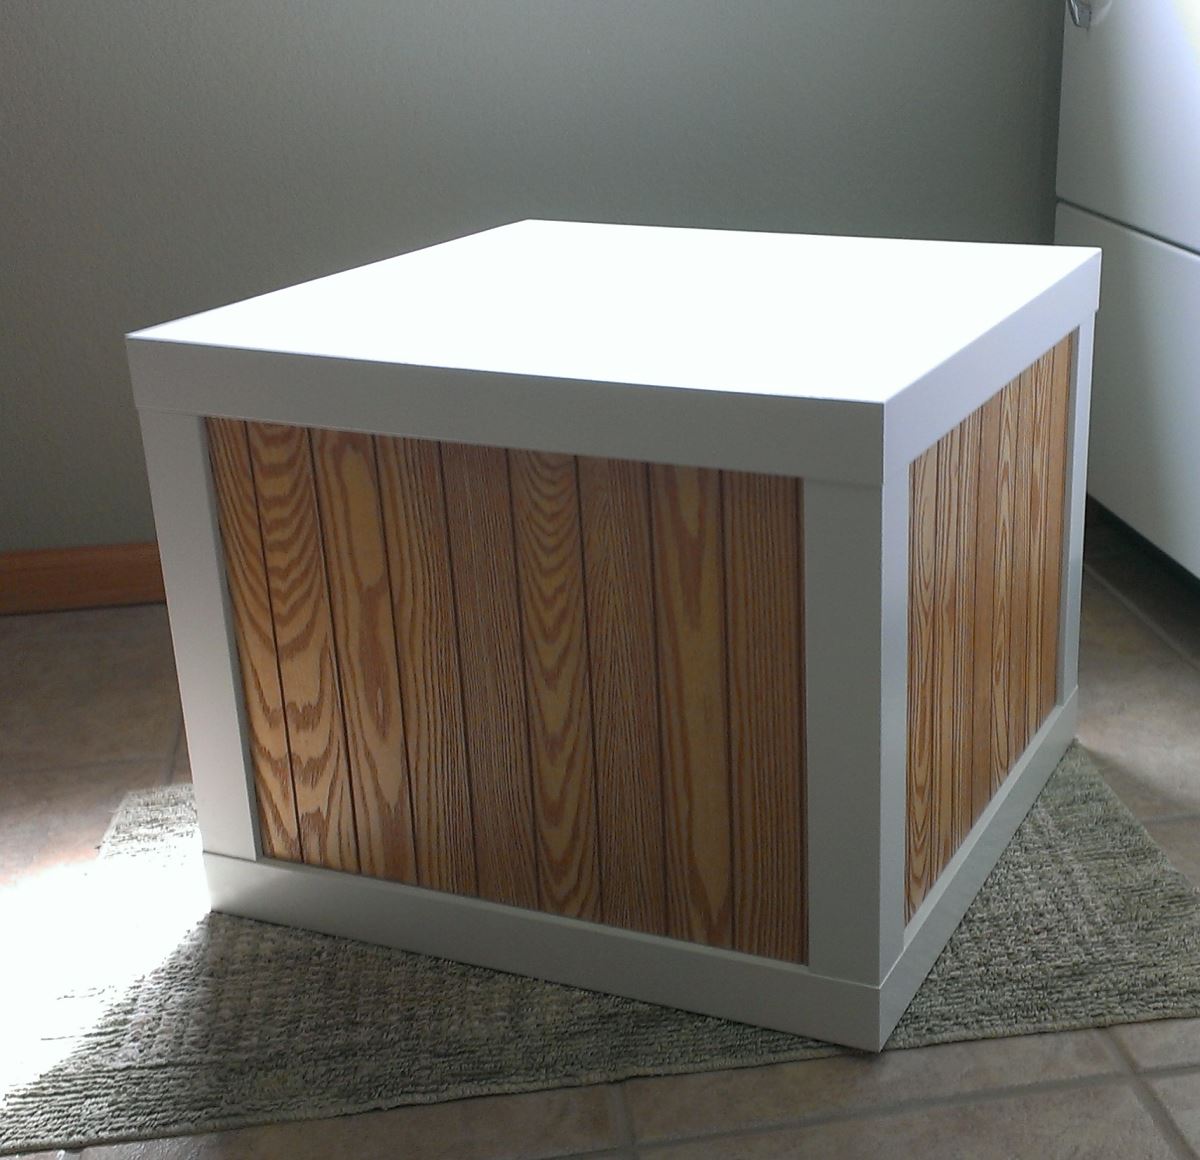
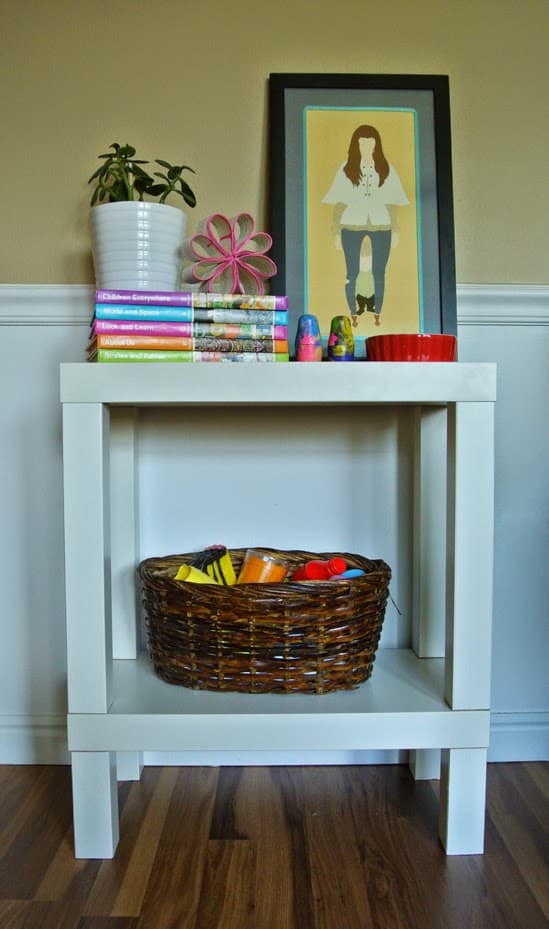
Closed End Table
In this IKEA Lack table hack, you’re going to create an end table with sliding doors. It’s easier than it looks!
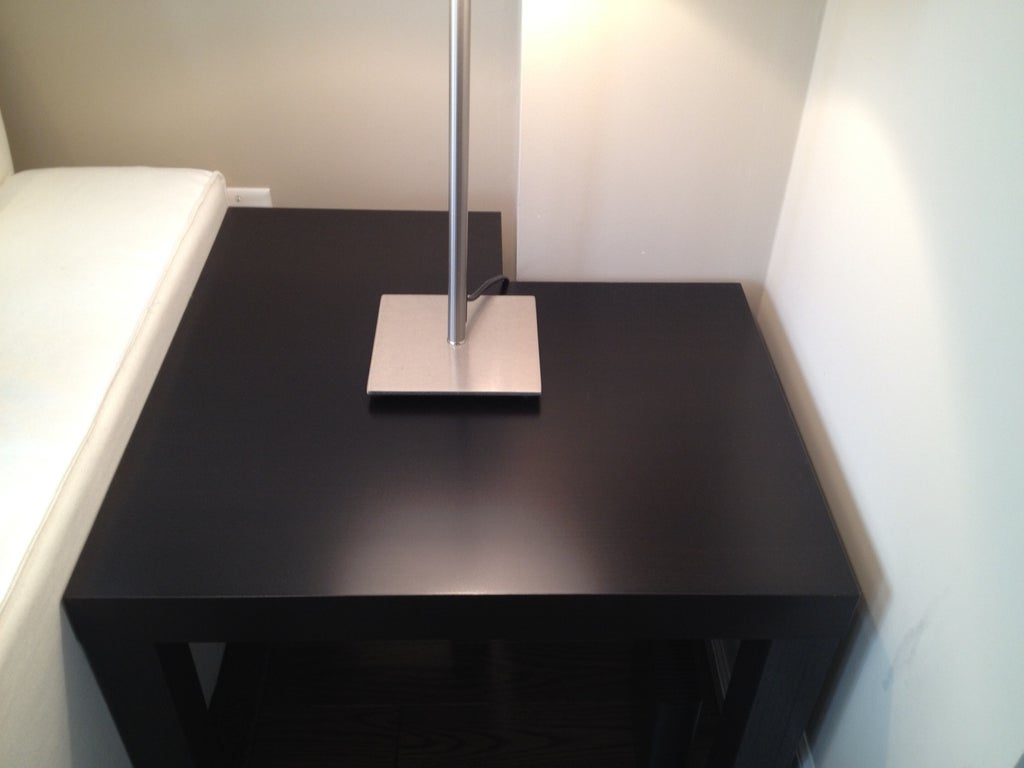
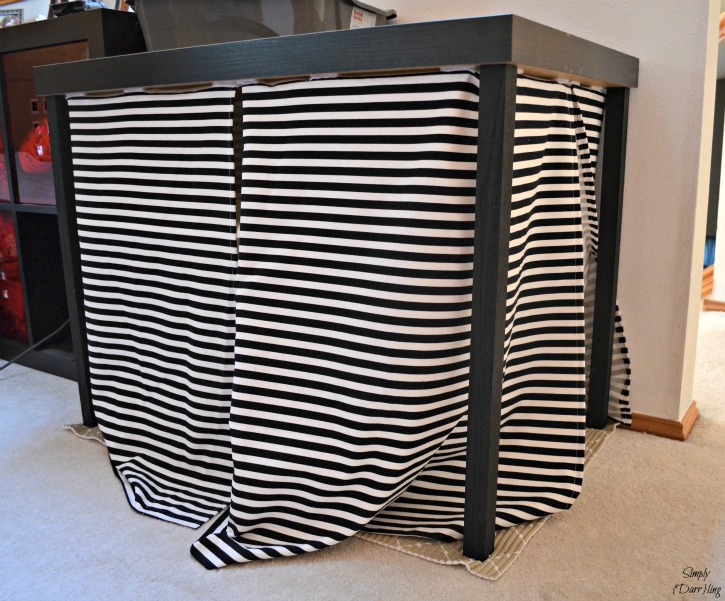
Have you ever needed to put a table in an oddly shaped location? The Lack is perfect for this situation since you can cut it! This one is cut to accommodate a corner that just out.
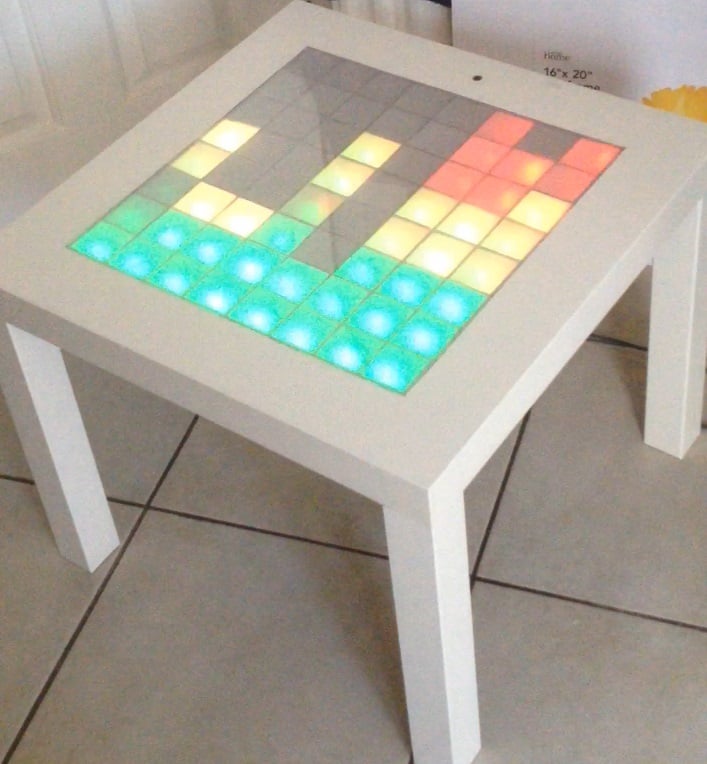
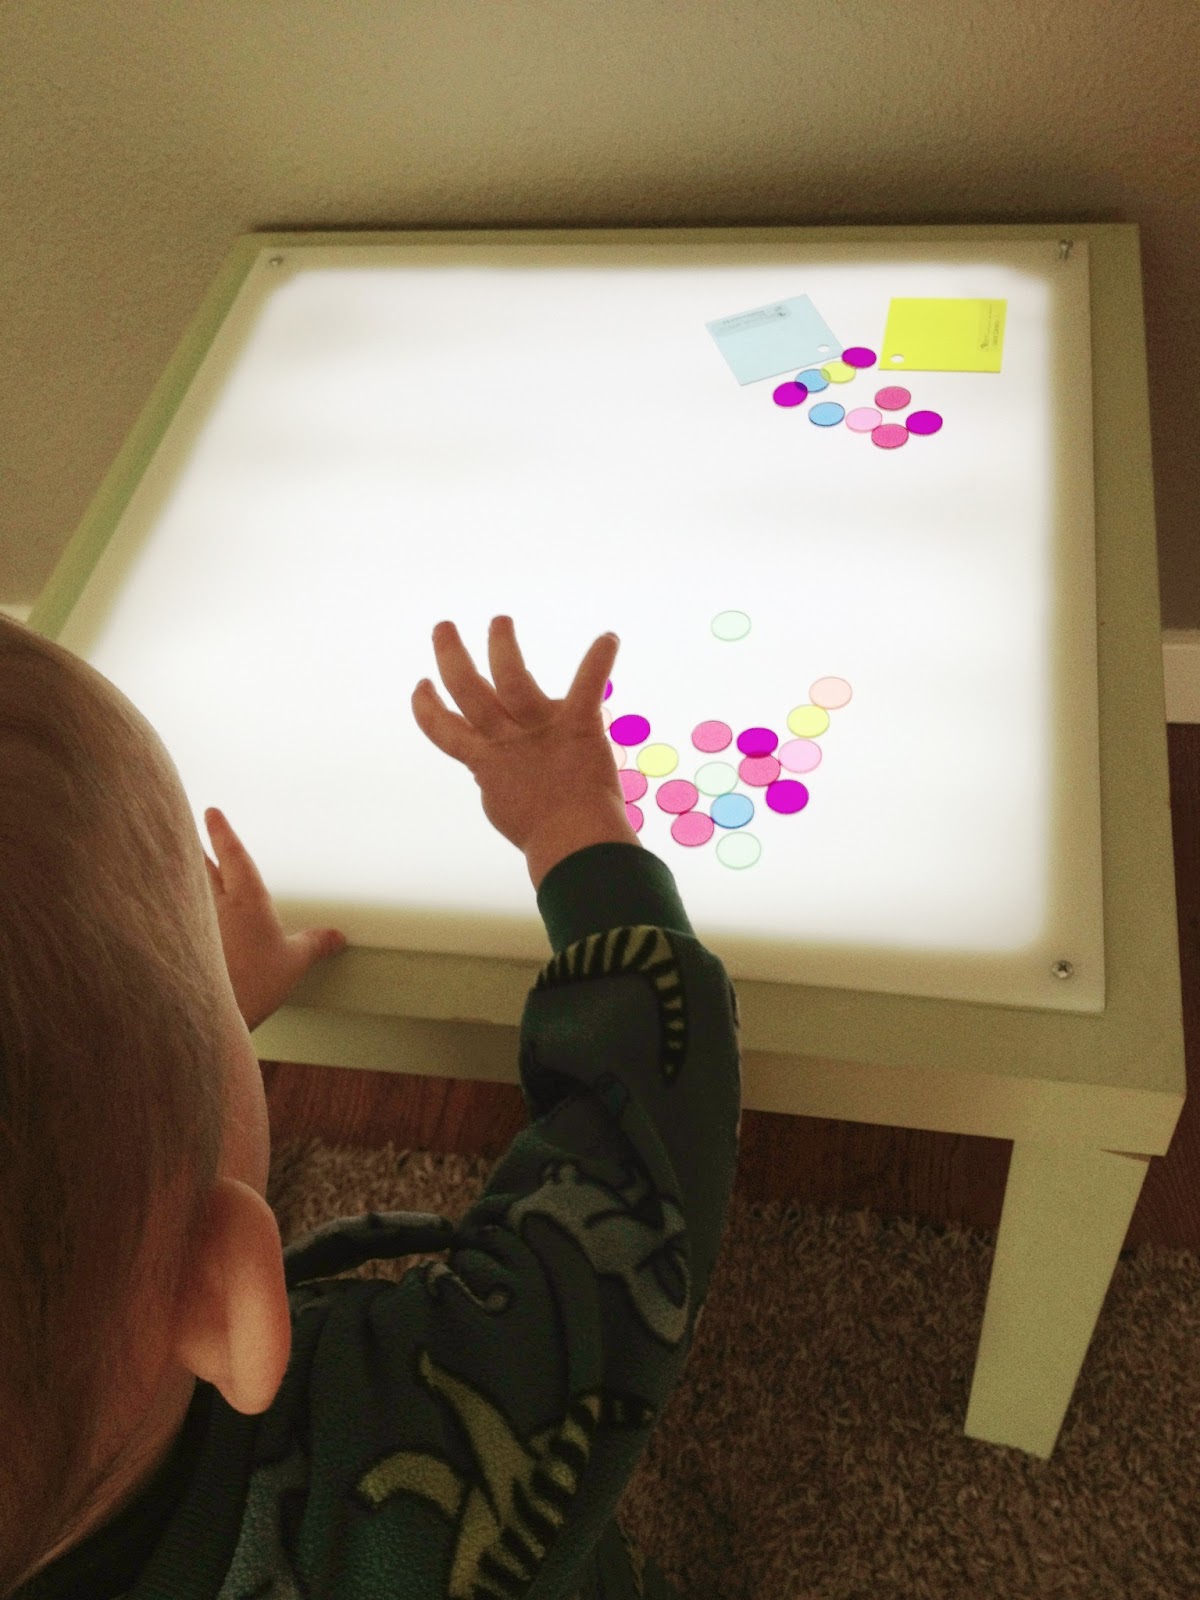
Okay, this DIY project takes some skills, but imagine the lights moving as music plays! This is way more intense than the other projects, but it's such a cool way to change up a Lack I had to share.
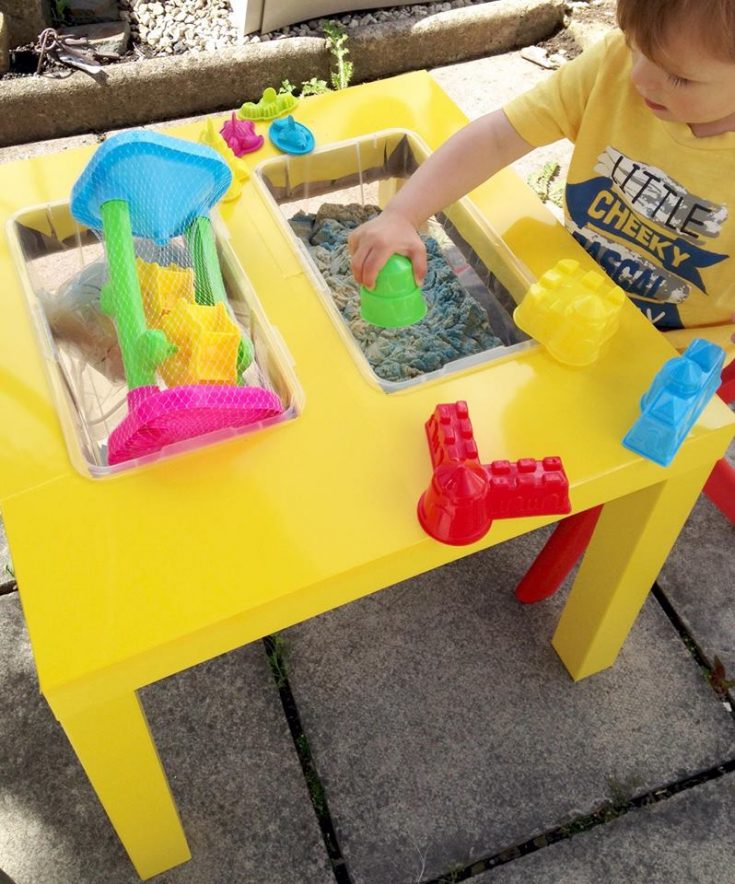
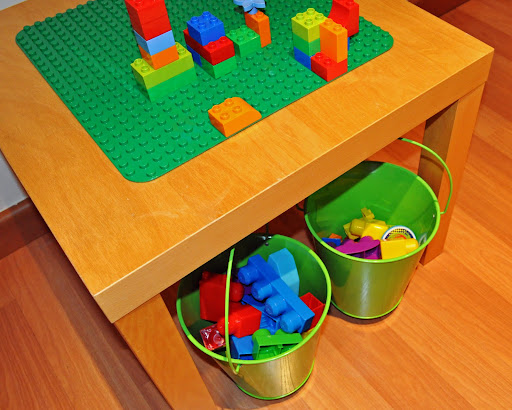
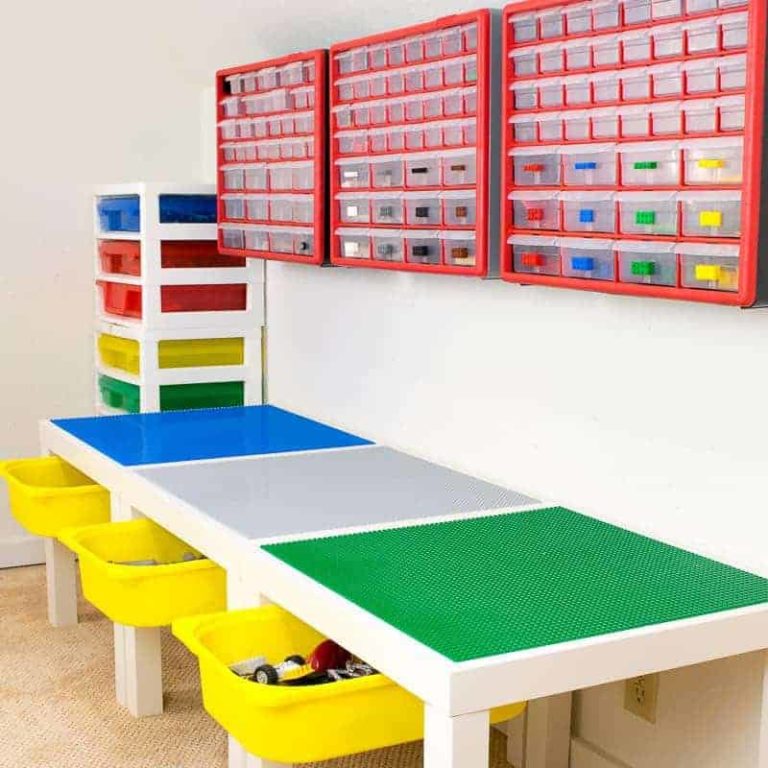
Here is another idea for a LEGO table. This one has you attach a slide out tub to hold loose LEGOs. I also like the color coded storage above these tables!
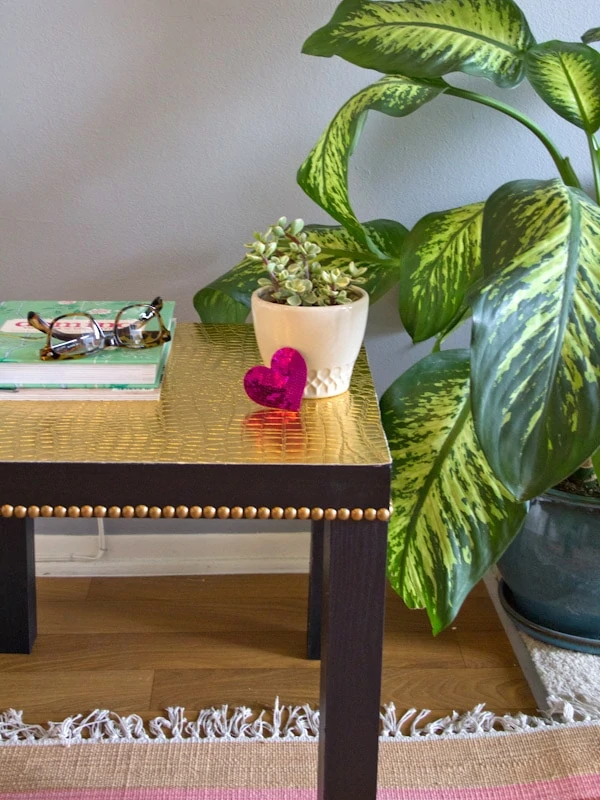
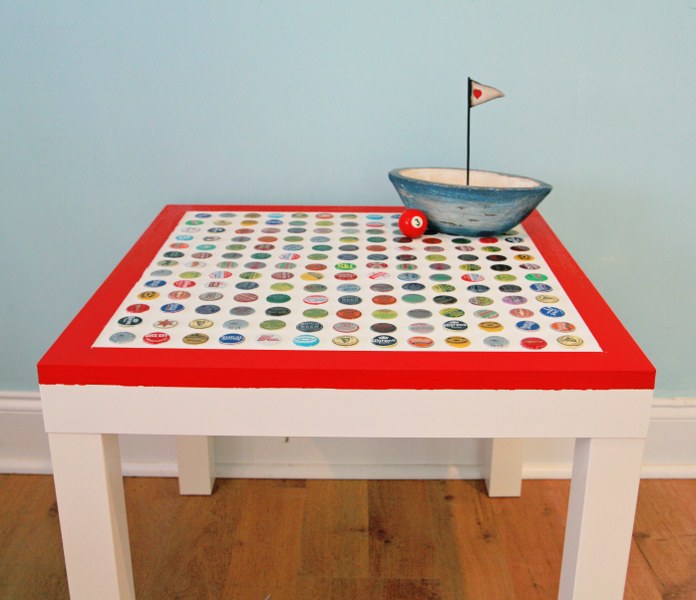
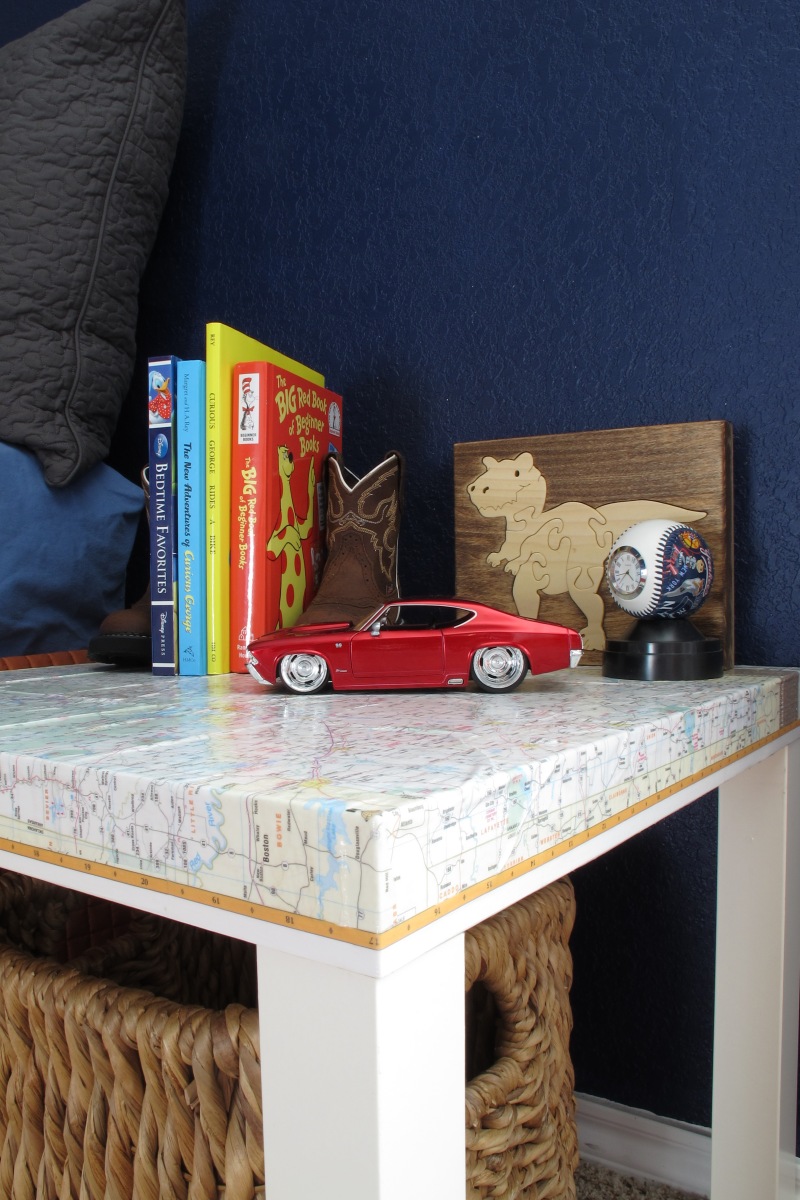
I love maps on everything, and that includes this map and decoupage table revamp in this hack. If you want to avoid the wrinkles, mist the map with water before Mod Podging it down.
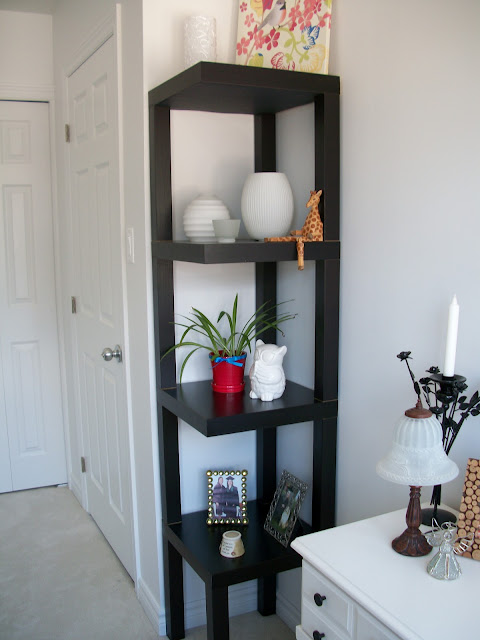
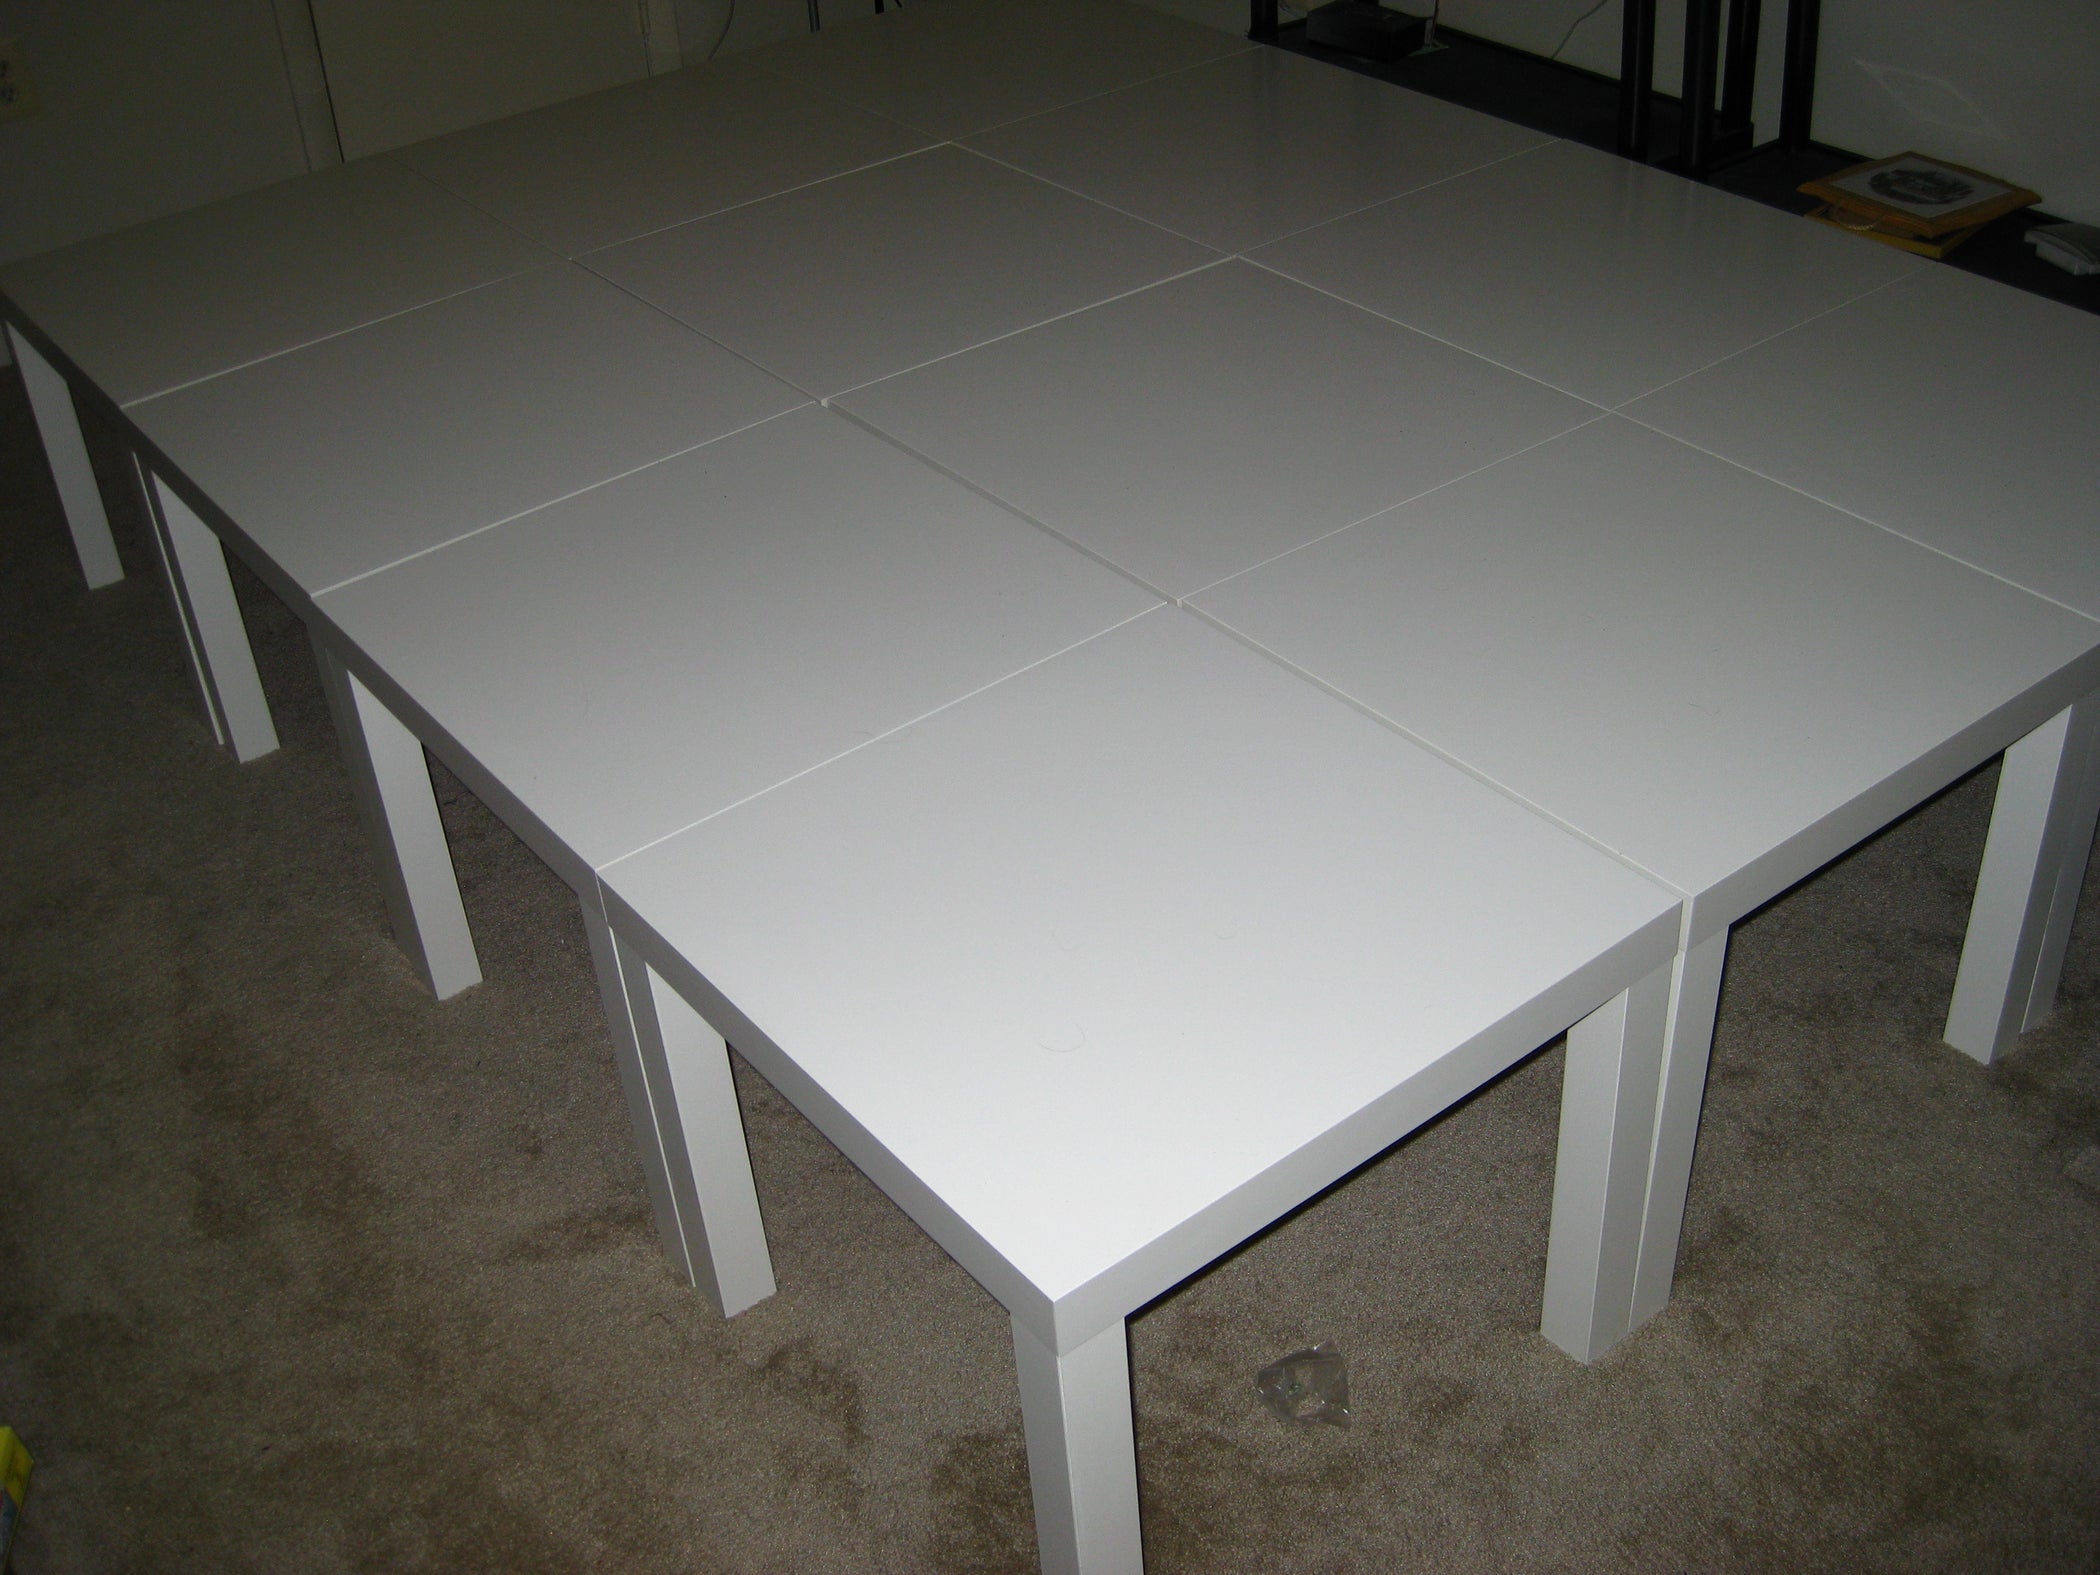
Make a platform bed that is lightweight, portable and inexpensive. For a queen size mattress, you will need 12 Lack tables, and you don't even need to connect them together!
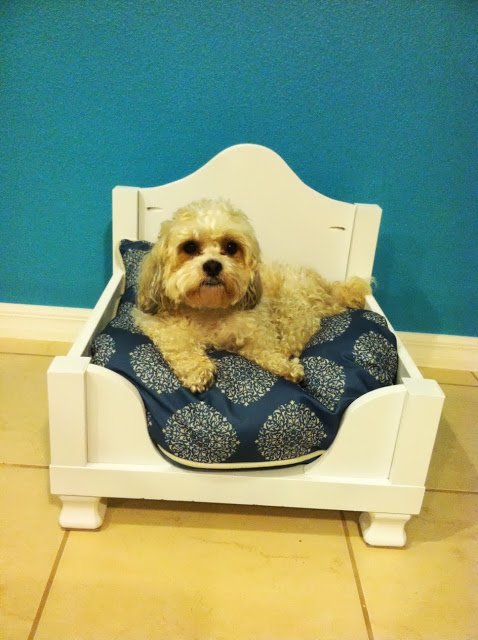
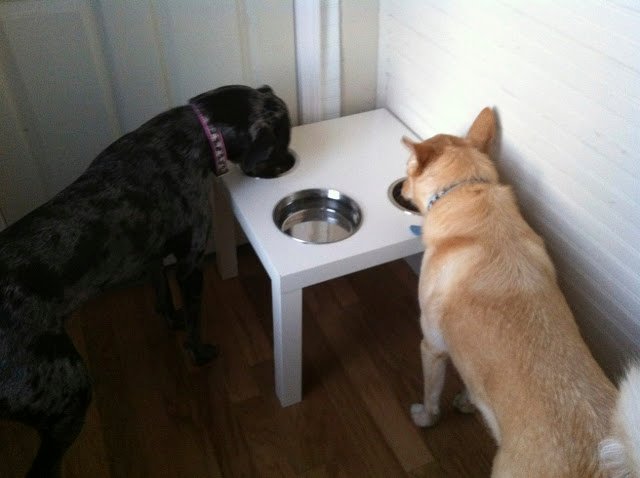
My dogs push their bowls around the kitchen floor when they eat – it would be nice to have them stay in one place. This IKEA Lack table hack went straight to the dogs!
These are really cool. I just did a #diy #ikealackhack project recent. It’s geared more towards photographers that do photogrammetry, but could easily make an interesting serving table too since it uses a lazy susan. Could even add some internal lighting as well. https://www.provideocoalition.com/ikea-lack-photogrammetry-turntable/

Hi! Thank you for sharing these ideas. Would you have the link for the stenciled lack?
These are really cool. I just did a #diy #ikealackhack project recent. It’s geared more towards photographers that do photogrammetry, but could easily make an interesting serving table too since it uses a lazy susan. Could even add some internal lighting as well. https://www.provideocoalition.com/ikea-lack-photogrammetry-turntable/
Hi ! I’d like to ask you if it is possible to change the url of the ikea hack picture sending to my article about customizing an ikea lack table.
the one you’re using is not available anymore 🙂
you’d be very kind to replace it by the following url : :
Thank you very much
best
sophie
Done and thank you Sophie!