How to Use a Router for Beginners
Learn the basics of how to use a router in this informative post! If you’ve always been curious about this tool, you’ll want to read this.
If you’re wondering how to use a router, you might first be wondering what it’s even used for. A router is a relatively unique tool and not one of those you’d have lying around (like a sander or drill). You’re most likely only going to need or use this tool if you are working with wood.
If you just so happen to have a router or know someone that will let you borrow one, it can add a huge plus to any project. Have you ever seen those detailed or pretty edges on wooden furniture?
That is what a router does. It takes the edges of a normal piece of wood and makes them more detailed . . . adding a bit of design to square wood edges.
A router can also be used to make channeled grooves (dadoes) for joints. This is a way to invisibly support shelves or the sides of wood furniture without hardware. Pretty cool, right?
How to Use a Router
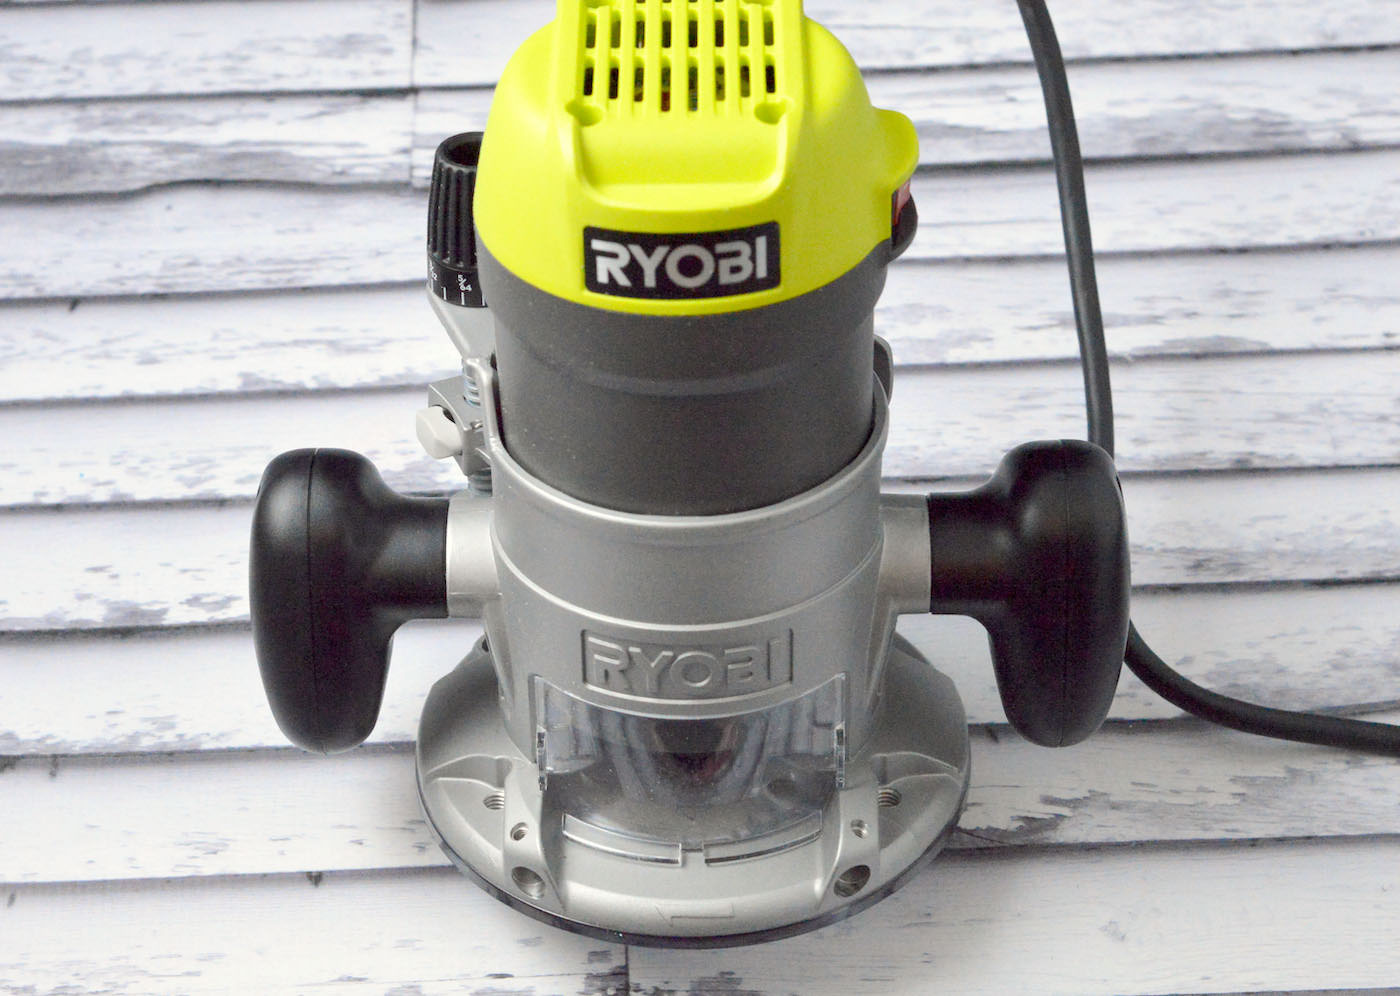
As you can see, the router is a round contraption with two handles, one on each side. When using your router, you’ll place one hand on each side in order to guide the device. You will guide it like a saw and sander mixed together.
You don’t have to be as rough as you would with a saw . . . and not quite as light as you would be with a sander. The main rule of thumb when using a router is to always go the opposite direction the blade is spinning.
Getting Started
When using a router, make sure the project you are working on is secured with clamps. Then, make sure your router has the desired bit (each one can make a different design or achieve a different technique) and the desired bit height. Here’s a beginner’s guide to choosing router bits.
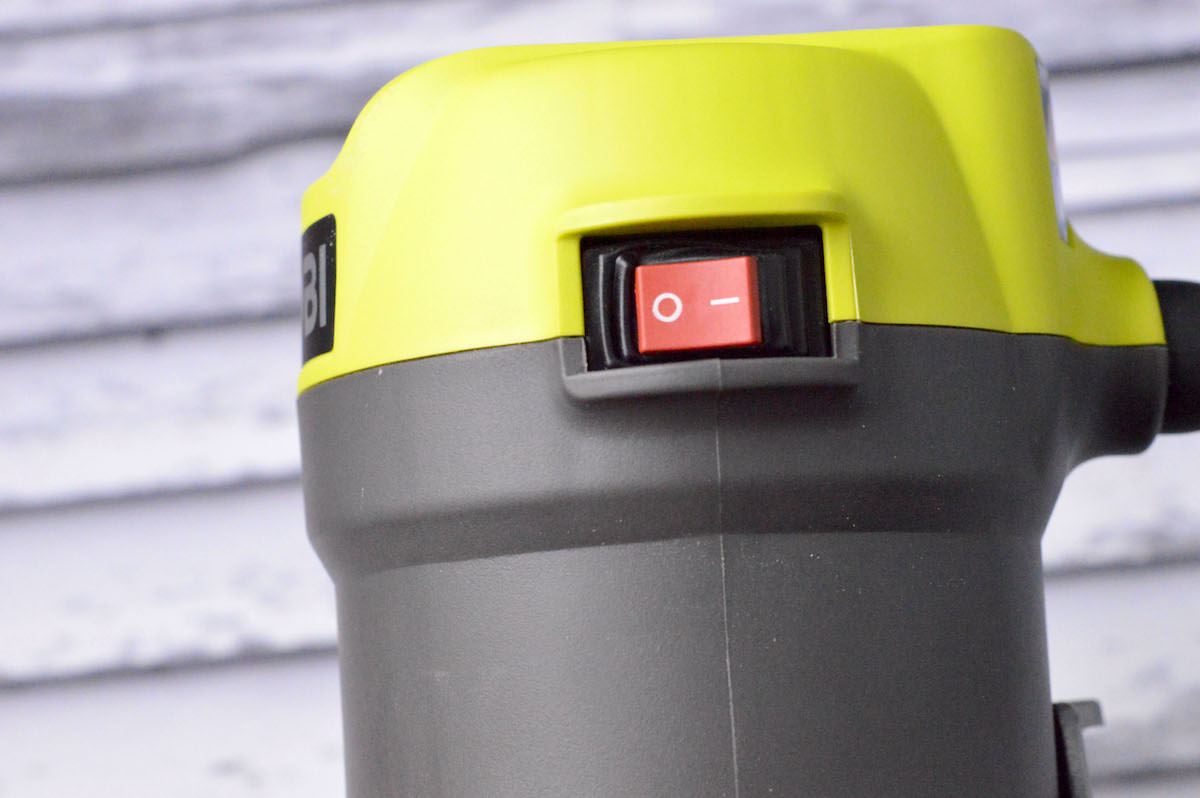
Most routers come with an on/off switch which means that even if you plug it in, it will not come on unless you turn the switch to the “on” position. To use your router, place the edge of it on the desired side of the wood to be cut and push until the bit rests against the edge.
It will look like half of the router is sitting on the wood while the other half is hanging off (this is normal). “Push and glide” is all you need to do from there. You’ll want to do several light passes as opposed to tearing into the wood and pushing hard.
Lightly apply pressure to achieve the desired results. You’ll definitely want to do a test piece before using the router for the first time on a real project to get the hang of it!
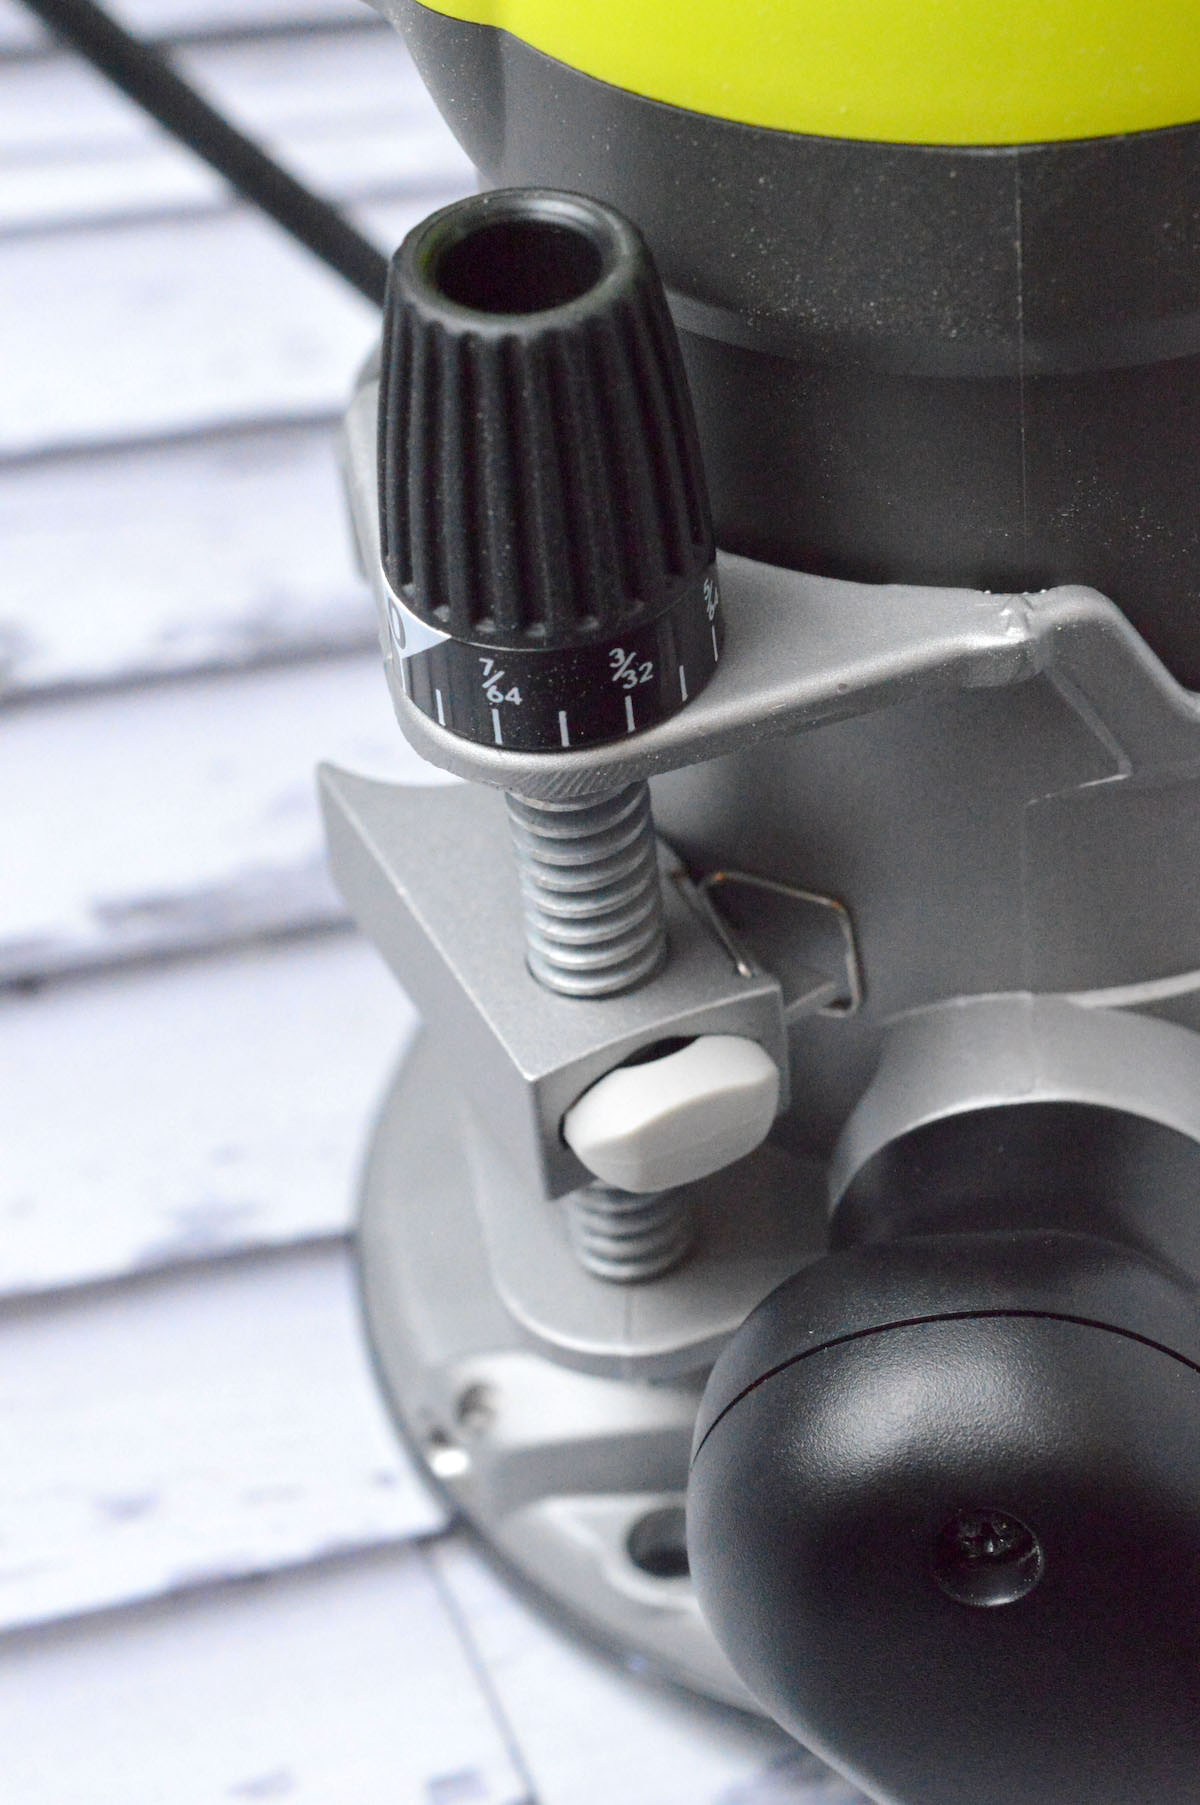
If you need to adjust the height of the bit, there are usually locks that you can unlock and then there is a numbered knob that tells you the various height options. Be sure to put the locks back when finished.
Changing the Bits
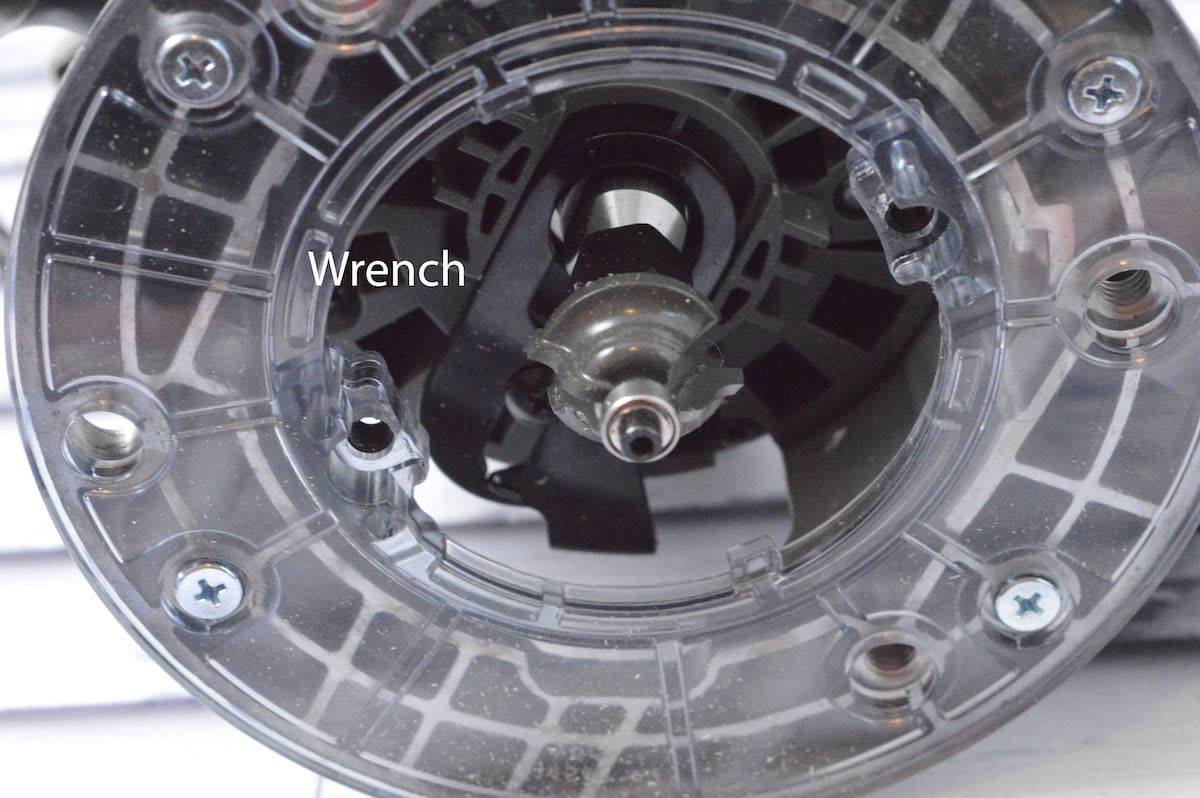
To change the bit, there is a built-in black piece that works like a wrench. Push it in so the bit is held in place, then use a tool (a wrench works) to loosen the bit and remove it. Insert your new bit and tighten it in the same way.
The bits for the router we use have an upper portion that is black, so it’s clear where to loosen the bit. Not all routers are the same and can be slightly different, so check your manual to make sure you know how your specific brand and model work.
Knowing how your specific tool works is not only the safest thing to do, but allows you to get the most out of your tool.
You now know the basics of how to use a router! To sum up, this tool . . .
What it is: a tool used to create decorative edges on furniture and cabinetry, as well as for plunging holes to create invisible joints
When to use it: when you’d like to add some flair or design to a square wood edge. You can also use it to form strong joints in furniture or cabinets (further reading here).
What you need: the router and the bits you’d like to use . . . in addition to a wrench or tool to remove bits.
What are your favorite uses for a router? Let us know in the comments! We also used a router in this project:
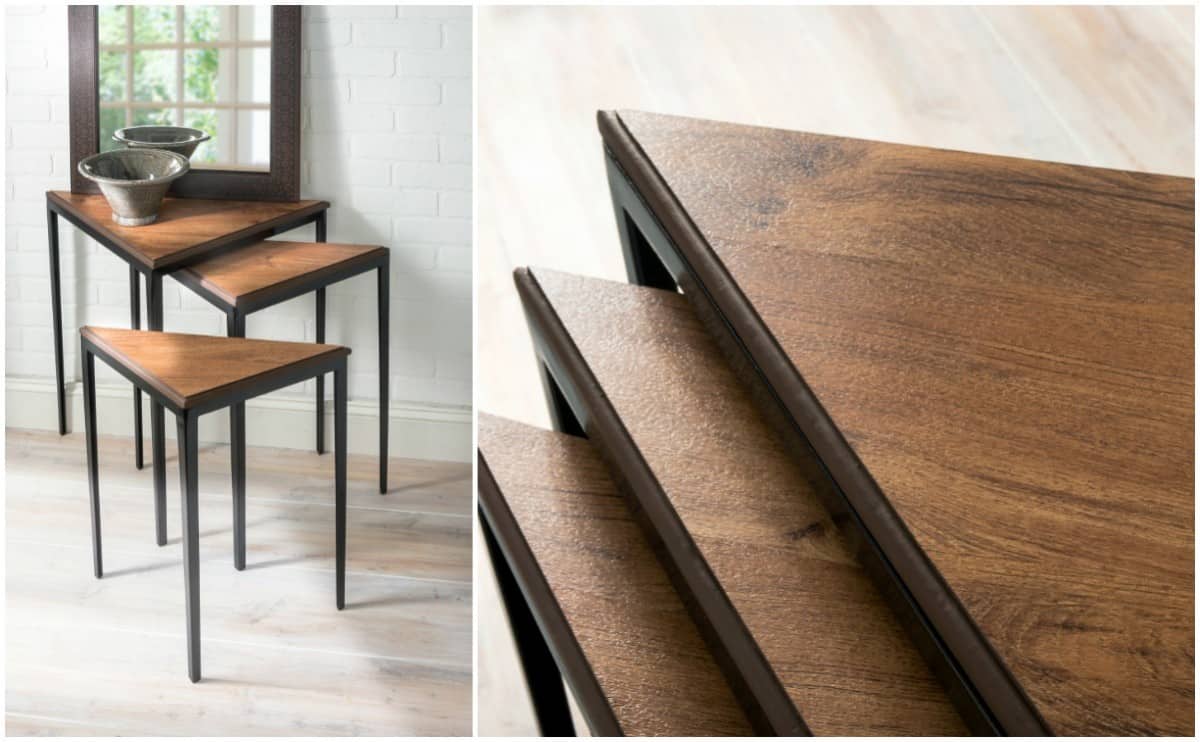
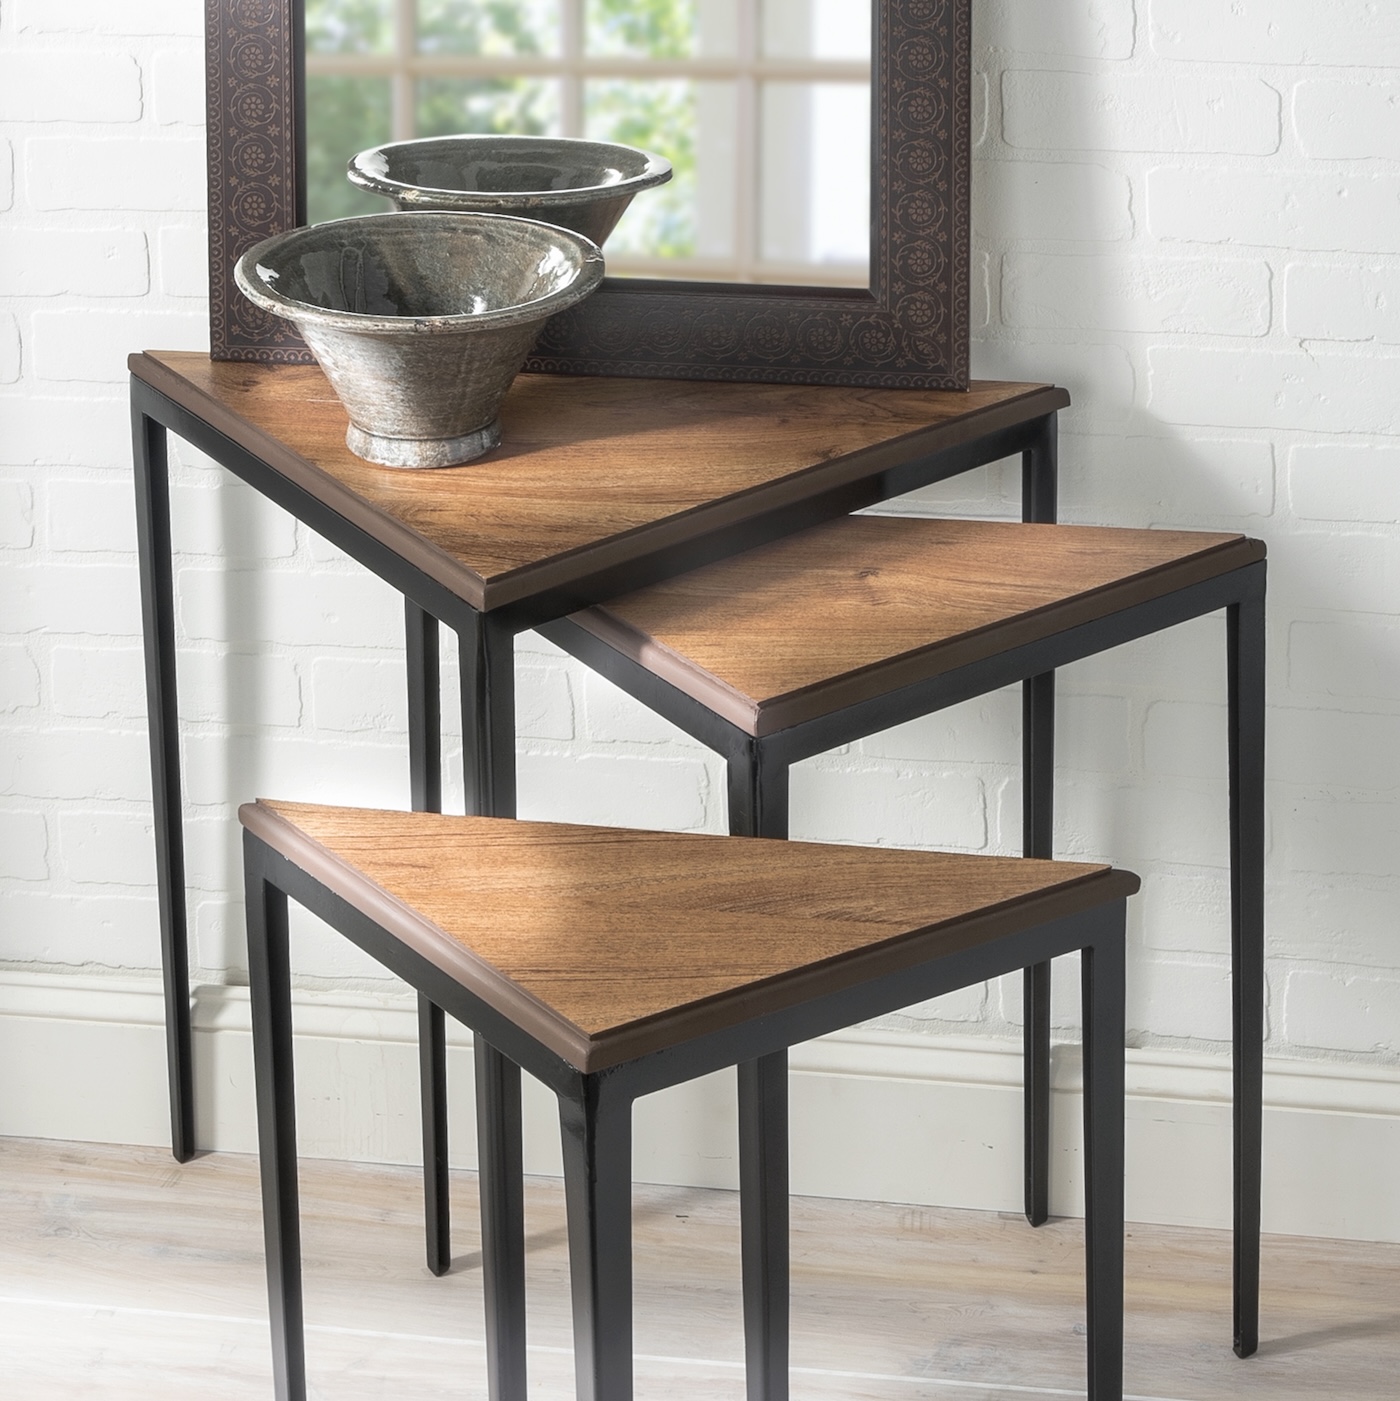
DIY nesting tables with vinyl flooring
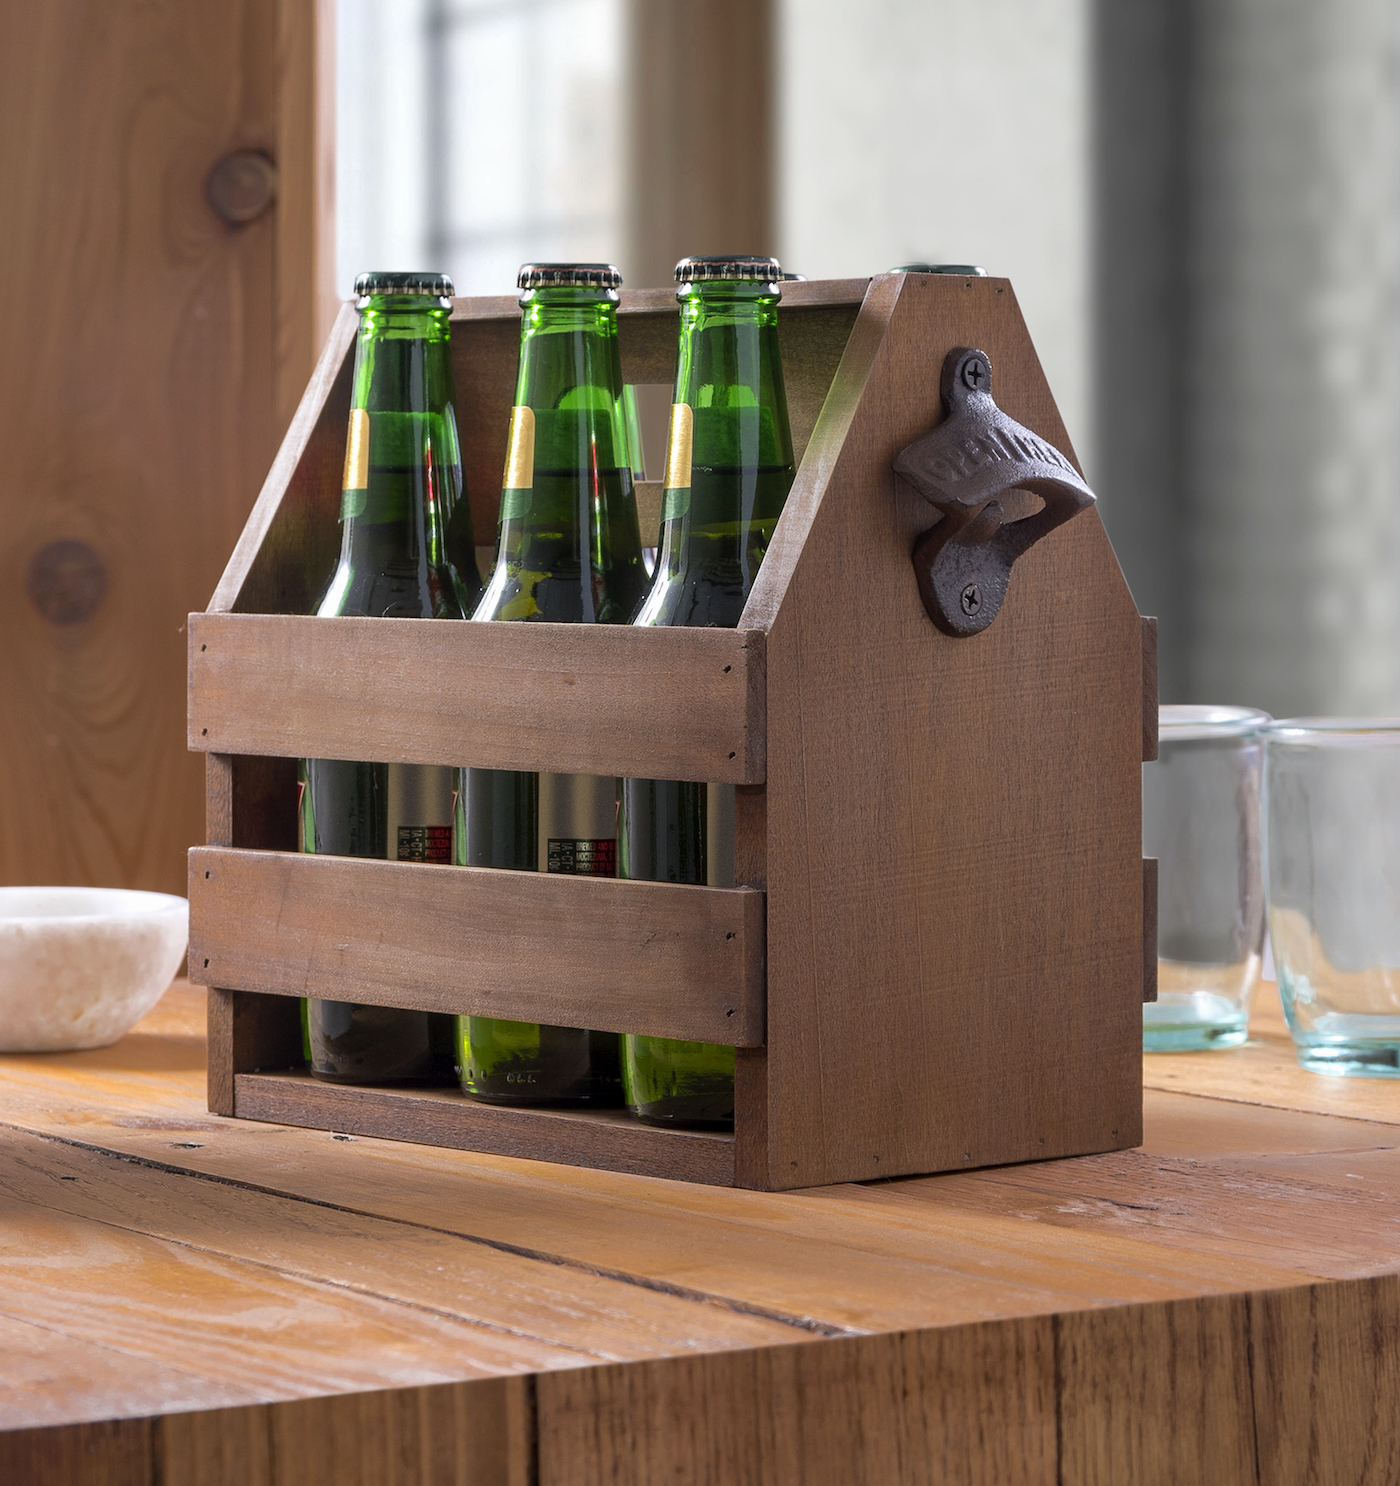
as well as this one:

Also don’t forget to check out our other tool guides: electric sander, jig saw, Kreg jig, and reciprocating saw.


I have a craftsman old router. Is there a adjustment for router bit depth
Hi Salvatore! My guess is yes? But I’m not sure. Try to look up the manual online for your particular router. The model, etc. You should be able to find out.
How deep do you put the bits shaft into the router chuck?
Typically to the full depth, or about 3/4″!