Reciprocating Saw (Sawzall) Guide to Success
A Sawzall, also called a reciprocating saw, is an all-in-one tool that can take the place of several others. Learn how to use it for a variety of household projects here!

If you haven’t tried to use a reciprocating saw, otherwise known as a Sawzall or sabre saw, I’m about to change your life. When I think of “saw,” I typically think of a lumberjack with a big handsaw cutting down a tree.
What is a Reciprocating Saw?
A reciprocating saw is a power tool, and does much more than cut down trees. It’s an all-in-one tool that can take the place of several others. You can buy one at a home improvement store for about $100 – $200 for good one.
More often than not, I hear this tool referred to as a “Sawzall.” This is a trademarked brand name of the Milwaukee Electric Tool Company. So while (technically) not all reciprocating saws are Sawzalls, the terms are used interchangeably.
How Do Reciprocating Saws Work?
The saw has a blade that moves back and forth in a rapid, push-pull motion. You use both of your hands to hold the tool, and use the blade to cut a variety of materials. It’s nice because you can also use this tool at an angle or overhead (ie., cutting plumbing pipes). It’s very versatile!
What Can You Cut with a Sawzall?
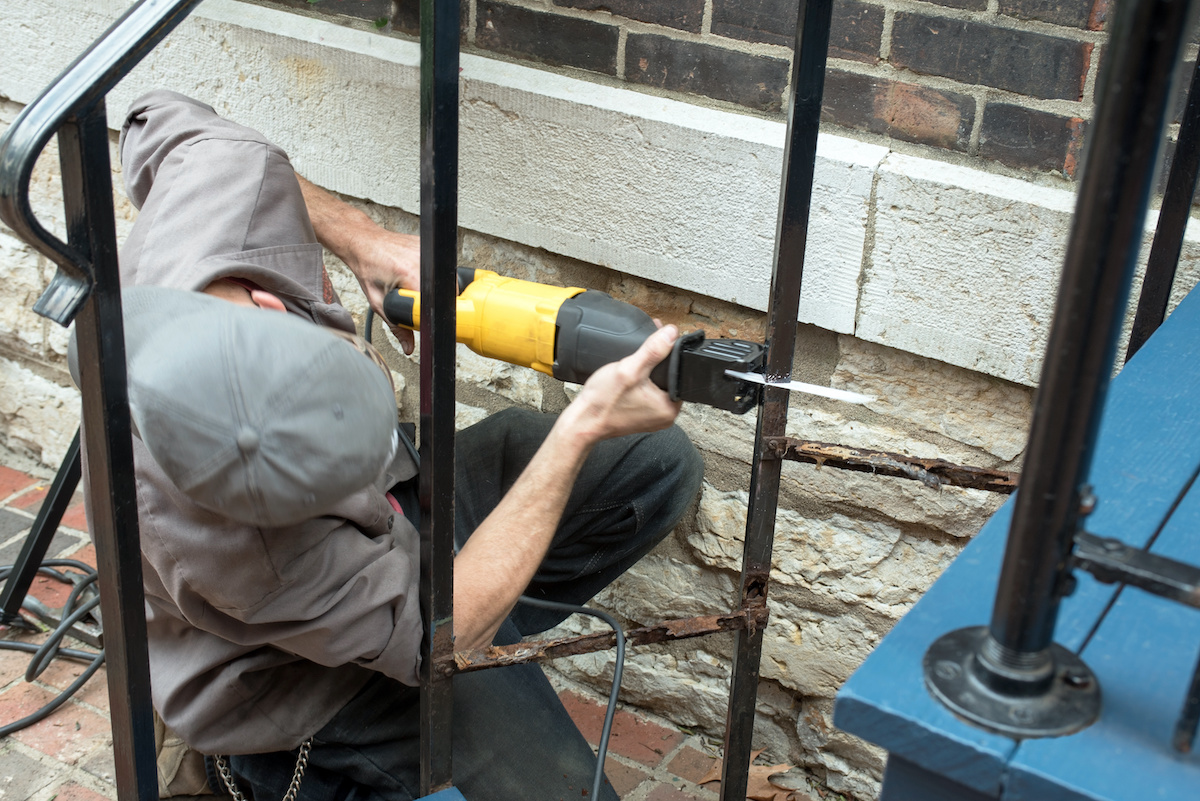
You can cut through wood (including tree branches), metal, PVC, drywall . . . just about anything besides rock. There are various blades depending on the materials, so just make sure you get the right one for the job.
Why Do I Need a Sawzall?
Two reasons! First, a large handsaw can’t fit into small areas, and that’s where this saw comes in. It is used for shorter, tough-to-reach cuts.
It’s also electric, and uses a push and pull motion to cut, which it does quickly. Once you learn more about this tool, you’re definitely going to want to have one on hand!
Top Reciprocating Saw Uses
I don’t know how handy you are, but there are many do-it-yourself applications for this type of tool. These are the most common reciprocating saw uses that I see from my friends and fellow DIYers that own one:
- Installing an outlet
- Fitting a window
- Changing PVC piping
- Cutting through nails or screws
- Outdoor work (tree branches!)
Reciprocating Saw vs. Jigsaw
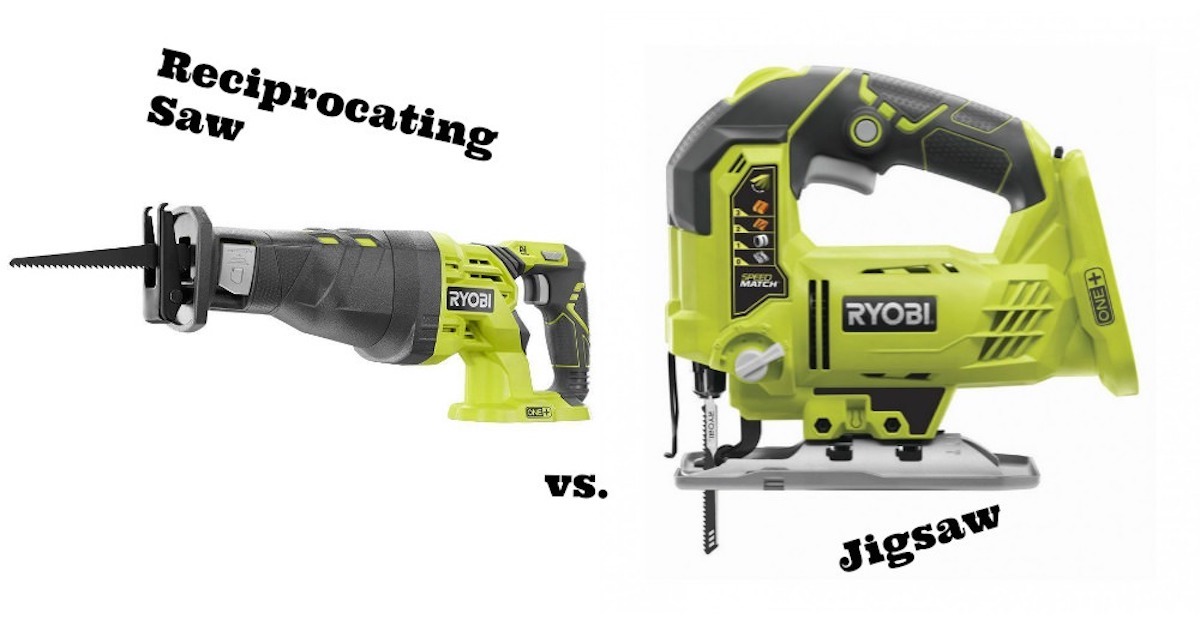
While a jigsaw and reciprocating saw are closely related, they aren’t the same tool. Both have blades that use a push-pull motion and have shoes to help guide your work (which you’ll learn about later). But there are several differences:
- Jigsaws are typically used to cut shapes out of wood while Sawzalls are typically used for demolition or fix-it DIY projects
- Jigsaws are best on a flat surface parallel to the floor while these work at any angle
- A reciprocating saw wouldn’t be used for any fine woodcrafting, while a jigsaw would be (the cuts are more intricate and accurate)
Can you cut straight with a reciprocating saw?
You can, but it’s going to take some practice. Some tools are jumpy (which I mention below), but also you can take a turn if you want to (whether intentionally or unintentionally). You can help yourself with practice on a sample piece of wood. I’d also recommend drawing a line if you feel you need something to follow. Winging it isn’t always the best idea if you’re looking for straight lines!
Can you cut plywood with a reciprocating saw?
You can, just as long as it’s not too thick. For most plywood, you shouldn’t have any problems. If you find that there is any splintering while cutting, I recommend drawing a line for your cut and placing painter’s tape or something similar over the line. Then cut through that. This helps immensely.
Using a Reciprocating Saw
Before you begin, keep two things in mind:
- Some tools can be jumpy; always wear protective gear (including eyewear) AND use a strong, sure grip.
- Avoid the cord. This is true for all tools, but given the areas you might be going into and the size of the blades, you can quickly cut through your cord if you aren’t paying attention!
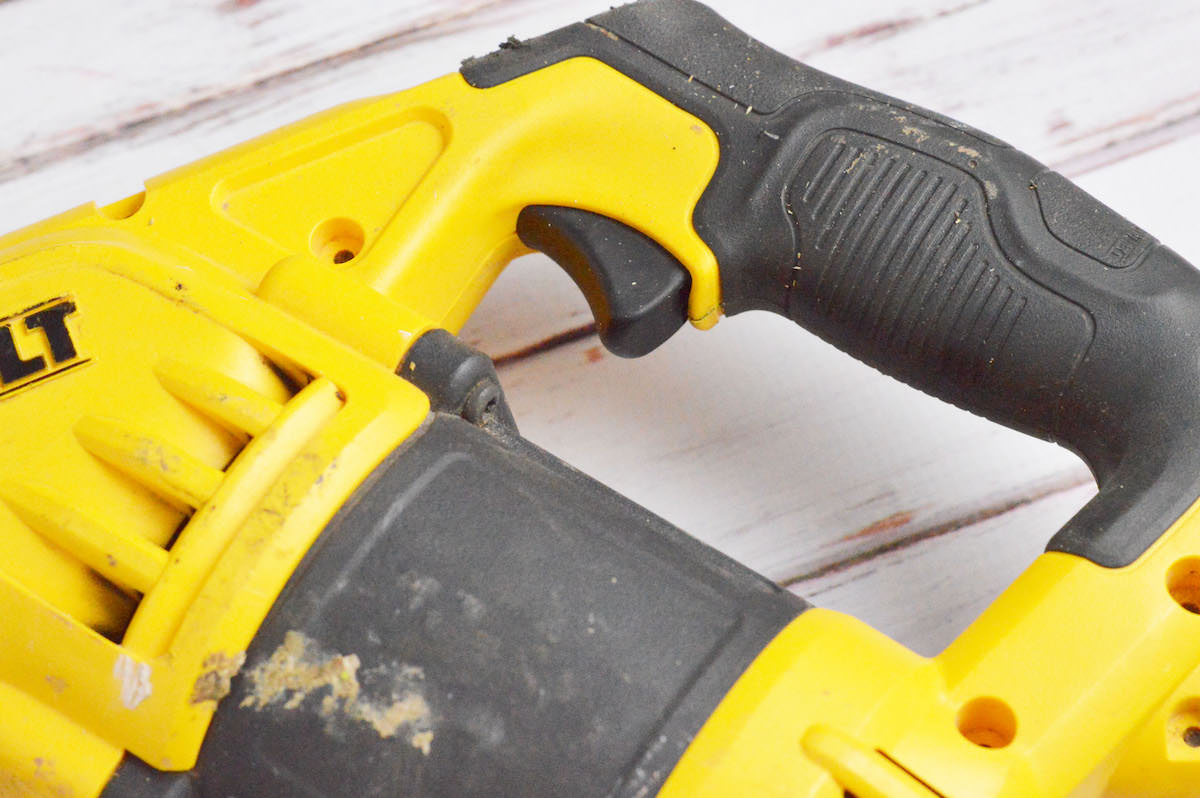
To begin, the saw is held similarly to a shotgun. The non-dominant hand holds the bottom front of the saw, while the dominant hand rests back on the grip and “trigger.” When beginning to cut, squeeze the trigger and allow the saw to gain full power.
Once the saw has reached full power, bring the saw into contact with the item needing to be cut.
Allow the tool to do most of the work! Focus on controlling the jumping of the saw; firmly hold it in place and guide it through the line of the cut.
Most of the guiding and controlling will be done by the non-dominant hand at the front of the saw. Only slight pressure is typically needed, as you’ll let the saw do the work.
If too much pressure is applied, it can cause the blade to bend. A bent blade can mean a crooked cut, increased jumping of the tool (which is very dangerous), or the device to stop working. If your blade ends up bent we recommend replacing, though you can bend it back if it’s just a slight bend.
Changing the Blade
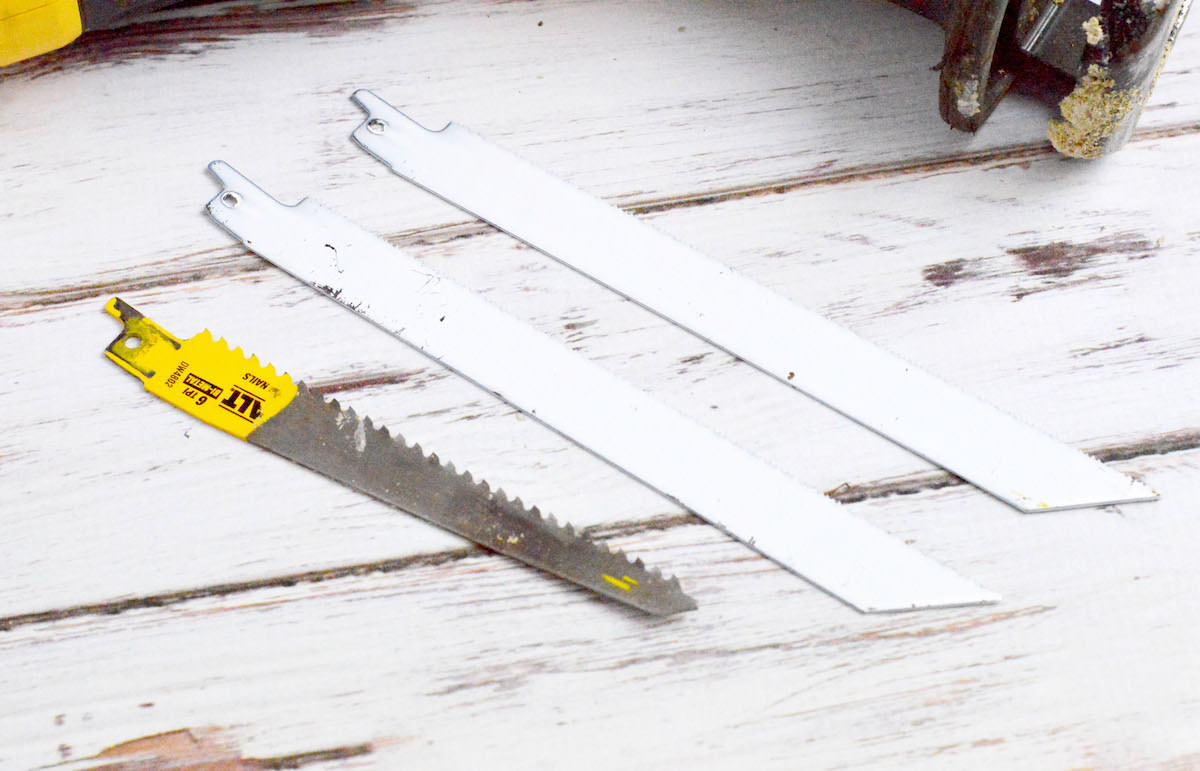
Changing the blade is relatively easy depending on the age of your saw. The older reciprocating saws used an Allen wrench to loosen and tighten the blade within the shoe.
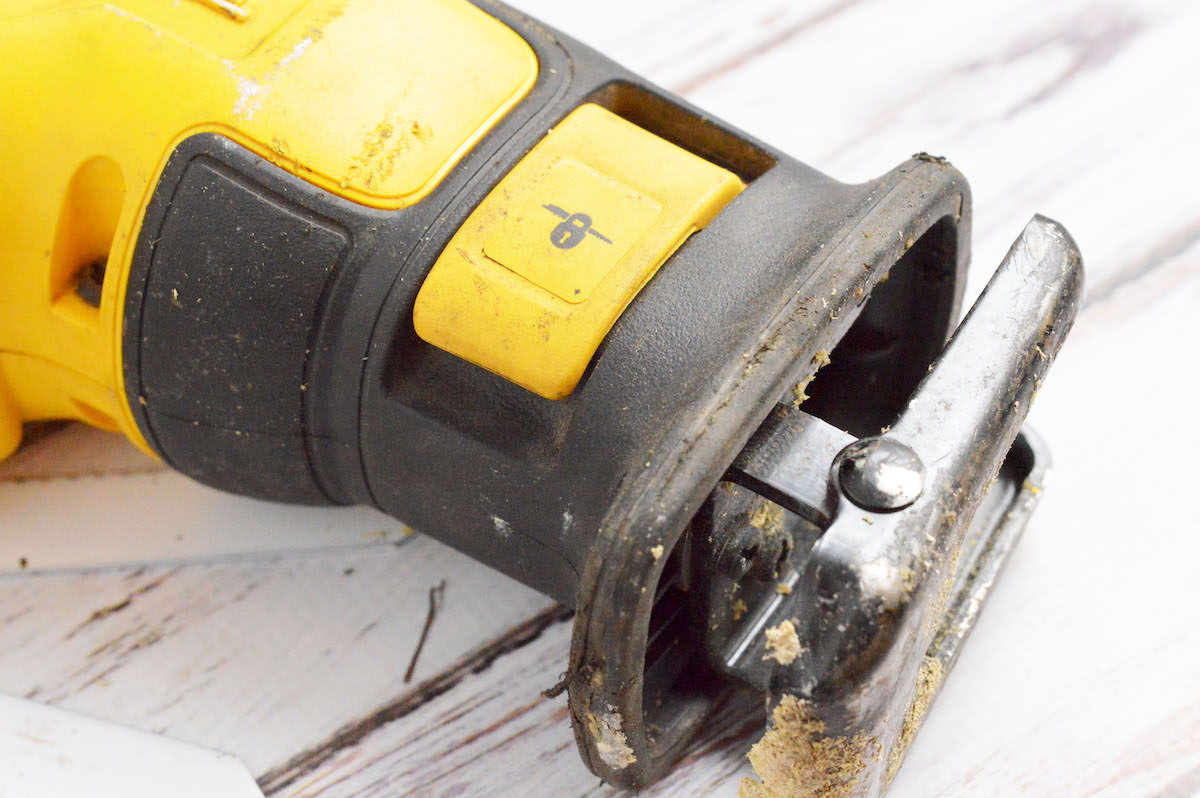
At the front of the saw, there is a larger piece where the blade sticks out, and this is called the shoe (the metal portion shown above). In newer models, changing the blade is as easy as holding two buttons (yellow above) on either side of the shoe for blade removal and insertion.
Other newer models involve pressing the two buttons and removing the shoe before removing the blade. It is important that you read the instructions of your Sawzall so that you understand how the blade is changed on your particular model and brand.
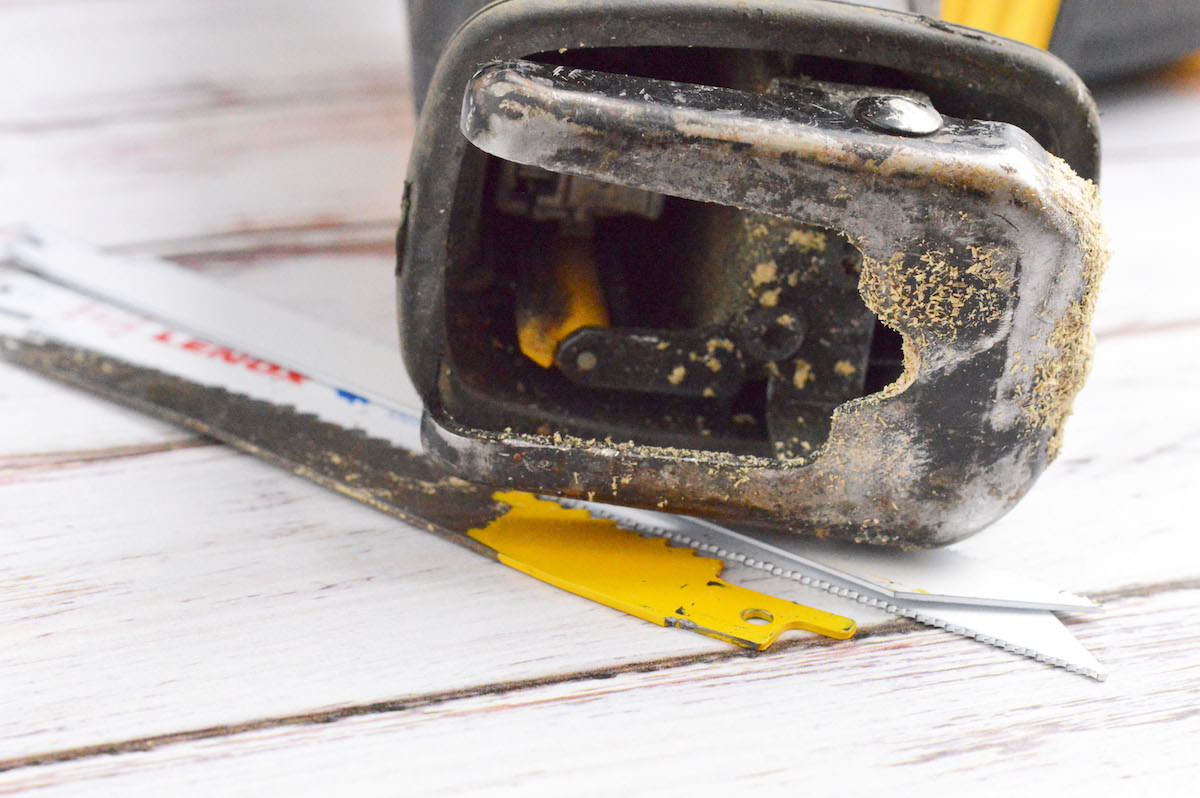
Let’s talk more about the shoe, now that we’re in that area of the tool. The shoe is there to assist you – it’s useful for reducing the reciprocating action of the motor for fewer jumps while using the saw.
In order for the shoe to assist in this, use it as a fulcrum. In other words, rest the shoe on a hard surface as you guide the blade in to cut.
This is a bit of an advanced tactic, but once you’re used to using your saw, you will better understand and automatically know what’s safe and not safe to do.
My suggestion? Practice. Buy scrap wood before you tackle any home improvement project. Would you rather mess up a piece of wood as opposed to your wall?
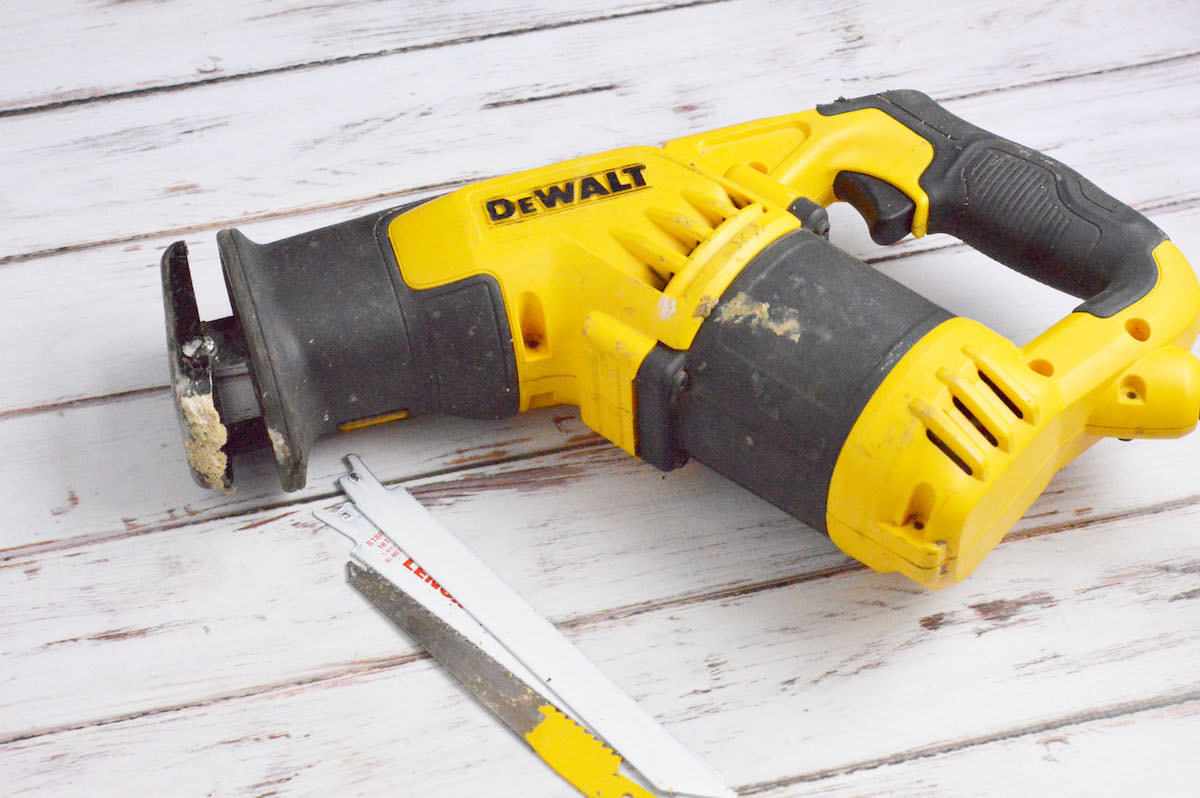
Now that we’ve discussed how to use a reciprocating saw, here are some potential uses:
As you get familiar with your reciprocating saw, you’ll probably be interested in some of the advanced features like lights, variable speed, electric brakes, etc. Ace Hardware has a great video about how to use a reciprocating aw – I embedded it below!
For more articles on power tools, check out the following:


