Flower Pot Craft with Sharpie in Three Easy Steps!
Use a Sharpie to make dots in this unique flower pot craft! It’s so easy that it’s great for kids, for teens, and for adults. . . you just need a few simple supplies.
Skills Required: None. It’s a really easy craft and you don’t need any craft skills to do it. Be sure to watch the video at the end of this post to see the process in action!
It’s summer. The sun is high, the days are long, and if your household is anything like mine, the chorus of “I’m bored” from the kids has become the unofficial anthem of the season.
Summer vacation is a magical time for children, but it can also be a challenge to keep those little hands and minds engaged. Today I’m targeting a project that’s not only fun but also adds a touch of personalized charm to our home.
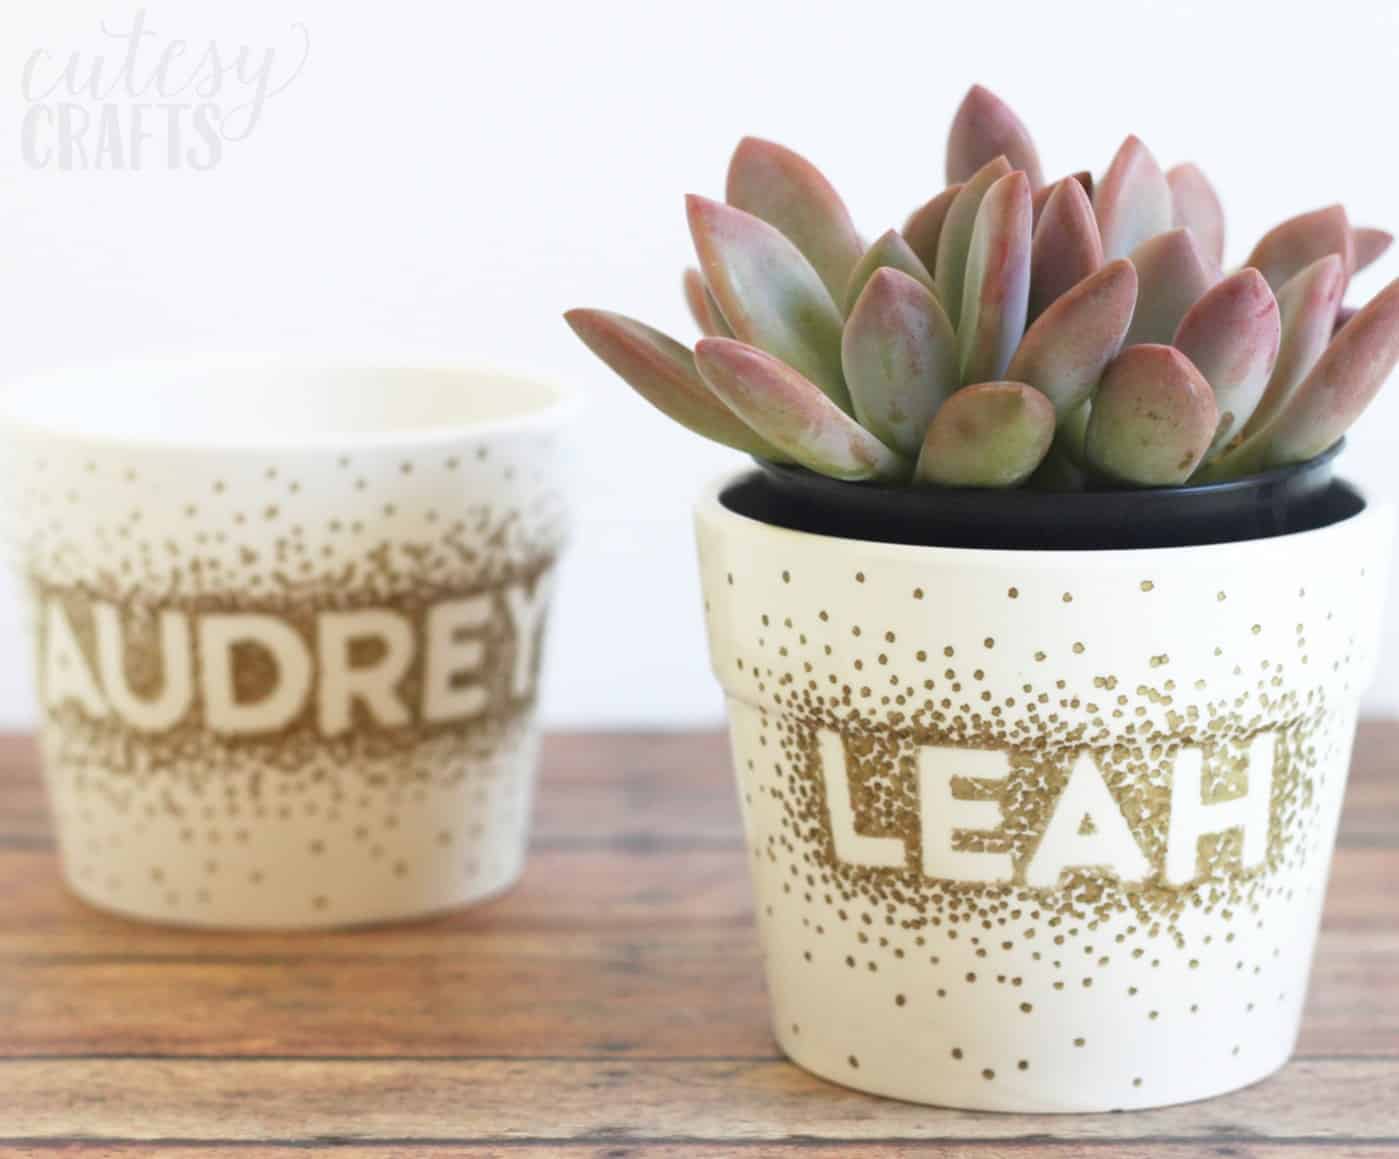
Check out our latest adventure: decorating clay pots with Sharpies.
This flower pot craft is as fun as it sounds. Inspired by the myriad of ways people have transformed mundane items into personalized treasures, I stumbled upon an idea that promised not just an afternoon of fun but also a way to brighten up our home with a splash of creativity.
The concept is straightforward, but the results are anything but ordinary. With just a few supplies – letter stickers, a Sharpie (the hero of our story), and, of course, a ceramic pot – you can create a really cute home for a plant.
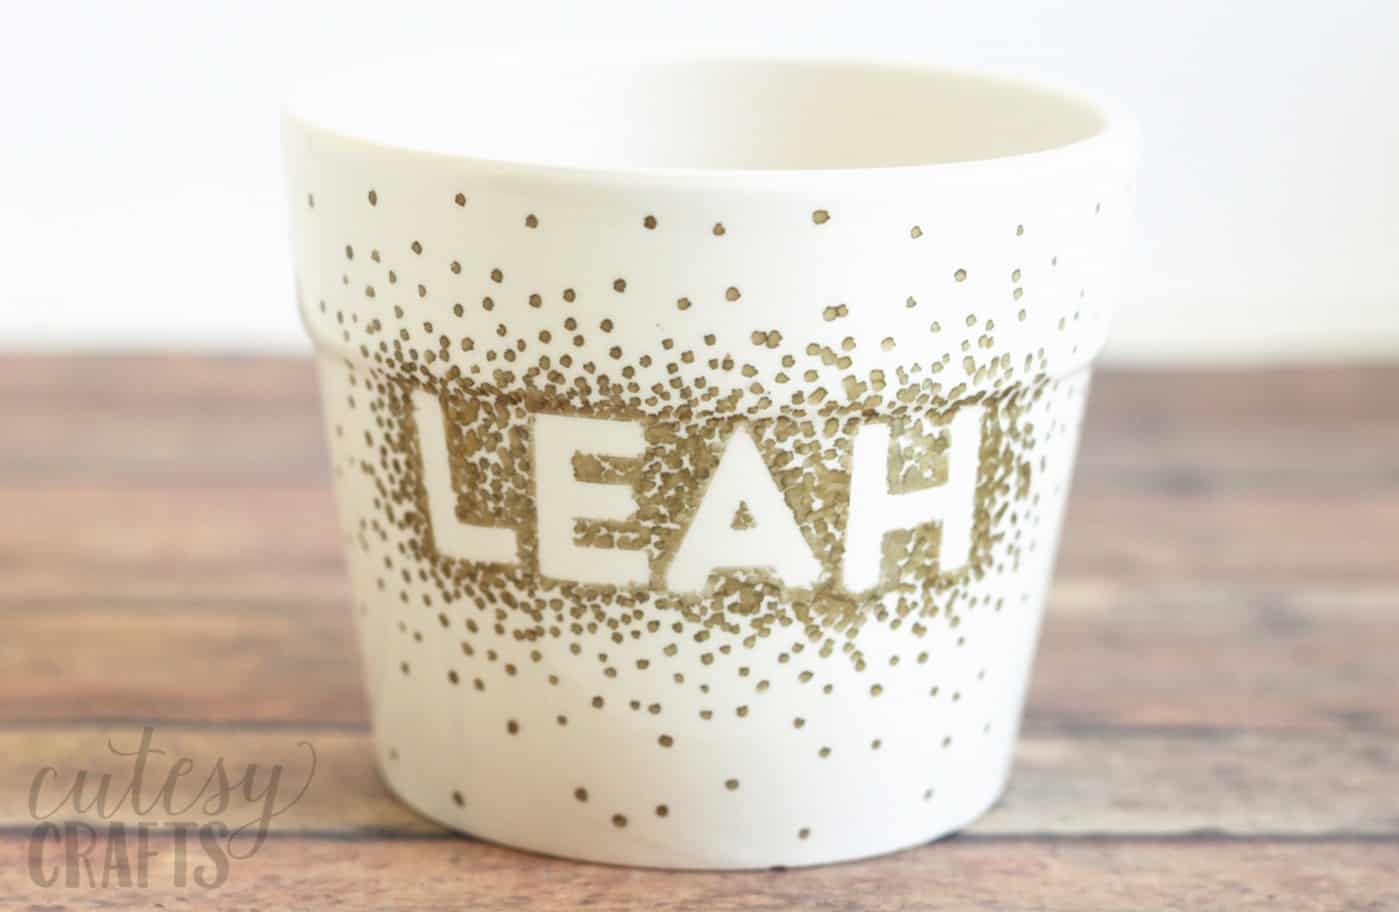
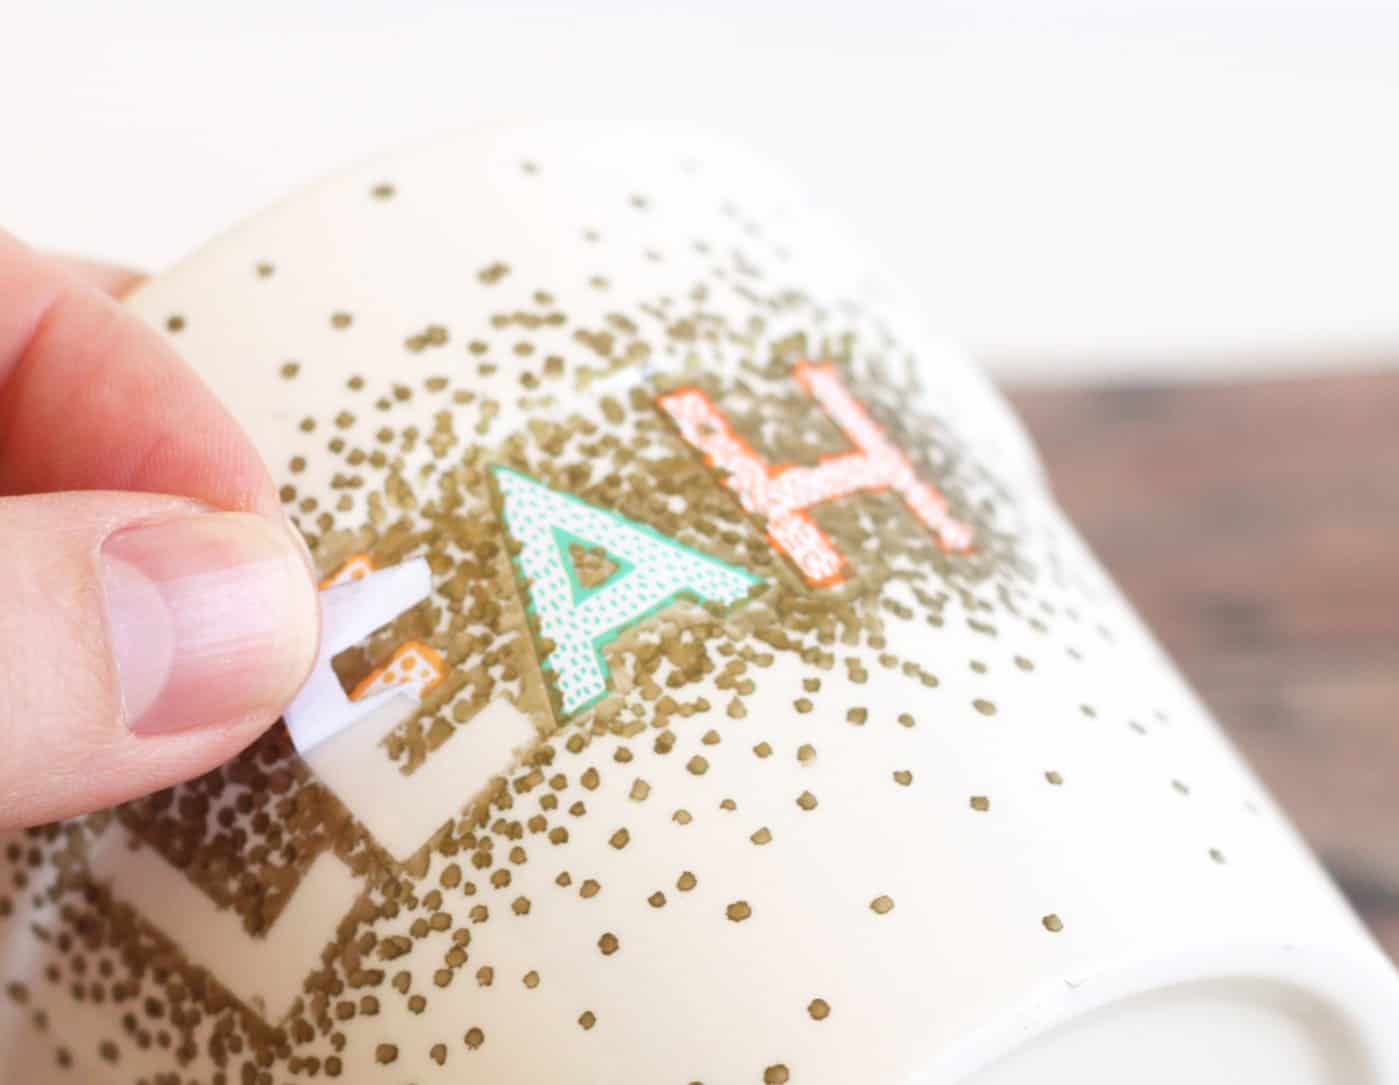
The process involves placing letter stickers on the pot, a canvas waiting for its masterpiece, then dotting around them meticulously with the Sharpie.
The magic happens when the stickers are peeled off, revealing personalized messages, names, or even simple, joy-sparking words.
It’s a project that invites imagination to run wild, whether you’re spelling out names for a personalized touch, creating a thoughtful gift for someone special, or even labeling herbs in a new, stylish kitchen garden.
So, grab your Sharpies, round up the troops, and let’s turn those cries of boredom into exclamations of excitement. Let’s create, personalize, and maybe even get a little messy in the process. After all, isn’t that what summer is all about?
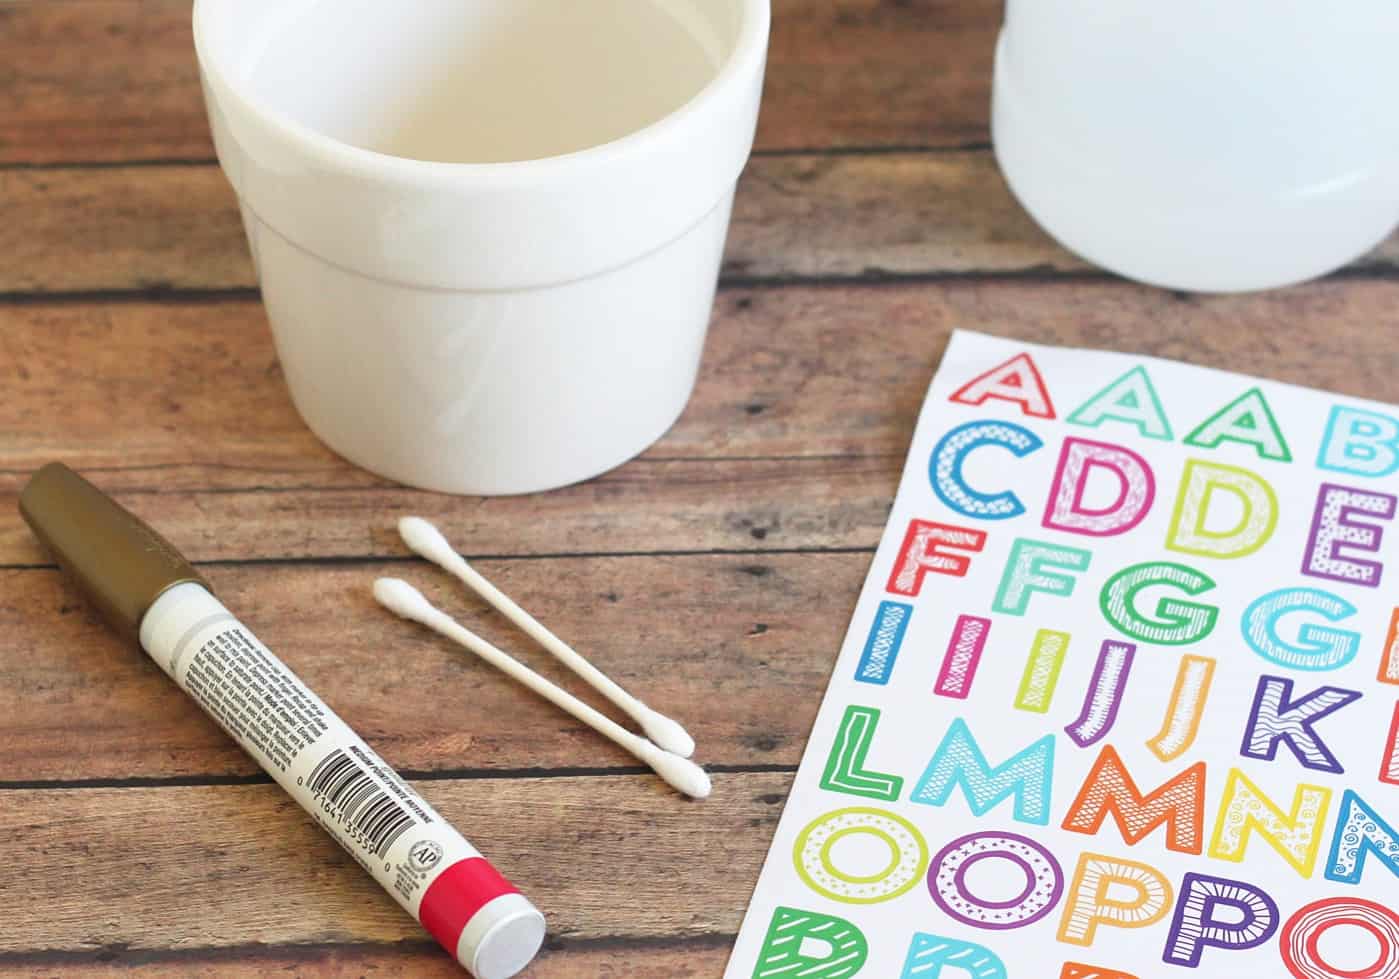
Gather These Supplies
- Ceramic flower pots – from the craft store, but IKEA has some great ones
- Letter stickers
- Oil-based Sharpie(s)
- Rubbing alcohol
- Cotton swabs
- Paper towels
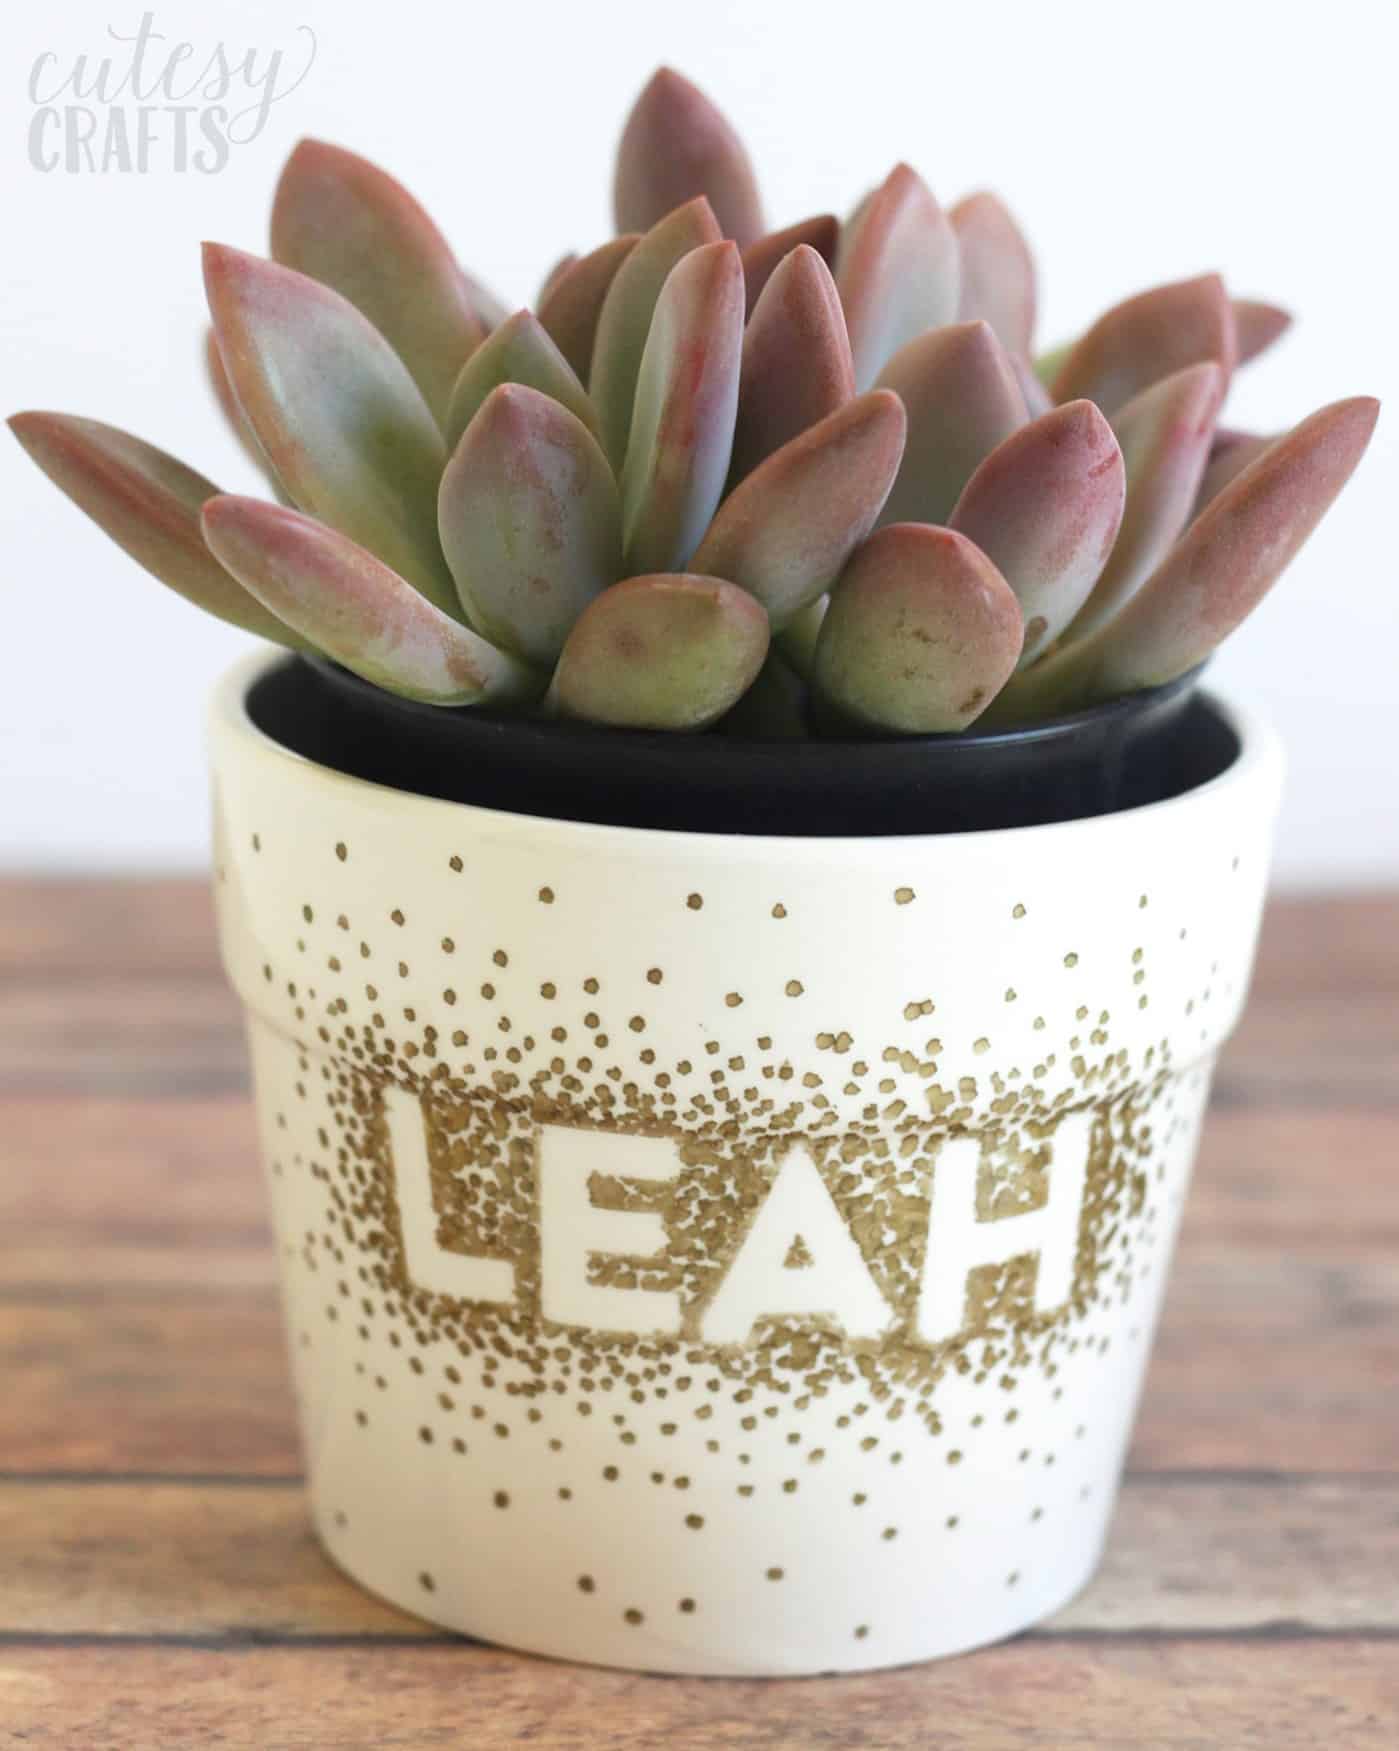
We put some pretty succulents in our pots, that are perfect for our hot California summer. Hopefully we finally have something that will survive since I’m not great at watering things.
Get the printable how to card for this project below:
Flower Pot Craft
Equipment
- Rubbing alcohol
- Cotton swabs
- Paper towels
Materials
- Ceramic pot(s)
- Letter stickers
- Sharpie(s) oil based
Video
Instructions
- Begin by cleaning the pot with rubbing alcohol and a paper towel to make sure all of the residue and oils from your fingers are gone. Let dry.
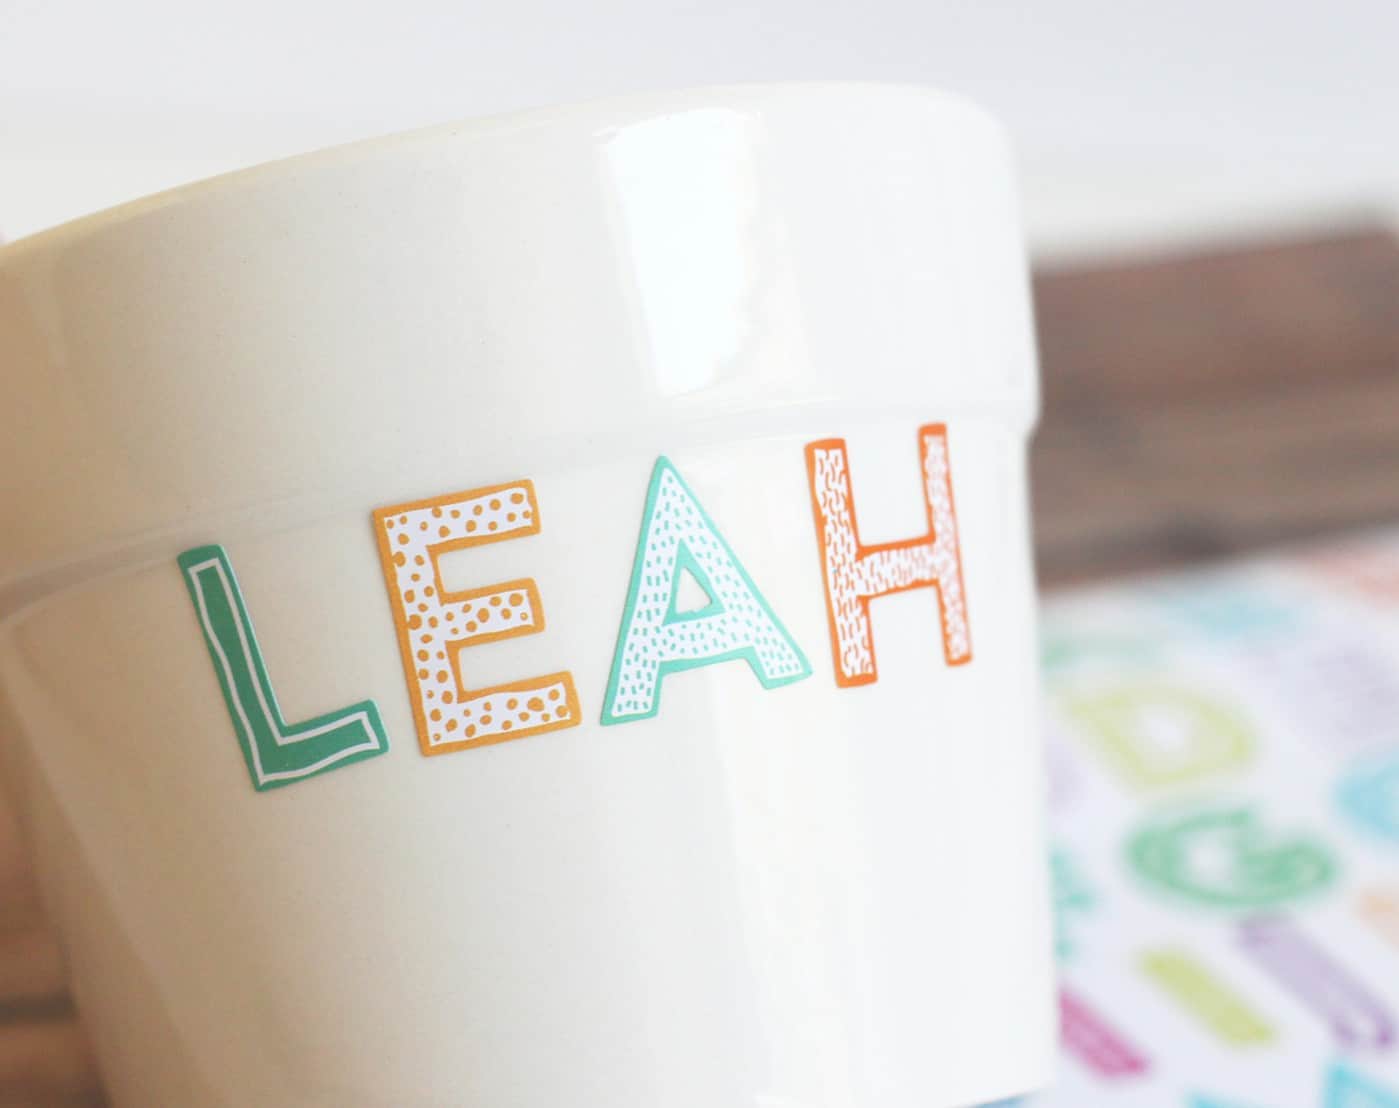
- Place the letter stickers on the pot to spell a name or word. Smooth down.
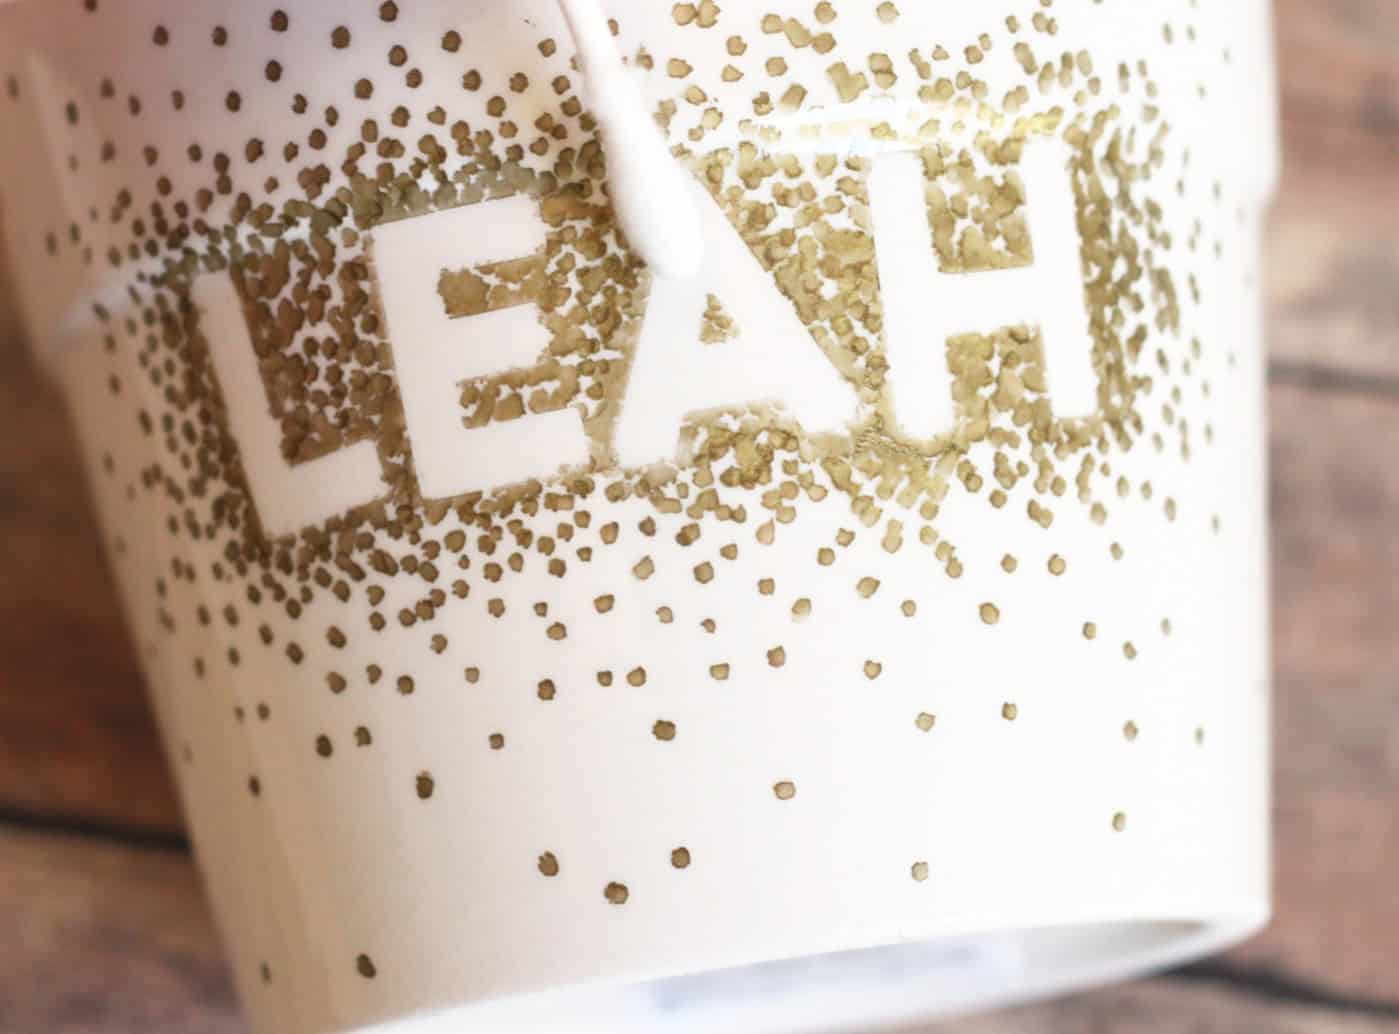
- Use the Sharpie to make dots all around the letters, overlapping the edges of the stickers.
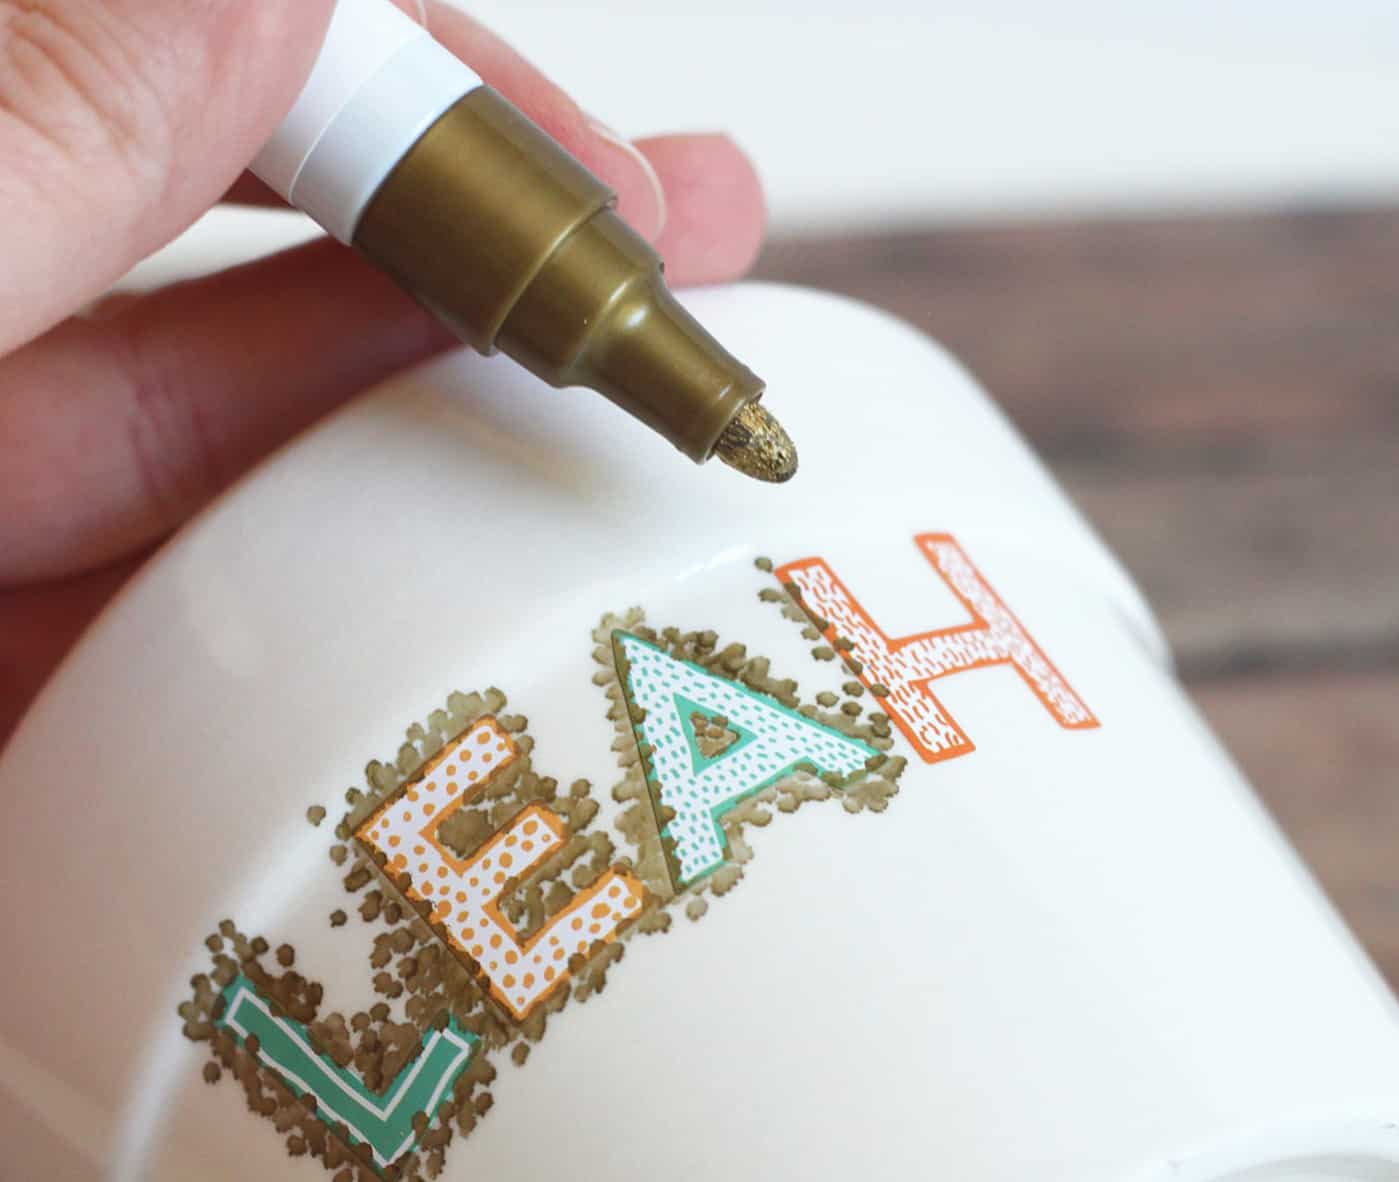
- Continue adding dots close together around the stickers, and move out as you get further away. Use one or multiple colors.
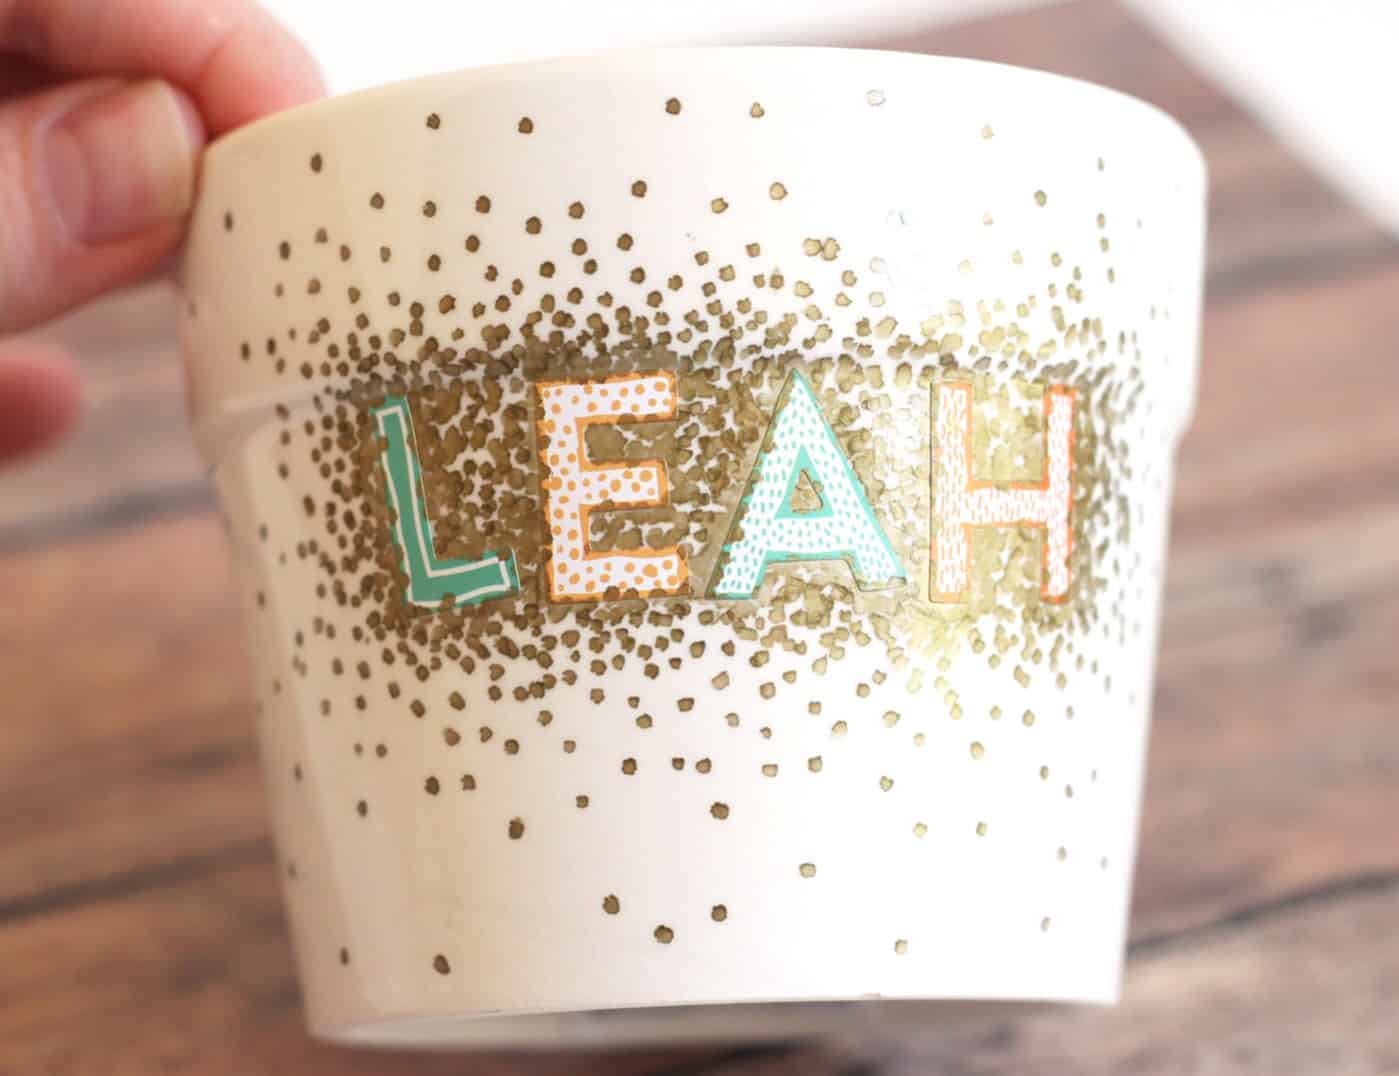
- Let the ink dry completely, then gently peel up the stickers. Use a craft knife at the edge to help if necessary.
- Wipe off any spots or excess ink with rubbing alcohol on a cotton swab. Let dry before using.
If you enjoyed this flower pot craft, let me know in the comments! I’d also love for to check out these other ideas:
Clay Photo Holders • Clay Trinket Dish • Decorate Canvas Shoes • DIY iPad Case • Doily Bowls • Easy Mason Jar Lantern • Embroidered Notebook • Painted Mugs (Dishwasher Safe!) • Paper Mache Bowls • Rainbow Painted Flower Pots • Shrinky Dink Keychains


Hi! Love this idea! Do you know what size pot you used in this sample?
Thank you!
I believe it’s a 9″ pot or so!
Super cute idea! Would this work on a plastic pot? Would you use the same type of marker?
The oil based Sharpies work great on plastic! The regular Sharpies will not 🙂
What size letters did you use?
I believe they were around 1 1/2 – 1 3/4!
Looks like you painted the clay pot first, correct?
Were they paper or vinyl letters? Does it matter?
Hi Tanya! The pot in the post came white – the pot in the video was painted – you can do it either way! It’s hard to find white pots in my experience (at least near me), so painting is absolutely fine. Vinyl letters will be easier to get off. The paper letters tend to tear. However, either one is fine 🙂
Adorable project! Do you have to set the dots to keep them from running if they get wet?
You do not! It’s a permanent paint pen. Thank you!!
I love this craft and the process is self explanatory. Great post
Lovely idea….must try it. I’m wondering what else we could use that technique on. Plaque name on their bedroom door?
Thanks for the inspiration.
That’s a great idea! If you make it, please share it will me! I’d love to see.