Skip to Content

Painting Flower Pots for Kids or Adults

Painting flower pots is easy to do and perfect to make for gifts or decor. Get all the tips here including preparation to ensure success. Both children and adults alike will love this easy craft. So fun!

Skills Required: None. You don’t need any previous crafting experience to paint these terra cotta pots. The abstract method is easy for crafters of all levels and ages.
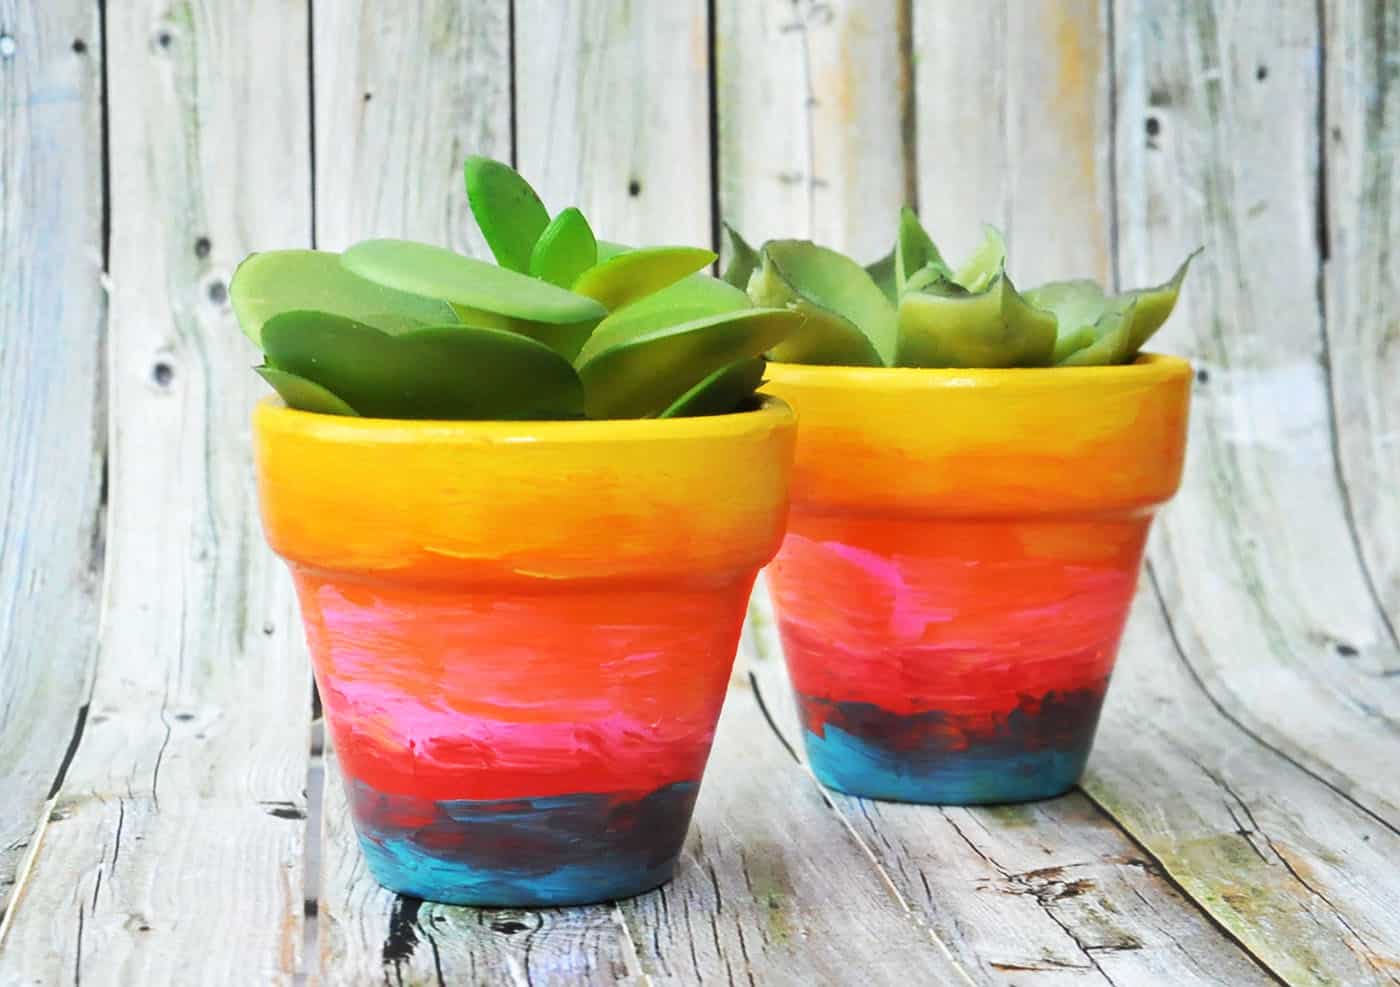
Rainbow Painted Flower Pots for Kids or Adults

If you’re anything like me, you probably have a soft spot for plants and flowers. There’s just something about adding a touch of green to your living space that brightens up your day and brings a sense of serenity.

But I’ll confess, I’m no professional gardener. So when I came across two cute little yellow flower pots in the dollar bin at my favorite store, I couldn’t pass them up. However years of use turned the yellow a little bit dingy.

I set them aside for a long time, not sure how to spice them up. Then the idea hit me like a pot of gold at the end of a rainbow . . . ombre! Rainbow ombre, that is.
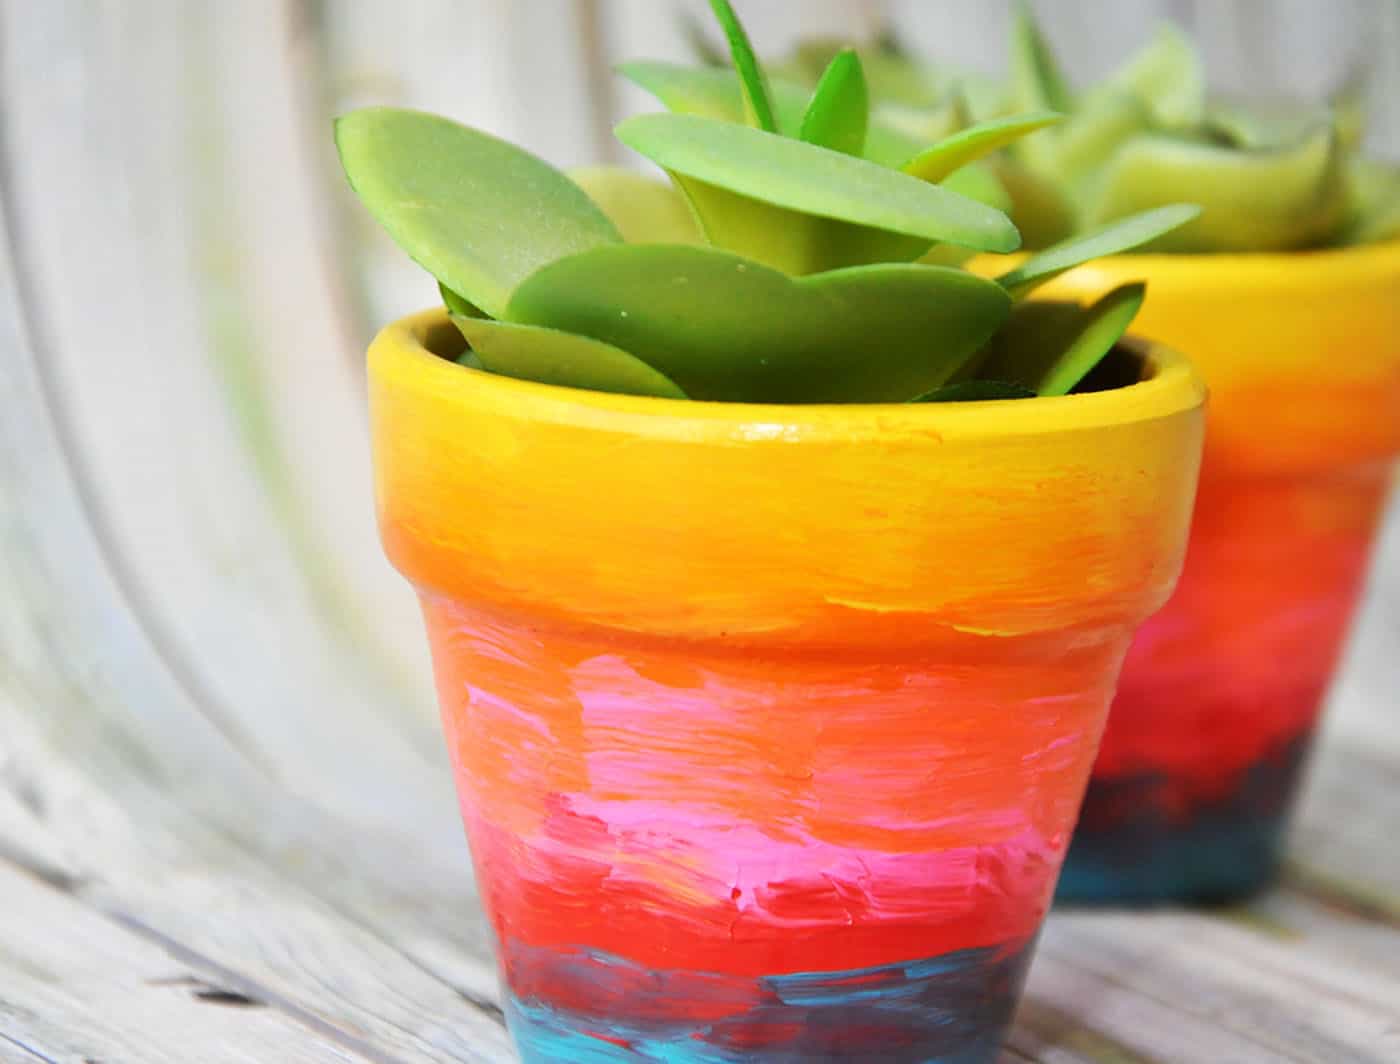
There are a lot of ways to paint flower pots, but this one brings a little something special: you don’t need any prior crafting skills. No detailed designs. They’re great Mother’s Day craft for kids . . . paint and add some flowers for the perfect gift for mom!

These clay pots are also a great summer craft or boredom buster for kids of all ages. Put the littles outside so you can spray them off after they’re done painting.
Before we jump into the project, I’m going to share some tips for painting clay pots. If you want to use them to hold real plants, you can’t just grab a brush and start painting.

You have to prepare the pot first. If you don’t, any painting you do may get ruined by adding water to your plant. I’ll explain more below!

Painted rainbow plant pots

Tips for Painting Terracotta Pots

First let’s talk about the star of the show – the clay pot itself. Did you know that painting a clay pot is not only a fun and creative activity, but also an excellent way to protect it from the elements?

The paint (and any accompanying decorations) create a barrier that helps to protect it from water (including from the inside), sunlight, and temperature fluctuations.

All of these things can fade your work and ruin your project.

And we don’t want that. Painting a clay pot isn’t as simple as grabbing a brush and slapping on your favorite color. You’ll need to follow a few essential steps to ensure that your masterpiece lasts for years to come.

Clean the Pot

Before you begin, make sure your clay pot is clean and free of dust, dirt, and any oils. A simple solution of warm water and mild dish soap will do the trick. Give it a good scrub, and then rinse thoroughly. Allow it to dry completely before moving on to the next step.

Seal the Inside

Most people don’t know that you need to seal a pot from the INSIDE if you paint it! Why? Because when you water the plant, the water can seep through the clay pot from the inside out. Terracotta is porous.

Not only does the water seep out, but dirt will come with it. It will ruin your design and cause the paint to bubble and peel.

SO – to prevent this, apply a clear, water-based sealer to the inside of the pot. Acrylic products like this one are non-toxic. You can use a brush on or spray on. Spray 2 – 3 thin coats, letting dry between coats. Then let dry 24 hours before painting.

Note: If your pot is going to be a desk decoration or no water will ever touch it, no need to seal the interior.

Hand of a child painting a clay pot with acrylic colors

Sand the Surface

Using a fine-grit sandpaper, gently sand the entire surface of the pot. This will create a slightly rough texture and make it easier for the paint to adhere. Once you’re done, wipe away any dust with a damp cloth and allow the pot to dry.

Choose the Right Paint

I use either outdoor acrylic or multi surface acrylic for painting flower pots. The difference is that an outdoor specific paint usually has a UV sealer in it. This gives you protection against the sun.

Outdoor is more durable than multi surface acrylic paint generally speaking, and is the best choice if there is harsh weather where you are.

Chalk paint and chalkboard paint aren’t great for terracotta pots that are going to be outside unless they’re going to be covered. Chalk paint definitely needs to be sealed if you try it!

Apply a Final Sealer

Whatever sealer you used for the inside of the pot? Use it to seal the outside as well, even if you used durable paint. It never hurts to add more protection. If the project is going to be in direct sunlight, consider an additional UV sealer. The sun’s rays can be very harsh!


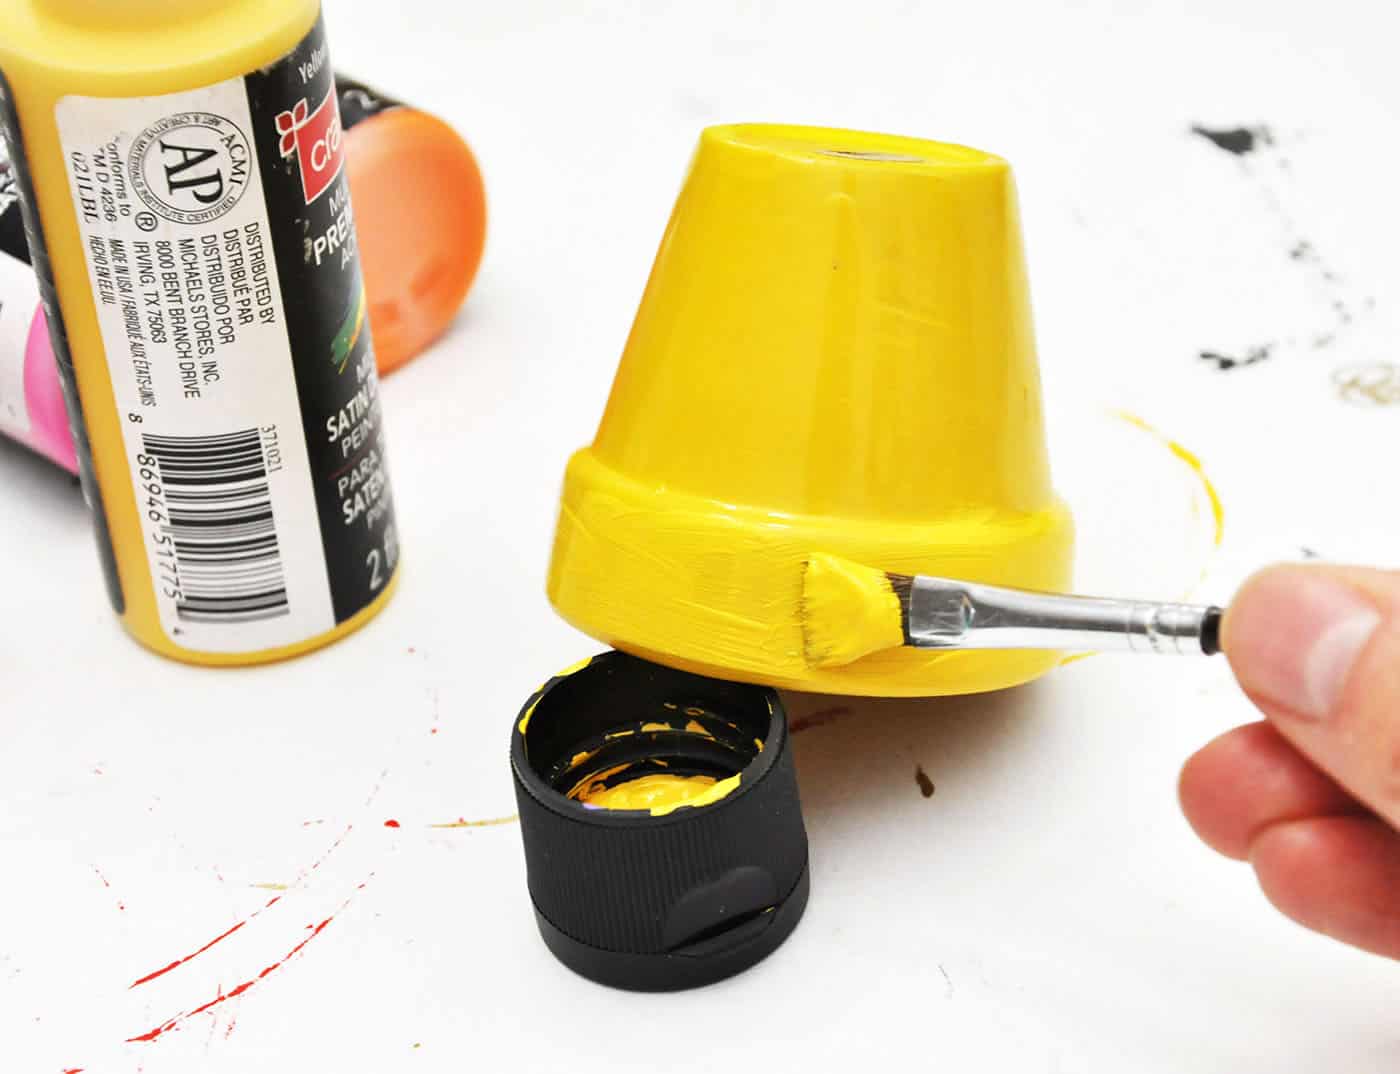
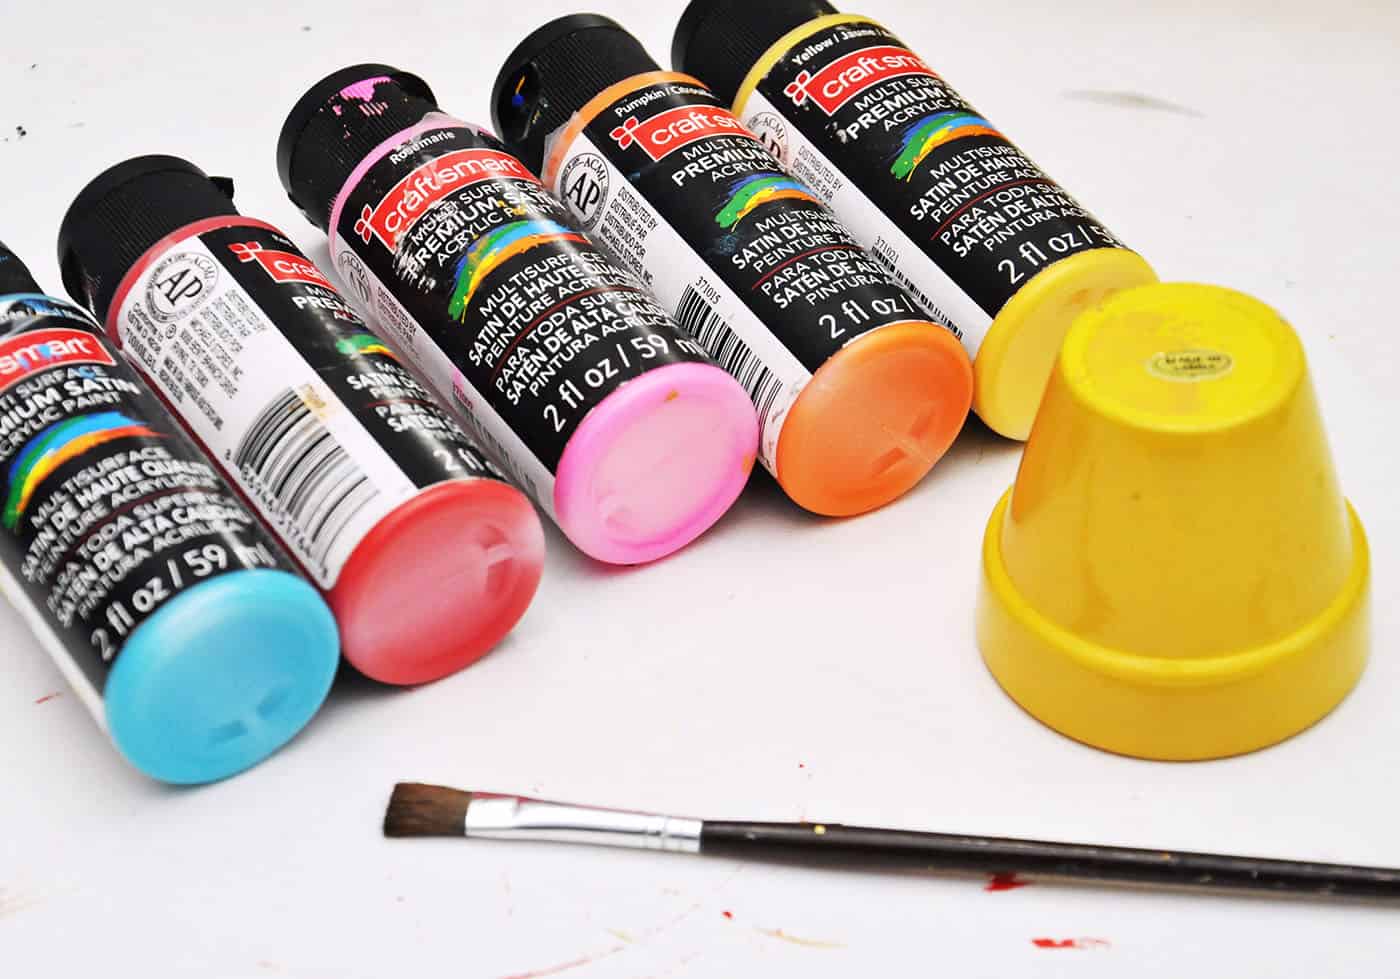
Various colors of craftsmart paint with a yellow painted flower pot

Now that you’ve prepared your pot, you’re all set to unleash your creativity and paint your masterpiece! Don’t be afraid to experiment with colors, patterns, and designs – the sky’s the limit! And remember, have fun with it.

First, you’ll need to collect what you need to paint the pots.

Gather These Supplies

  • Terracotta pots
  • Multi-surface or outdoor acrylic paints, assorted colors
  • Soft bristled brushes
  • Spray or brush on sealant
  • Sandpaper

Start by planning how you’re going to paint the pots. What I did was take the paint colors and arrange them to match (as best I could) the colors of a rainbow.

You can use any design you like, though.

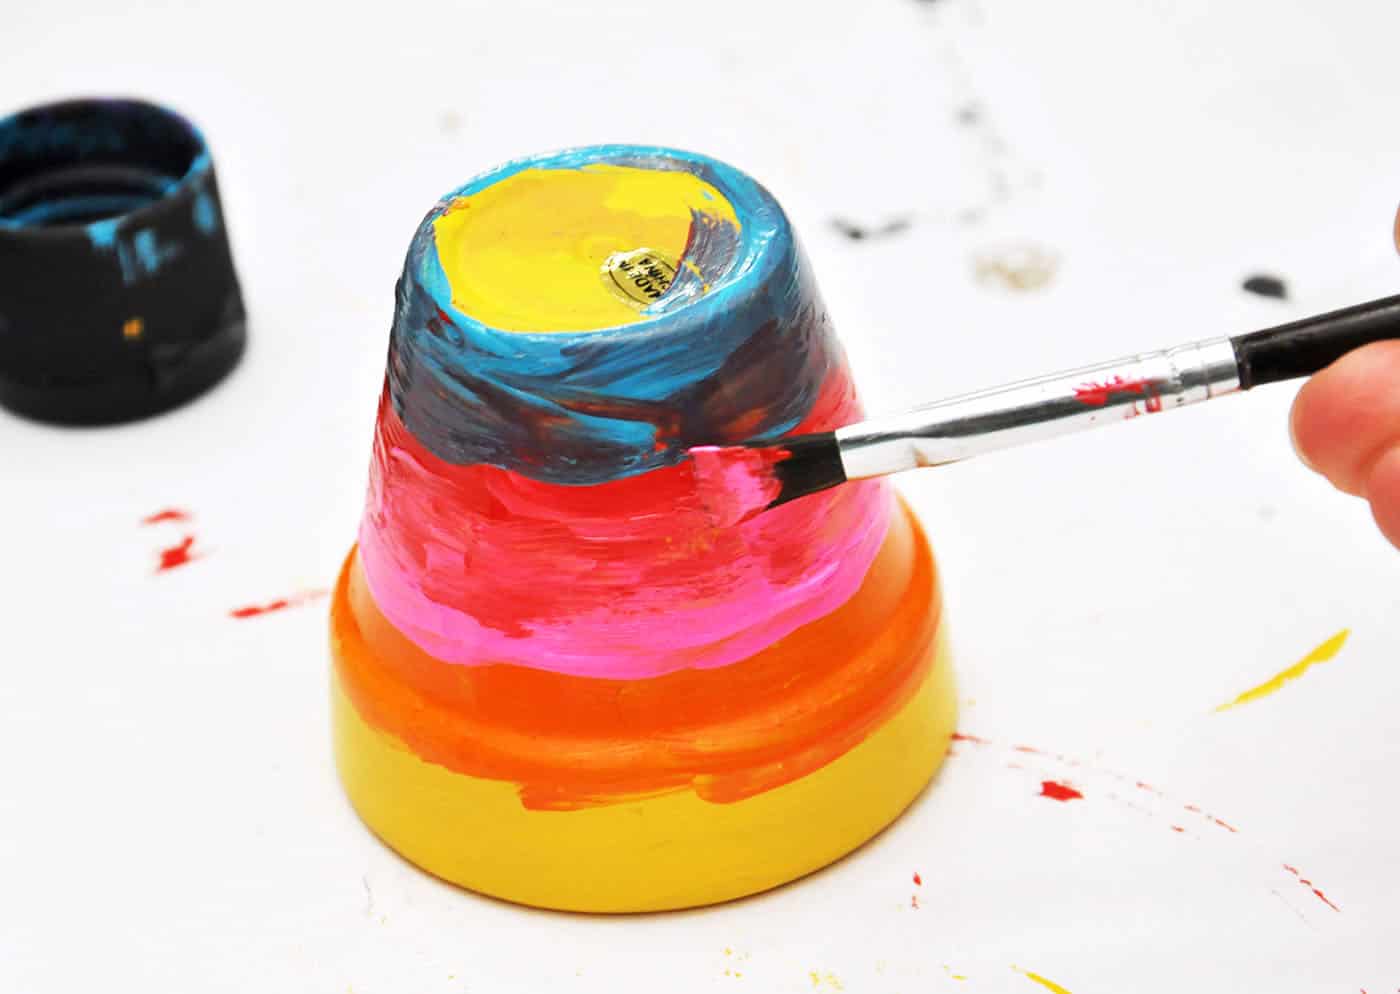
Painting a blue stripe on a rainbow pot

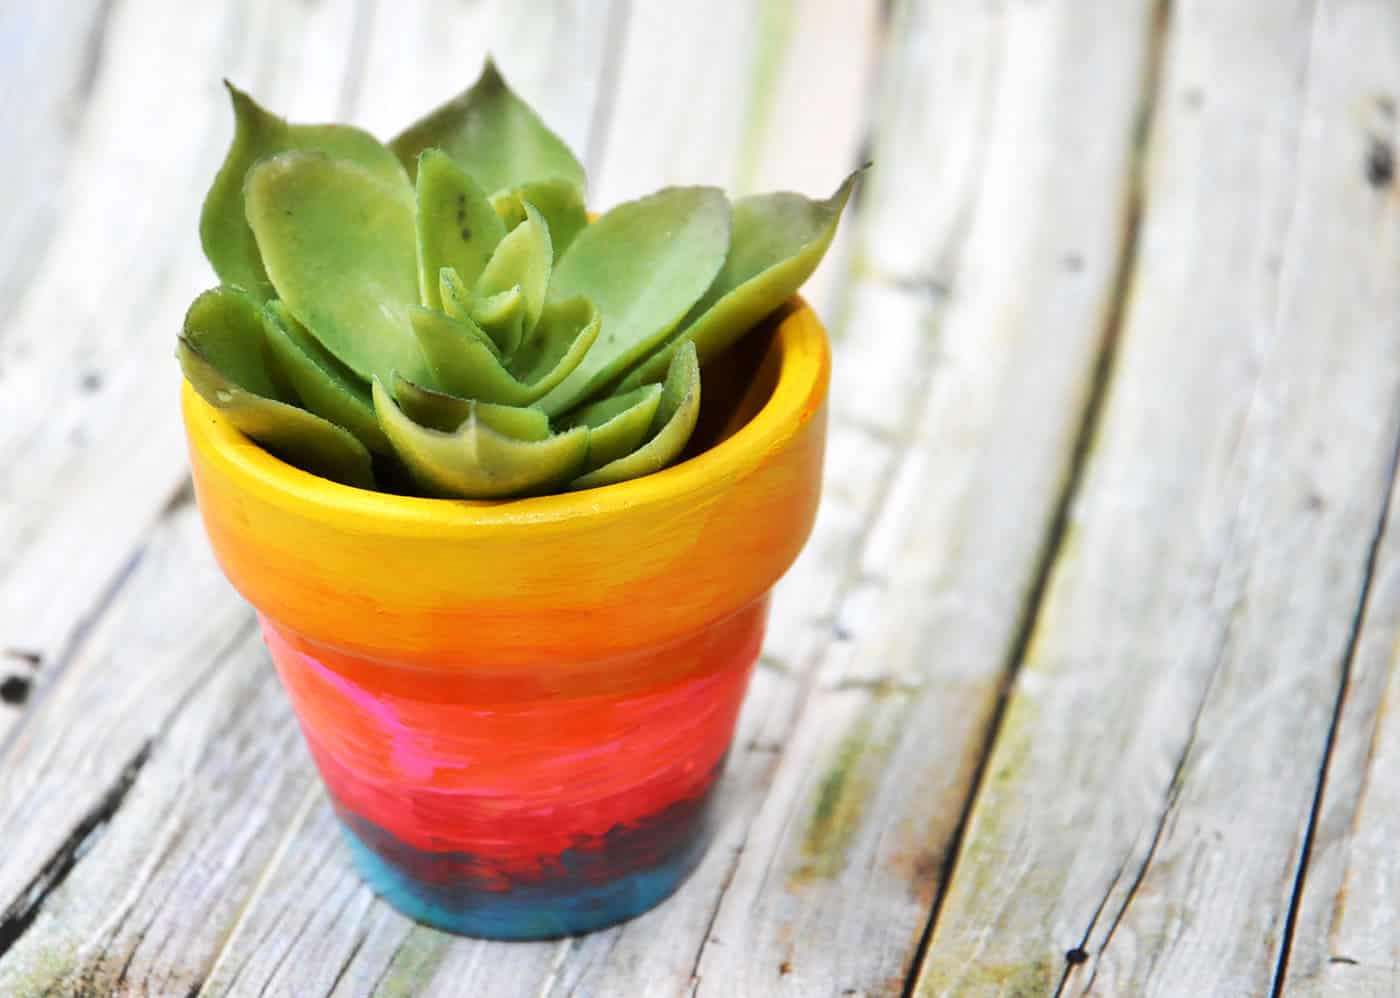
Once you’re done, fill the painted flower pots up with cute little succulent plants or fresh herbs. You should be able to water them just fine!
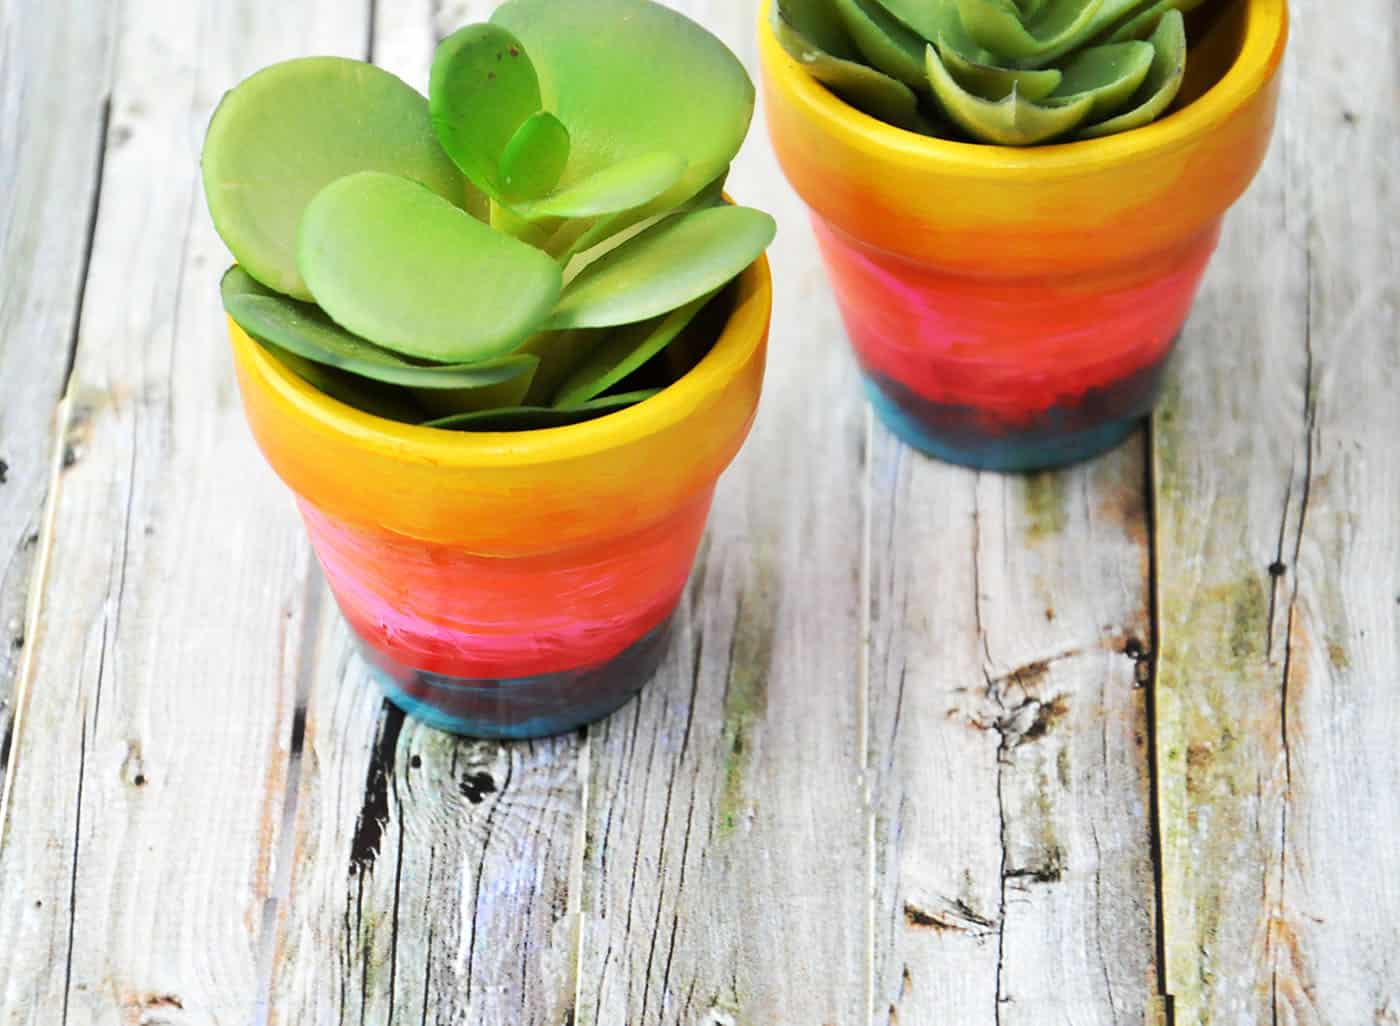
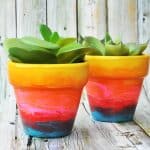
Rainbow flower pots with succulents inside

Get the printable how to card for this project below!

Yield: 2 pots

Painted Flower Pots

Rainbow Painted Flower Pots for Kids or Adults

Learn how to paint terracotta pots using this simple tutorial, plus make sure they are sealed correctly. A perfect craft idea for spring.

Prep Time 5 minutes
Active Time 45 minutes
Total Time 50 minutes
Difficulty Easy
Estimated Cost $2

Materials

  • Terracotta pots
  • Multi surface or outdoor acrylic paint - various colors
  • Water based sealer

Tools

  • Paintbrushes
  • Sandpaper

Instructions

  1. If the clay pots have been used, clean them with mild soap and warm water to remove all dirt and debris. Let dry.
  2. Apply 2 - 3 coats of a clear, water-based sealer to the inside of all the pots, letting dry between coats. Let dry completely before painting.
  3. Basecoat your pot with a single color and let dry. If you aren't sure which color to use, choose white. It's a great blank "canvas" for your painting.Painting a terra cotta pot with yellow paint using a paint brush
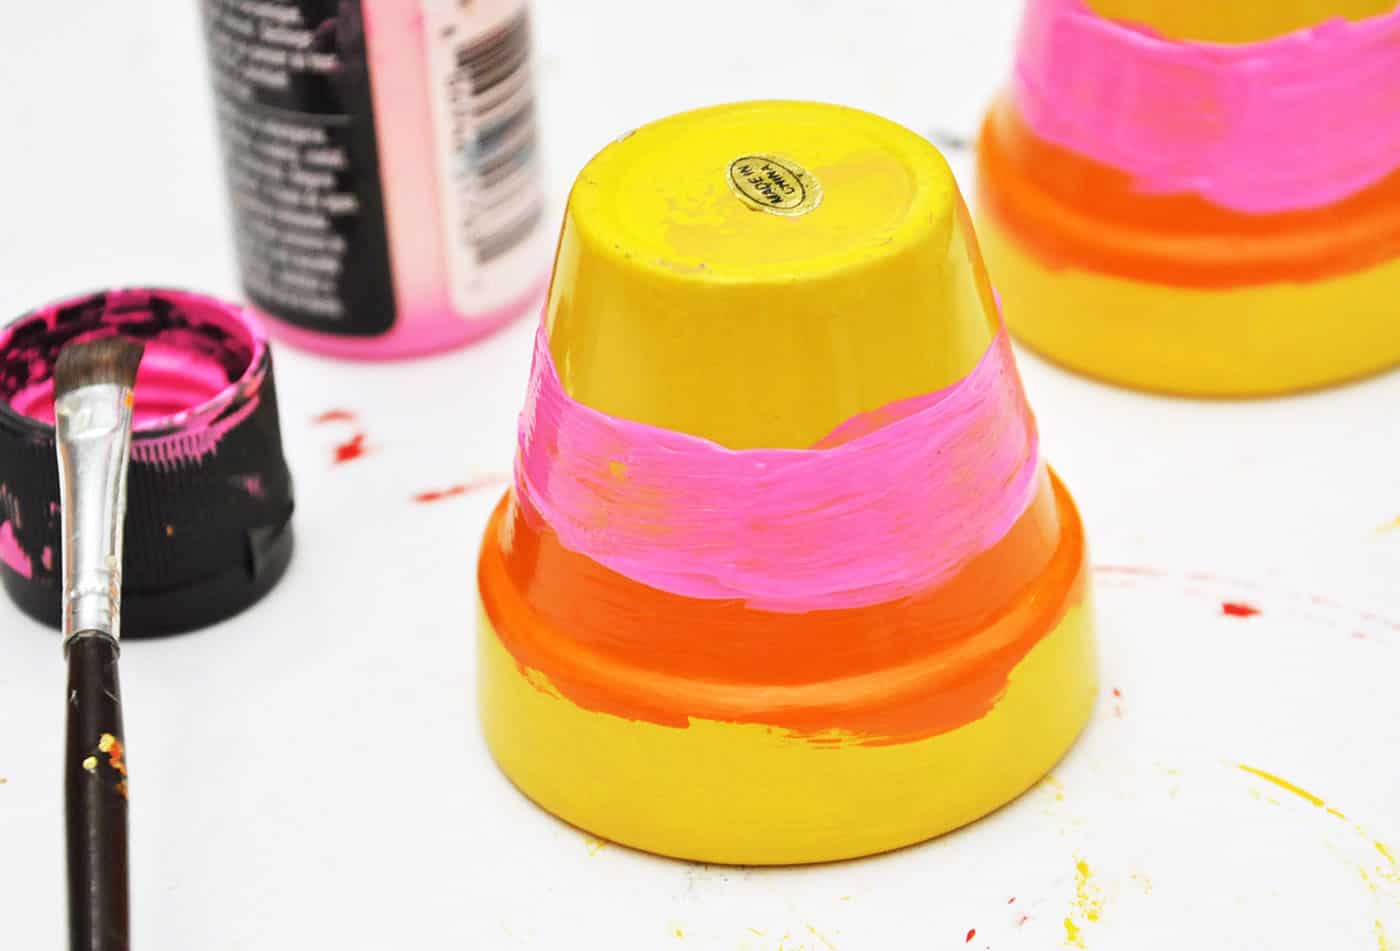
  4. Use your brush to add a very thick layer of painted stripes to the pot, one right on top of the other.Orange stripe and pink painted stripe on a terra cotta pot
  5. Clean your brush and then make sure the paint is still wet. Use the brush to go over the line where both colors meet, lightly stroking each color within the other to soften the line.Blending lines on your terra cotta surface using a brush
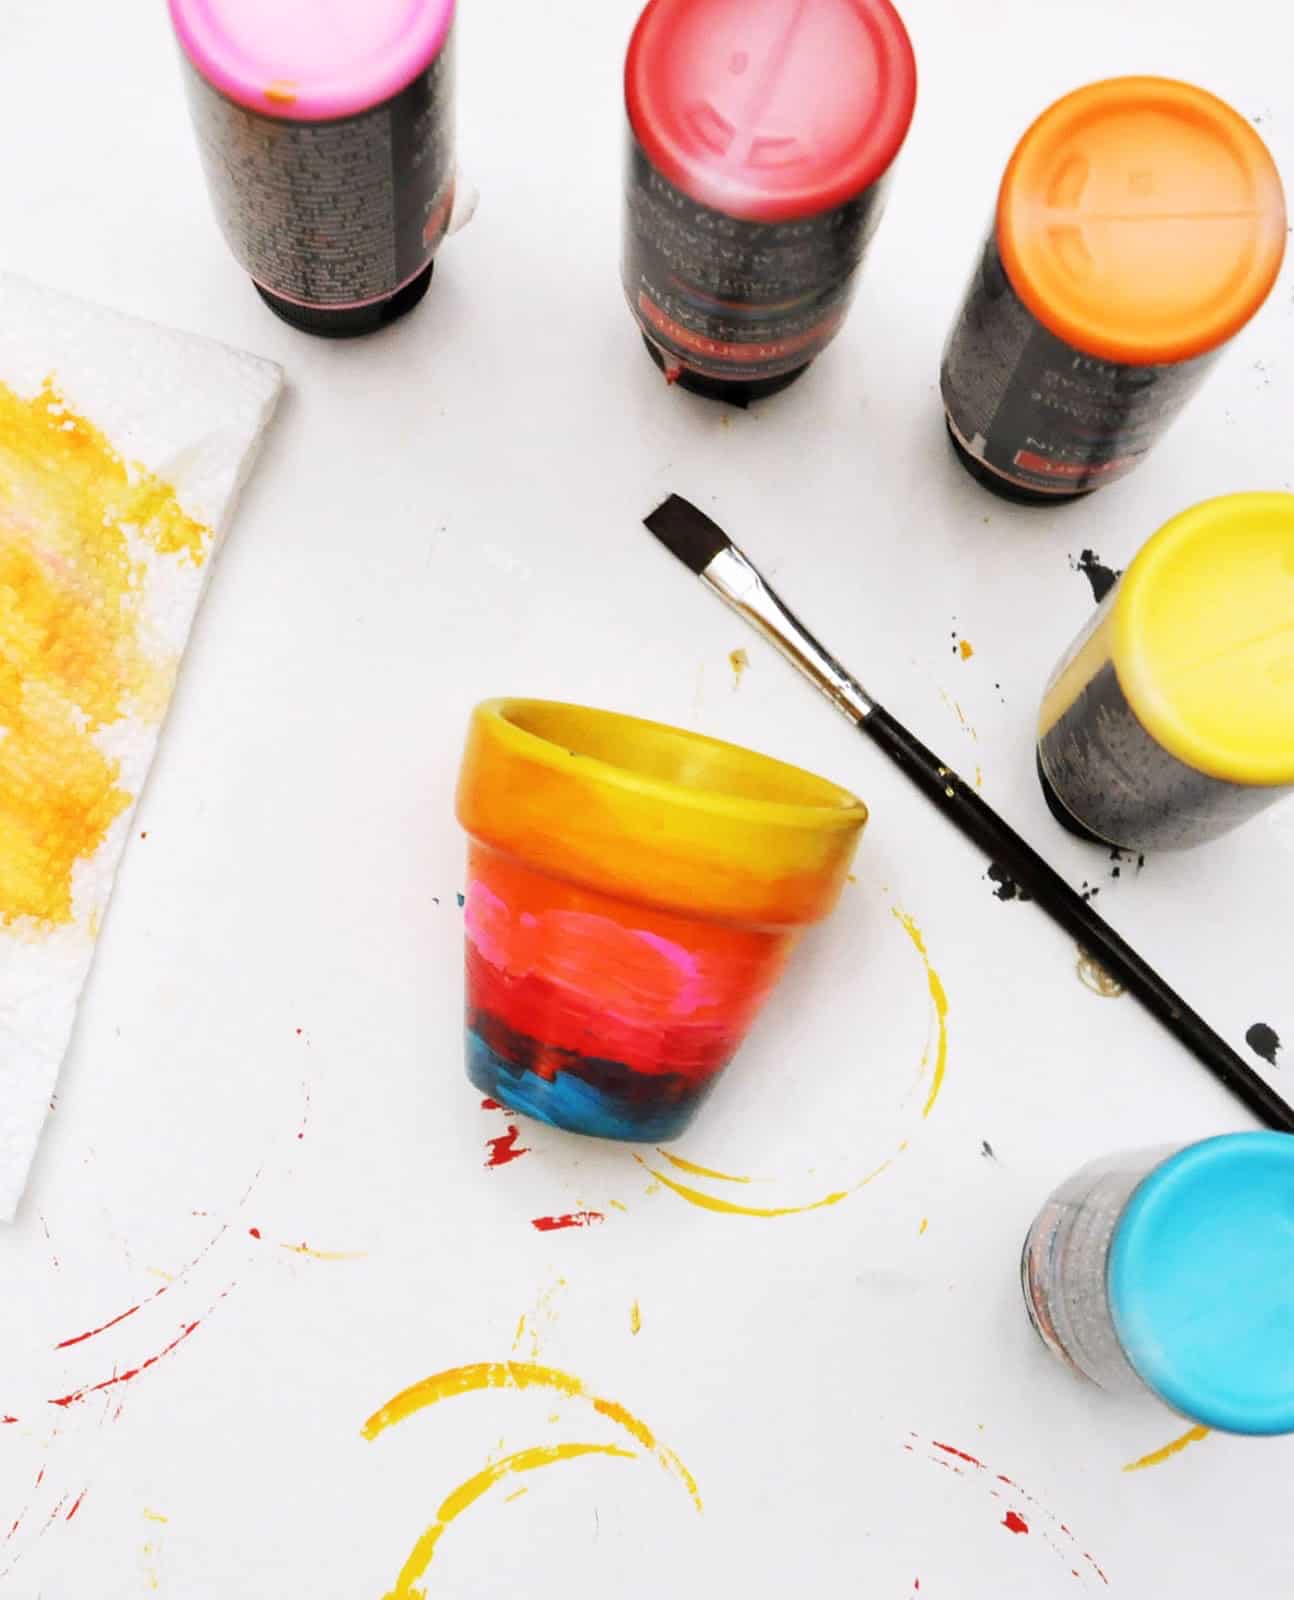
  6. Continue painting stripes (or the design of your choice). Once you're finished, allow the pot to dry for several hours.The bottom of four paint bottles and a painted pot with a paintbrush
  7. Apply 2 - 3 coats of a final sealer to the outside. Let dry for at least 24 hours before planting.Painted plant pot with a succulent inside

Did you make this project?

Please leave a rating or share a photo on Pinterest!


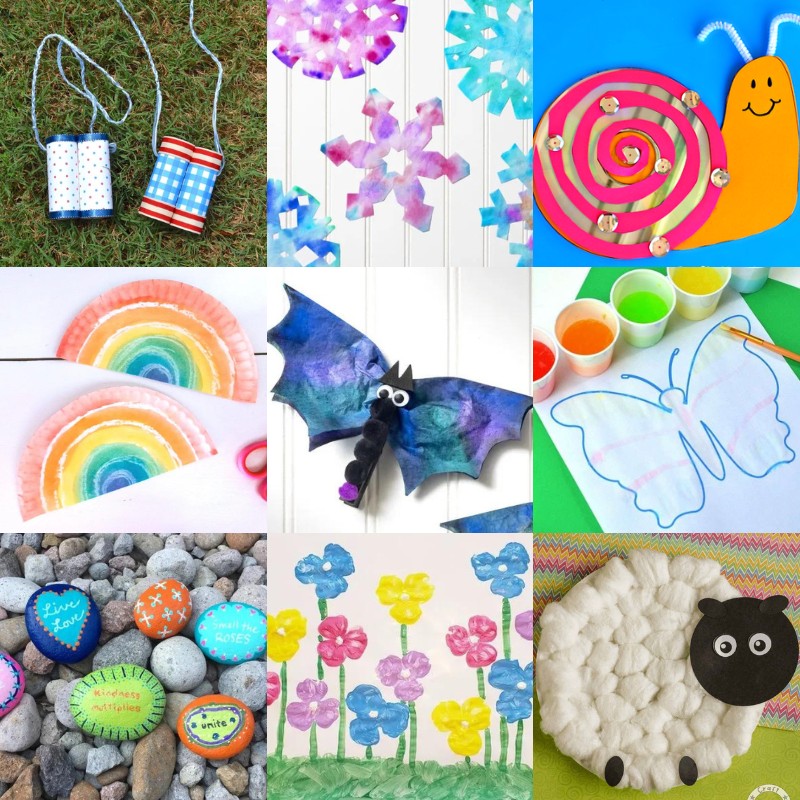
If you’re looking for other craft ideas that kids are going to love, check out these projects:

Shreya Dalela

Sunday 21st of November 2021

I really loved this amazingly painted flower pot. Also, the idea of having a rainbow theme is quite inspiring.

Amy

Tuesday 23rd of November 2021

Thank you Shreya!

Gigi

Thursday 14th of July 2016

Great idea! Will have to try this!

Skip to Instructions