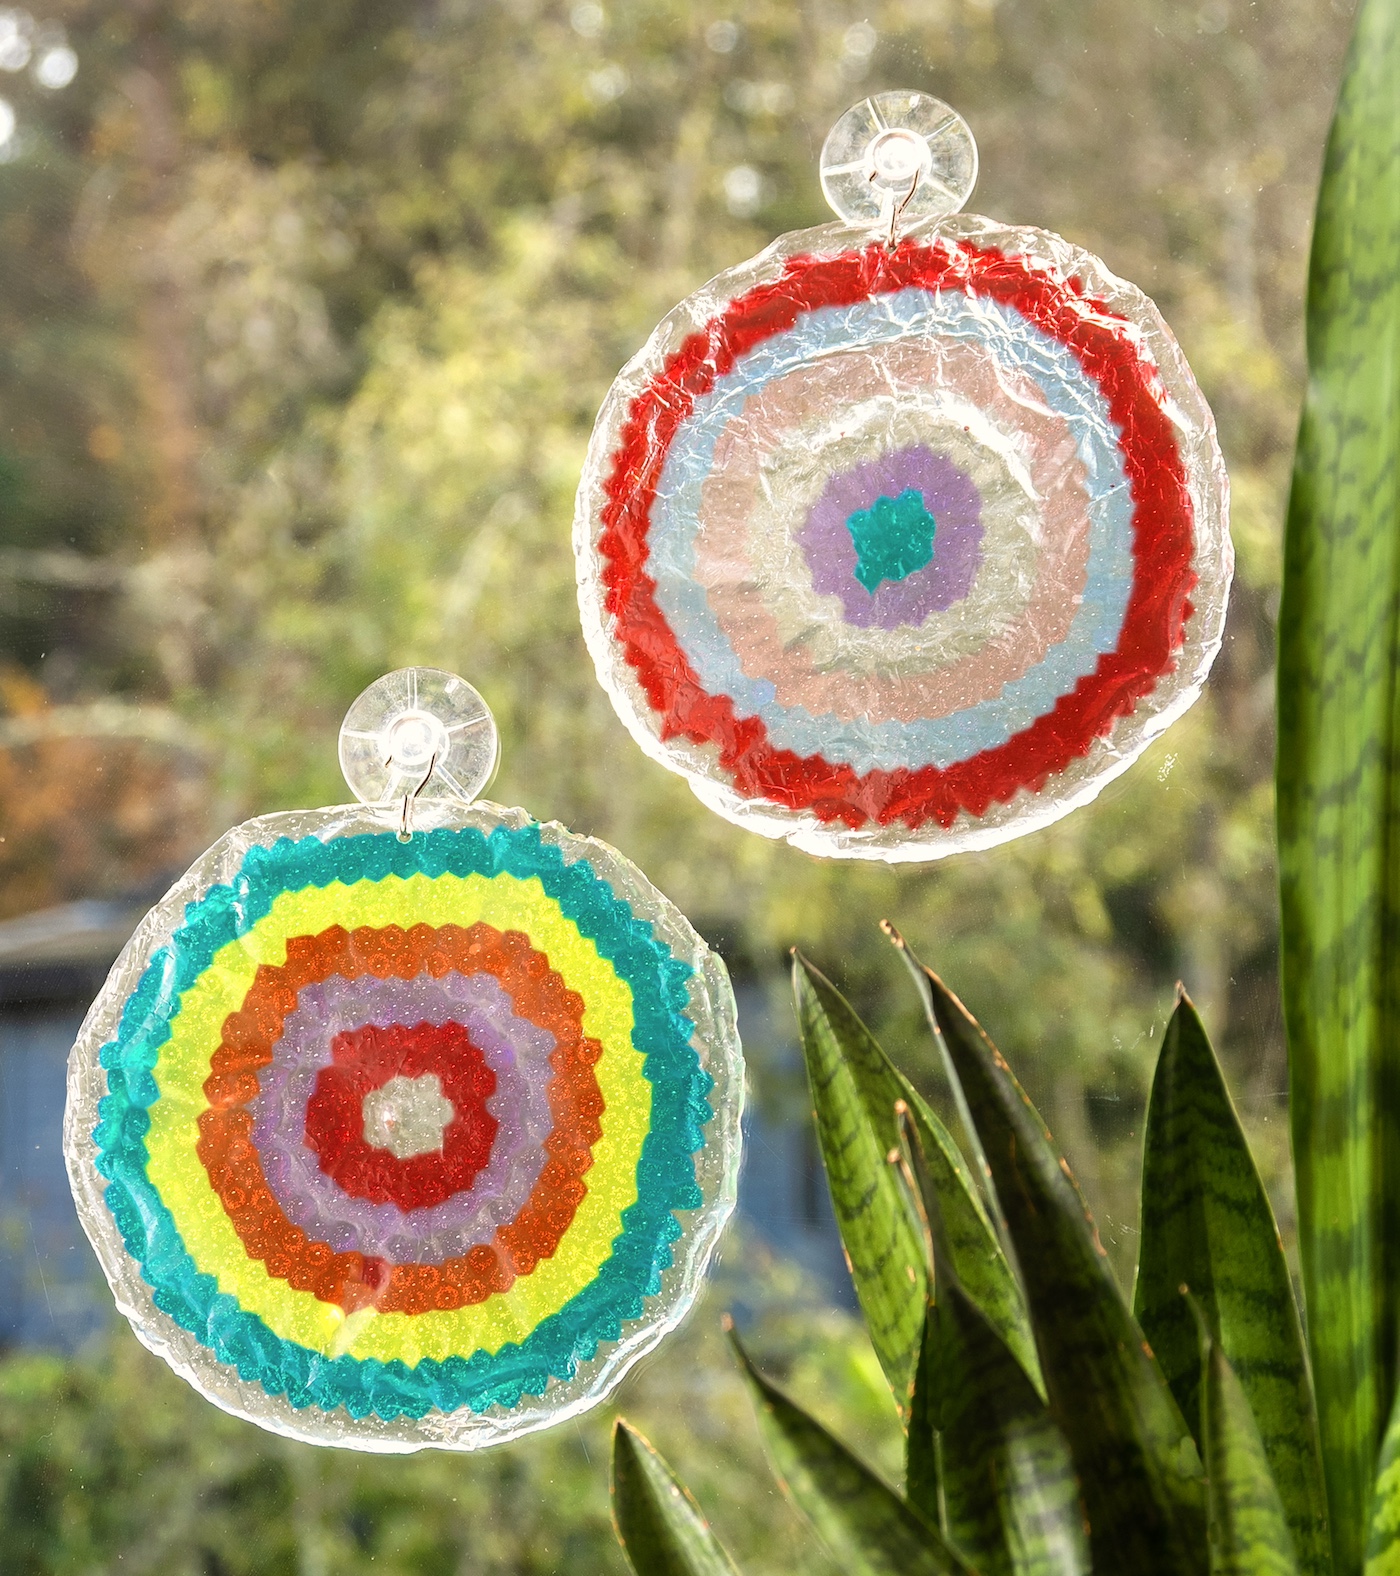
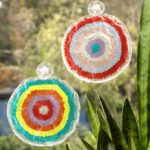
Make Sun Catchers with Beads
Learn to make vibrant beaded sun catchers with beads in this fun, kid-friendly craft tutorial. Perfect for brightening any room!
Skills Required: None. Placing the beads is easy for kids of any age. There will need to be adult supervision for the oven portion of the project.
Nothing brightens a room quite like a splash of sunlight filtered through colorful, handcrafted decorations. That’s why today, I’m going to show you a super fun project that’s perfect for adding a little sparkle to your windows: making sun catchers with beads!
Not only is this craft an excellent way to engage kids on a sunny afternoon, but it also results in a beautiful piece of art that captures the essence of light and color.
This project is all about simplicity and the joy of creating something beautiful from very basic materials. You’ll need a metal baking tin, some transparent plastic pony beads, and a few other household tools like a drill and scissors.

The beauty of this craft lies in its ease and the magic of watching simple pony beads transform into a stunning suncatcher as they melt together in the oven. There’s something truly therapeutic about filling the tin with vibrant beads, knowing that they will soon meld into an explosion of color.
It’s a bit like baking cookies, but what you get at the end of this recipe is a radiant piece of art, ready to catch every ray of light that dances into your room.
This craft isn’t just about making something; it’s about creating memories. AND it’s a perfect boredom buster or summer craft idea. I promise that the kids will love it.

So, grab your supplies, and let’s make something that will bring a little extra light into your life. Whether you’re looking for a fun family activity or a simple project to enjoy some me-time, these beaded suncatchers are a perfect choice.
Ready to get started? Let’s dive into the world of beads and light!
Gather These Supplies
- Metal baking tin – any size (9” was used here)
- Aluminum foil
- Transparent plastic beads
- Twine
- Painter’s tape or similar
- Oven
- Scissors
- Drill
Tips and Thoughts for This Project
This pony bead suncatcher is not only very easy, but it’s also incredibly durable. If you make one or more, you can hang them both in and outside. They are resistant to the elements!
This project can also be done in smaller molds like cookie cutters. Make several of these in small shapes and string them all together to create a unique suncatcher that really makes a statement.
What does your suncatcher represent? Colors are very powerful and can even affect our feelings. Pick combinations that make you feel happy and positive. Hang in a bedroom or bathroom window so that first thing in the morning, you’ll see this and enjoy its cheerful therapy.
Get the printable how to card for this project below:
Sun Catchers with Beads
Equipment
- Oven
Materials
- Metal baking tin – any size 9” was used here
- Aluminum foil
- Transparent plastic beads
- Twine
- Painter’s tape
Instructions
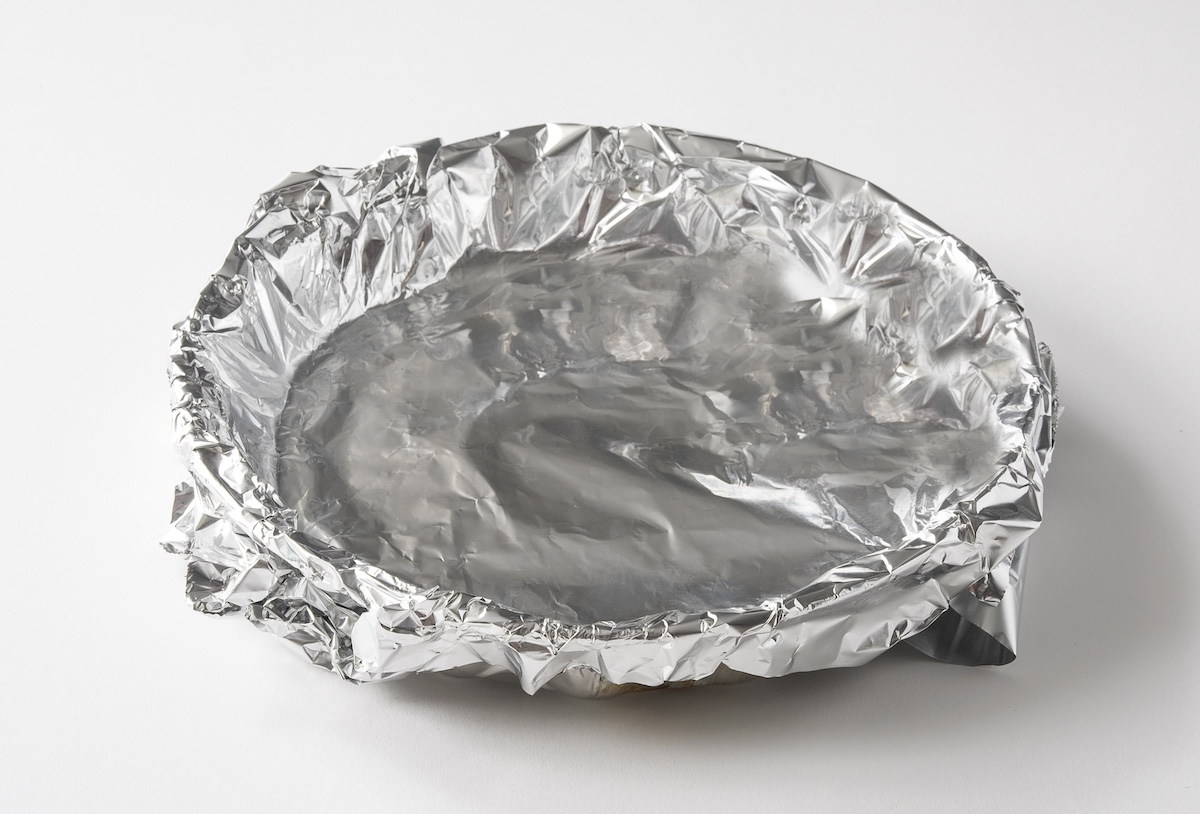
- Line your metal tin with aluminum foil so that it can be reused. Crimp the foil over the sides so you will be able to easily lift out the suncatcher when it’s complete.
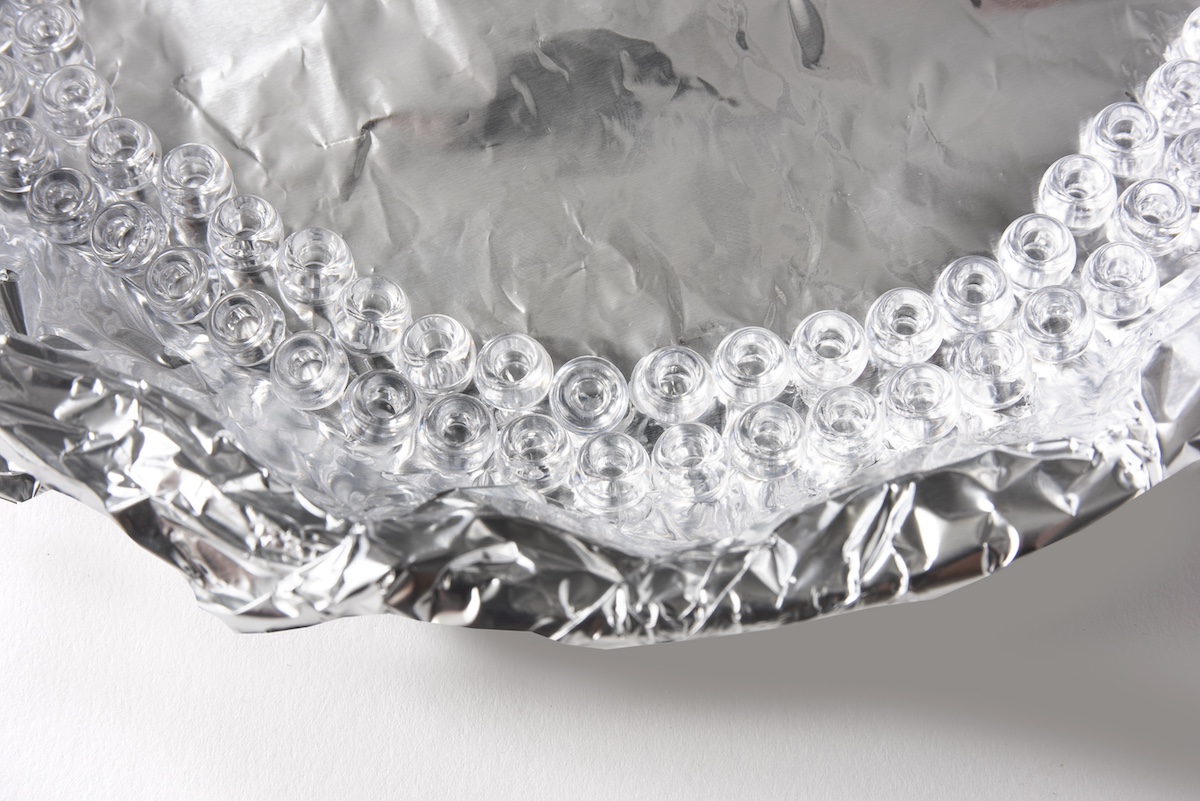
- Beginning on the outside edge, line the pan with two rows of beads (in this case, clear beads were used).
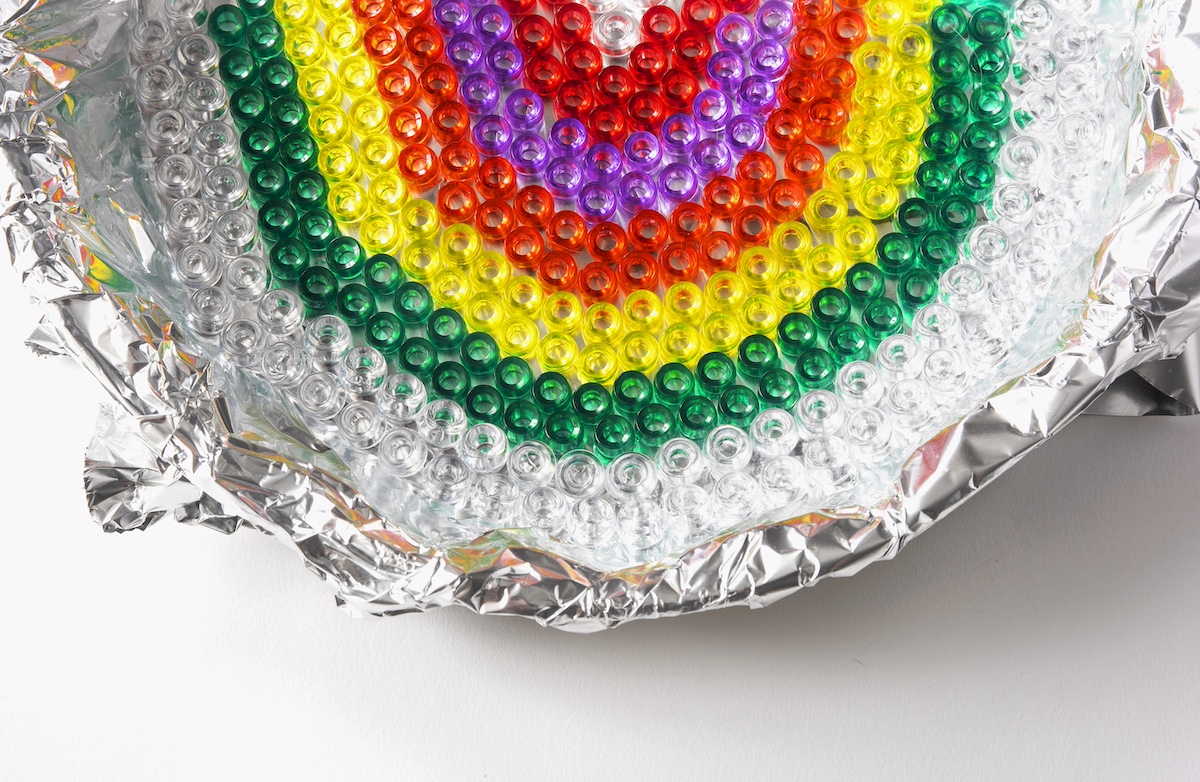
- Continue lining the pan with beads, two rows at a time, working your way toward the middle. The beads don’t have to be perfectly organized, as they will melt.
- Place in a 400-degree oven for 15 to 20 minutes, or until the beads are melted. Check after the first ten minutes, then every five minutes after that until all the beads are melted. Once the beads are melted, use a potholder to bring the pan safely out of the oven and let cool.
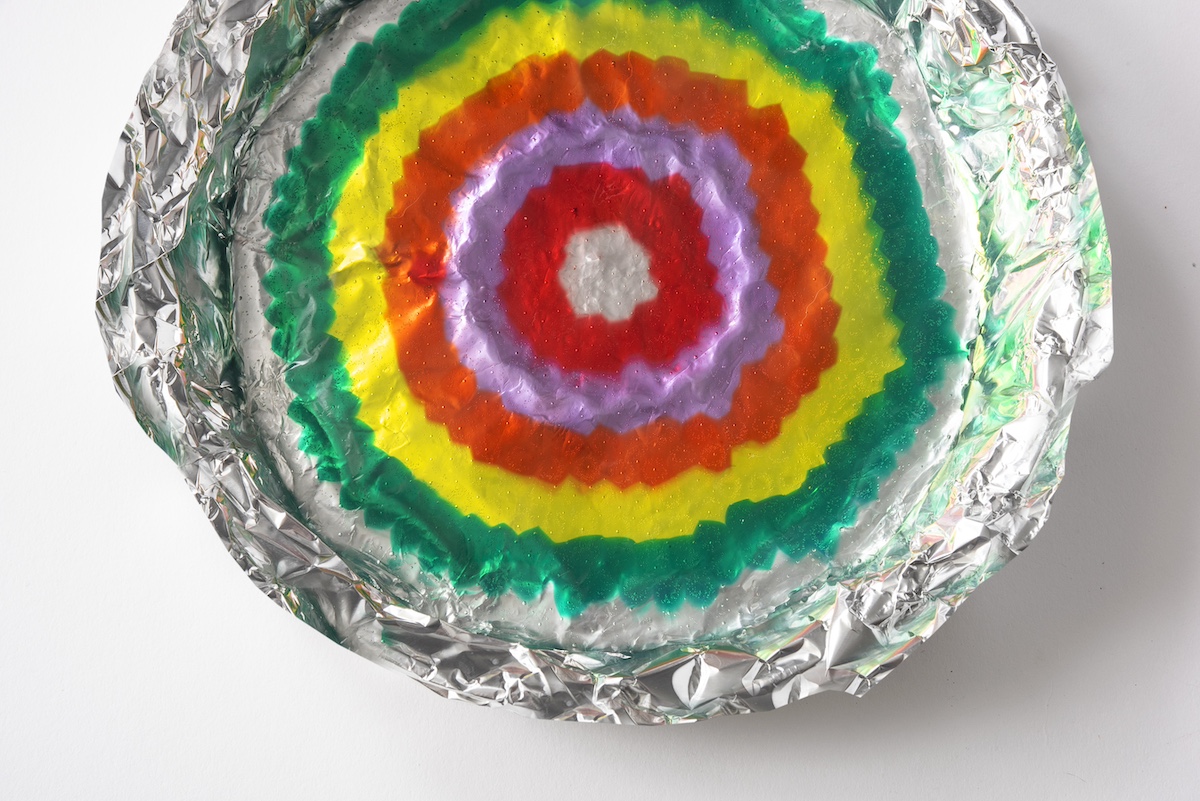
- Remove the foil from the metal tin and pull from the back of the suncatcher.

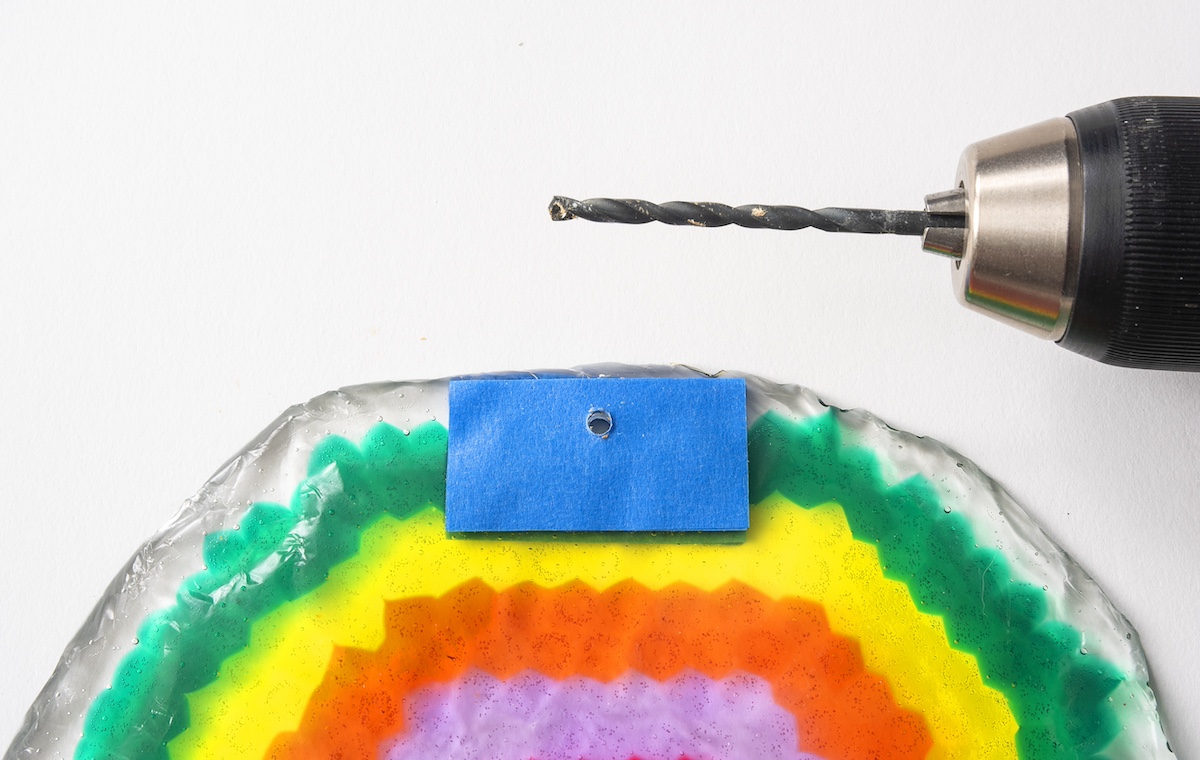
- Place stencil tape over the area where you are planning on drilling a hole (both front and back). This is so that when you are drilling, the plastic doesn’t crack. Drill the hole and remove the tape. Hang using twine or a suction cup (or both).
Notes
Did you enjoy making these beaded sun catchers? Let me know in the comments! I’d also love for you to check out these other posts:
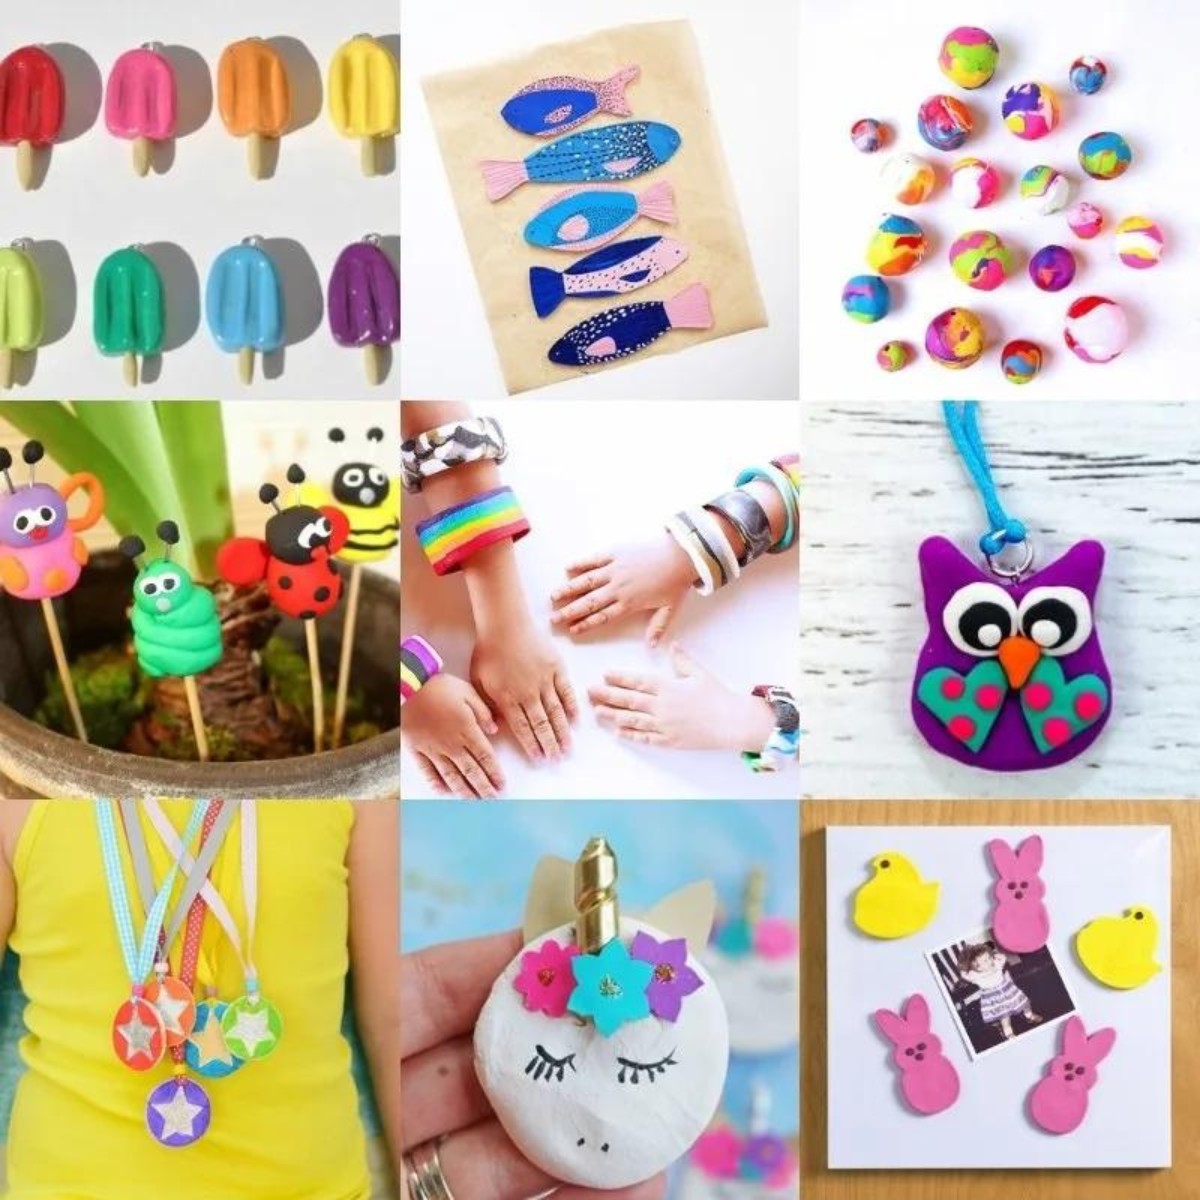
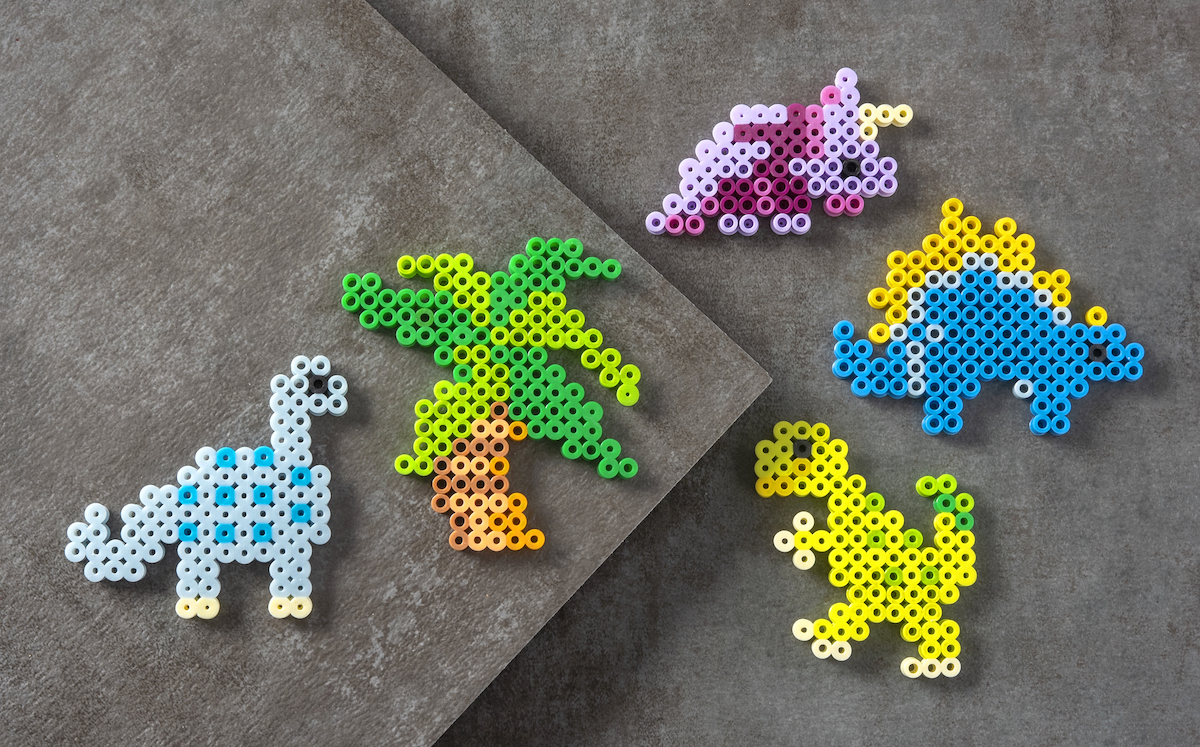
Bean Art Mosaics • Blow Painting • Borax Crystals • Bubble Wrap Painting • Cloud Dough • Coffee Filter Flowers • Duct Tape Bracelets • Food Coloring Art • Homemade Playdough • Jello Play Dough • Kinetic Sand • Moon Sand • Paper Chain • Pencil Toppers • Perler Beads • Sidewalk Chalk Paint • Silly Putty • Spin Art • Surprise Message Card • Weaving for Kids • Wine Cork Stamps