
Sun Catchers with Beads
Create colorful beaded suncatchers with this easy, fun guide—perfect for a sunny craft day with the kids!
Servings 2 suncatchers
Cost $5
Equipment
- Oven
Ingredients
- Metal baking tin – any size 9” was used here
- Aluminum foil
- Transparent plastic beads
- Twine
- Painter’s tape
Instructions
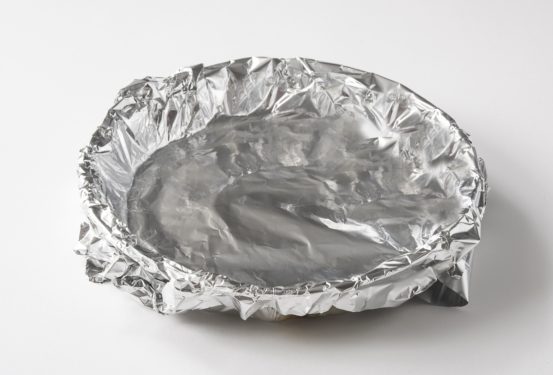
- Line your metal tin with aluminum foil so that it can be reused. Crimp the foil over the sides so you will be able to easily lift out the suncatcher when it’s complete.
- Beginning on the outside edge, line the pan with two rows of beads (in this case, clear beads were used).
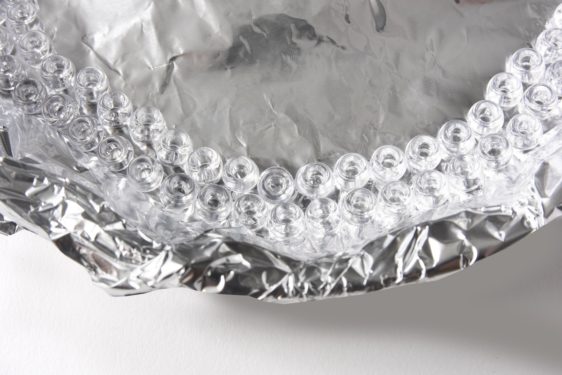
- Continue lining the pan with beads, two rows at a time, working your way toward the middle. The beads don’t have to be perfectly organized, as they will melt.

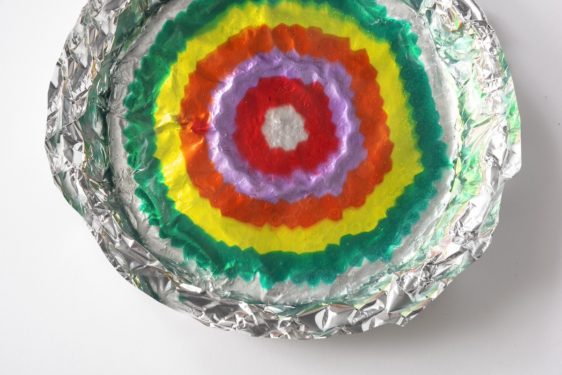
- Place in a 400-degree oven for 15 to 20 minutes, or until the beads are melted. Check after the first ten minutes, then every five minutes after that until all the beads are melted. Once the beads are melted, use a potholder to bring the pan safely out of the oven and let cool.
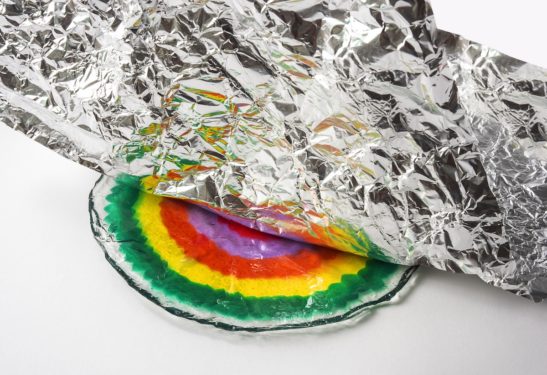
- Remove the foil from the metal tin and pull from the back of the suncatcher.
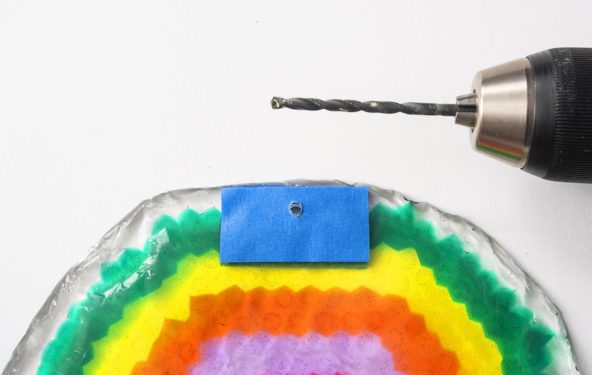
- Place stencil tape over the area where you are planning on drilling a hole (both front and back). This is so that when you are drilling, the plastic doesn’t crack. Drill the hole and remove the tape. Hang using twine or a suction cup (or both).
Notes
NOTE: Inhaling fumes from this project is not recommended. Do this project with kitchen windows open or on a grill or toaster oven outside.