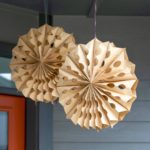
Paper Bag Snowflakes
Learn how to make large snowflakes out of paper bags! These are easy, inexpensive, and can be used for holiday or seasonal decor.
Servings 2 snowflakes
Cost $1
Equipment
- Pencil(s)
Ingredients
- Paper lunch bags 9-10 per snowflake
- Ribbon(s)
Instructions
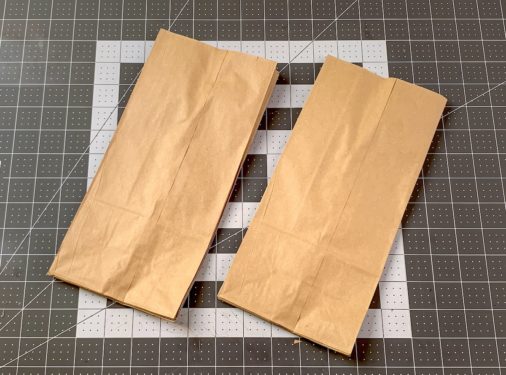
- Make two stacks of lunch bags, with 4-5 in each stack. Make sure all the ends are together.
- Starting with one stack, glue two of the lunch bags together using hot glue. You will use the hot glue along the bottom of the bags, then a line of hot glue up the middle. Smooth the bags together, making sure the bottoms of the bags are together.
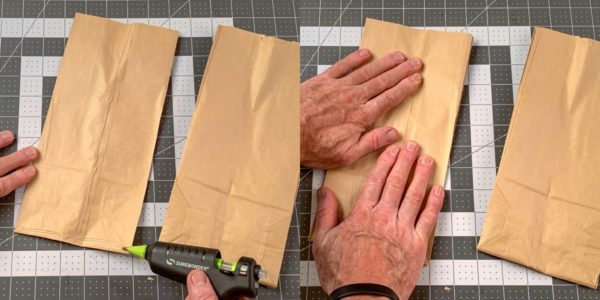
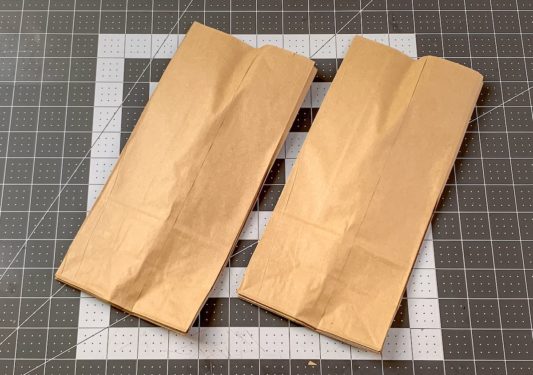
- Repeat step two until you have glued both stack of lunch bags separately. One stack should have 4-5 bags and the other should have 5 bags.
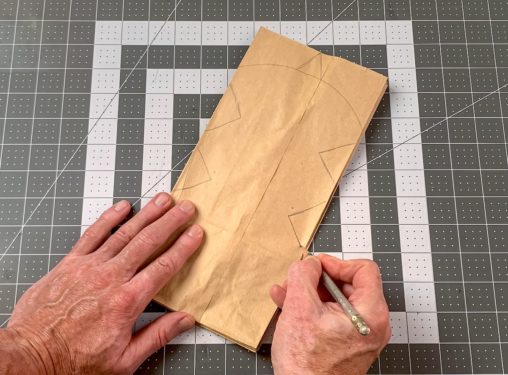
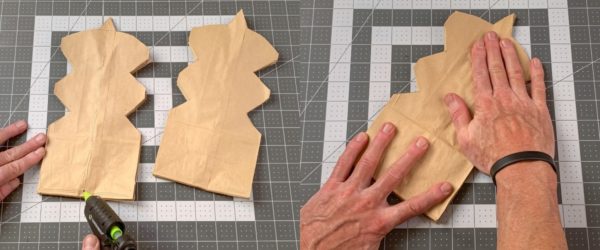
- Draw a design using a pencil on one stack of bags. Keep the design above the bottom flaps.
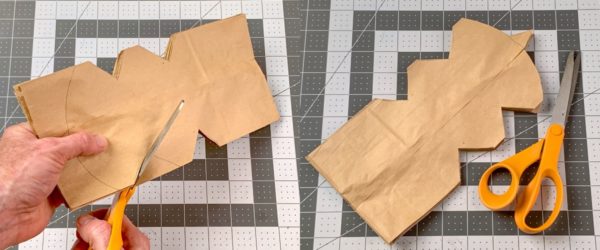
- Use the scissors to cut the design out of the paper bags.
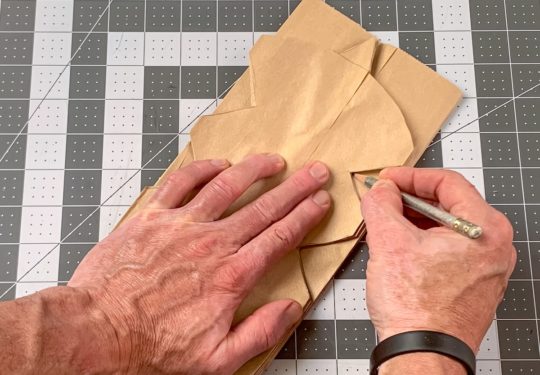
- Place the cut stack of paper bags onto the second stack and trace the design with the pencil.
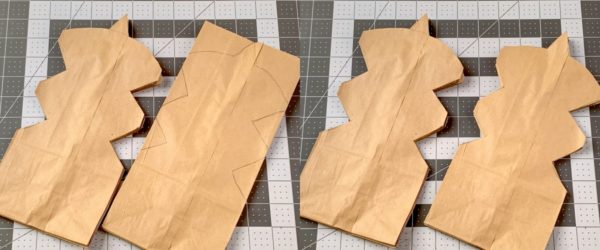
- Cut the design out from the second stack of paper bags. Your stacks should look identical.
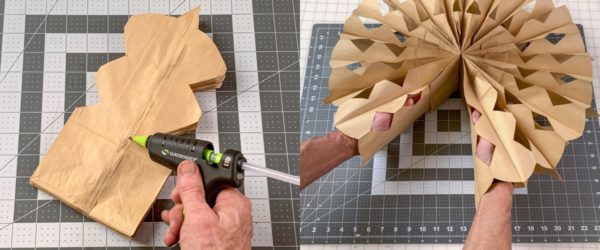
- Place a line of hot glue up the center of one of the stack and glue them together.
- Bring one end of the paper bags around to the other and glue together, forming the circular snowflake. Hold until secure.
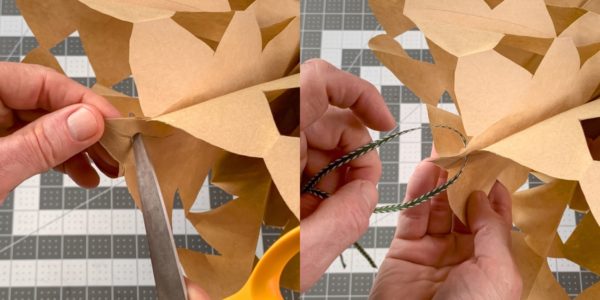
- Punch a hole in the top with scissors or the pencil. Cut a length of ribbon and string, then tie a knot to hang.
Video
Notes
The reason you are working with two stacks of paper bags is so that you can cut the design more easily with regular scissors.