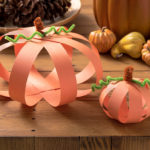
Paper Pumpkins
Make a 3D pumpkin with paper, step by step! Kids are going to love this fun craft idea for fall and Halloween.
Servings 1 pumpkin
Cost $1
Equipment
- Hole punch
- Paper cutter or scissors and ruler
- Pencil(s)
Ingredients
- Construction paper orange
- Glue Dots
- Pipe cleaners brown and green
Instructions
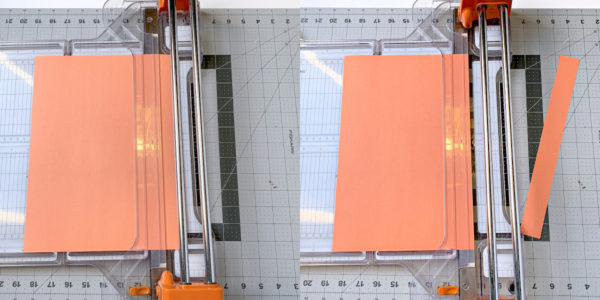
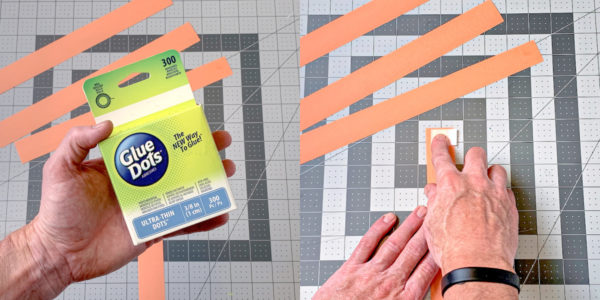
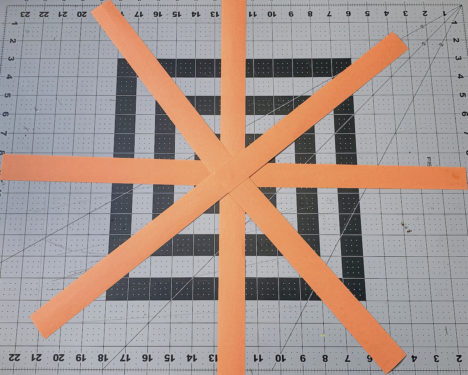
- Cut eight strips of paper that are 12" x 1.25" wide using a paper cutter and scissors or ruler.
- Take four paper strips and put them on your work surface. Tape two of the pieces together end to end with a glue dot, overlapping an inch or so. Repeat this three more times and you will have four long paper strips.
- Tape two of the long pieces together with a glue to make a plus (+) symbol. Repeat with the other two pieces.
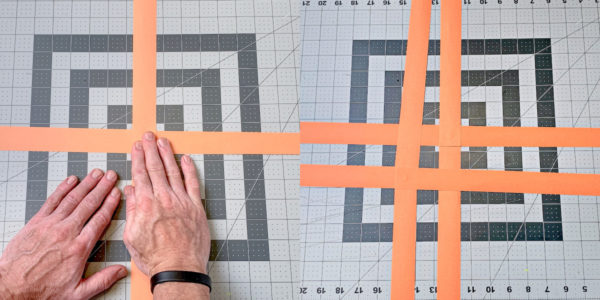
- Tape one of the plus symbols onto the other plus symbol with a glue dot, rotating it so there will be eight even strips to your pumpkin.
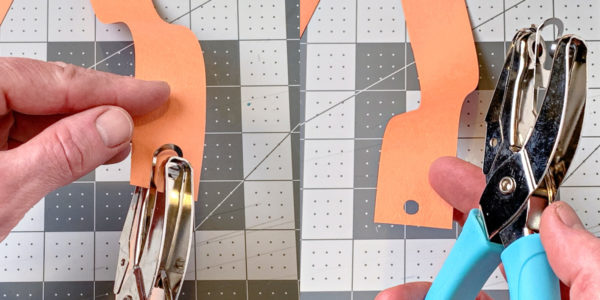
- Punch a hole in approximately the same place at the end of every paper strip.
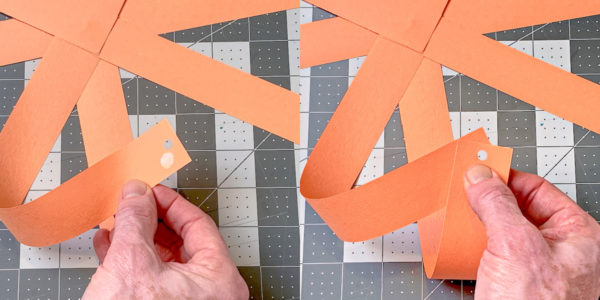
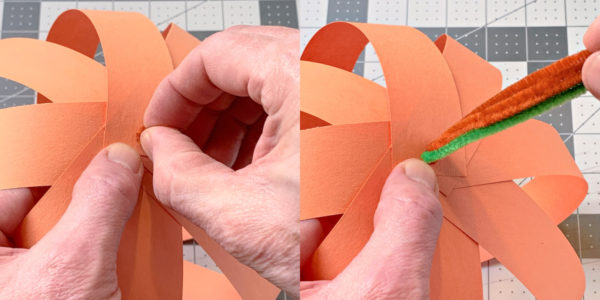
- Use glue dots to bring all the paper strips to the center and attach, matching up the holes. The pumpkin base is complete.
- Fold a brown and green pipe cleaner in half, together. Twist the bottom of the combined pipe cleaners and bend to make a little hook.
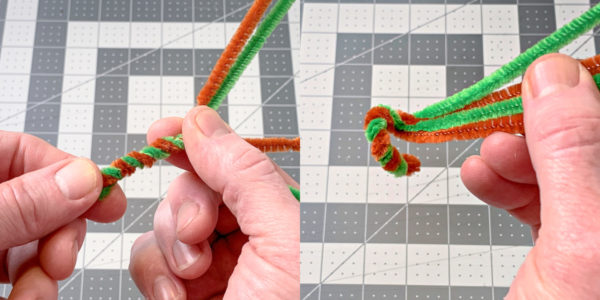
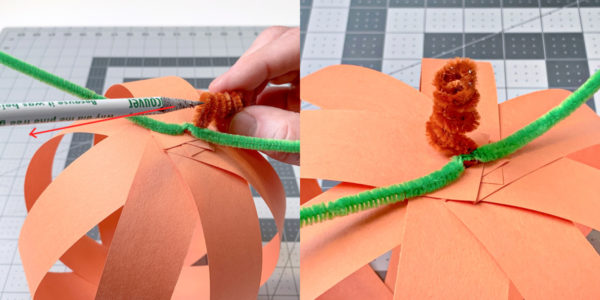
- Insert this end into the hole at the top of the pumpkin (created by matching up the hole punched holes).
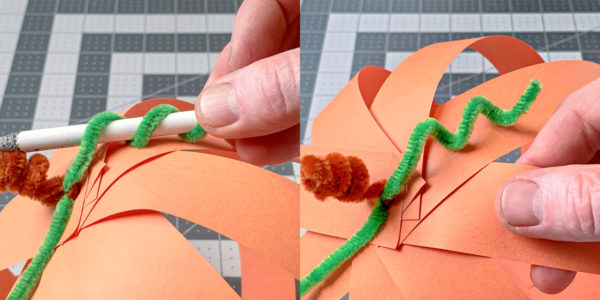
- Fold down the green pipe cleaners, away from the brown. Twist both around a pencil or pen to create a stem. Remove the pencil and pull the stem up a little bit to "poof" it..
- Wrap each green pipe cleaner end around the pencil to create leaves. Pull them out slowly and your paper pumpkin is complete.
Video
Notes
You'll use 1 sheet of construction paper for a smaller pumpkin, 2 for a larger pumpkin